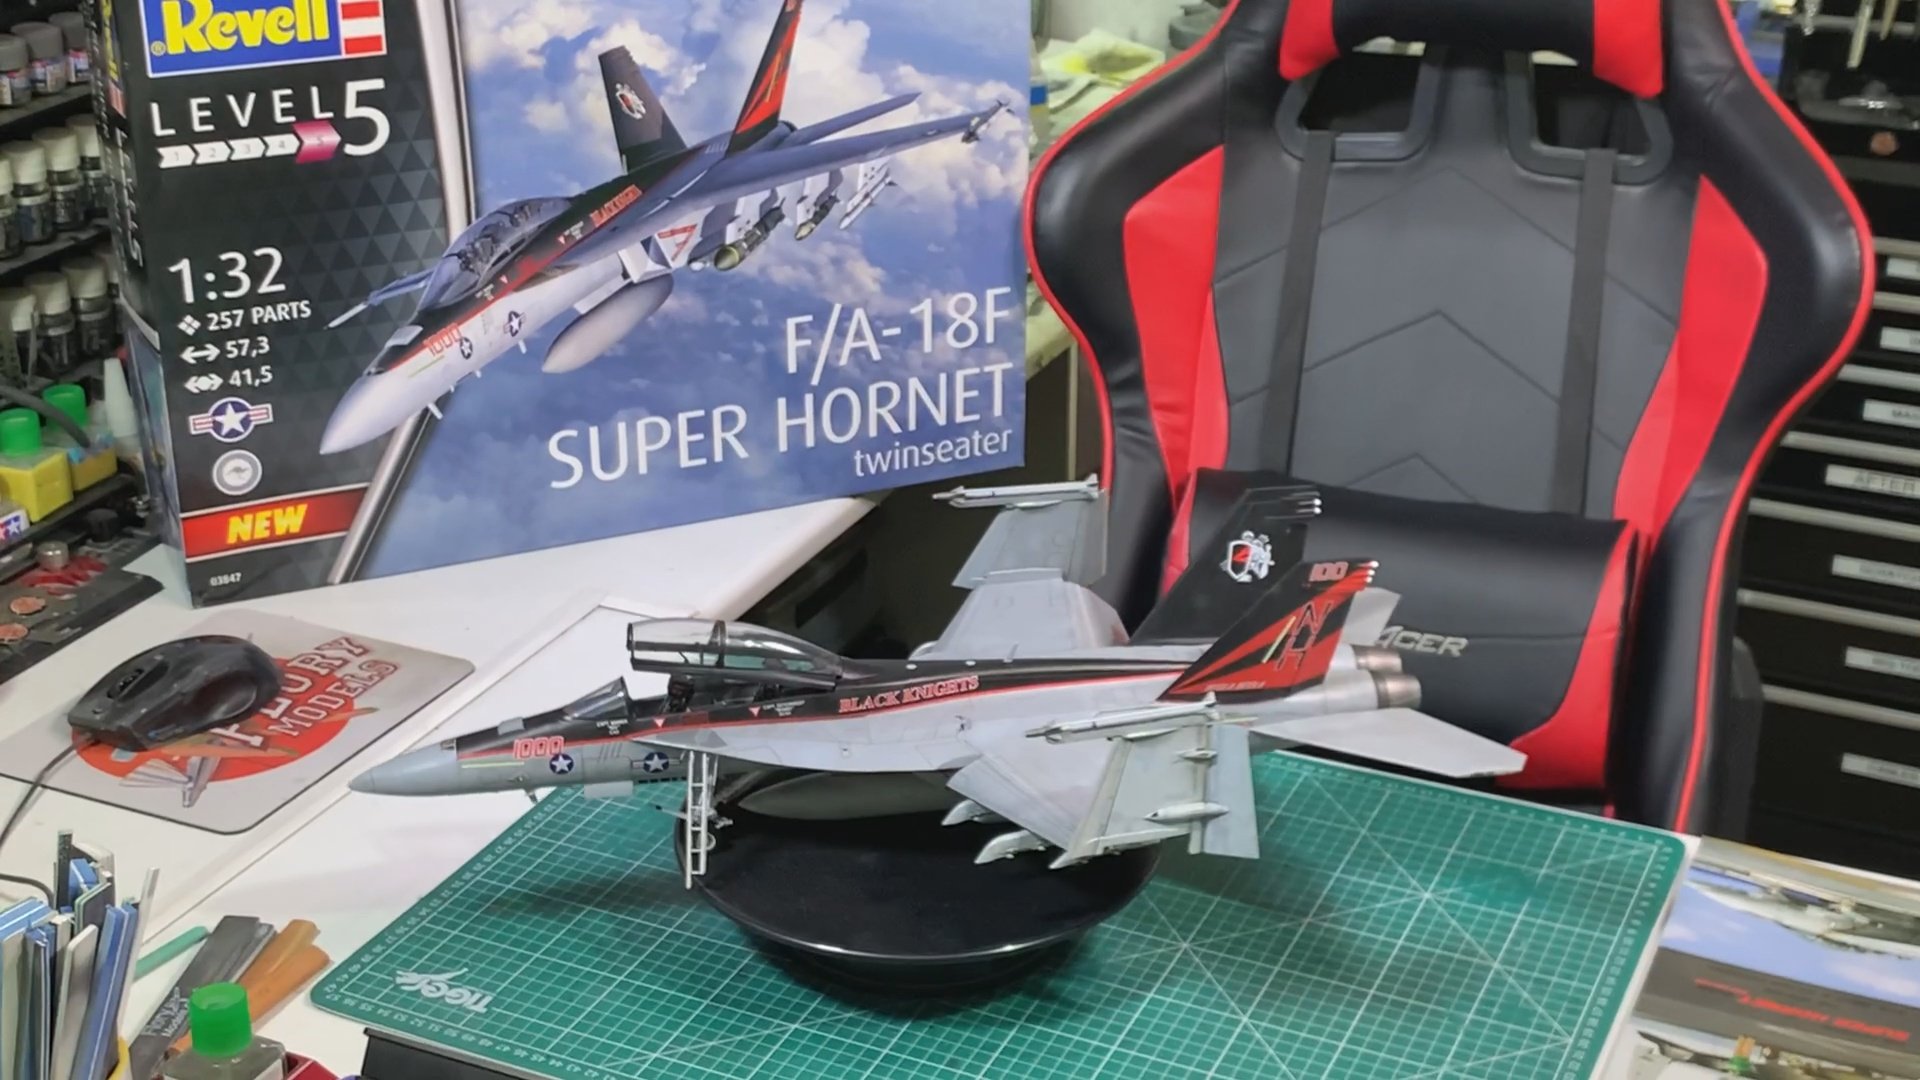
F/A-18F Super Hornet
Scale: 1/32
Manufacturer: Revell
Parts used: Quick Boost ECS pips, Eduard Brassin wheels, Eduard Color cockpit set, Master caster seats.
Main paints used: Tamiya and Xtream Metals
In part one, we look at the build ahead and some of the challenges, then it onto the construction of the engines and paint the intakes.

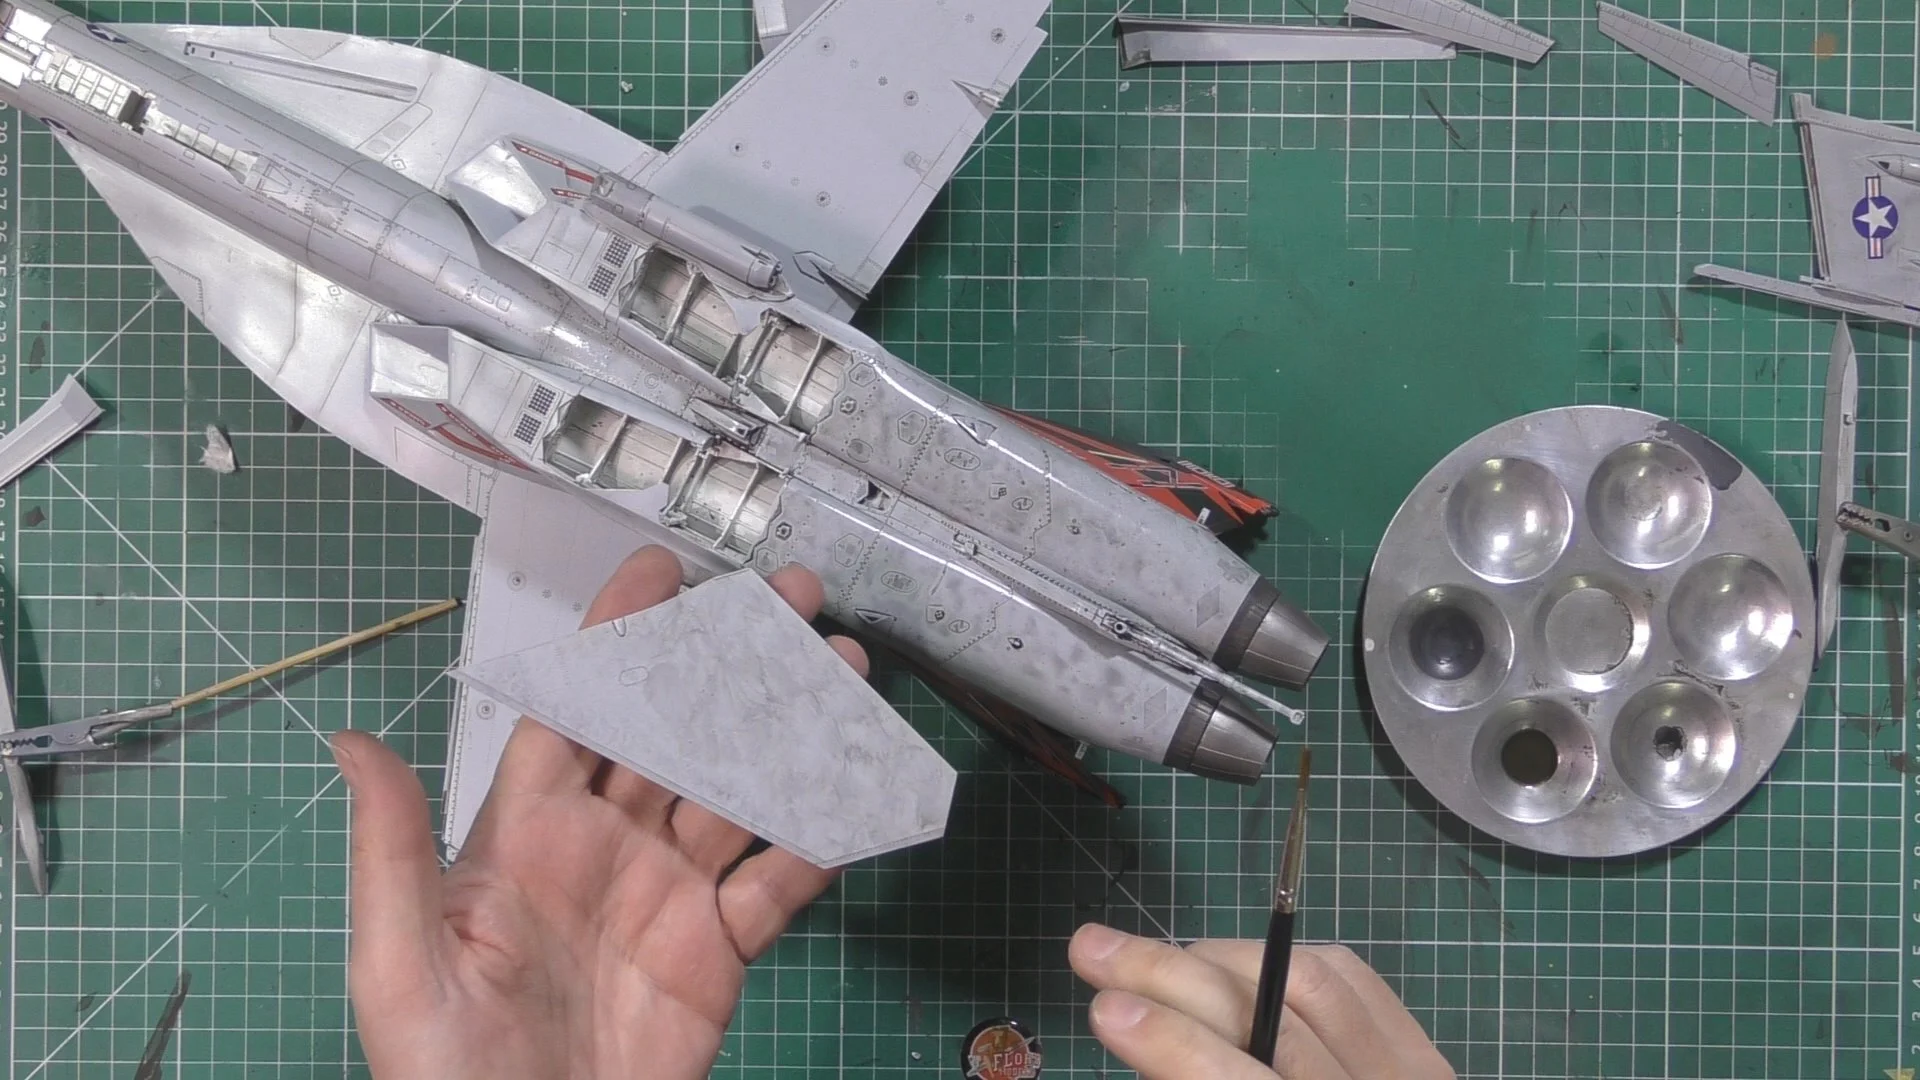
In part two, we add the engine turbines and afterburner rings with some dry brushing with MC214 Dark Iron and seal them up and then tackle the main gear wells and intakes. Then after a camera error on my part talk through the way we fixed some more of the kits problems and get the main fuselage together.

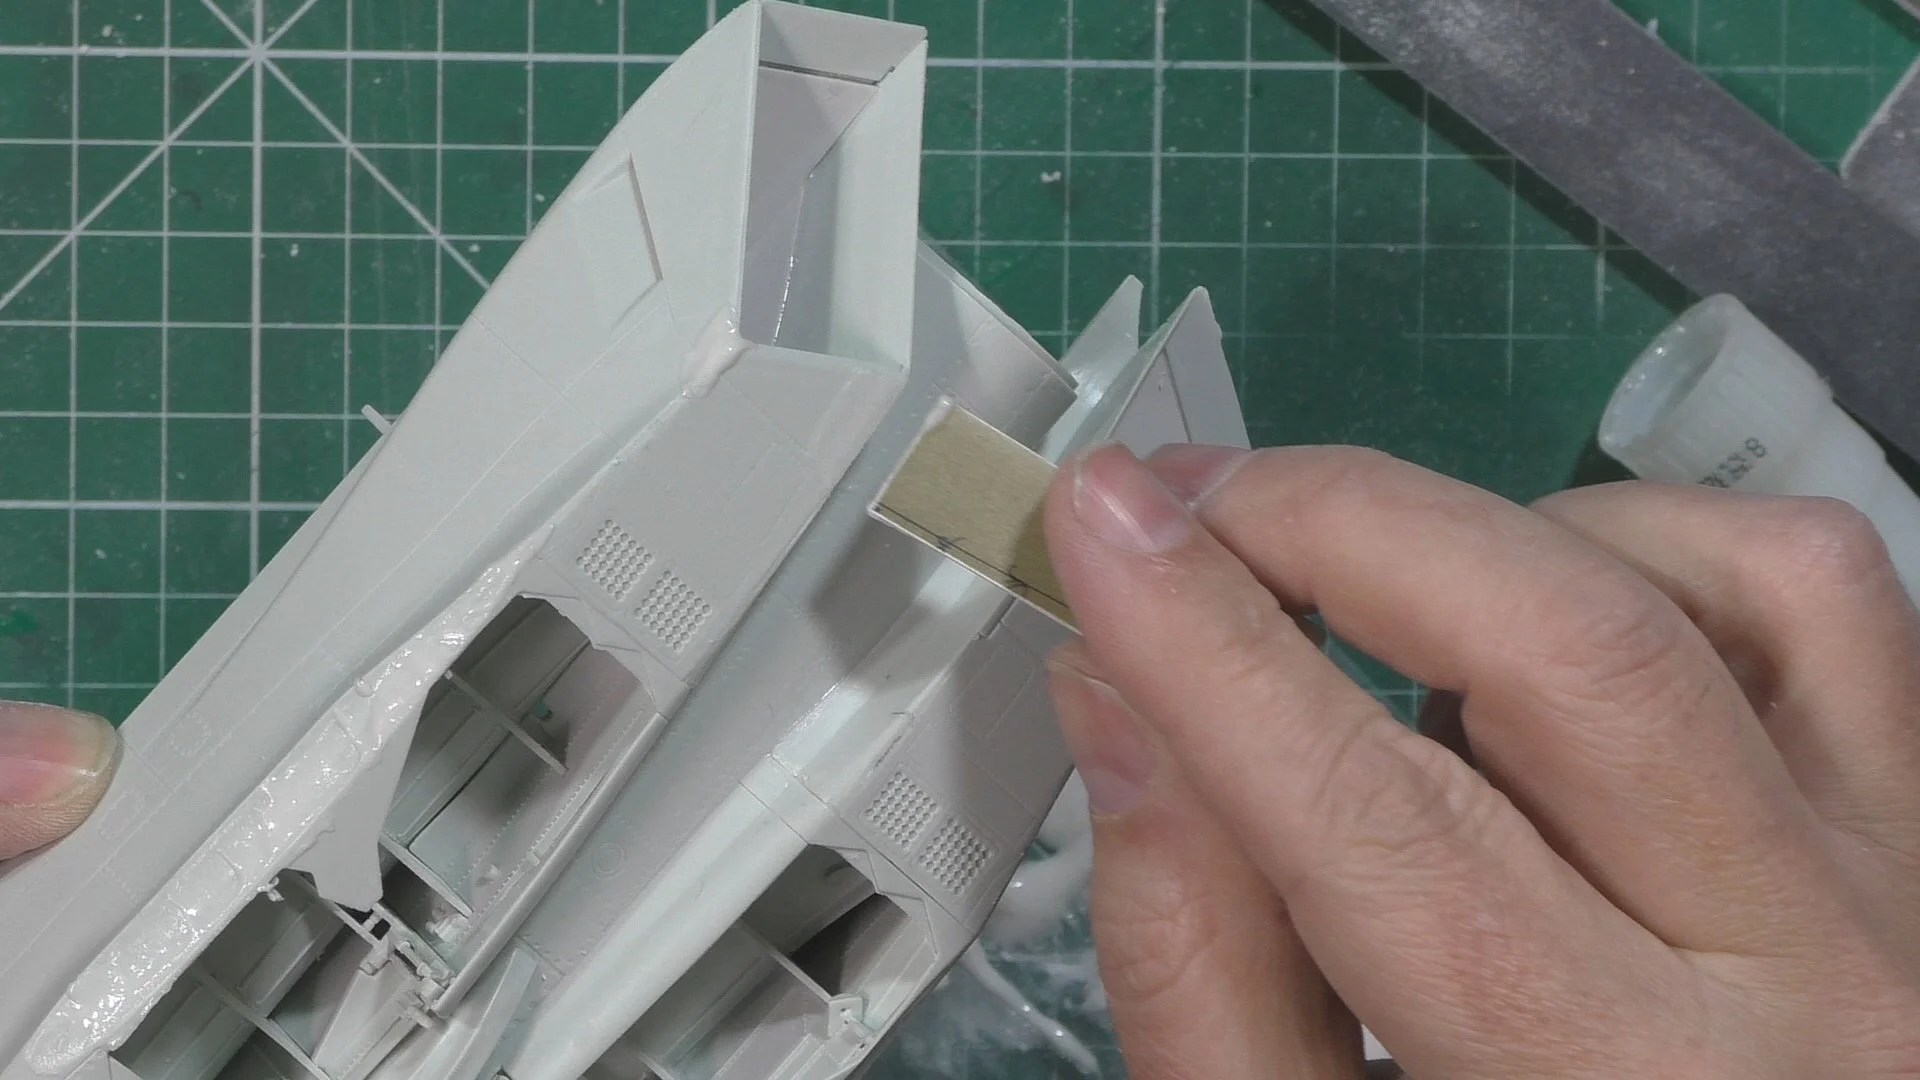
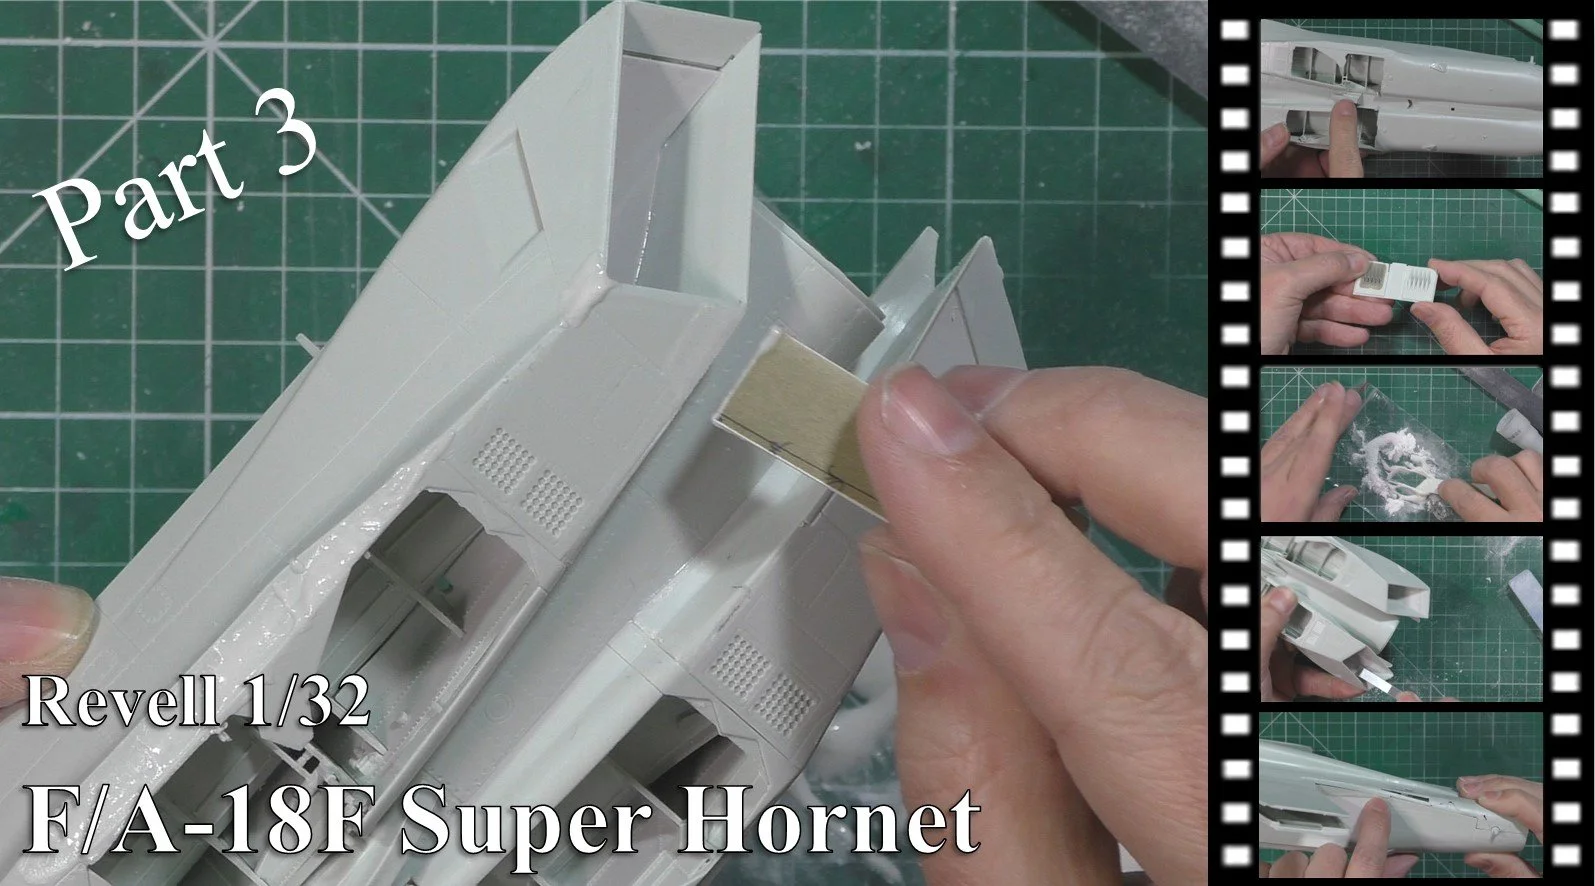
In part three, it’s time too fill and sand the seams. I use a CA glue and talcum powder mix and then sand and polish. Next we sand back the resin ECS pipes and remove the old kit parts.
In part four, we scrape clean and sand the filler we used on the fuselage and then put together and fill and sand all the flight surfaces before turning our attention to the cockpit. Here we sand and remove all the cockpit surface details and then paint dark gull grey before adding the Eduard color Photo Etch set.

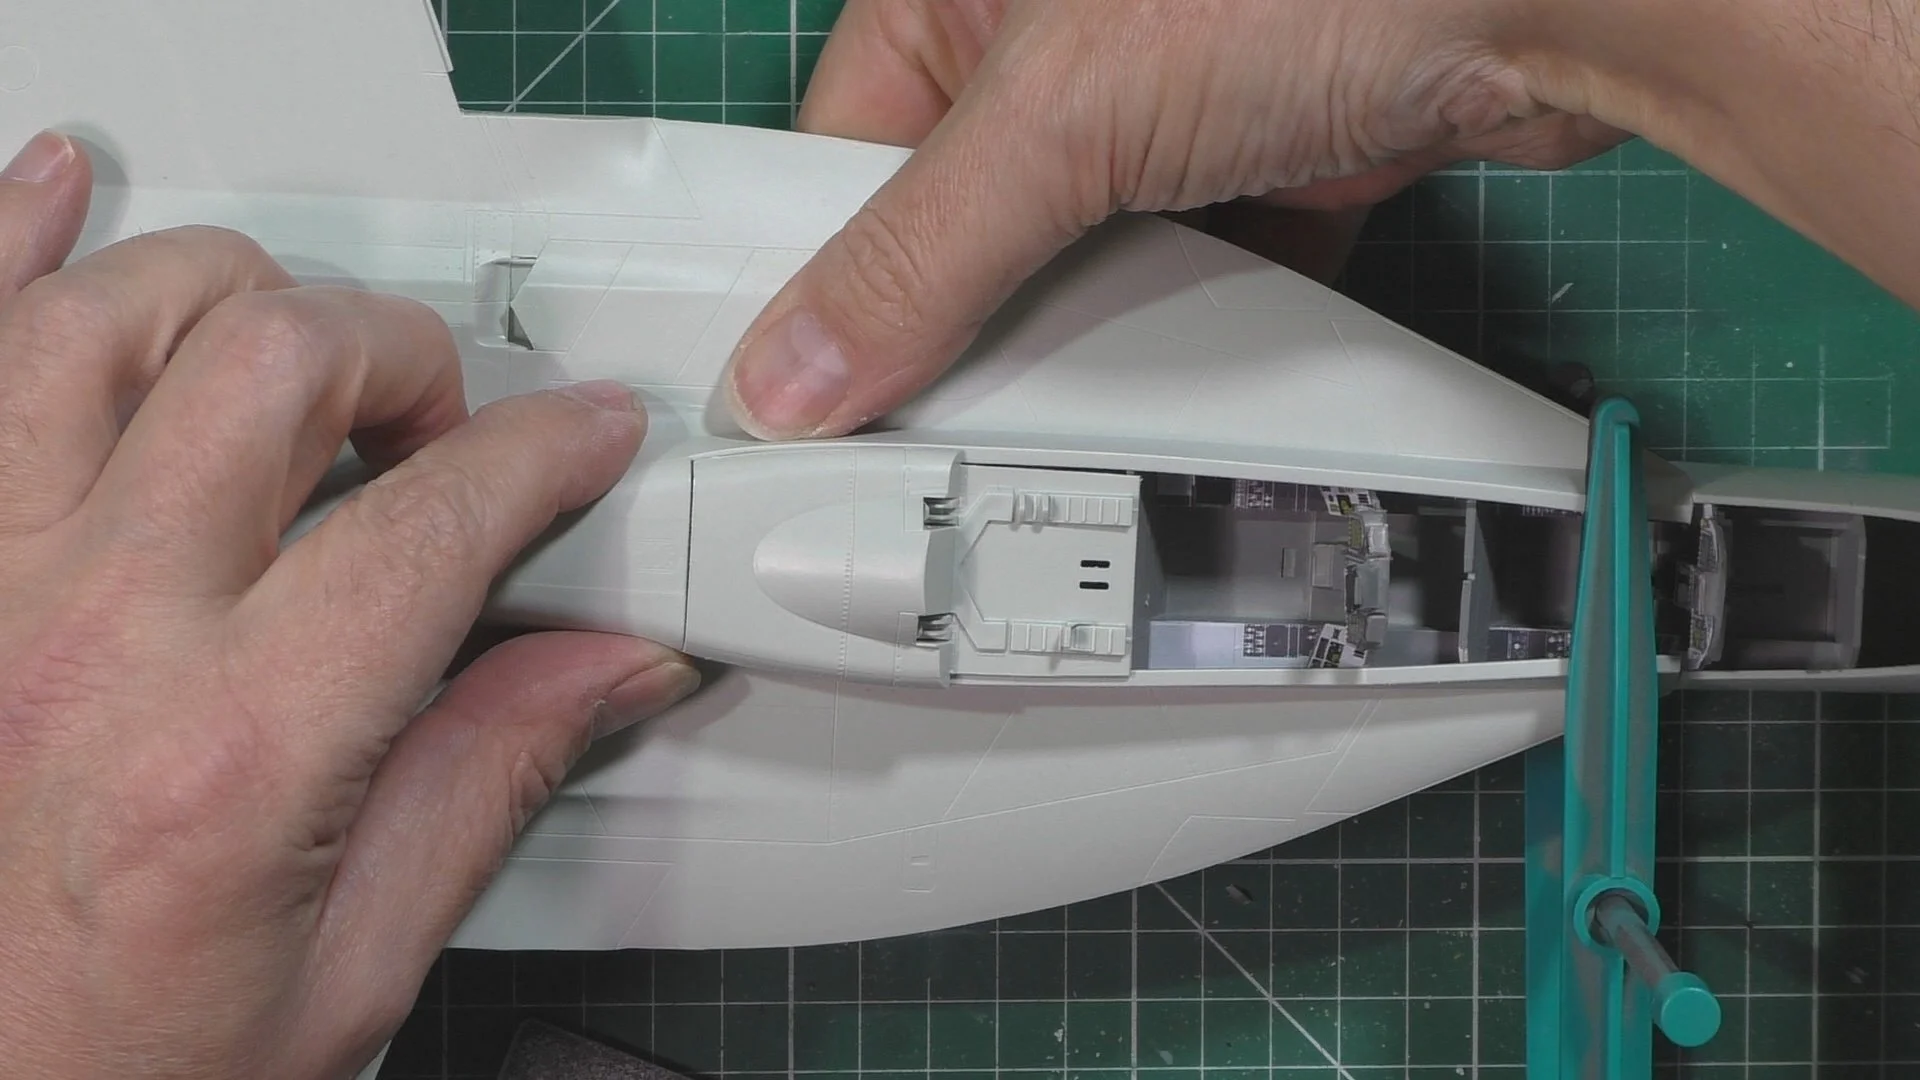
In part five, we finish off the Color photo-etch cockpit details and install them to the forward fuselage. We then install the forward fuselage to the main and as always it’s not a great fit so we make adjustments to git it to come together.

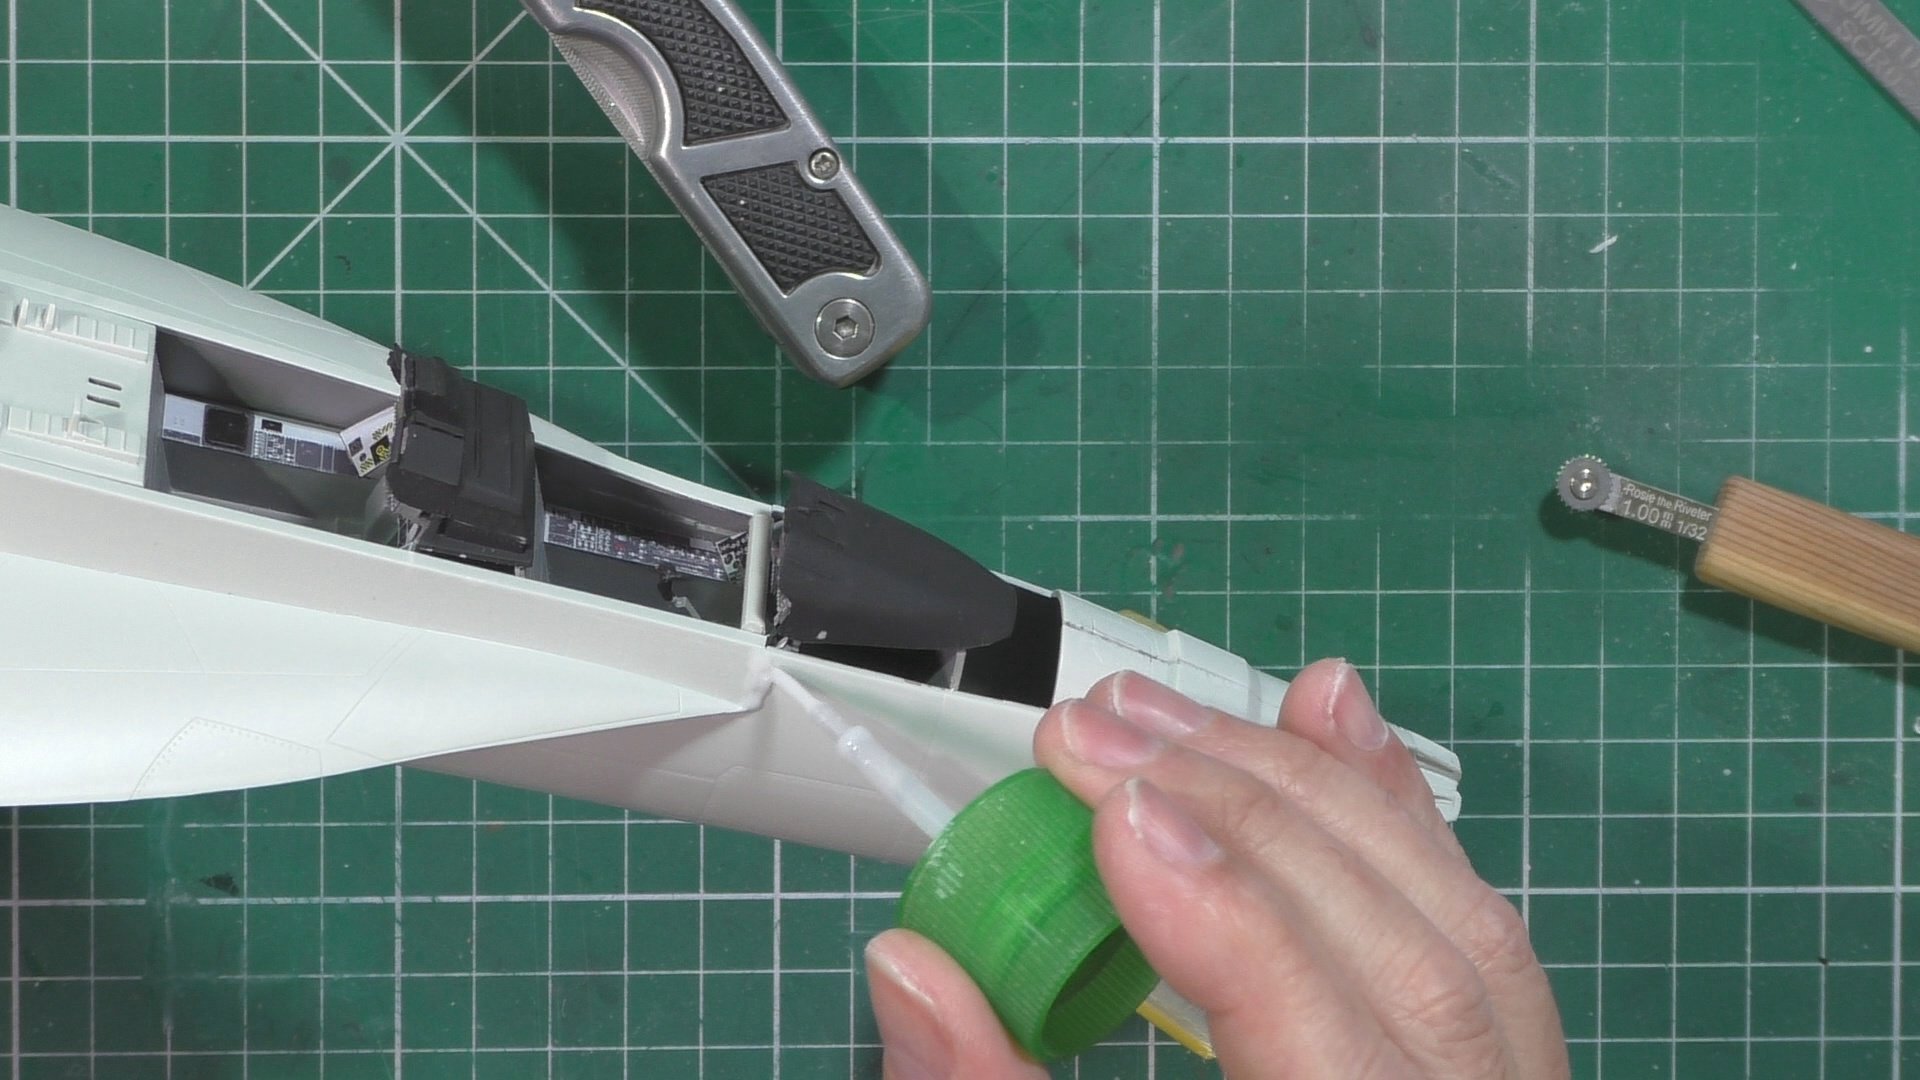
In part six, we join the front of the fuselage and fill and sand the join. We next install the replacement ECS pipes and the make our way around the model filling and sanding and finally getting the Hornet back on track after fixing all the problems with the kit.

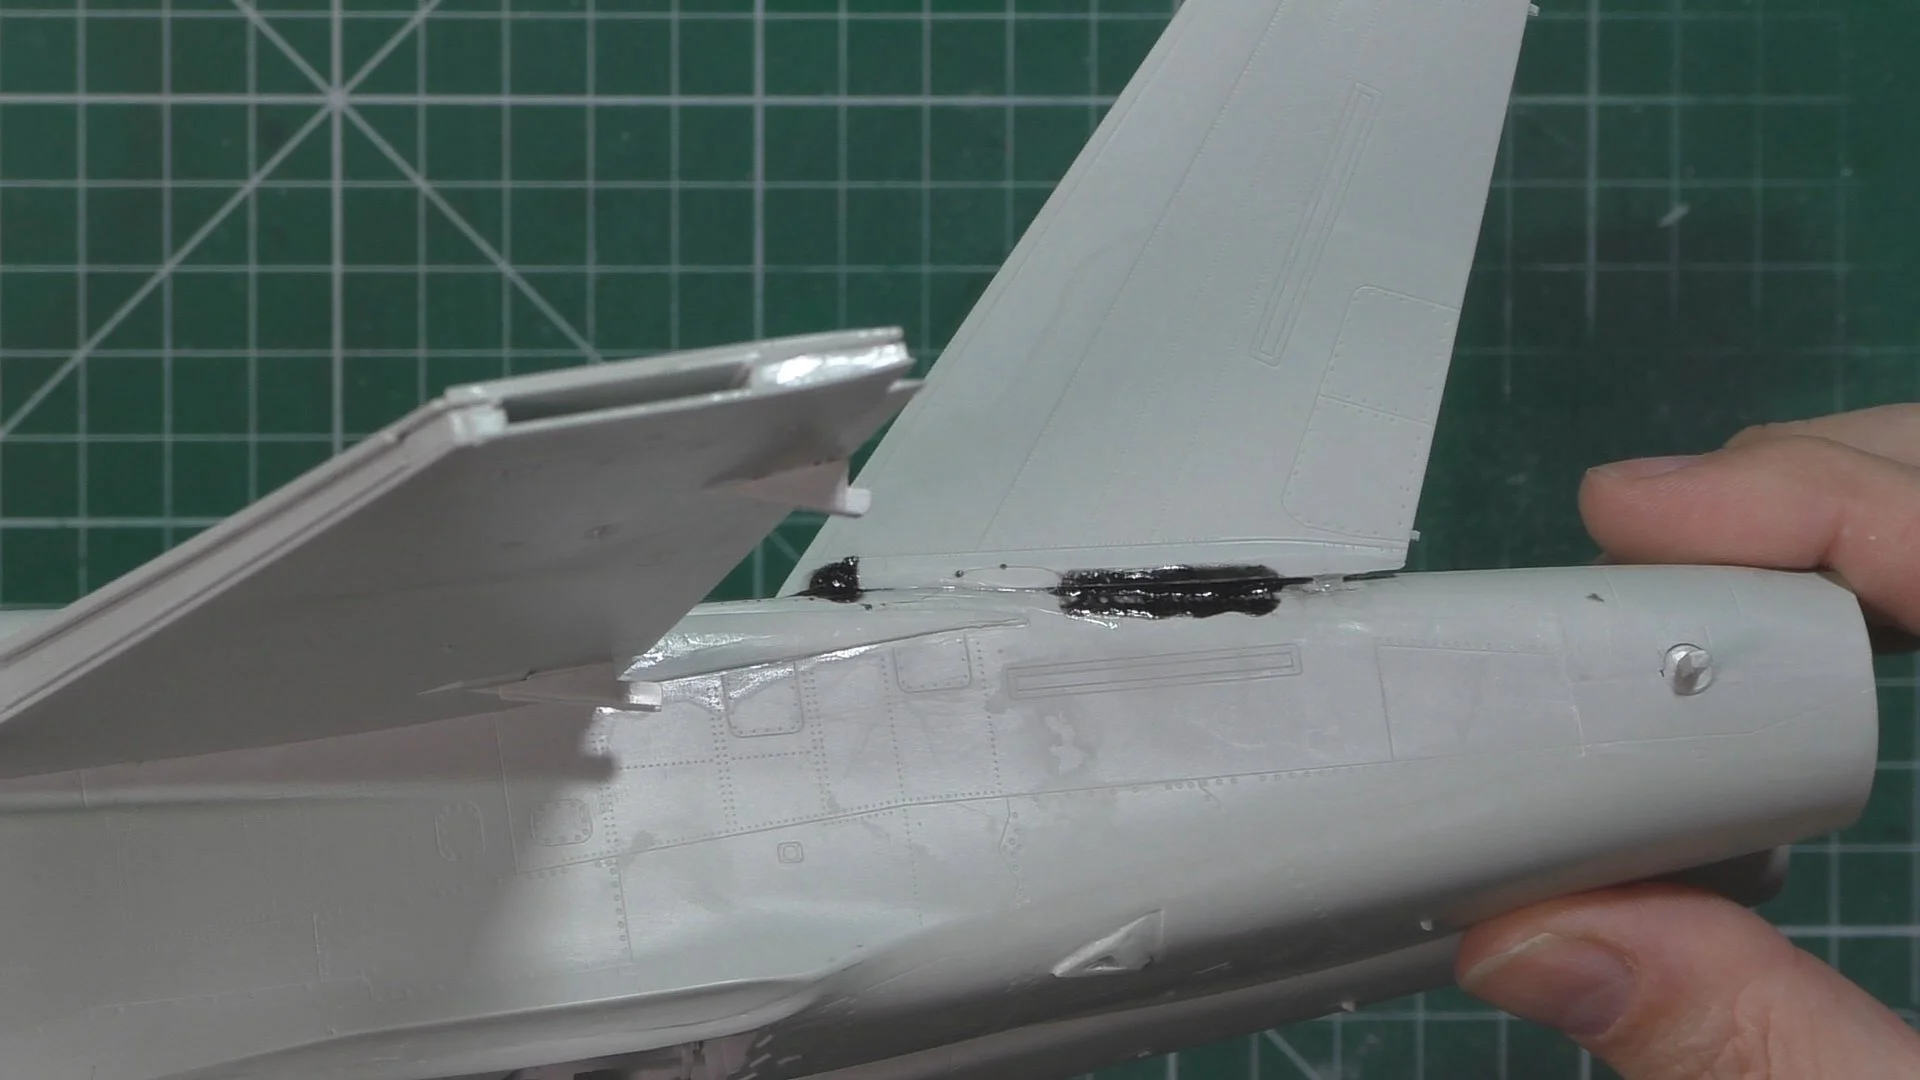
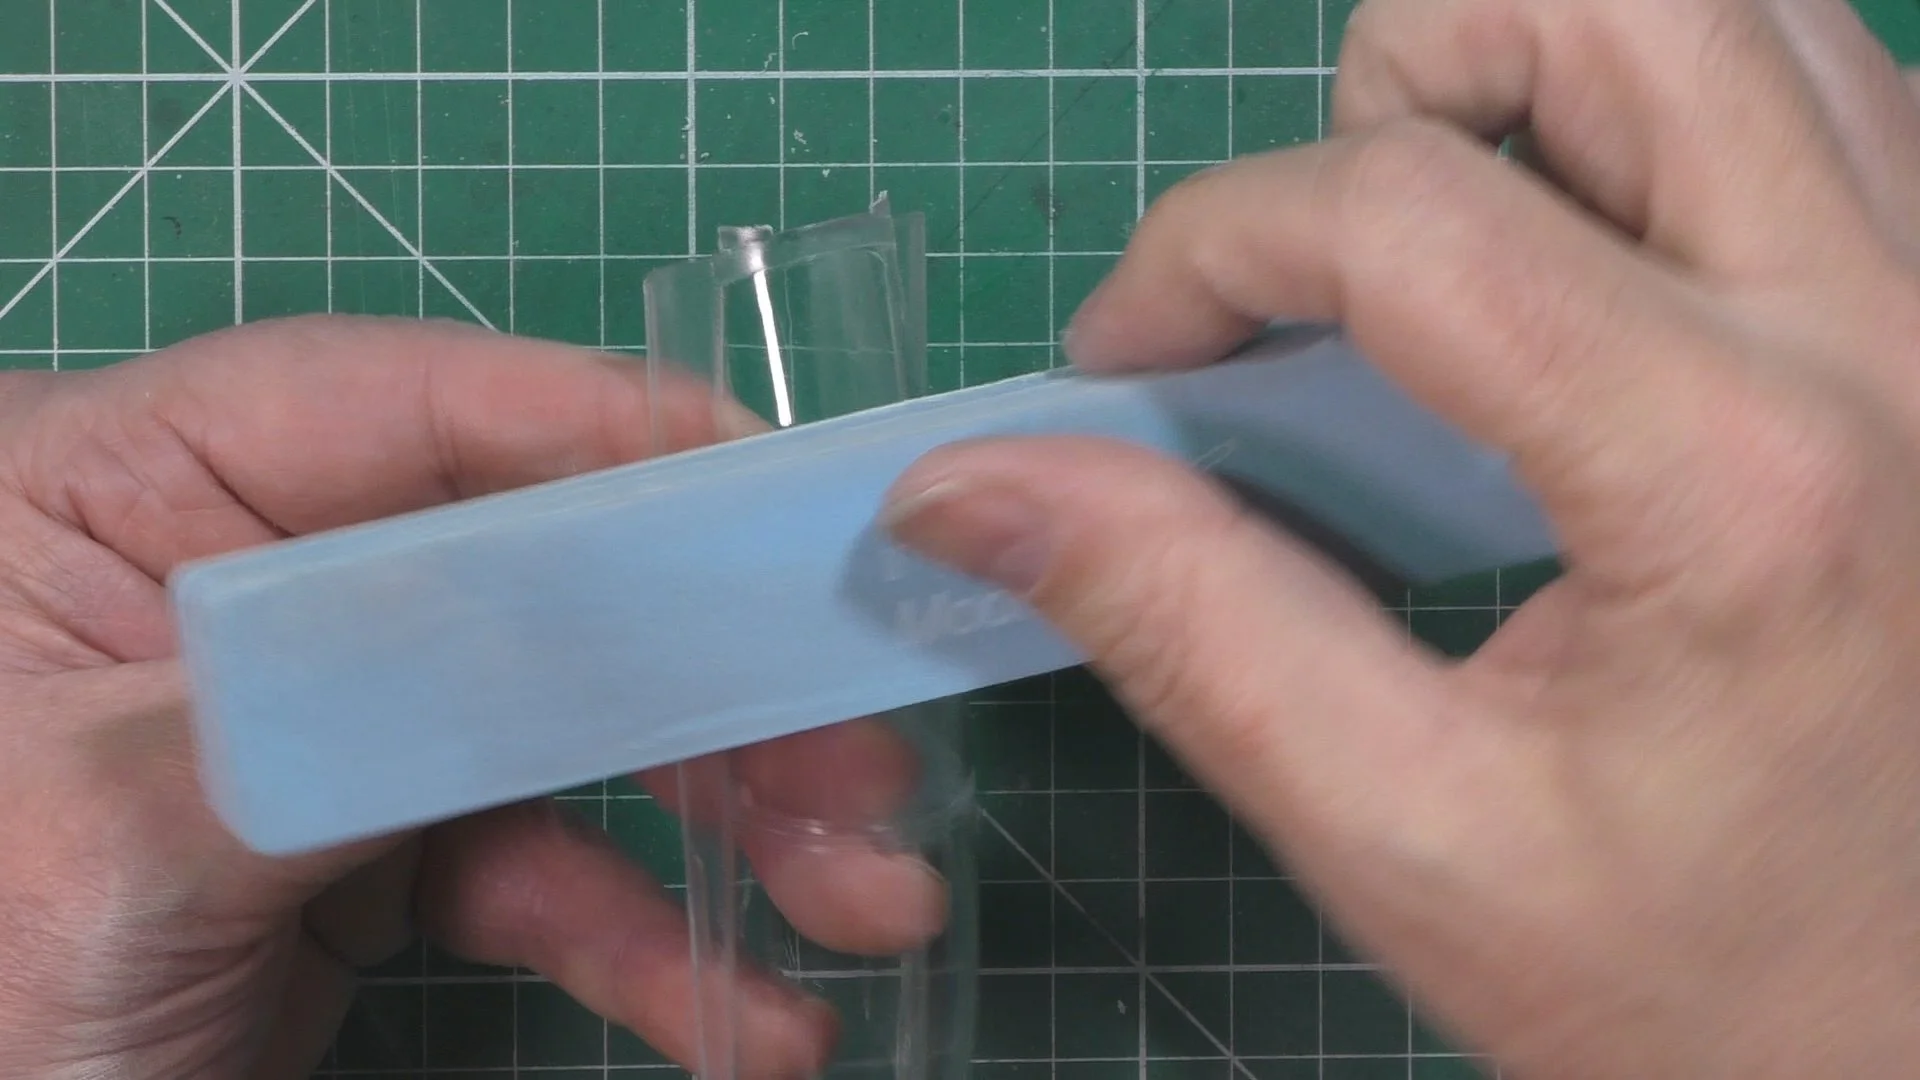
In part Seven, we take care of the massive seam line running through the canopy and front screen, and the show masking up the clear parts. We then start to make our way around the model fixing and missing panel lines and riveting all read to move into the spray booth for priming.

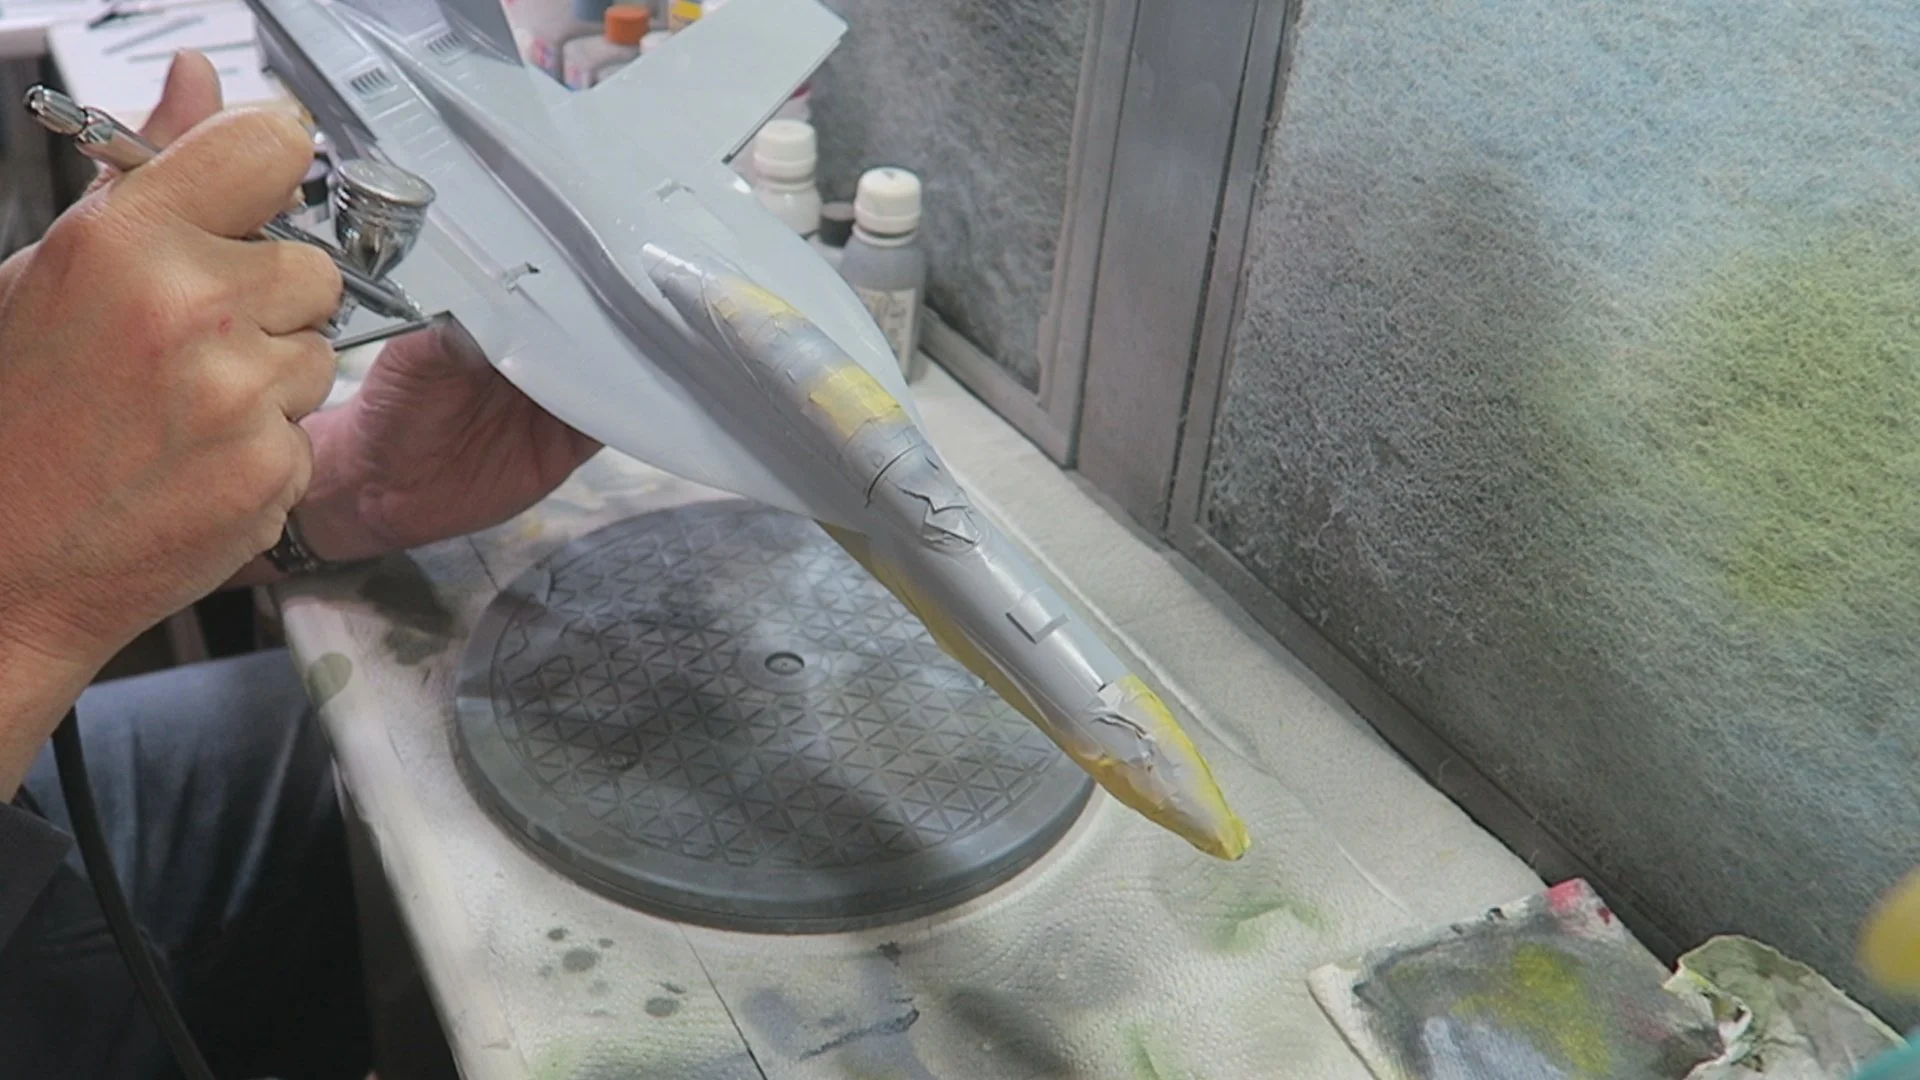
In part eight, It’s time for priming so first a coat of Tamiya XF-85 Black around the outside of the canopy clear parts, This is to show black from the inside but also to colorfast the canopy parts so no light can show through the grey paint. We use a Hi-density foam to mask the intakes, then it’s time for primer and we use AK 758 Grey primer. With that dry and happy to carry on we put down the Light Ghost Grey FS36375 (RC252)

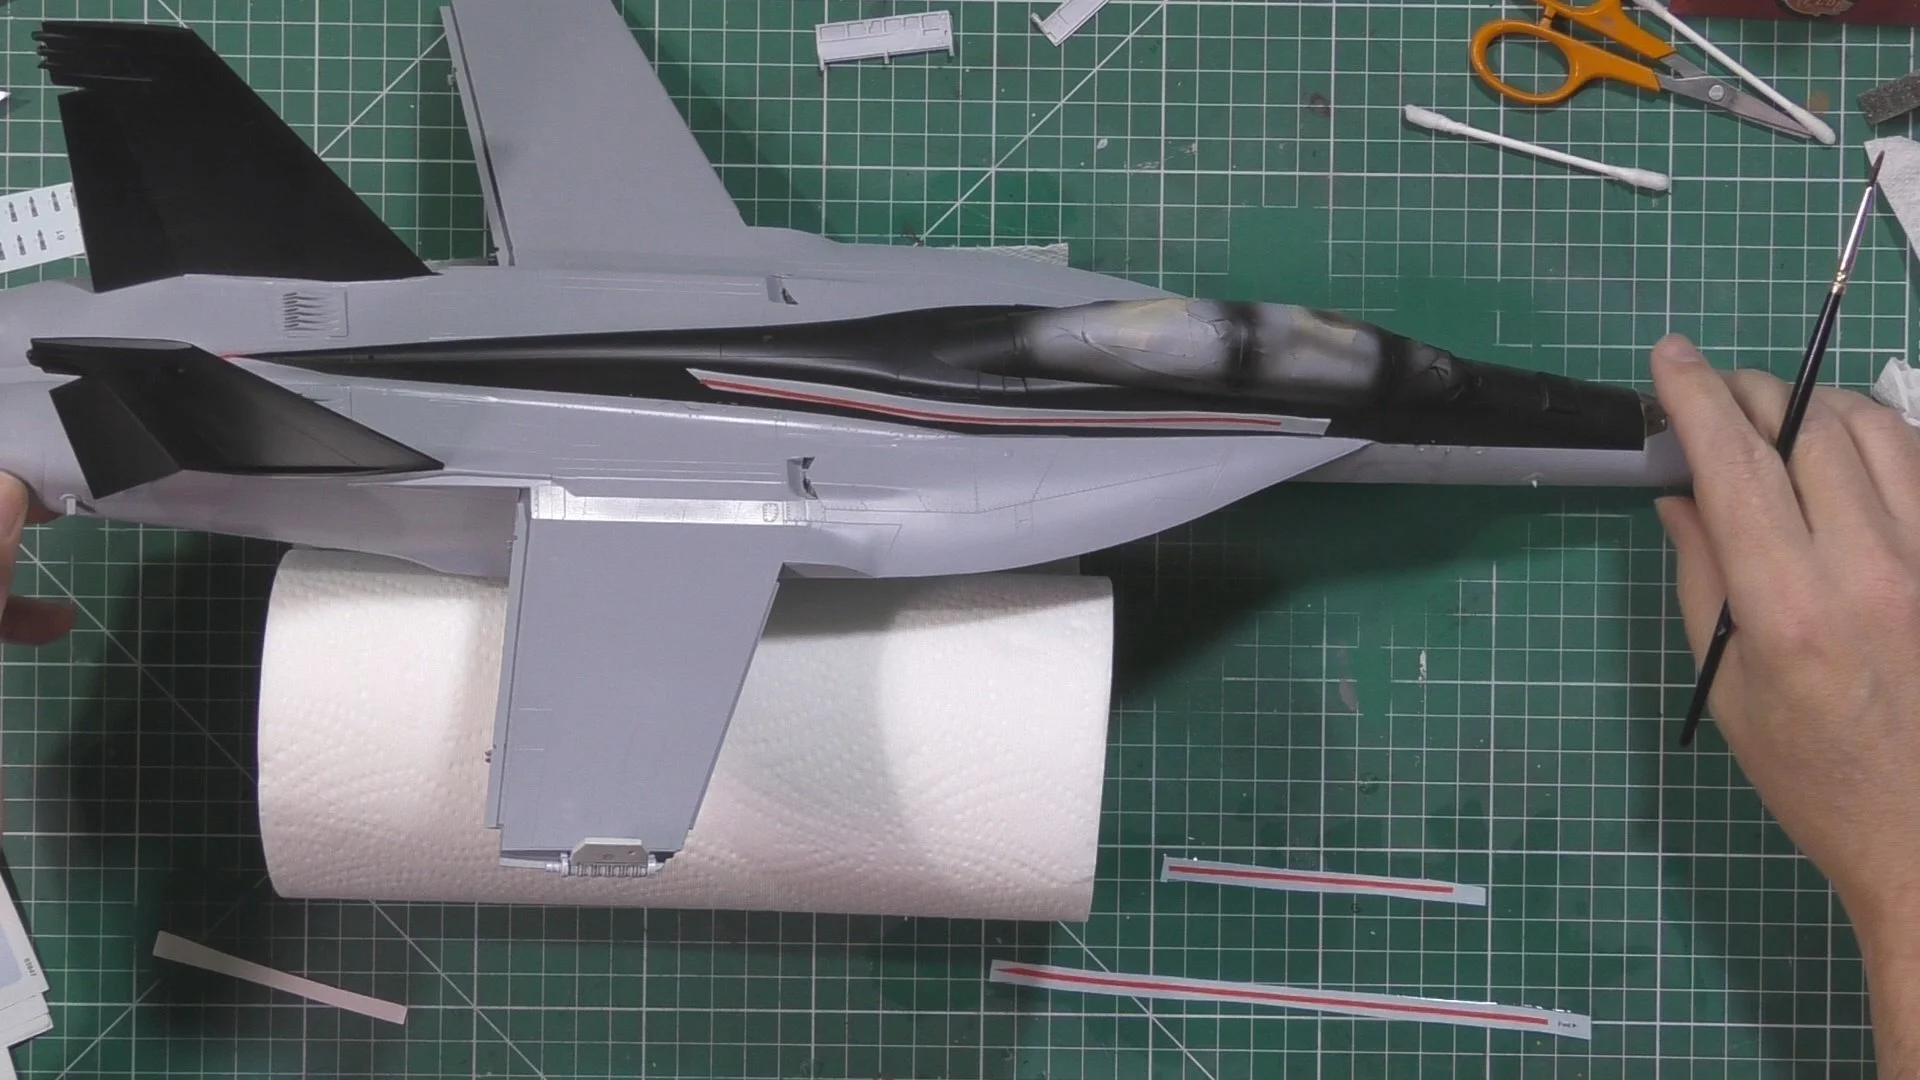
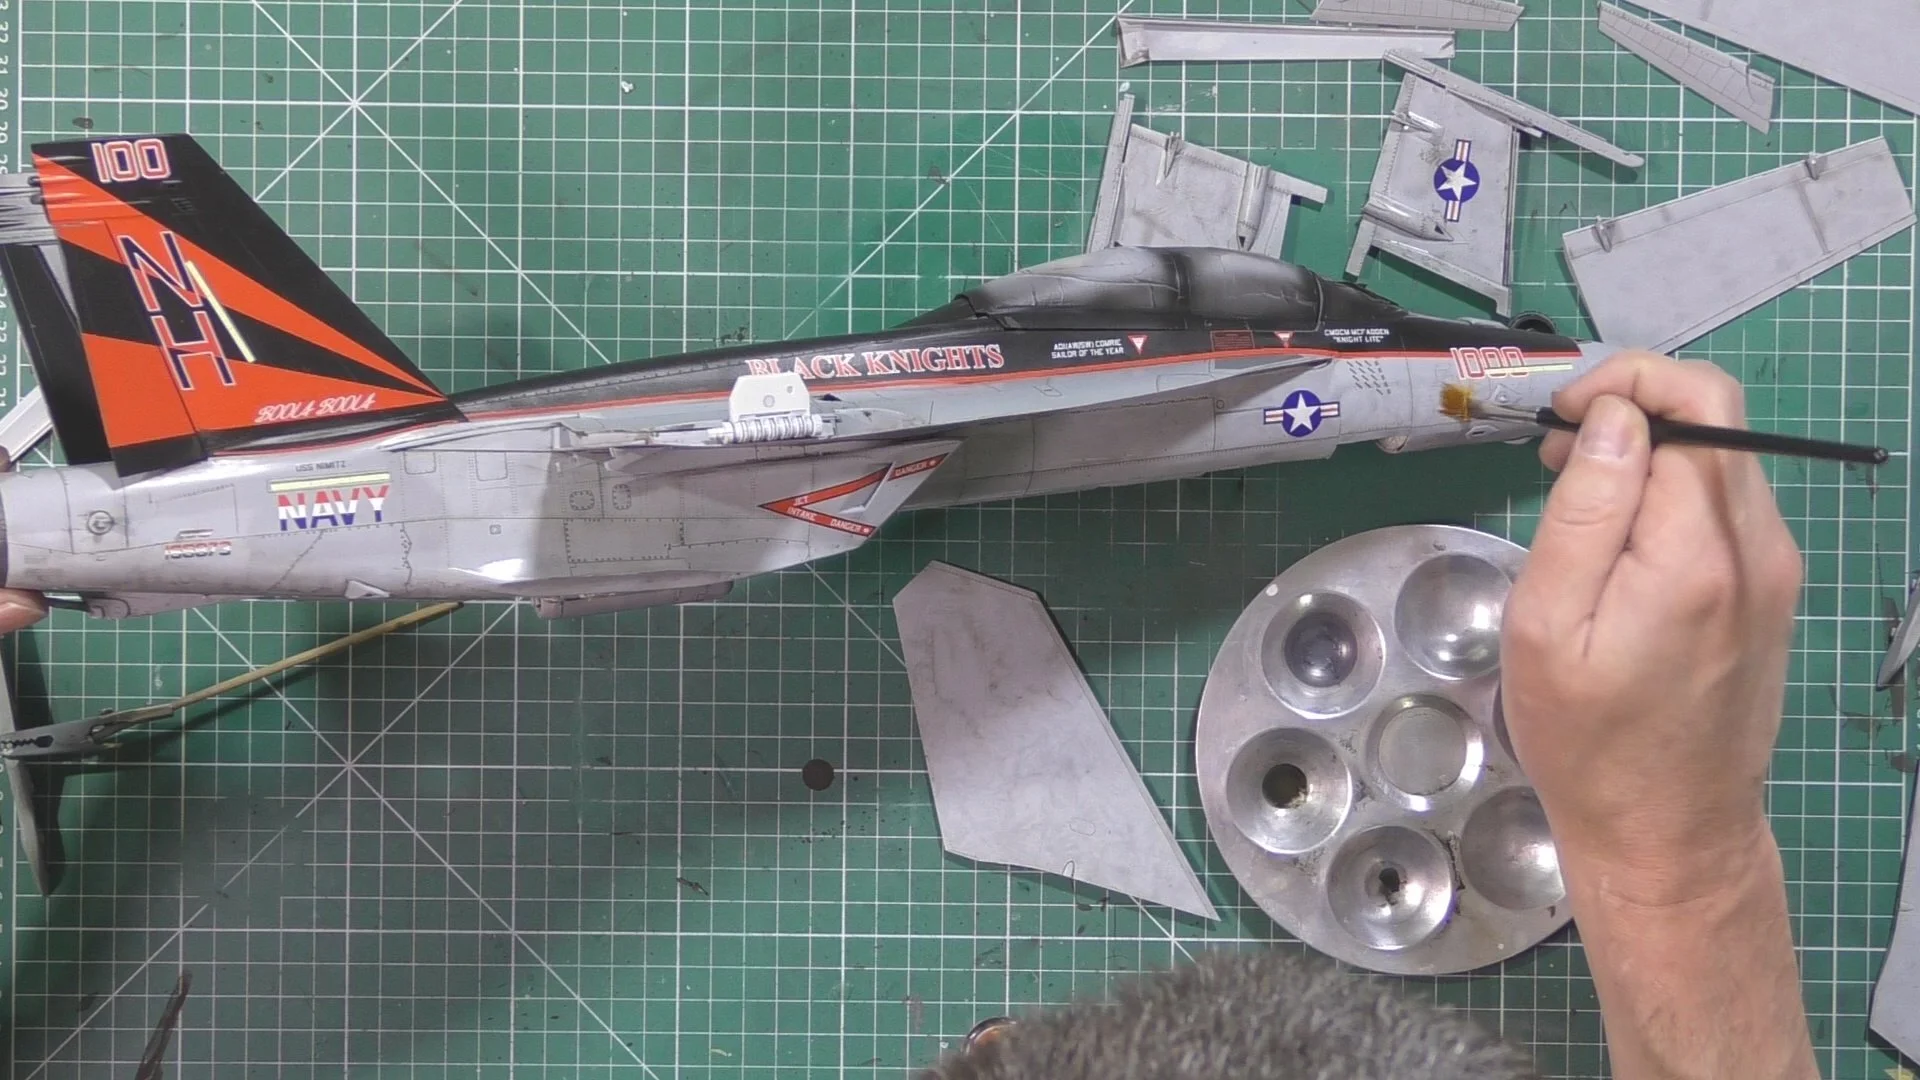
In Part nine, We put down the Black markings and the paint the engine nozzles with Mr Buffable paints dark iron and stainless and the under carriage by black basing the parts before the gloss white. Then it’s time to bring it to life with the decals.

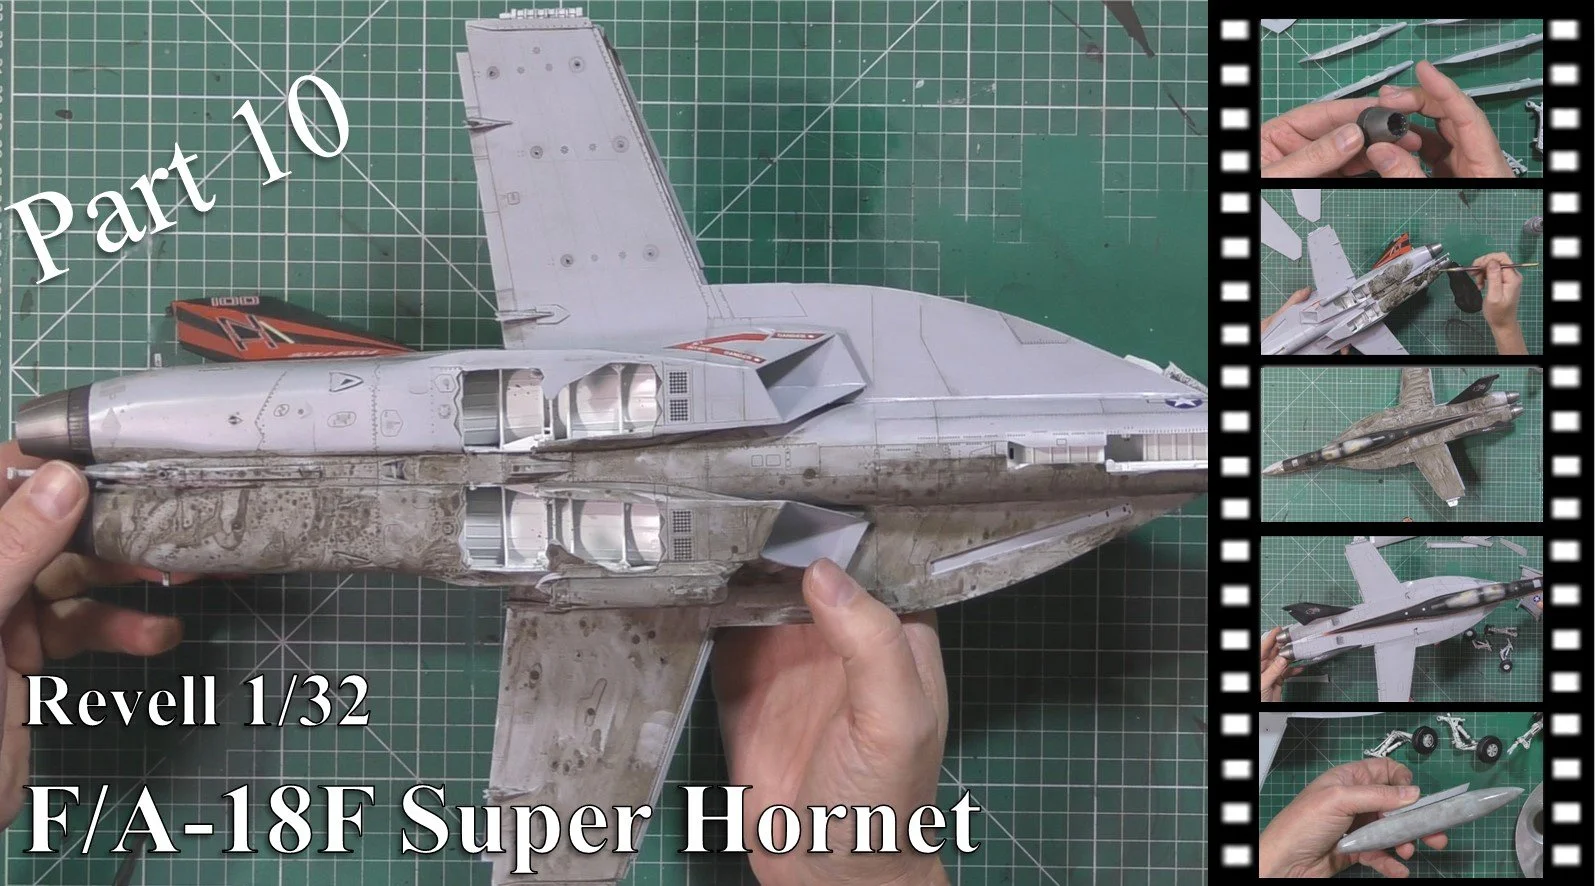
In part ten, with the decaling final finished to can start on the weathering after we first put down a coat of Tamiya XF-86 Flat coat. First is the Dark dirt wash FMW002 and left to totally dry and then remove. Then we use oils thinned with enamels to give a was on the gear and wheel wells and doors. Next using the oil wash we mottle the Drop tank.
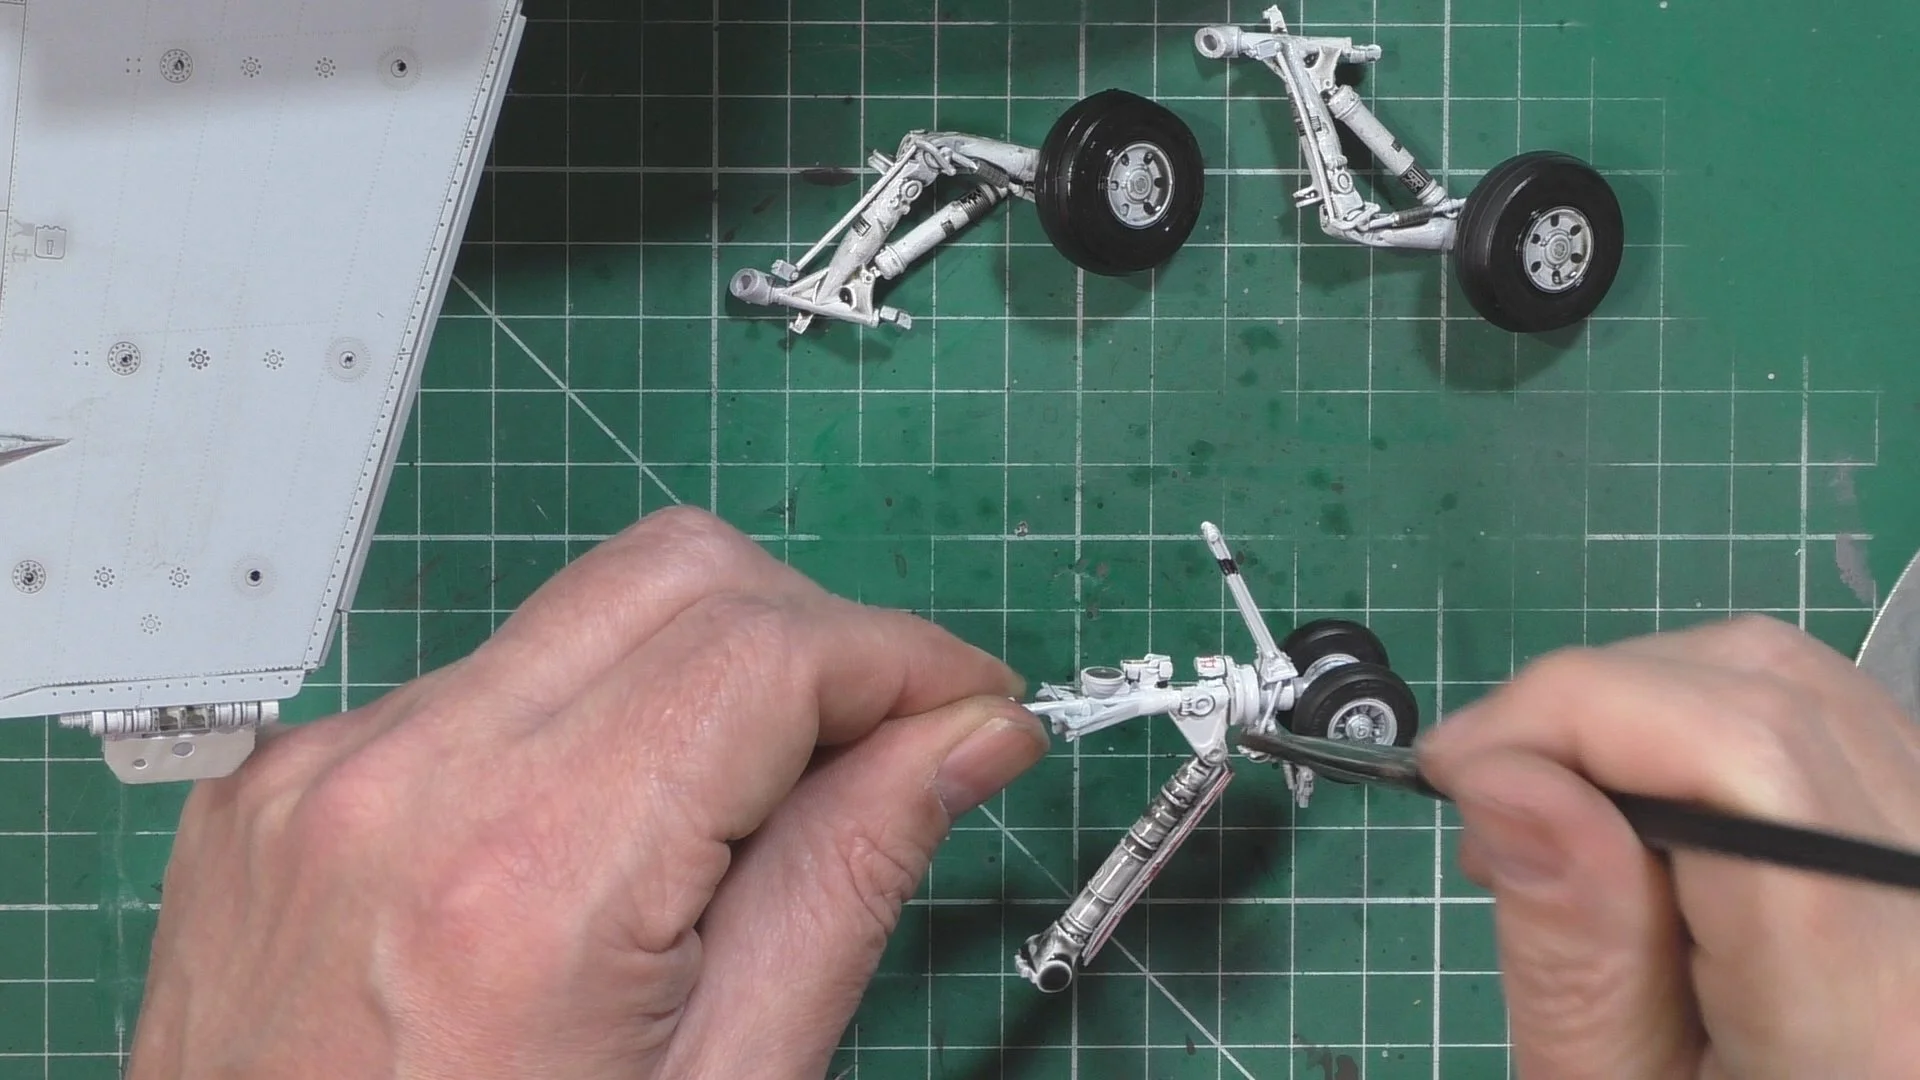
In Part eleven, we use the oil wash to weather and mottle the body of the aircraft the same way we did the fuel tank. We installed the gear and doors and the flaps and slats only to find the undercarriage fail so we install an acrylic rod to take the weight.

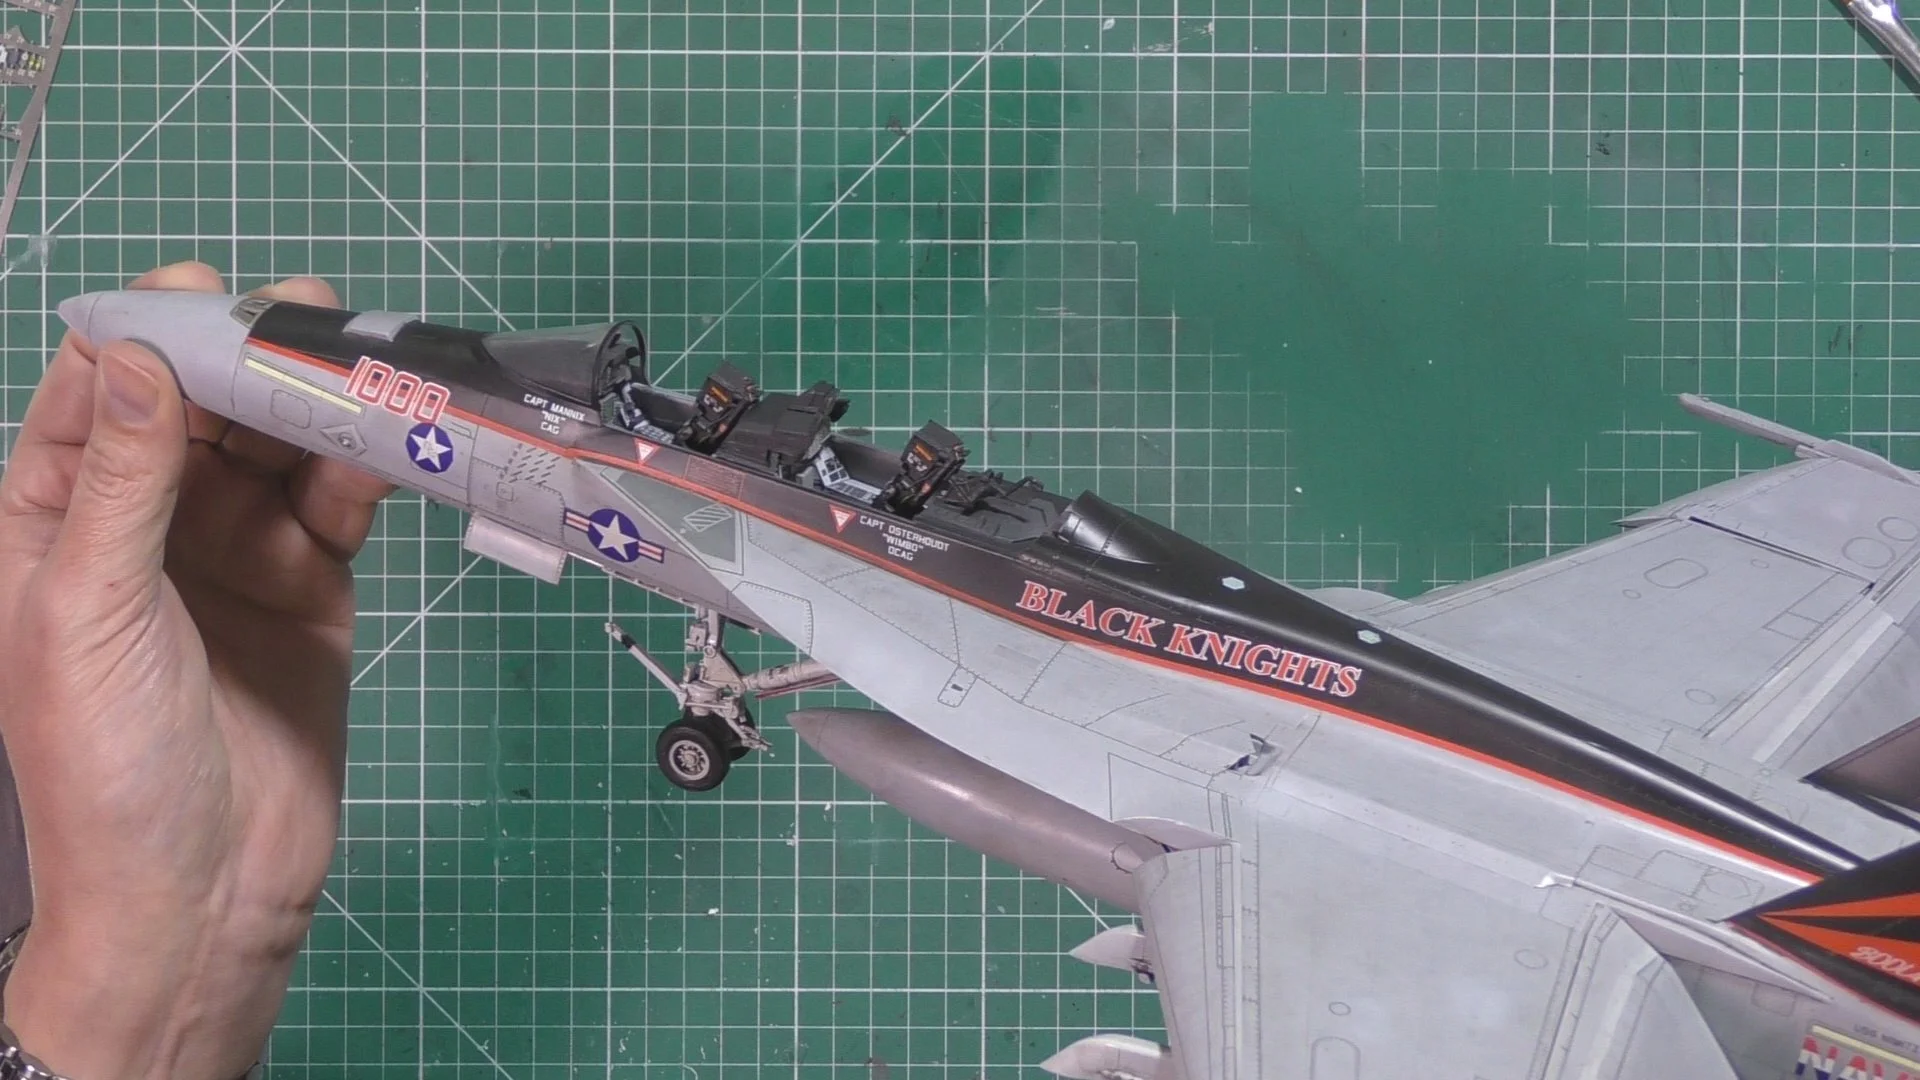
In the final part of this twelve-part video build, we finish the weathering with neat oils for the leaks and streaks and blend the oil wash mottling. Next, we install all the lights and aerials and then install the seat and attach the canopy, lastly, we add the boarding ladder and we are ready for the final reveal.