
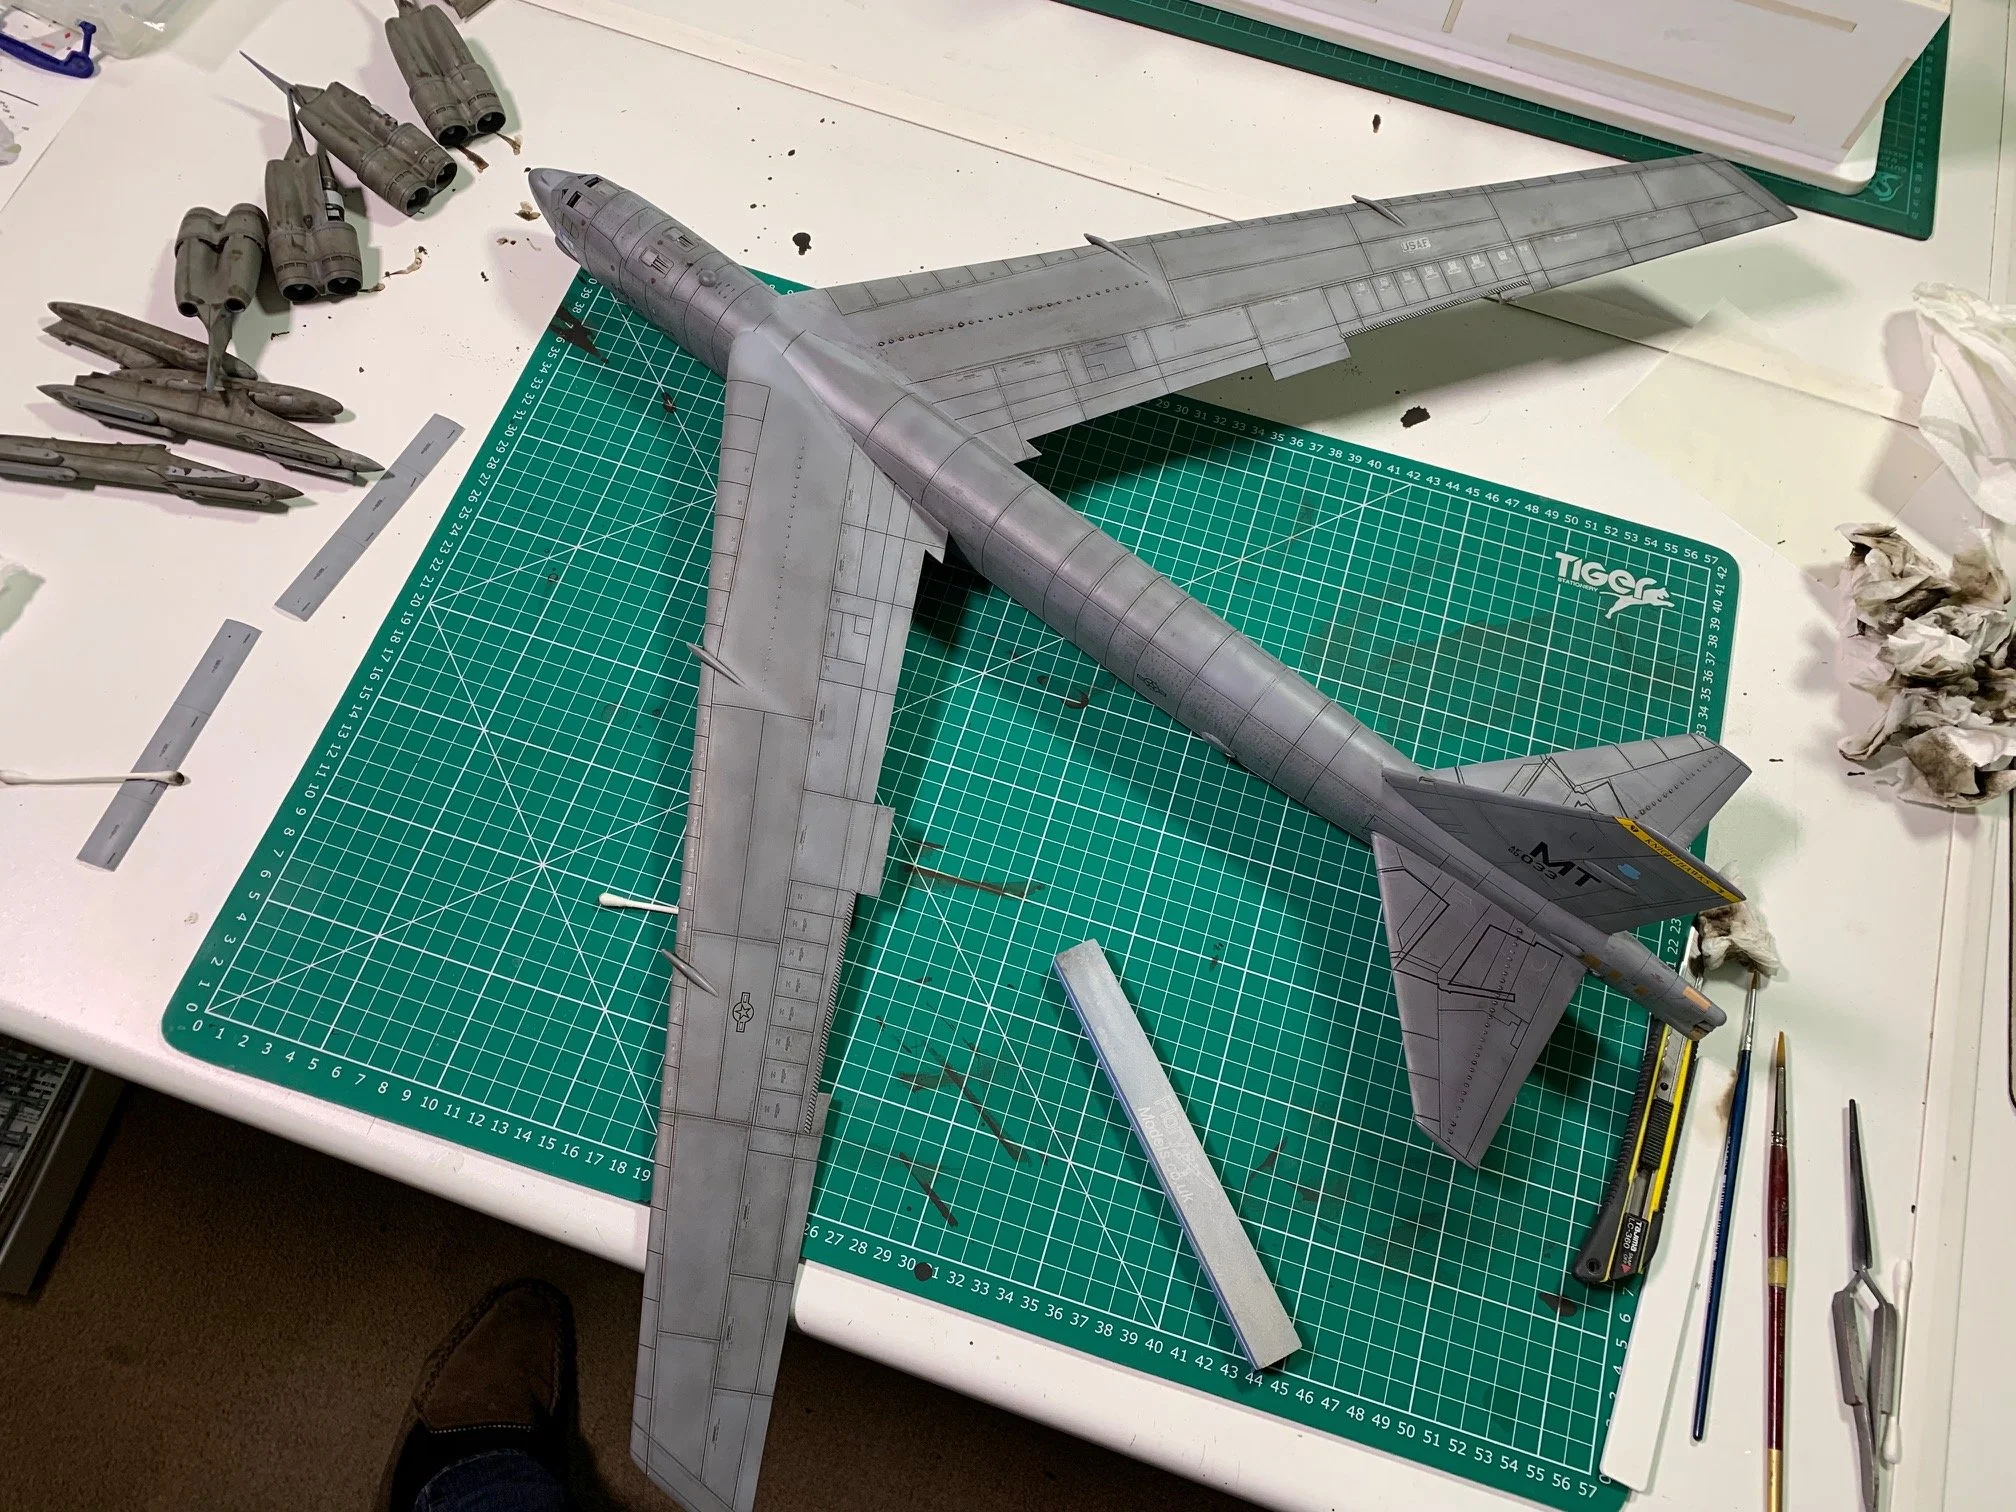
E The weathering wash is the easiest way to create the best-looking panel lines and weathering in no time, in three easy steps, 1. Brush or airbrush it on the model. 2. Let it dry (20mins) 3. Wipe it off with some damp kitchen roll. That’s it, that! It also does so much more. It can be used anywhere on a model from cockpits to wheel wells, from engines to weapons. It works just as well on tanks, ships and vehicles. The best bit is, if you don’t like it, just wash it off and start again. That simple!
The wash comes in nine colours: Black, Dark Dirt, Light, Brown, Sand, Rust, Grey, Grime and Dust. All the colours can be mixed into any shade or colour you need.
NL De weathering wash is de gemakkelijkste manier om in een handomdraai in drie eenvoudige stappen de mooiste panellines en verwering te creëren. 1. Smeer of airbrush de wash op het model. 2. Laat het drogen (20 minuten). 3. Veeg het af met wat vochtig keukenpapier. Dat is alles! Maar er kan nog veel meer mee gedaan worden. Zo kan de wash ook worden gebruikt op een model. Van cockpits tot wielkasten en motoren tot wapens. Tevens werkt het goed op tanks, schepen en voertuigen. En het mooiste van alles is: Bent u niet tevreden, dan spoelt u alles eraf en begint u gewoon opnieuw. Heel simpel!
De wash is verkrijgbaar in negen kleuren: Black, Dark Dirt, Light, Brown, Sand, Rust, Grey, Grime en Dust. Alle kleuren kunnen worden gemengd in elke gewenste tint of kleur.
D Die Verwitterungswäsche ist die einfachste Möglichkeit, in drei einfachen Schritten im Handumdrehen die schönsten Panel line und Verwitterungseffekte zu erzielen. 1. Tragen Sie die Wash auf dem Model auf, oder mit den Airbrush. 2. Lassen Sie es zwanzig Minuten lang trocknen. 3. Wischen Sie es mit einem feuchten Papiertuch ab. Das ist alles! Aber es lässt sich noch viel mehr damit machen. Die Wash kann auch auf einem Modell angewendet werden. Von Cockpits über Radkästen und von Motoren bis zu Waffen. Es funktioniert auch gut auf Panzern, Schiffen und Fahrzeugen. Und das Beste: Wenn Sie nicht zufrieden sind, spülen Sie alles ab und beginnen Sie einfach von vorne. Sehr einfach!
Die Wash ist in neun Farben erhältlich: Black, Dark Dirt, Light, Brown, Sand, Rust, Grey, Grime and Dust. Alle Farben können in jedem gewünschten Farbton oder jeder gewünschten Farbe gemischt werden.
E 1. Wash on the brush
It is recommended that you use the wash over a gloss layer when using the wash for the first time. When you have used the wash and are happy with the result, you can also use it on satin and even flat coats to give a more weathered look to your models. Make sure the surface you will be using it on is completely dry before applying the wash. If it is not, the wash might work into the paint itself and you will not be able to remove it.
NL Wash op de borstel
Het wordt aanbevolen om de wash over een glanzend oppervlak te gebruiken, wanneer deze voor de eerste keer wordt gebruikt. Wanneer u de wash heeft gebruikt en tevreden bent met het resultaat, weet dat de wash ook gebruikt kan worden op een halfmatte of zelfs matte lak om een meer verweerde look te geven. Zorg ervoor dat het oppervlak waarop u het gaat gebruiken volledig droog is, voordat u de wash aanbrengt. Als het oppervlak niet droog is, kan de wash in de verf trekken en kan deze niet verwijderd worden.
D Wash auf der Bürste
Es wird empfolen die Wash auf ein glänzenden Oberfläche zu verwenden. Sobald Sie die Wash verwendet haben und mit dem Ergebnis zufrieden sind, können Sie ihn auch auf einem halbmatten oder sogar matten lack verwenden, um ein verwitterteres Aussehen zu verleihen. Stellen Sie sicher dass die Oberfläche, auf der Sie es verwenden möchten, vollständig trocken ist, bevor Sie die Wash auftragen. Wenn die Oberfläche nicht trocken ist, kann die Wash in die Farbe eindringen und nicht mehr entfernt werden.

E 2. Let it dry
E Once the wash is on the model allow it to dry. Depending on the temperature of the area this will take around 20 minutes. You could speed things up by using a hair dryer on a cool setting. The wash can be left on as long as you like, as this will not affect the paintwork. Tests have shown that wash being left on for 3 months, still came off the model with no problem.
NL Laat het drogen
Zodra het model is voorzien van de wash, laat u het drogen. Afhankelijk van de omgevingstemperatuur duurt dit ongeveer 20 minuten. Dit kan versend worden door een haardroger (föhn) op de koele stand te gebruiken. U kunt de wash laten zitten zolang u wilt. Aangezien dit het schilderwerk niet aantast. Testen hebben uitgewezen dat de wash na 3 maanden op een model, er zonder problemen afgehaald kon worden.
D Lassen Sie es trocknen
Sobald das Modell mit die Wash versehen wurde, lassen Sie es trocknen. Je nach Umgebungstemperatur dauert dies etwa 20 Minuten. Dies kan beschleunigt werden durch die Verwendung eines Haartrockners auf der kühlen Stufe. Sie können die Wash so lange stehen lassen wie Sie möchten. Die Lackierung wird dadurch nicht angegriffen. Tests haben gezeigt dass die Wash nach 3 Montane auf einem Modell ohne Probleme entfernt werden konnte.
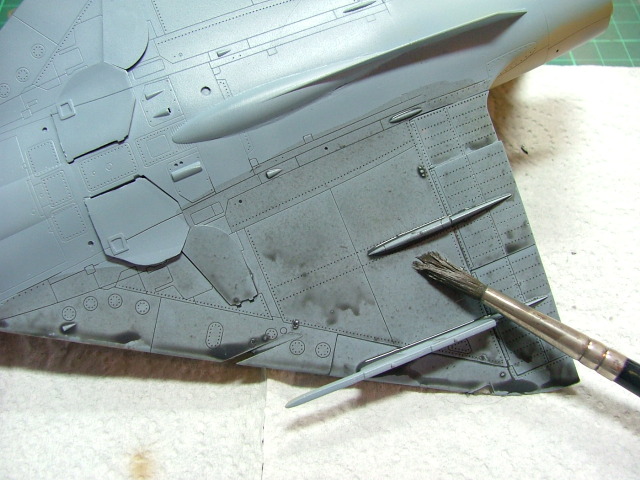
E 3. Wipe it off
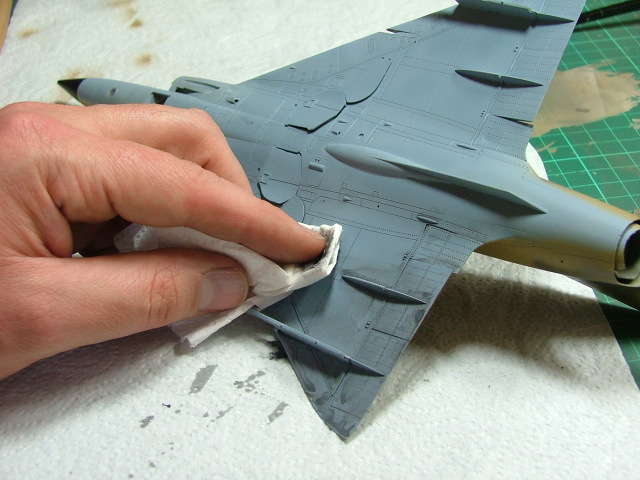
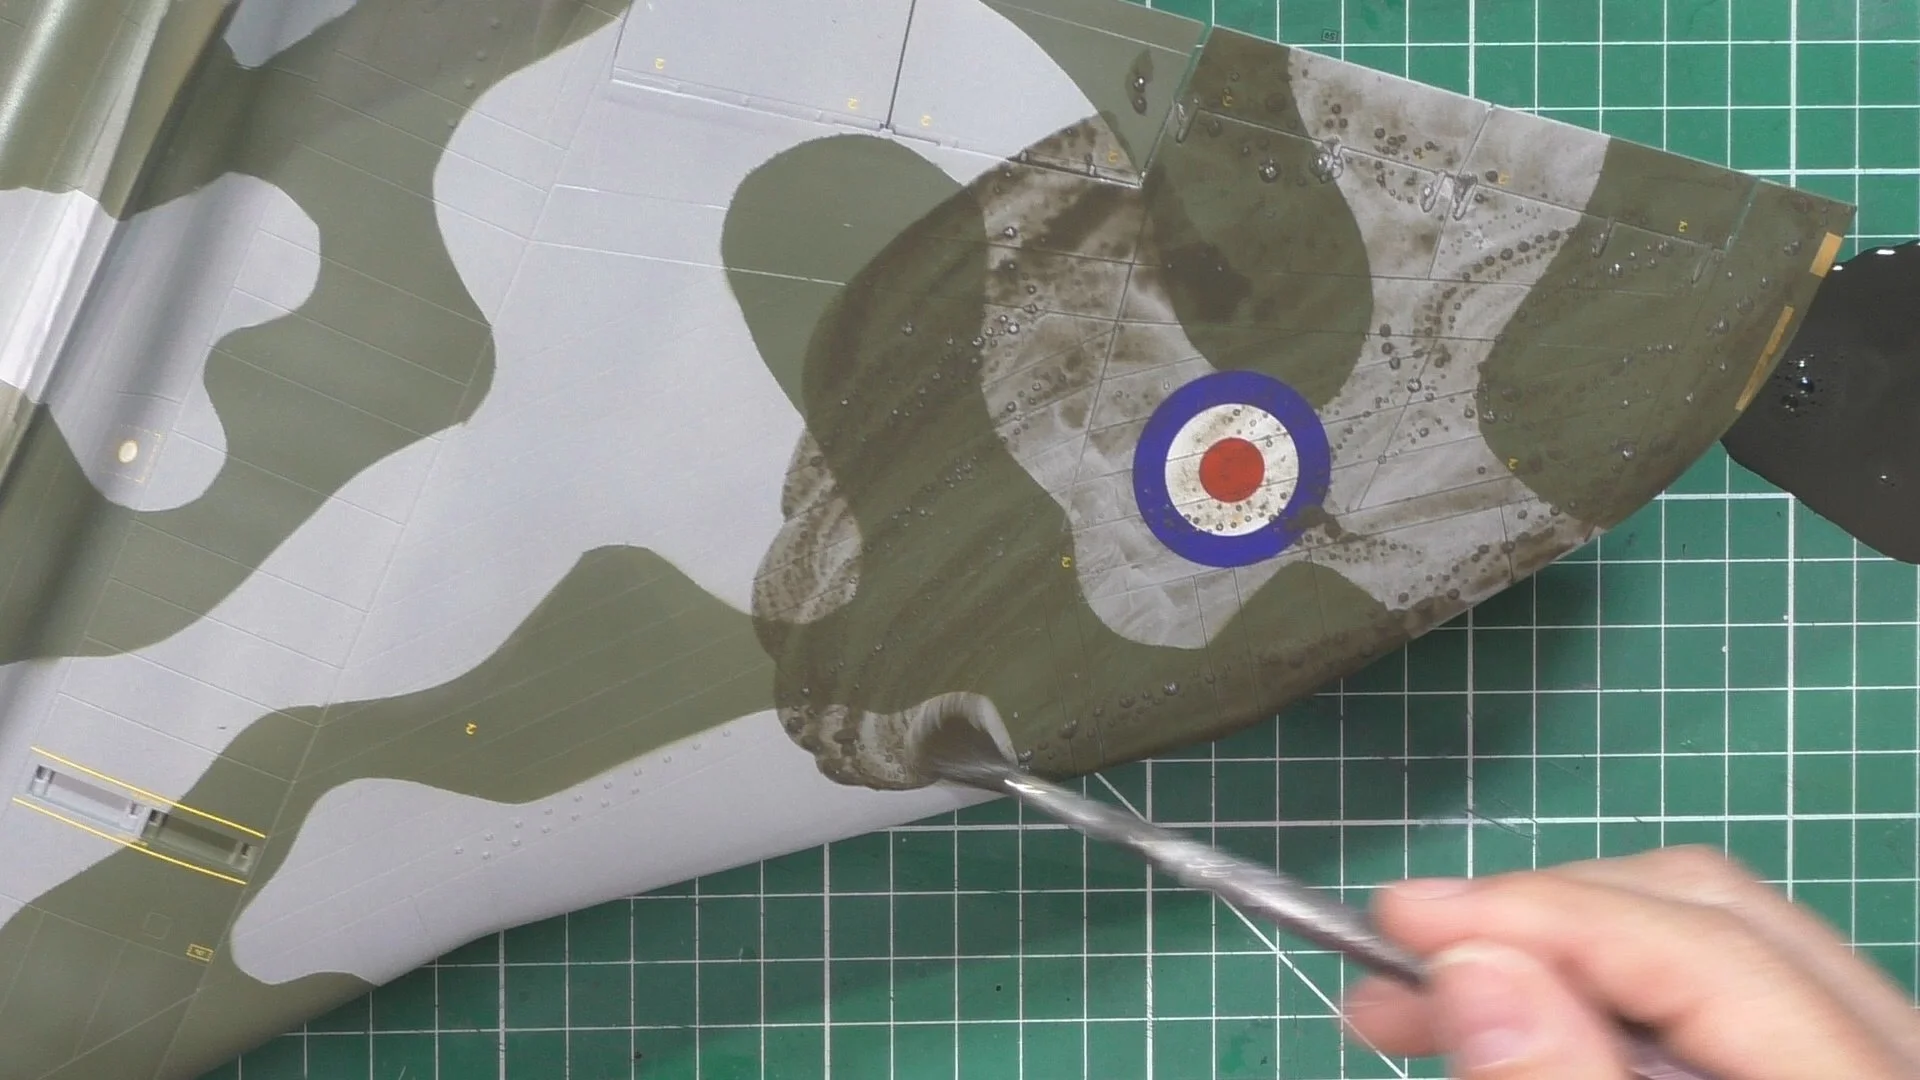
When the wash is totally dry you can remove the wash with a damp cloth or even better with some good quality kitchen roll. Use some spittle to moisten, then start wiping off the wash with circular movements. If you use circular movements you will work the wash into any panel lines that don’t have any wash in them. Depending on how much you moisten the cloth, it will determine how much of the wash will be removed. If you just want the panel line to have wash in it, then a moist cloth is fine. But if you are after a little more weathered look, use a dry cloth and rub lightly. So it will leave more of the wash behind. This will give the model a more dirty look. If you are happy with the result, make a final wipe around in the direction of the airflow. Remember: any wash left on after a clear coat is added, will show up a lot more as the wash will darken up.
NL Veeg het weg
Als de wash volledig droog is, kan deze verwijderd worden met een vochtige doek.. Of nog beter, met een goede keukenrol. U kunt de keukenrol vochtig maken met wat speeksel en vervolgens met cirkelende bewegingen de wash wegvegen. Door cirkelende bewegingen te maken zorgt u ervoor dat de wash in alle panel lines komt waar nog geen wash zit. Afhankelijk van hoeveel de doek bevochtigt wordt, bepaalt deze hoeveel wash wordt verwijderd. Als alleen de panel lines voorzien moeten worden van de wash, dan is een vochtige doek prima. Maar voor een meer verweerde look, kan een droge doek gebruikt worden. Wrijf hiermee lichtjes, zodat er meer wash achterblijft. Dit geeft het model een meer verweerde en vuile uitstraling. Als u tevreden bent met het resultaat, veeg dan nog een laatste keer met een cirkelende beweging in de richting van de luchtstroom. Vergeet niet: eventuele wash die achterblijft nadat een blanke lak is aangebracht, zal veel meer zichtbaar zijn, omdat de wash donkerder wordt.
D Wischen Sie es ab
Wenn die Wash volständig getrocknet ist, kan Sie mit einem feuchten Tuch entfernt werden. Oder noch besser, mit einer guten Küchenrolle. Du kannst die Küchenrolle mit etwas Speichel anfeuchten und dann mit kreisenden Bewegungen die Wash wegwischen. Durch die kreisenden Bewegungen stellen Sie sicher dass die Wash in alle Panel lines gelangt, die noch keine Wash enthalten. Je nachdem, wie stark das Tuch angefeuchtet ist, wird die Menge der entfernten Wash bestimmt. Sollen nur die Panel Lines mit Wash versehen werden, genügt ein feuchtes Tuch. Für ein verwittertes Aussehen kann jedoch ein trockenes Tuch verwendet werden. Reiben Sie leicht damit, um mehr Wash hinter zu lassen. Dies verleiht dem Modell ein eher verwittertes und schmutziges Aussehen. Wenn Sie mit dem Ergebnis zufrieden sind, wischen Sie ein letztes Mal mit einer kreiförmigen Bewegung in der Richtung des Luftstroms. Denken Sie daran dass die nach dem Auftragen des Klarlacks zurückbleibende Farbe viel deutlicher sichtbar wird, da sie dunkler wird.
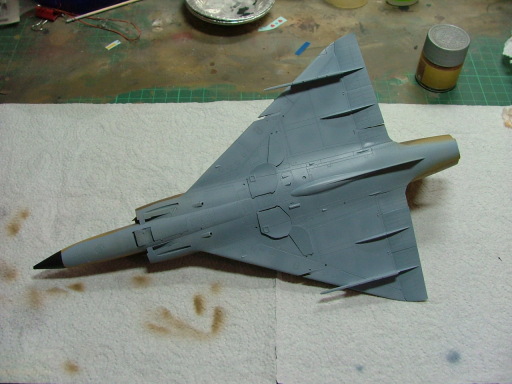
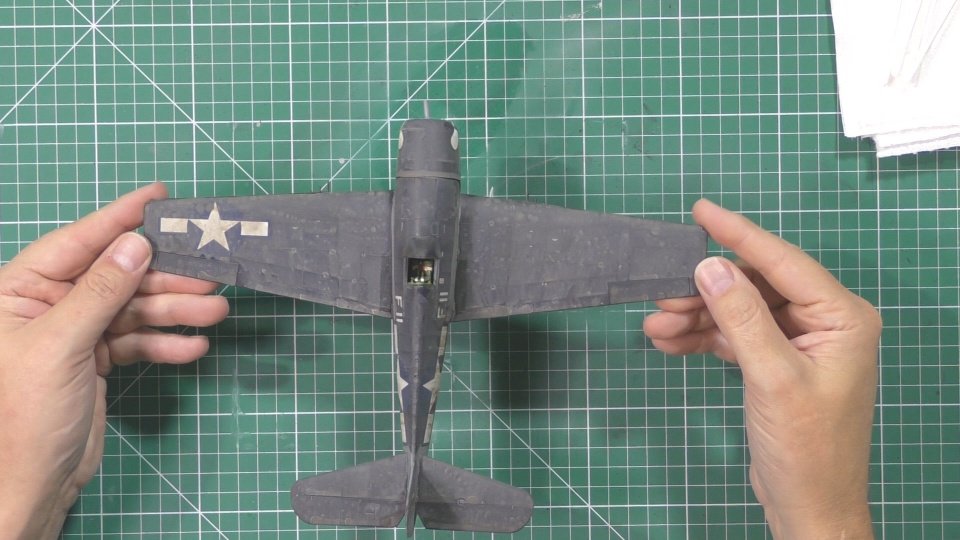
A Before and after.
Before
After


Frequently Asked Questions
1. Q. How long is the shelf life of the wash?
A. The wash will last forever and even if it dries out completely you just have to add warm water and it’s fine.
2. Q. What is it made of?
A. It is clay-based with natural colouring pigments and a few things to help the wash to be applied and removed from the model. There are no man-made chemicals in the wash
3. Q. Can I use the wash on enamels or acrylics?
A. The wash is safe to use on any type of paint.
4. Q. What if I don’t like the colour of the wash?
A. Simply wash it off with warm water and start again or overcoat it with a different colour. All the washes can be mixed.
5. Q. Can I mix the washes to make a new colour?
A. Yes you can mix them.
6. Q. It will not come off my model, it’s welded on.
A. The paint or clear coat has to be completely dry or the wash will stick to it. It’s best to leave it drying for 24 hours before using the wash.
7. Q. How long can I leave the wash on before wiping it off?
A. You can leave it on for over three months and it will still come off as if it’s only been there for a few hours.
8. Q. Does the model need to be gloss-coated before using your washes?
A. No you can use it with a flat coat or gloss. That said your paintwork does need to be smooth and not like sandpaper. I would recommend a satin or gloss coat for the first time you use it.
9. Q. Can I brush paint a clear coat over the wash or does it have to be airbrushed?
A. Once all the excess wash has been removed you can brush over the wash with a normal brush or airbrush to seal the wash in. The wash will darken slightly when covered.
10. Q. The wash has separated and is gritty.
A. The only other thing we have found out is that if you use a brush that has thinners (IPA) on it and pop it in the bottle it can cause the wash to clump up and go gritty.
A fix is to pour it into a jug, add a drop of dishwater soap and give it a good mix with a big brush, Let it stand for a few minutes and then pour it back into the bottle holding back the bubbles.
11. Q. There are lots of bubbles in the bottle. Is that normal?
A. Yes, this is normal and this will help the wash break the surface tension and flow better.
If you give the bottle a good shake to mix the clay and pigment and then pour it into a small dish, the bubbles will stay in the bottle and you have a smooth wash to work with.
We don’t recommend putting a brush directly in the bottle as this can contaminate the wash with residue that may have dried on the brush. This can turn the wash into gritty as the clay is attracted to the particles and clumps up.