URAL-4320
Scale: 1/35
Manufacturer: ZVEZDA
Parts used: Out Of The Box
Main paints used: Tamiya and AK Real Colors
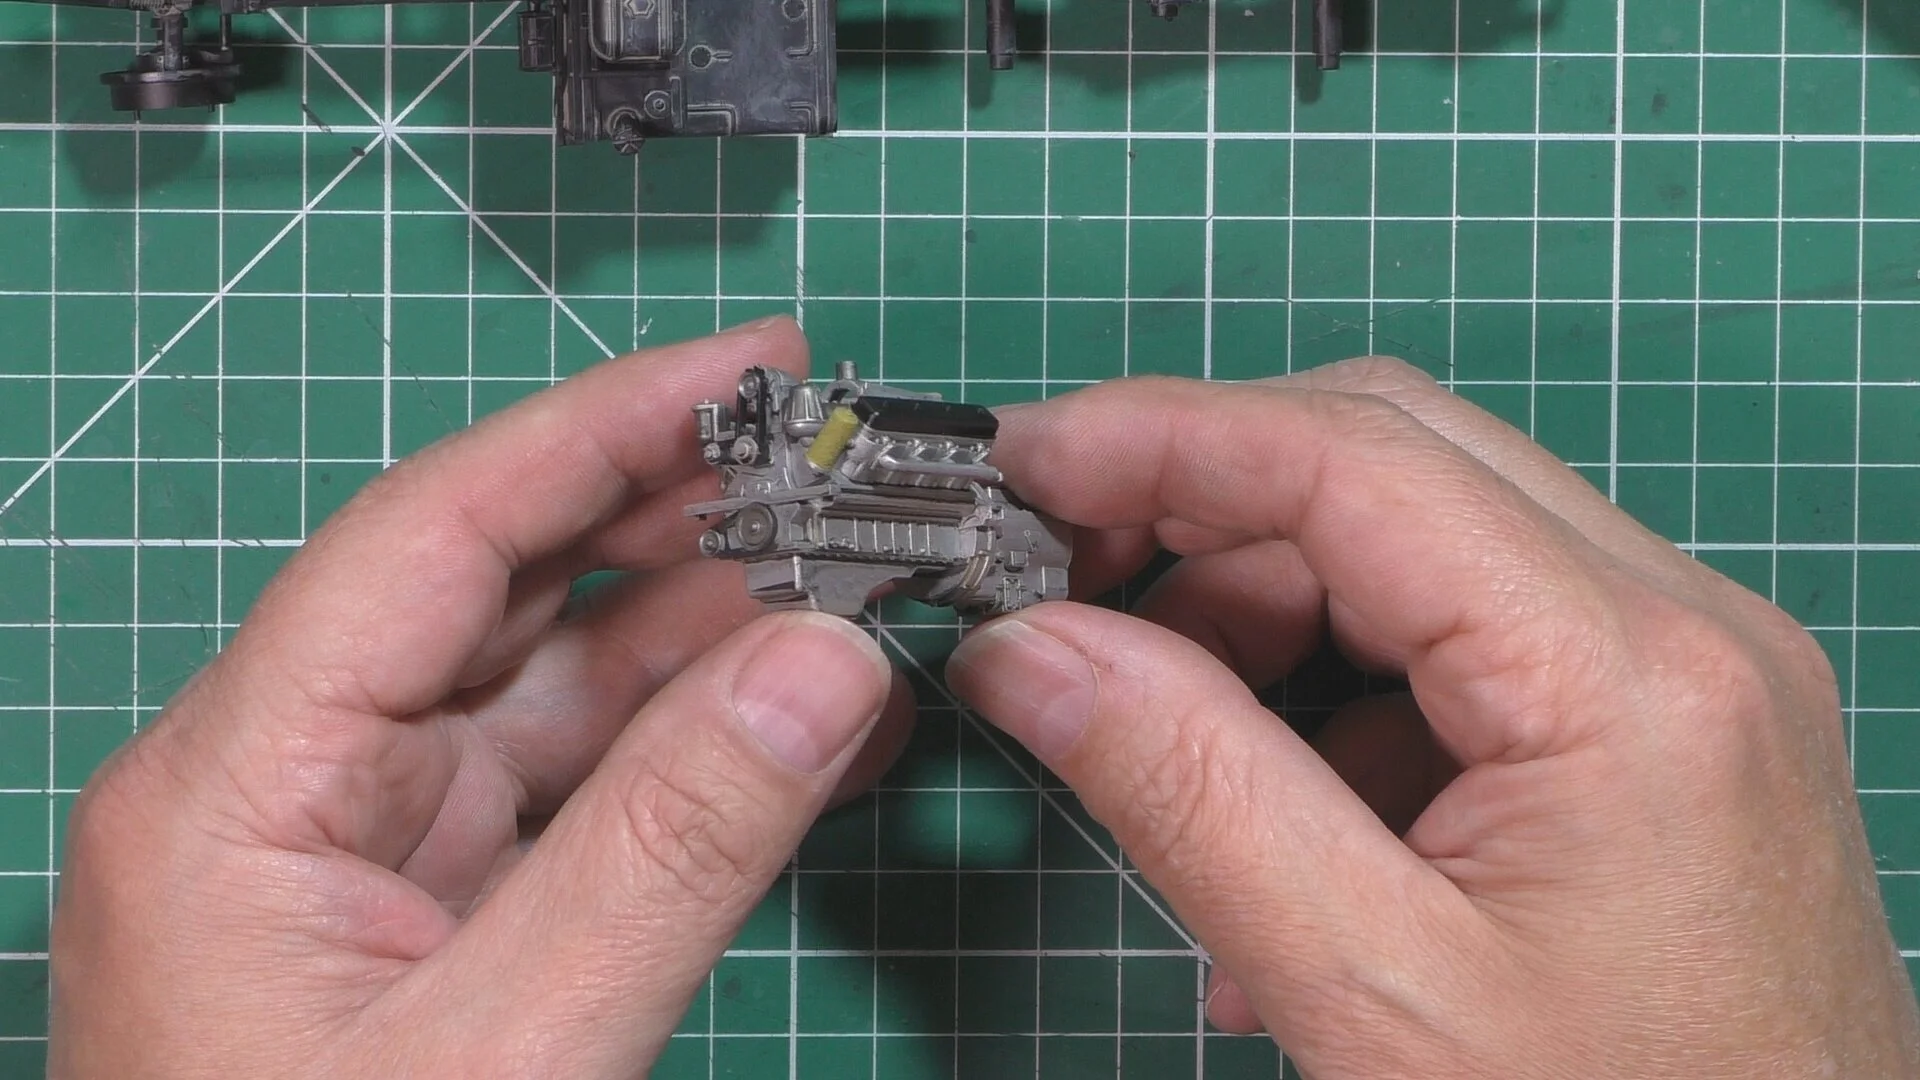
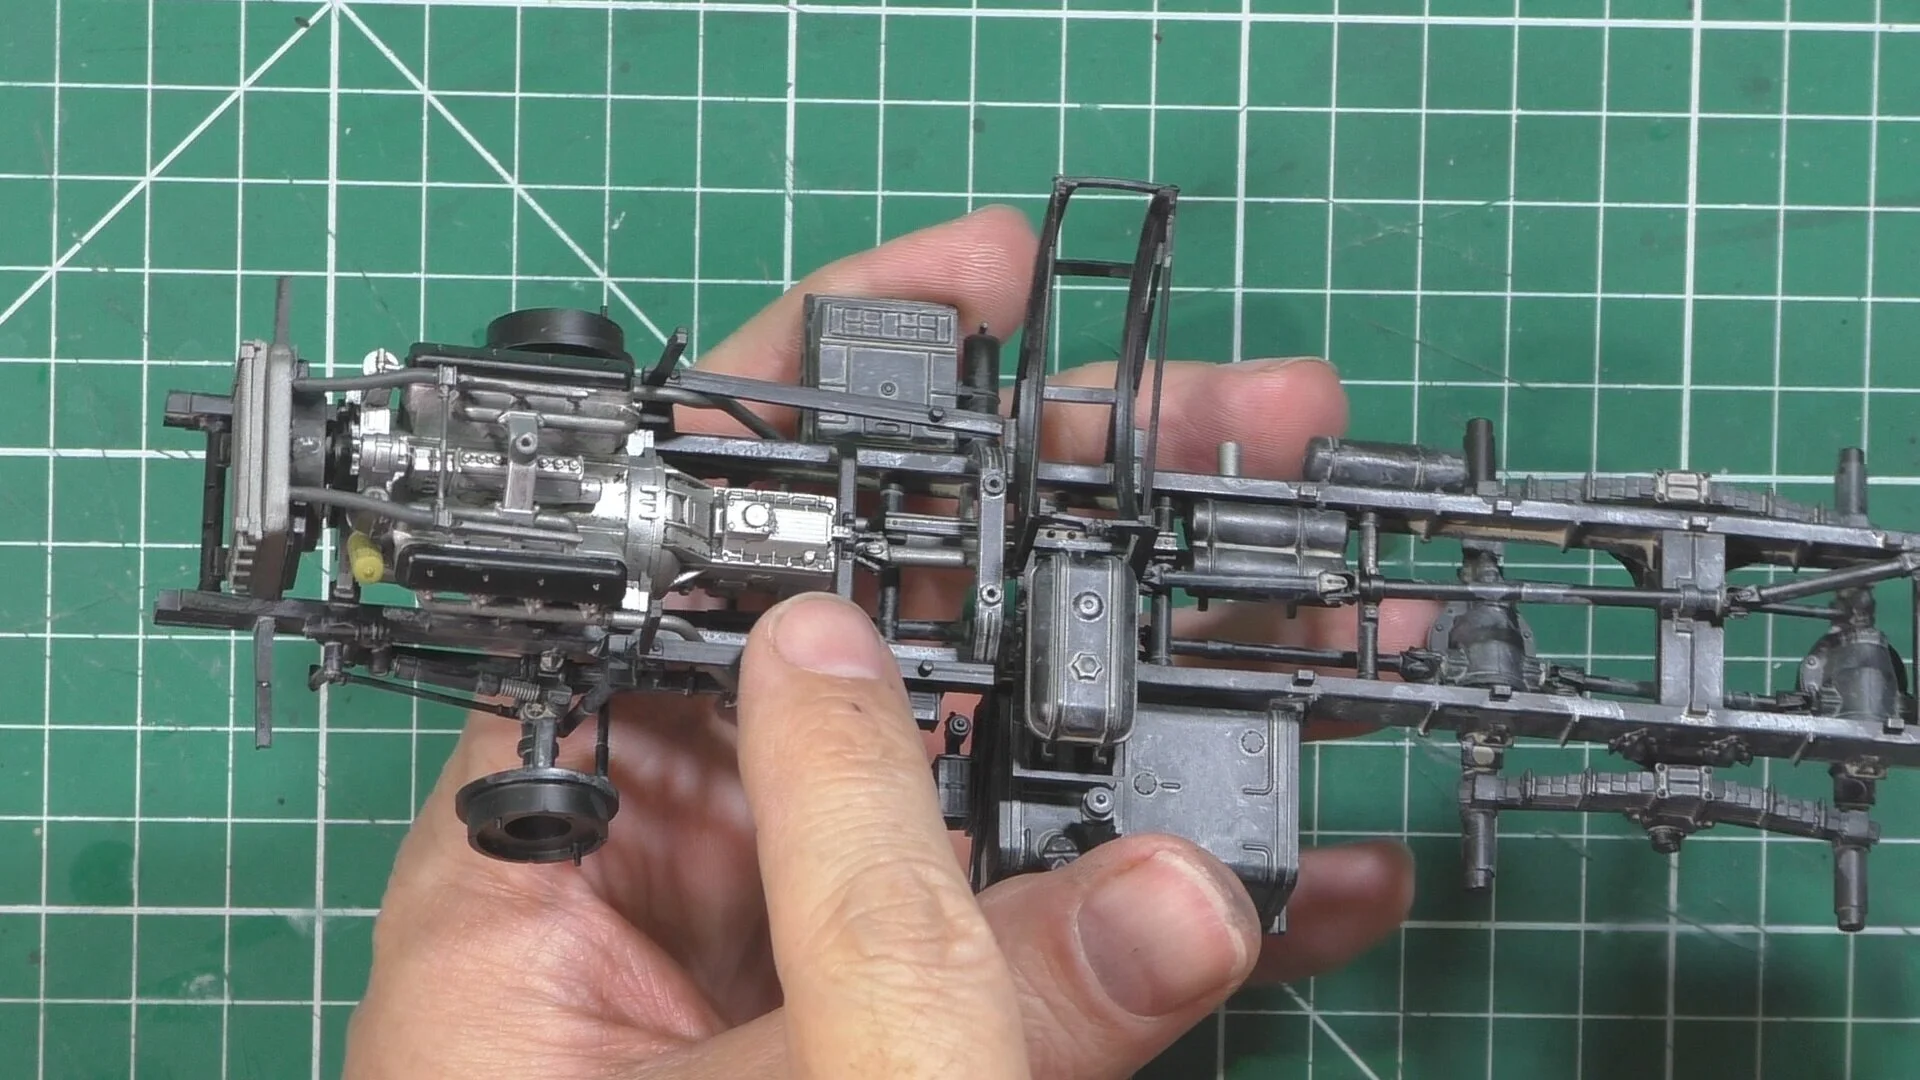
In part one, we work on the construction of the engine and the chassis, Lots of great detail from the Zvezda kit, and with good clean-up of the parts everything is a great fit and with very handy locating pins keys for an easy install.
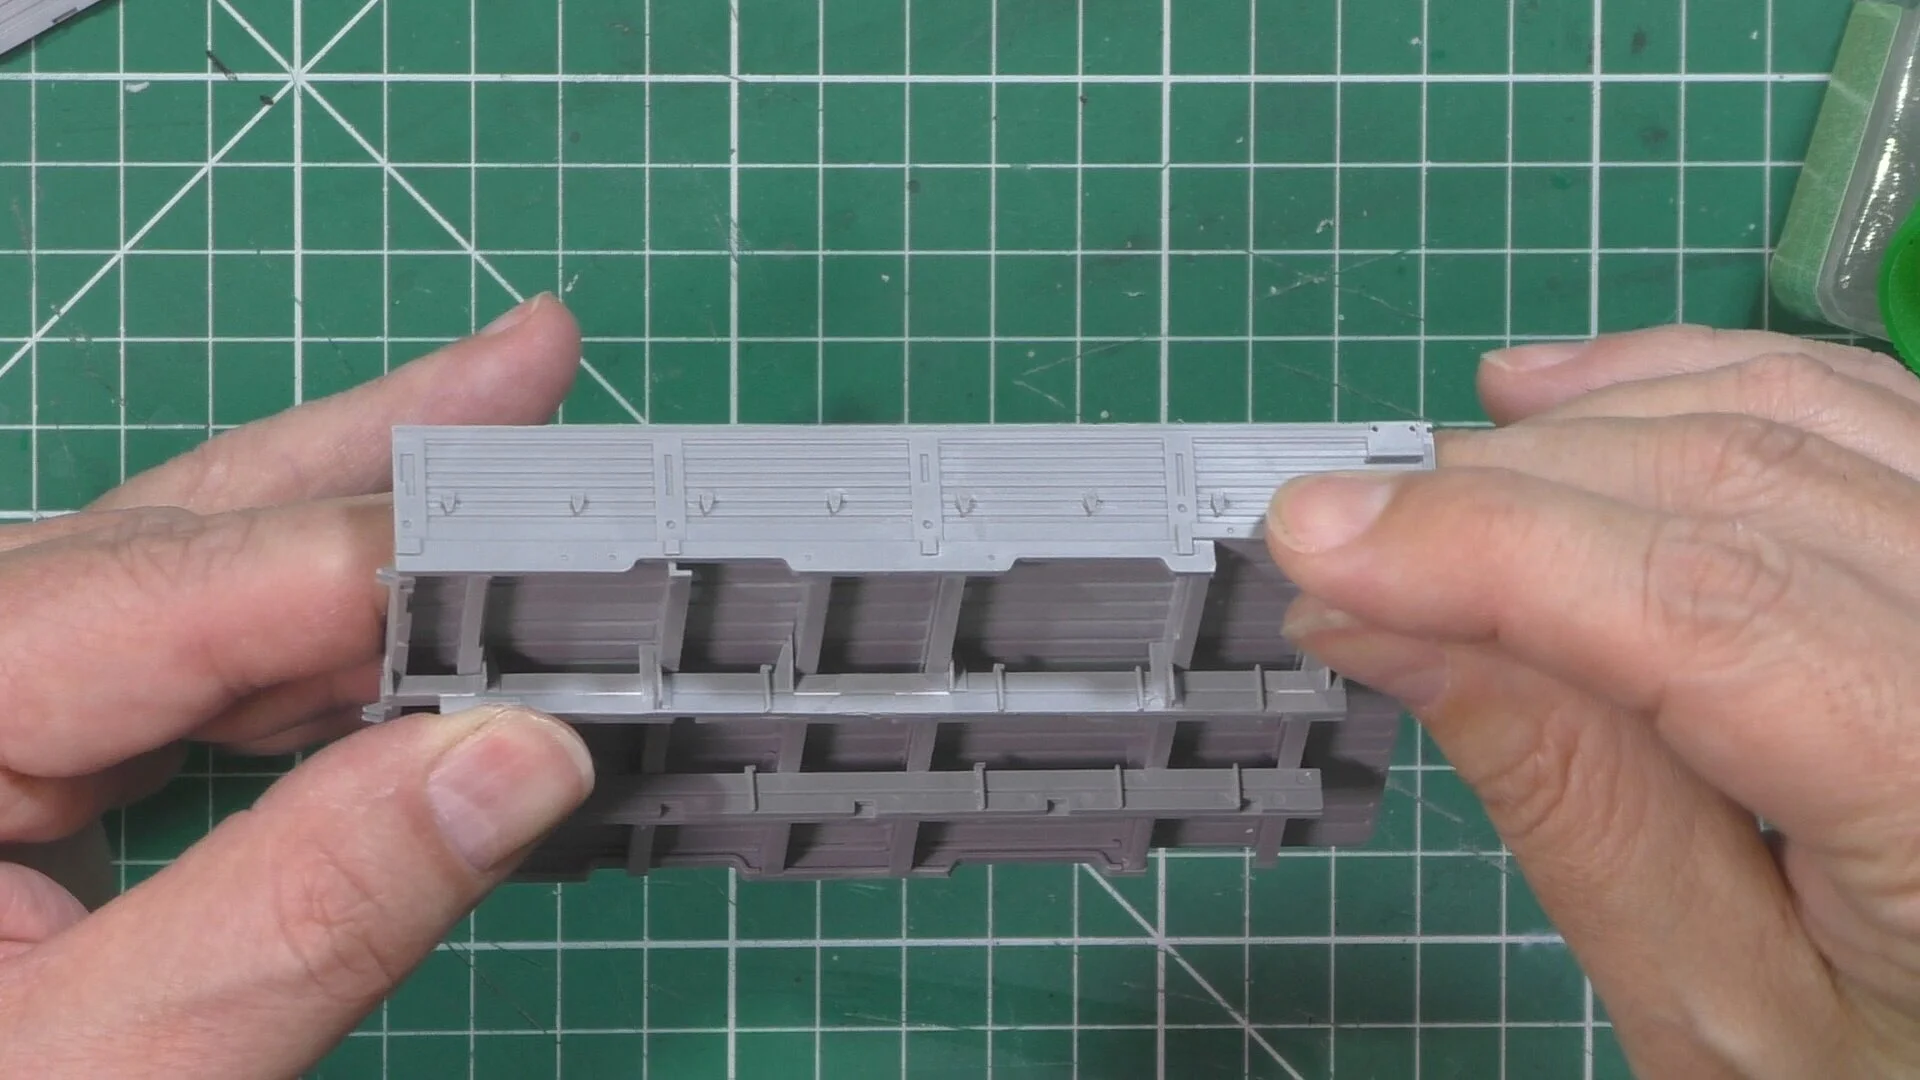
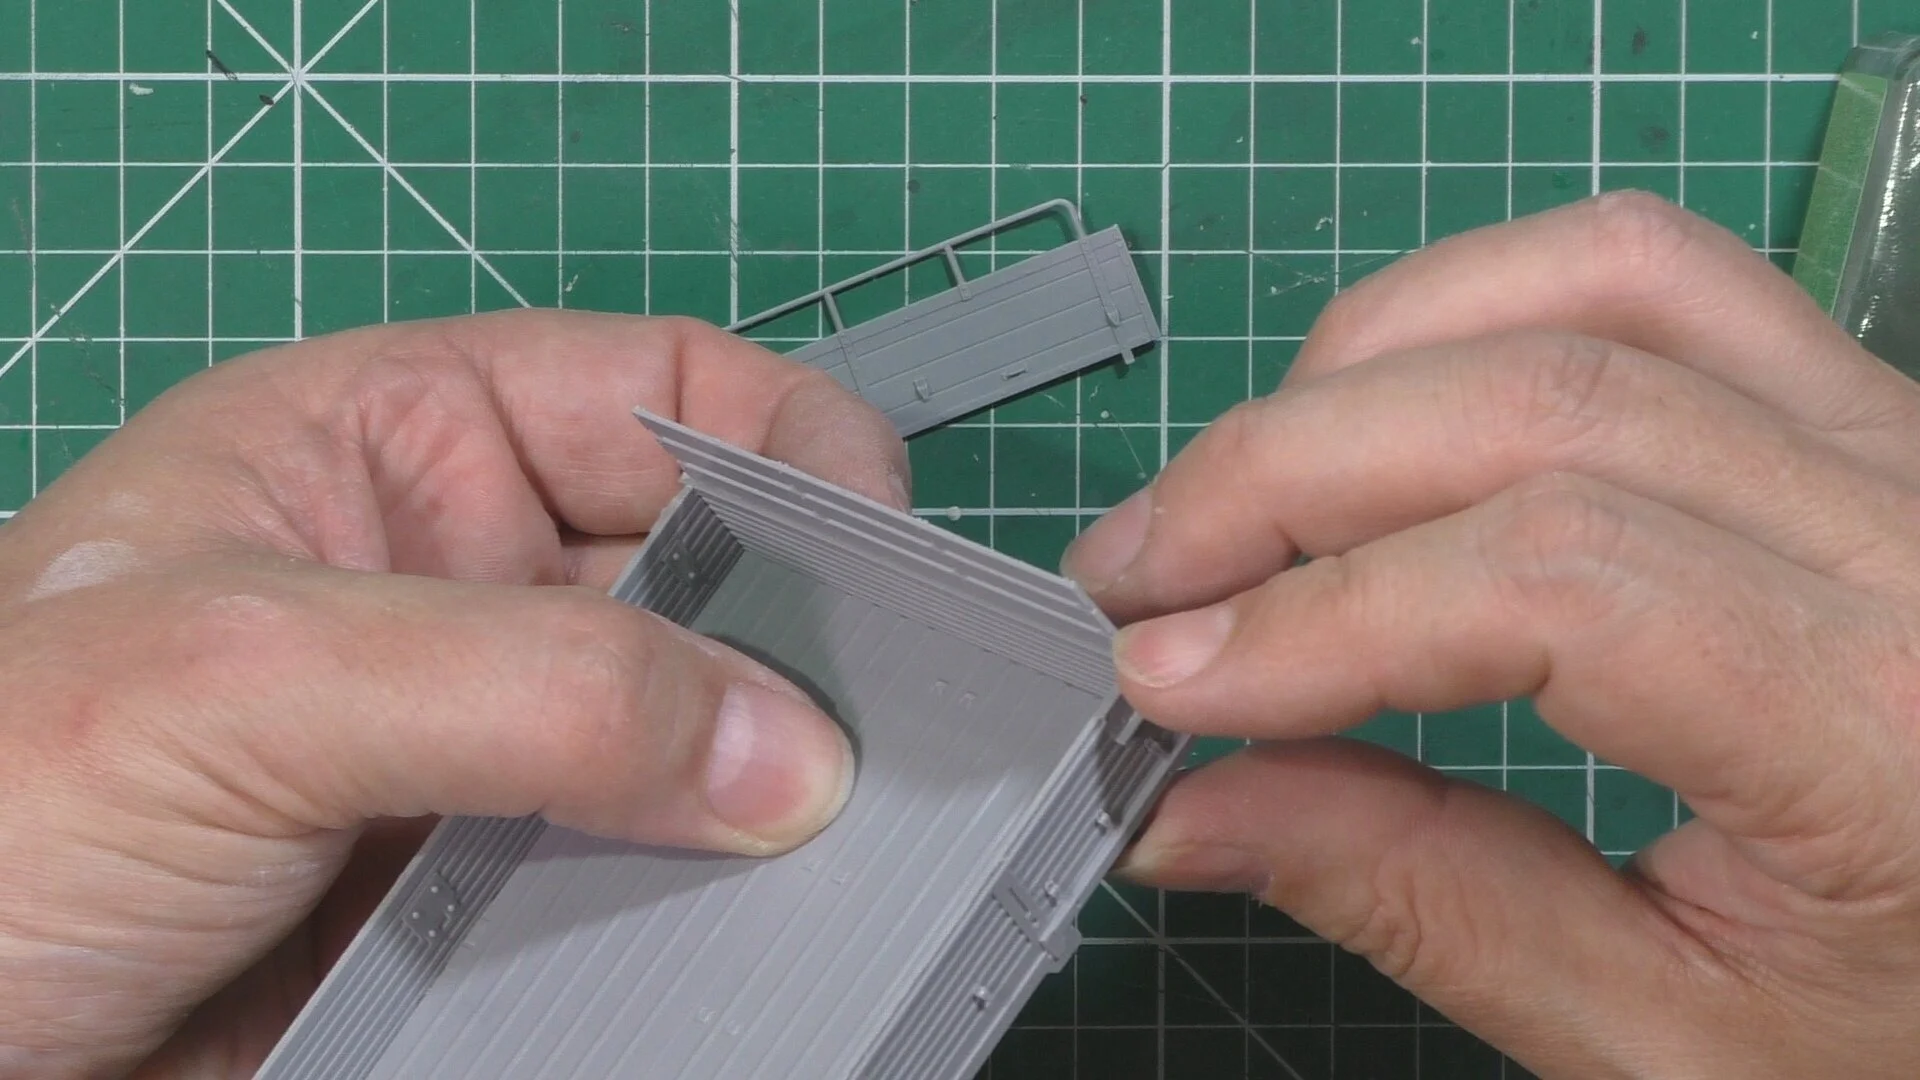
In Part two, we carry on with the chassis but start to add the fuel tank and air tanks as well as the drive system and running gear. Next we install the spare tire rack and start work on the cargo deck.
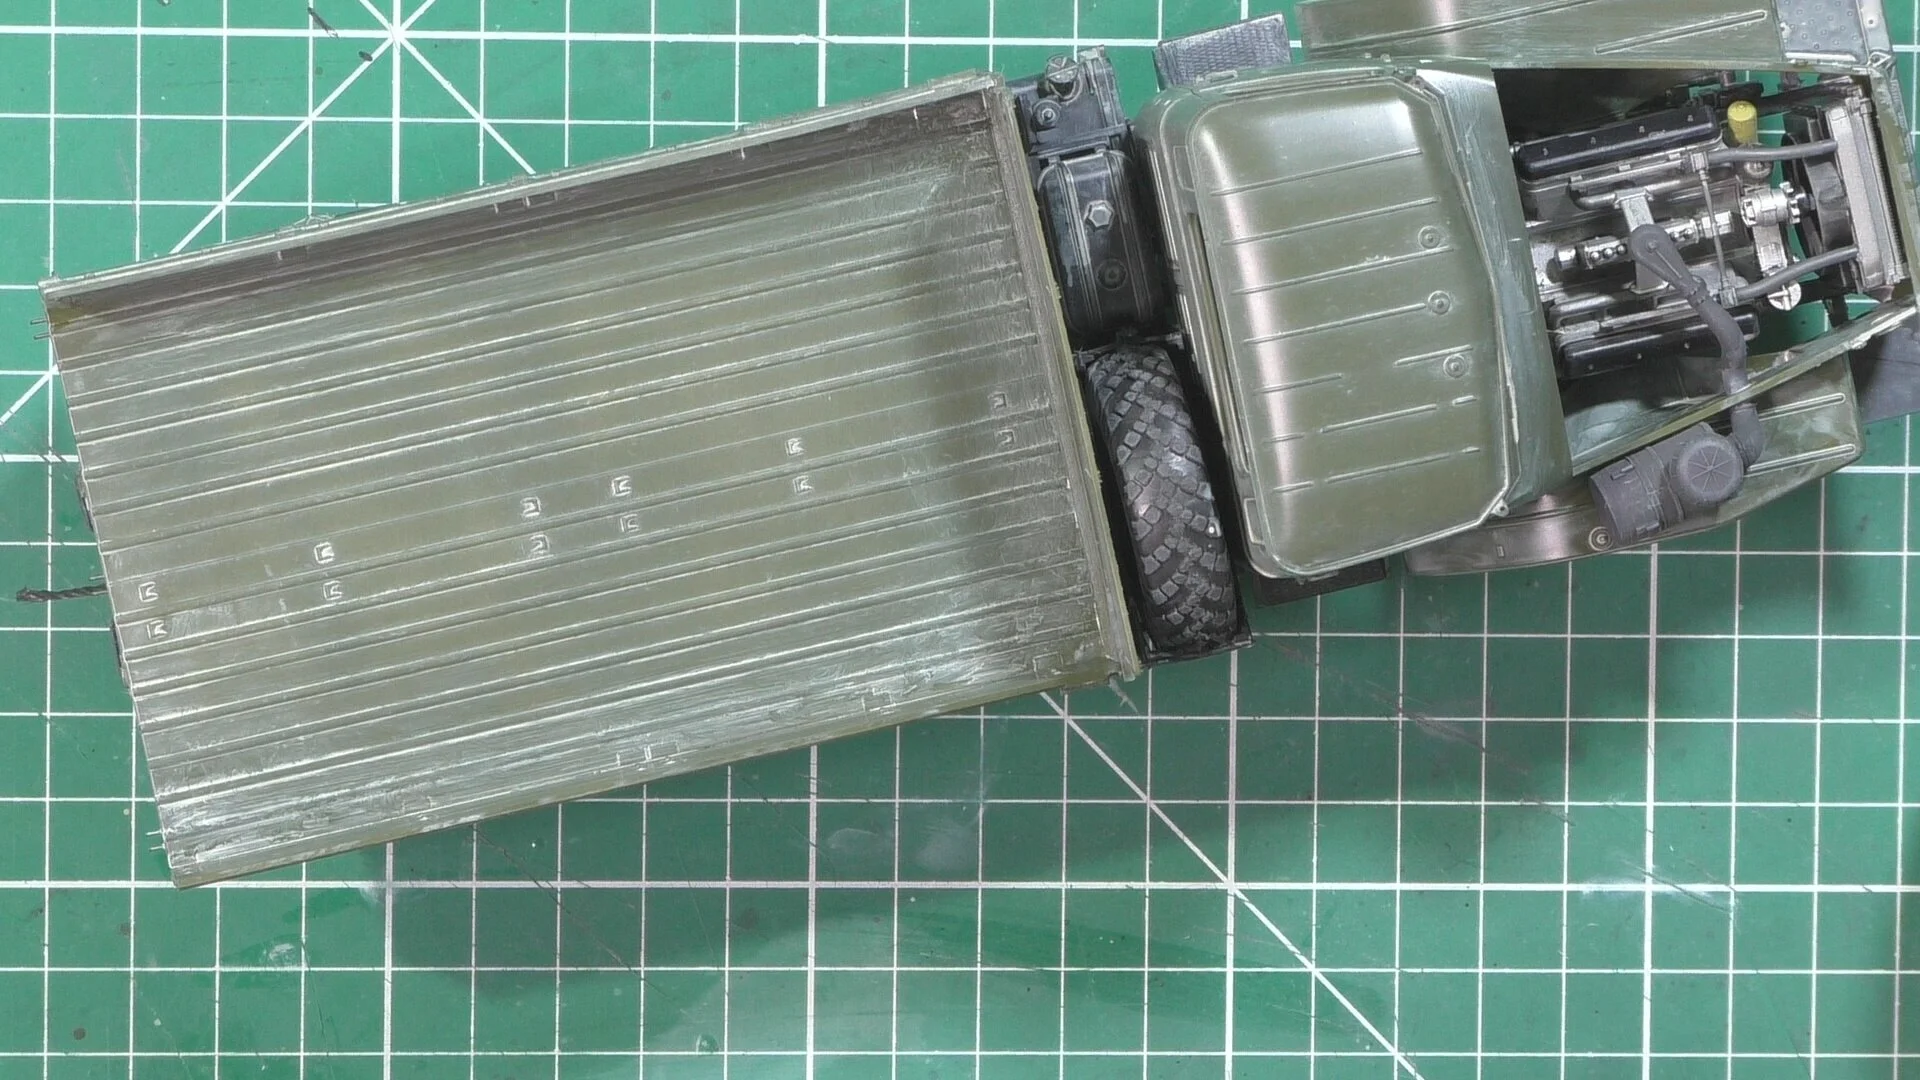
In part three, we carry on with the cargo deck and install the tanks to the underside as well as the mudguards and rear light assembly. Next it’s on with the cab and install the steering column, shifter and seats. Then it’s over to the spray booth for a coat of Tamiya LP-5 Satin Black.
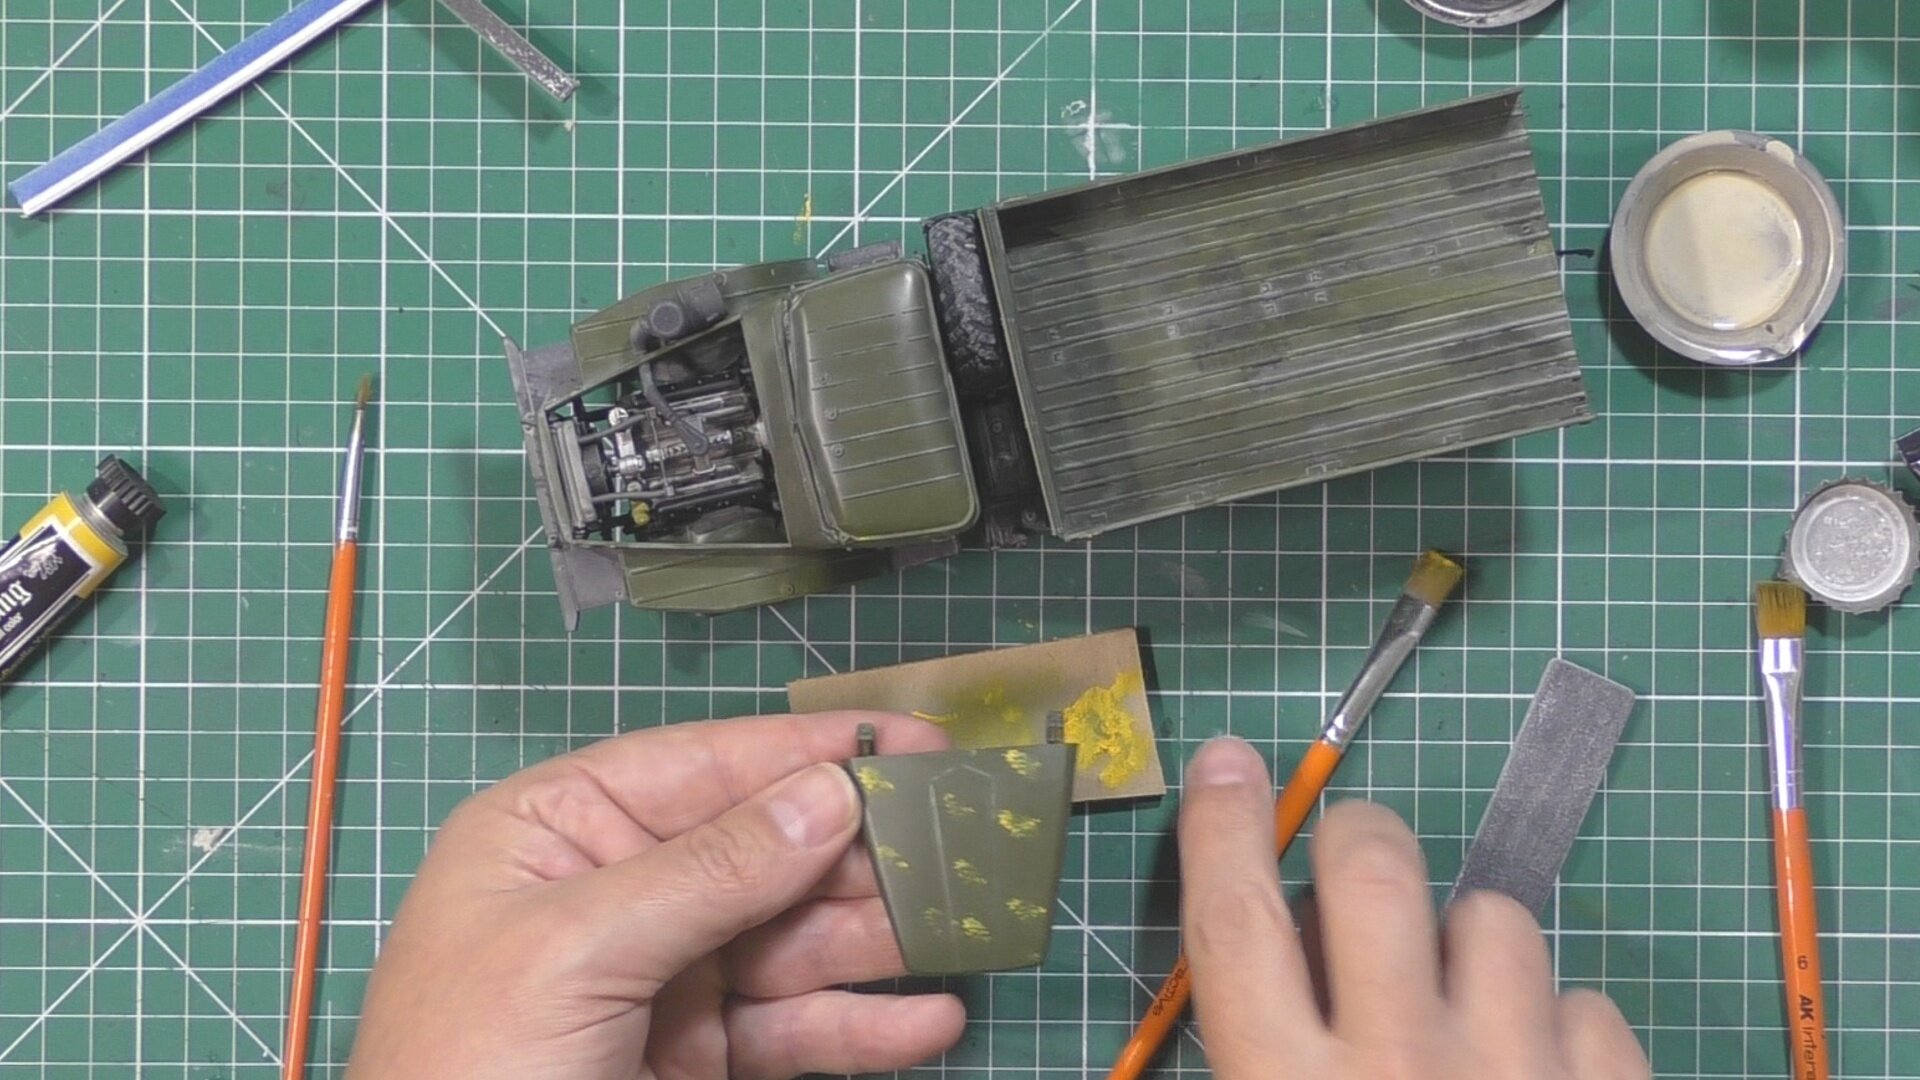
In Part Four, we finish off the body panels for the truck with the wings and bonnet put together. Then it’s back on the spray booth to paint the engine. Next up it’s time to weather the chasse and underbody, first with a metal scrub using Mr Metal Color 214 and then a thinned wash of Abteilung 501 oils Ab240 cream brown.
In part five, we paint the details to the engine and weather and mount to the chassis and add the radiator and the exhaust. Next back into the spray booth and using AK Dark green. Next, we dry brush with light grey oils and get the truck bed installed.
In part six, we install the cab and the wings to the truck and then continue the weathering with dry brushing and then a further wash to set the theme for the weathering. Next is the dark wash to bring it all together.
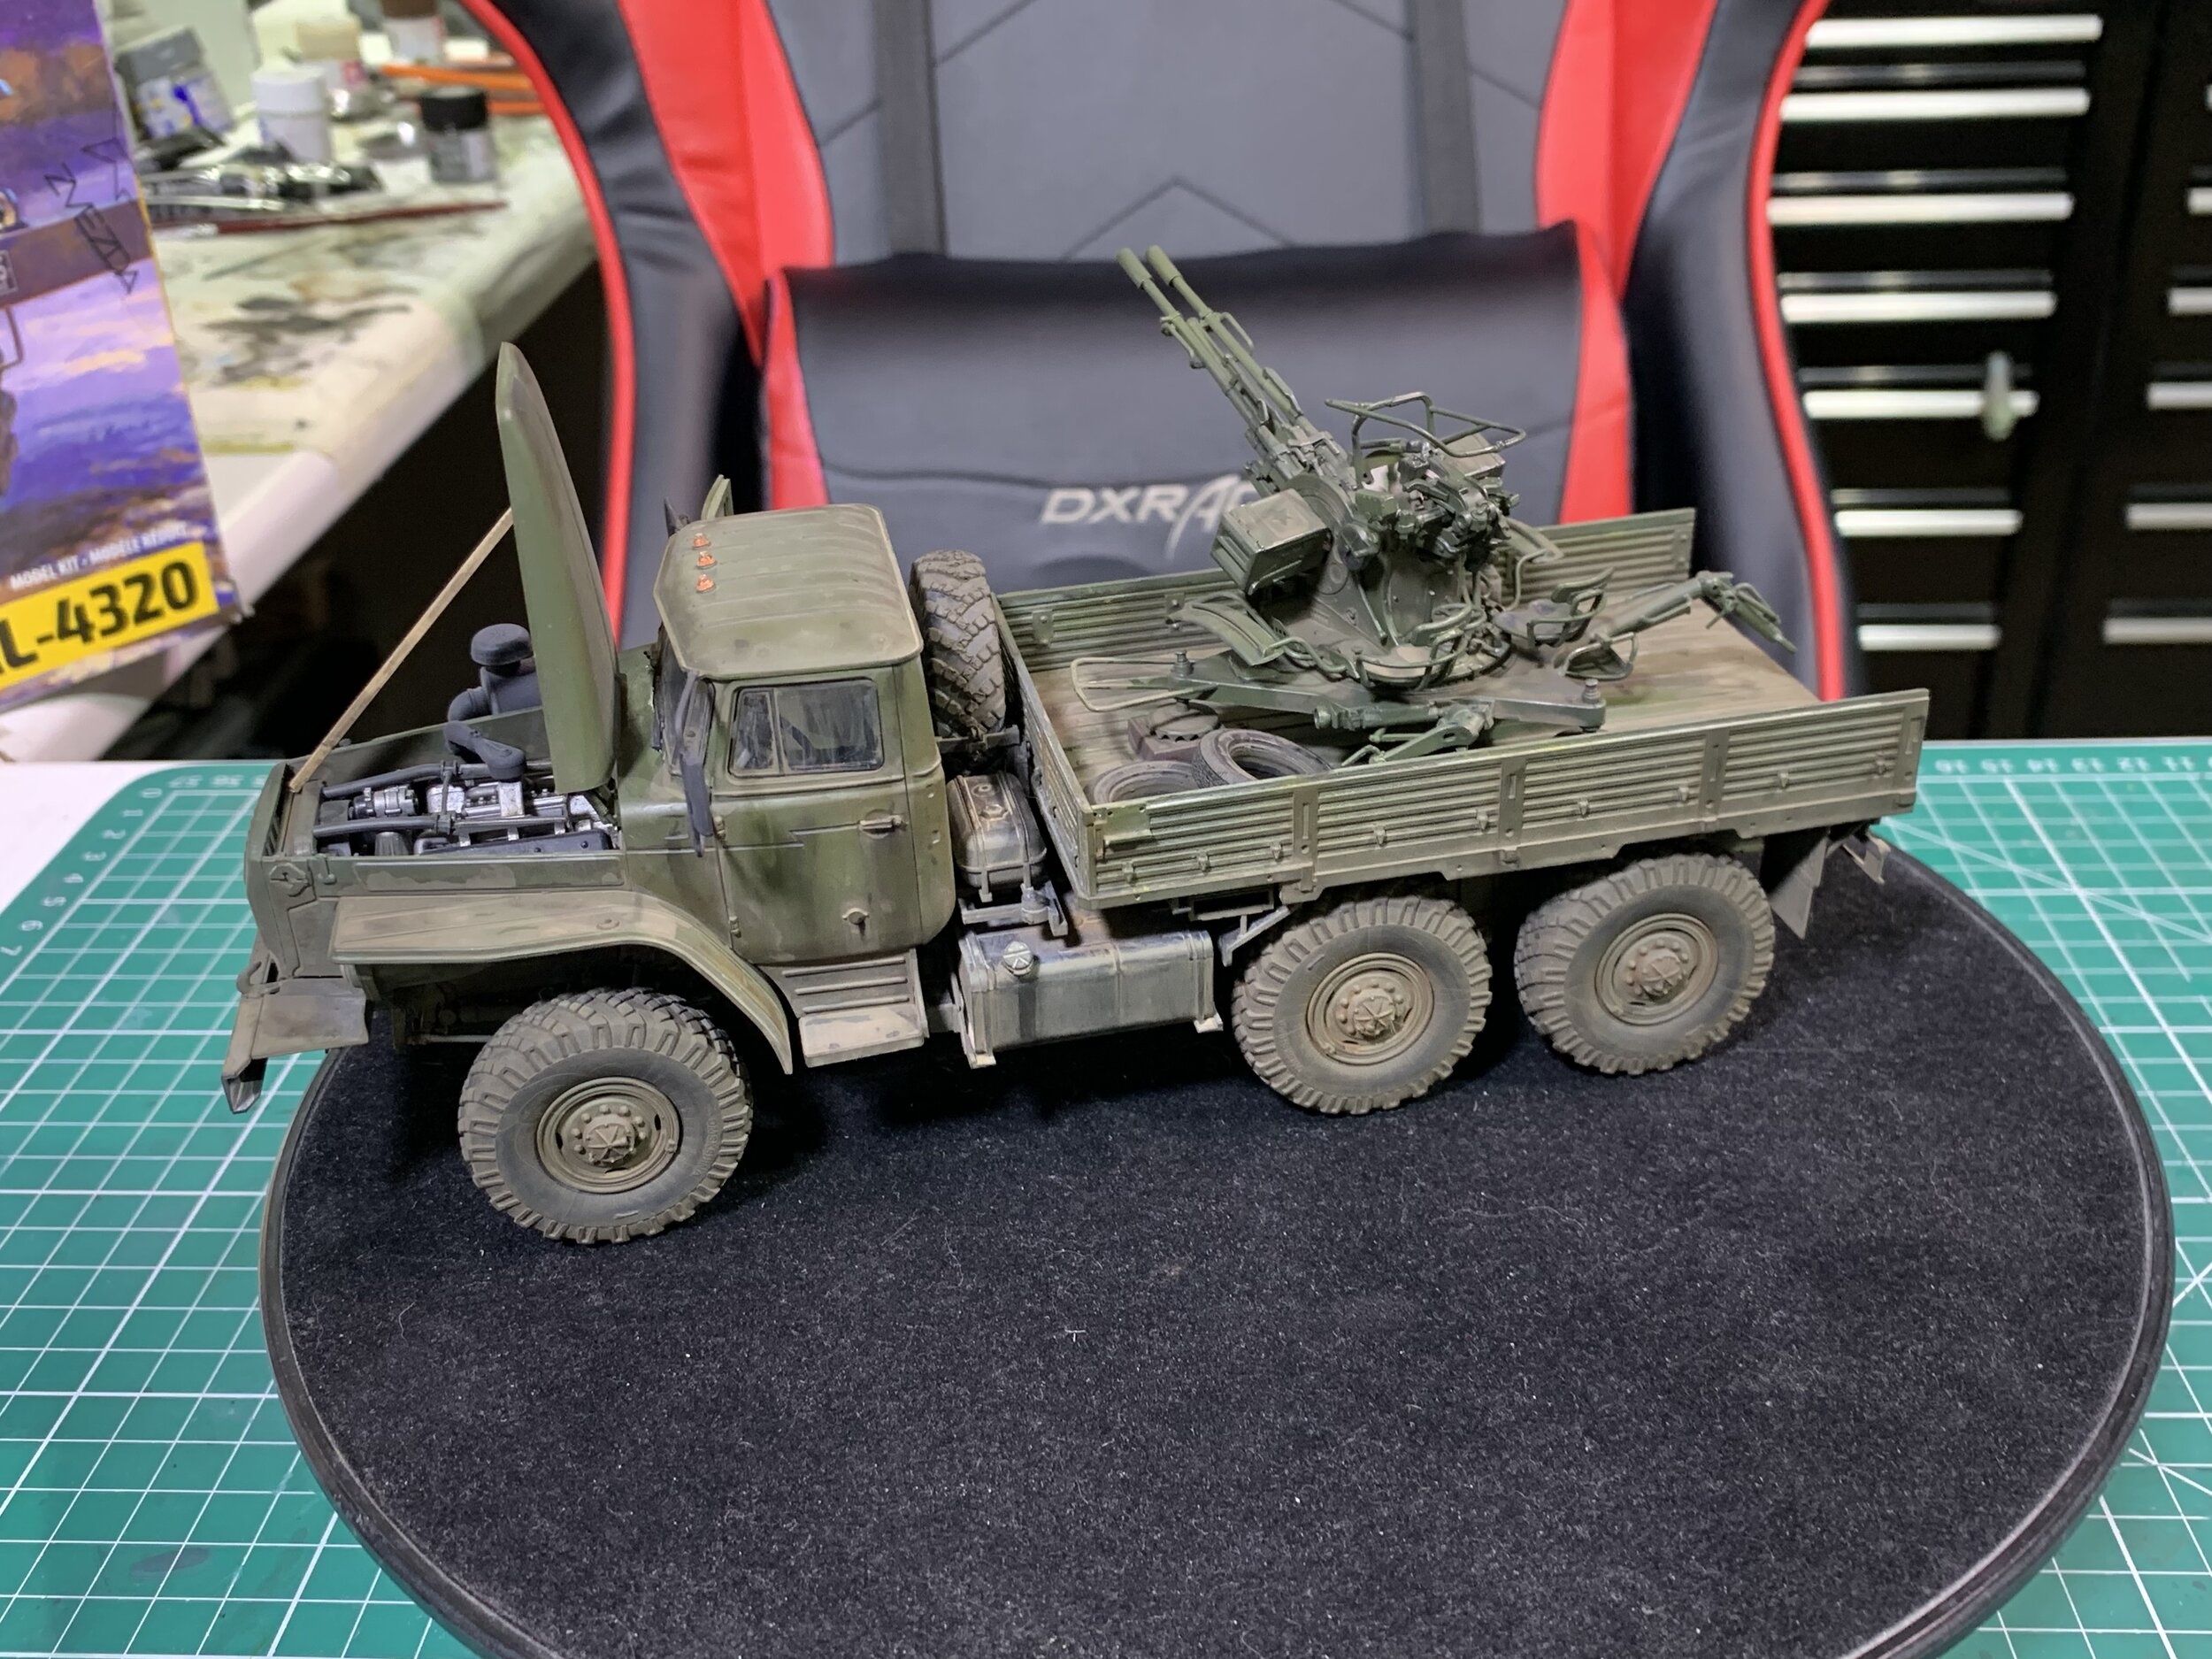
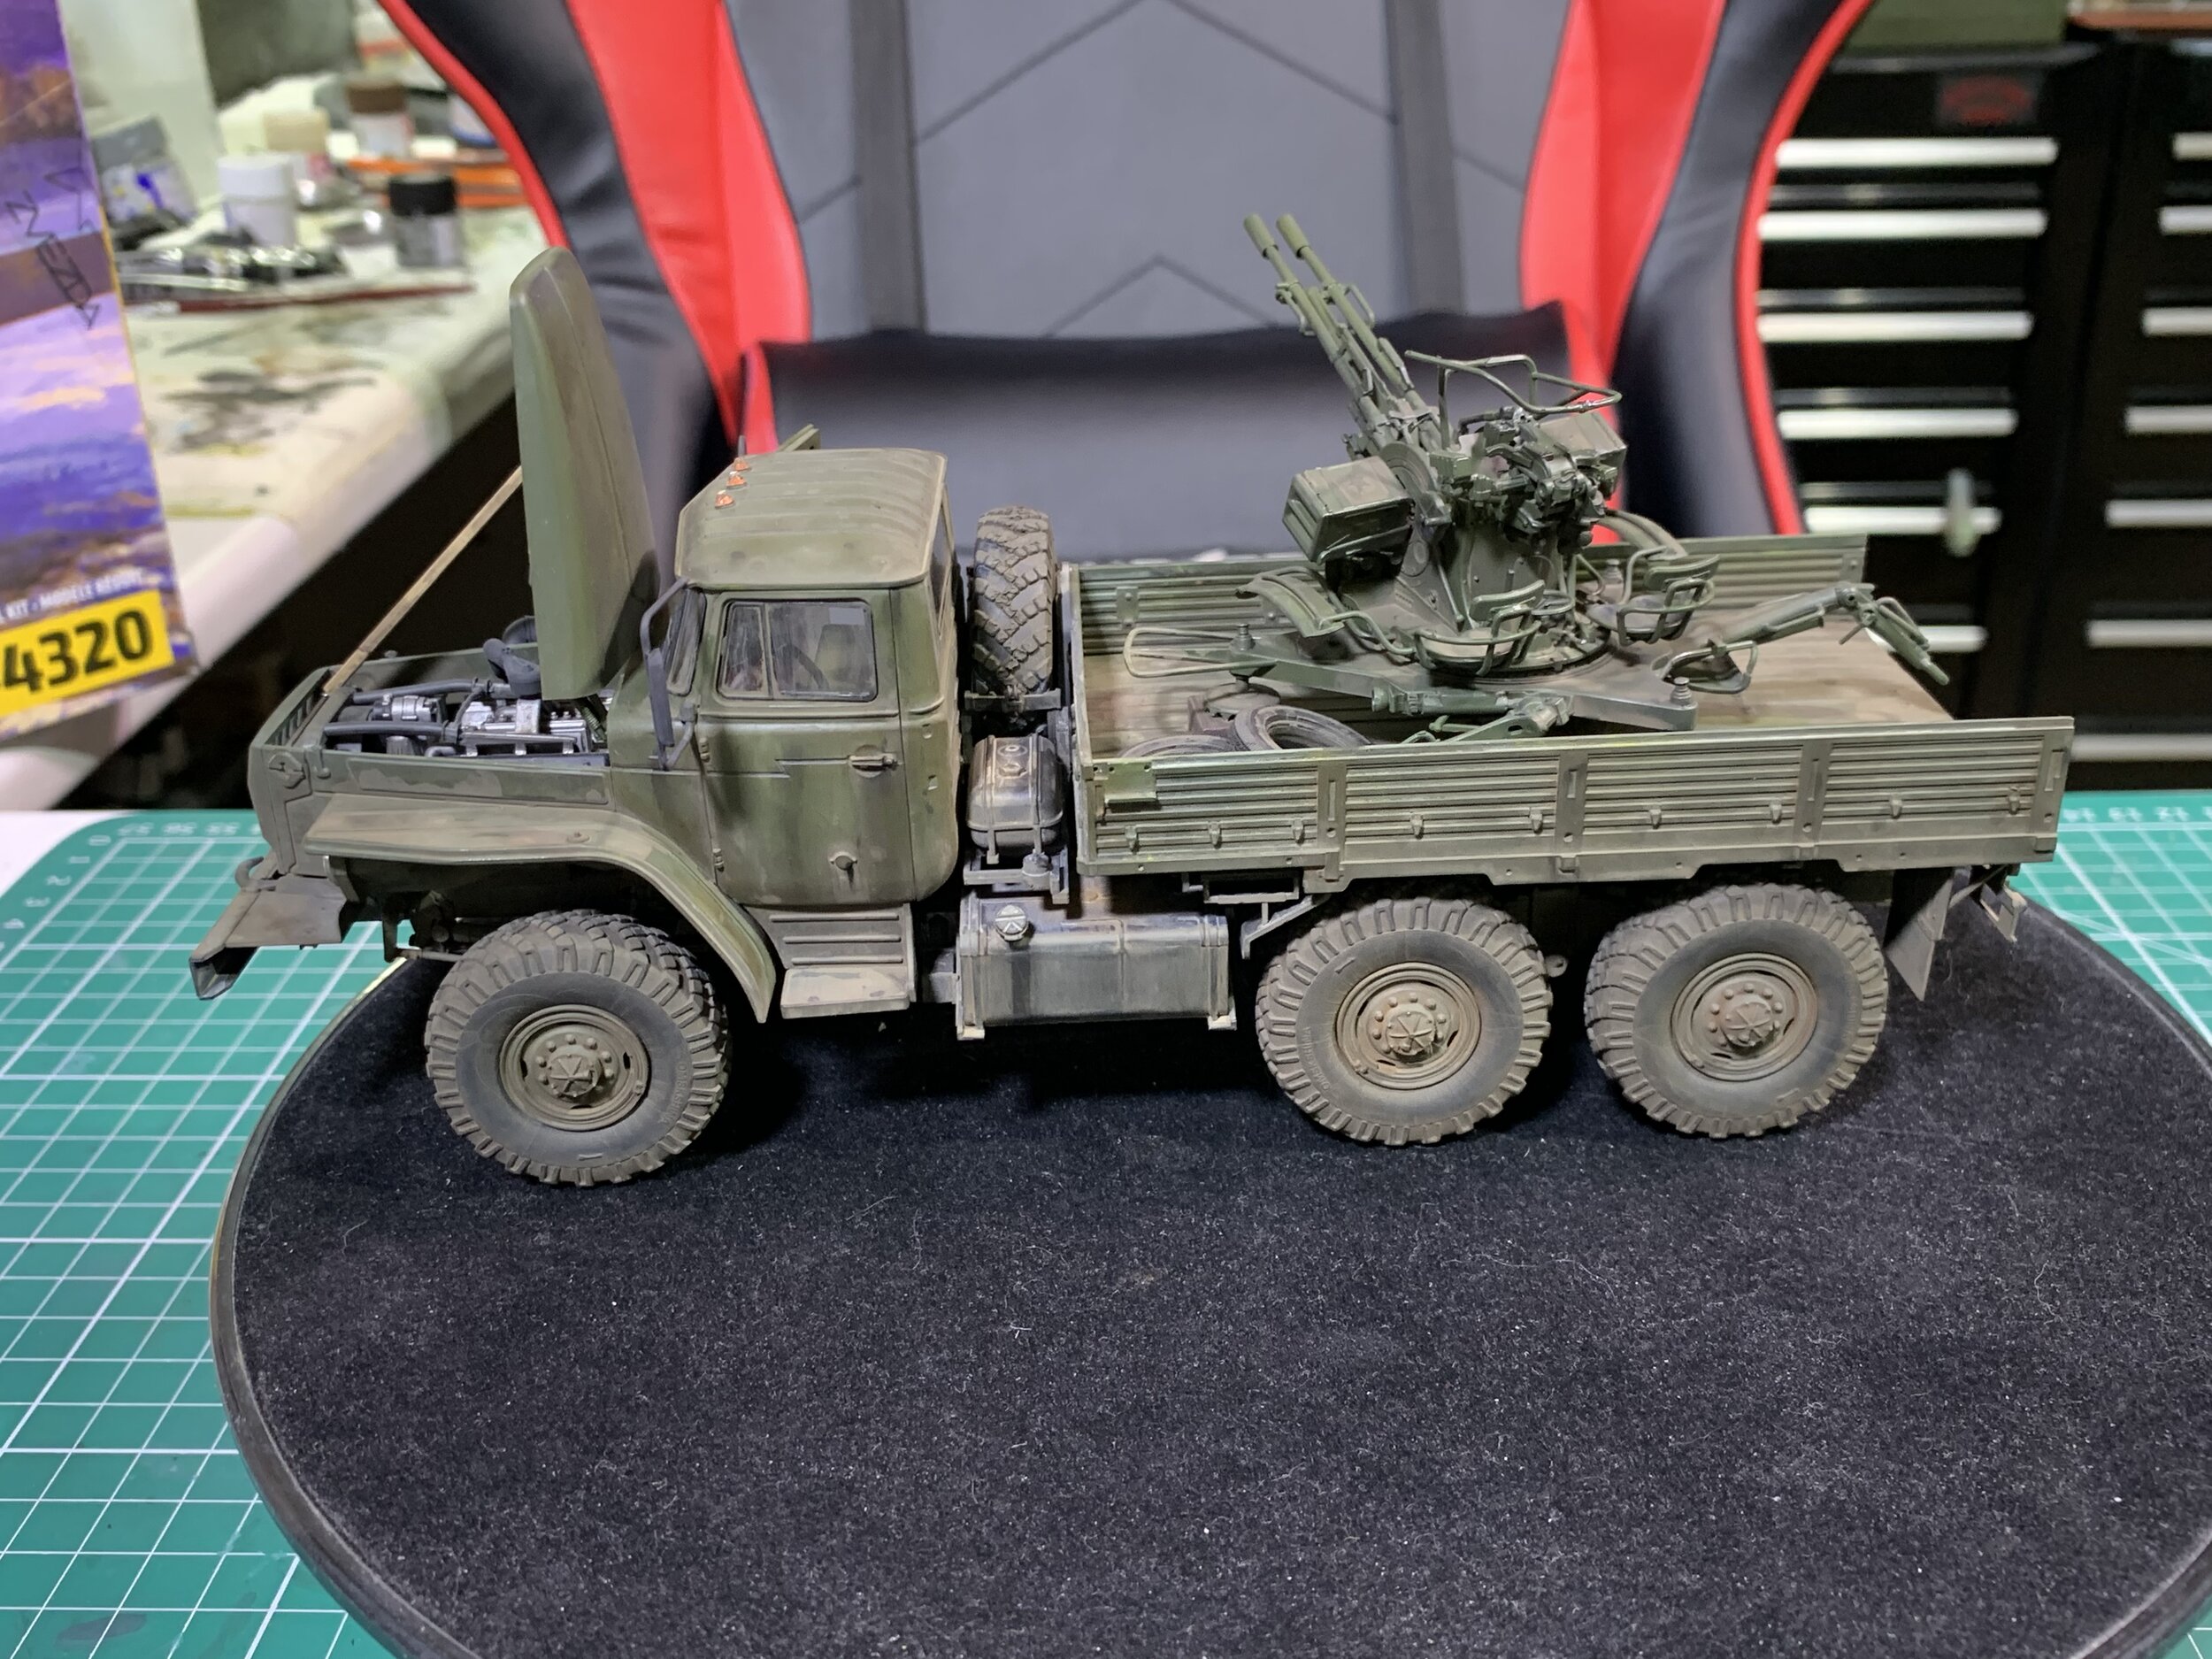
In part seven, we carry on with the weathering using dark oils and then greens to lighten and then shadow the paintwork. we then turn our attention to the gun for the rear deck by building Trumpeter’s ZU-23-2 system.
In part eight, we build the Trumpeter ZU-23-2 While the detail is fantastic the instructions are vague and the parts need a lot of clean-up to make sure you get a good fit. so in truth, it took longer to put the gun together than the truck itself.
In part nine, we prime and paint the ZU-23 the same way we did the truck, Next it’s back to the truck to carry on with the weathering with pigments. next, we add the rubber seals to the windows on the truck
In the final part, we bring it all together, so on with the wing mirrors and the decal is oversized so we used Molotow chrome pen for the mirror. Next we install the windows and then airbrush on some grime wash to weather the truck down. We install the cun to the truck bed and use neet oils to feather weather Ready for the final reveal.