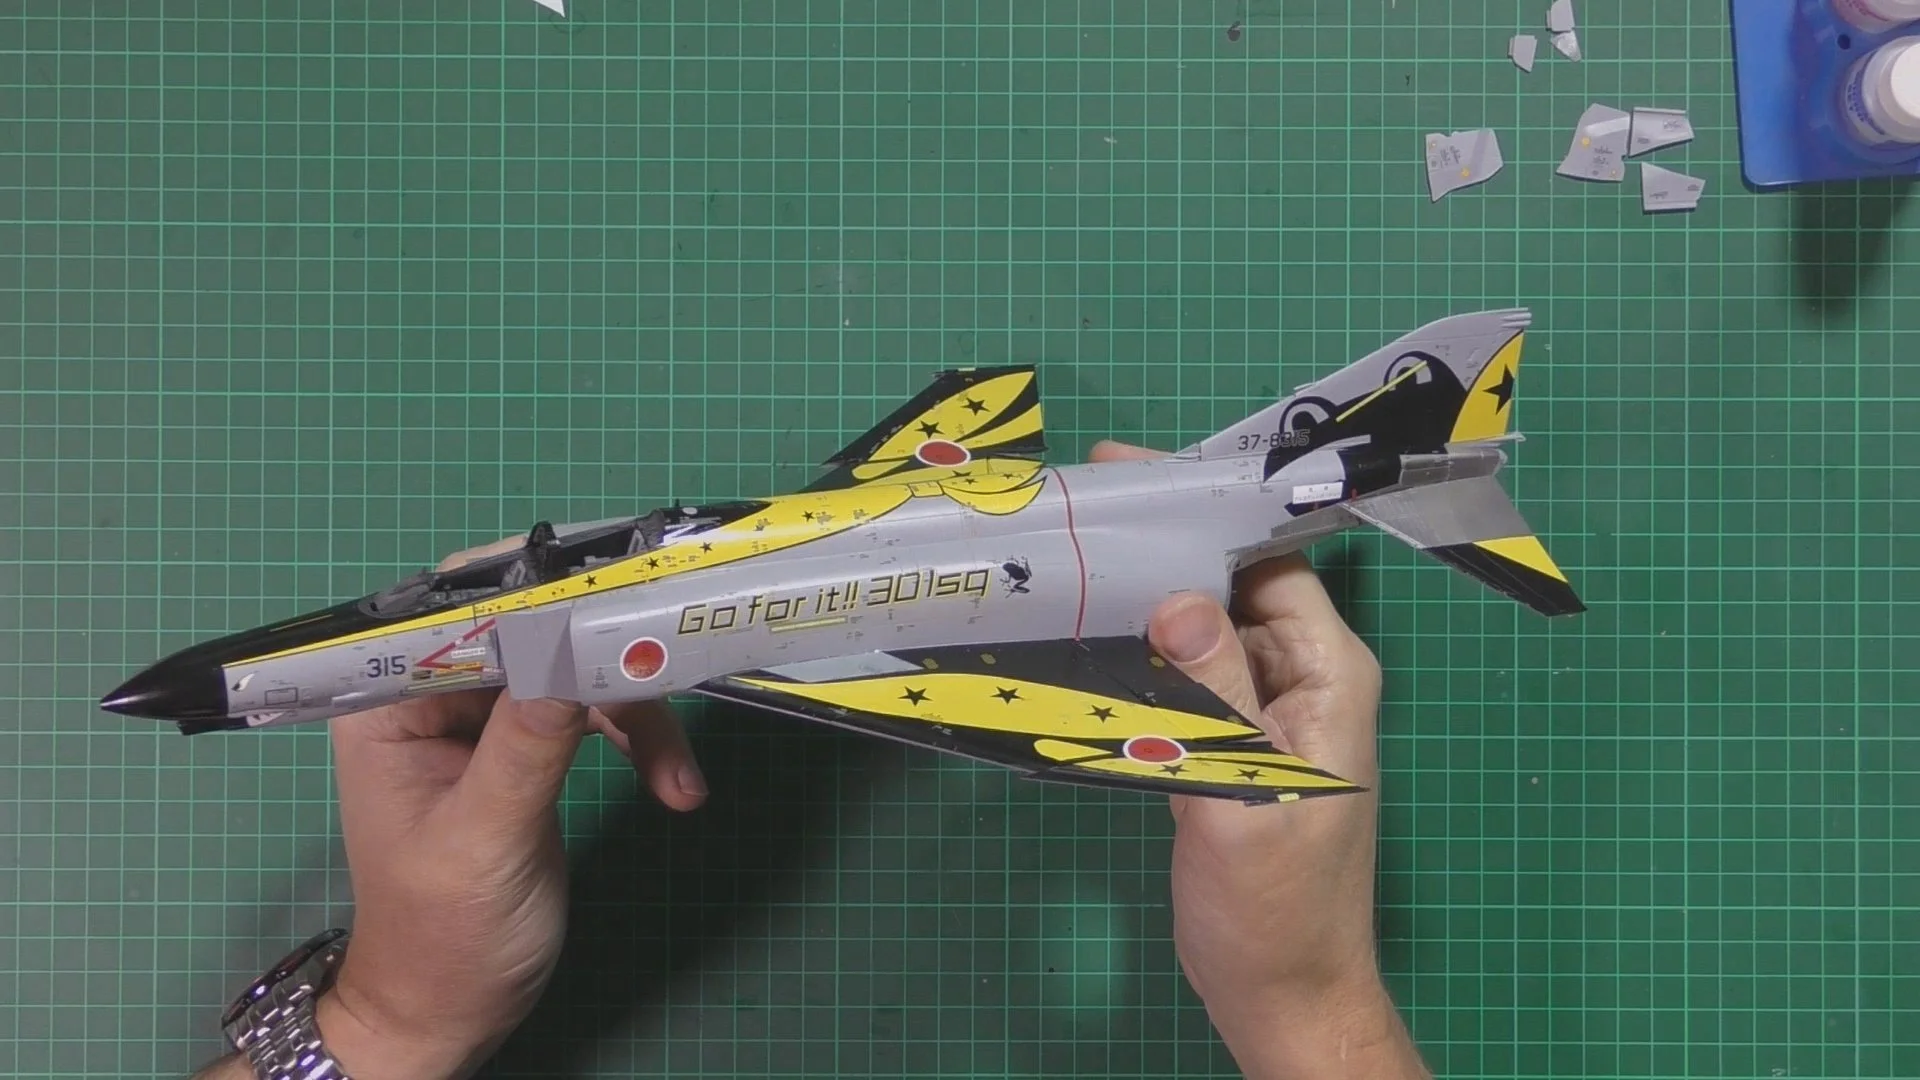
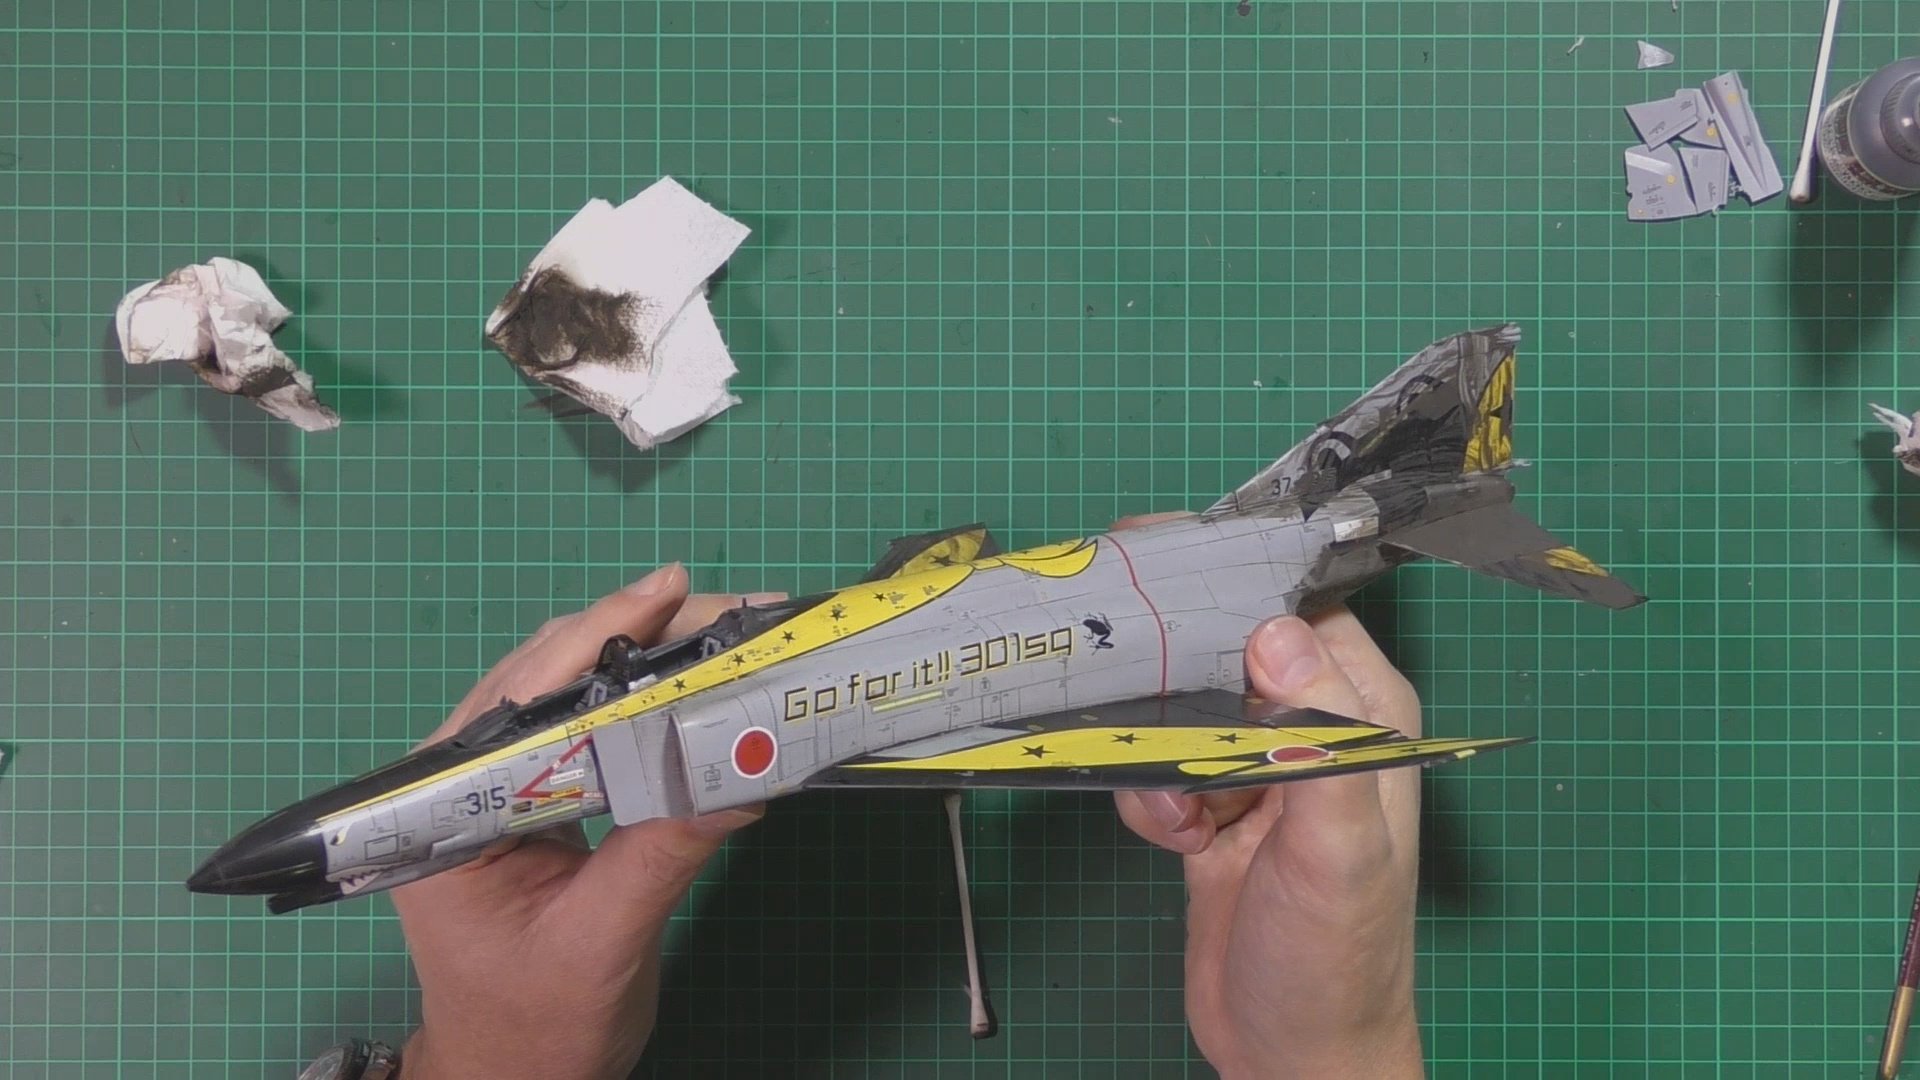
F-4EJ Phantom KIA
Scale: 1/48
Manufacturer: Zoukei Mura
Parts used: Out Of The Box
Main paints used: Tamiya and Hataka
In part one, we look at the build ahead and then start work on the cockpit. We hand-paint detail and weather and then make simple harnesses for the ejector seats.

In part two, we install the cockpit and join the fuselage halves together. We then install the top cover, rear faring and install the gun chin faring. Next up the engines, nicely detailed and as it wont be seen though a quick paint job along with the intakes and there ready to be installed.

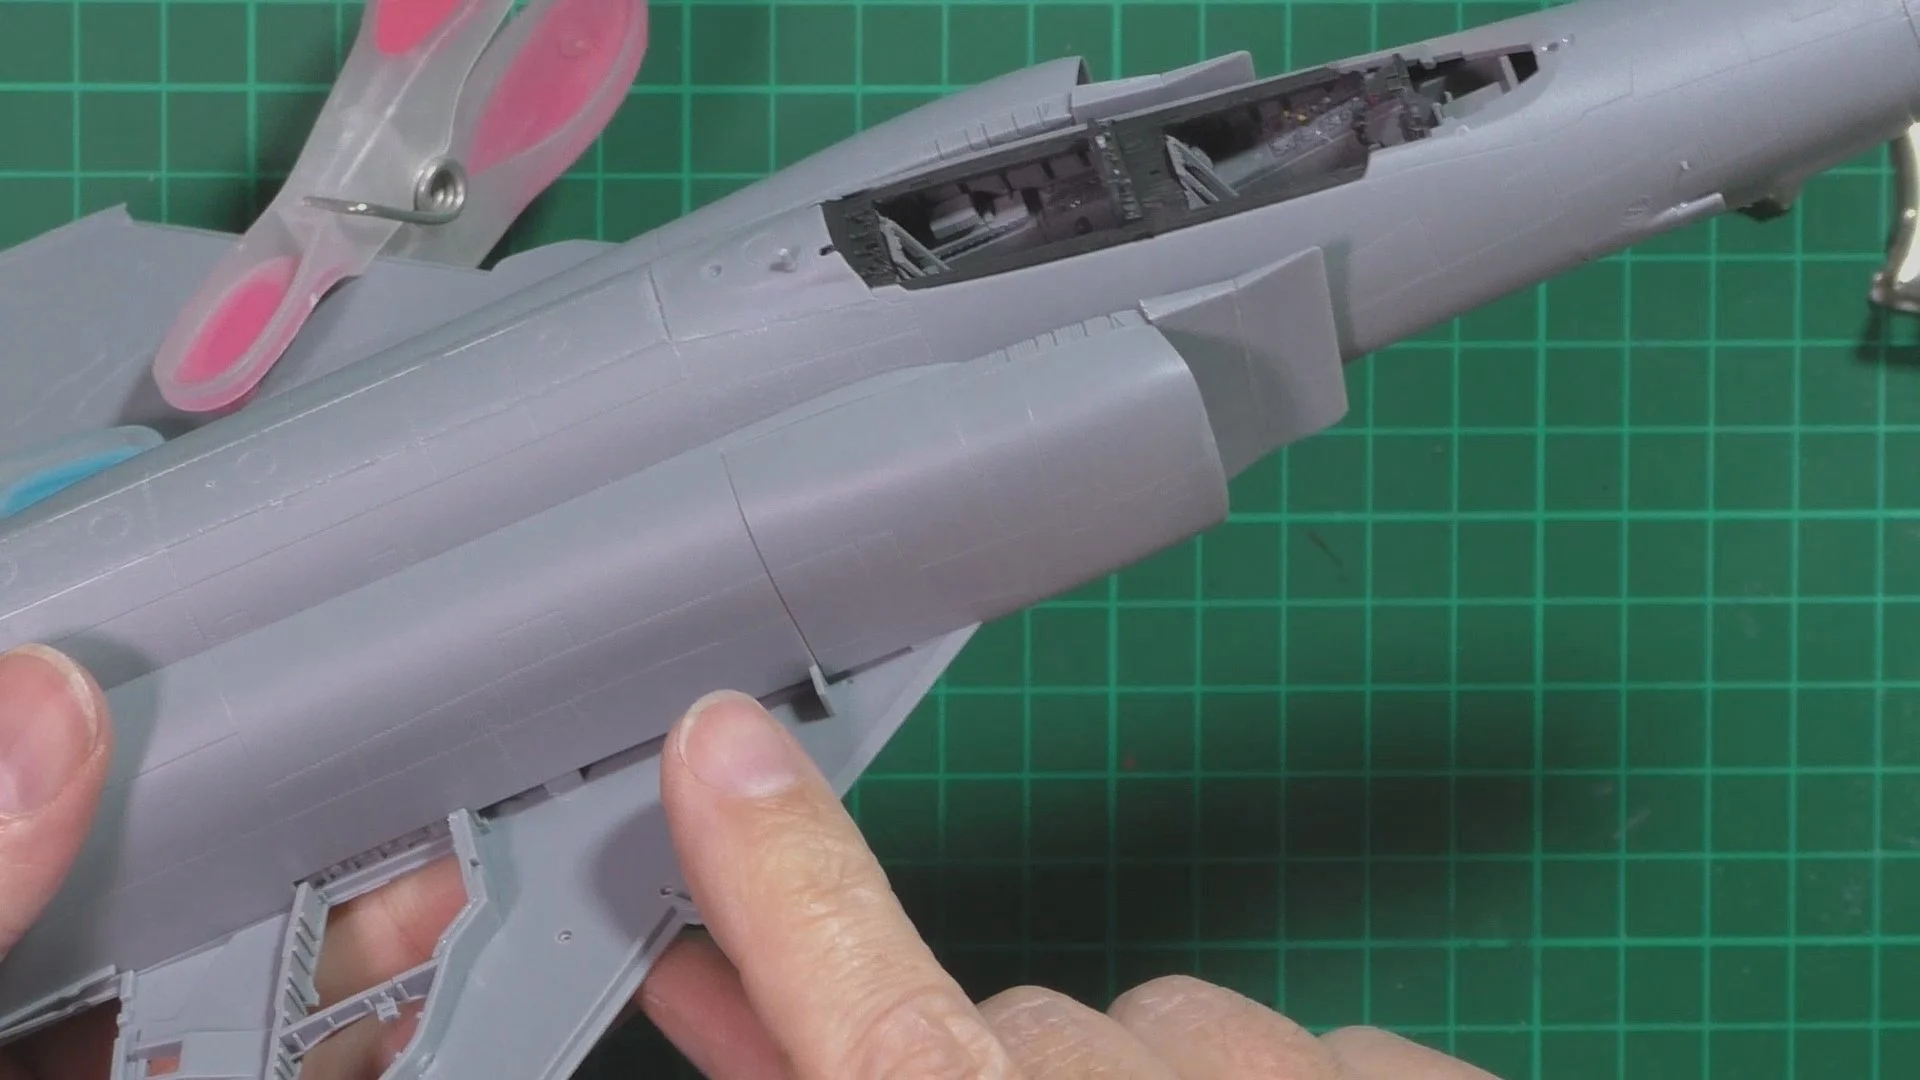
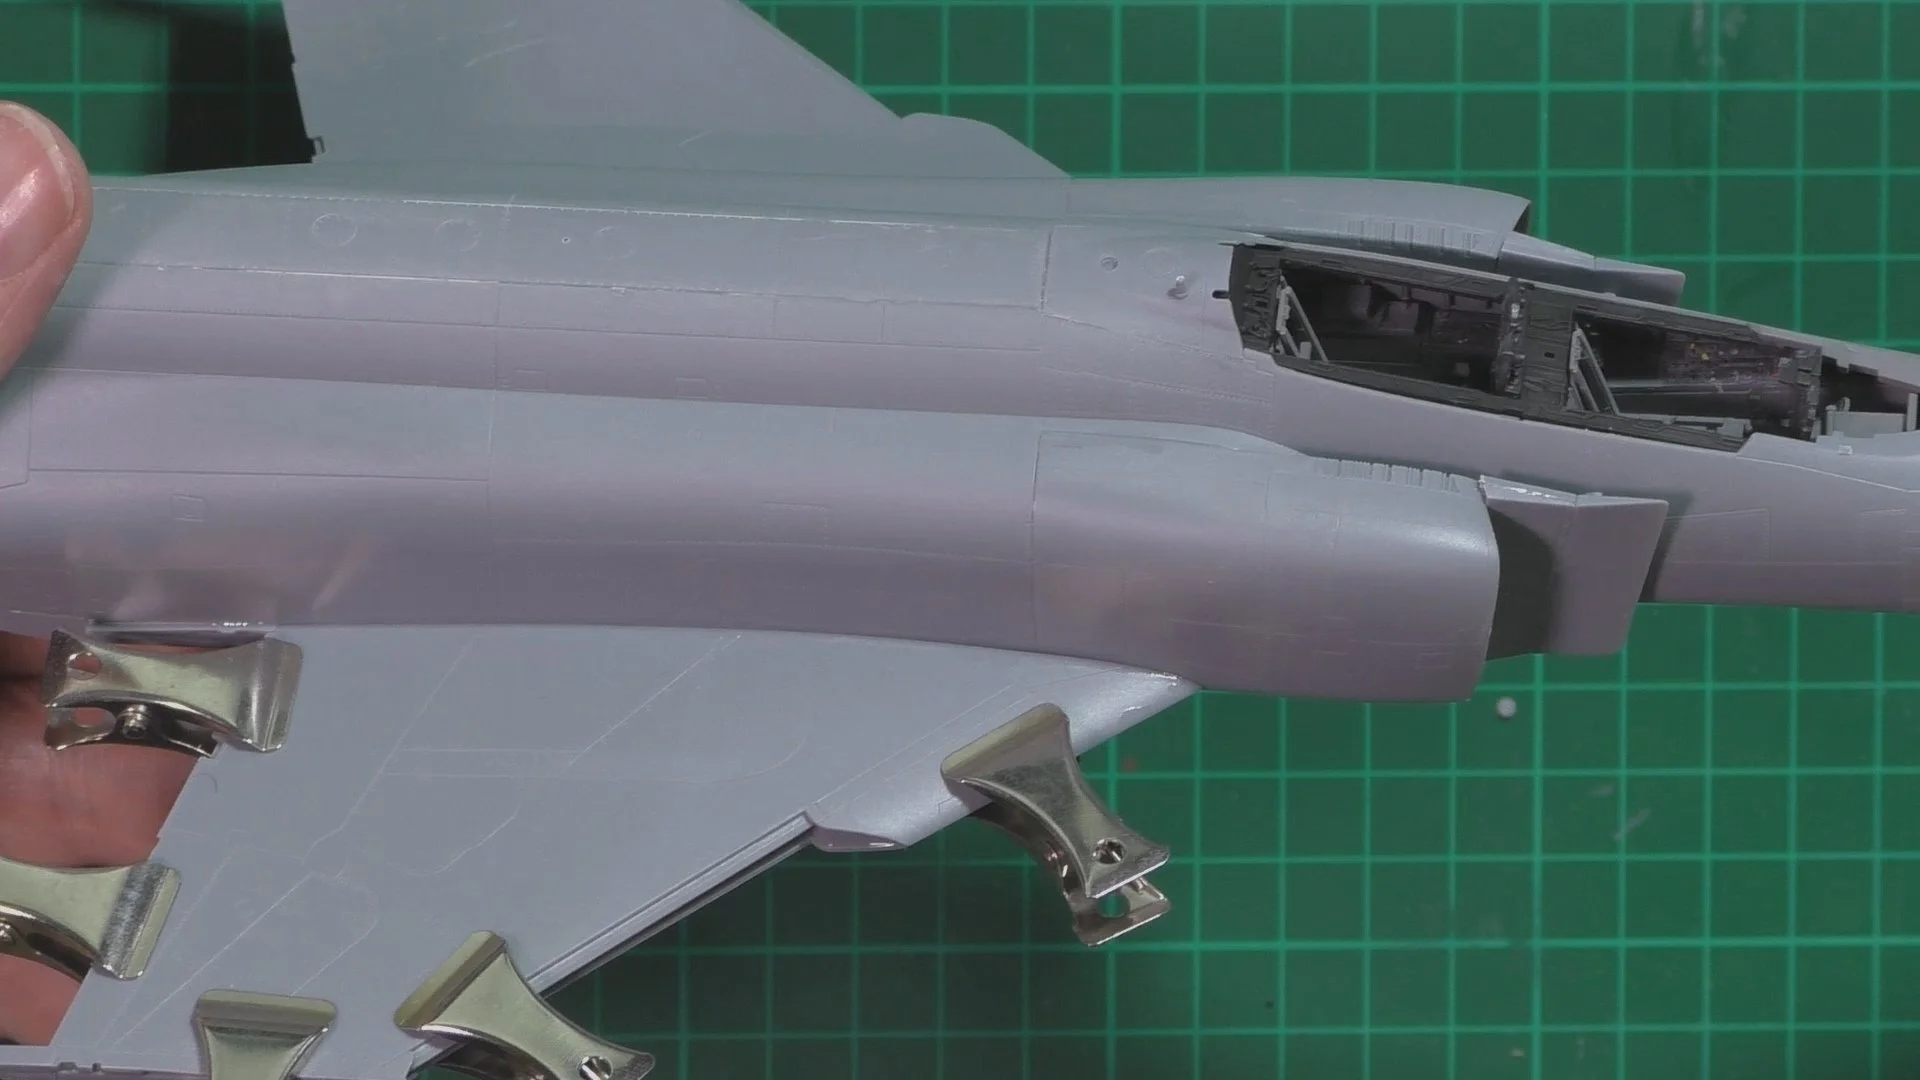
In Part Three, we push on with the construction by installing the nose, cooling intakes and gun muzzle. Then we install the engines to the intakes and mount them to the lower wing. Next up the wheel wells are added and the the wing tops. Last the intakes and with a small modification get a seamless fit.

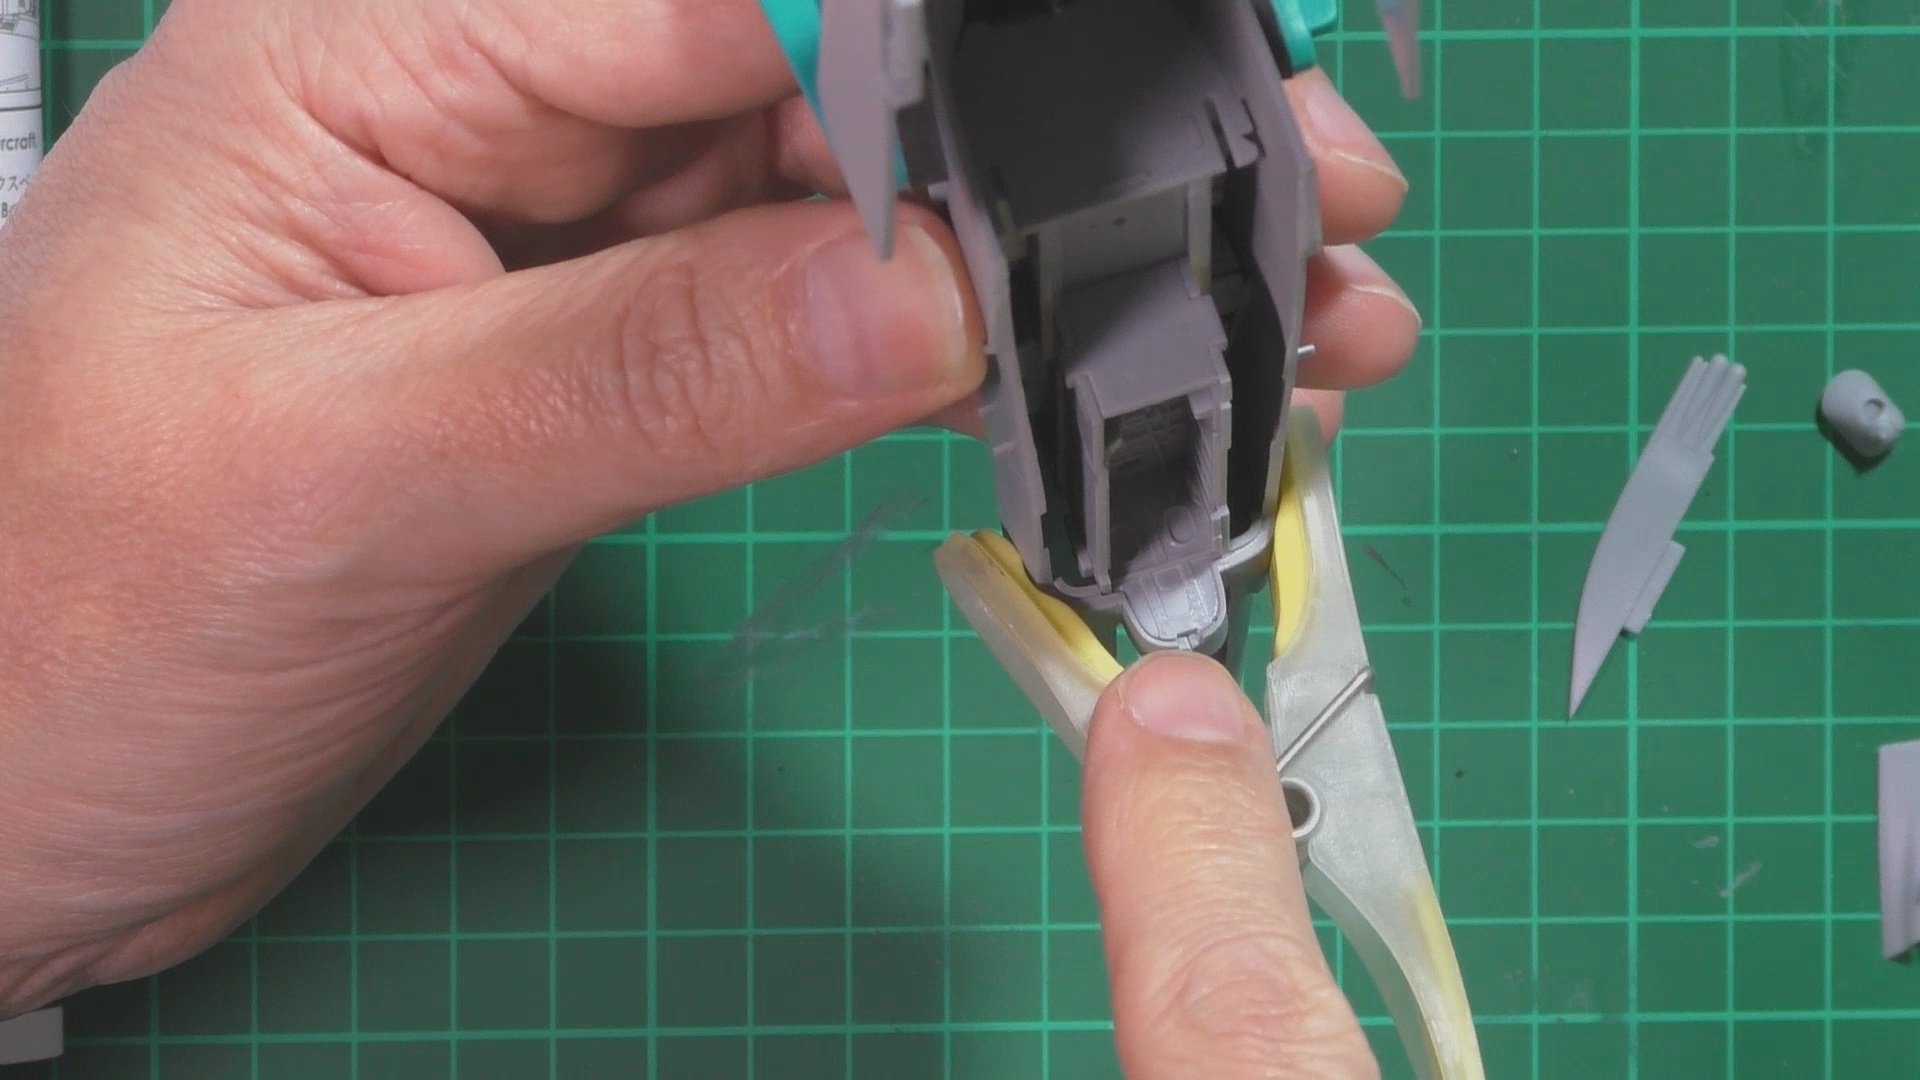
In part 4, we look at some of the fit problem, so it out with the filler and then clean up, Re-scribe and re-rivet to put the details back. Last we install the Flaps and slaps and control surfaces.

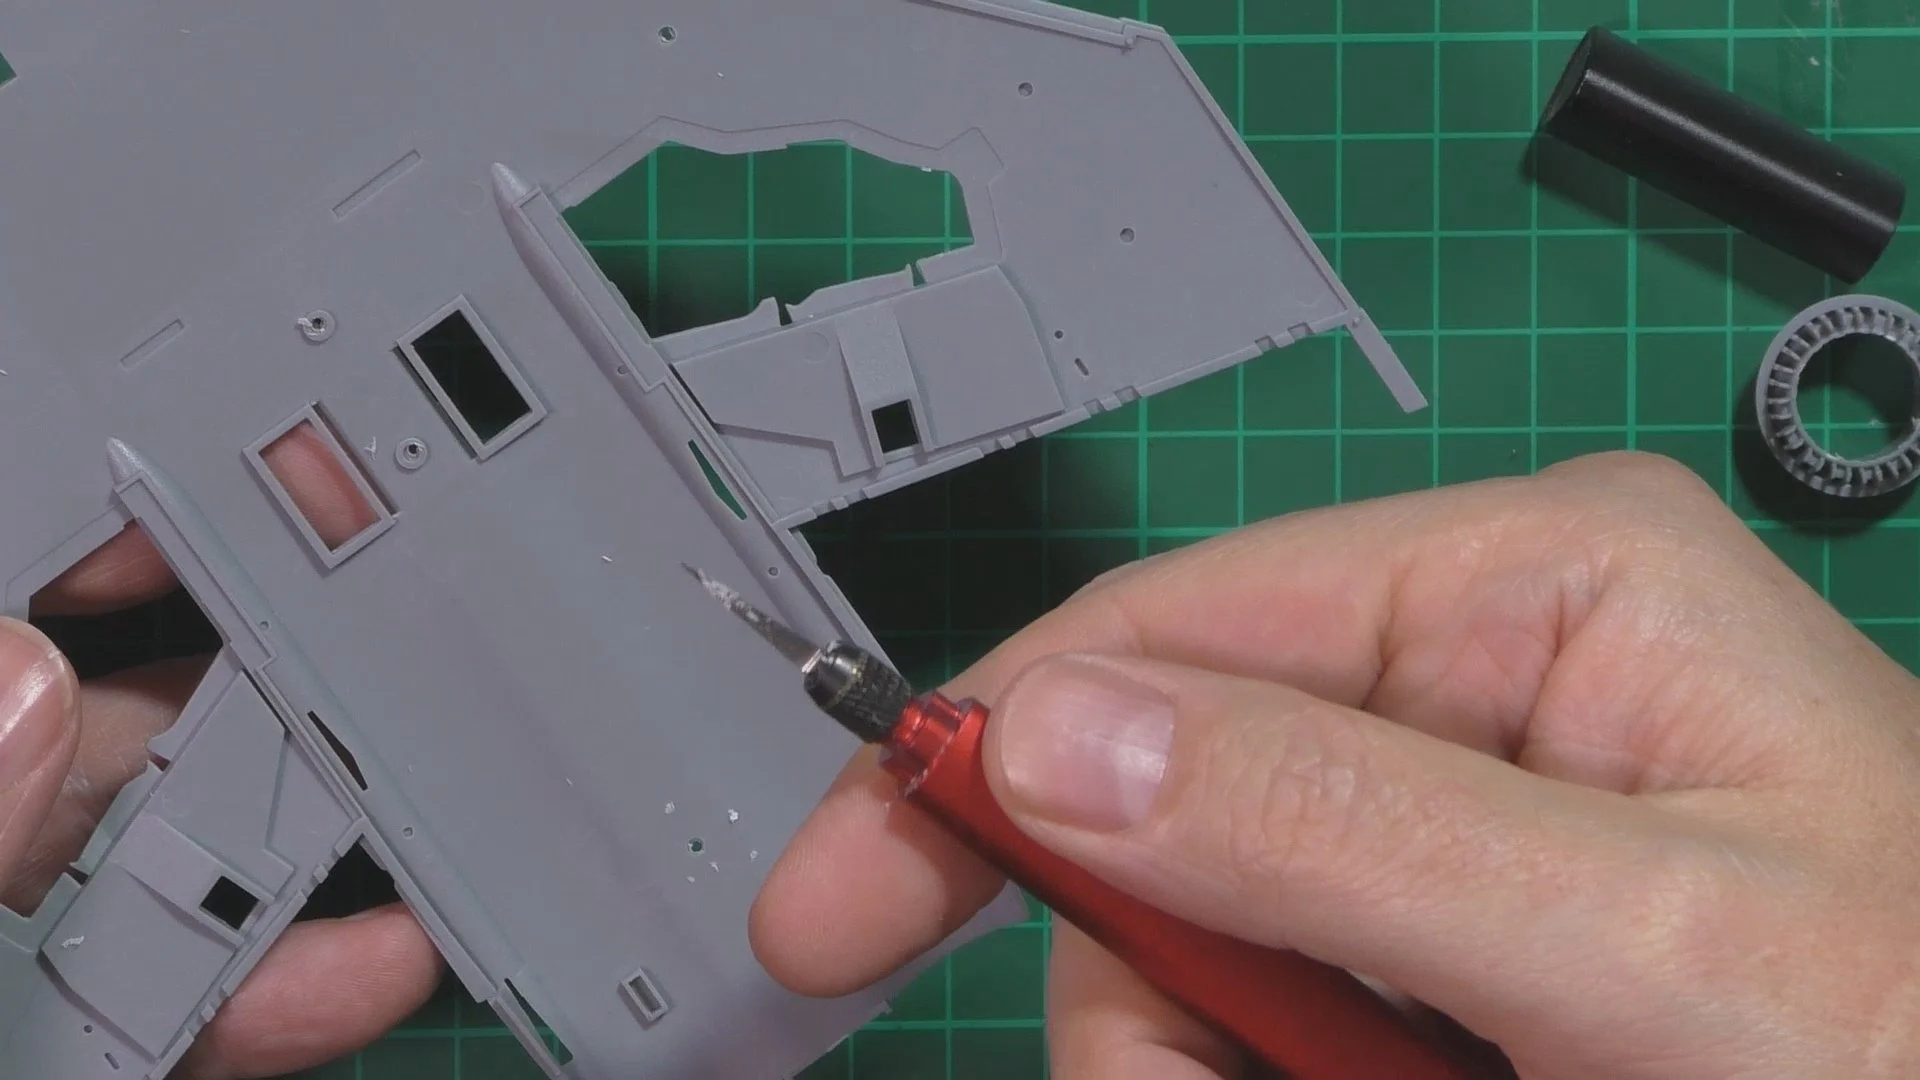
In part five, we fine my last niggle with the kit and that’s the thickness of the tail planes strengthener plate, they are way too thick and need thinning for a better scale look. With that done we move into the spray booth and get a primmer on. Next it’s time to tidy up some lost panel lines and riveting details lost with the filling and sanding required.

In Part Six, We remove the plates from the tail planes, yes My mistake…. and then we move over to the spray booth and start of with the white coat for the intakes and wheel bays etc Tamiya LP-4. With that dried and masked we put the black coat on the wings and nose with Tamiya X-2, With that dried and masked we put down a coat of Light Ghost grey Real Color RC252

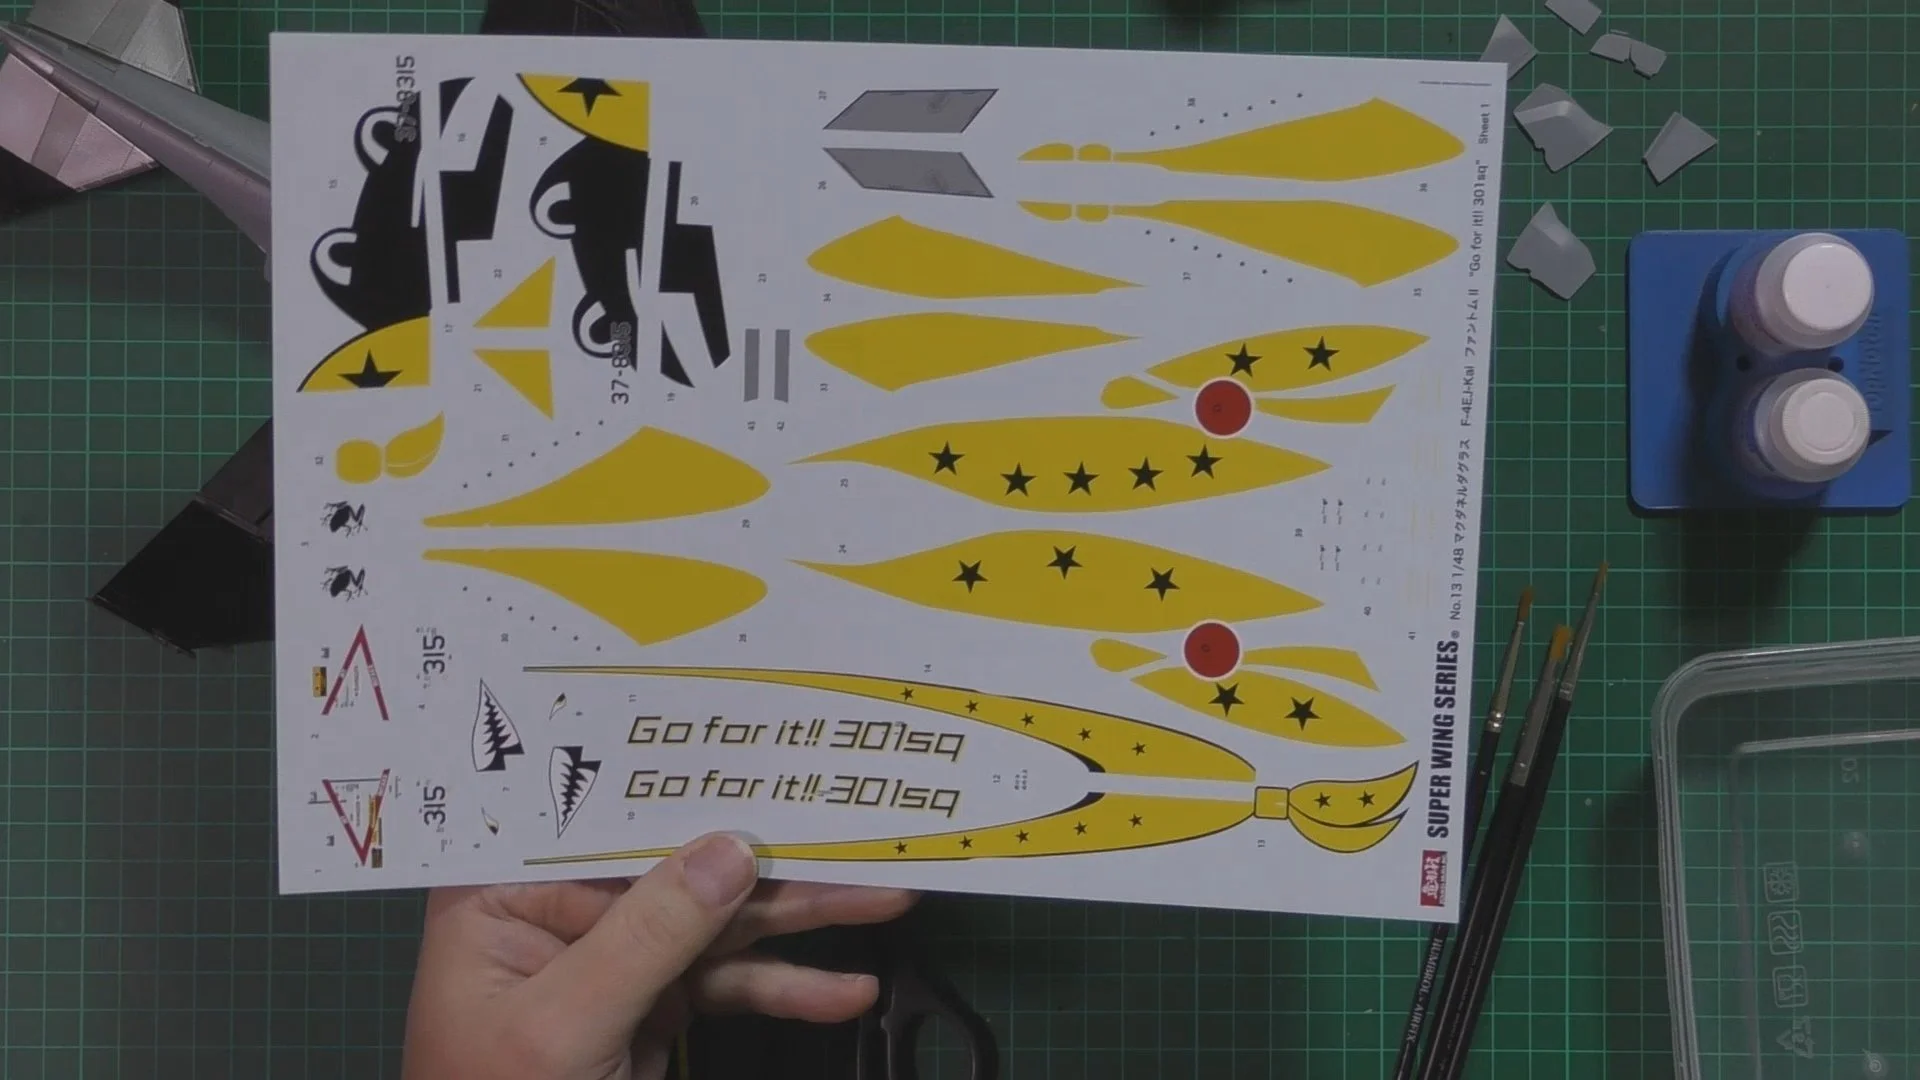
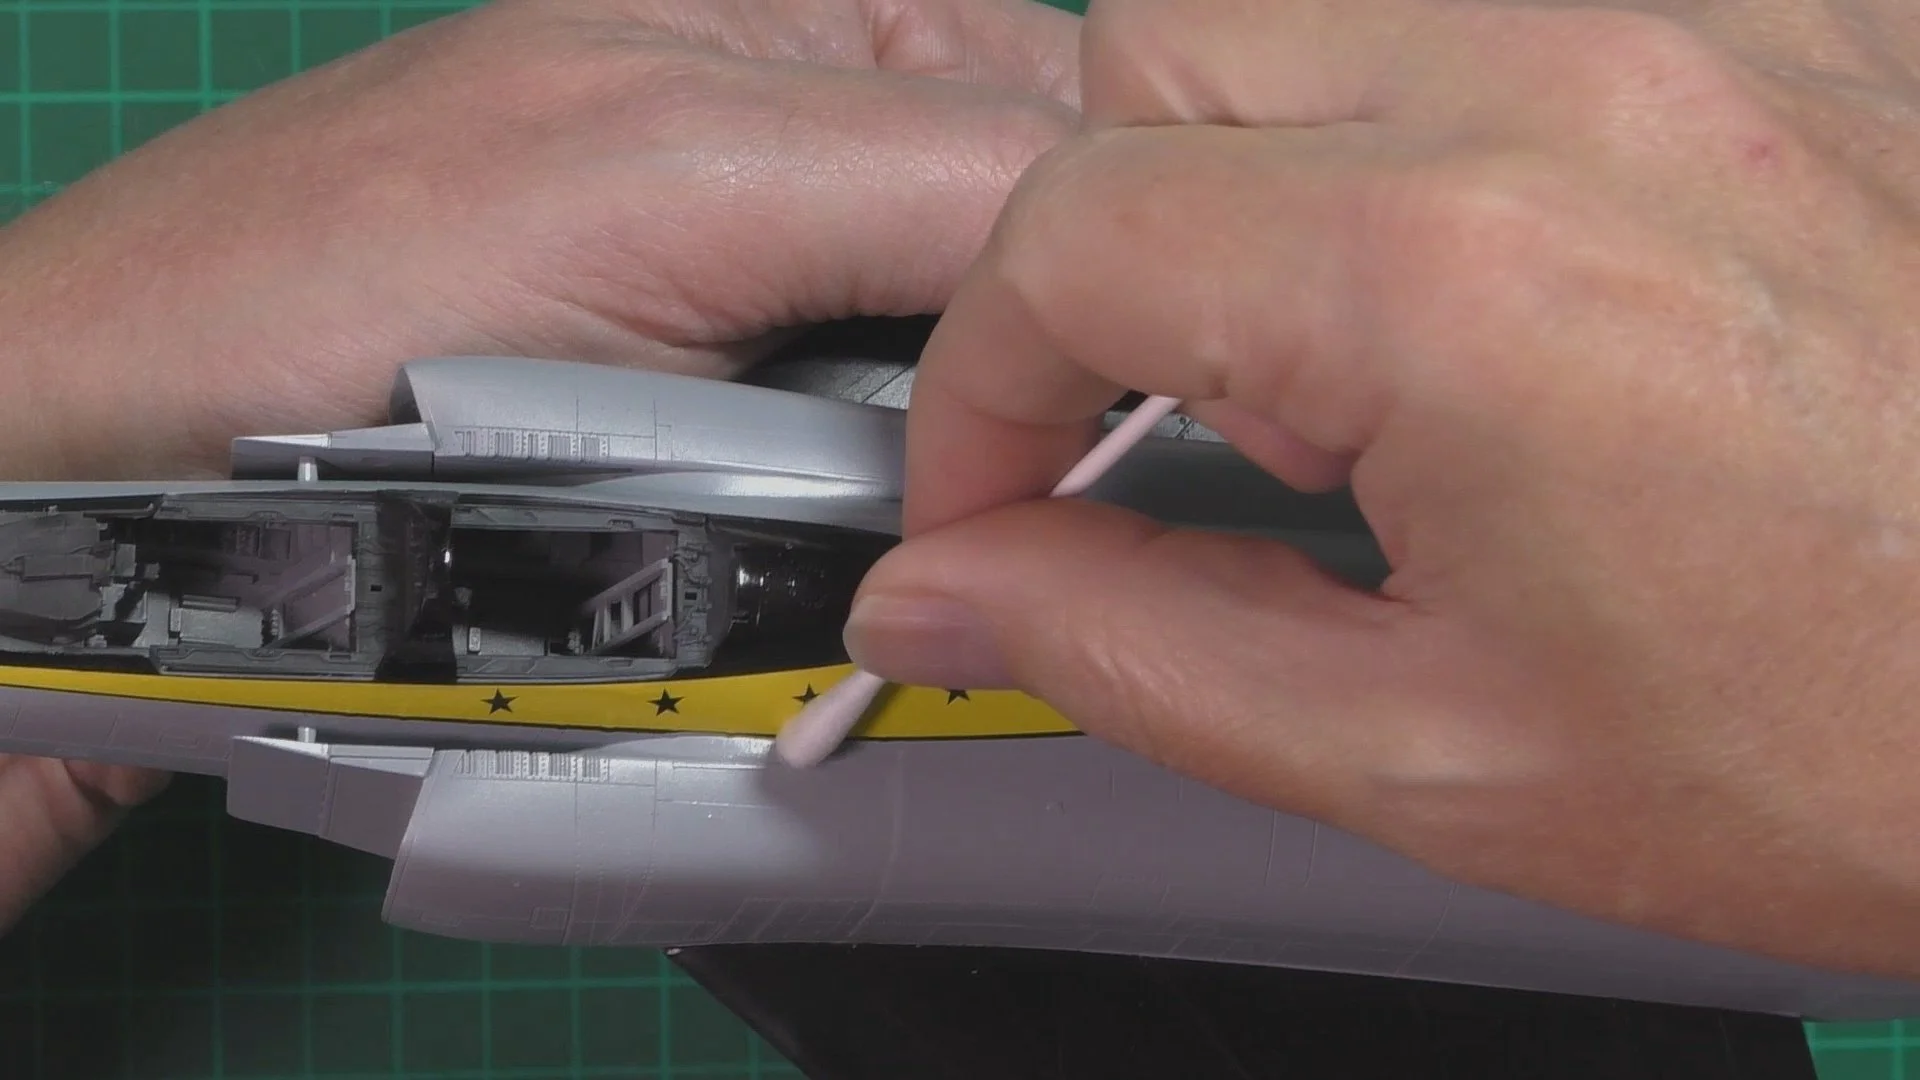
In part seven, we carry on with the paintwork by adding the Dark Ghost Grey to the topside and then use AK Xtreme Metals for the metal areas at the rear. Next the missive decaling job, all 350+ of them !!

In Part eight, we finish off the decaling and then put on a gloss coat to seal and berry the decals and then follow up with a satin coat ready for weathering. Next we look at the burring on the gear and remove that and repaint.

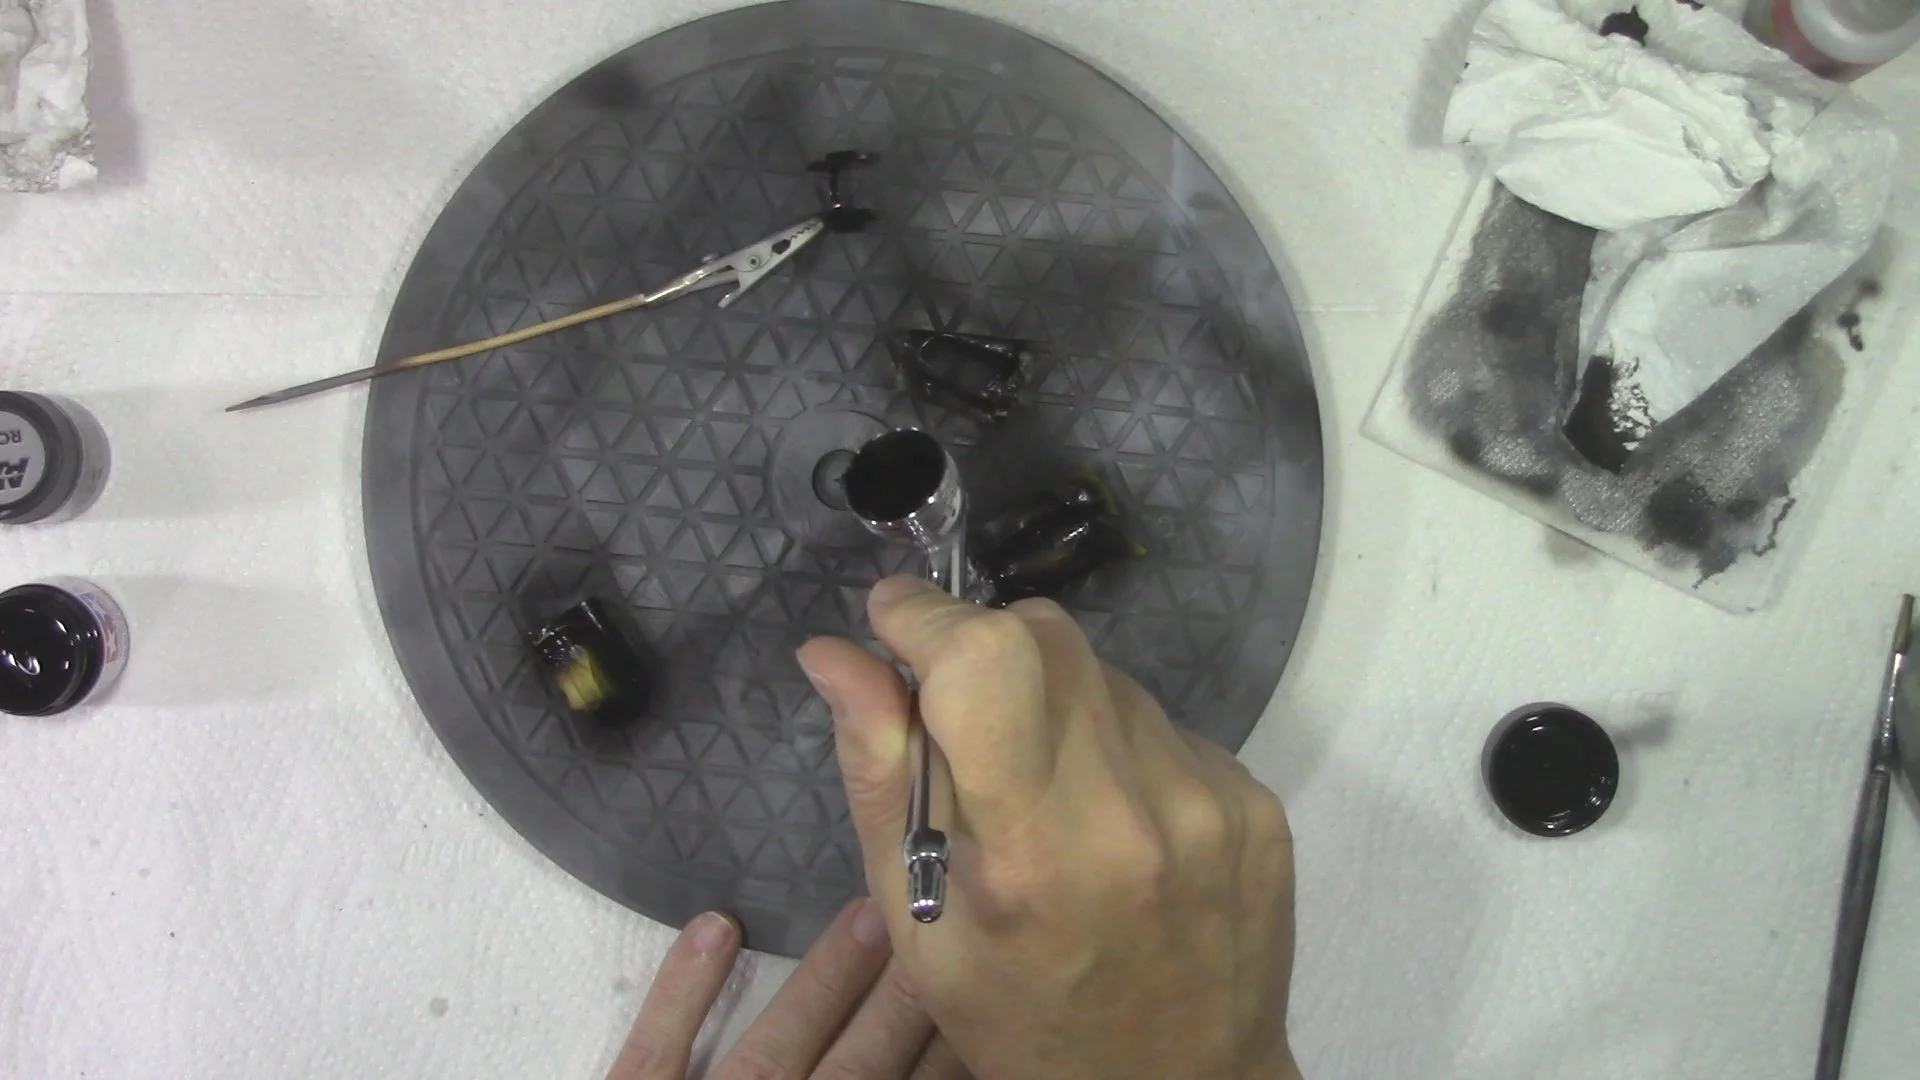
In part nine, we move into the weathering stage with the Flory models Dark dirt wash for the panel lines and the oils to add some wear to the airframe. Next, we add a tint to the front canopy and add the seal decals around the canopies. Finally, we install the gear and clear parts.

In the final part, we use a thin oil wash to detail the gear, wheels, and bays and then neat oils to add weathering to the fuselage. Next we add all the small details ling aerials and sensors and the canopies ready for the final reveal.