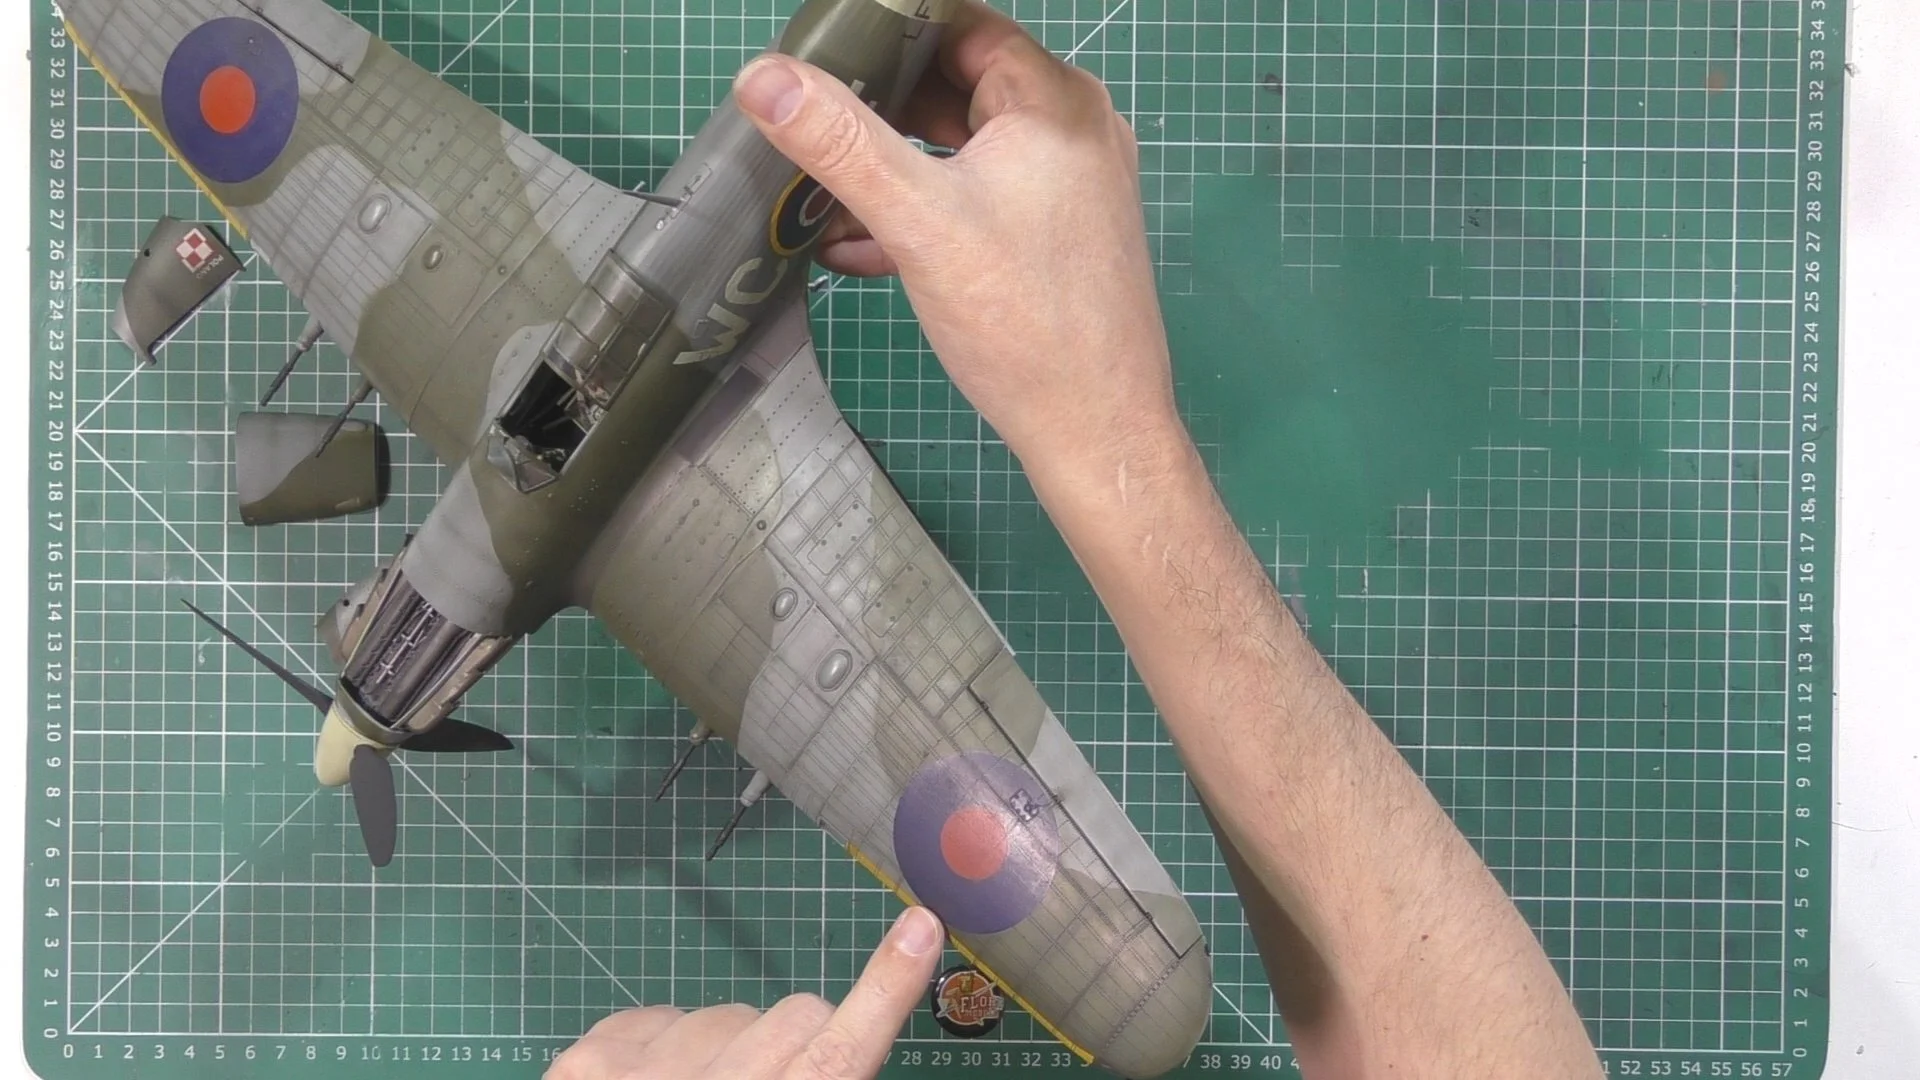
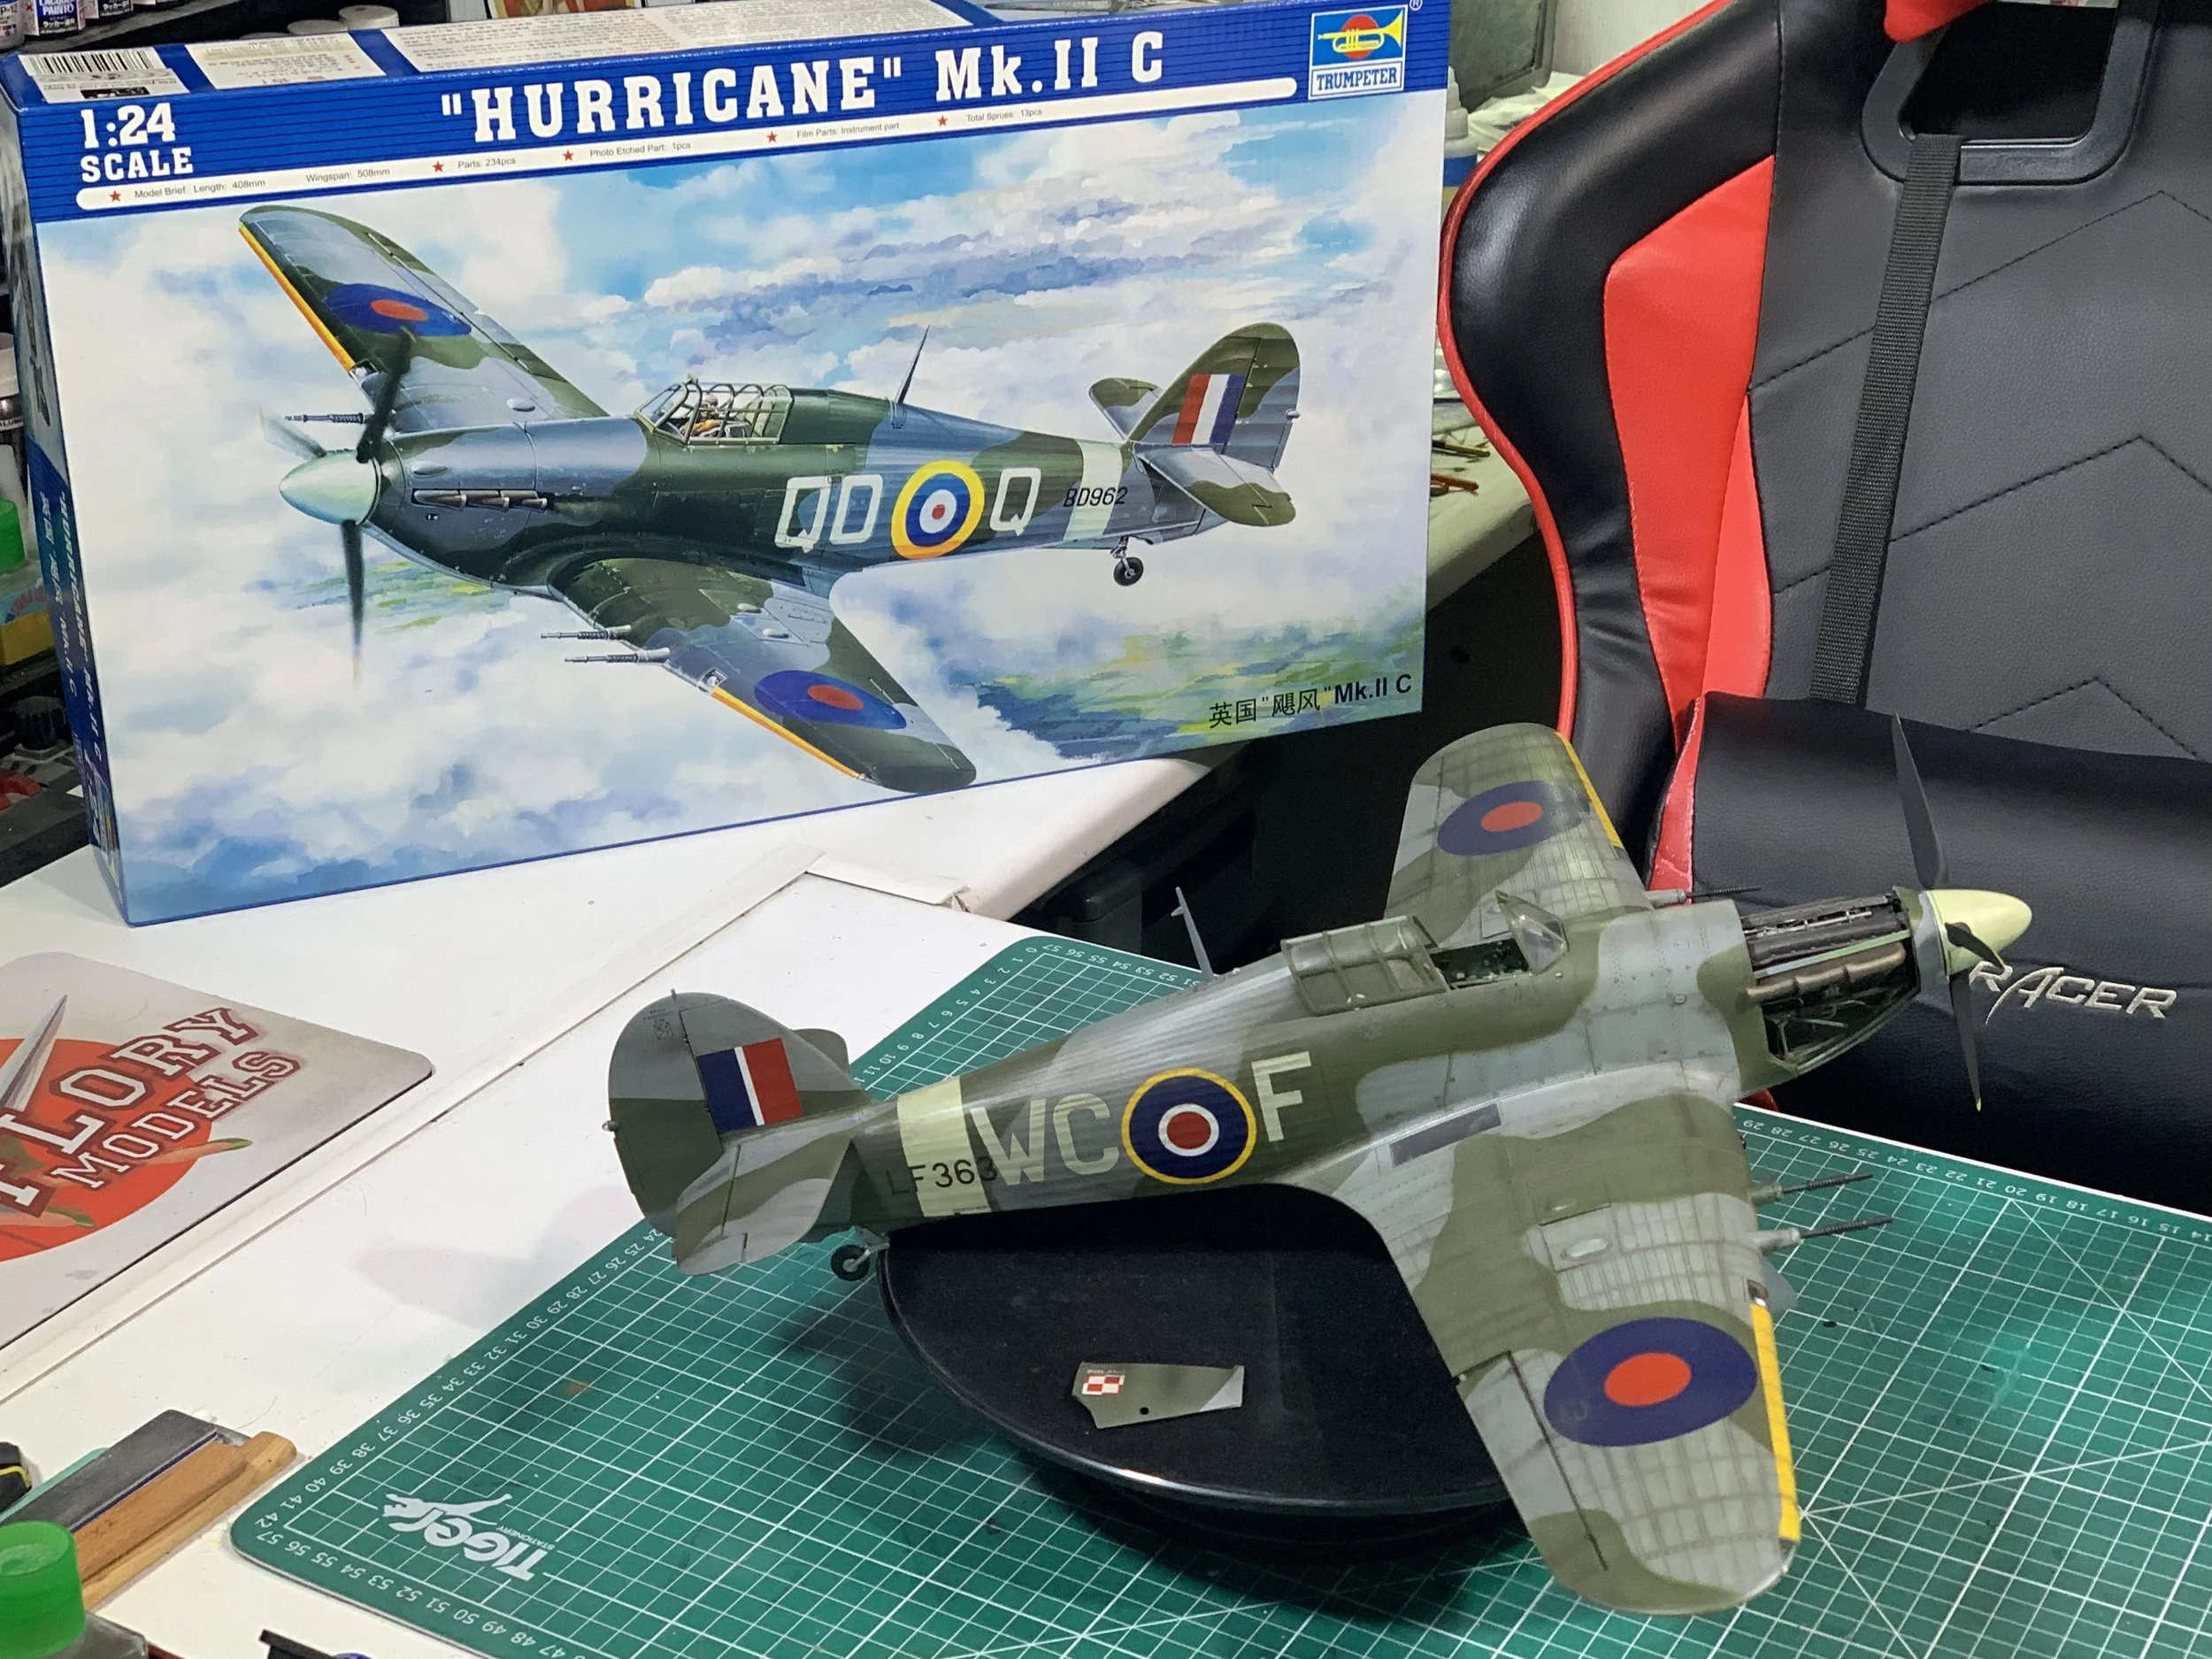
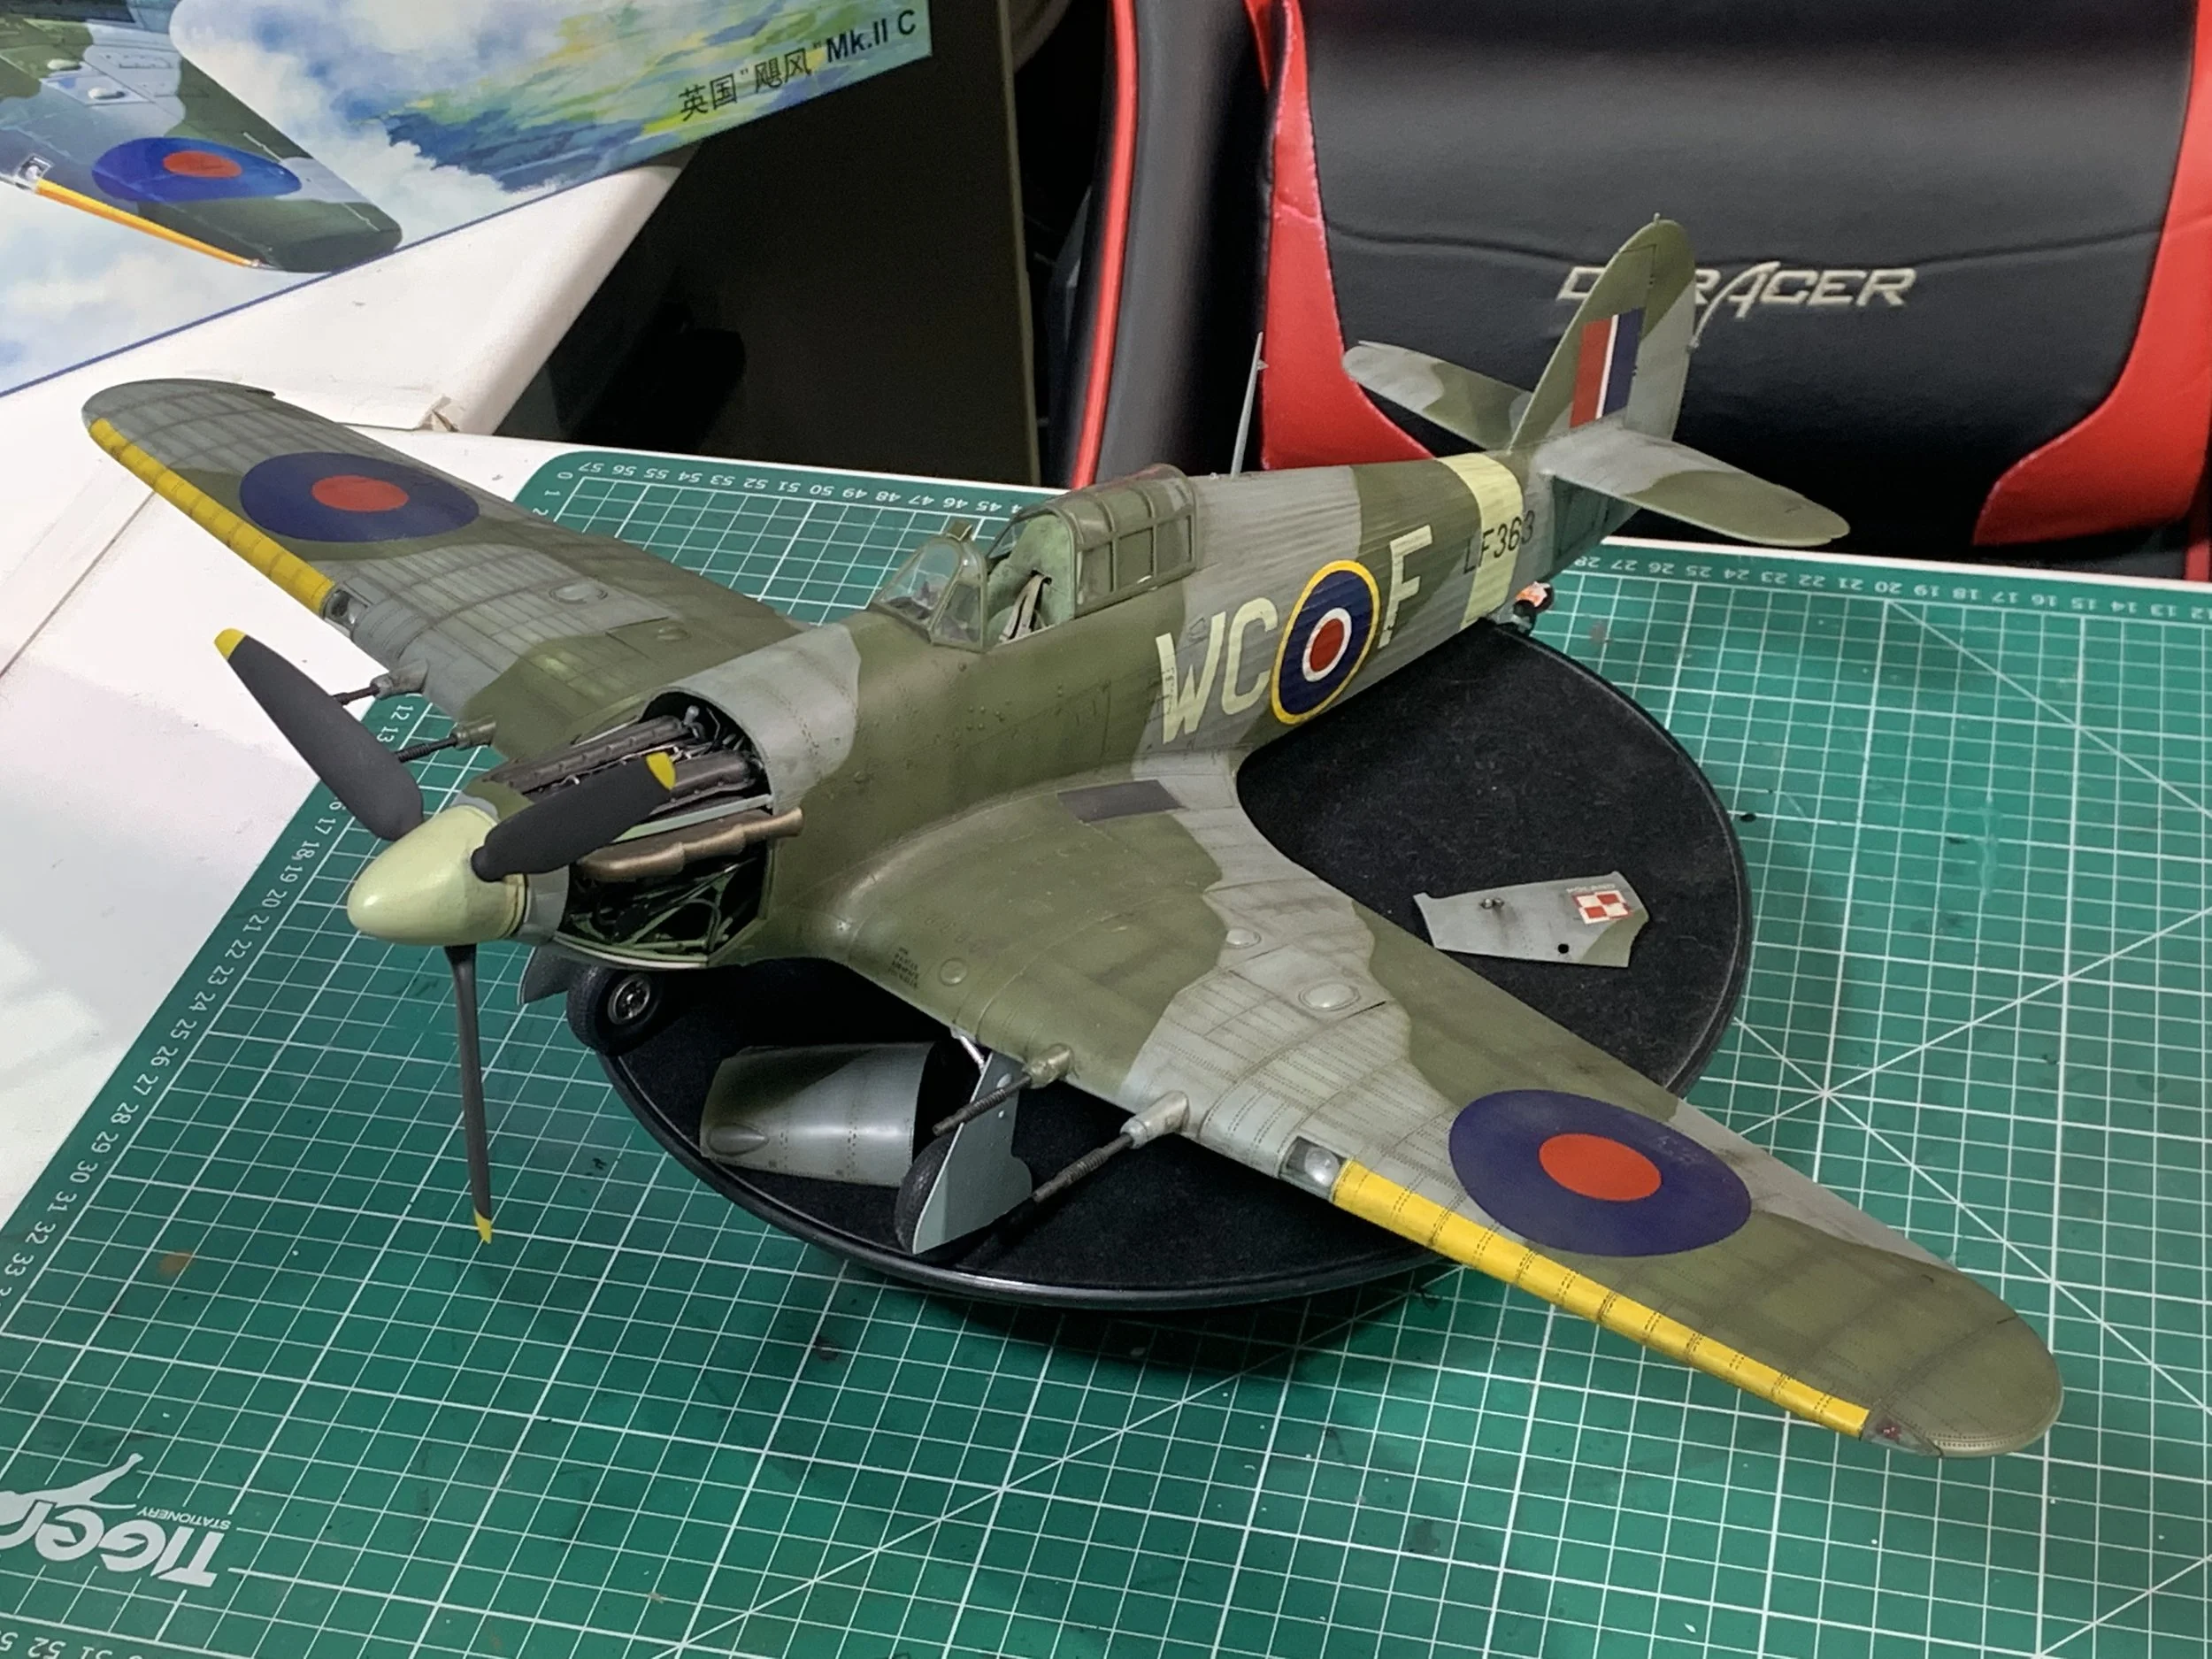
Hurricane Mk.IIc
Scale: 1/24
Manufacturer: Trumpeter
Parts used: Yahu 2402 , HGW 124505, Montex 24013, Master 24-010
Main paints used: Tamiya and AK
In part one, we look are the project ahead and we work on the Cockpit.

In Part two, we paint the cockpit areas with MRP cockpit green and dry brush the cockpit areas with a metal scrub using Mr color Buffable MC214. Then a wash is added to give depth and a warn look. We next install the Yahu instrument panel YMA 2402. Next it’s time to put together the HGW 124505 harnesses.

In part three, we install and weather the harnesses with oils. Next we start work on the engine and paint black and then use Mr. Color MC214 Dark iron and buff to bring out the great metal look.

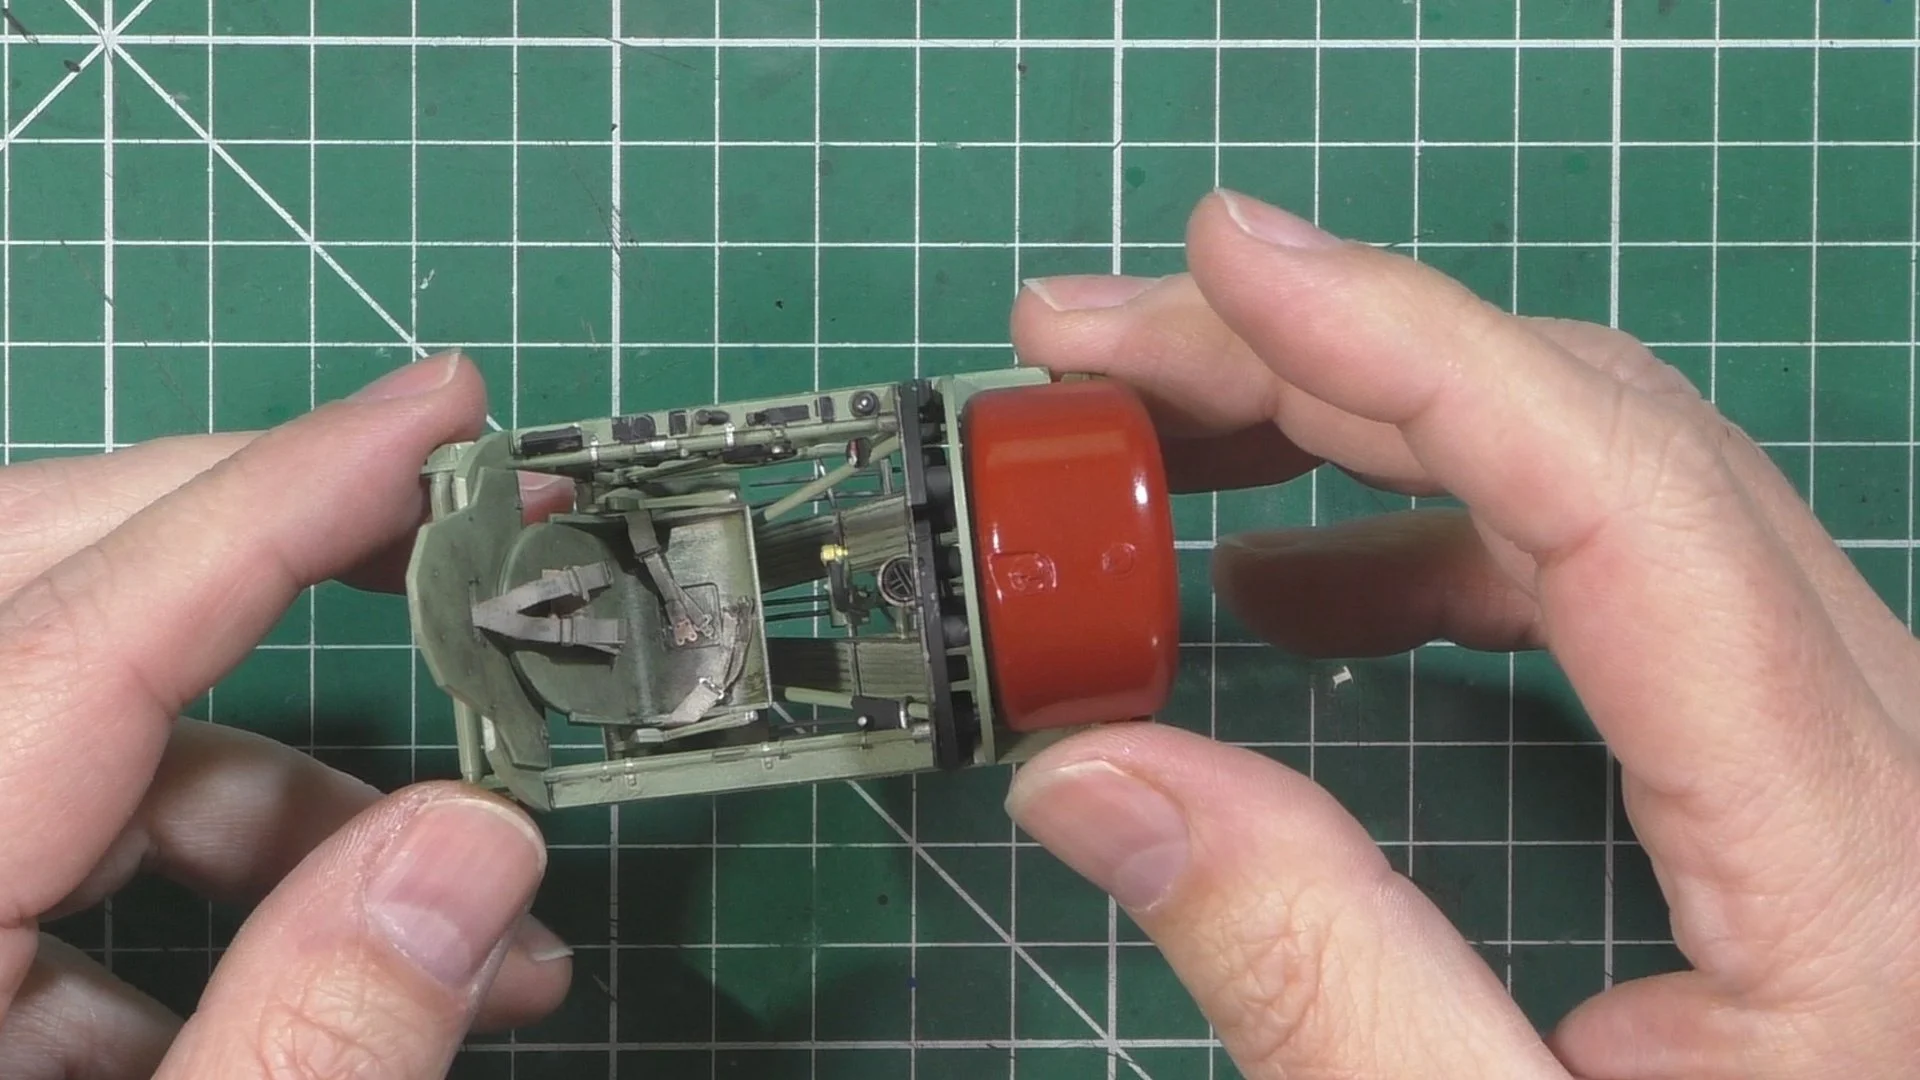
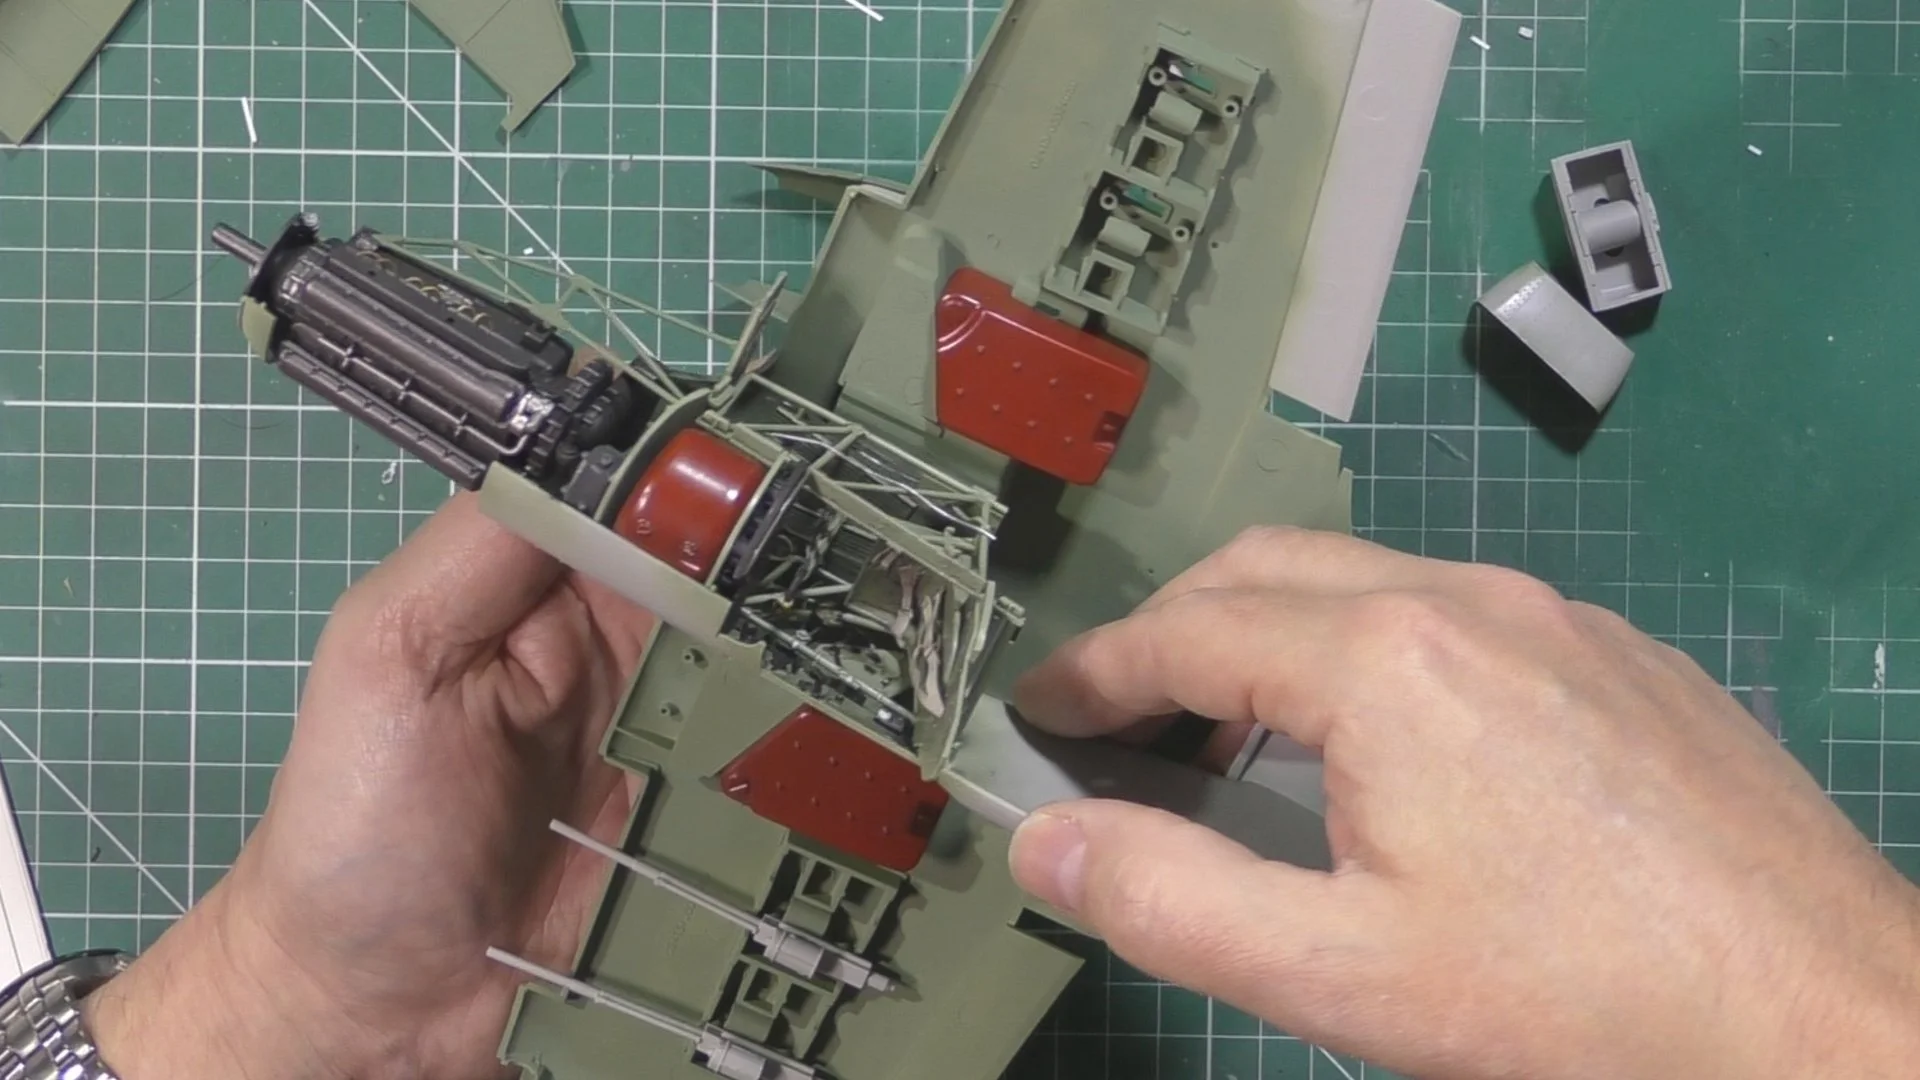
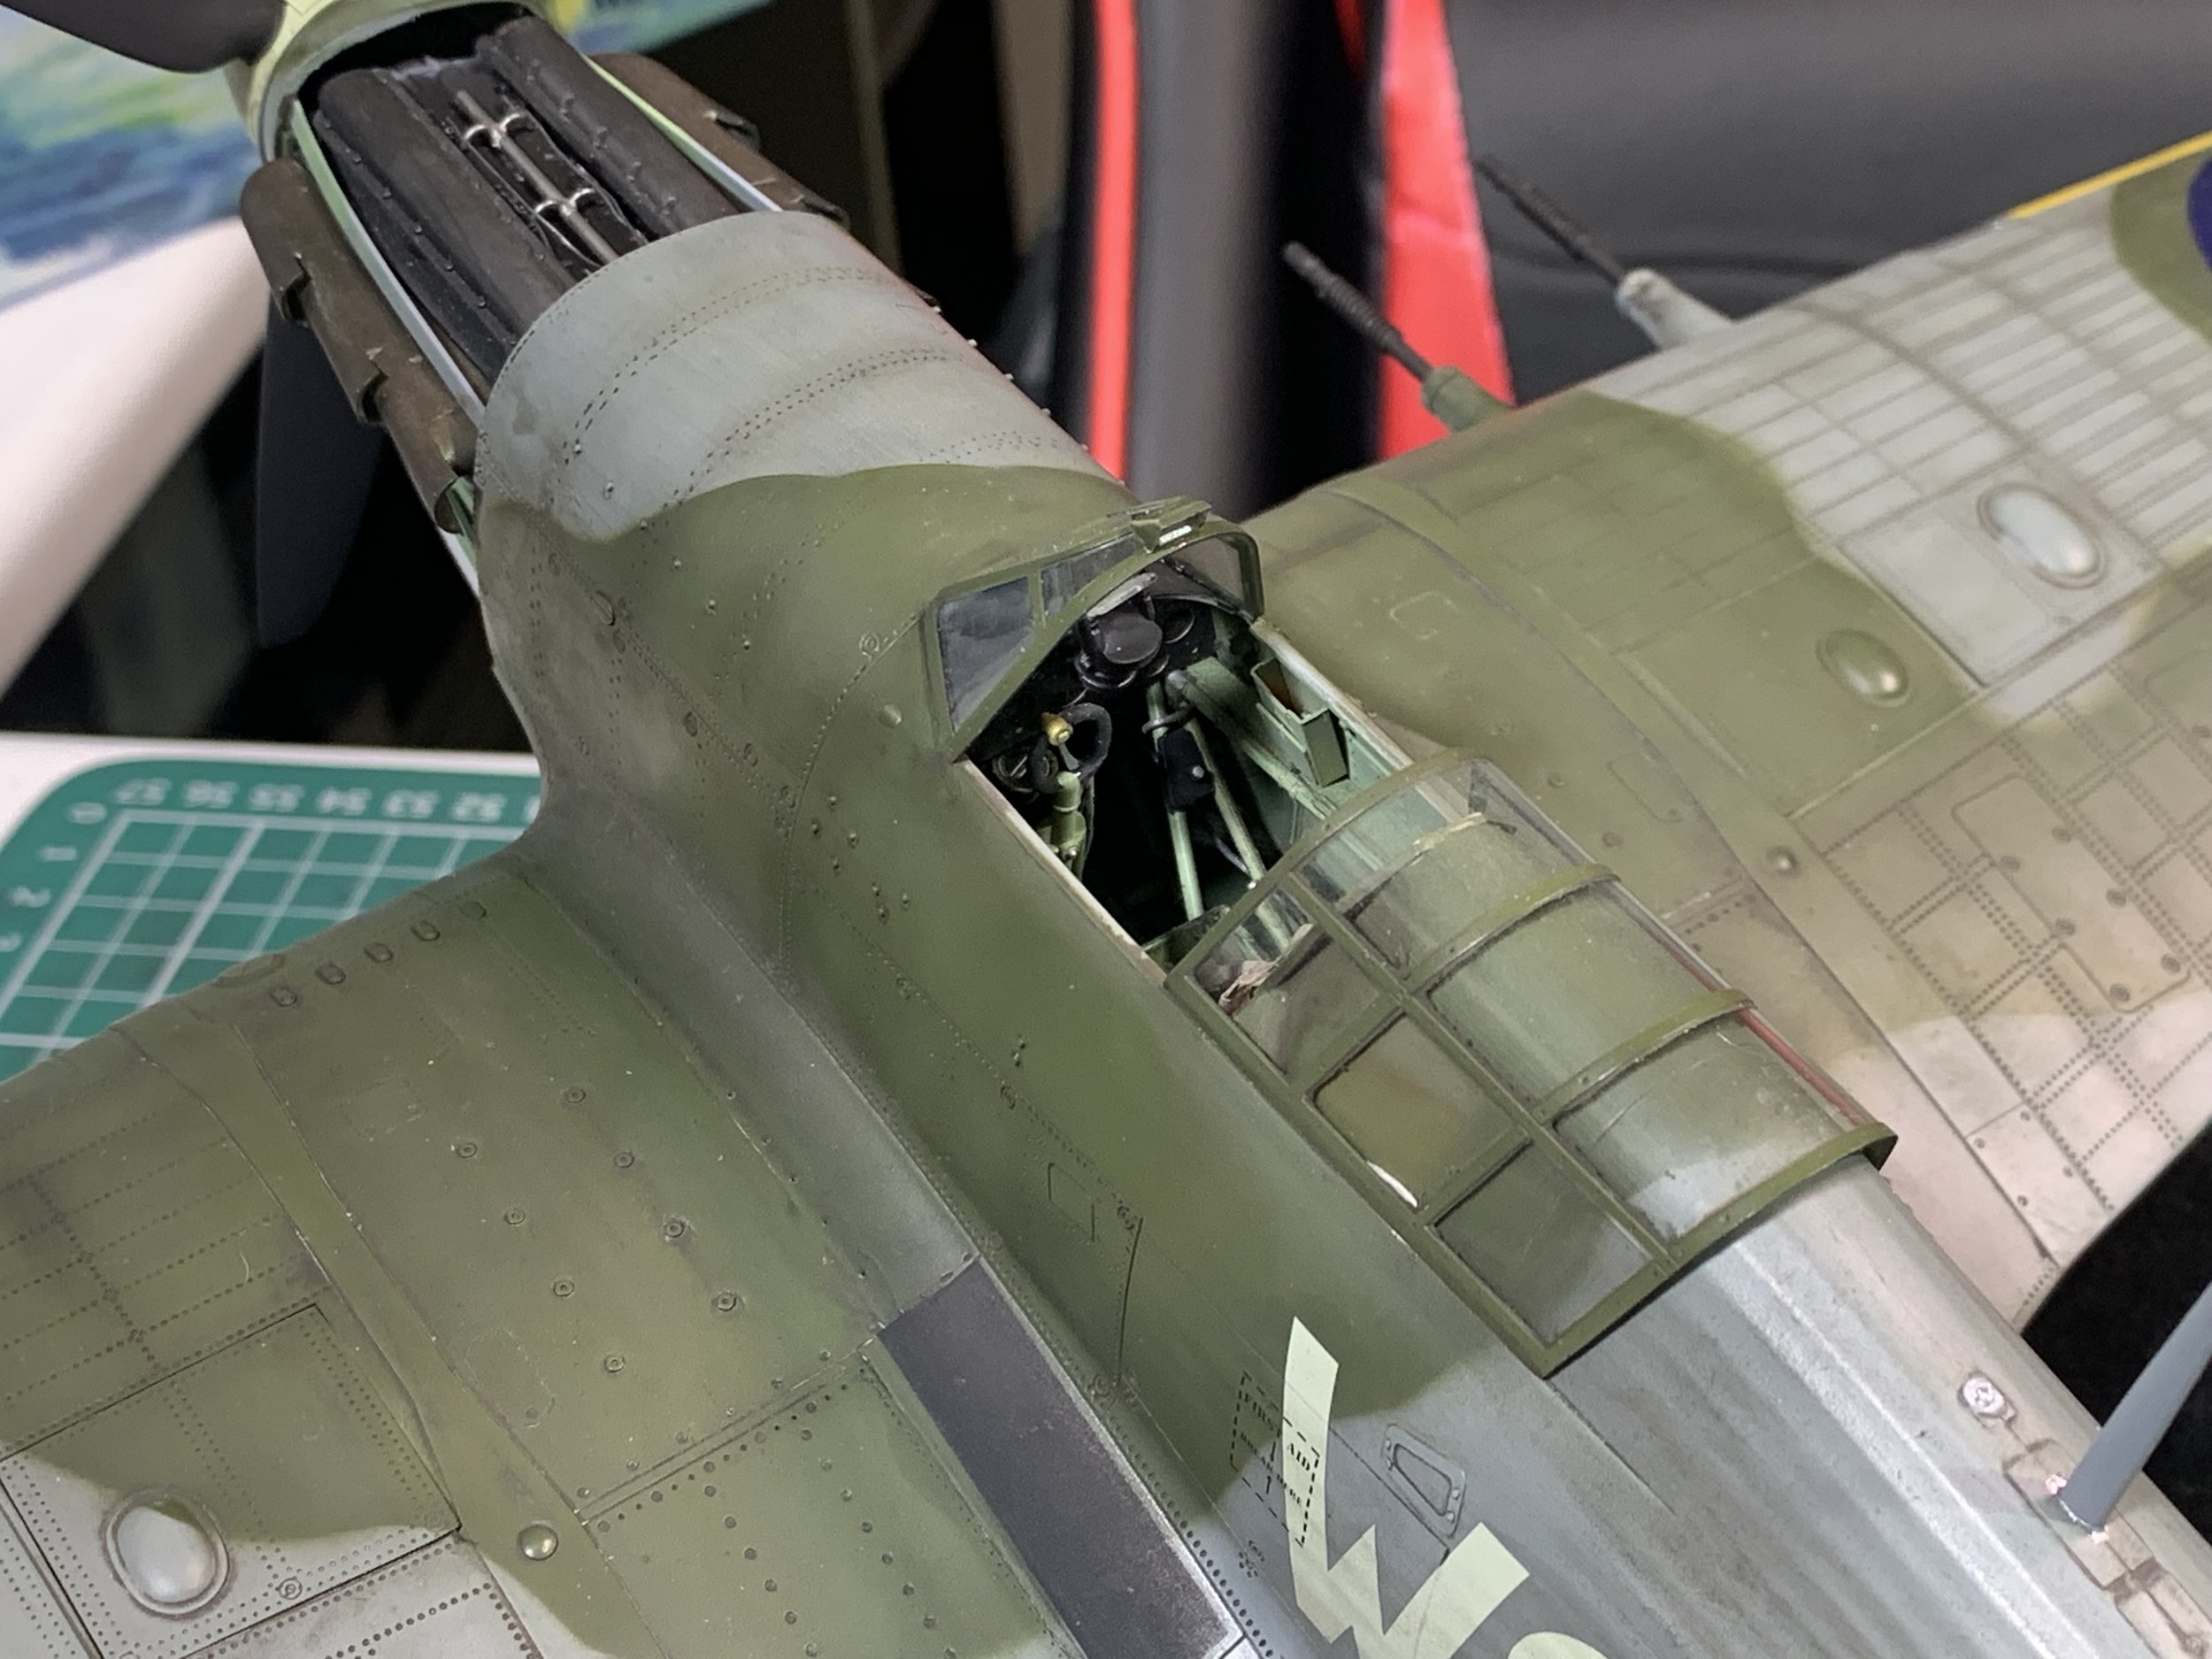
In part four, we cut the cowlings off from the body and then detail them with .25mm styrene strips and extra beams to the engine bay. Next we install the engine to the mounts. Then we move over to the wings and build and install the guns and the radiator.

In part five, it’s time to bring the fuselage half’s together and look at the small seams lines needing some filler and install the wings to the fuselage and start the cleanup and look at using plastic card to fill the wing route seams.

In part six, we clean up the plasticard we use to fill the wing route join and the clean-up and re-scribe and re-rivet the wings and tail. Then we turn our attention to masking and install the clear parts and lights.

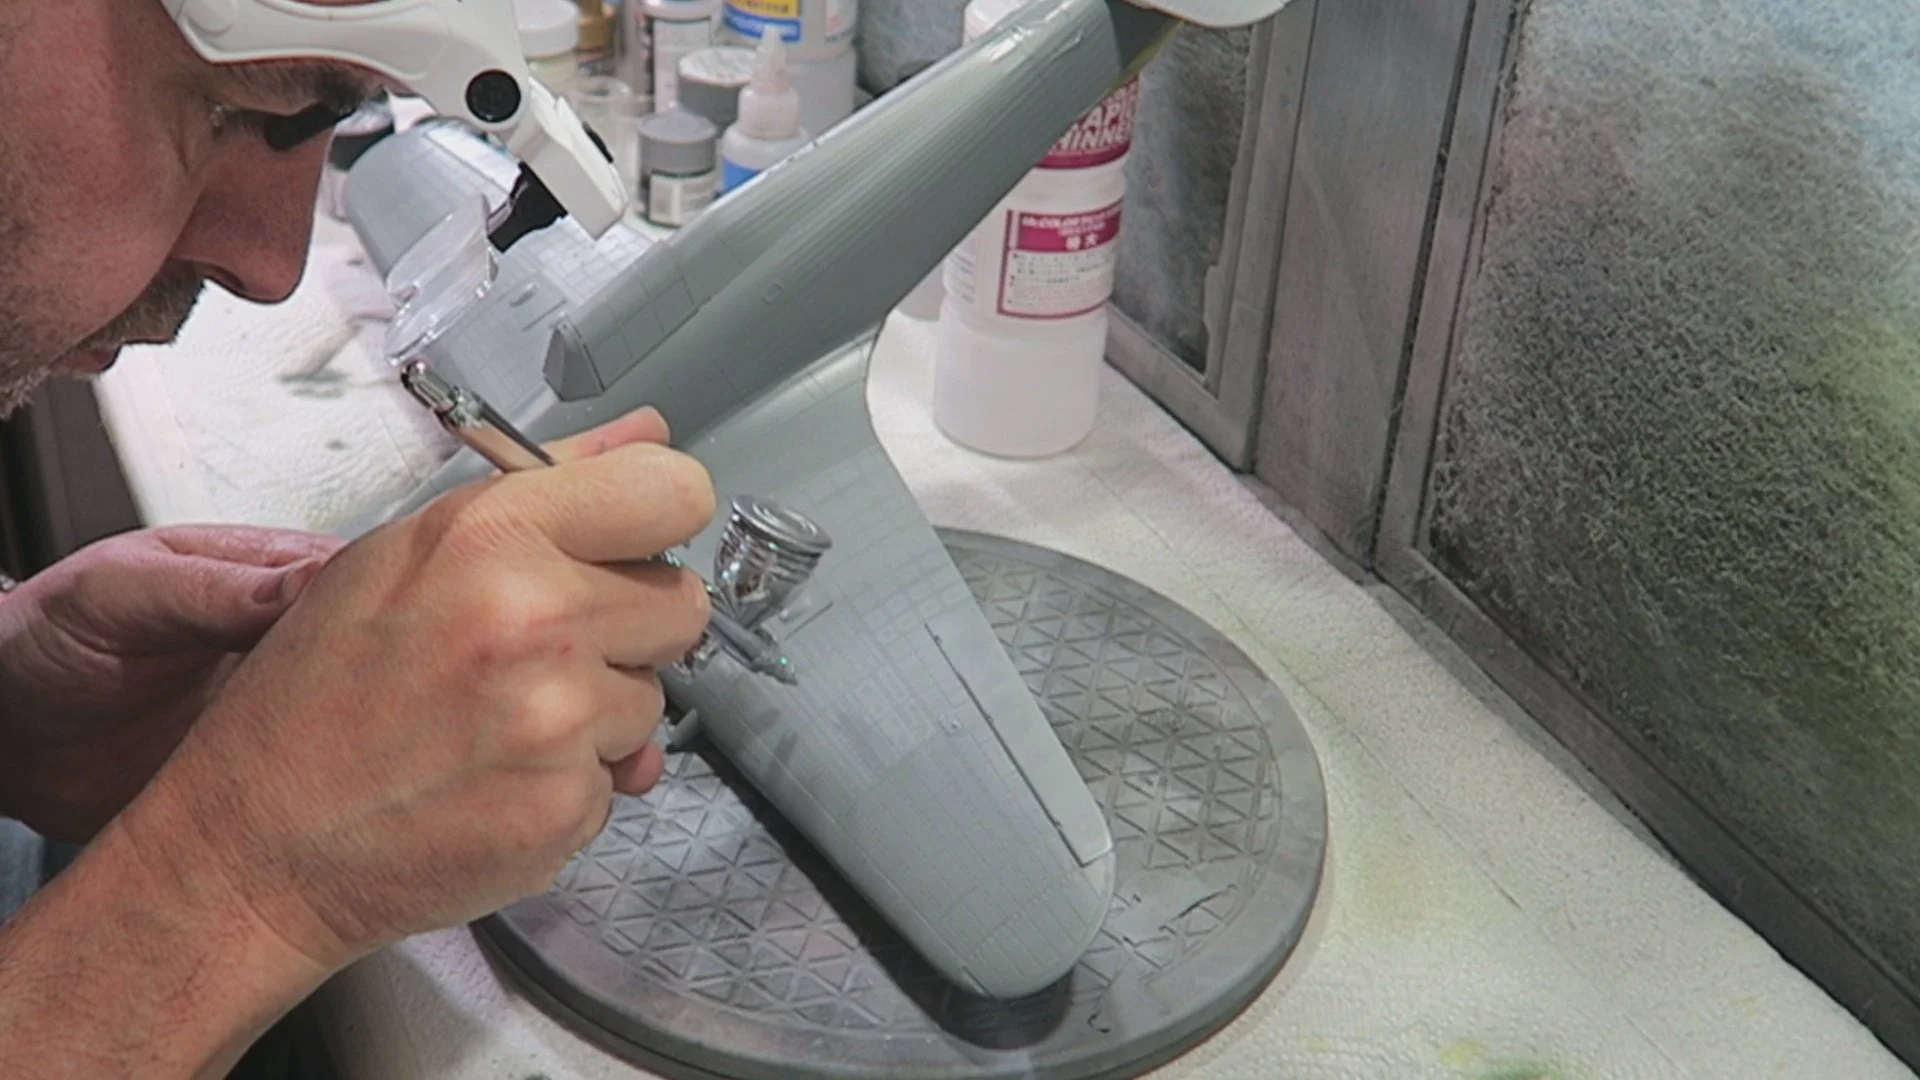
In Part seven, we move into the spray booth and pre-color the canopy and get the primer coat on. Next we spray aluminum in the wheel well and mask the up ready for the underside color. We spray Sky on the tail for the banding (RC290) and then mask that up. Then we can paint the underside with RC289 Med Sea Grey.

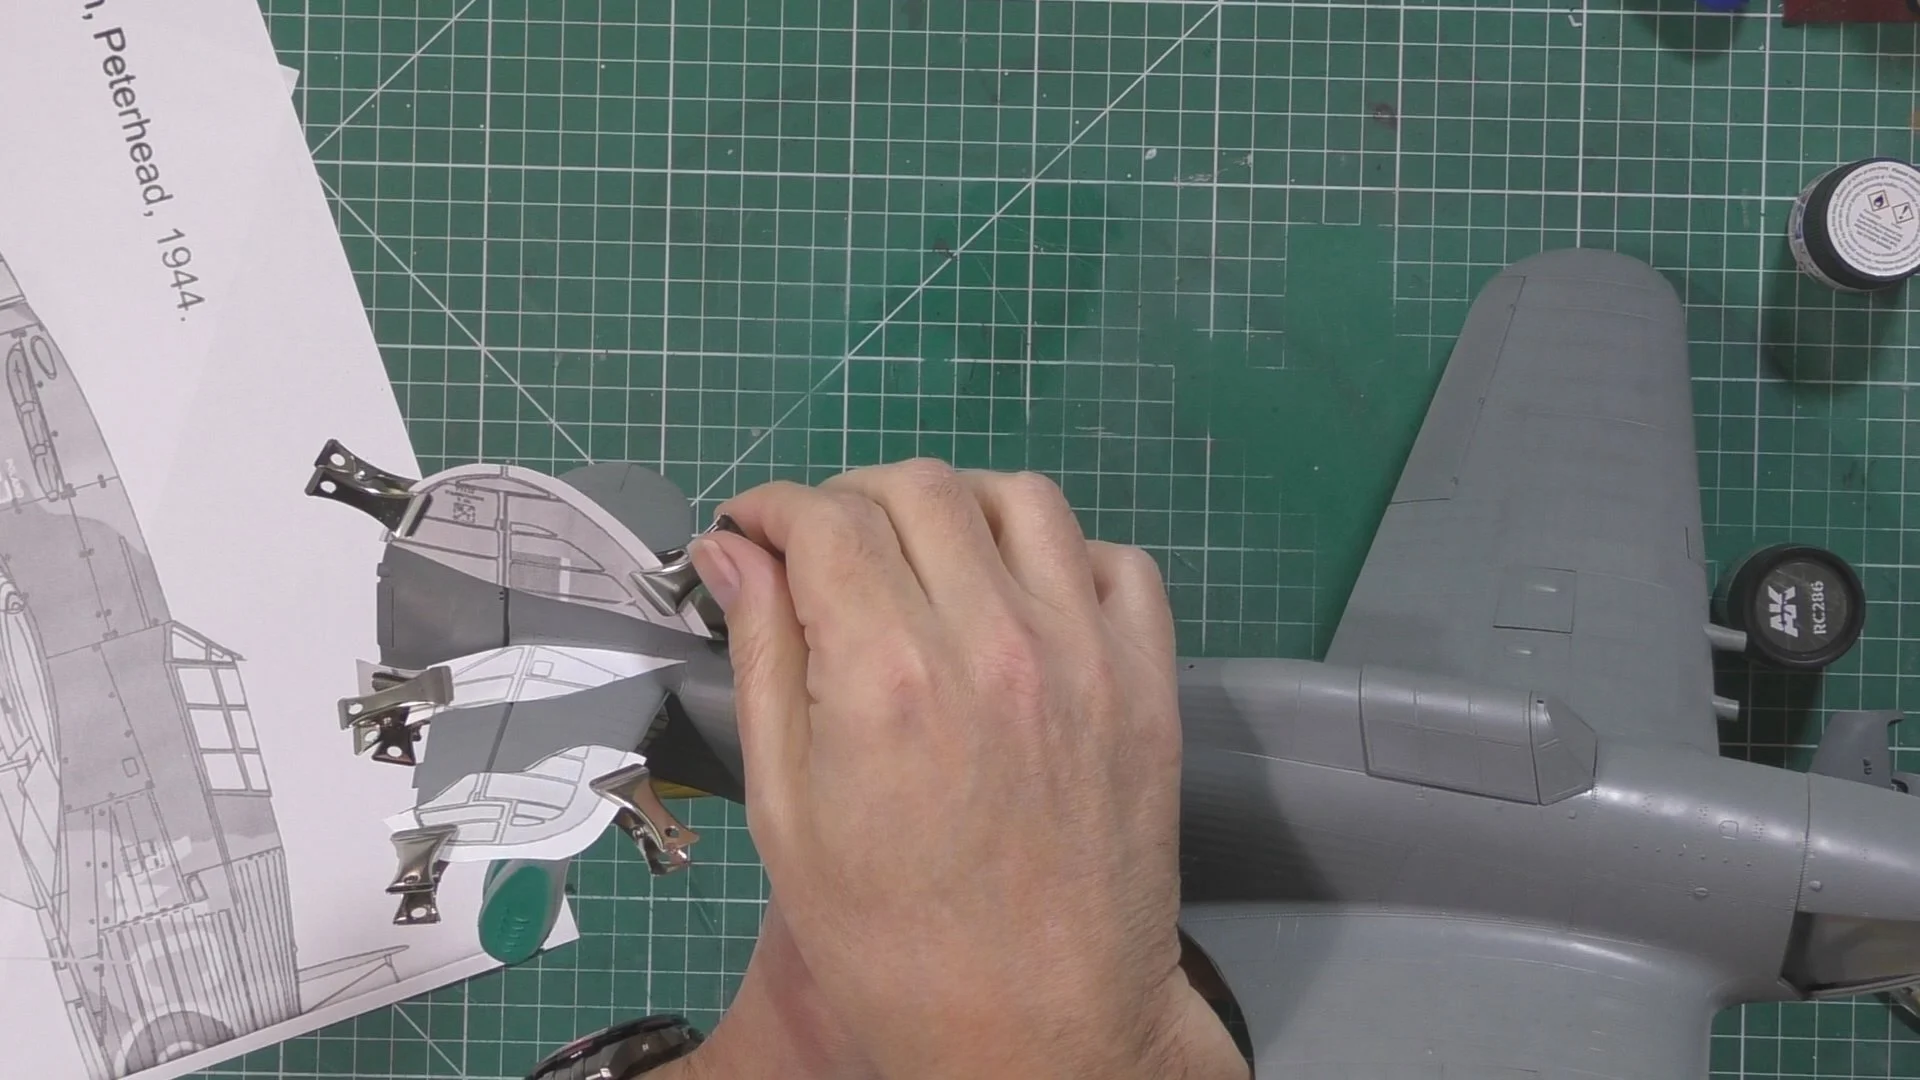
In Part eight, we work on the top ocean grey RC288 and fade it back as we did on the underside. We then enlarge the drawings by 300% and use them a a paper template, The put the Green RC286 and again fade that back.

In part nine, we tide up the camo work with a bit of free hand work. Next we install the Master aftermarket gun system before decaling the hurricane up all ready for weathering

In part ten, we start on the weathering with a wash with flory models dark dirt over the whole model and leave to dry, then using a damp cloth and sanders remove the wash. Then we use hot water to soften the tyers so we can fit the hubs and then install the gear.

In Part eleven, we weather with oils to bring out the small details with a filter wash and then neat oils to add streaks and stains to the aircraft.

In the final part of the great build we add the small parts like steps lights aerials etc. and then detail the engine with some simple wiring and plasticard and then we are all ready for the final reveal.