DeHavilland Mosquito FBVI
Scale: 1/32
Manufacturer: Tamiya
Parts used: Parts used: Brassin sets 632077,632078,632090,632065, Yahu 3210,HGW 132568
Main paints used: Tamiya & MRP
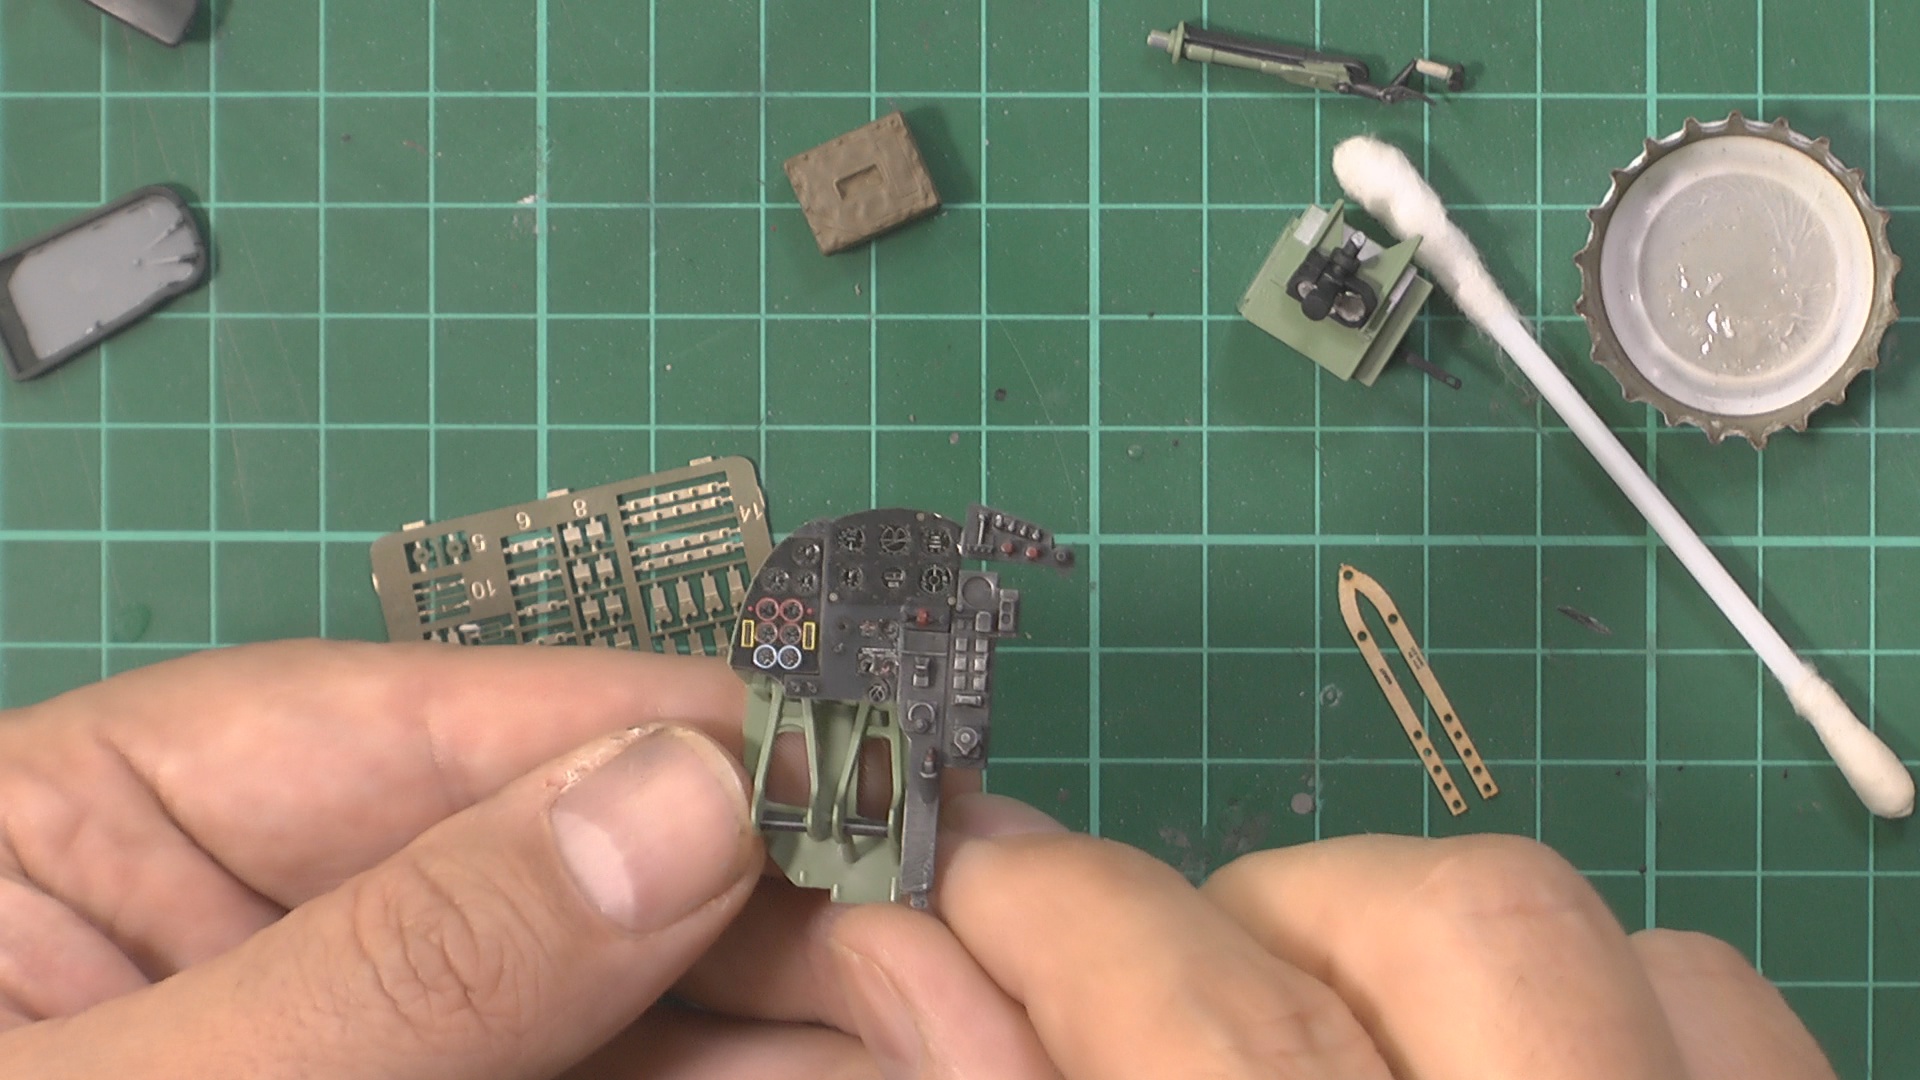
In Part on, We look at the build ahead and start on the cockpit
00:00 Looking at the build ahead
03:38 Working on the cockpit
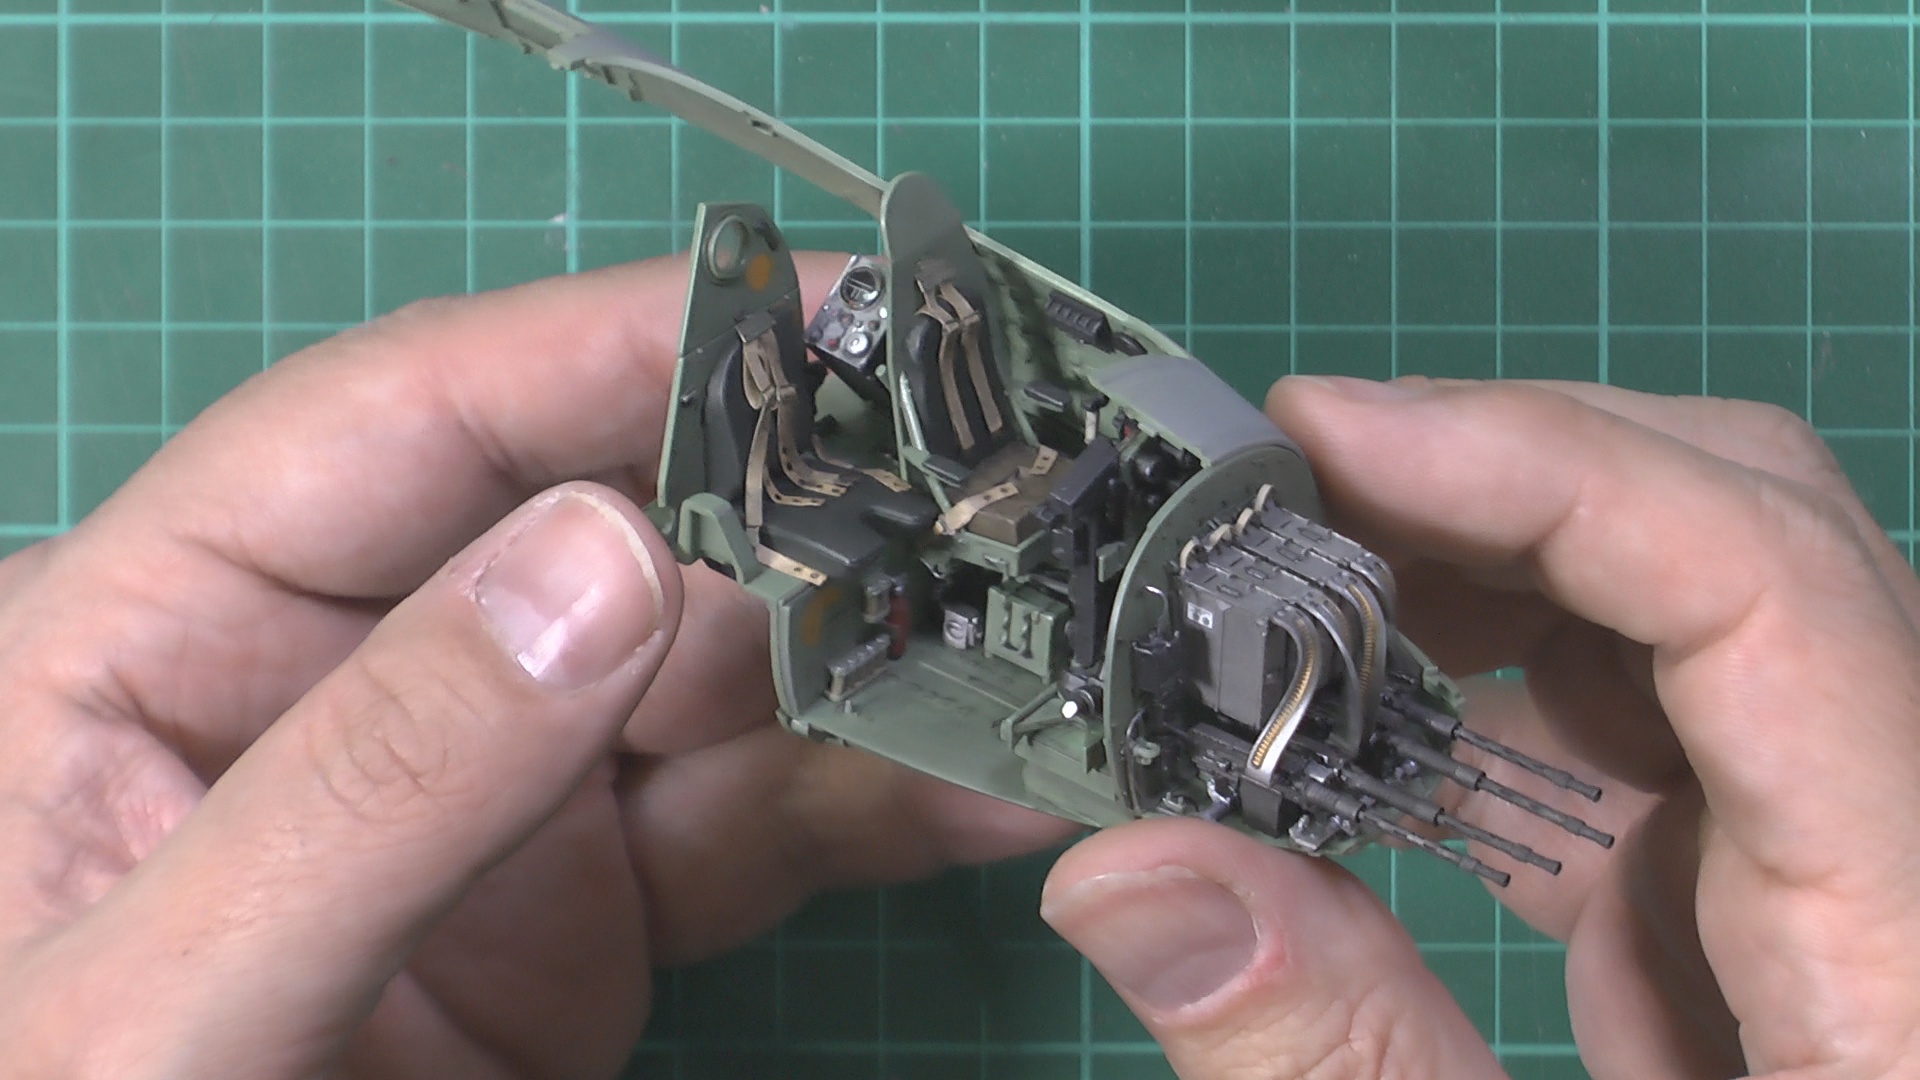
20:22 Starting in the HGW harnesses
In part Two, we finish off the cockpit and the work on the 303 nose gun bay.
00:00 Dry brushing with Tamiya XF-19
06:00 Dry brushing with Metalizer
08:50 Oil wash with Abteilung 502 Smoke
14:30 Working on the nose 303 gun bay area (Brassin set 632077)(Master AM-32-083)
25:20 Painting the guns (Mr. Metal color 214) and ammo box's ( Xtream Metal AK480)
In part Three, we finish off the 303 gun system and start work on the rear fuselage
00:00 Installing the ammo boxes for the noes 303 guns
07:00 Install the ammo feeds
10:20 Decal and added the nose section, then an oil wash is added for weathering
19:00 Start working on the rear fuselage
In Part Four, we finish off the fuselage and join the two halves together.
00:00 working on the tail wheel mount
10:48 Joining the fuselage together
24:50 Working on the tail planes and control surfaces
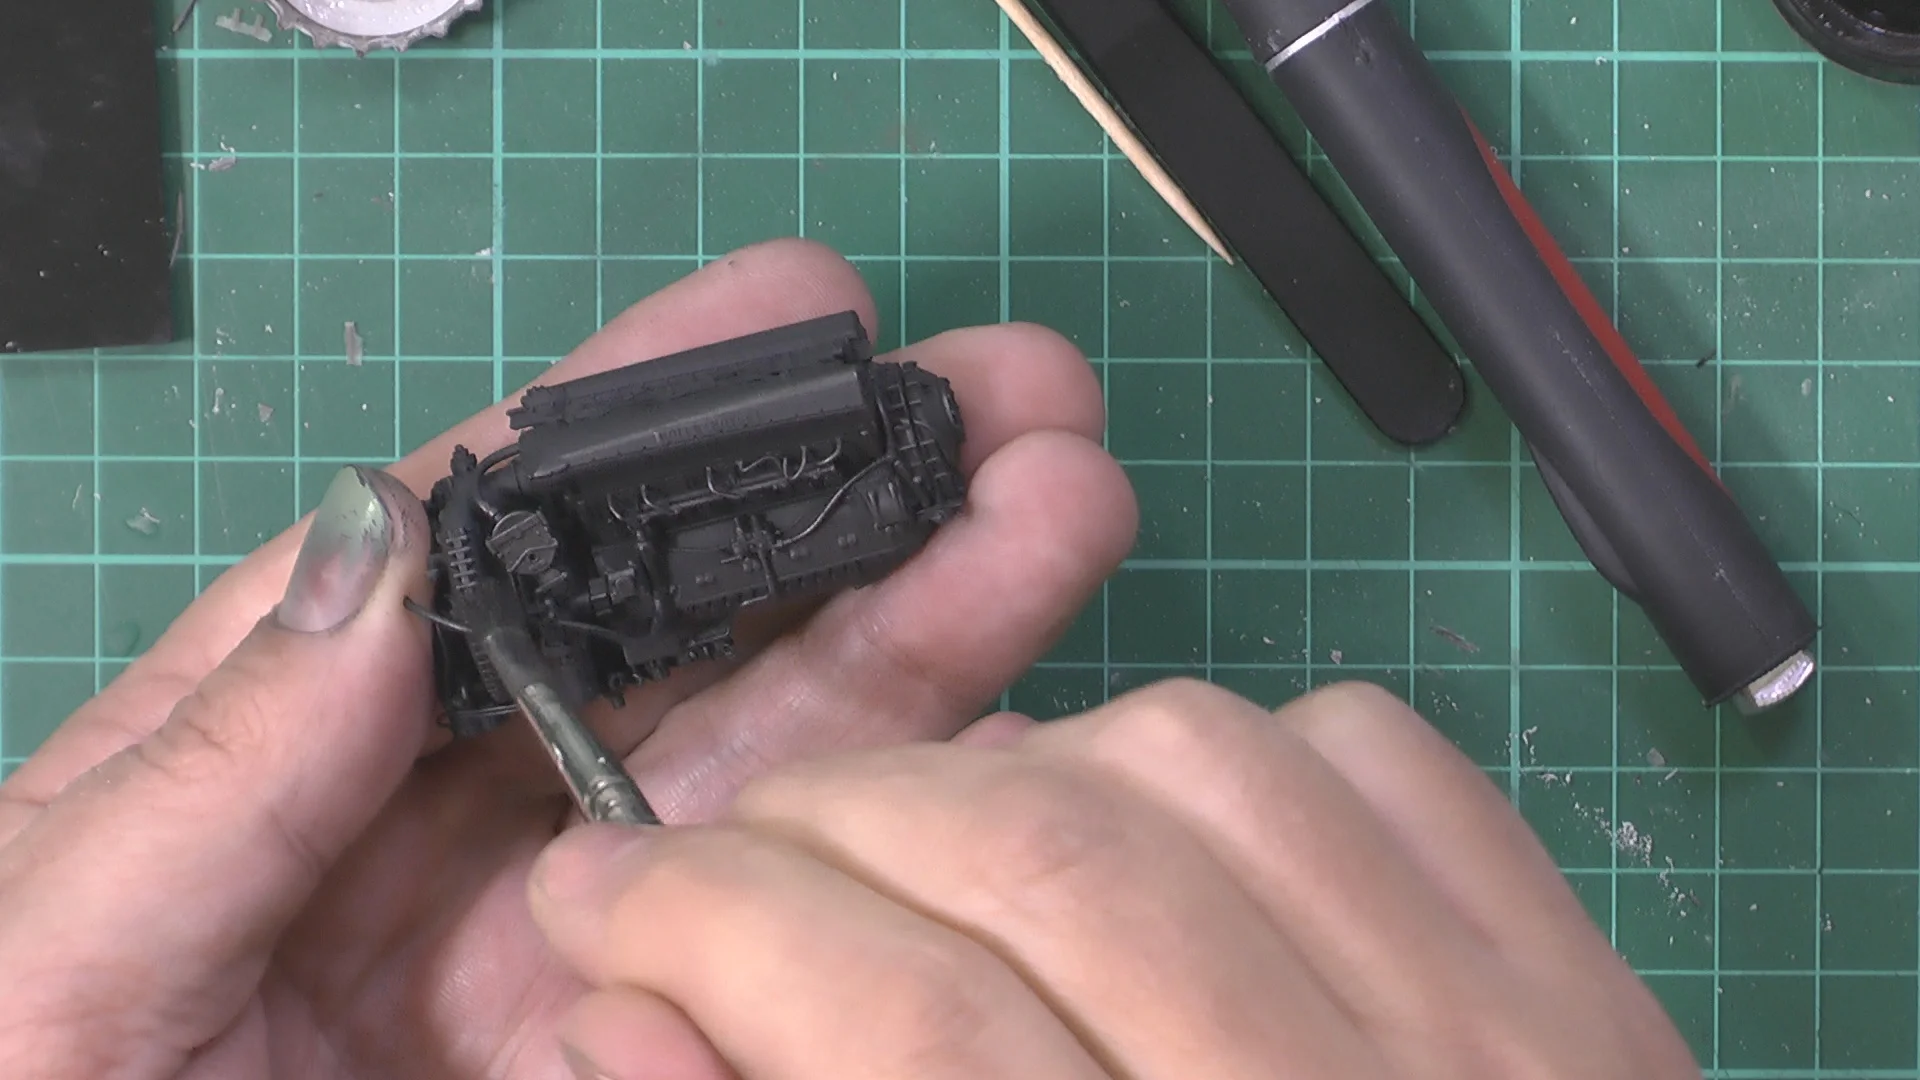
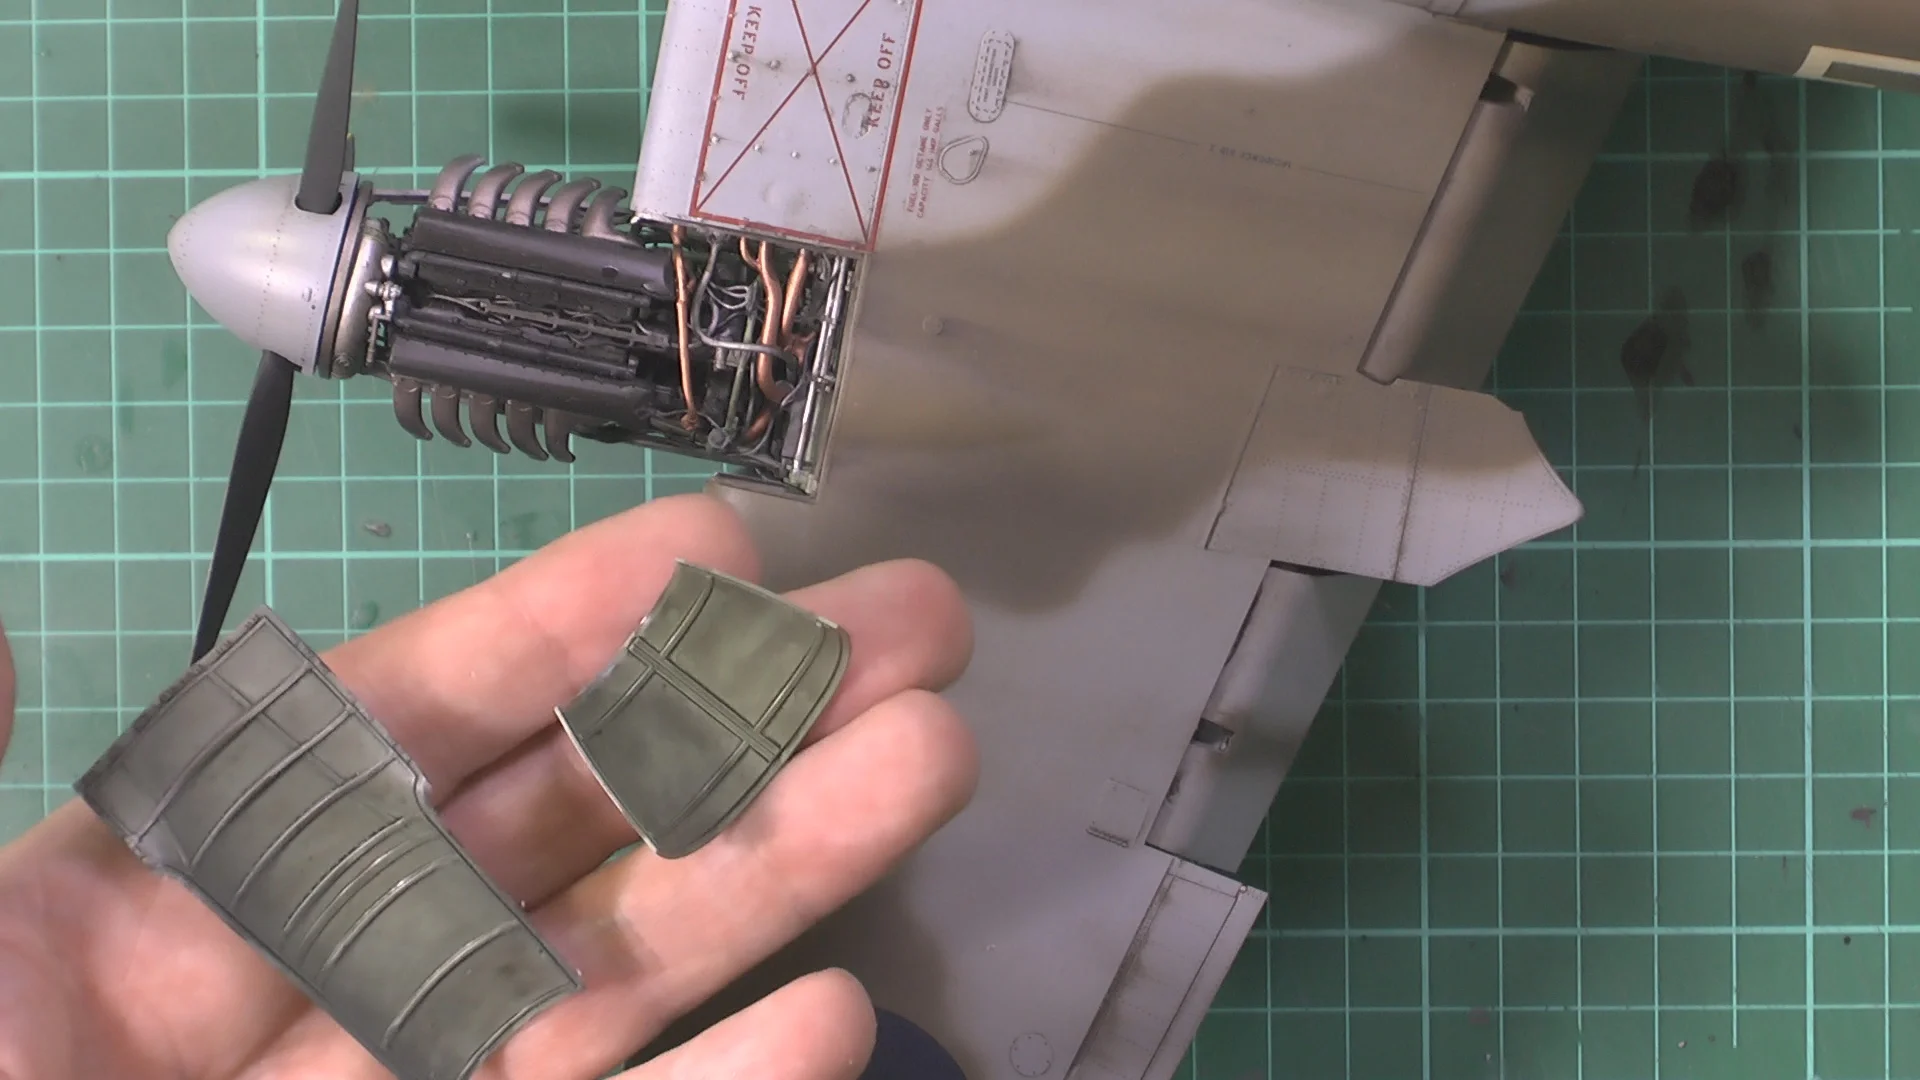
In Part Five, it's all about the engines, the Rolls Royce Merlins. In this case, the stunning Brassin set by Eduard 632 090
In Part Six, we continue with the Merlin engines with the plumbing and wiring and weathering.
In Part Seven, we finish of the engines and then build the wing area and add the engines
00:00 Building the wing sections
12:10 Covering the wing and install the radiators
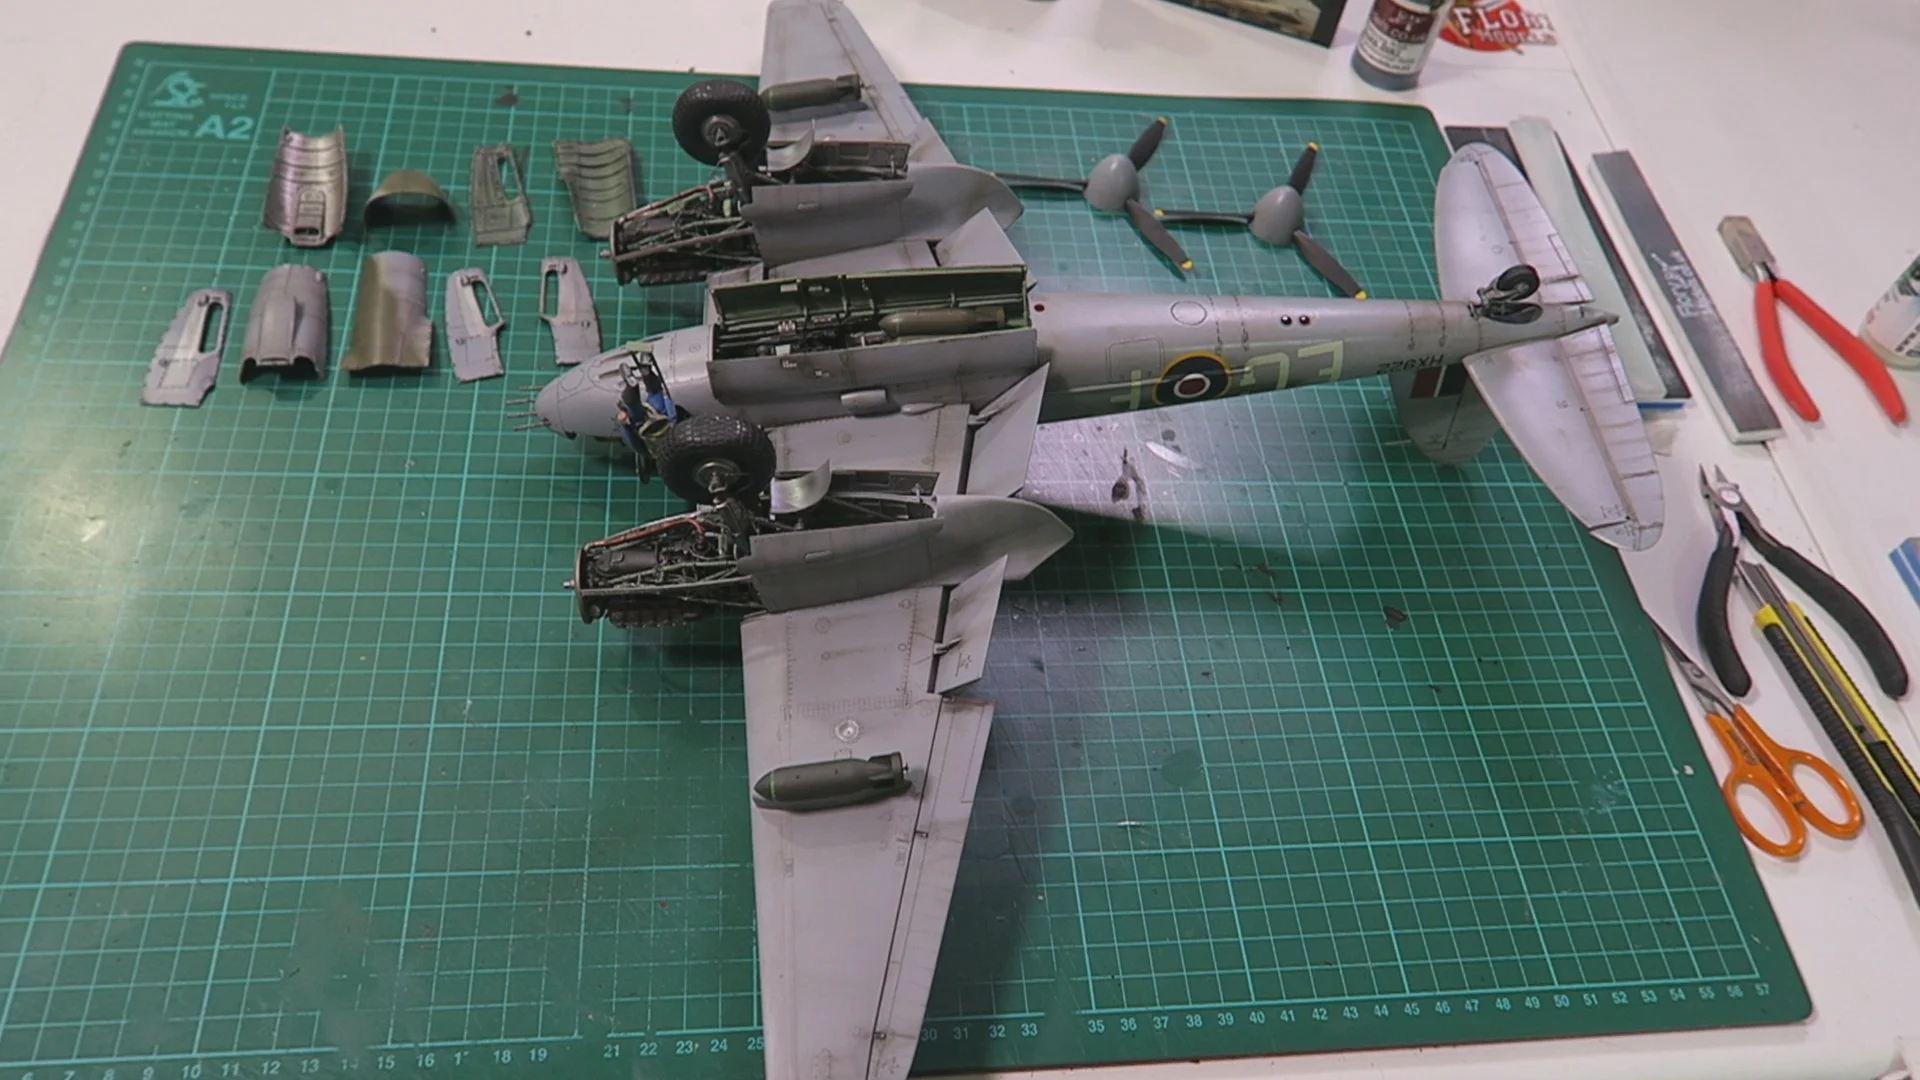
24:10 Mounting and installing the engines
In Part Eight, we finish the piping work for the engines and the instal the wing section.
00:00 Finishing on the plumbing of the Merlin engines
06:40 Weathering the radio equipment area and mating the wing section with the fuselage
13:20 Start work on the 20mm belly cannons
In Part Nine, we work on the Brassin 20mm Cannons and build the main gear.
00:00 Build the Brassin 20mm Gun Bay 632078
02:34 Weathering the Cannons with smoke oil wash and dry brushing
08:24 Working on the kit wheels and looking at the Brassin aftermarket option
20:00 Building the Bomb bay doors
In part Ten, we weather the bomb bay doors and work on the canopy framework, then it's over for the primer and the first coats of paint.
00:00 Weathering the Bomb Bay doors with oils
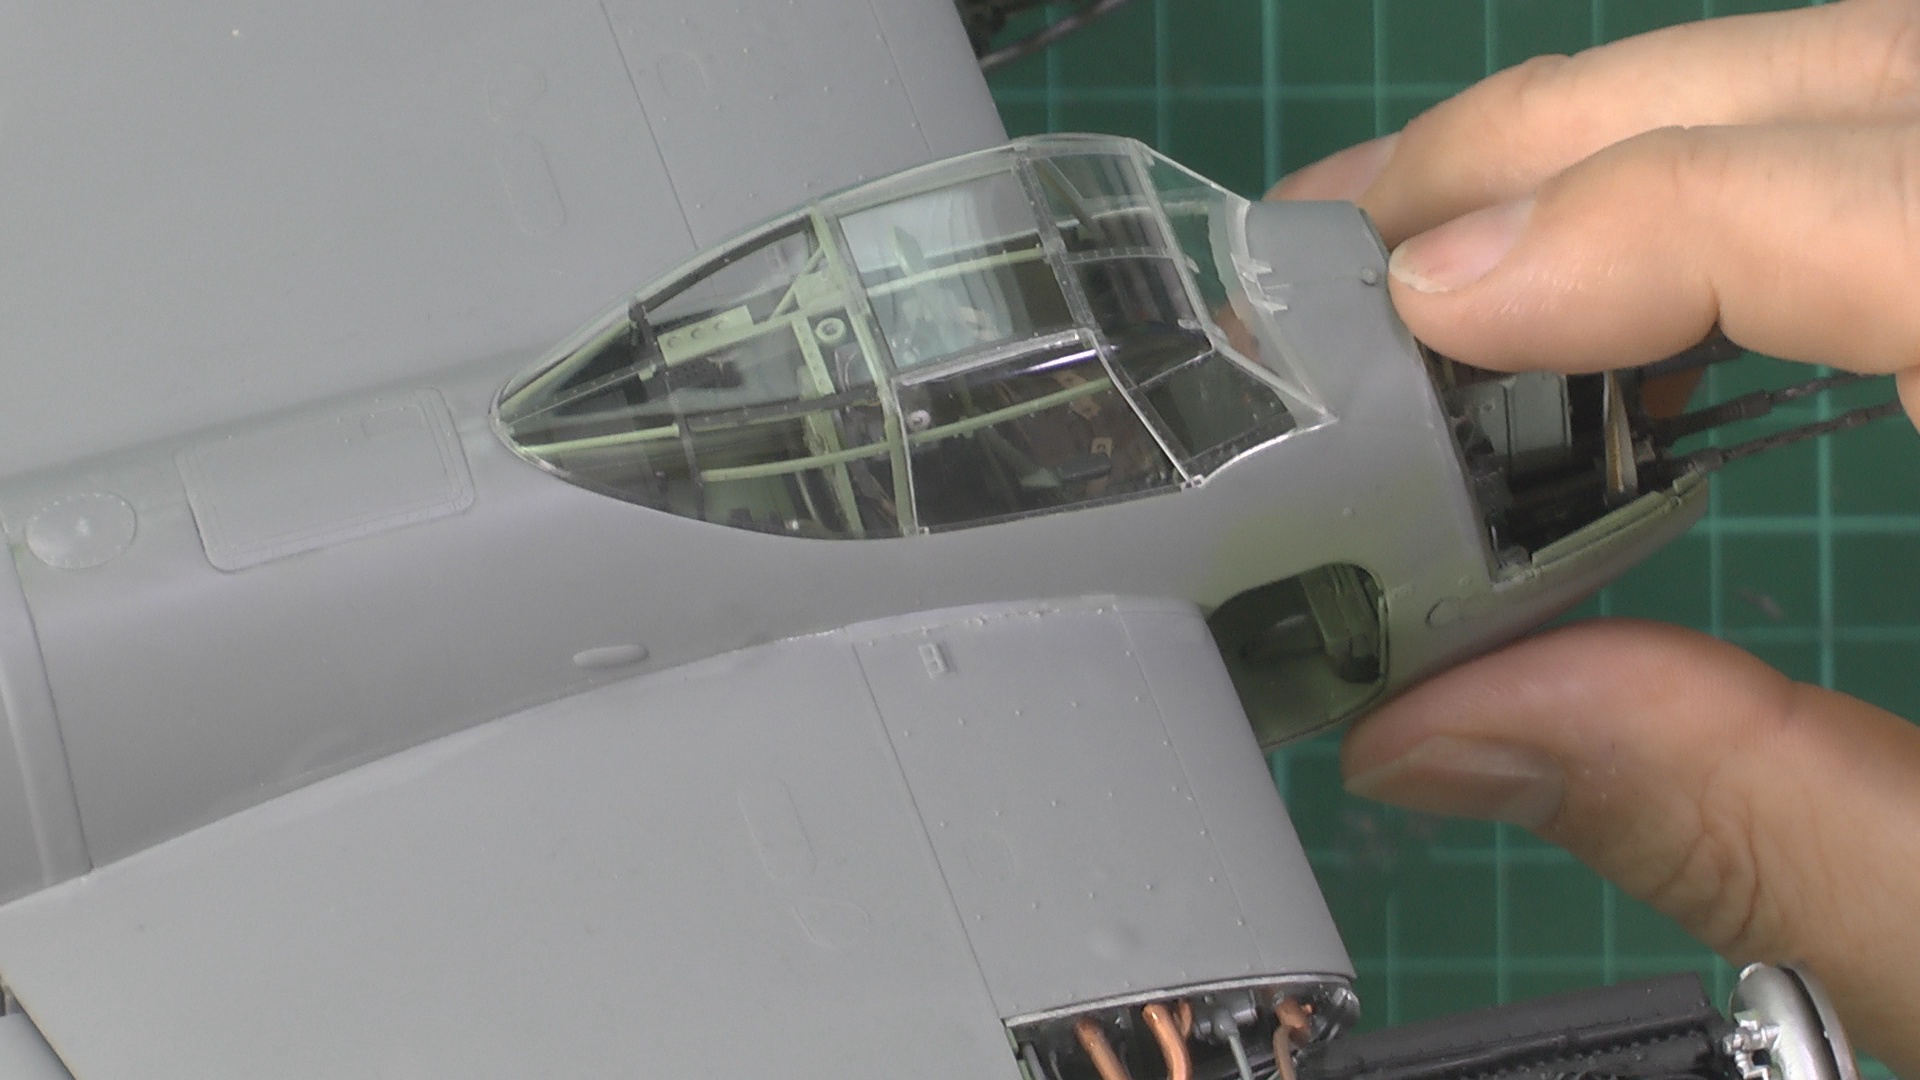
04:55 Instaling the canopy framework
09:00 Masking the clear parts
14:00 Priming the mosquito with MRP- 84 fine surface primer
18:20 Checking the primer and taking care of a few small seams
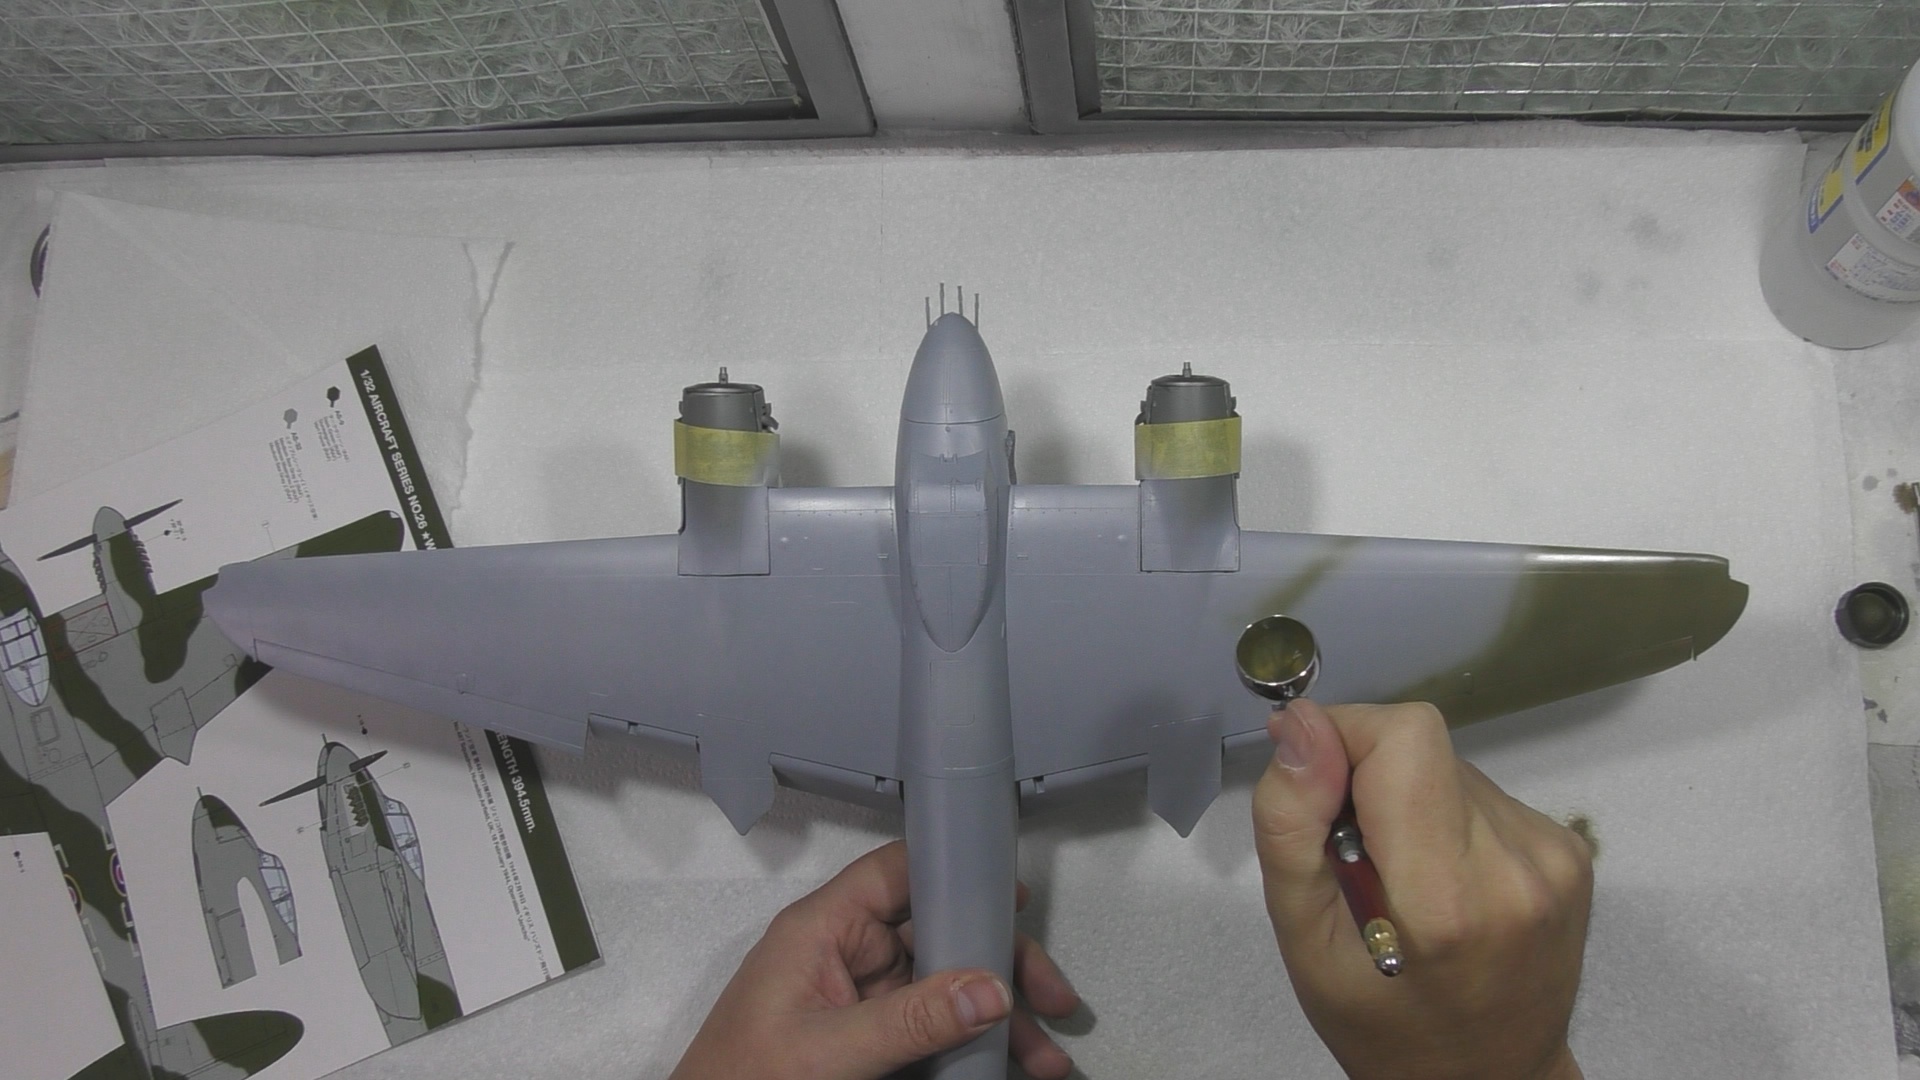
23:50 First paint coat on the medium sea grey MRP-112
In Part Eleven, we carry on with the paintwork this time with the Dark Green camo and the mottling color with different shades and sharpening up the partner.
In Part Twelve, we Finish of the camo work and the move on with decaling and props ready for weathering
00:00 We finish of the camo by returning with the green color to sharpen up the como
12:00 Checking the camo and polishing the area's that will have decals on
16:00 Decaling the mosquito
21:45 Glossing the Floorcare to help hide Tamiya's incredibly thick decals and then we finish off the props and spinners
In Part Thirteen, we Add the flat coat and start work on the weathering with washes and oils.
00:00 Adding a Flat coat with Tamiya XF-86
03:35 Flory models Dark Dirt weathering wash on
12:00 Wash off and the start working with the 502 oils
In the final Part, we finish off the oil weathering and all the final items to the mosquito ready for the final reveal.
00:00 Final touches with the oils
05:05 Adding the small parts ready for the reveal!!