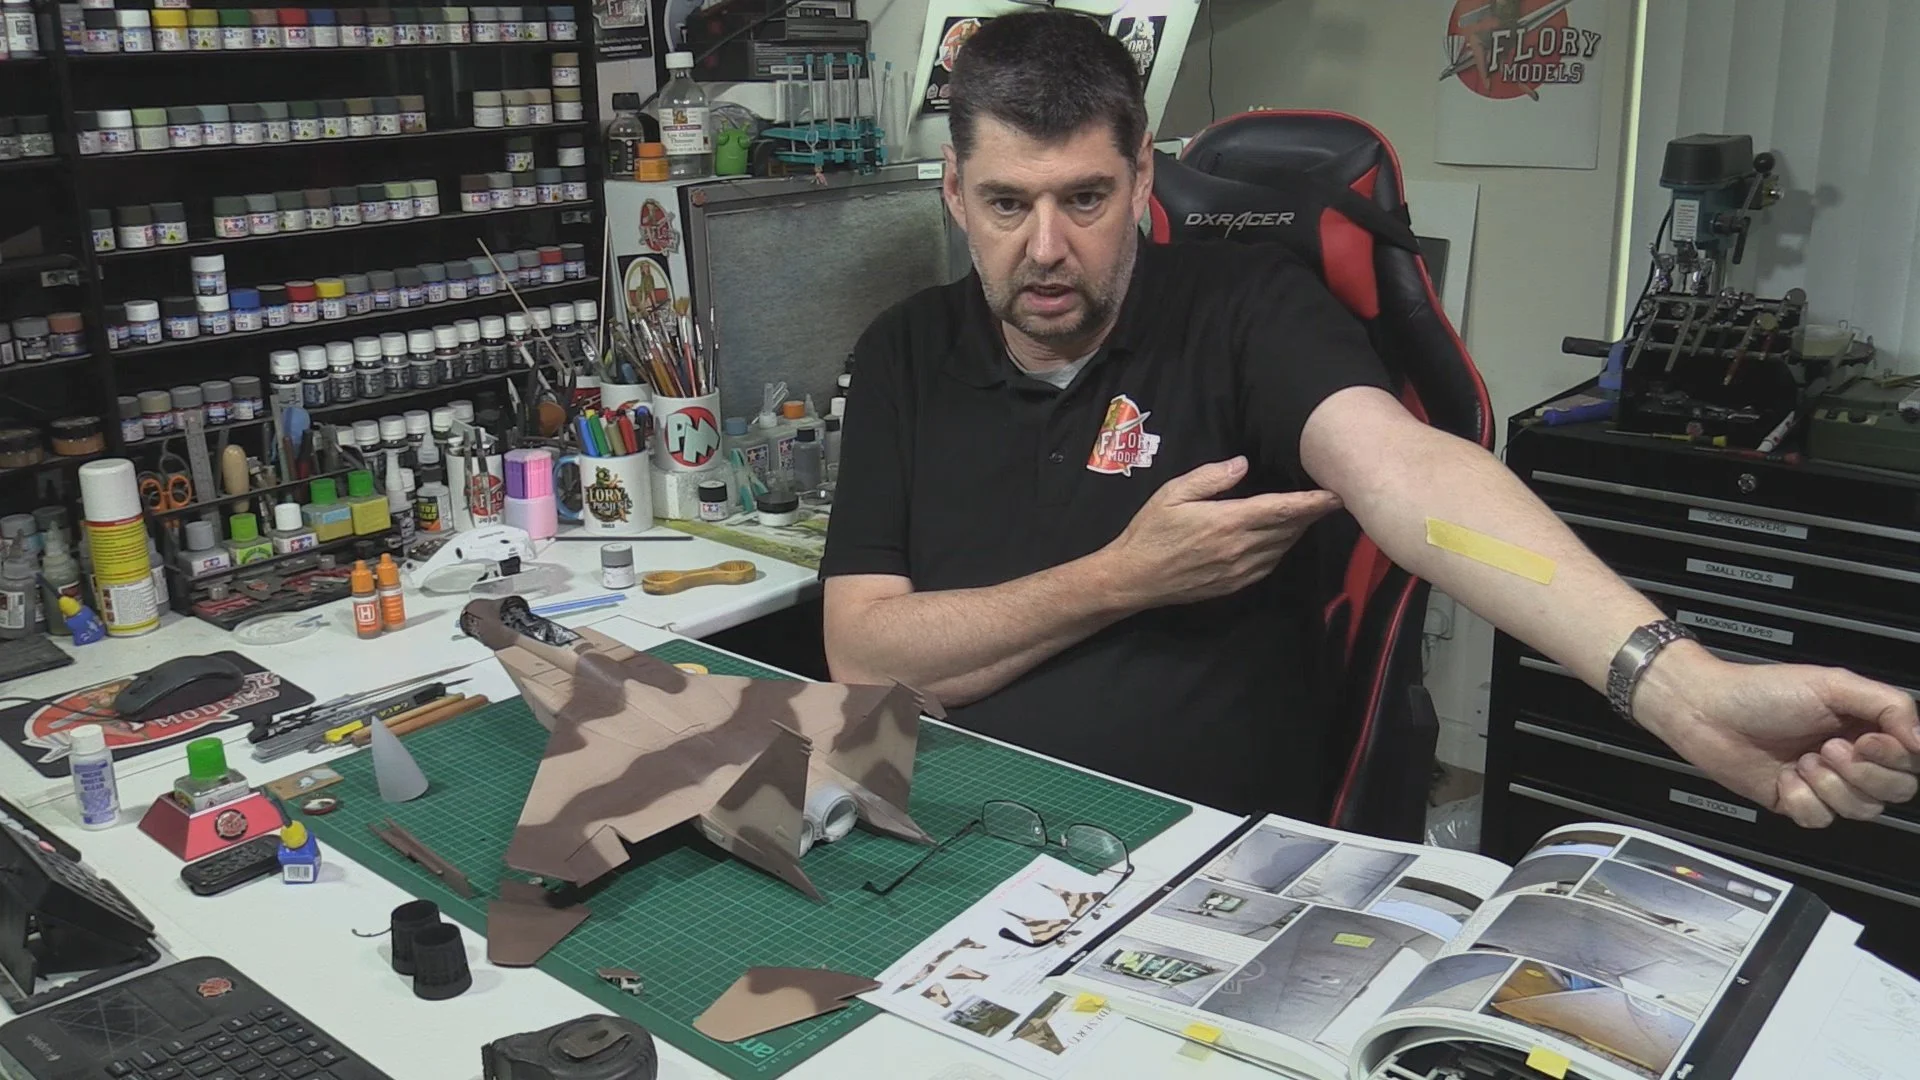
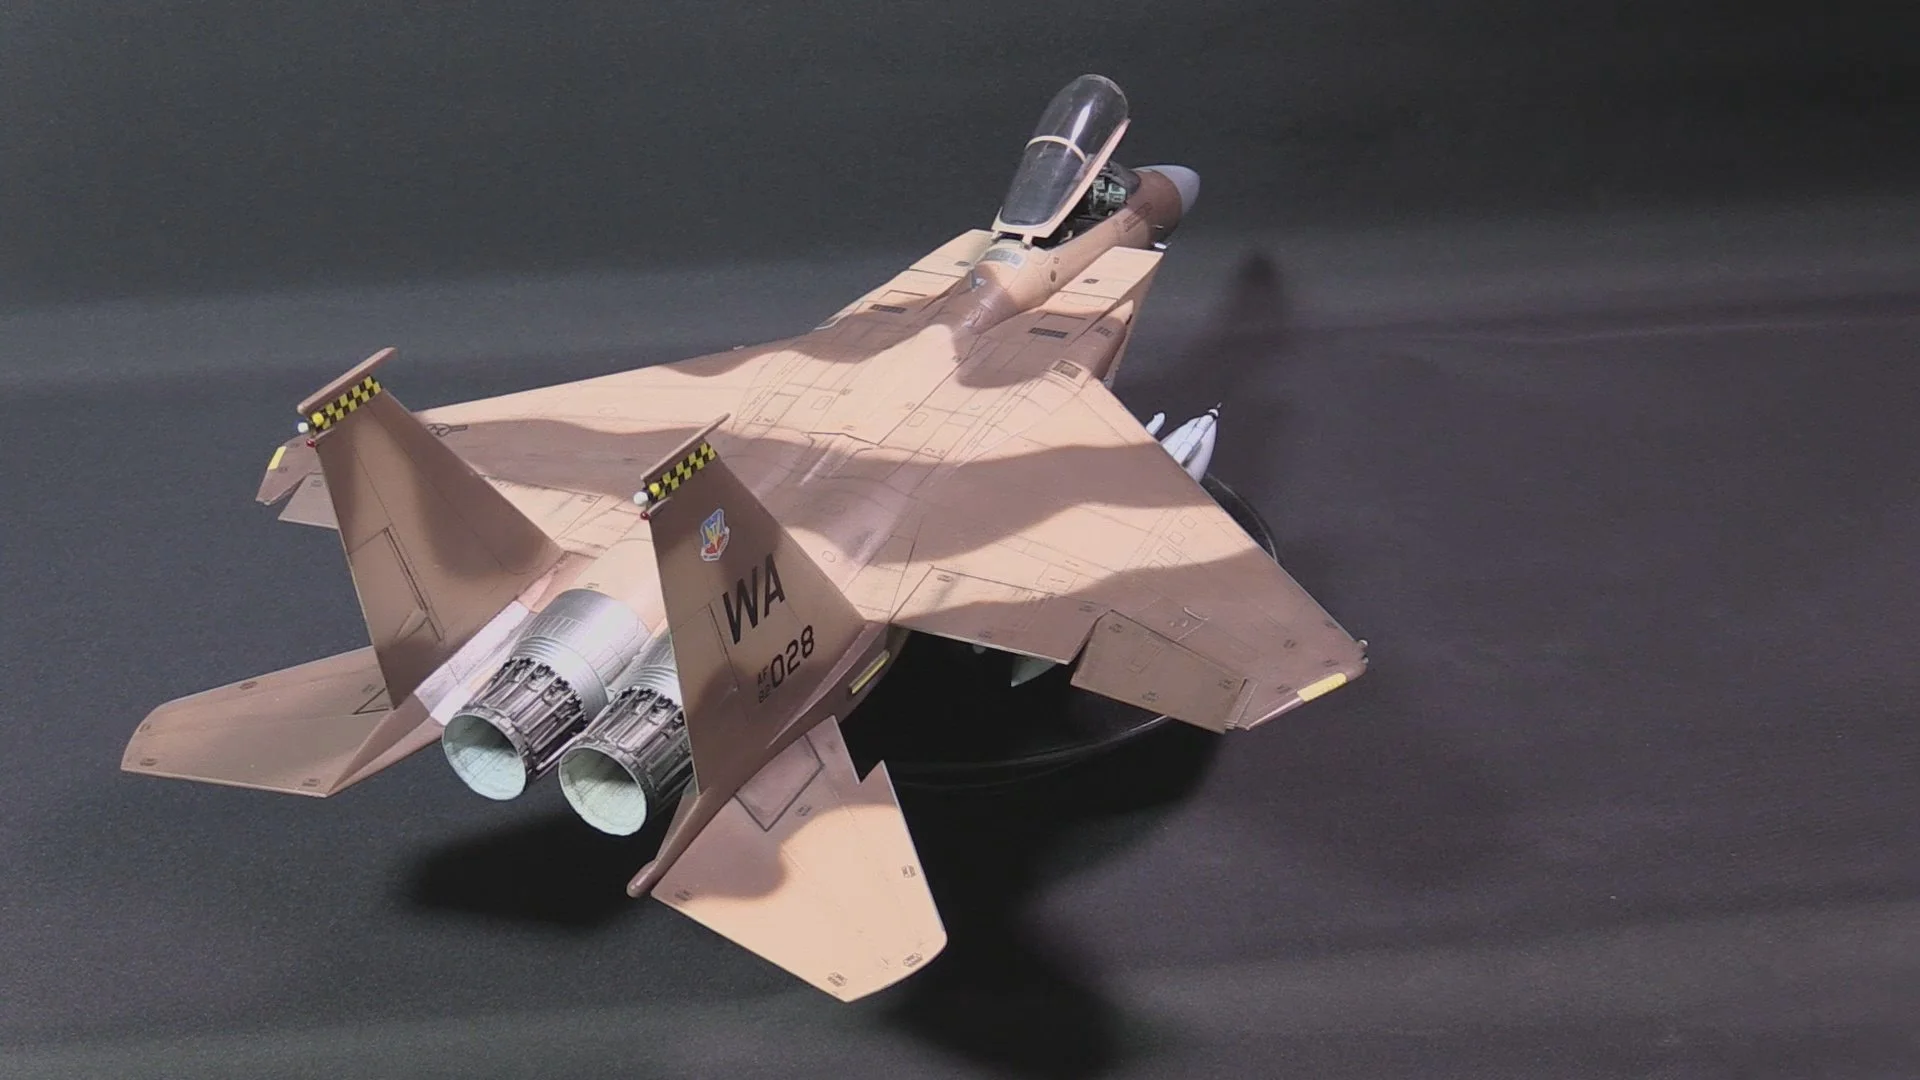
F-15C Agressor
Scale: 1/32
Manufacturer: Tamiya
Parts used: Quinta Studio QD32034
Main paints used: Tamiya and Hataka
In part one, we start on the cockpit area and remove all the raised details ready for the 3D-printed cockpit set, Next we paint the cockpit areas with Tamiya XF-54 for the cockpit grey and Tamiya XF-2 Flat white.

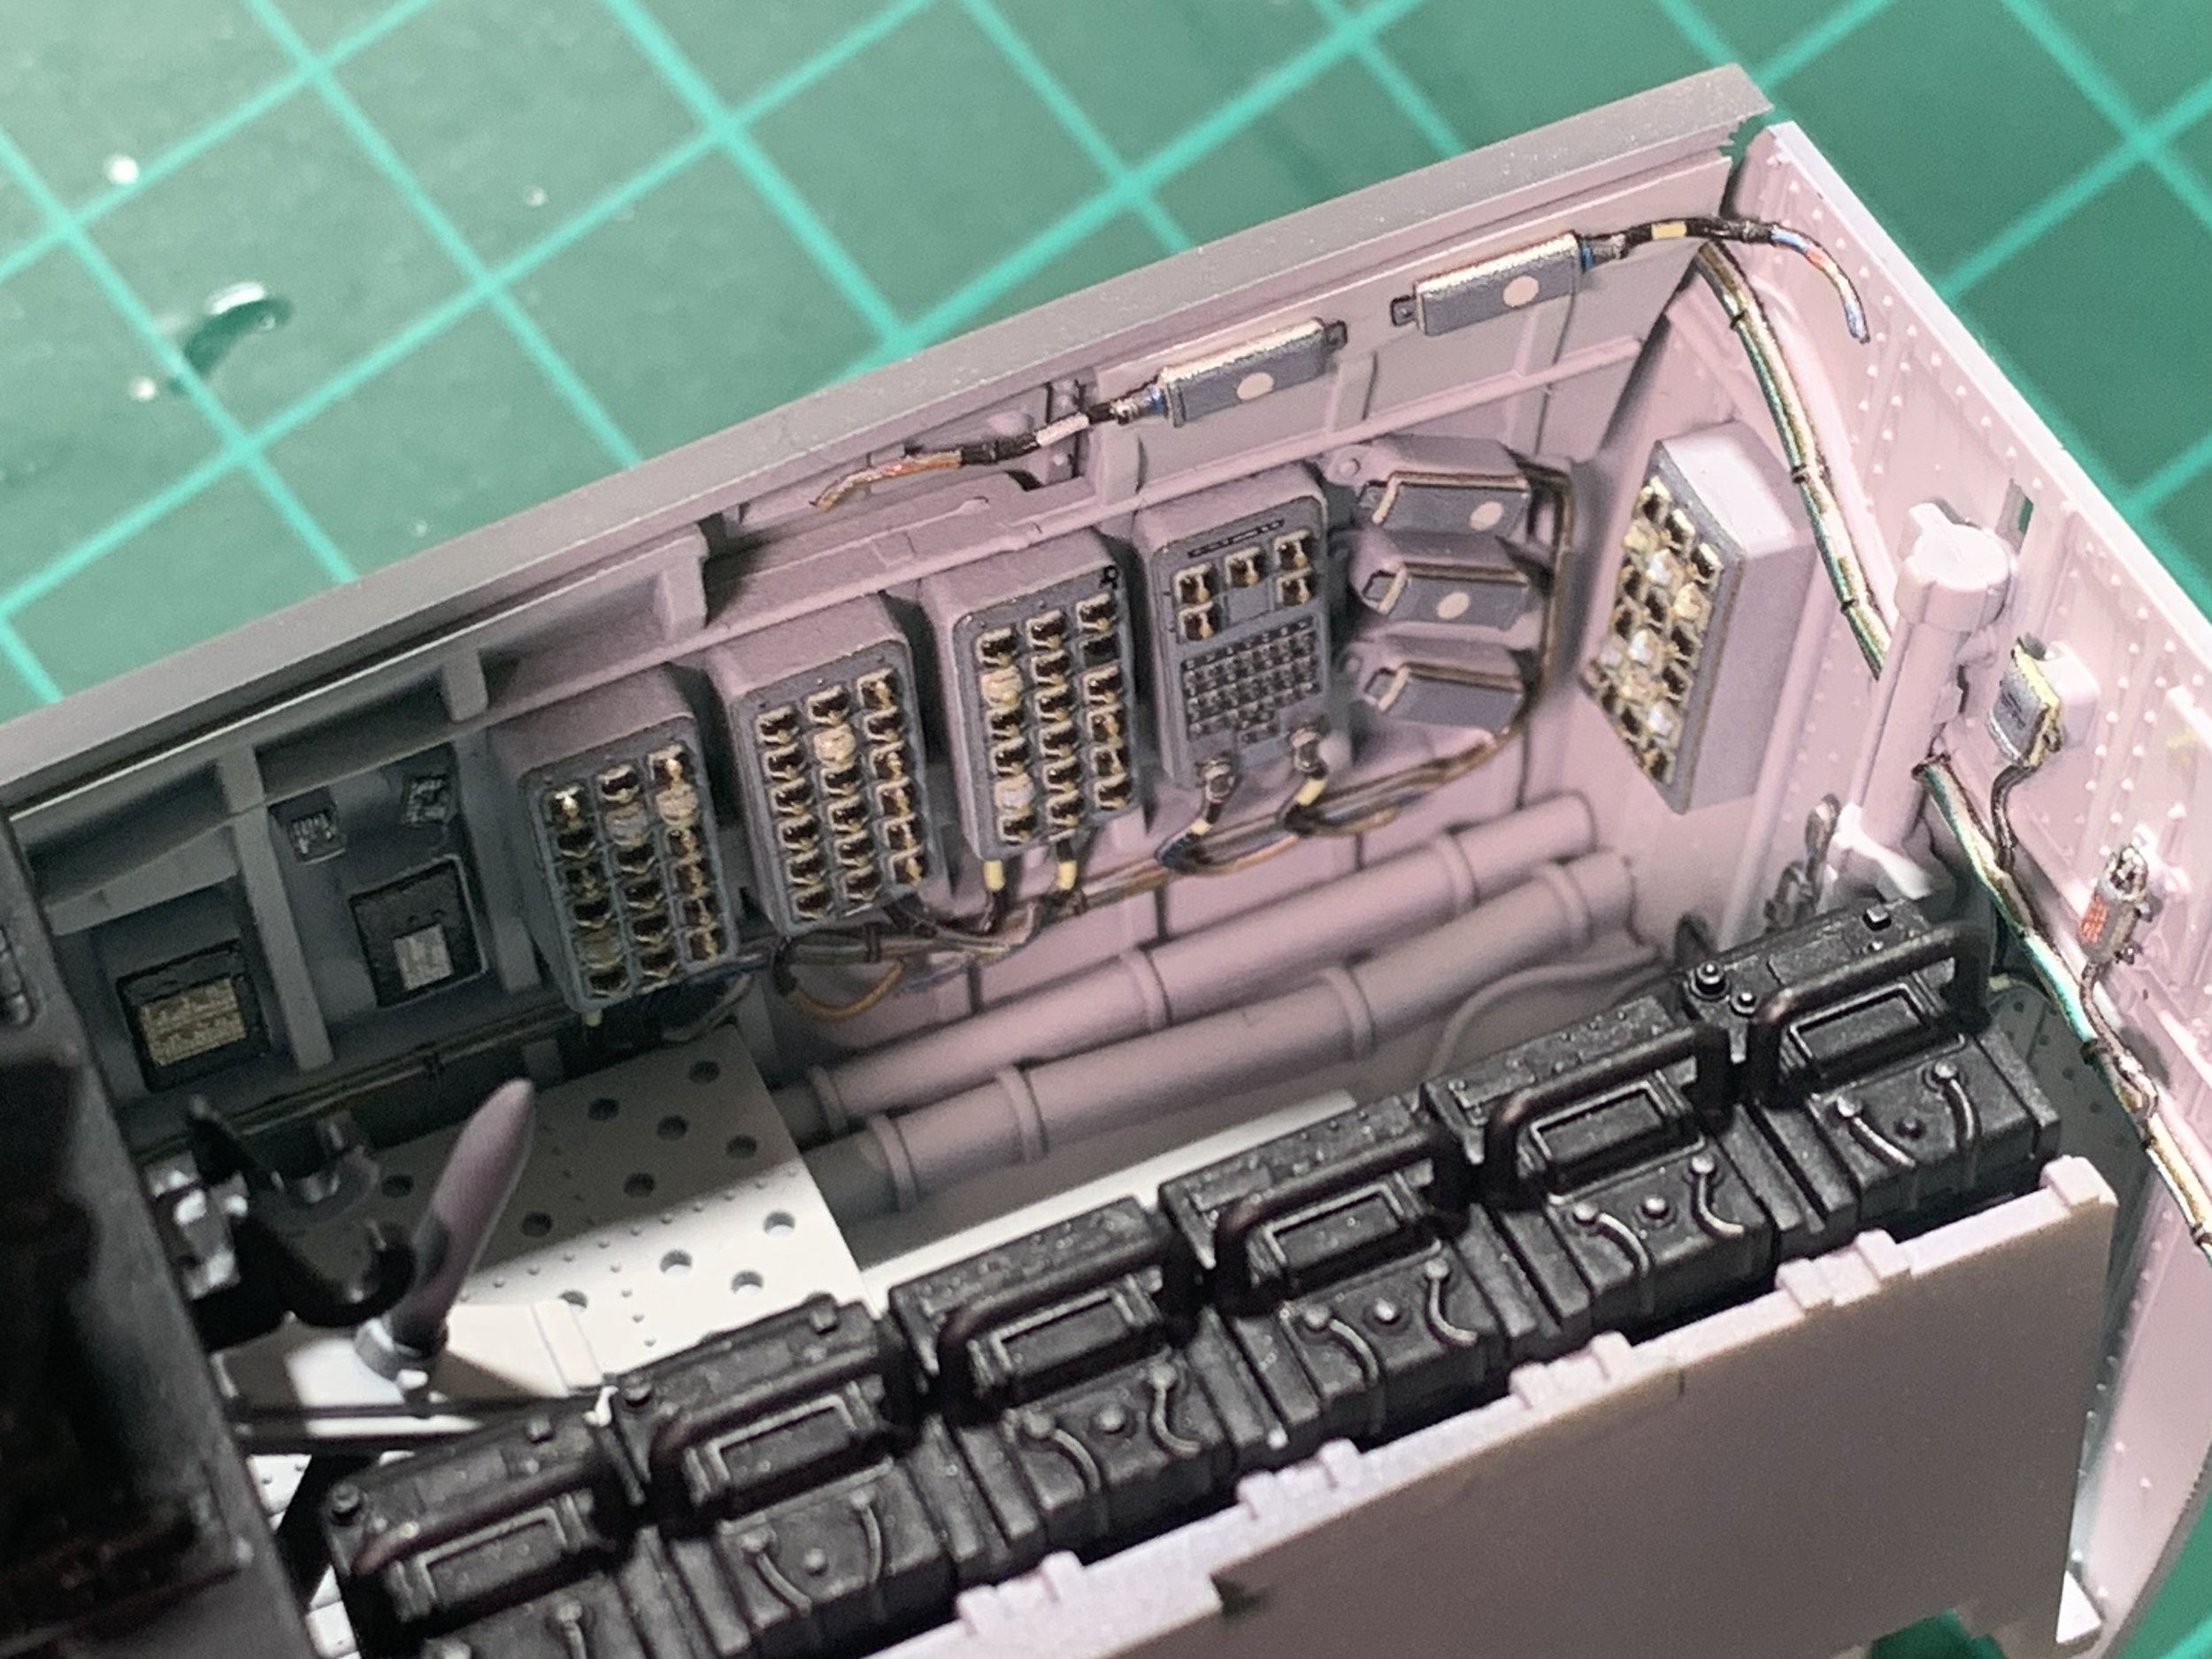
In part two, we detail up the Cockpit and Bay 5 behind with the Quinter Studios 3D printed set. These sets are an excellent way to add detail including wiring and handles that are printed on both sides.

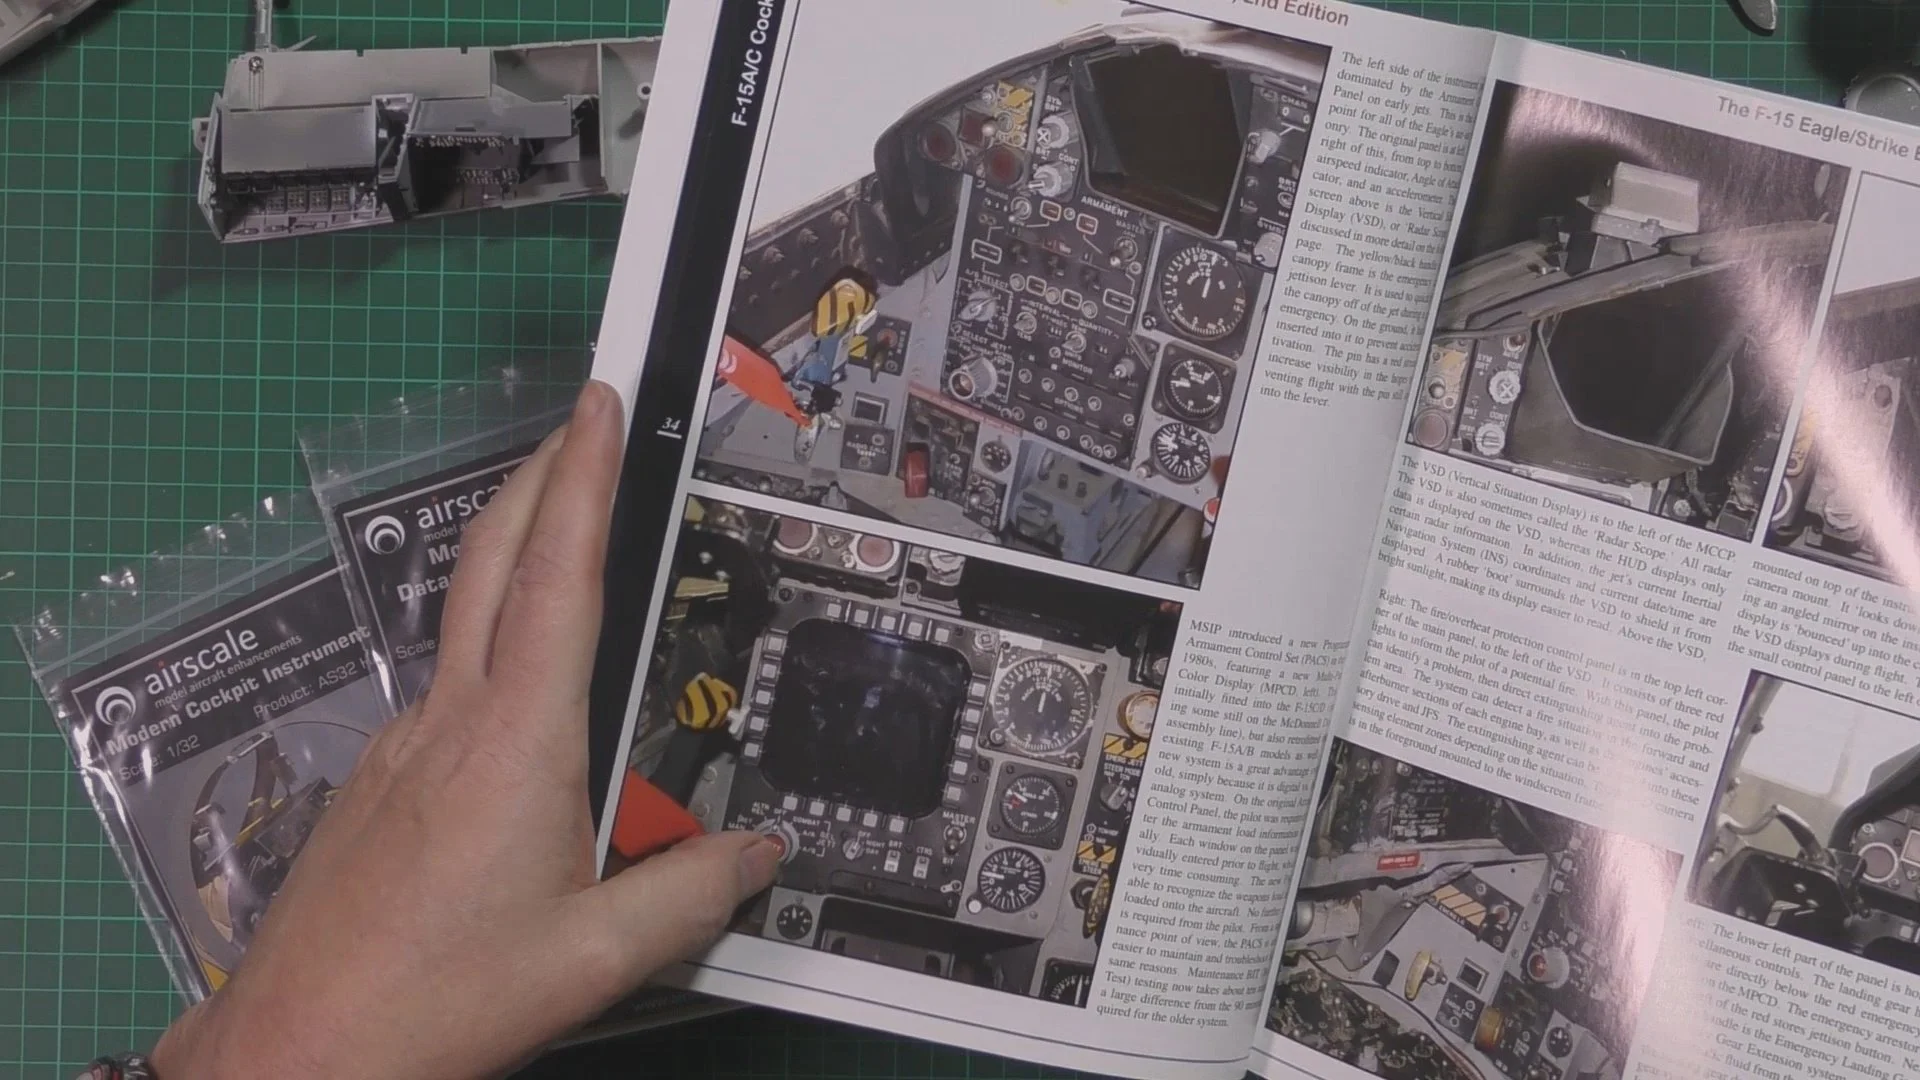
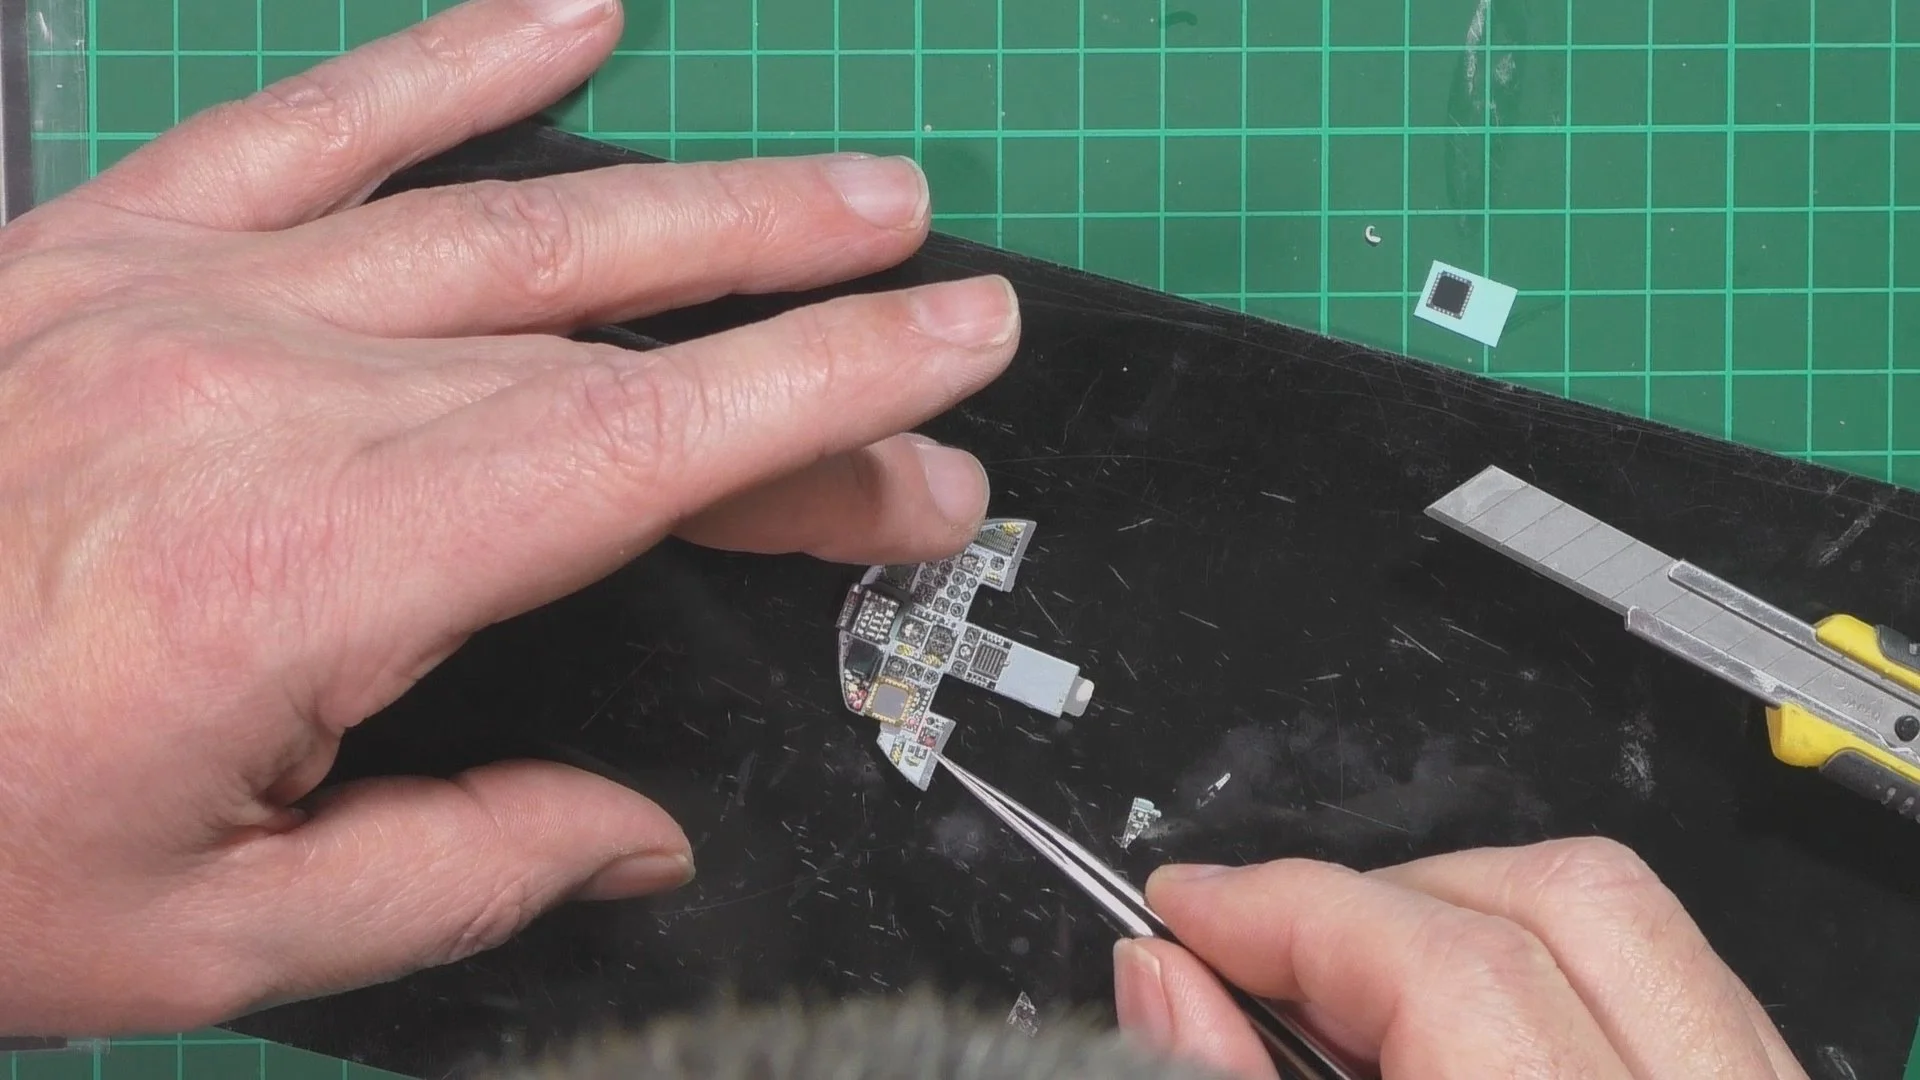
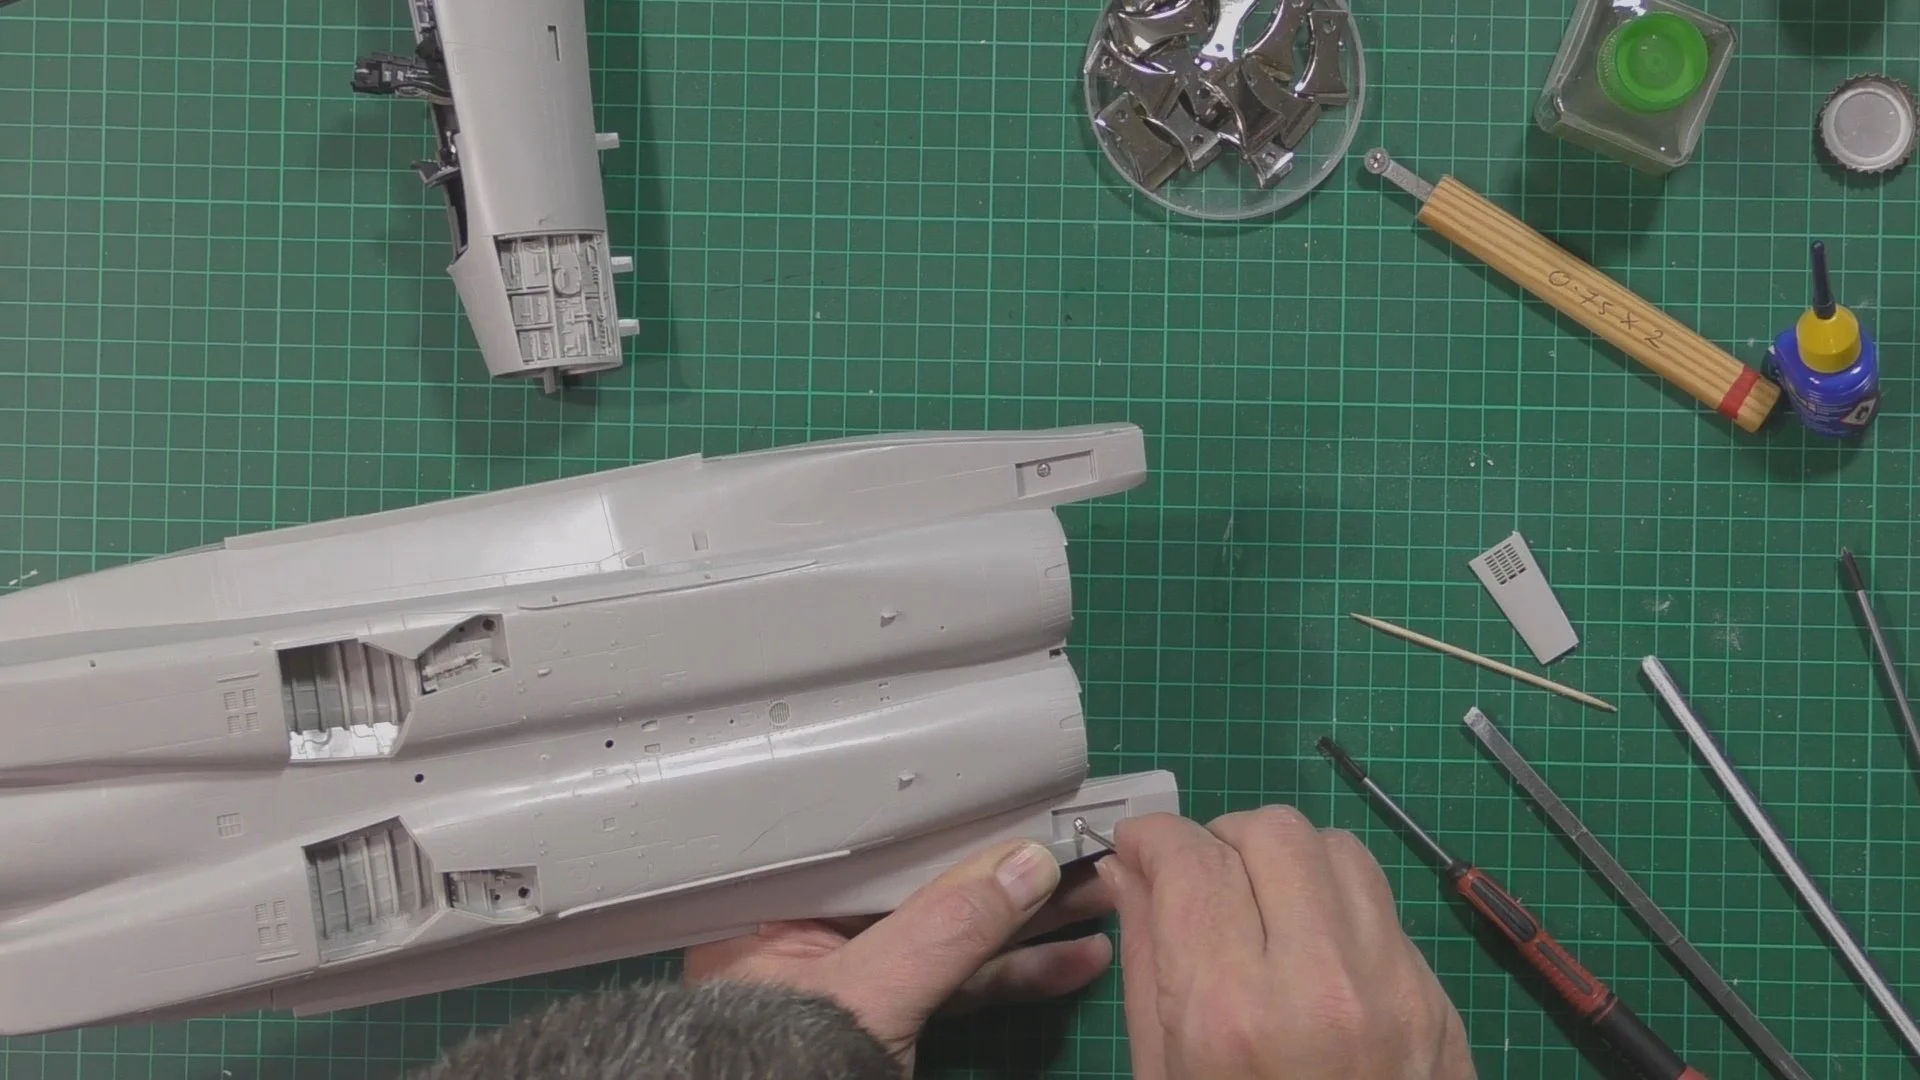
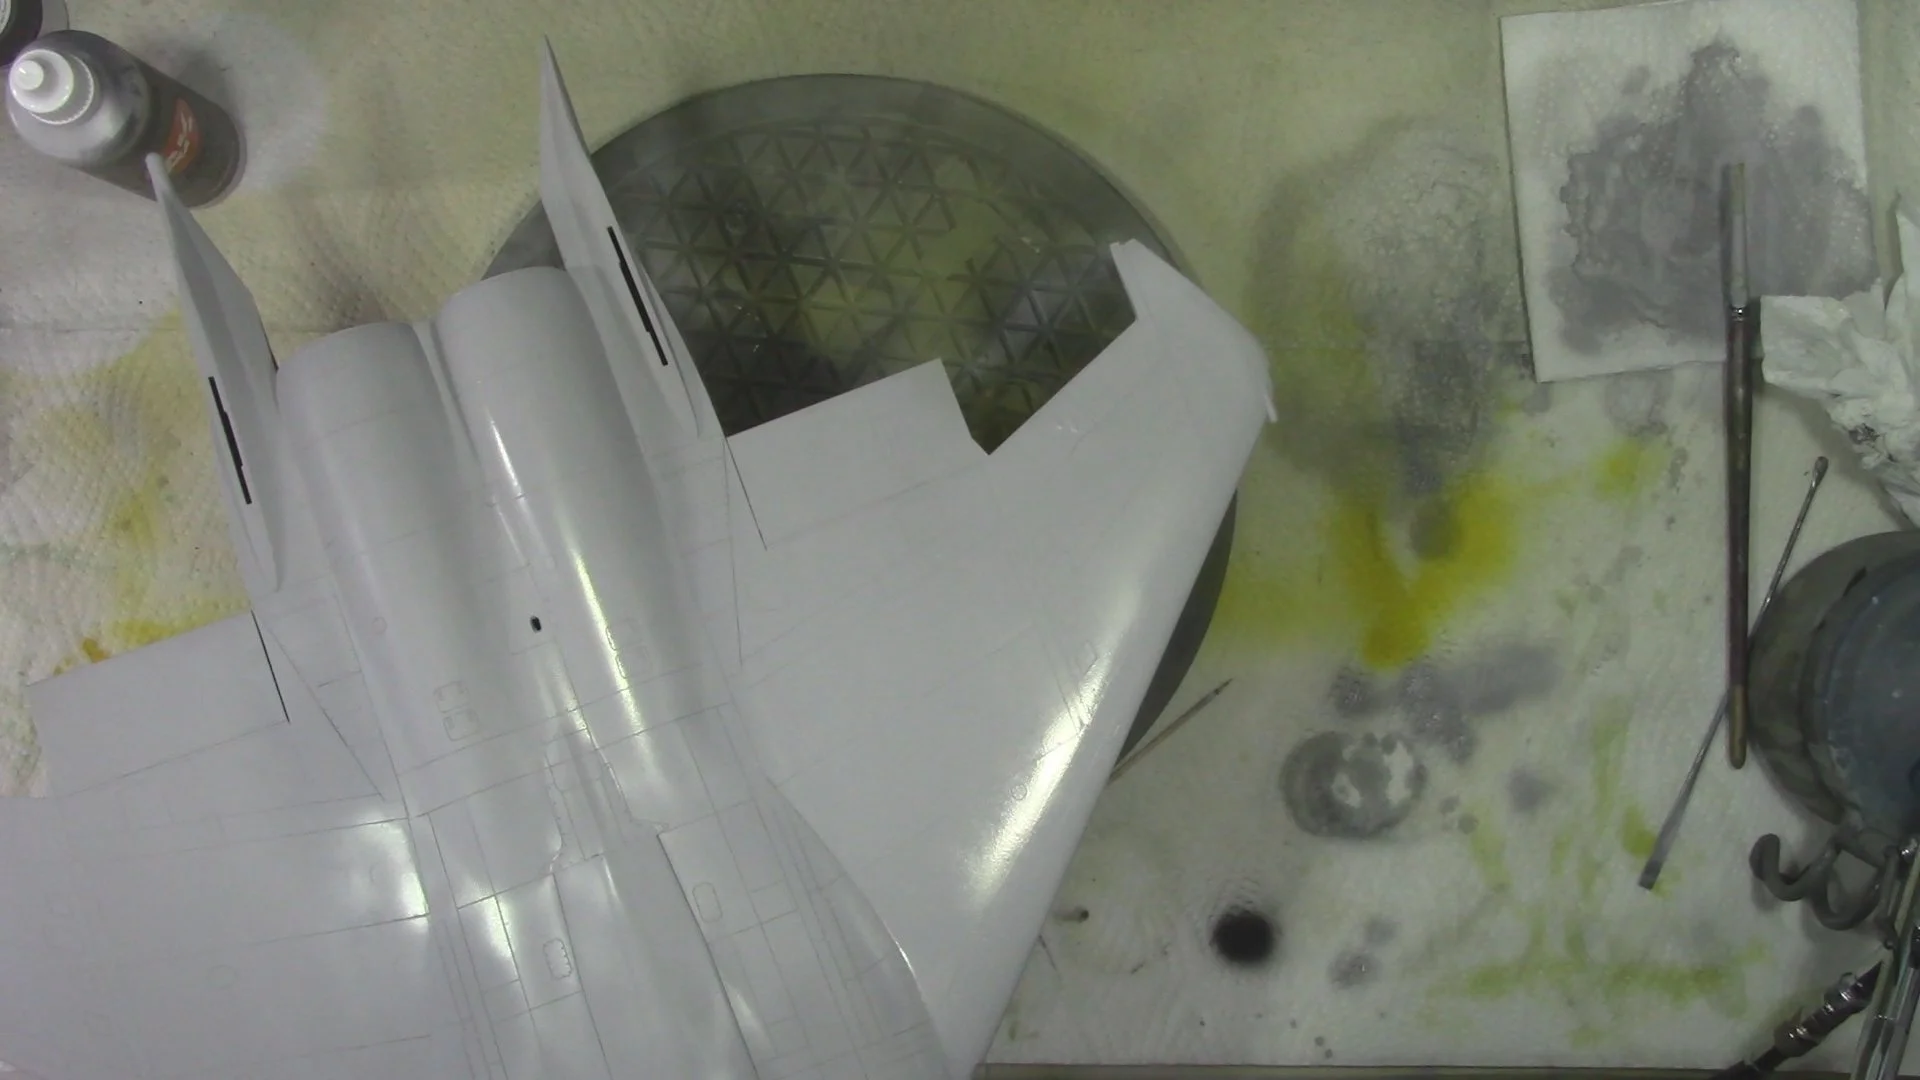
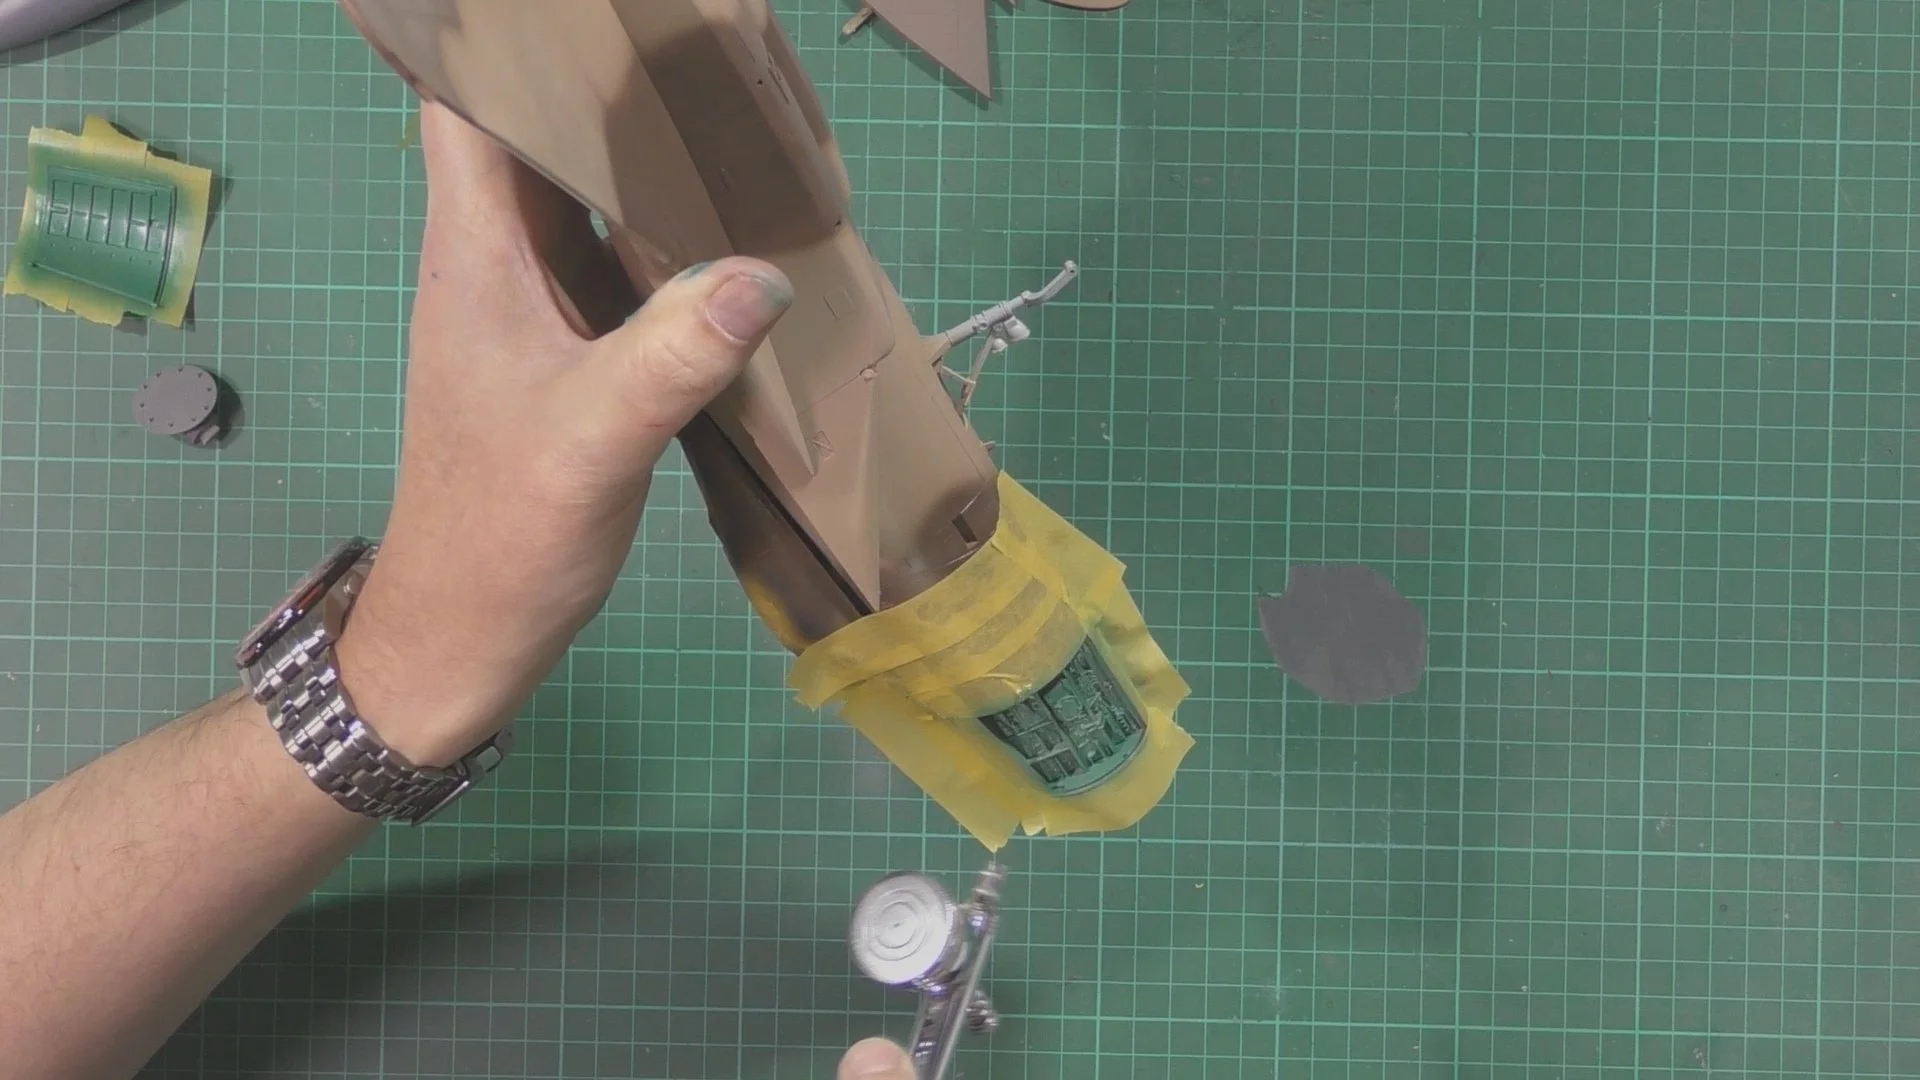
In part three, we install the nose gear leg and bolt into place, next we go back to the cockpit and upgrade to have the digital weapons panel. This means removing the old area and scratch building the new one with Airscales PE. Then we put the cockpit together and screw in place. Next it’s time to take care of the intakes and paint white.

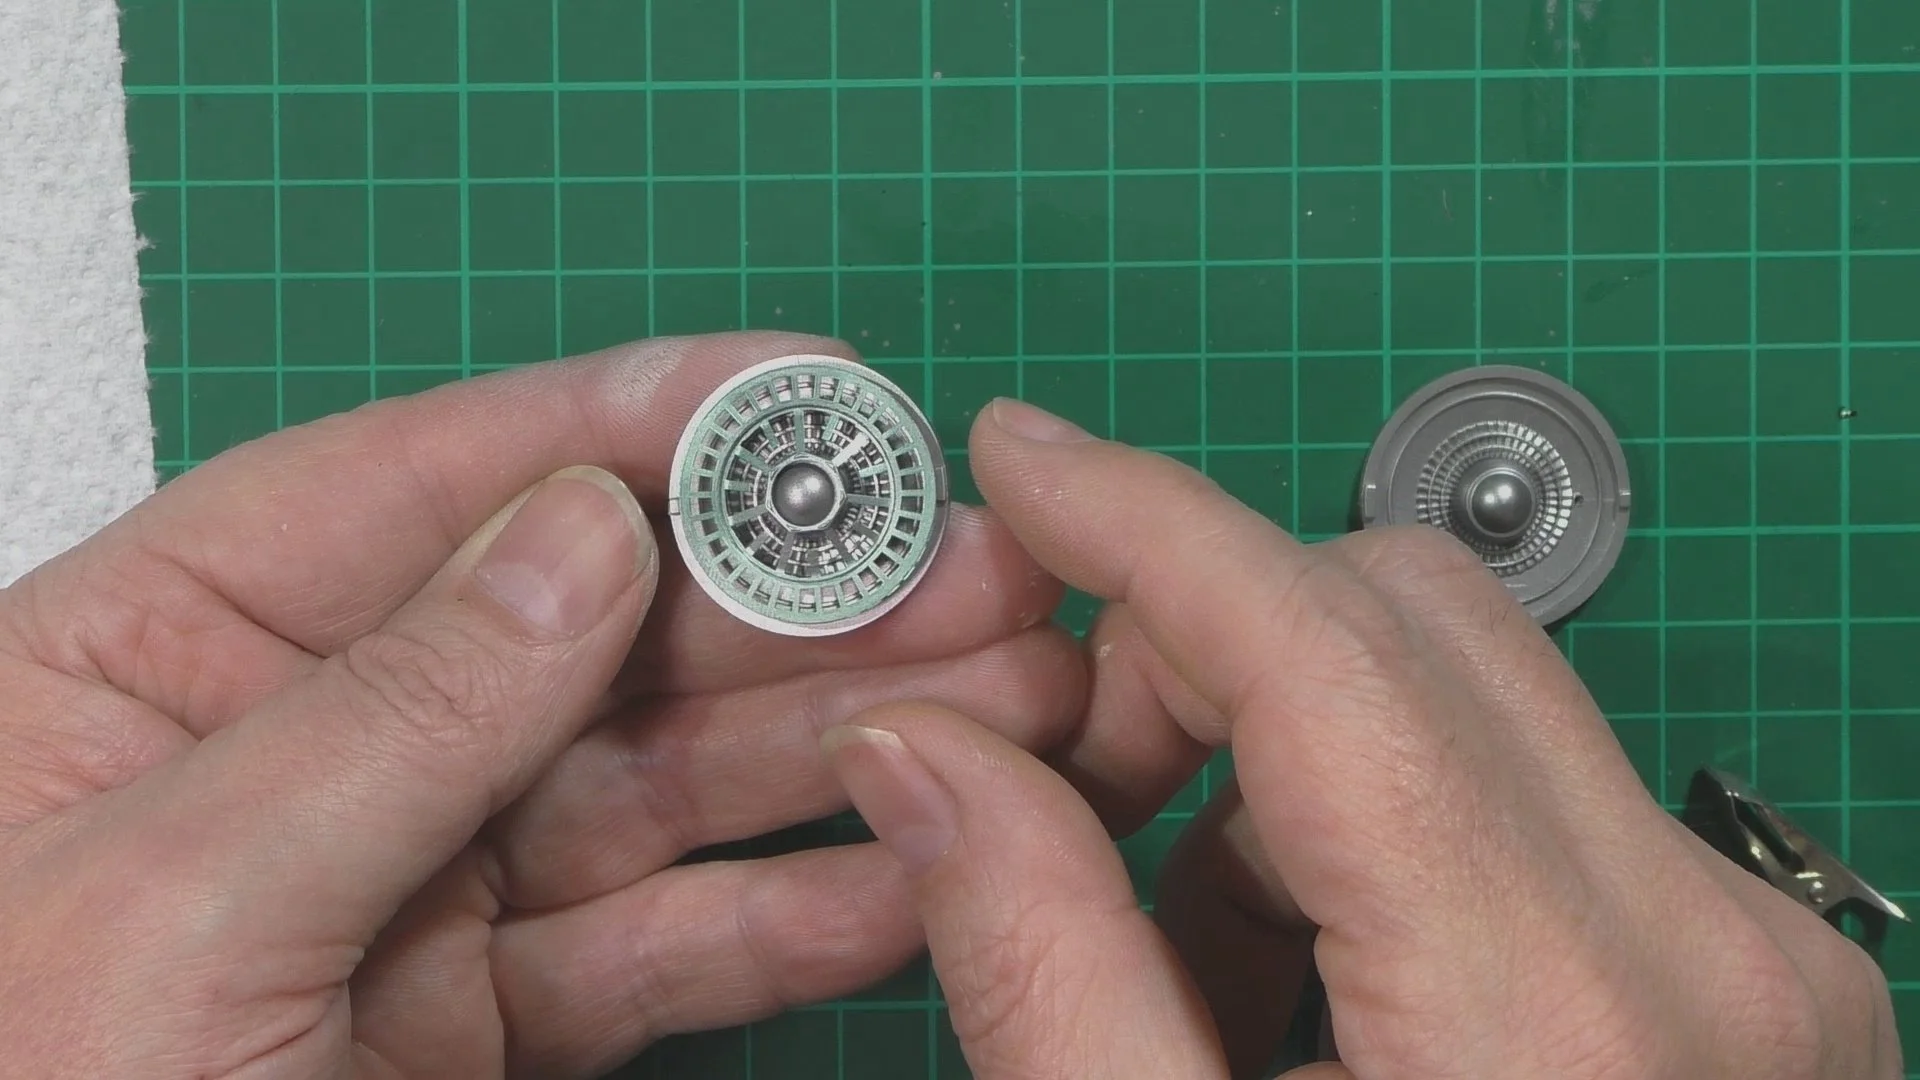
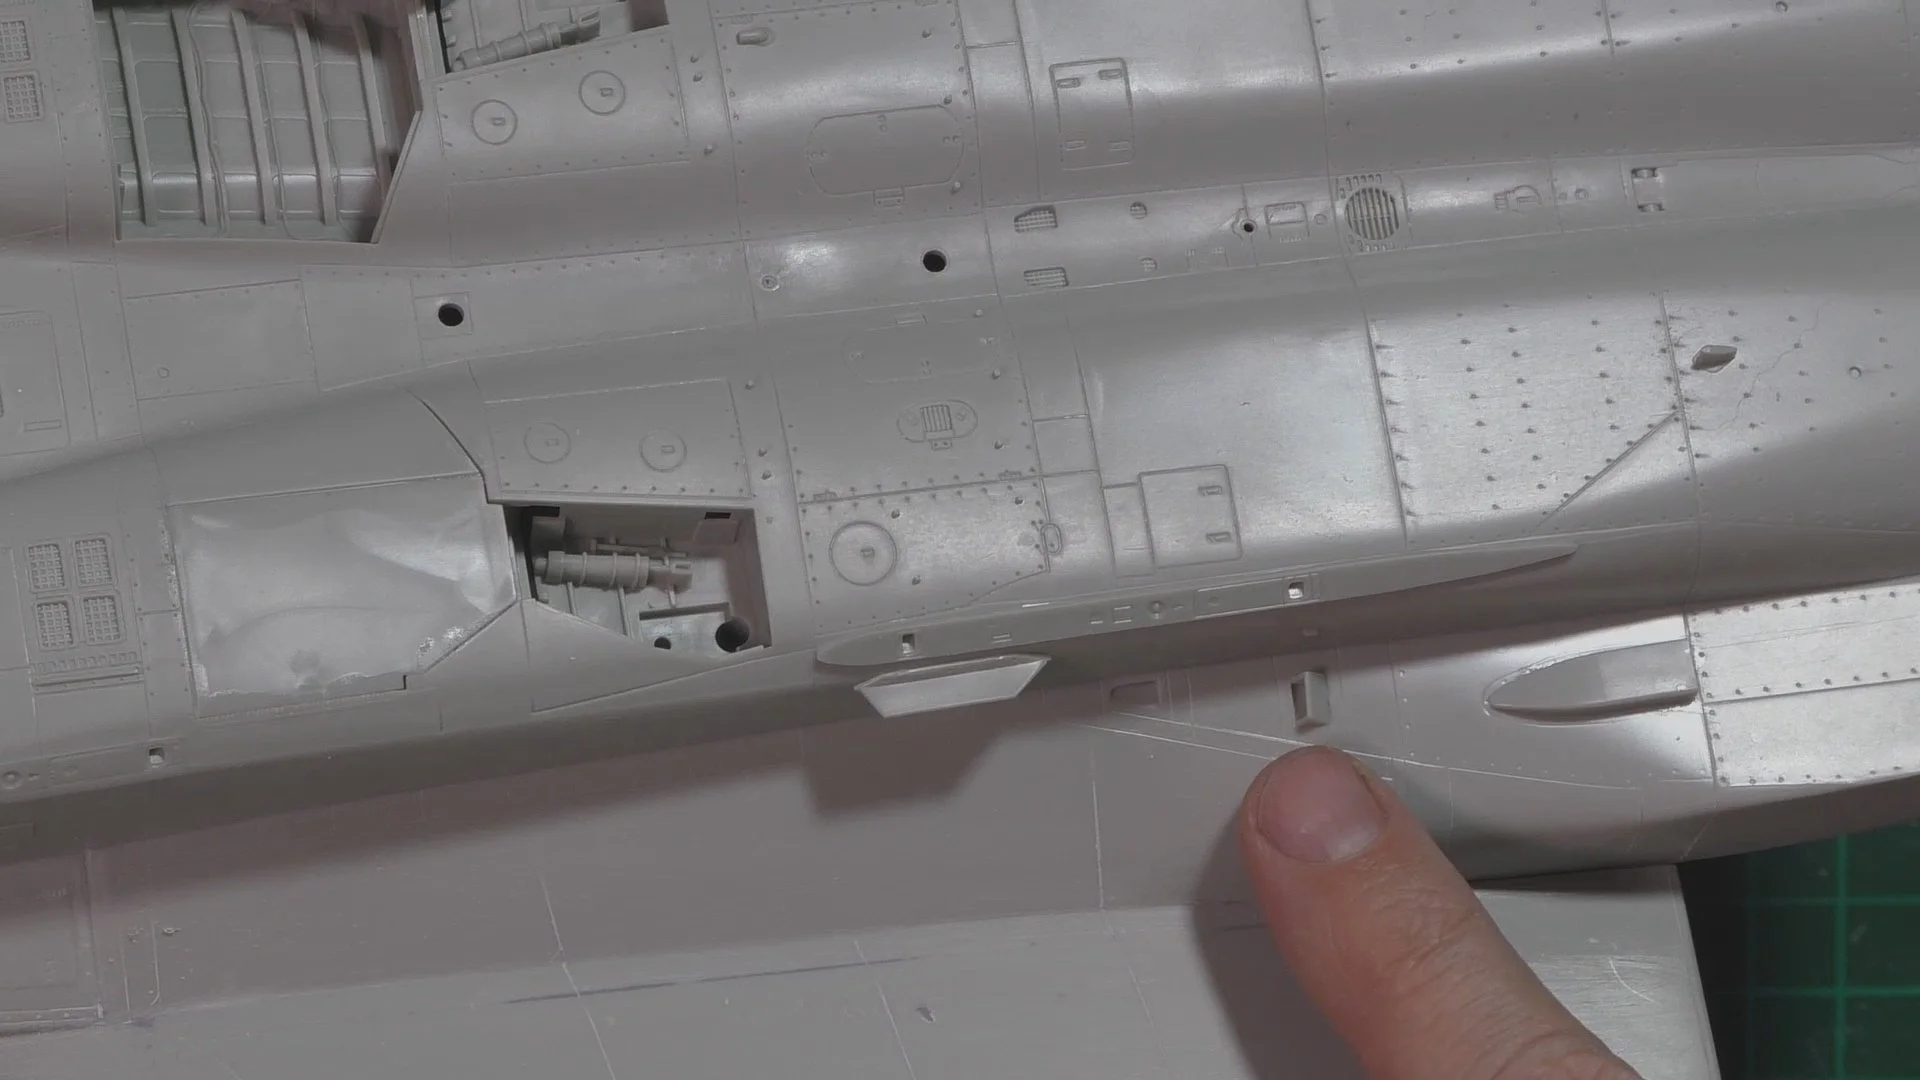
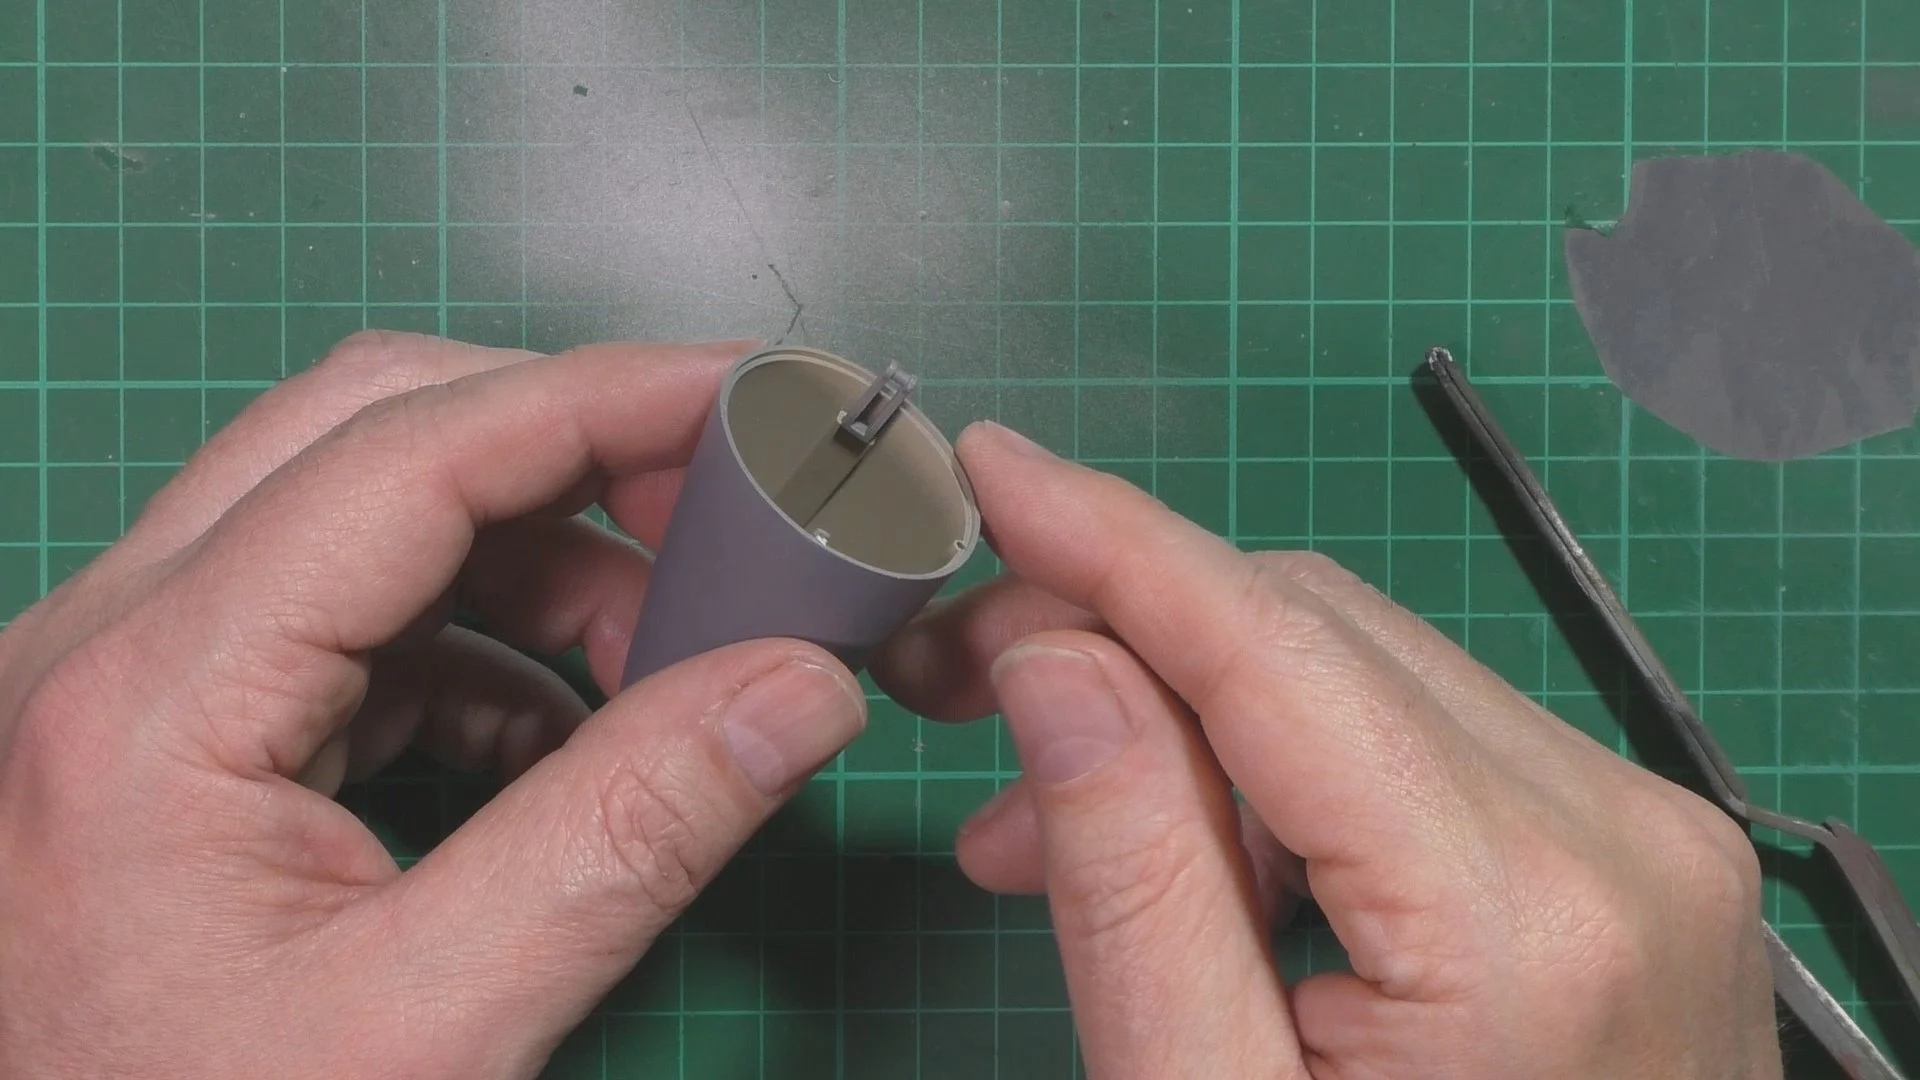
In part four, we work on the Intakes and exhausts and use xtream metals and clear greens for the flame holder. once dry we install them both and screw into place. Last up we detail the gun bay and open up the top vents on the gun bay upper door.

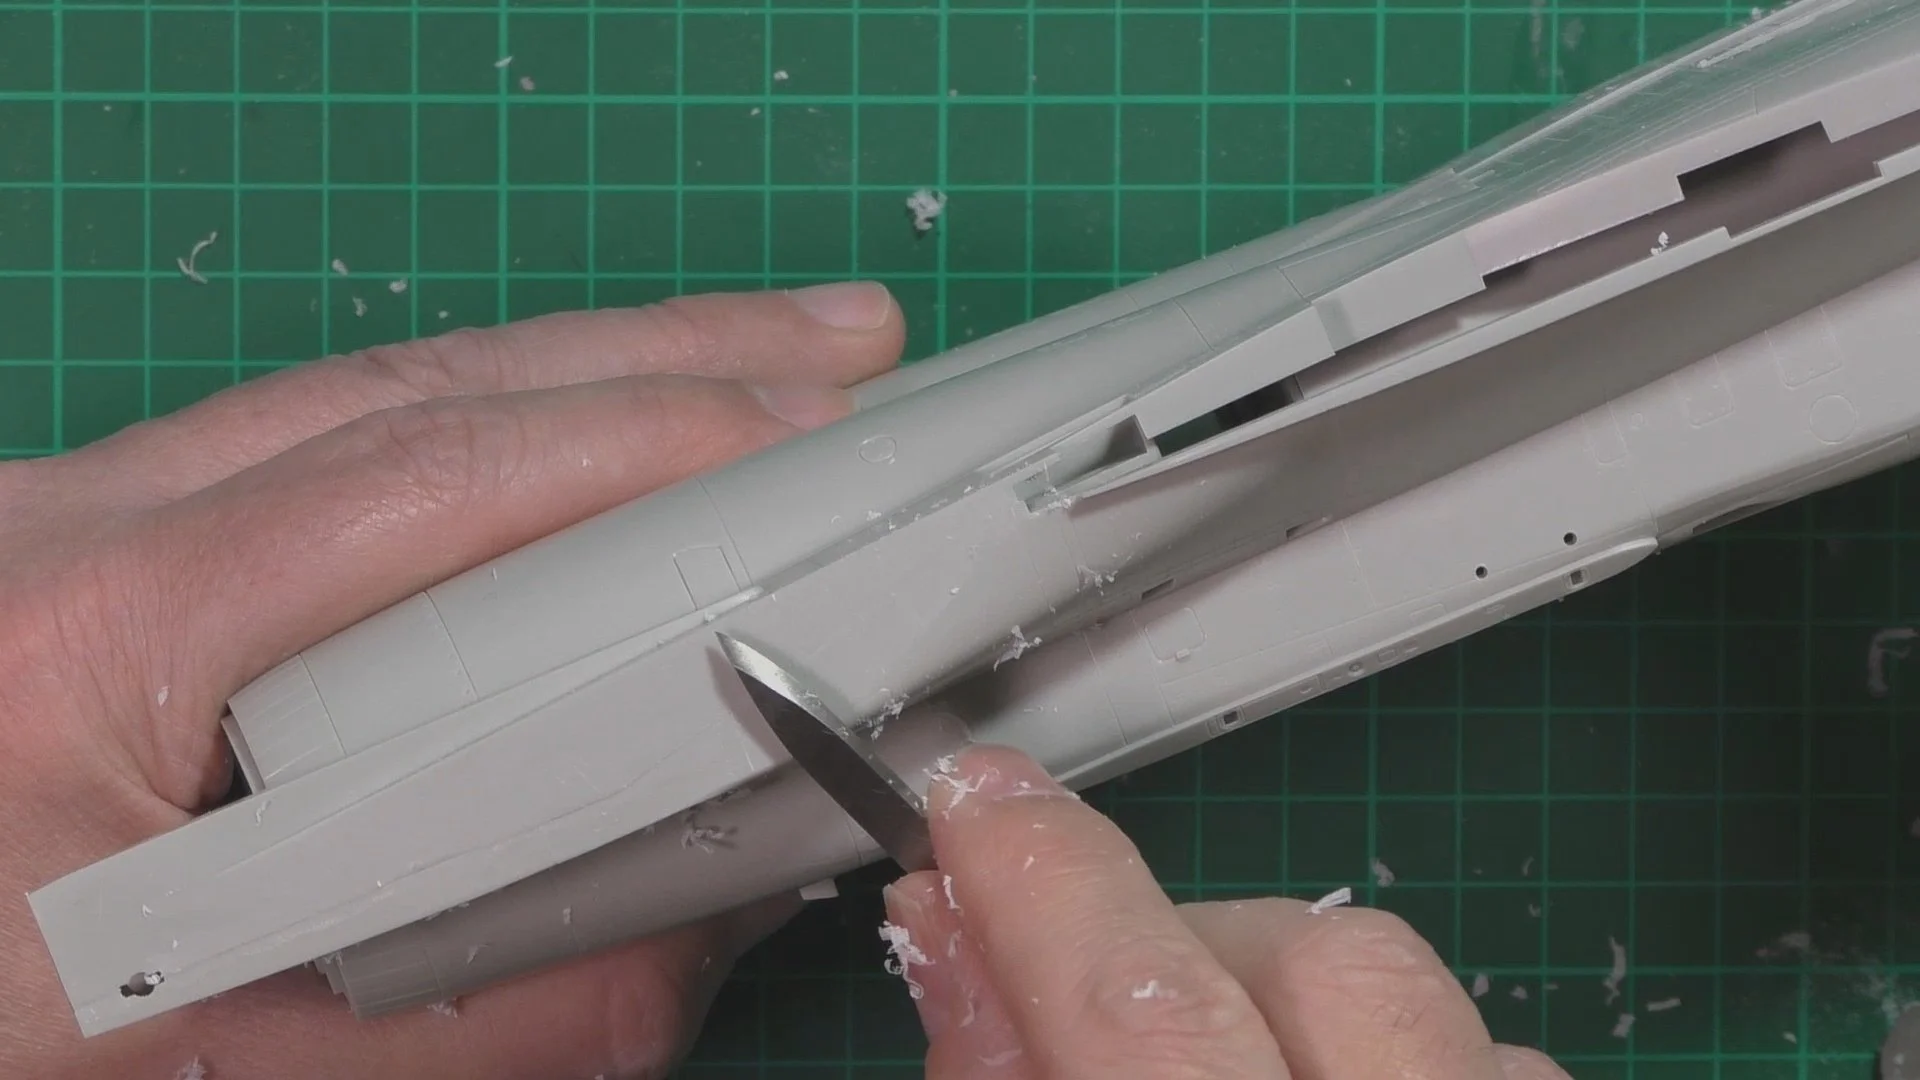
In Part five, we clean up the seam lines with scaping and install the wings. Bit of a trick to this with CA glue to take in place and then glue. Then a bit of filler to get a floorless finish as it will be seen and stand out if not taken care of.

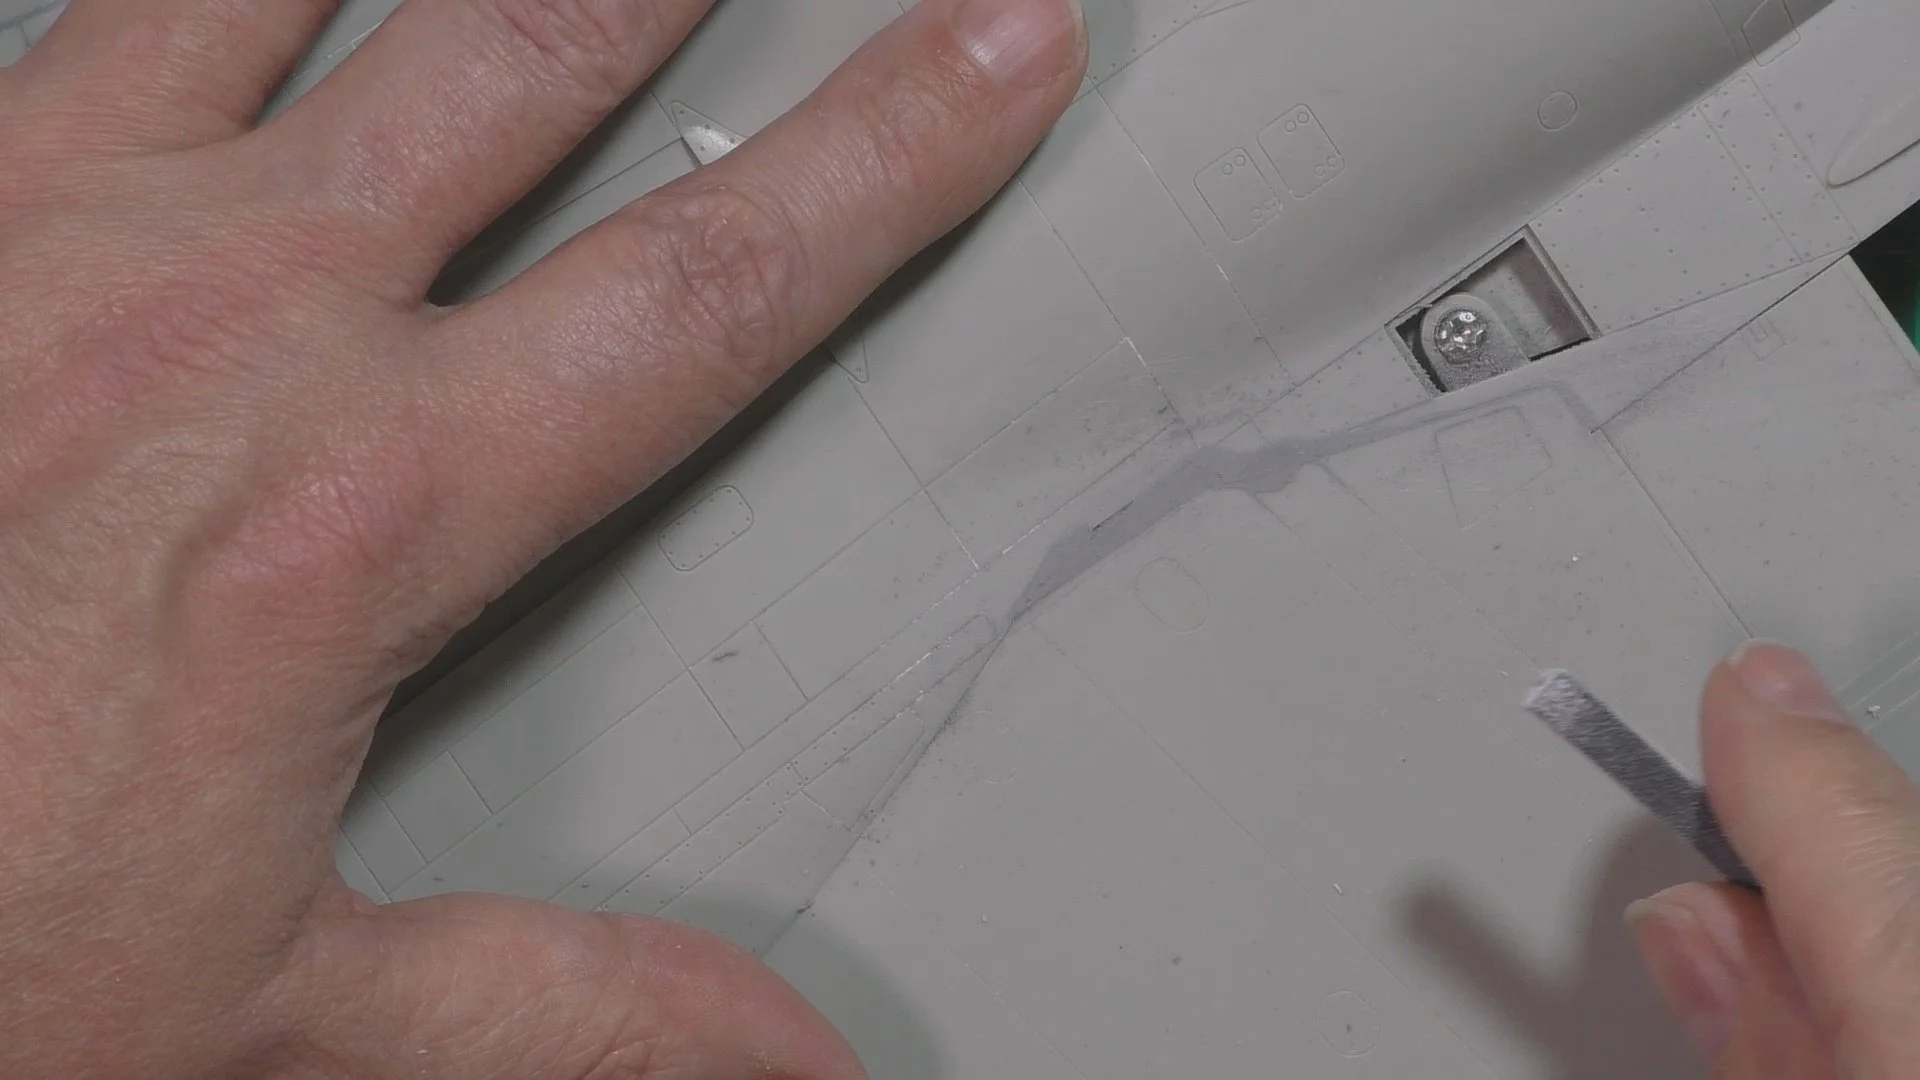
In Part Six, we tidy up all the filler and sand re-scribe and re-rivet. Next we install the main gear doors and small vents, intakes and vortex generators. On of the more difficult areas is getting a seamless fit when joining the forward fuselage.

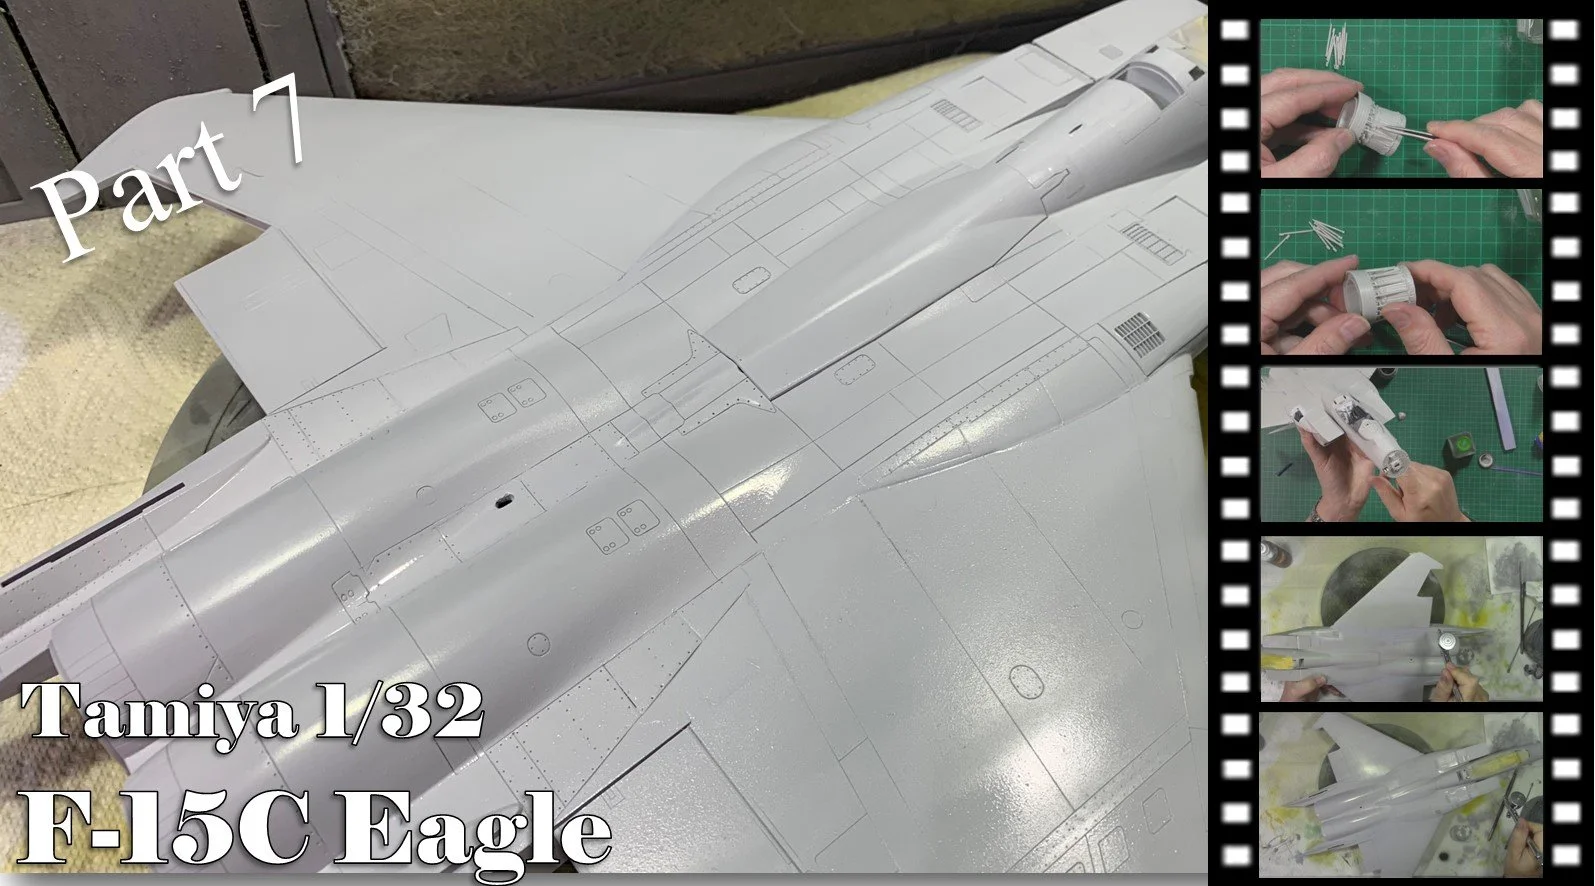
In part seven, we work in the kits engine nozzles and then the last of the seam lines all ready for primer. Then it’s over the spray booth and use AK 3rd GEN acrylic primer.
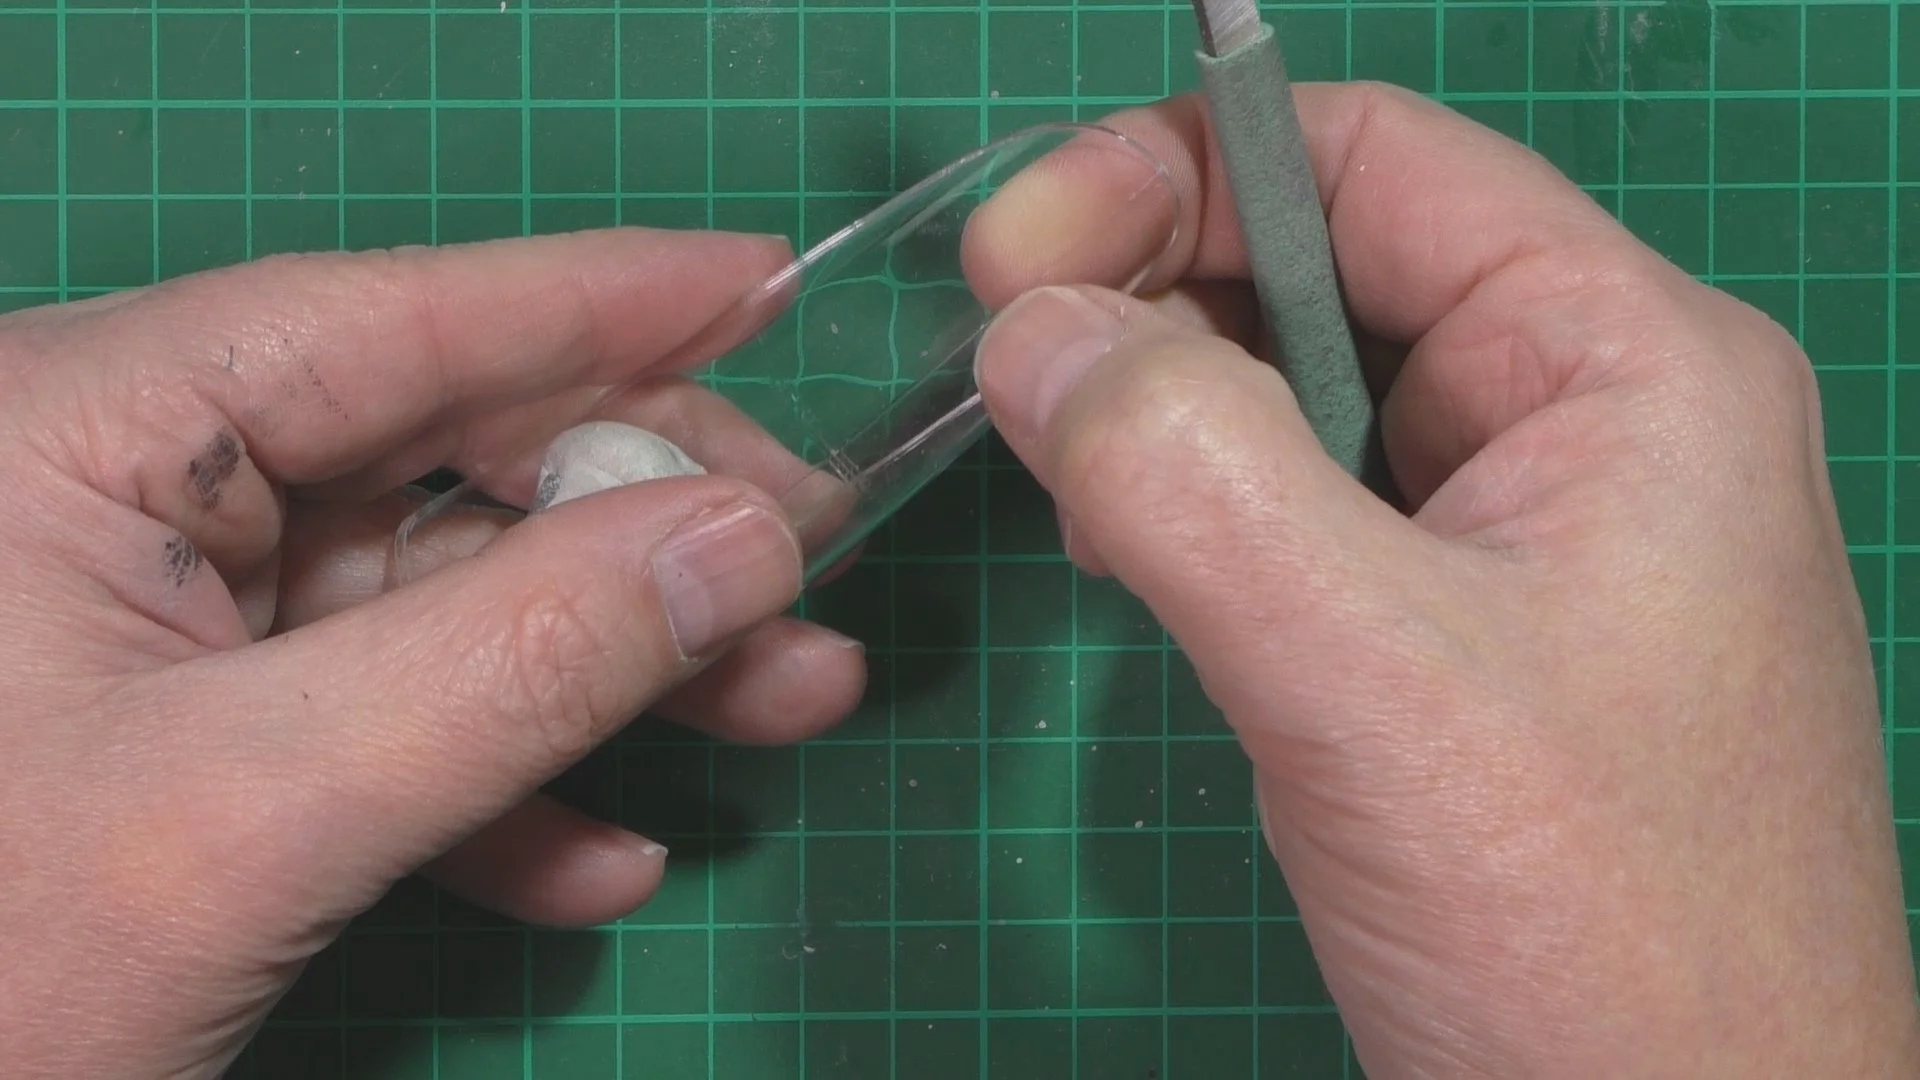
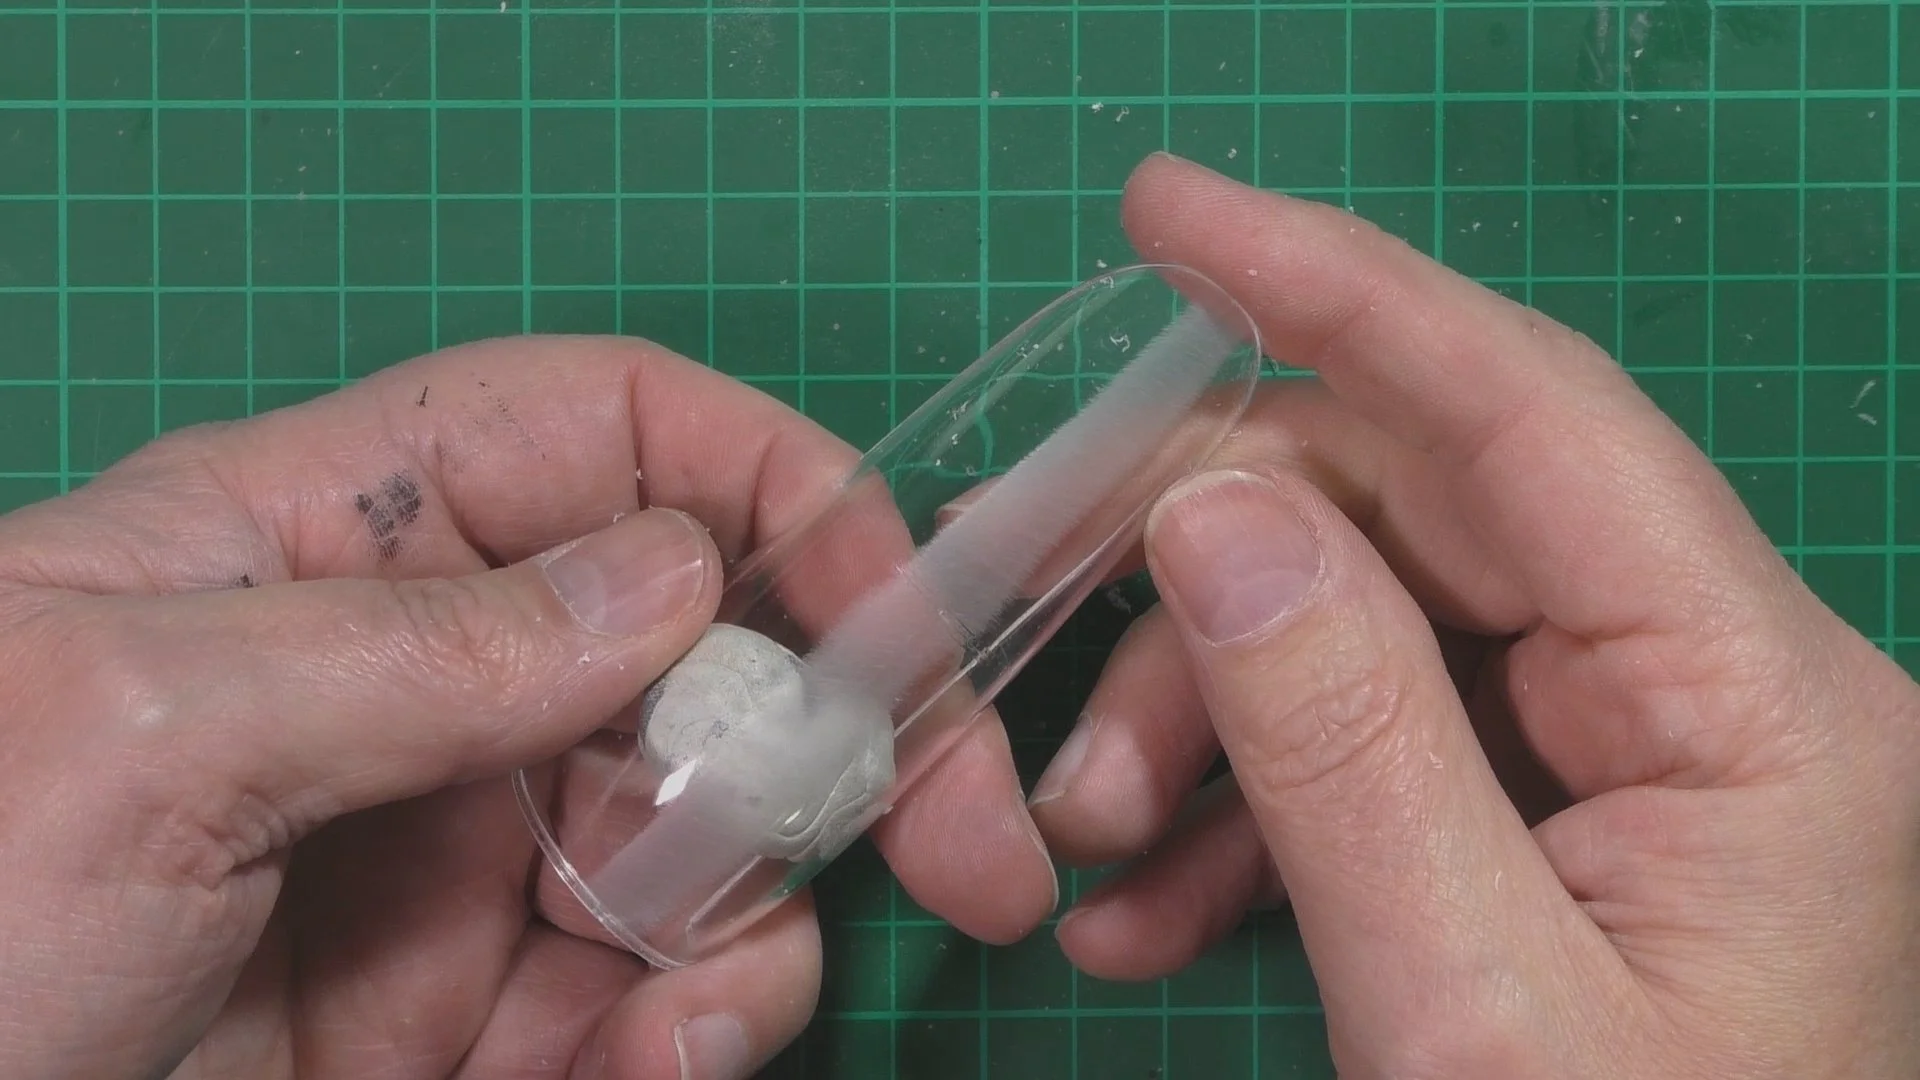
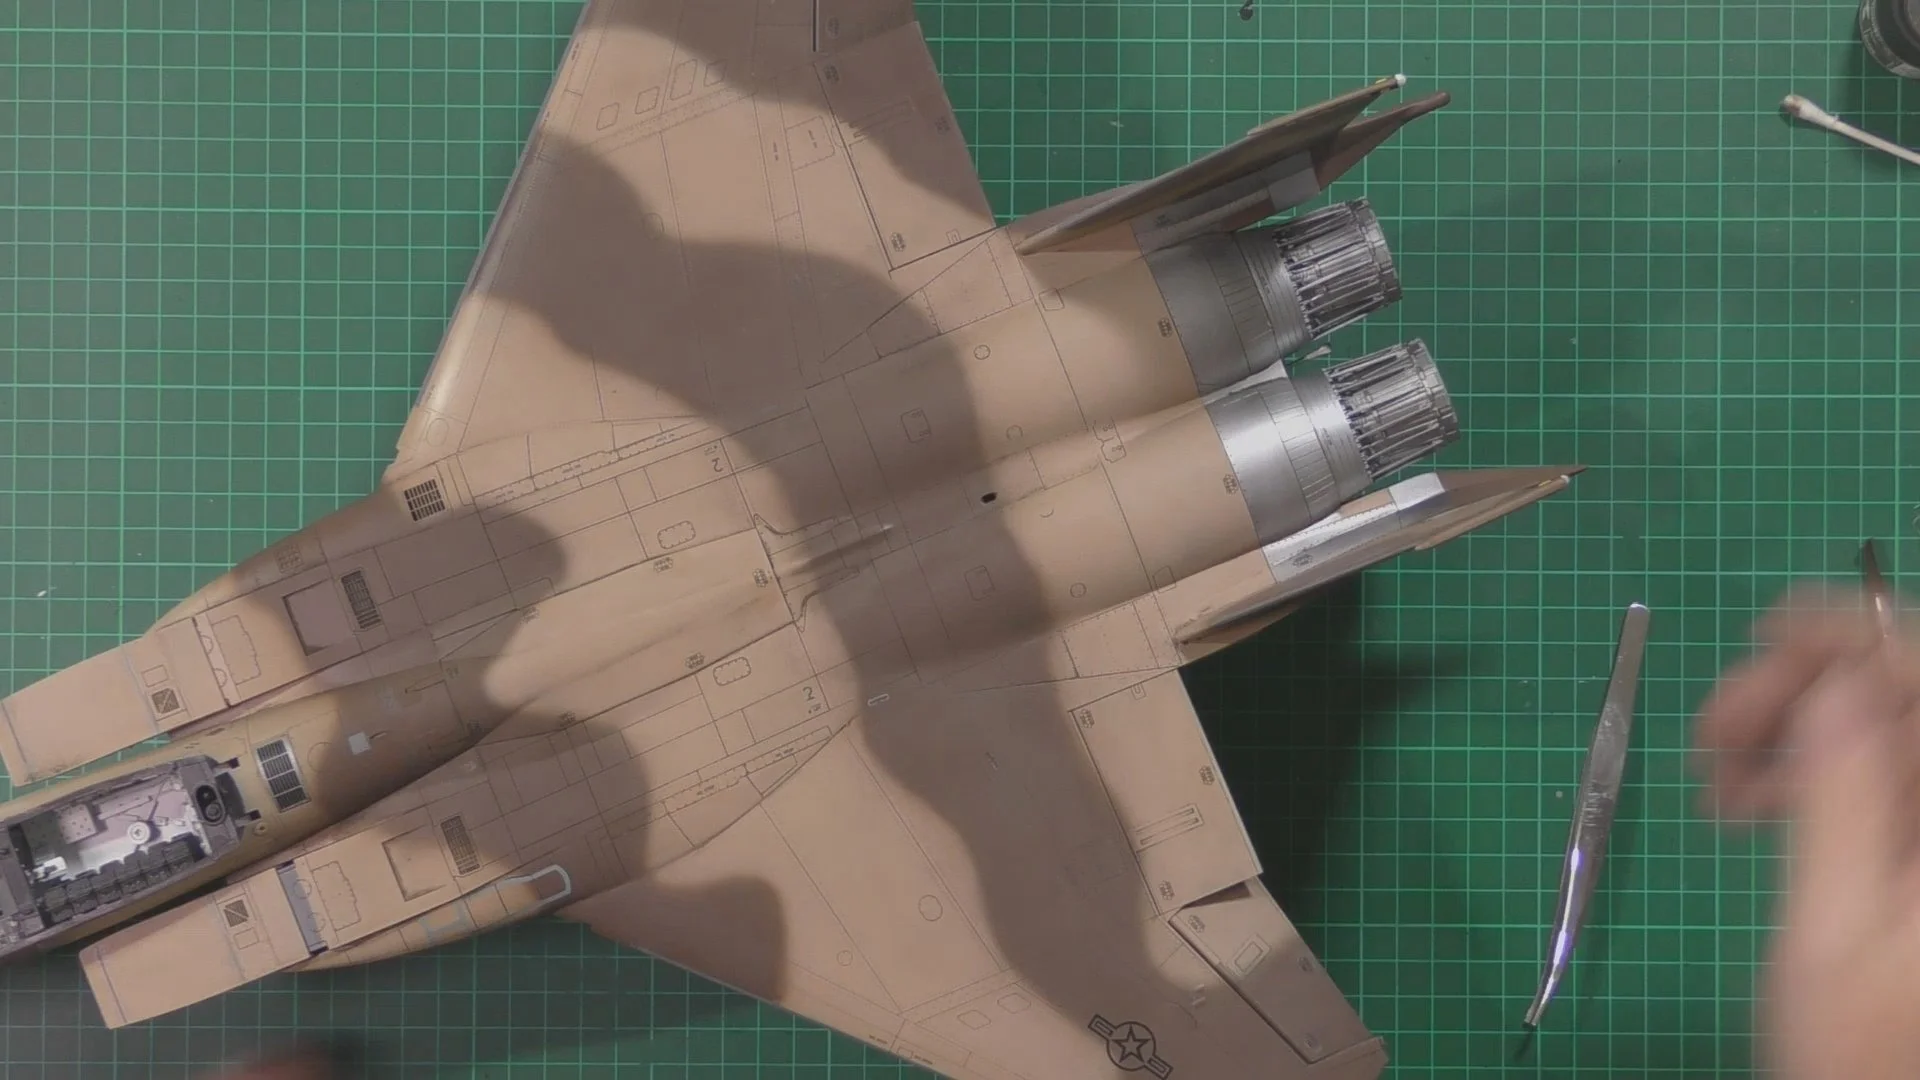
In Part eight, we install the tails and pop the gear together before removing the canopy center seam line. Once masked up we move into the spreybooth and put down the light tan with Hataka C068 FS30279.

In part Nine, it’s time for the camo work. C060 Hataka was not quite right so we added a few drops of Tamiya XF-64 to make it a little more red brown. So with that sorted we free hand the camo work into the Eagle.

In part ten, we paint the Metal areas with AK Xtreme metals. Next we make a custom mix for the radar bay and electronics bay before using Posca pens to detail the bays.

In Part eleven, we start decaling and to be honest have a few problems with too much setting solutions. So we have to do some work to fix the with touchups , next the rubber tires are old and has a residue that we need to remove. Last we paint the radar and electronics bays with a custom paint mix.

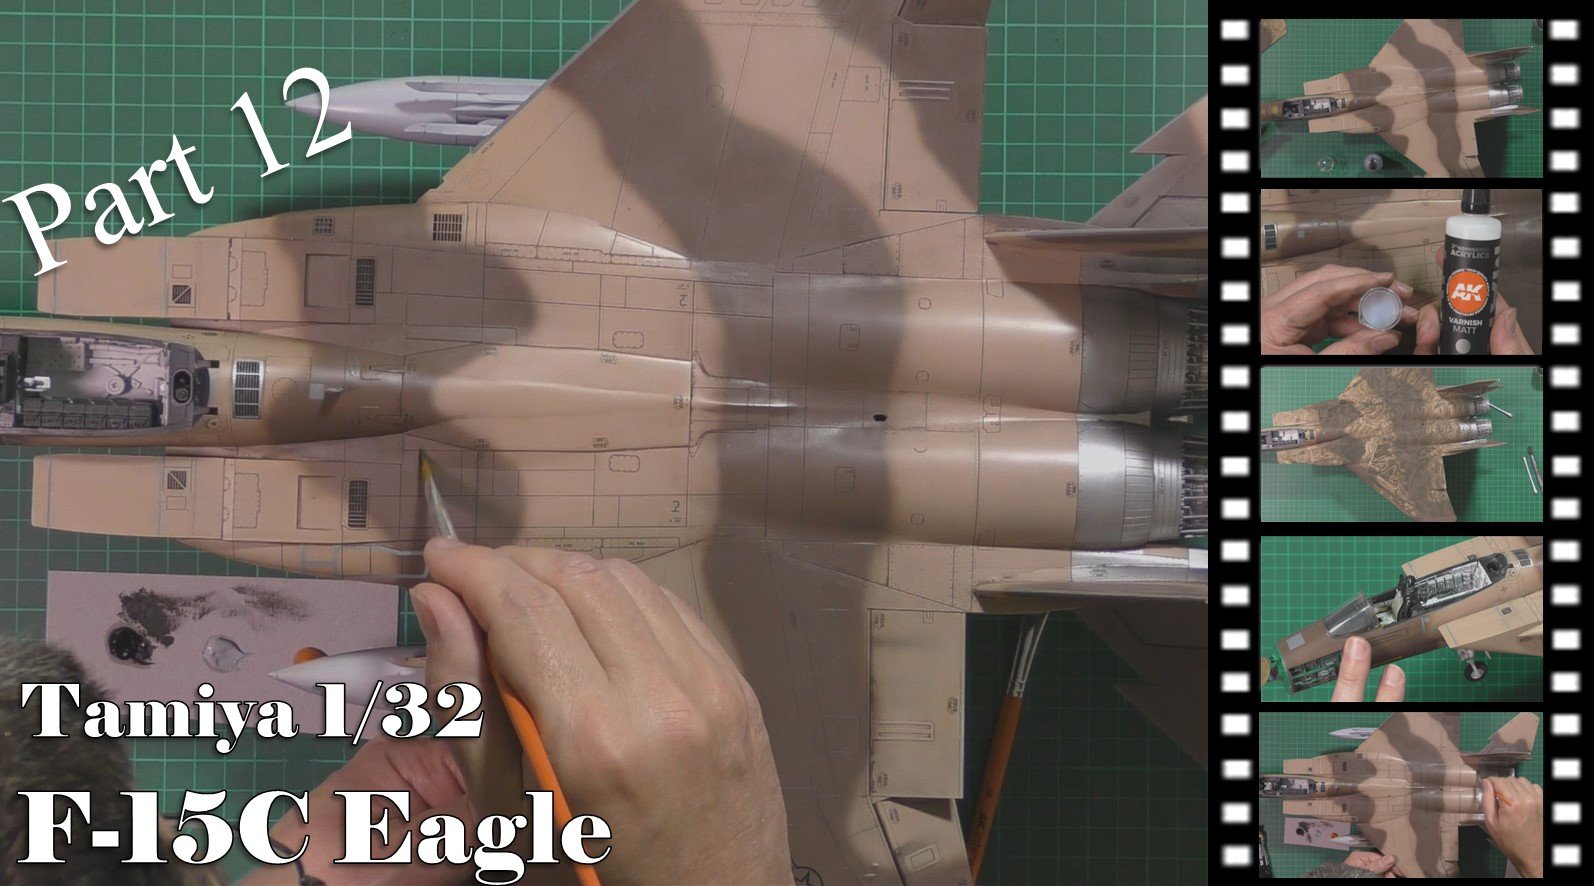
In part twelve, we start on the weathering with a Dark Dirt wash. Next time to un-mask and start to add all the gear door lumps and bums that might have been knocked off removing the wash, then take care of a few decal problems and then back in with neat oils and the oil washes for the gear.
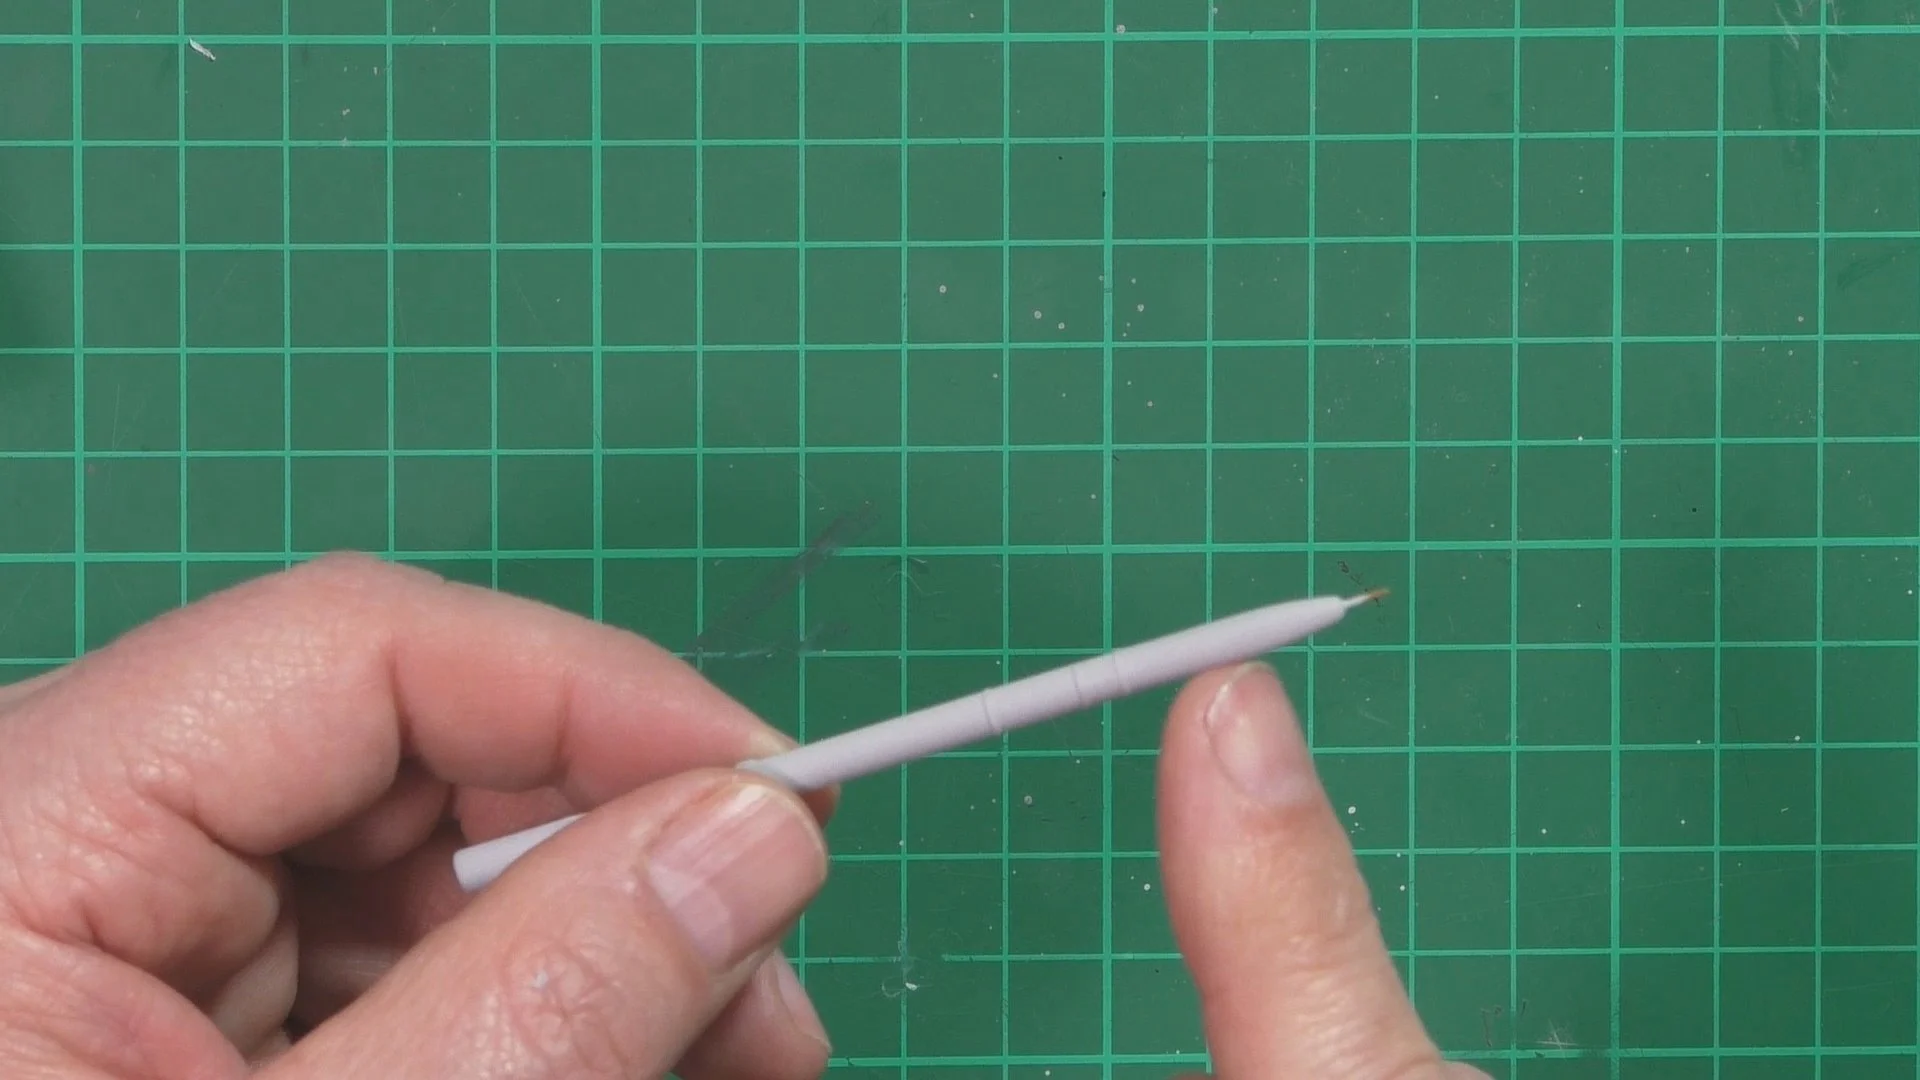
In this final part, we finish off the weathering underneath and the exhaust nozzles. Next we add the gps antenor and the small pitot’s and aerials. The lights are installed and we convert the kits Sidewinder to a ACMI all ready for the final reveal.