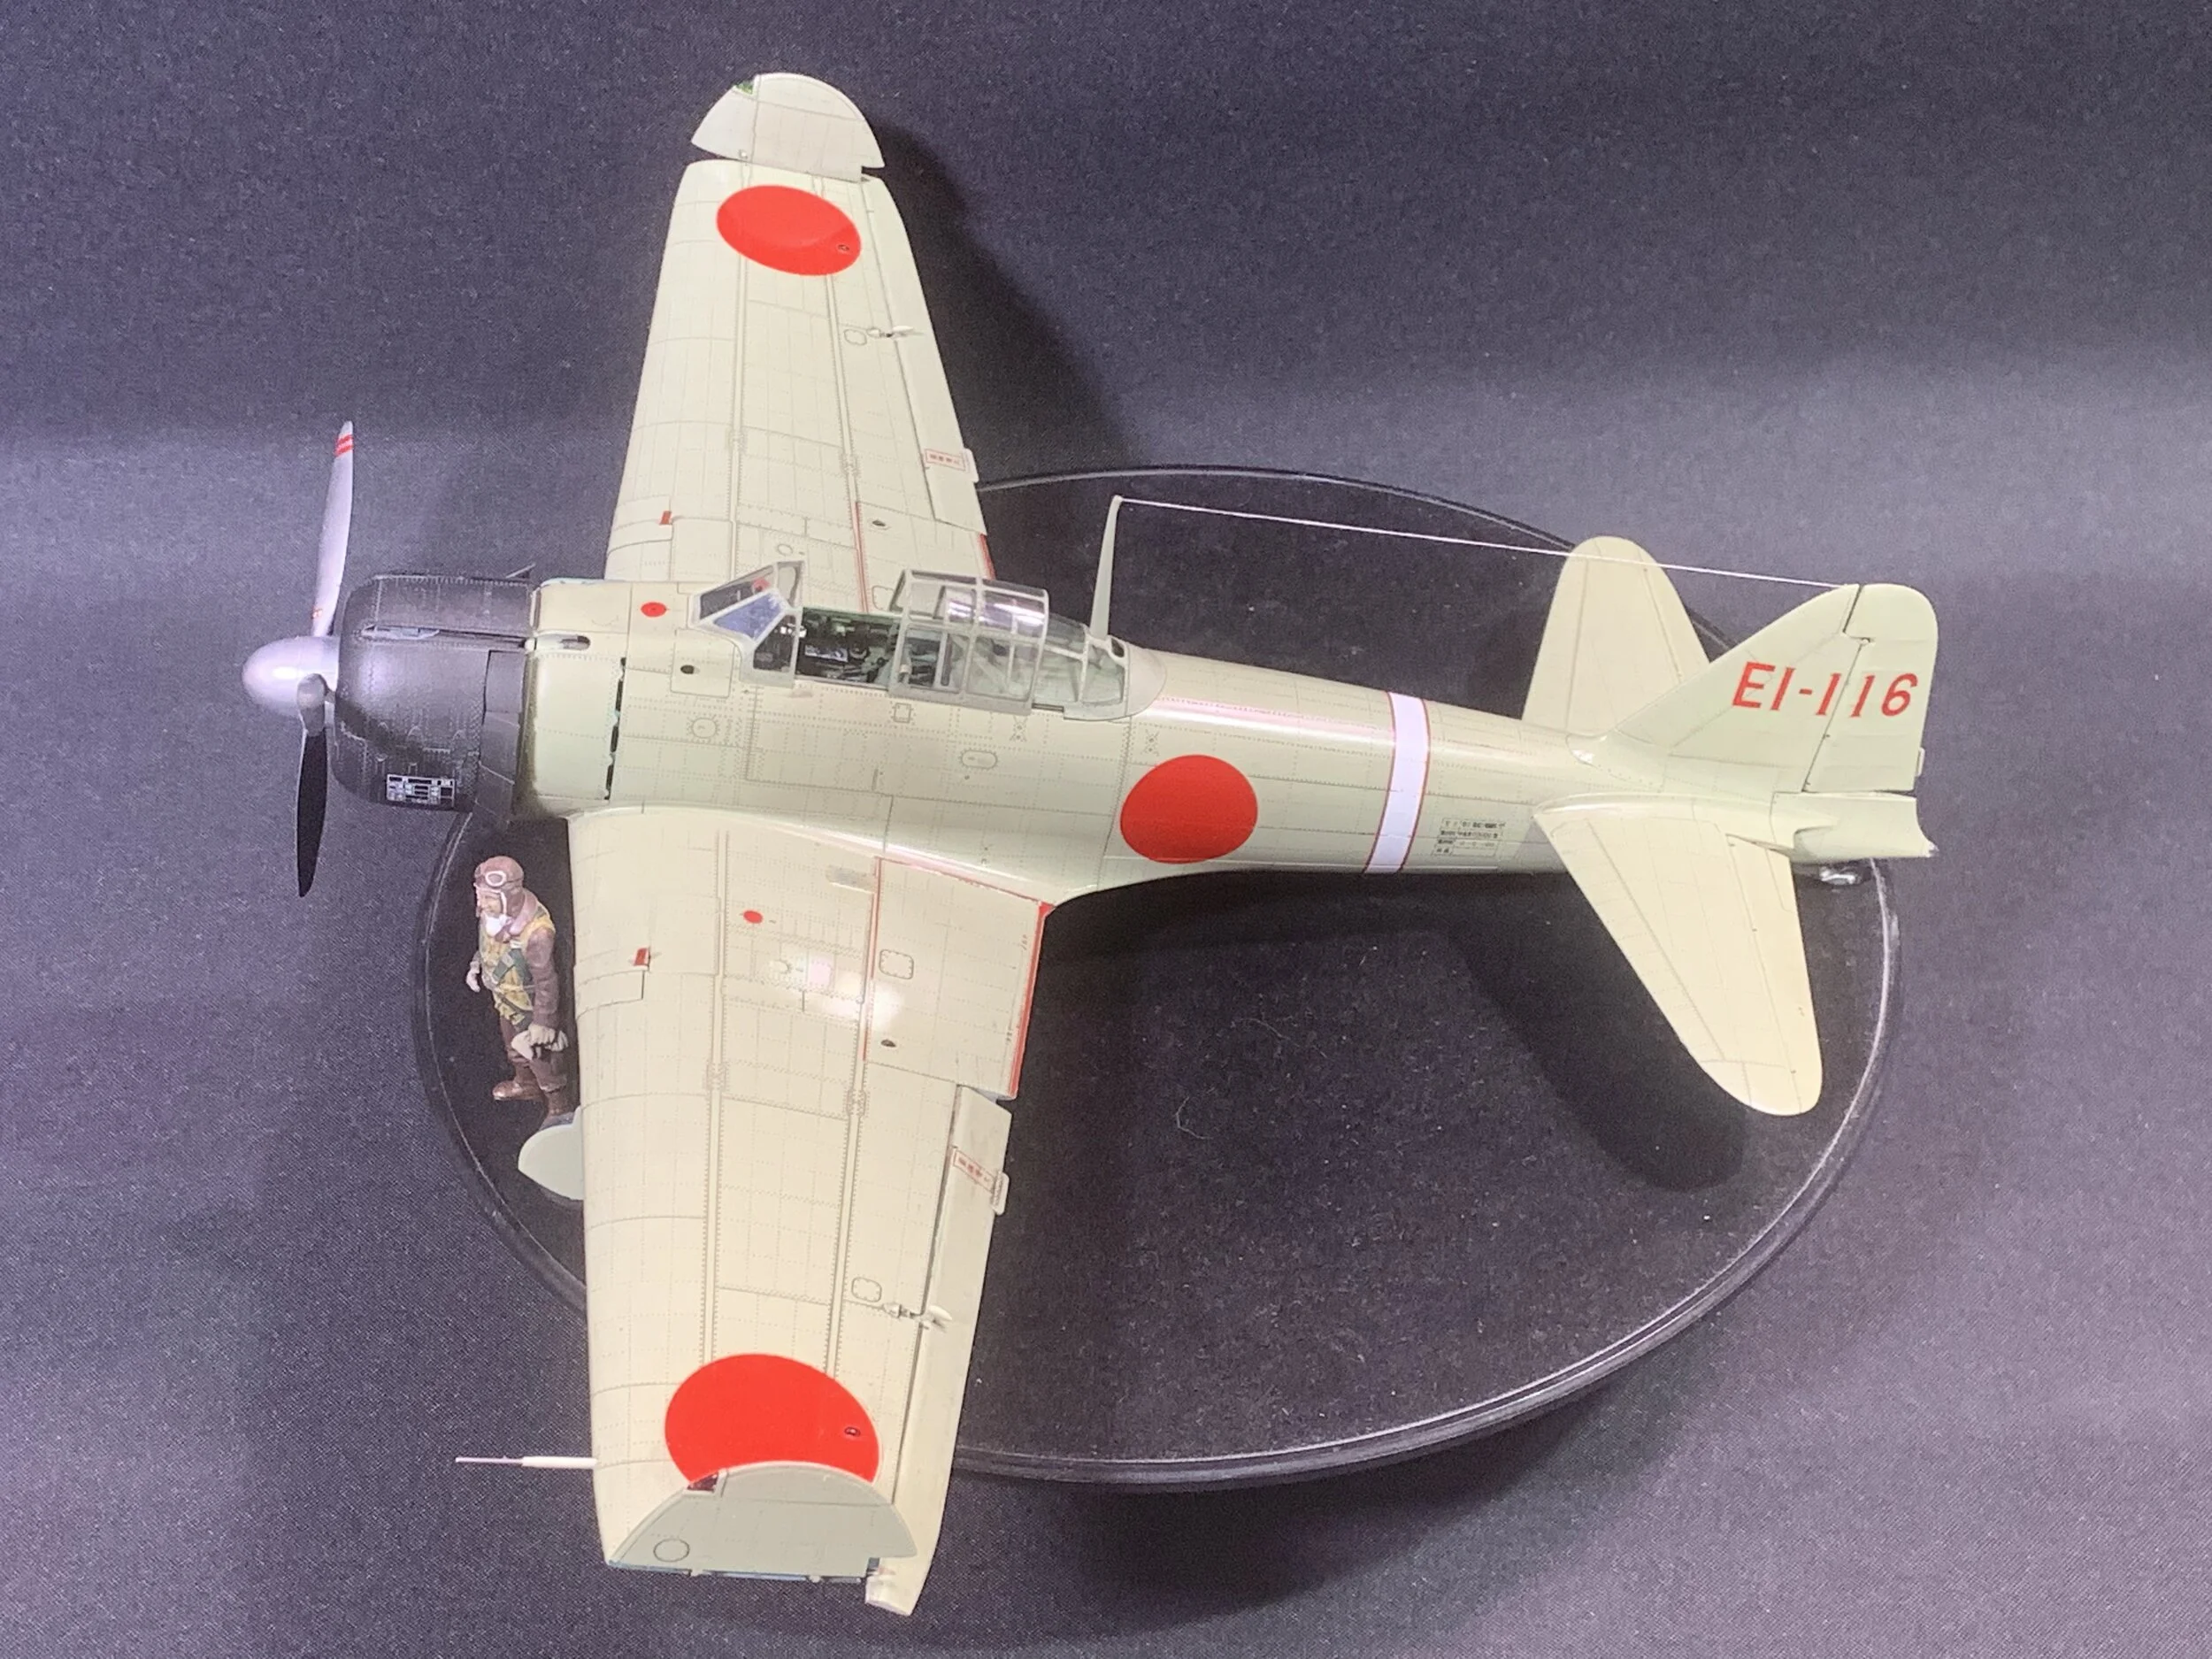
ZERO
Scale: 1/32
Manufacturer: Tamiya
Parts used: Out Of The Box
Main paints used: Tamiya and Gunze
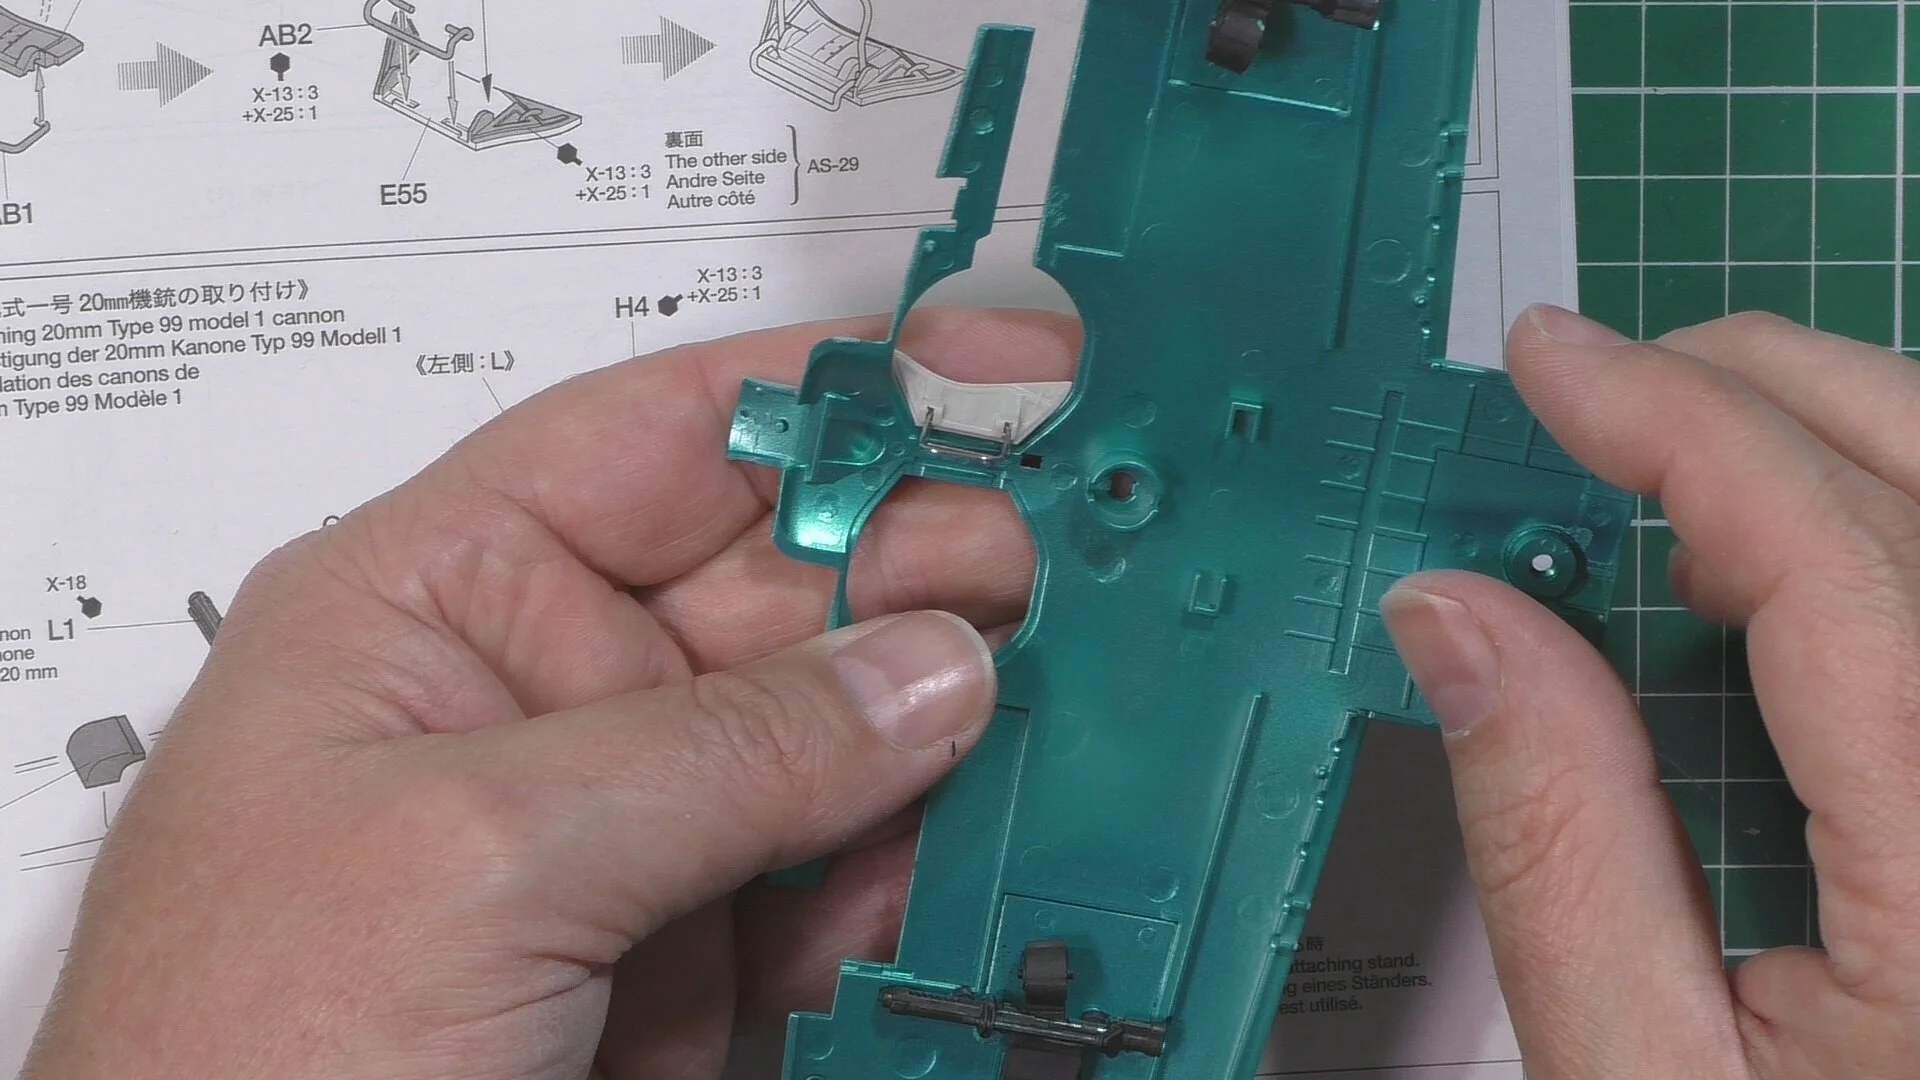
In part one, we look at the build ahead and then start work in the rear fuselage. we use Tamiya XF-71 cockpit green and Gunze H63 metallic blue-green.
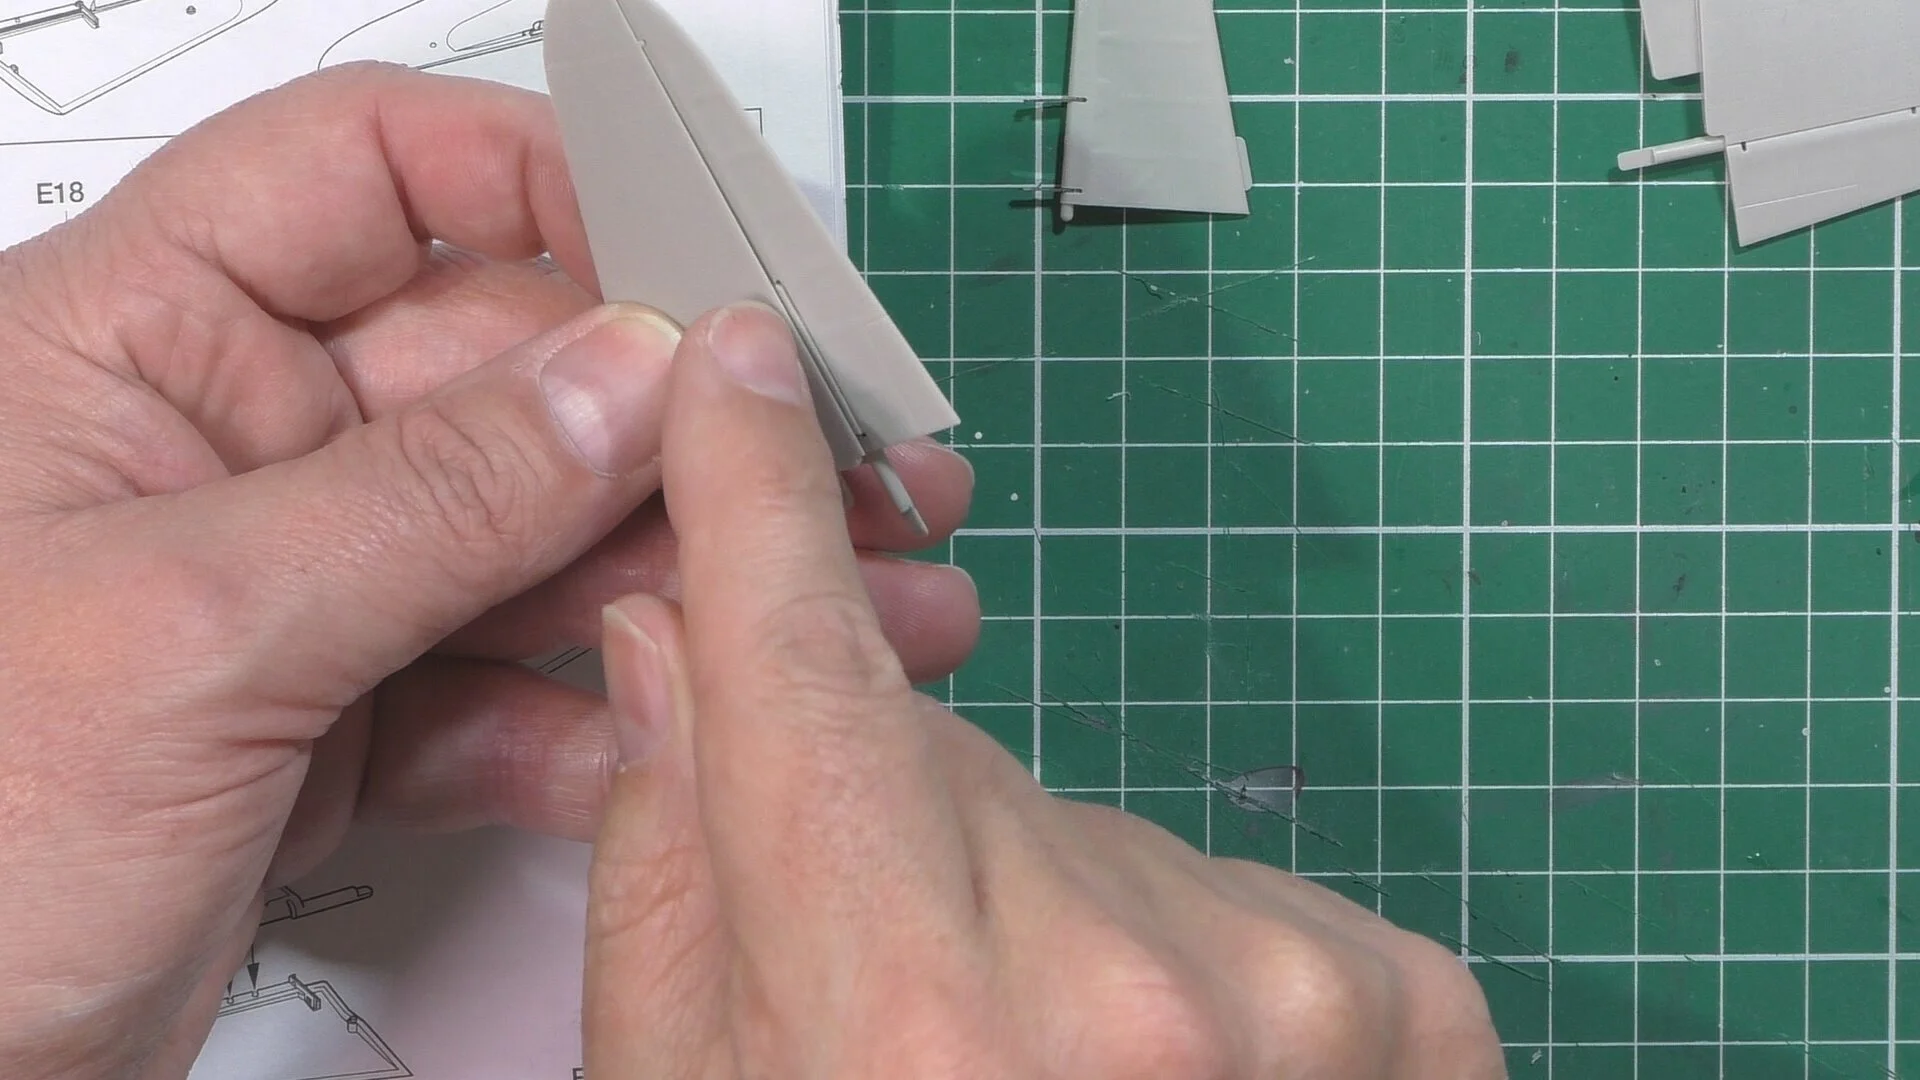
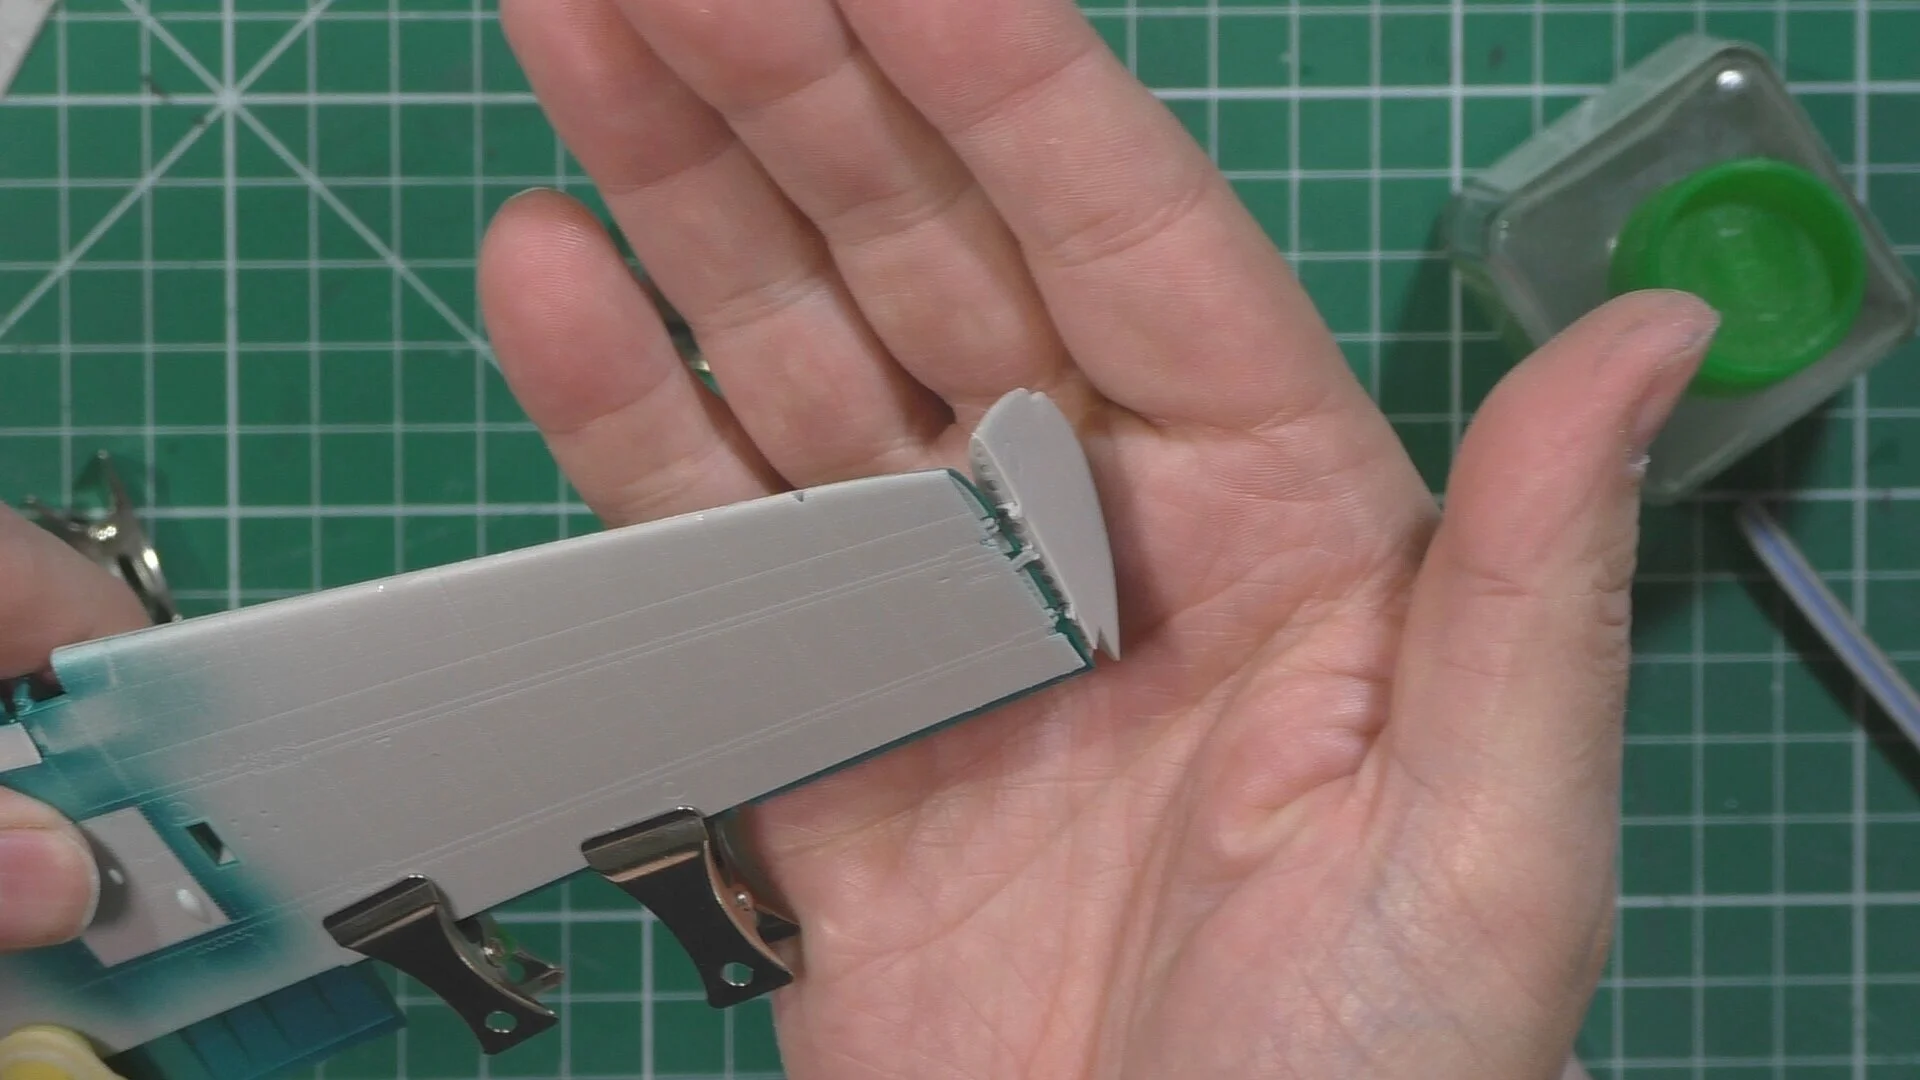
In part two, we work on the tail and control surfaces and fit and install those before moving onto the wing, installing the workable gear, ailerons and flaps. Next, we work on the wingtips both straight and folded.
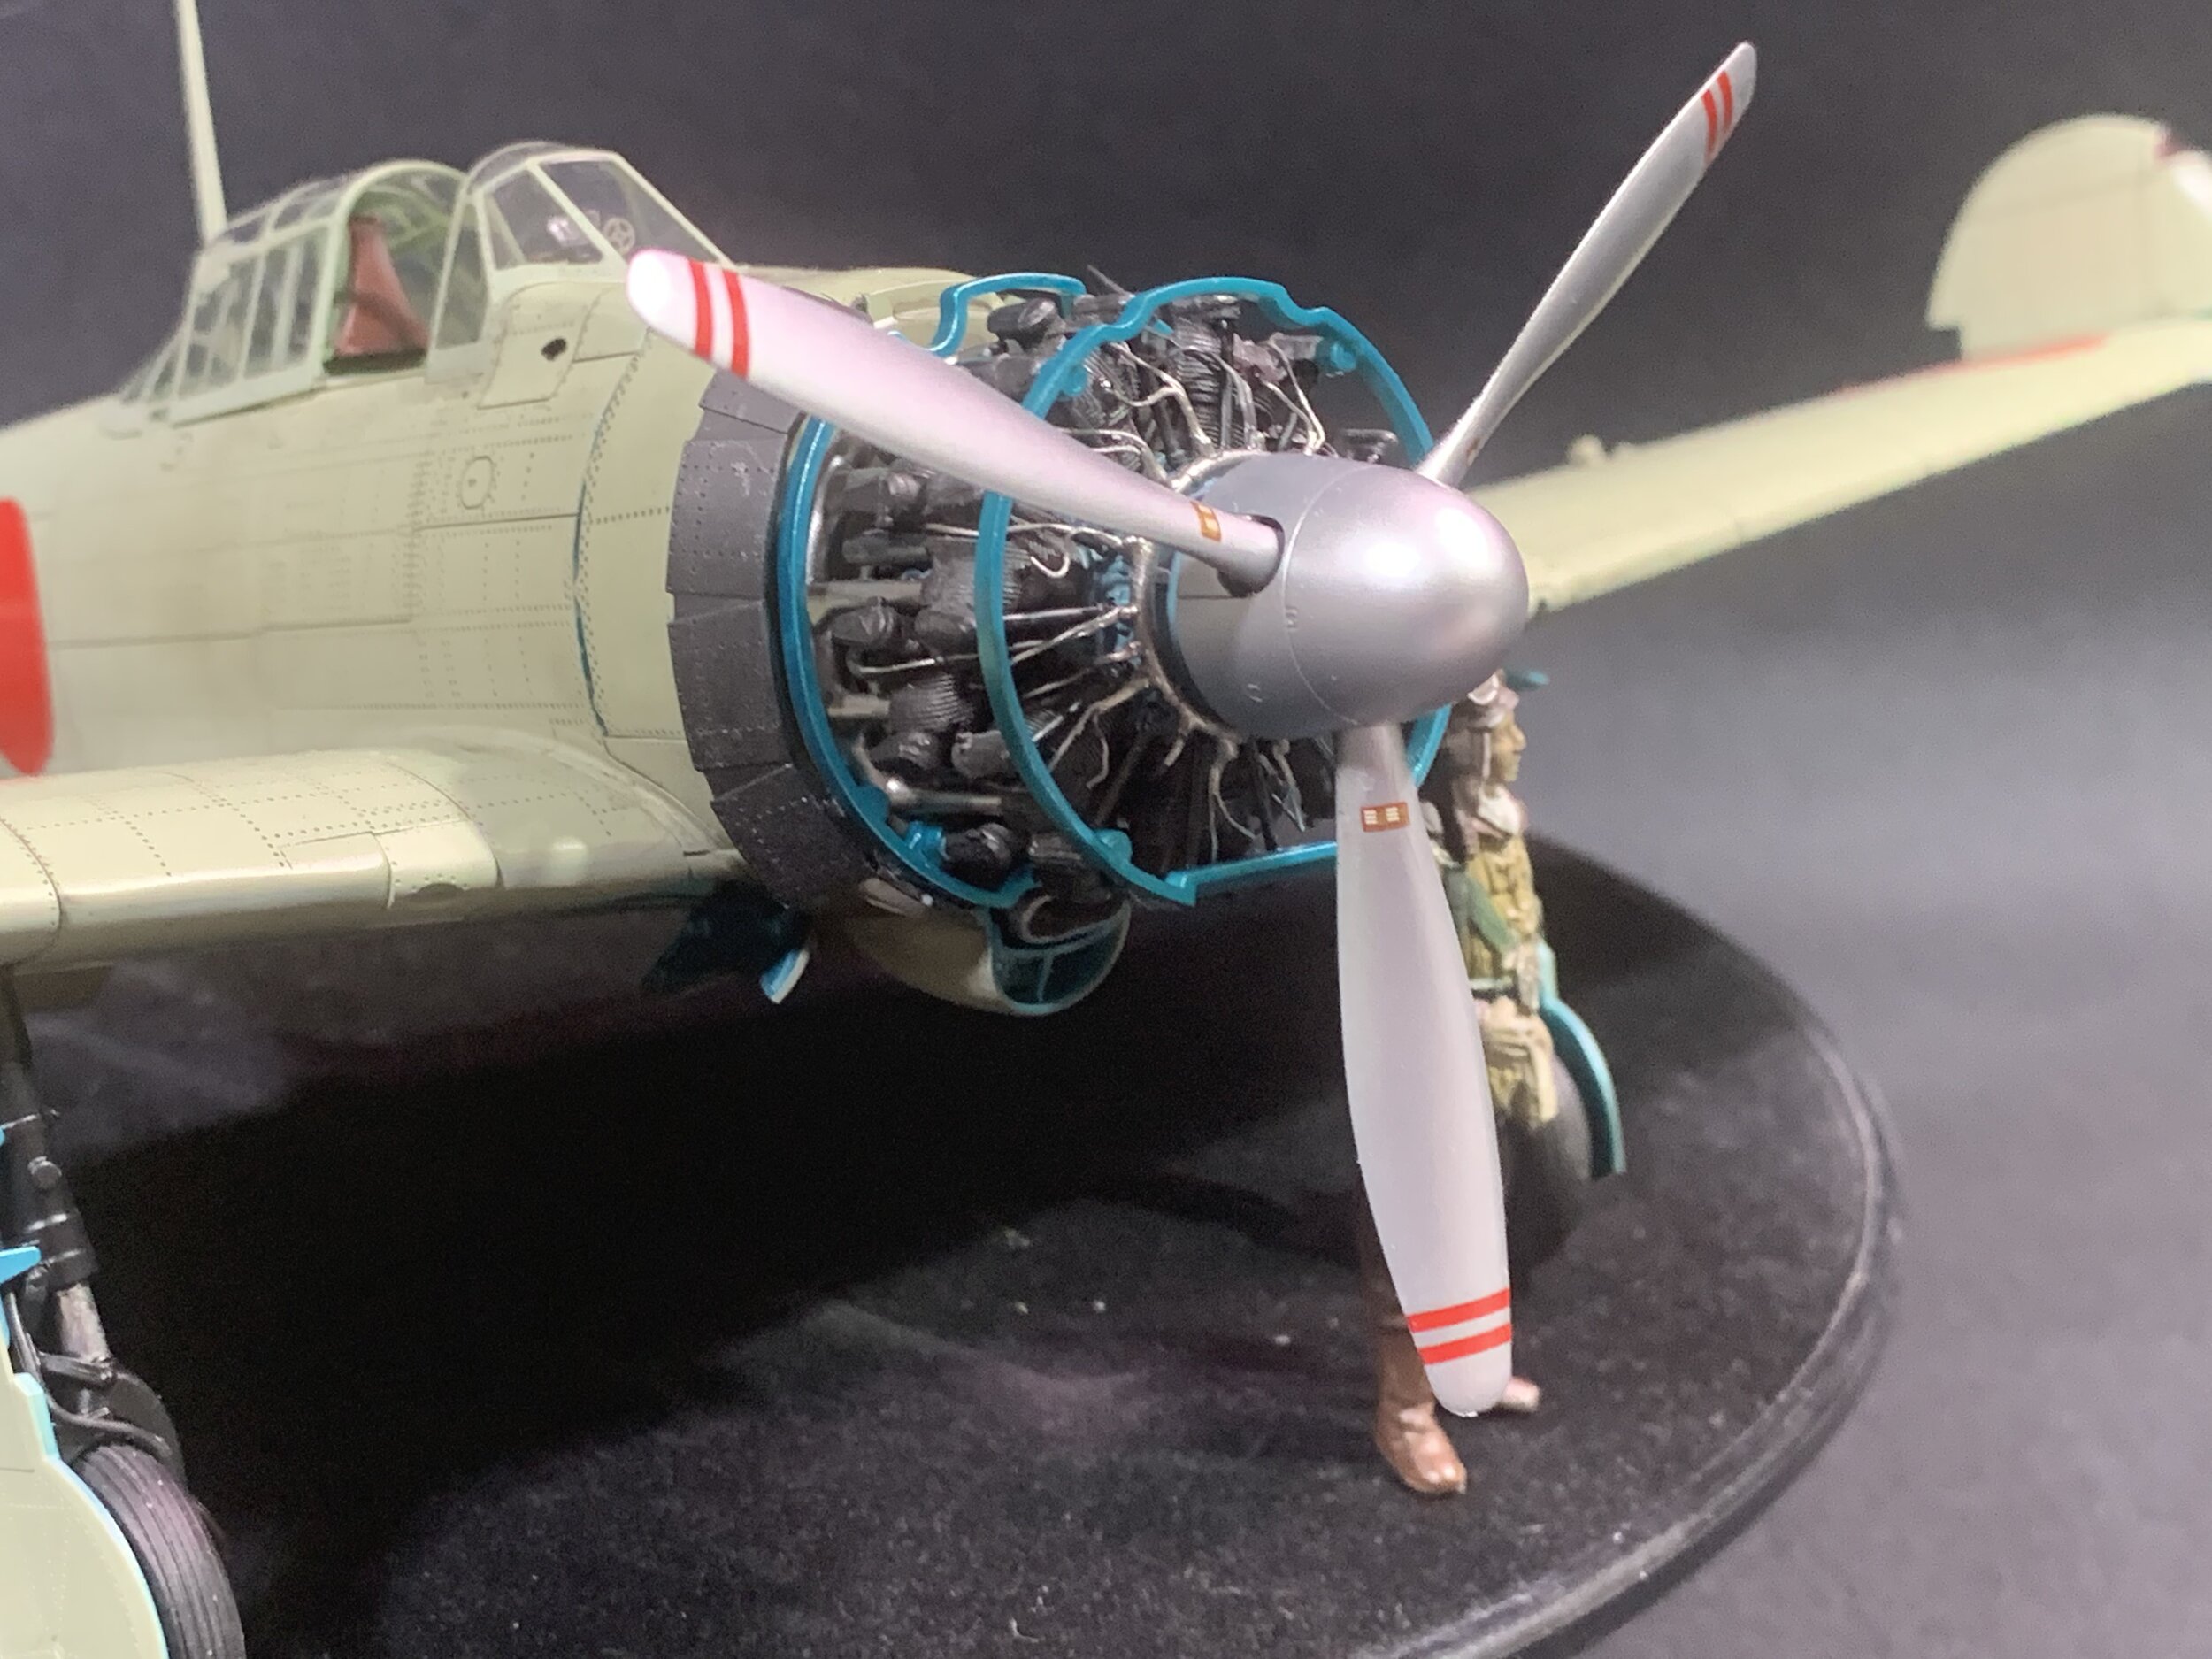
In part three, it’s all about working and detailing the engine. So first up cleaning up the parts and how to paint then up, Next into the spray bay to paint them up and then hand-painting with bufferbles and polishing them up, next its time to add some more detail with lead wire and then assembly.
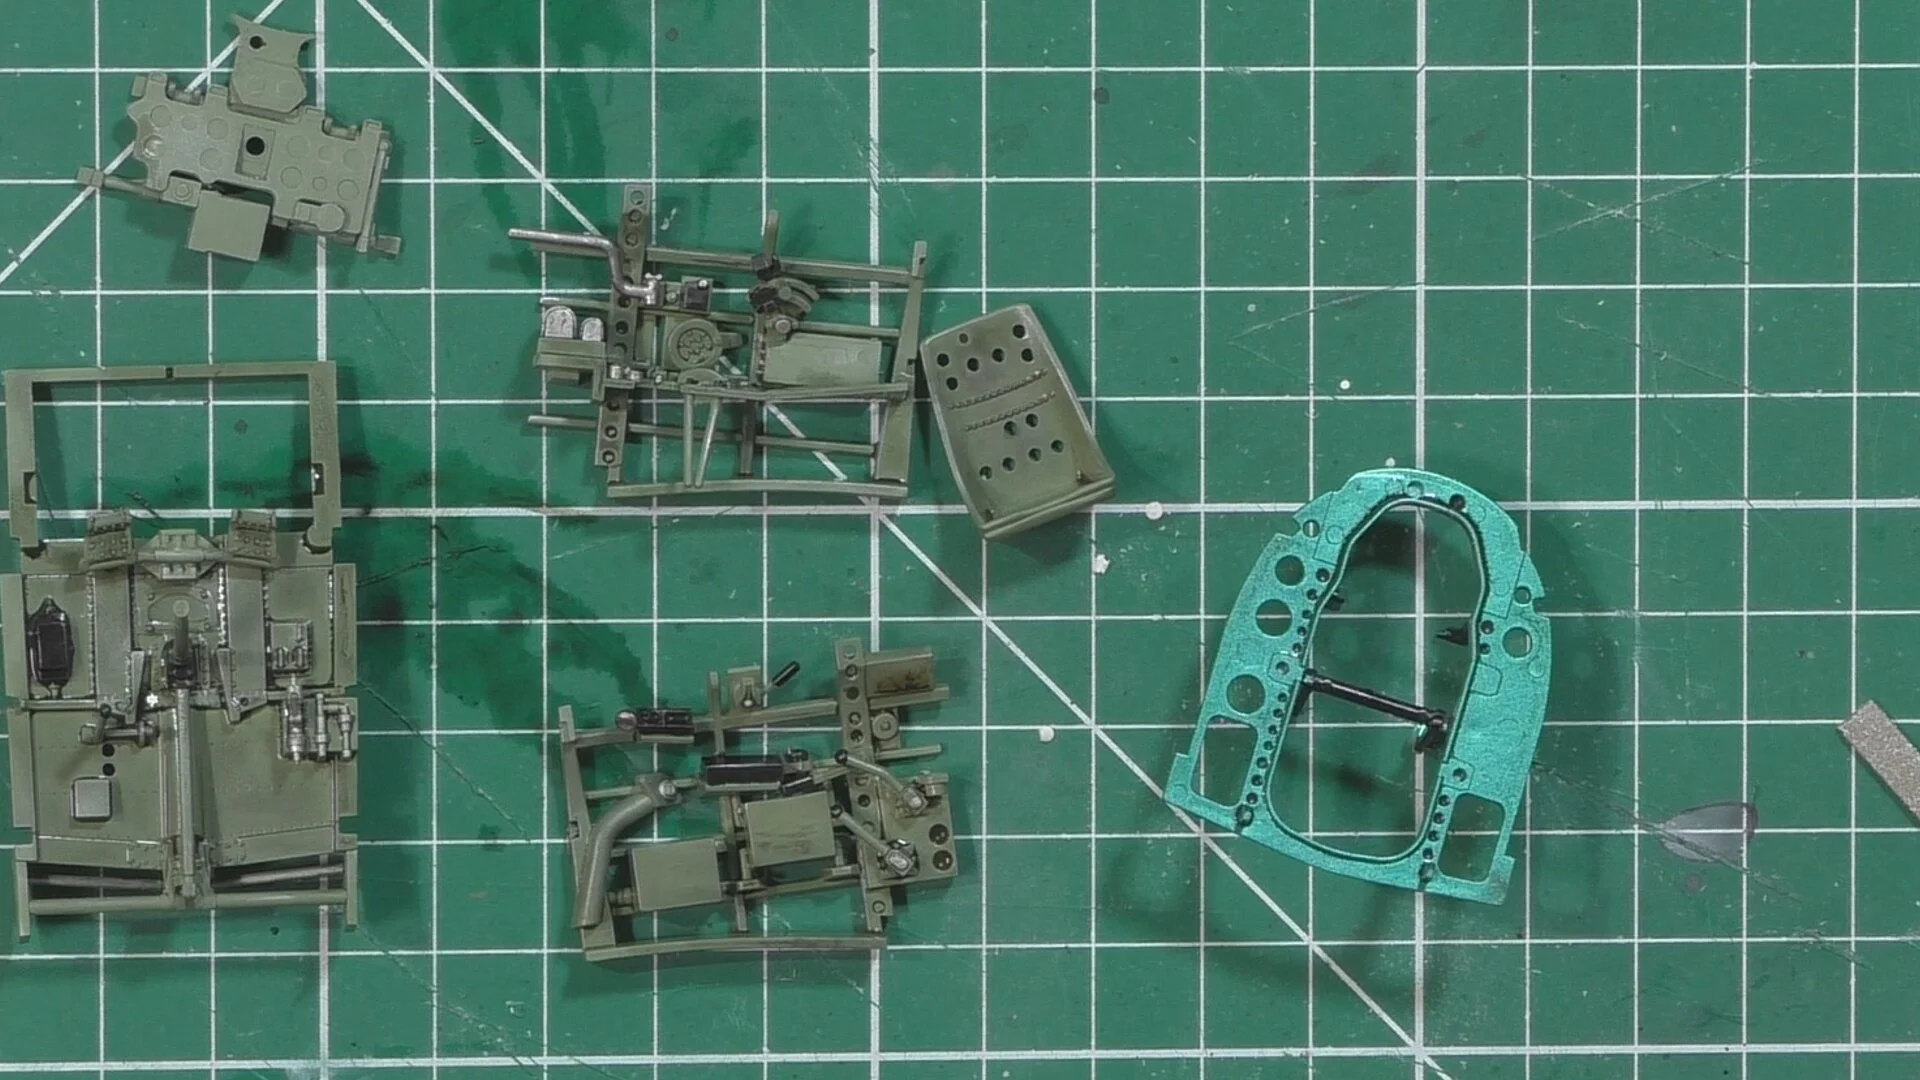
In part four, we finish off the engine work and the start on the cockpit, and as we are using the Quinter studio’s resin decals we remove the surface detail ready for painting. Next, we hand paint the details and then wether with Bufferbals and a smoke oil wash all ready for the resin decals
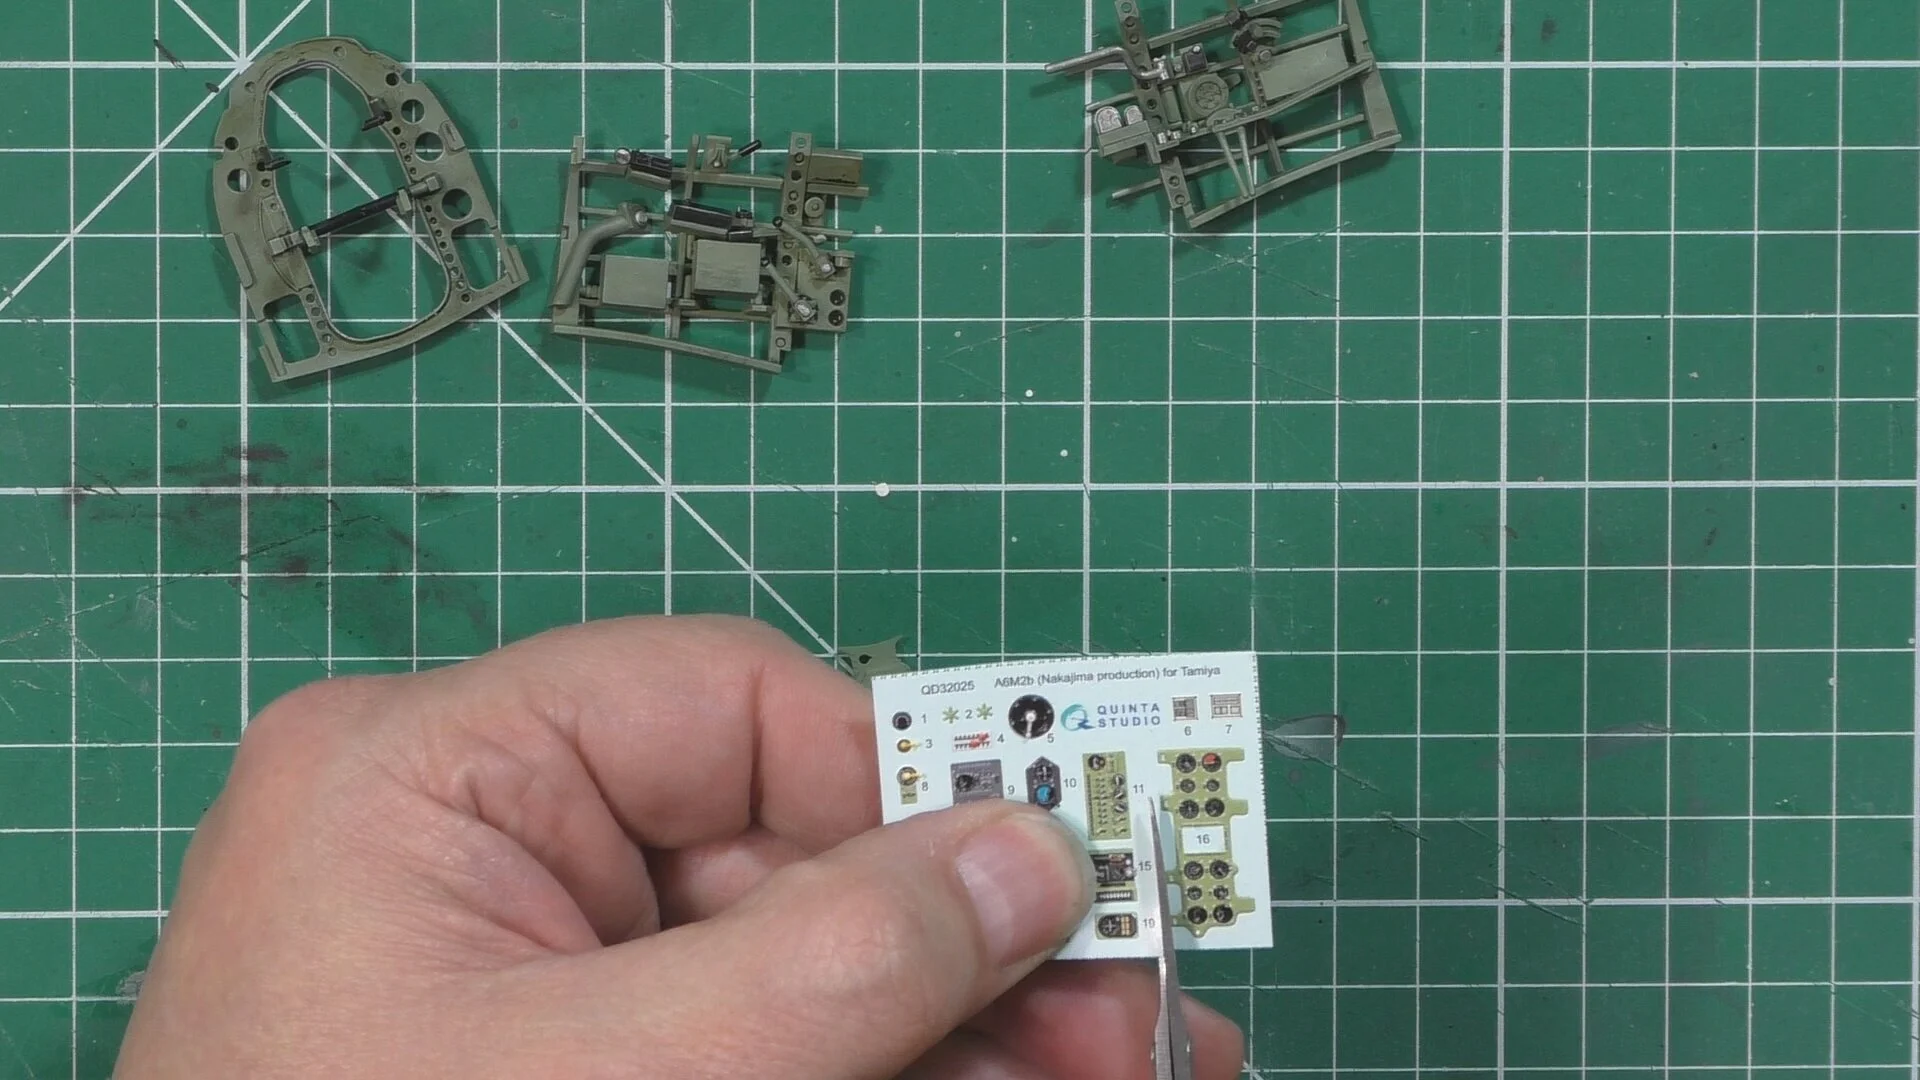
In Part Five, we finish off the engine and then work with the Quinta Studios 3D resin decals and install those to the cockpit adding some great detail. Then we build the cockpit already to be installed in the fuselage.
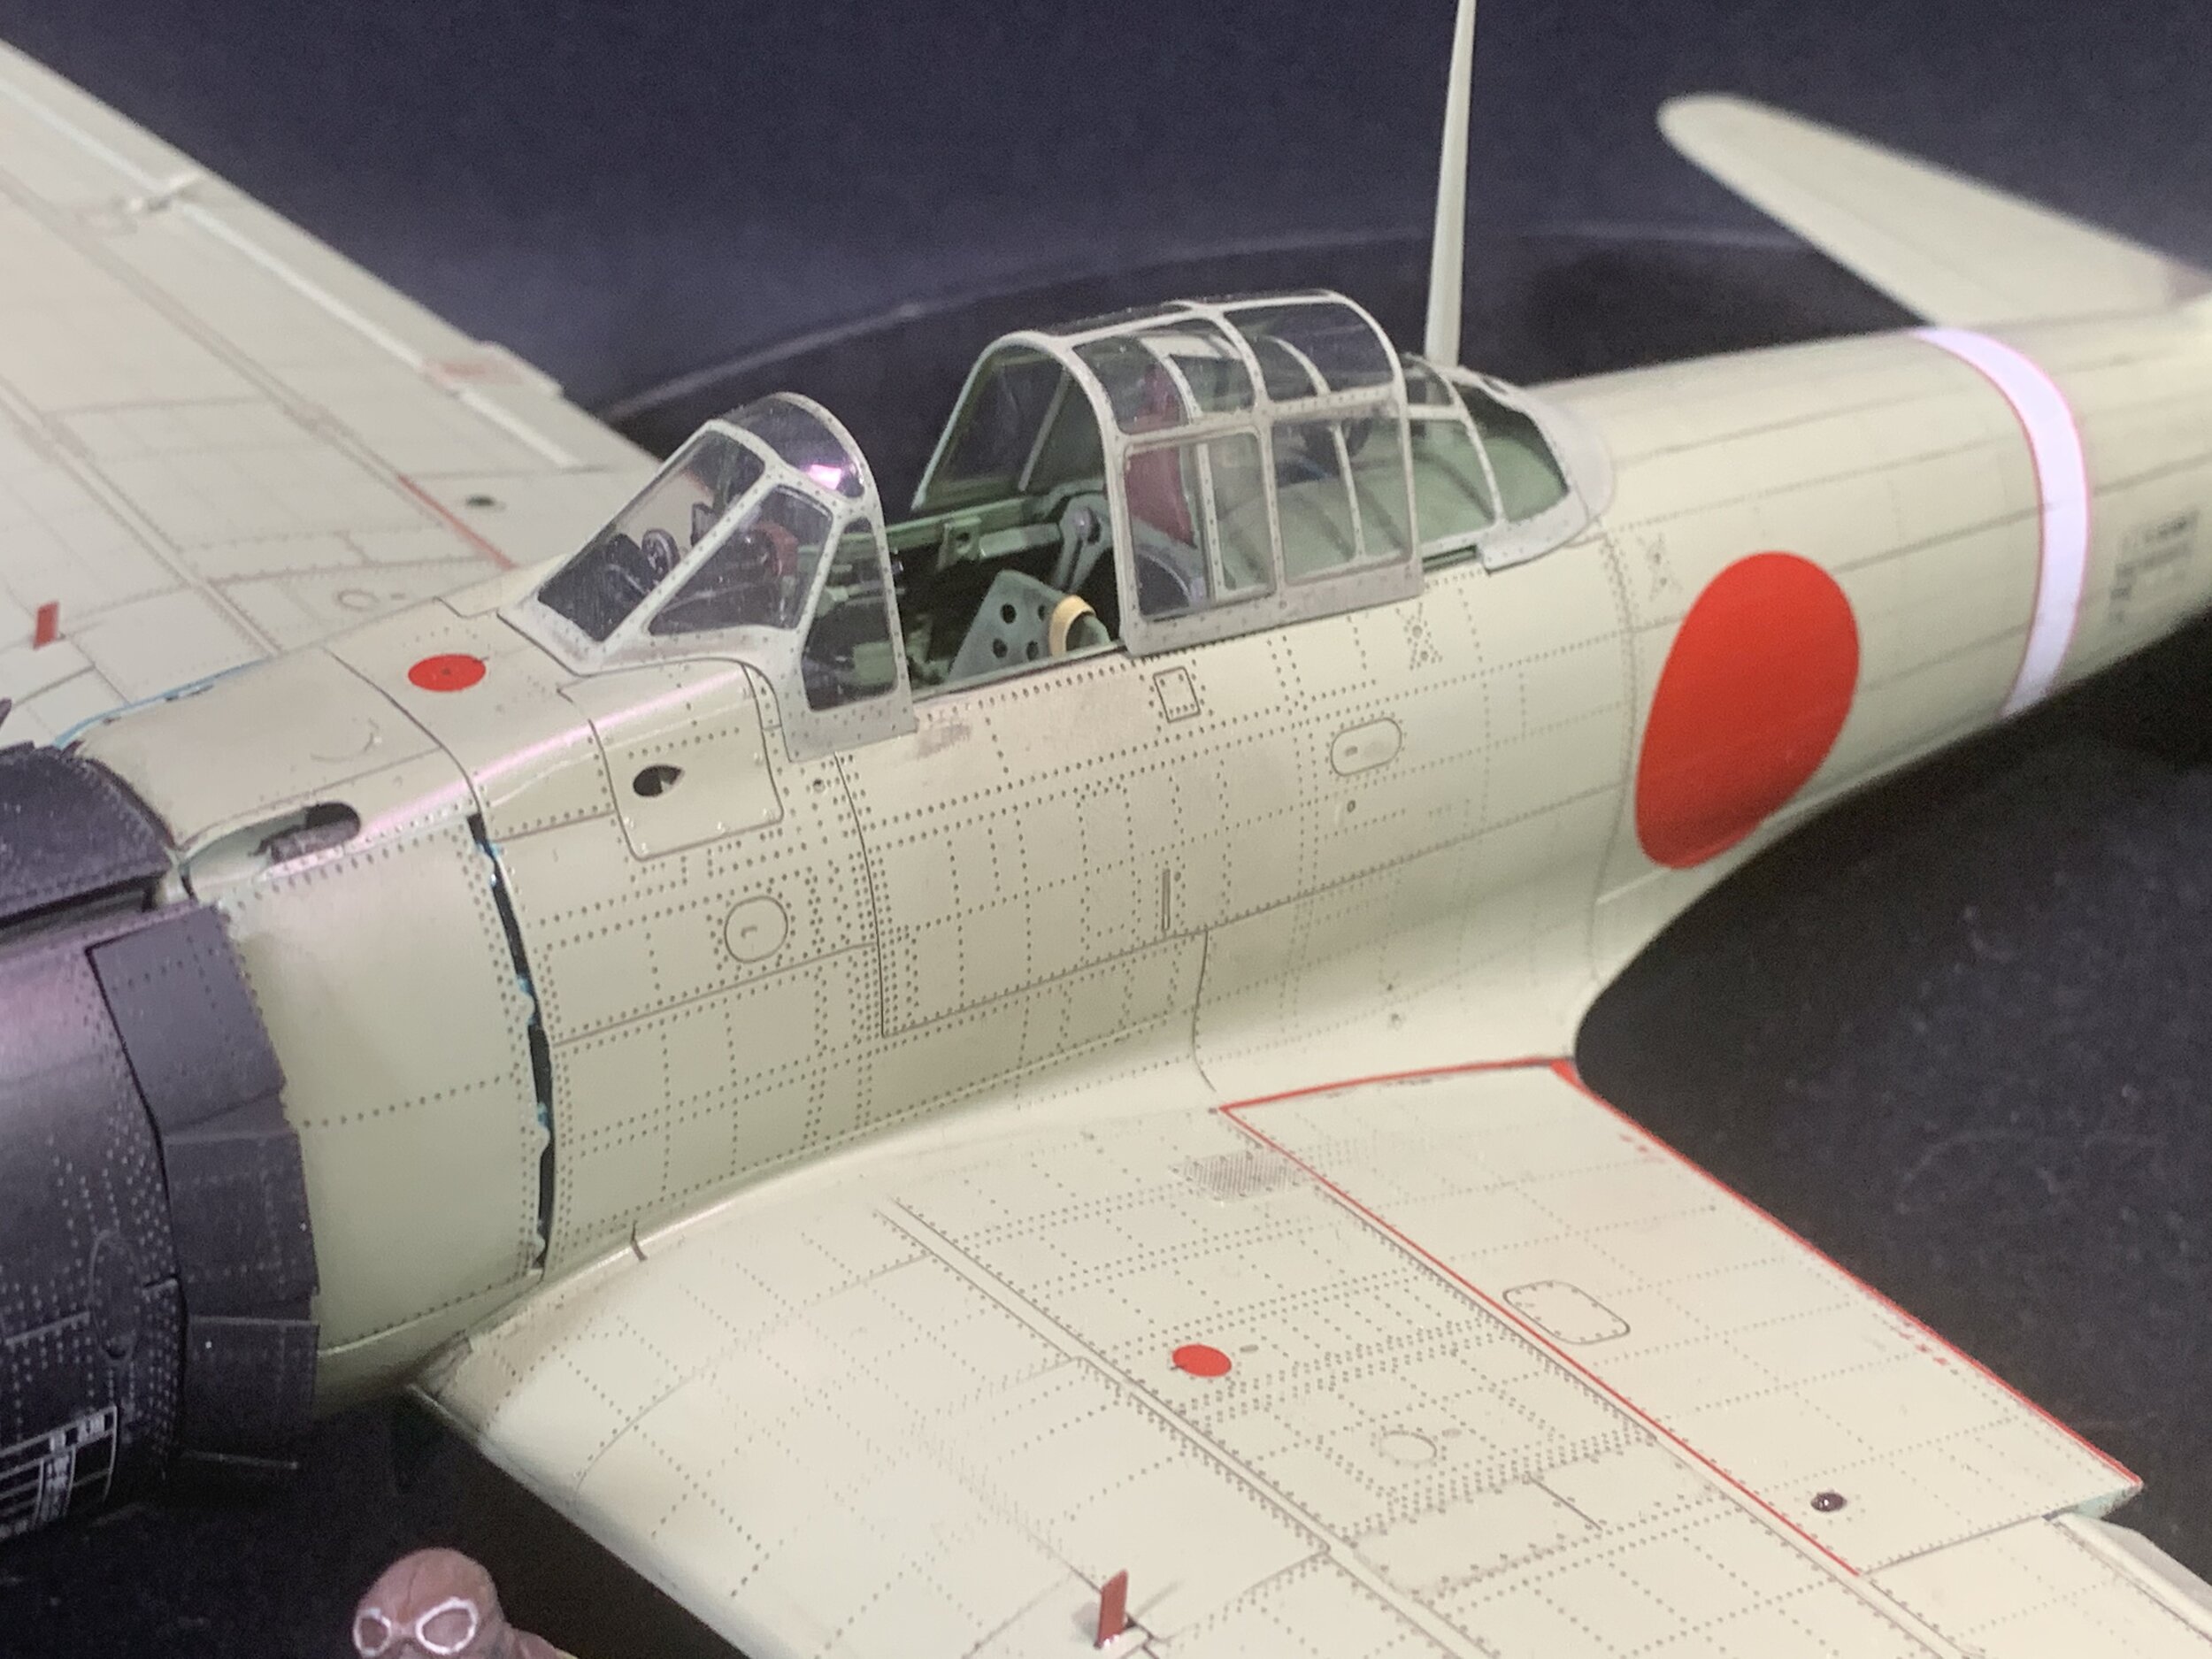
In part six, we install the cockpit and then install the ailerons and flaps to the wing section before installing them to the fuselage. We then work on the gear struts ready to be fitted later. We next mask up the canopy with the Eduard masking set JX058 before paint that with the cockpit green in preparation for the Primer.
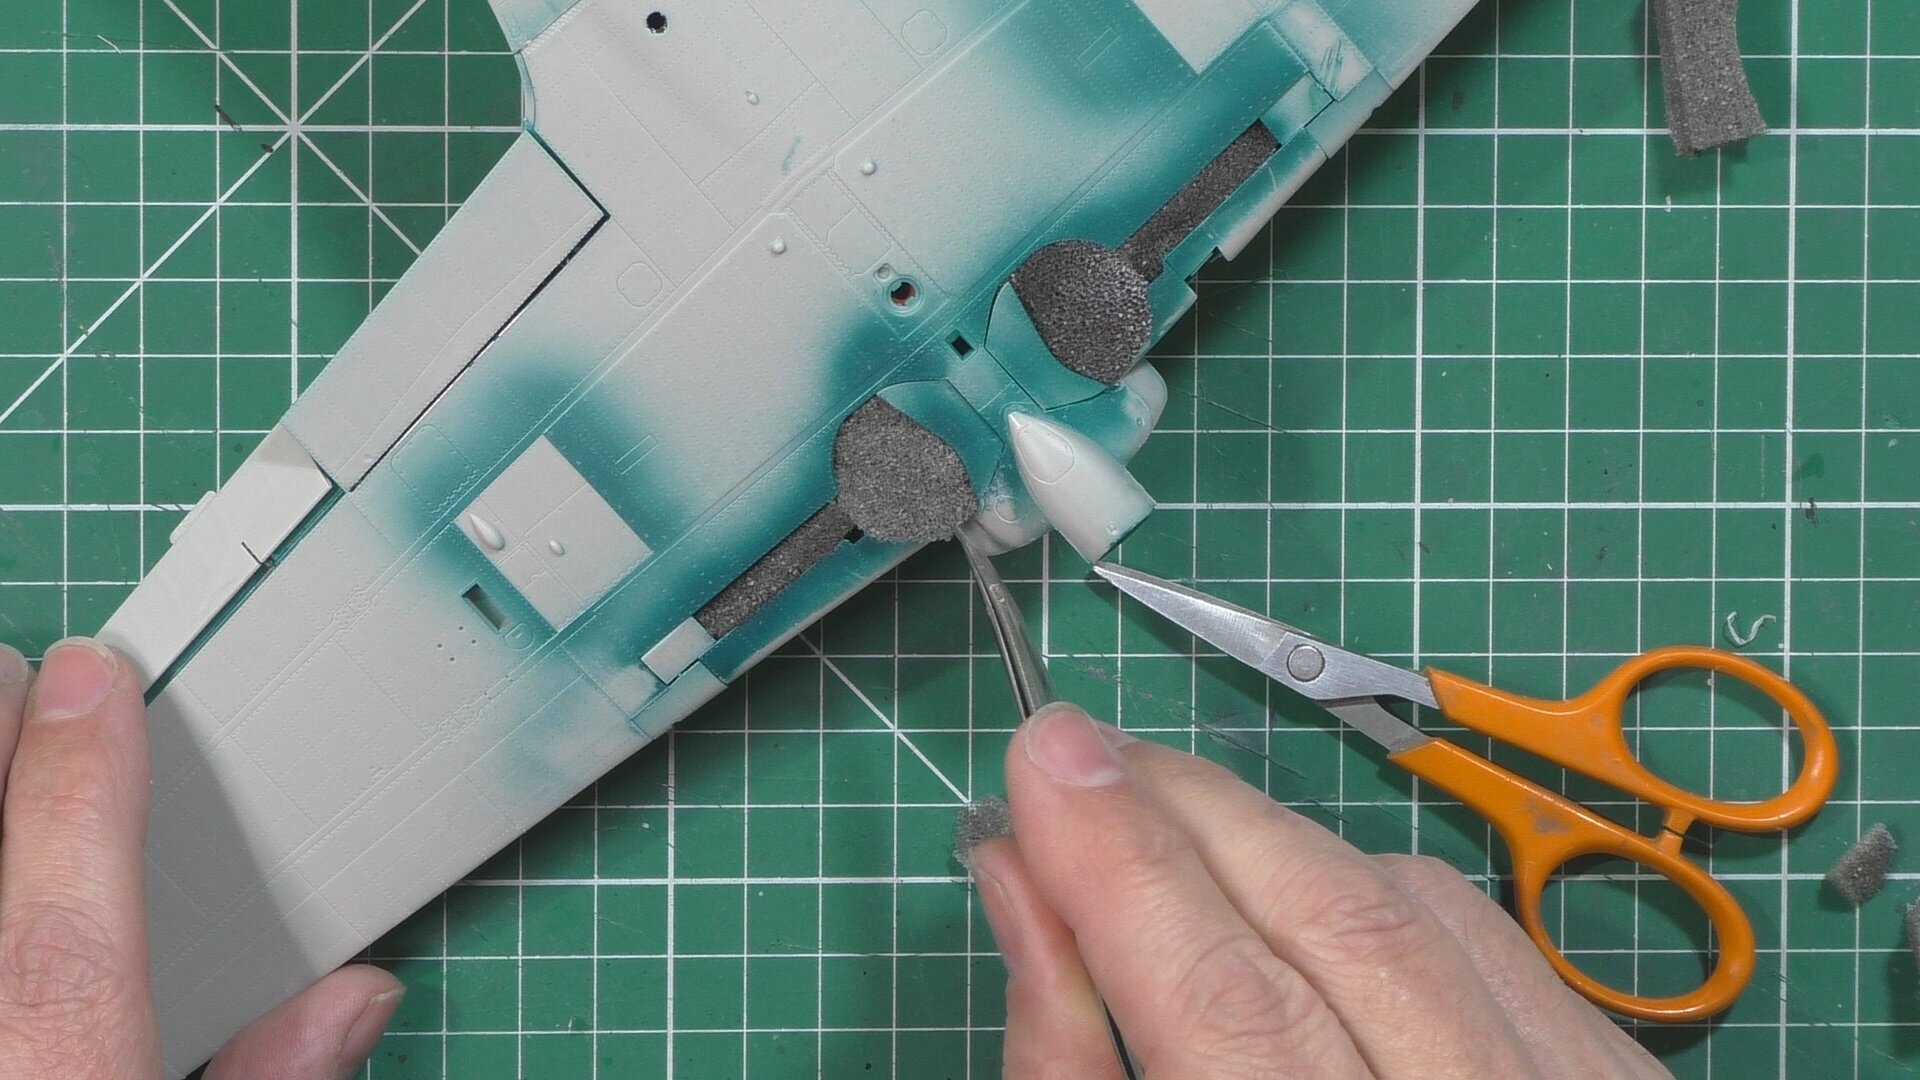
In part seven, we re-rivet where we have removed during sanding seams and cleaning up and generally seam check everywhere adding back any panel lines etc. Next, we mask up the wheel wells with packing foam ready for priming in the spray booth. We use Mr. Primer Serfacer 1000 with Rapid drying thinners. We look in detail about getting a smooth finish to your primer coat.
In part eight, it’s time to get the color on the Zero, I know there is a lot written about the color call-outs from Tamiya but I’m sticking the what Tamiya are saying and using there Color of Tamiya’s XF-76, so following on from the primmer coat we put down a smooth coat with Rapid drying thinners and after playing with the ratios end up thinning the paint around 20-25% paint to 75-80% thinners. We also make a custom mix for the Nose black color with Satin Black and dark Iron buffable.
In part nine, we take a detailed look at getting the rather thick decals to conform and bed down nicely into the surface detail of the panel lines and riveting. Next, we put the main gear together and install it along with the tail wheel. Last up we mount the engine to the fuselage.
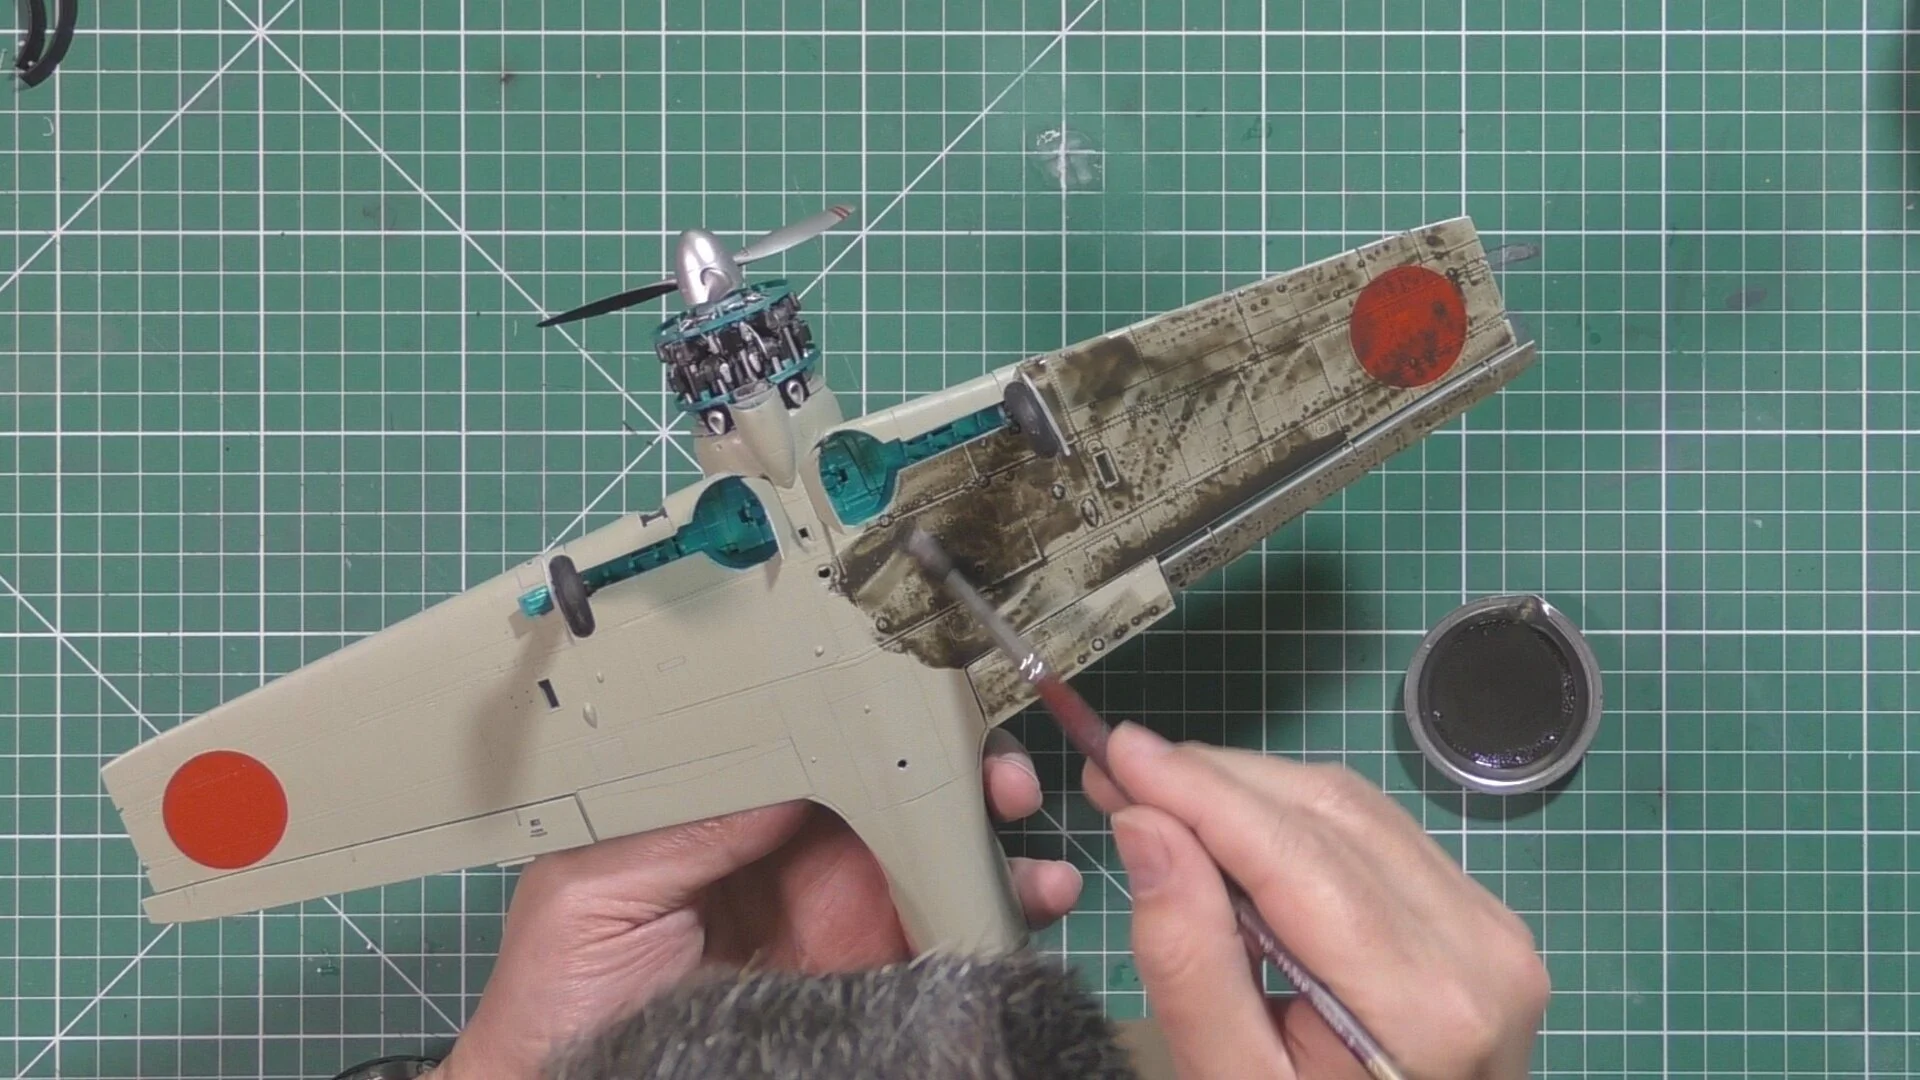
In part ten, we have a look at how the decals have gone down and re gloss ready for the wash. The wash is the Flory model’s Dark dirt weathering wash a clay-based wash. This is applied and then removed to give us just a panel and rivet wash. Then we install the gunsight, and the clear parts, and the cowling covers.
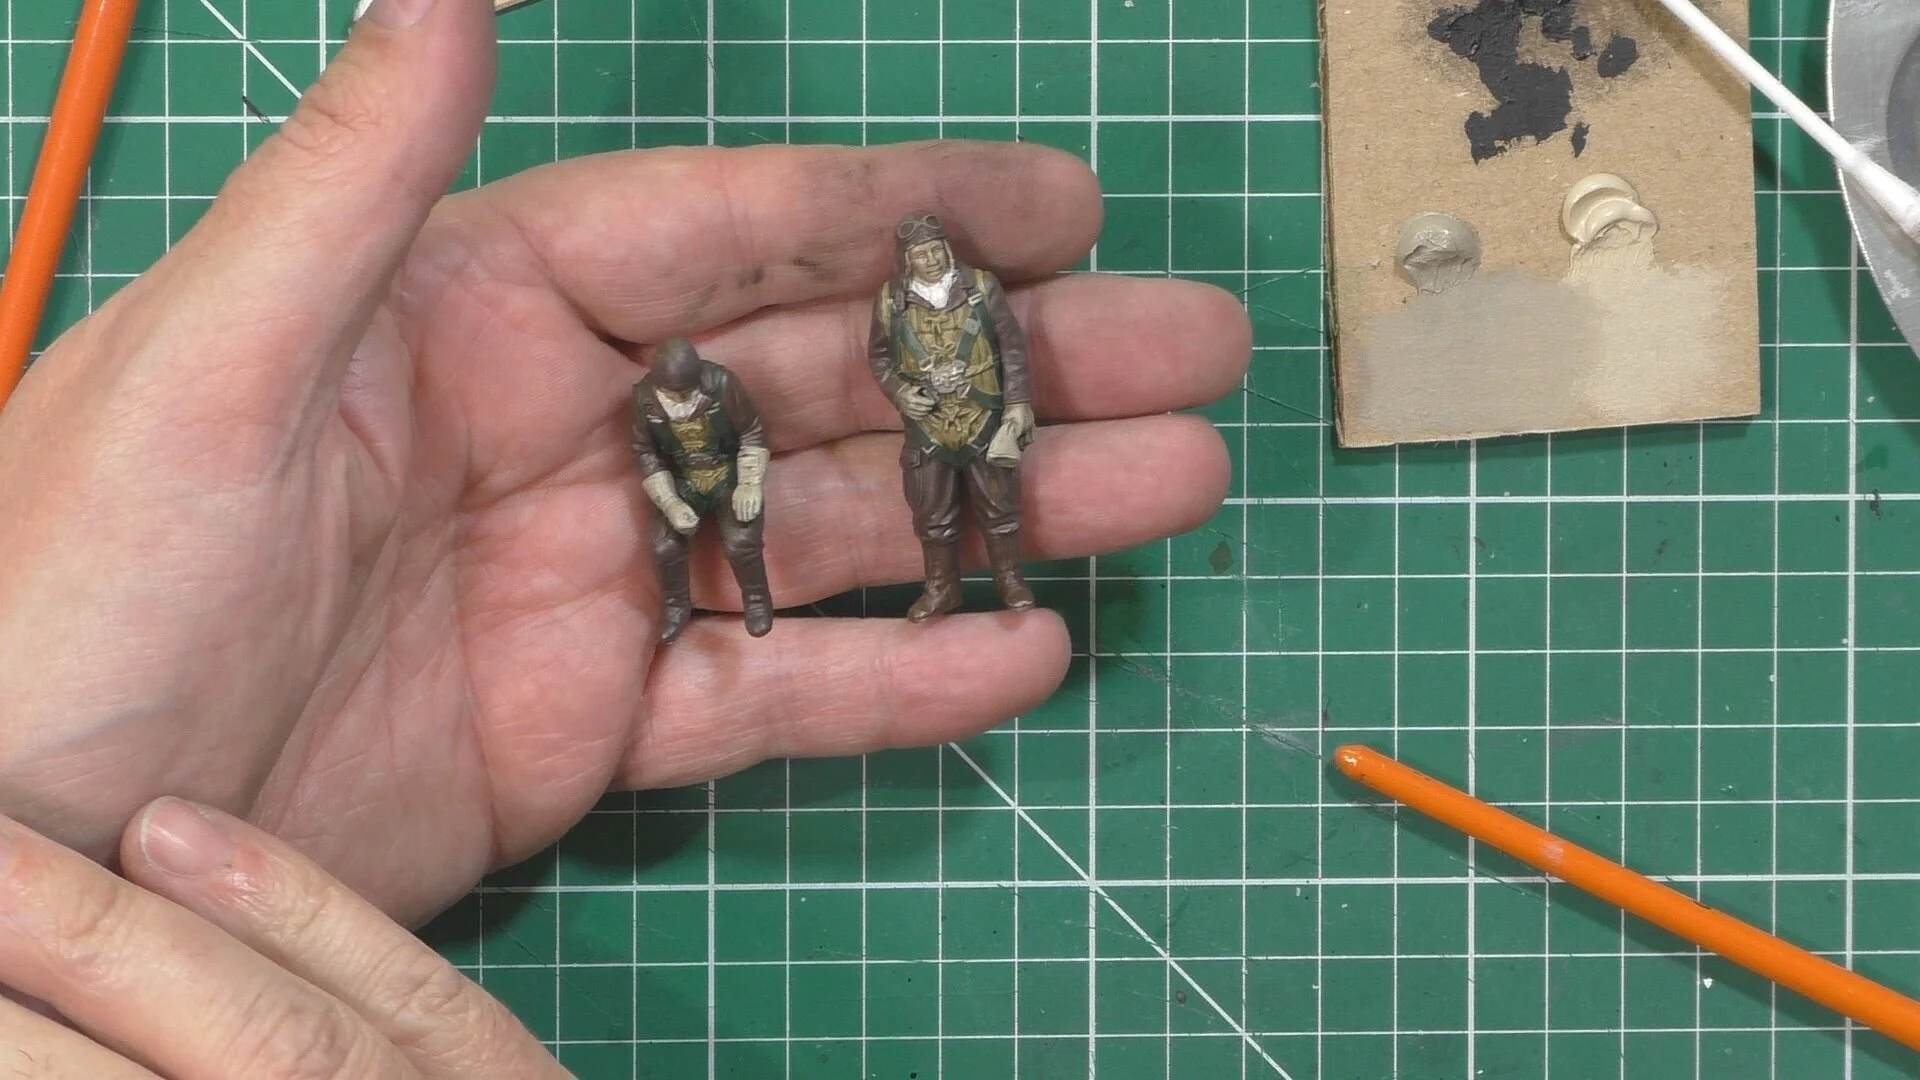
In the final part of this great build, we finish off adding all the small parts and the aerials. Next, we use oils to give the Zero a light weathering ready for the final reveal. But it doesn’t stop there ! I have a go and a simple paint job on the two figures that come with the kit :O).