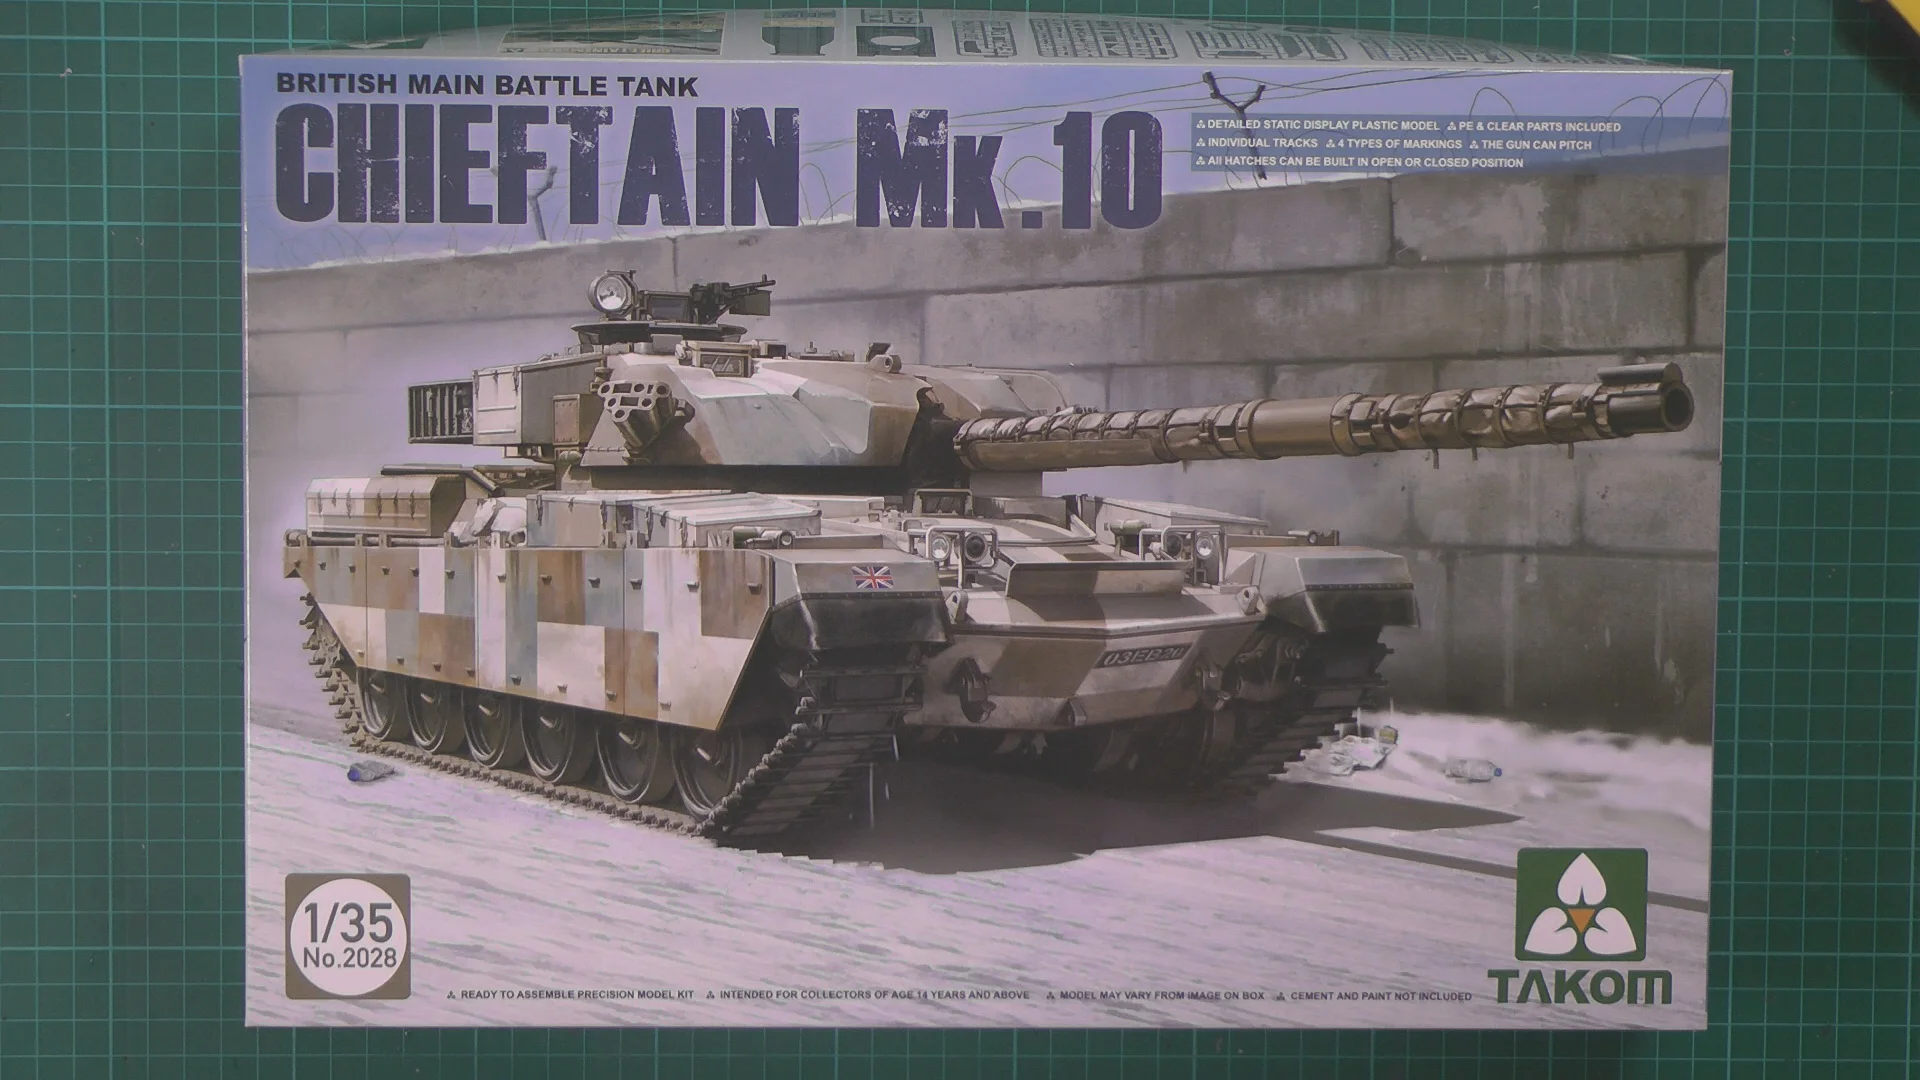
Chieftain Mk.10
Scale: 1/35
Manufacturer: Takom
Parts used: Out of The Box, Master Club MTL35079 Tracks
Main paints used: AK, Tamiya & Vallejo
In part one we start On the lower hull of the Chieftain.
00.00 Introduction to build
01.00 Building the wheels and suspension
11.24 Building the lower hull and preparing the upper hull
17.52 Putting them together
20.14 Adding the details to the back plate and fitting it
In part Two we add the Photo Etched parts and start work on the turret.
00.00 Advice about cutting photo etch so as not to bend it and summary of work done off camera
03.47 Fitting the front stowage
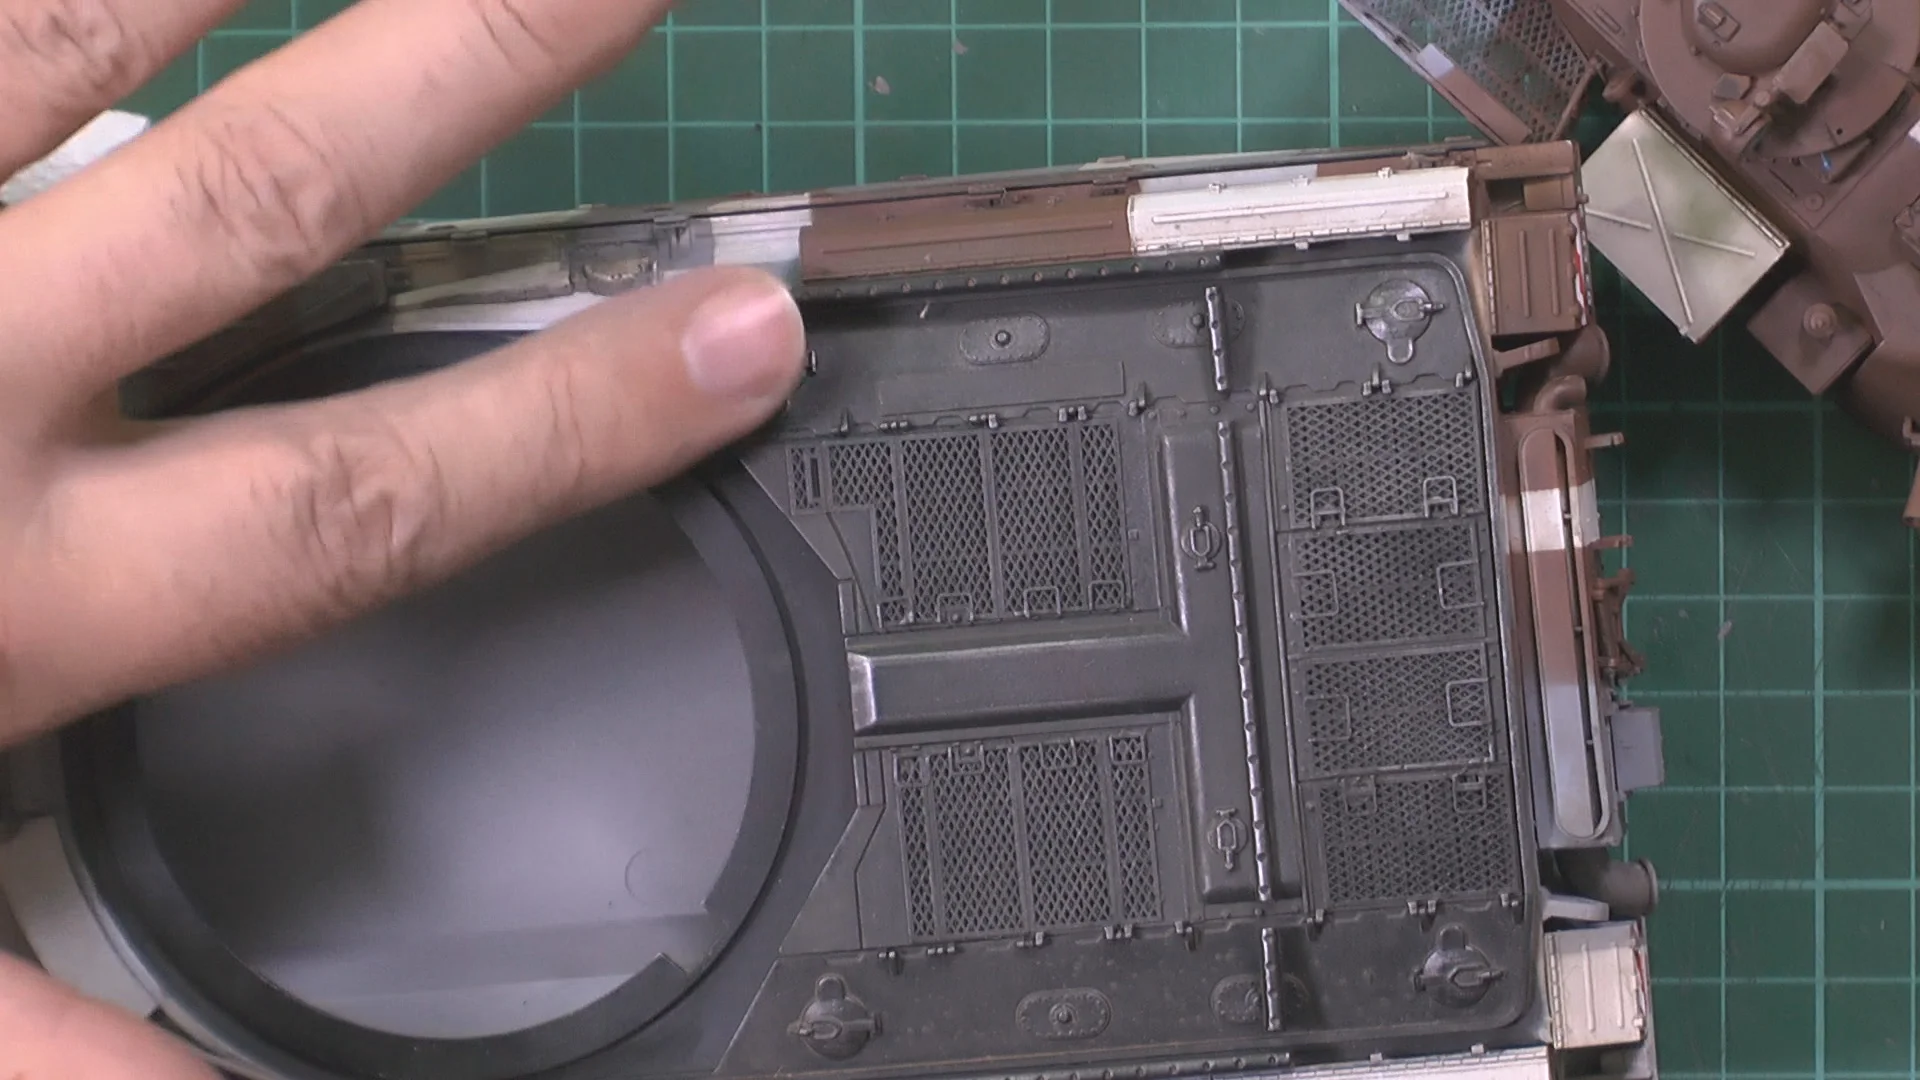
07.38 Fitting the photo etch grills
16.00 Summary of other photo etch parts to be attached
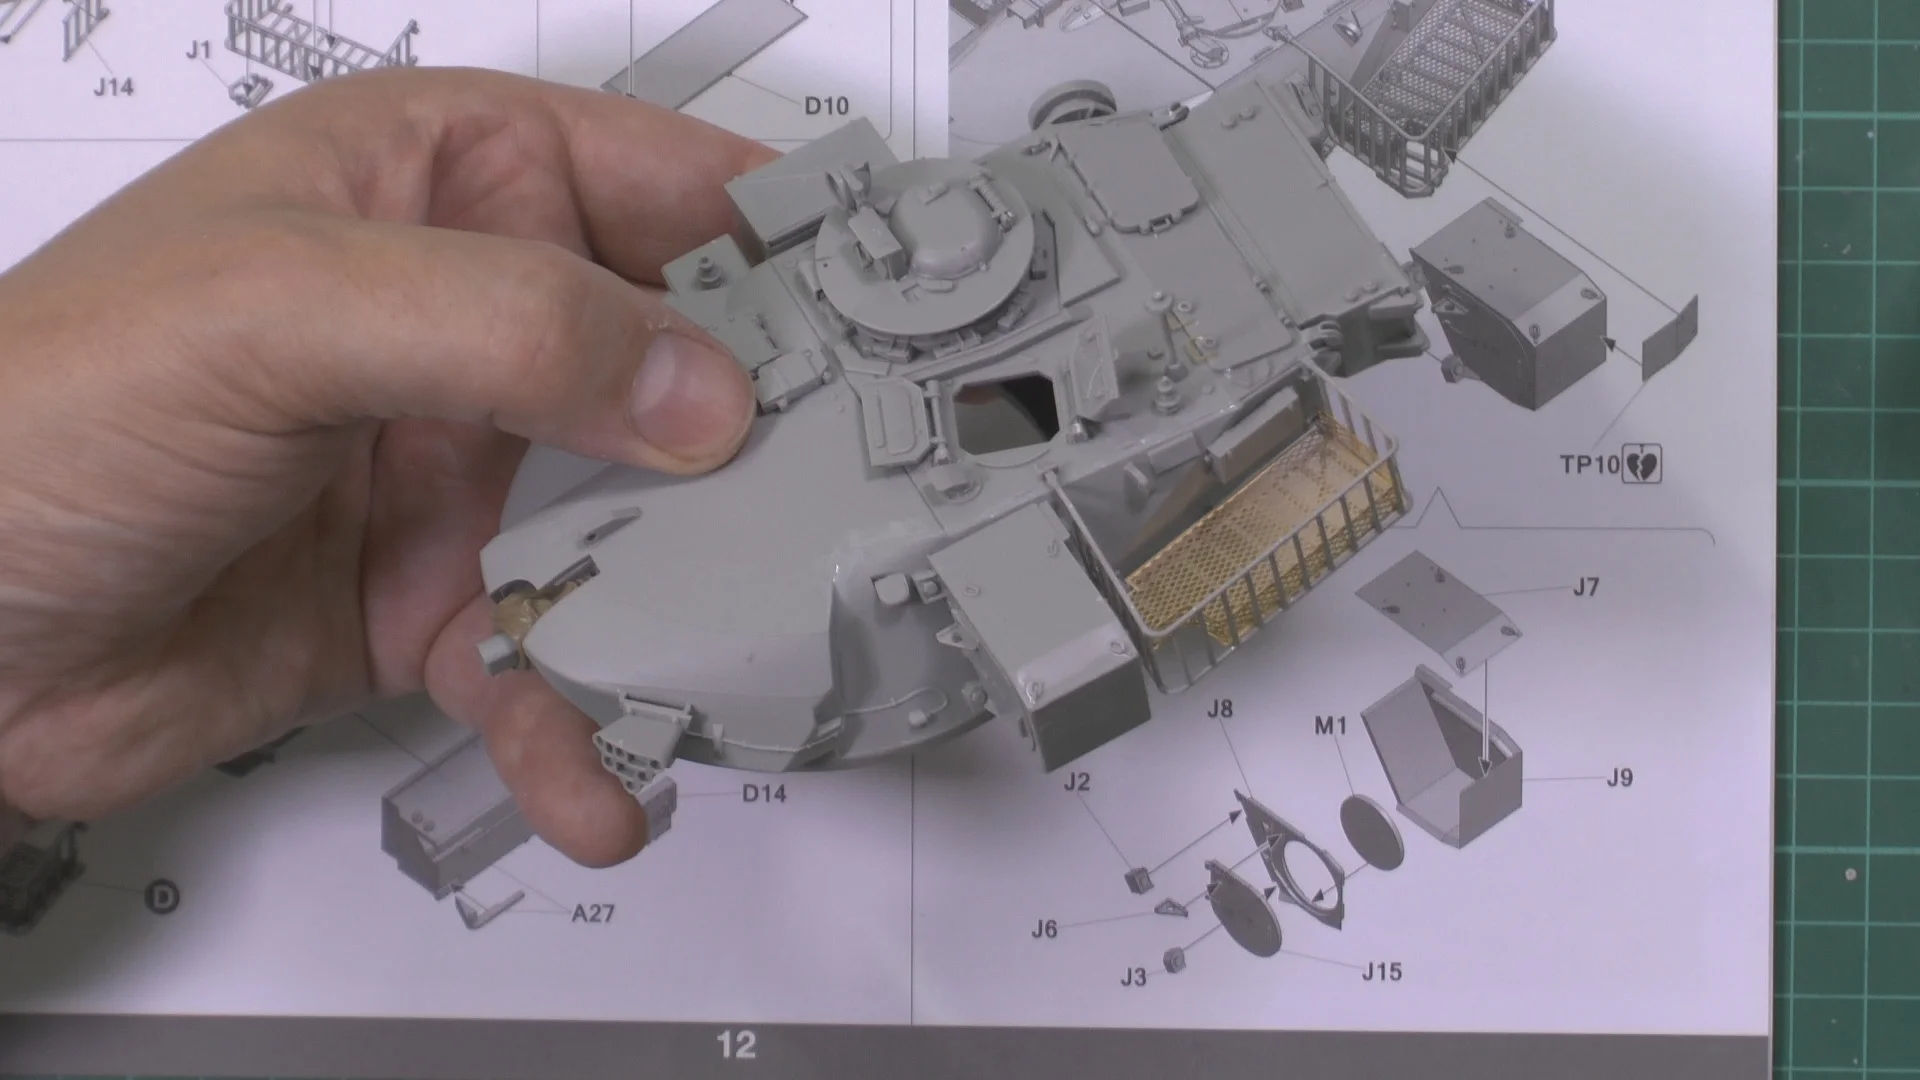
19.05 Adding the details parts to the turret
21.32 Putting the barrel together, making the gun mantle and fitting it to the turret ring
In Part Three, we work on the turret and then finish off the construction part of the build
00.00 Cleaning up the barrel using a knife
03.47 Building the turret stowage and baskets. Adding the photo etch to the baskets
18.33 Adding more detail parts to the turret
20.34 Fitting and adding details parts to the turret side panel and back
27.16 Fitting stowage and baskets to the turret
In Part Four, we prime up and then work on the tracks before moving back to the spray booth to start the paintwork.
00.00 Roundup of work done off camera
01.16 Putting on the primer Grey AK Micro Filler
08.18 Building the aftermarket tracks
17.42 Using the AK Burnishing fluid on the tracks
21.19 Starting the Berlin Brigade Camo with the underside colour Tamiya XF-69
In part Five we move on with the Berlin Camo
00.00 Painting the other black parts, top rear and wheels. Wheels painted overall XF-85 and using the plastic circle drawing tool to mask to paint the hubs XF-69.
02.53 Masking and starting painting the camo pattern with AK White Micro filler using Tamiya Buff to tone down the white
13.56 Using card masks and tape to paint the brown and grey camo colours. Adjusting as we go.
In Part Six We finish of the painting and fix on the track and side plates ready for weathering
00.00 Painting the barrel
02.01 Checking the camo, noting some corrections and test fitting the skirts and track. Discussion of the effect of weathering on colours.
07.02 OOPS. Used brass burnishing fluid instead of white metal but has given the subtle effect needed.
09.10 Adding an extra link to the track
11.43 Adding the rubber blocks to the tracks
14.44 Fitting the track and adding the skirts
In part Seven we use the Flory wash for an all over weathered look and use it to add streaking effects
00.00 Starting the weathering. Discussion about the usage of Flory washes and enamel washes. And using weathering for scale effect
02.40 Using thinned Flory washes for a subtle effect. Using brushes to remove and streaking with the wash. Dry brushing with Flory washes.
In Part Eight we Decal, further weather with a metal scrub and add the small parts.
00.00 Summary of effects made with Flory washes
01.00 Using AK Dark Brown enamel wash to add localised shadow and streaking
10.25 Blending the Flory wash on the rear grills
12.00 Detail hand painting the front rubber mudguards with Tamiya Rubber Black
15.00 Cleaning up acrylic paint in the wrong place
17.40 Update of work done to date and what deals have been put on. Clear parts painted with X-13 to give armoured effect
19.27 Dry brushing metallised on a finger to give a ‘heavy metal’ feel
24.33 Dry brushing with appropriate camo colour to pick out window frames and adding last bits and pieces
In the final part, we use pigments to add dust effects and then bring it all together for the final reveal
00.00 Summary of work done off camera
01.50 Using broom bristles to make whip aerials
06.17 Adding a pigment scrub with Dark Sand and Light Earth to lower hull and road wheels
16.50 Putting pigment mix on to the top areas with a finger for a light dust effect
19.50 Finishing and adding the machine gun and spare tracks
22.45 Final roundup and reveal