X-15A-2
Scale: 1/32
Manufacturer: Special Hobby
Parts used: Out Of The Box
Main paints used: Tamiya and Hataka
In Part One, We look at the build ahead and talk about limited or short-run kits you might go about the build differently. Next, we get straight into the build and work on the cockpit and seat.
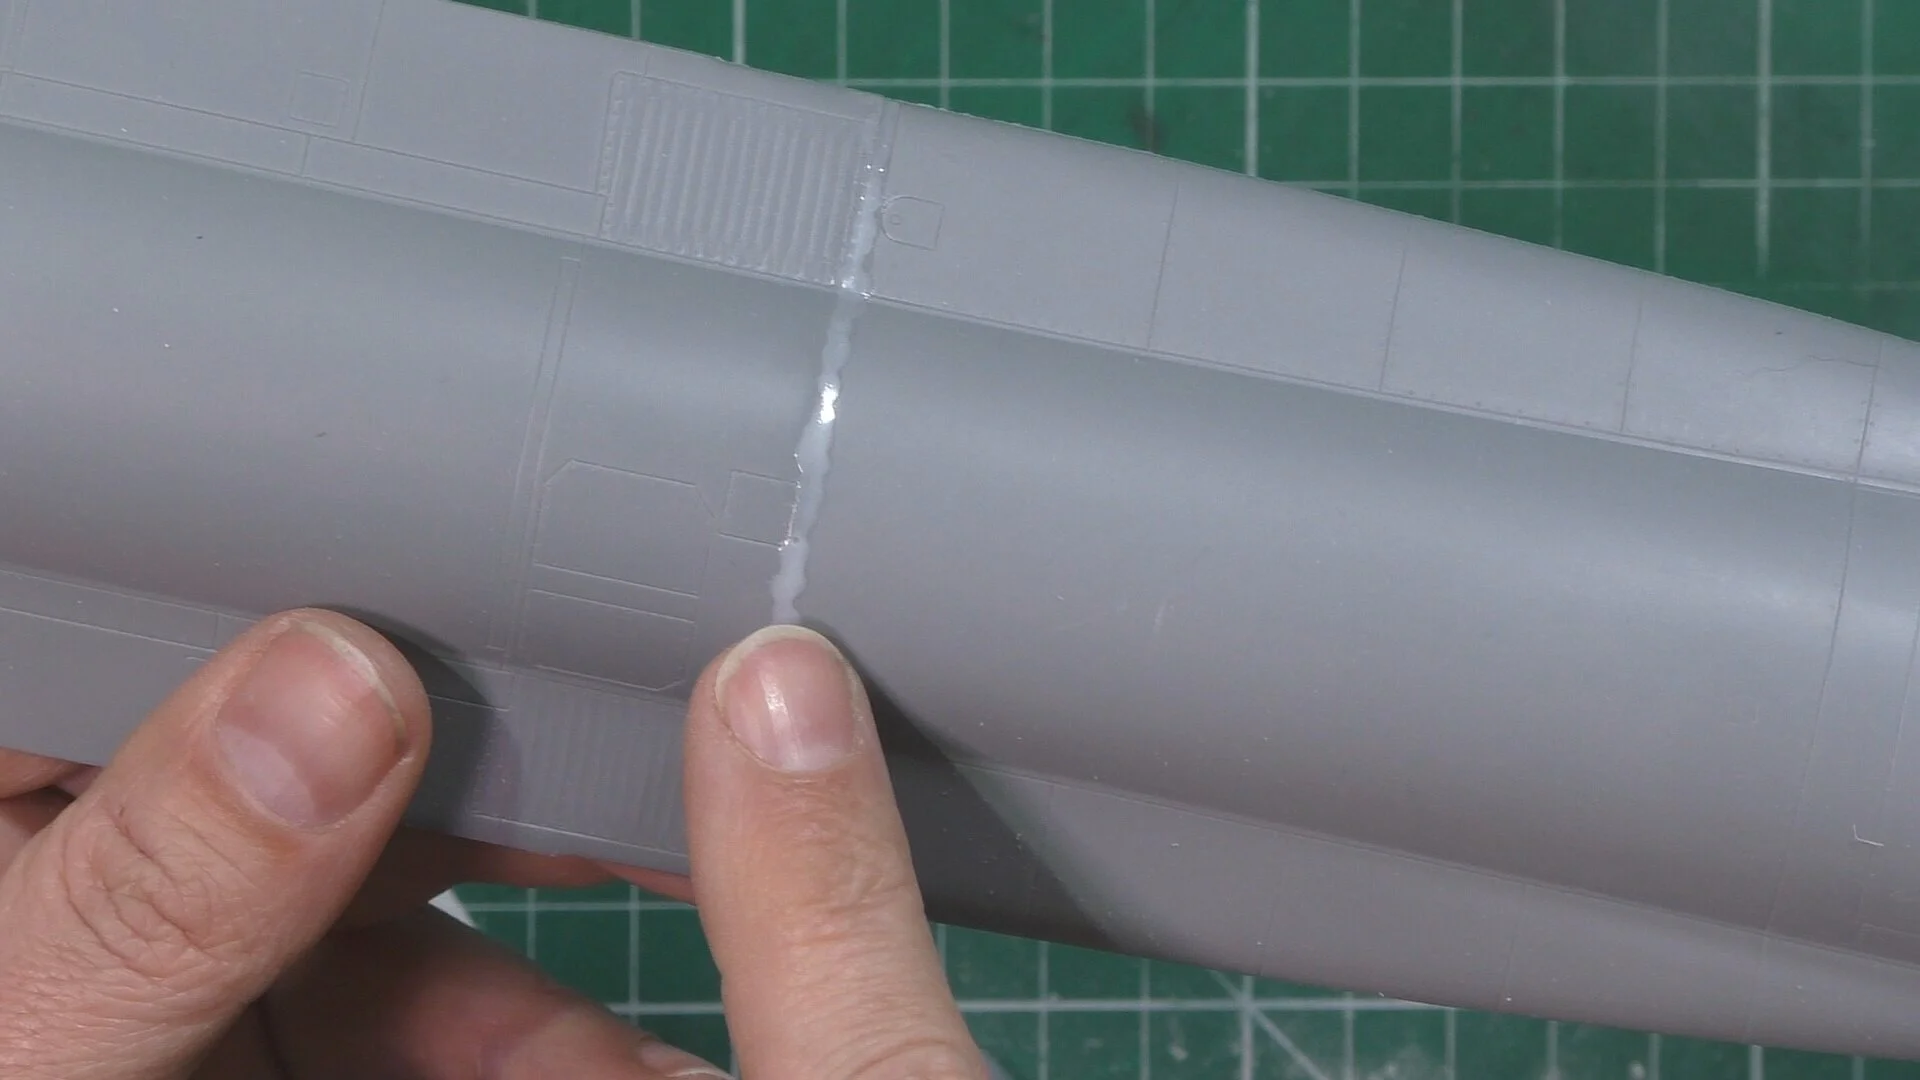
In part Two, we detail and weather the cockpit and seat, Using PVA glue to give a glass look to the instruments. Next it’s time to join, glue, sand, and fill the seams on the fuselage and then sand and polish for a seamless fit. Then we found that we missing a part so scratch build a replacement out of a 0.5mm plastic card.
In Part Three, we install the cockpit and turn our attention to the fuselage join, so lots of filling a sanding!. Then it’s time to join the top and bottom fuselages together.
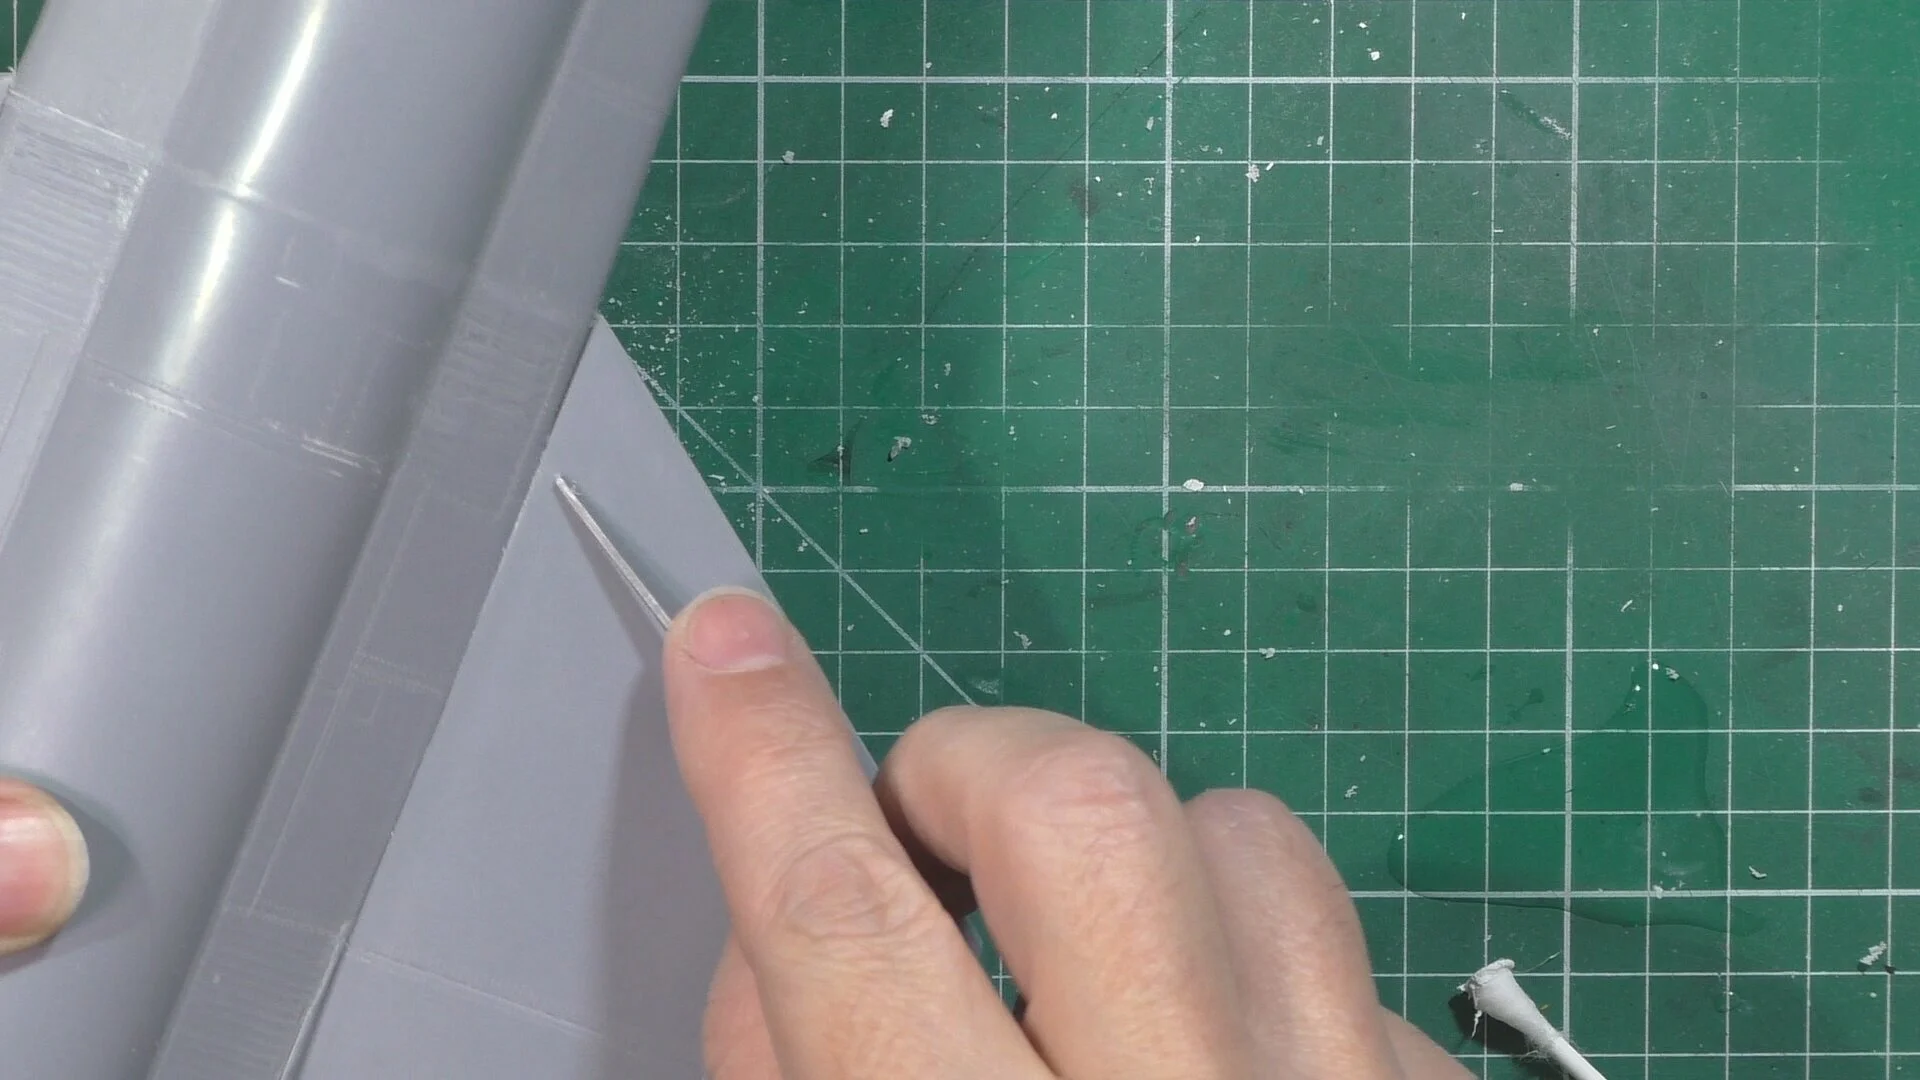
In part Four, it’s all about sanding and polishing seams and then adding the detail with re-scribing and riveting. Next, it’s time to fix the wings and tail plans in place and make a simple alignment jig to hold in place.
In part five, we look at filling and sanding and the different ways to sand back the filling from normal sanders to water and cotton buds. Then we look at using styrene sheet and a quick and easy way to fill caps.
In part six, it’s into the spray booth for priming with Mr primer surfacer 1000 thing 60% with Leveling thinners. Then after a quick check, I’m not happy with a seam so more filler and it’s quickly taken care of. Then the white for the markings on the underside.
In part seven, we continue the pain work on the X-15 with masking the White underside and then starting with the Black with Tamiya XF-85 Rubber Black, With is given a satin coat to make it less flat. Next it’s masking up for the metallic look to some of the panels, this is done with Tamiya LP-61 Metallic Grey.
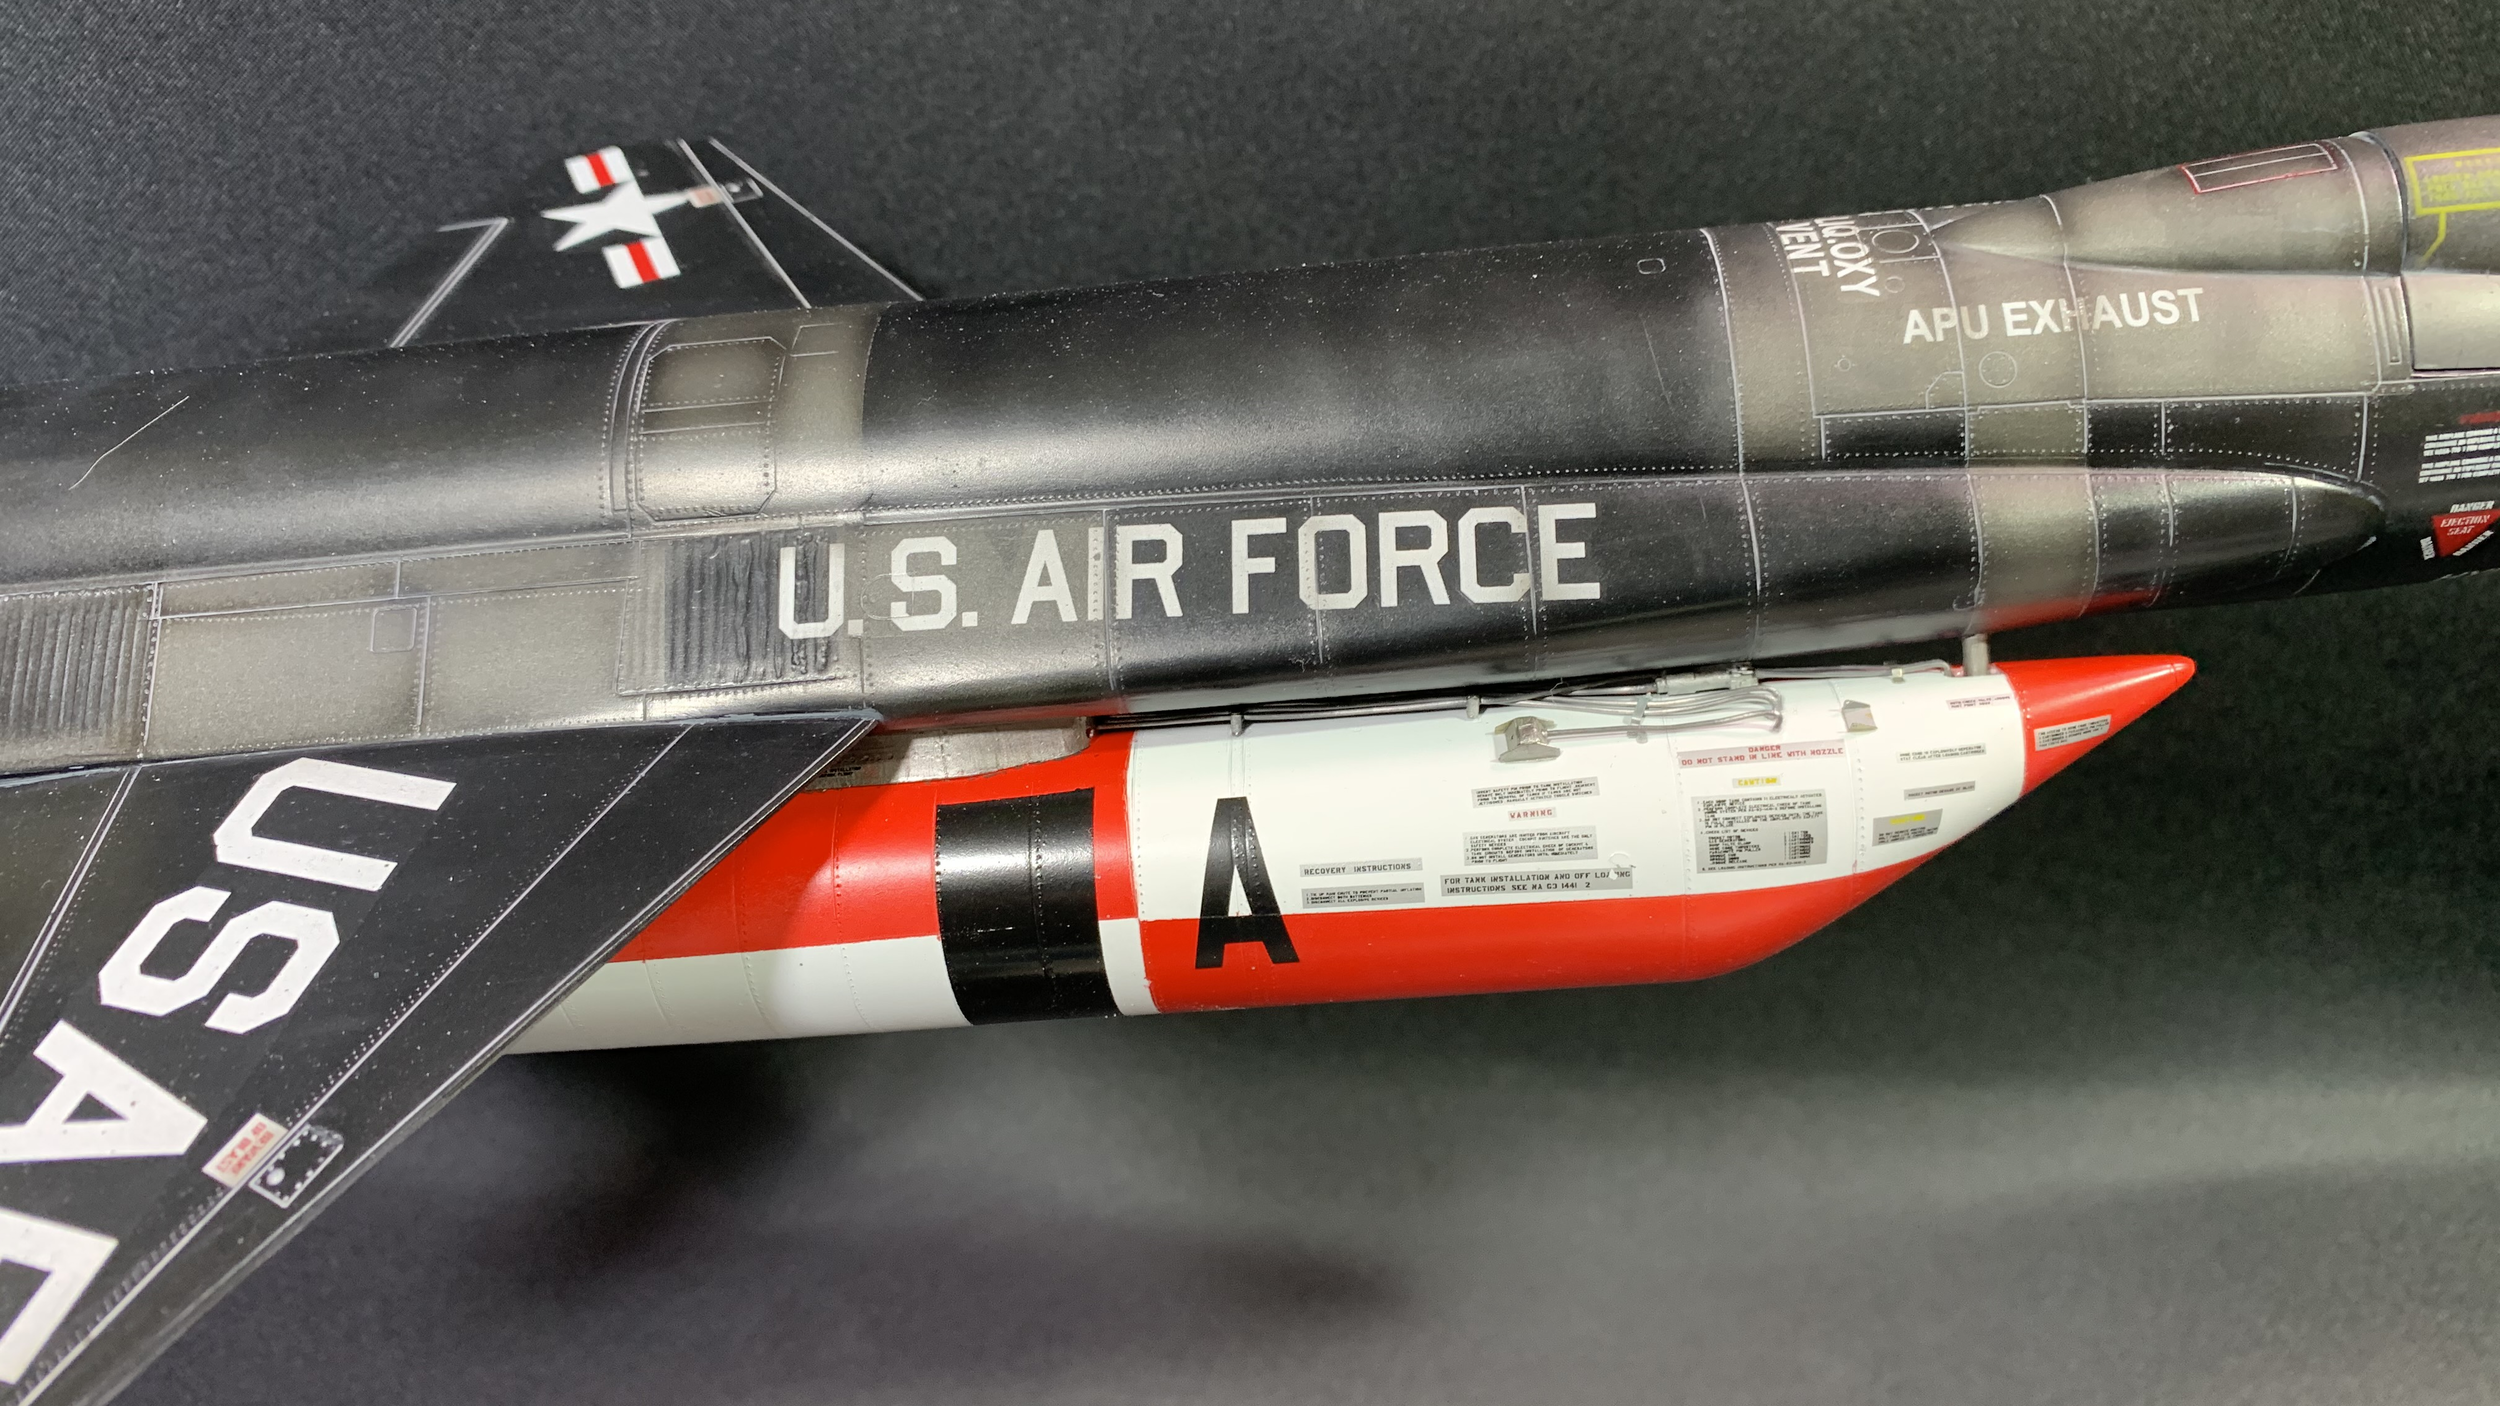
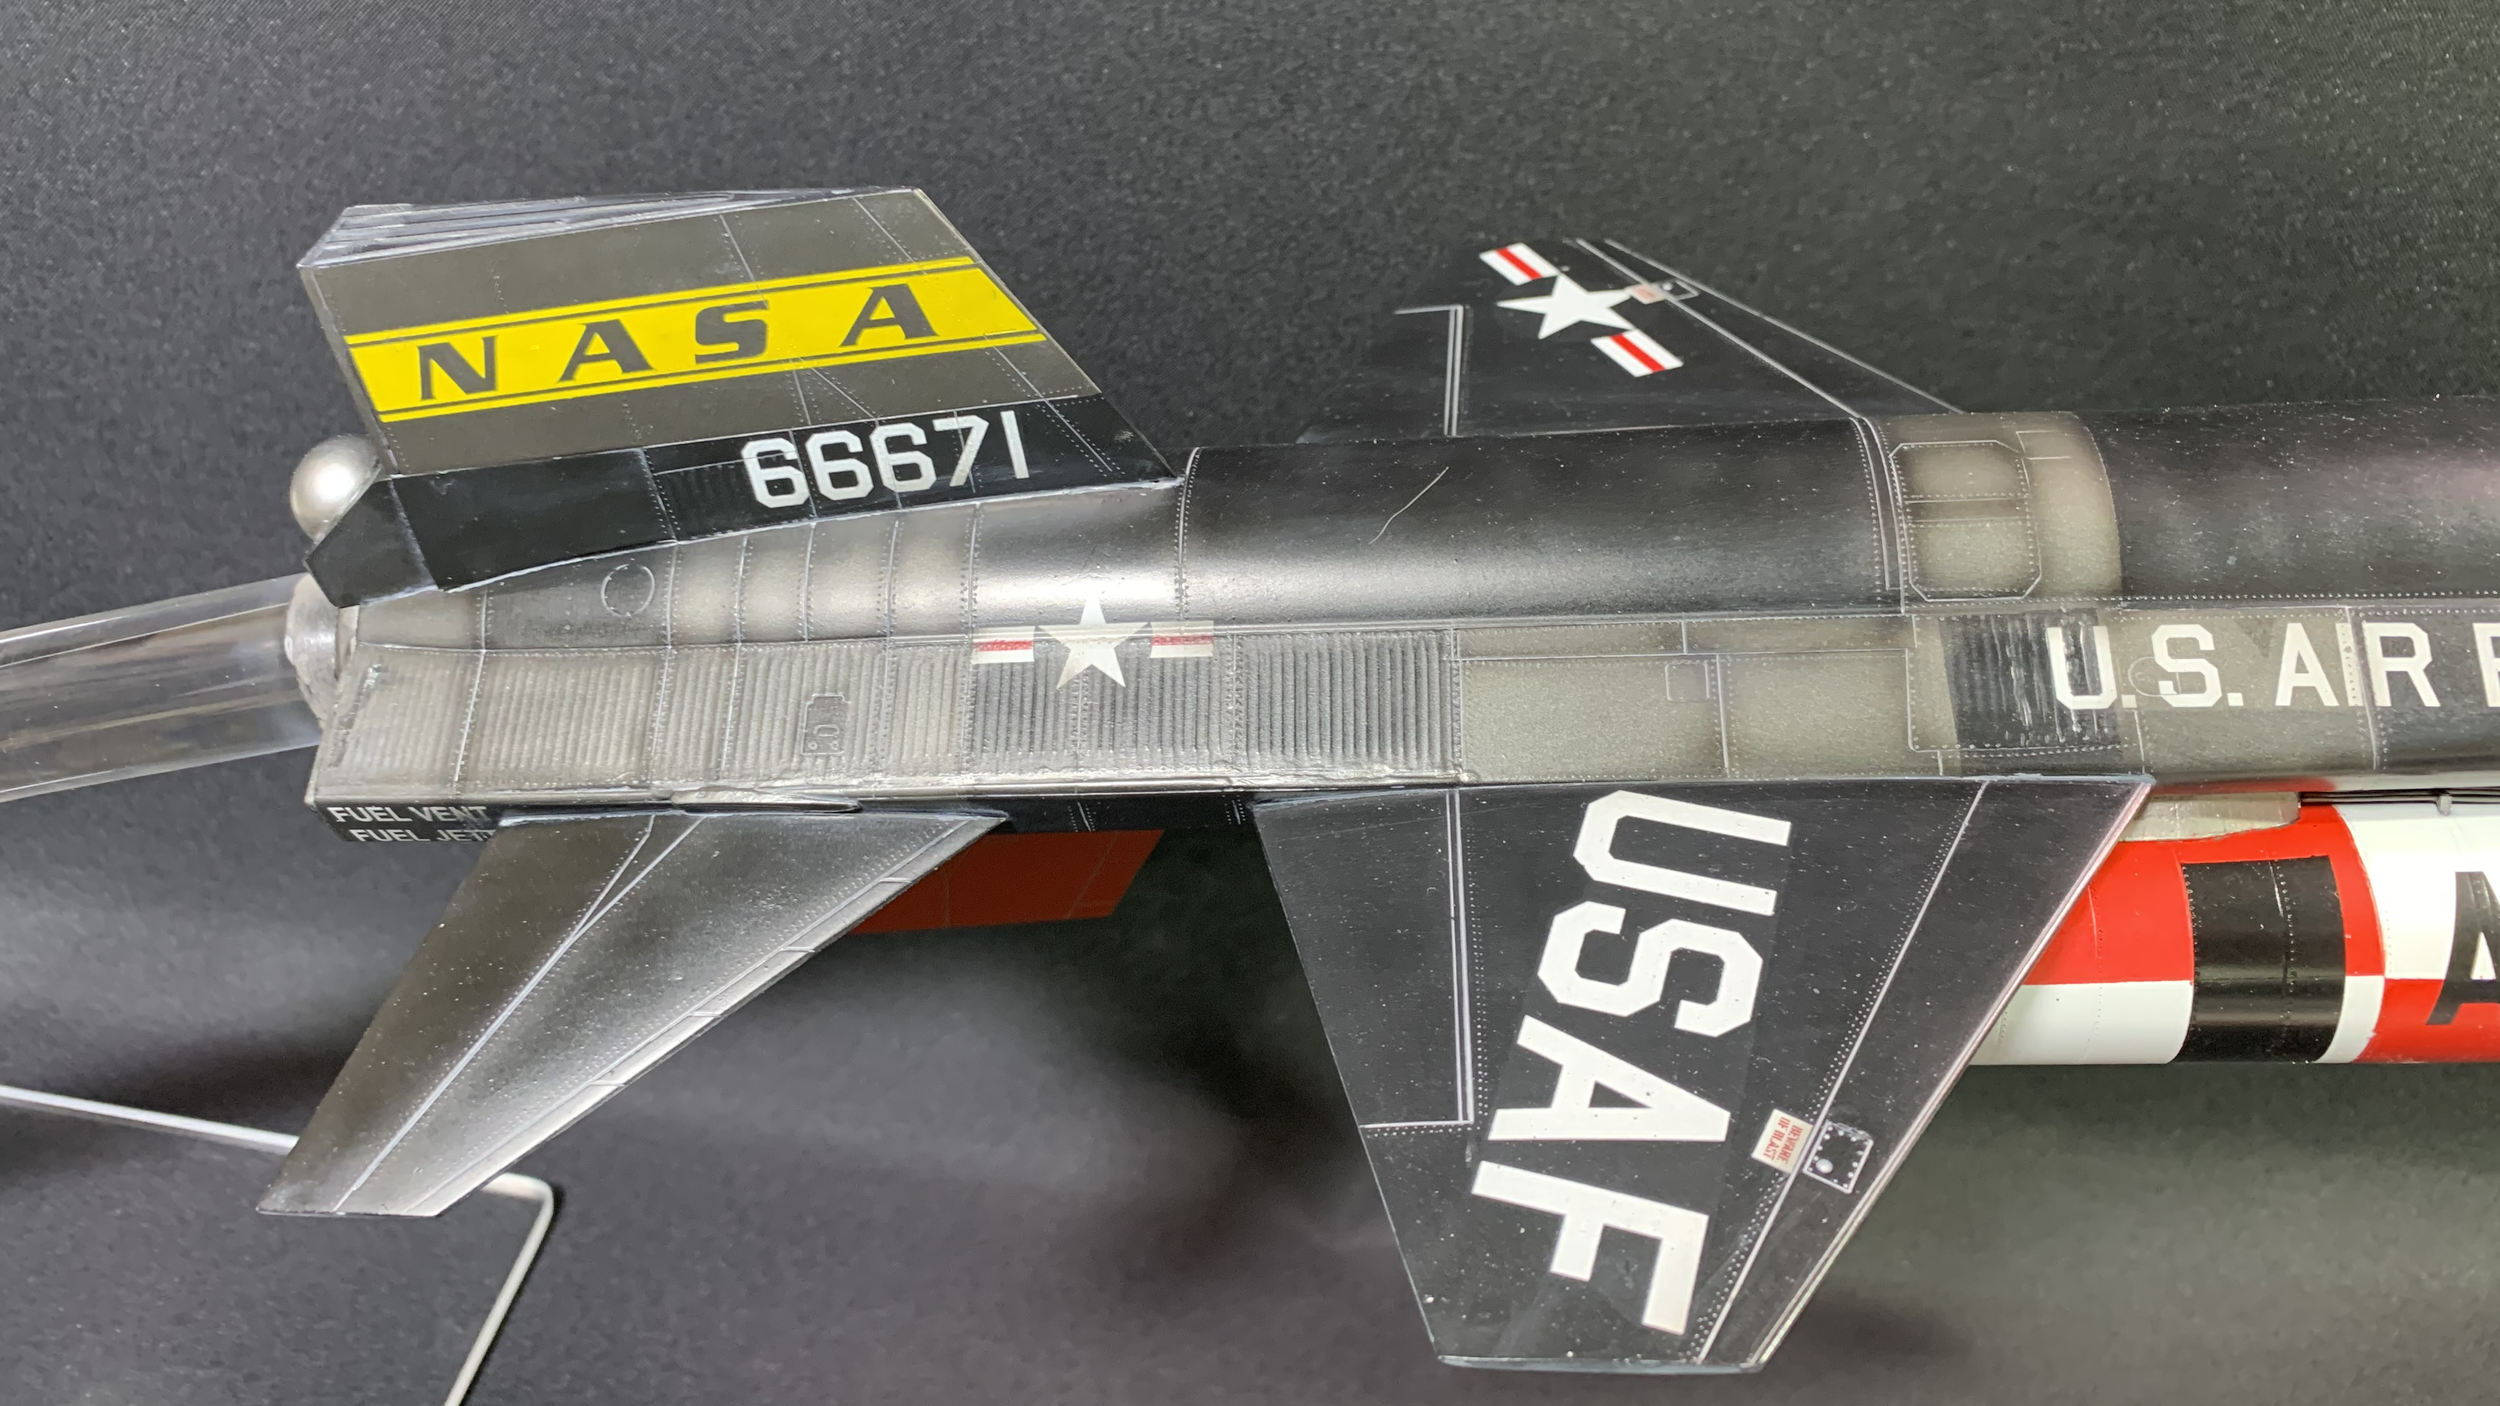
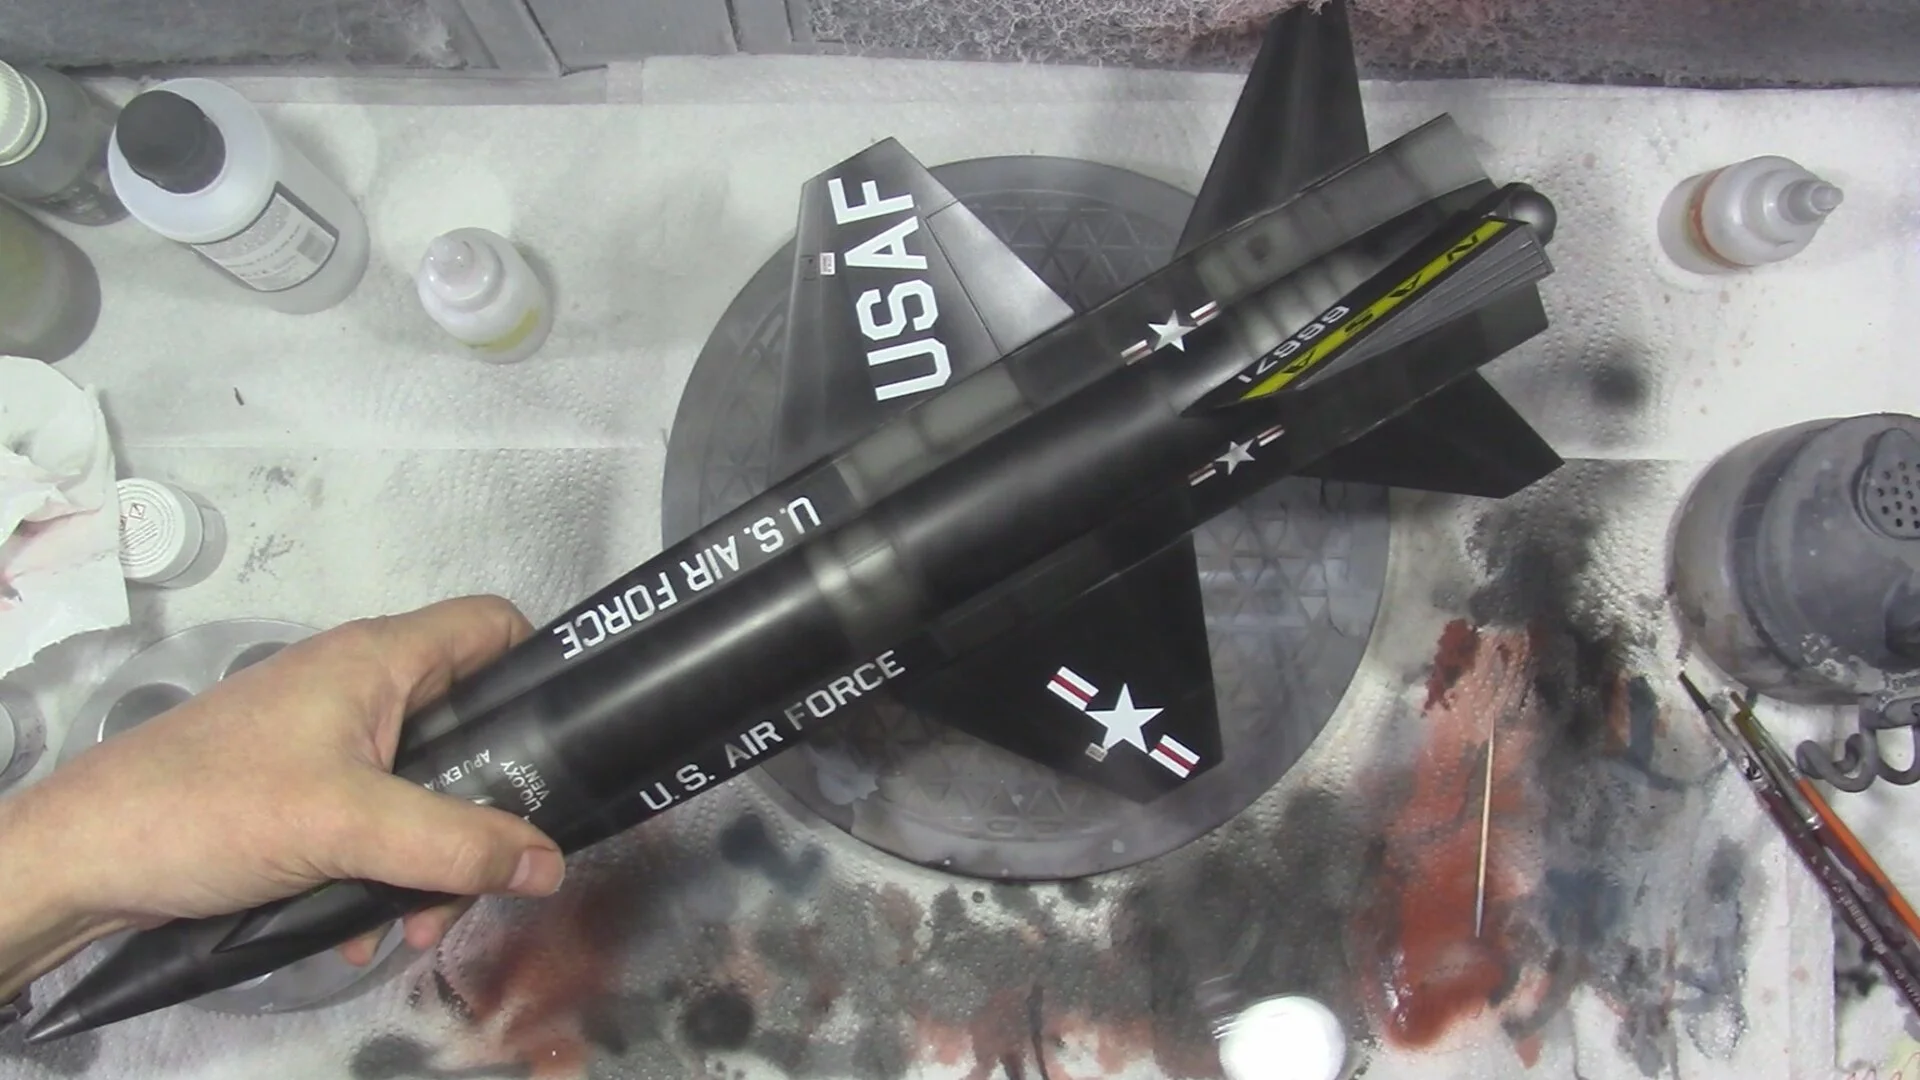
In part eight, we install the misfitting nose and then get the X-15 decaled. Next a satin coat to seal the decals in and post sade with LP-61 and mixed in a drop of gloss black and white. Then another satin coat to help berry the decals and the post shading ready for more weathering.
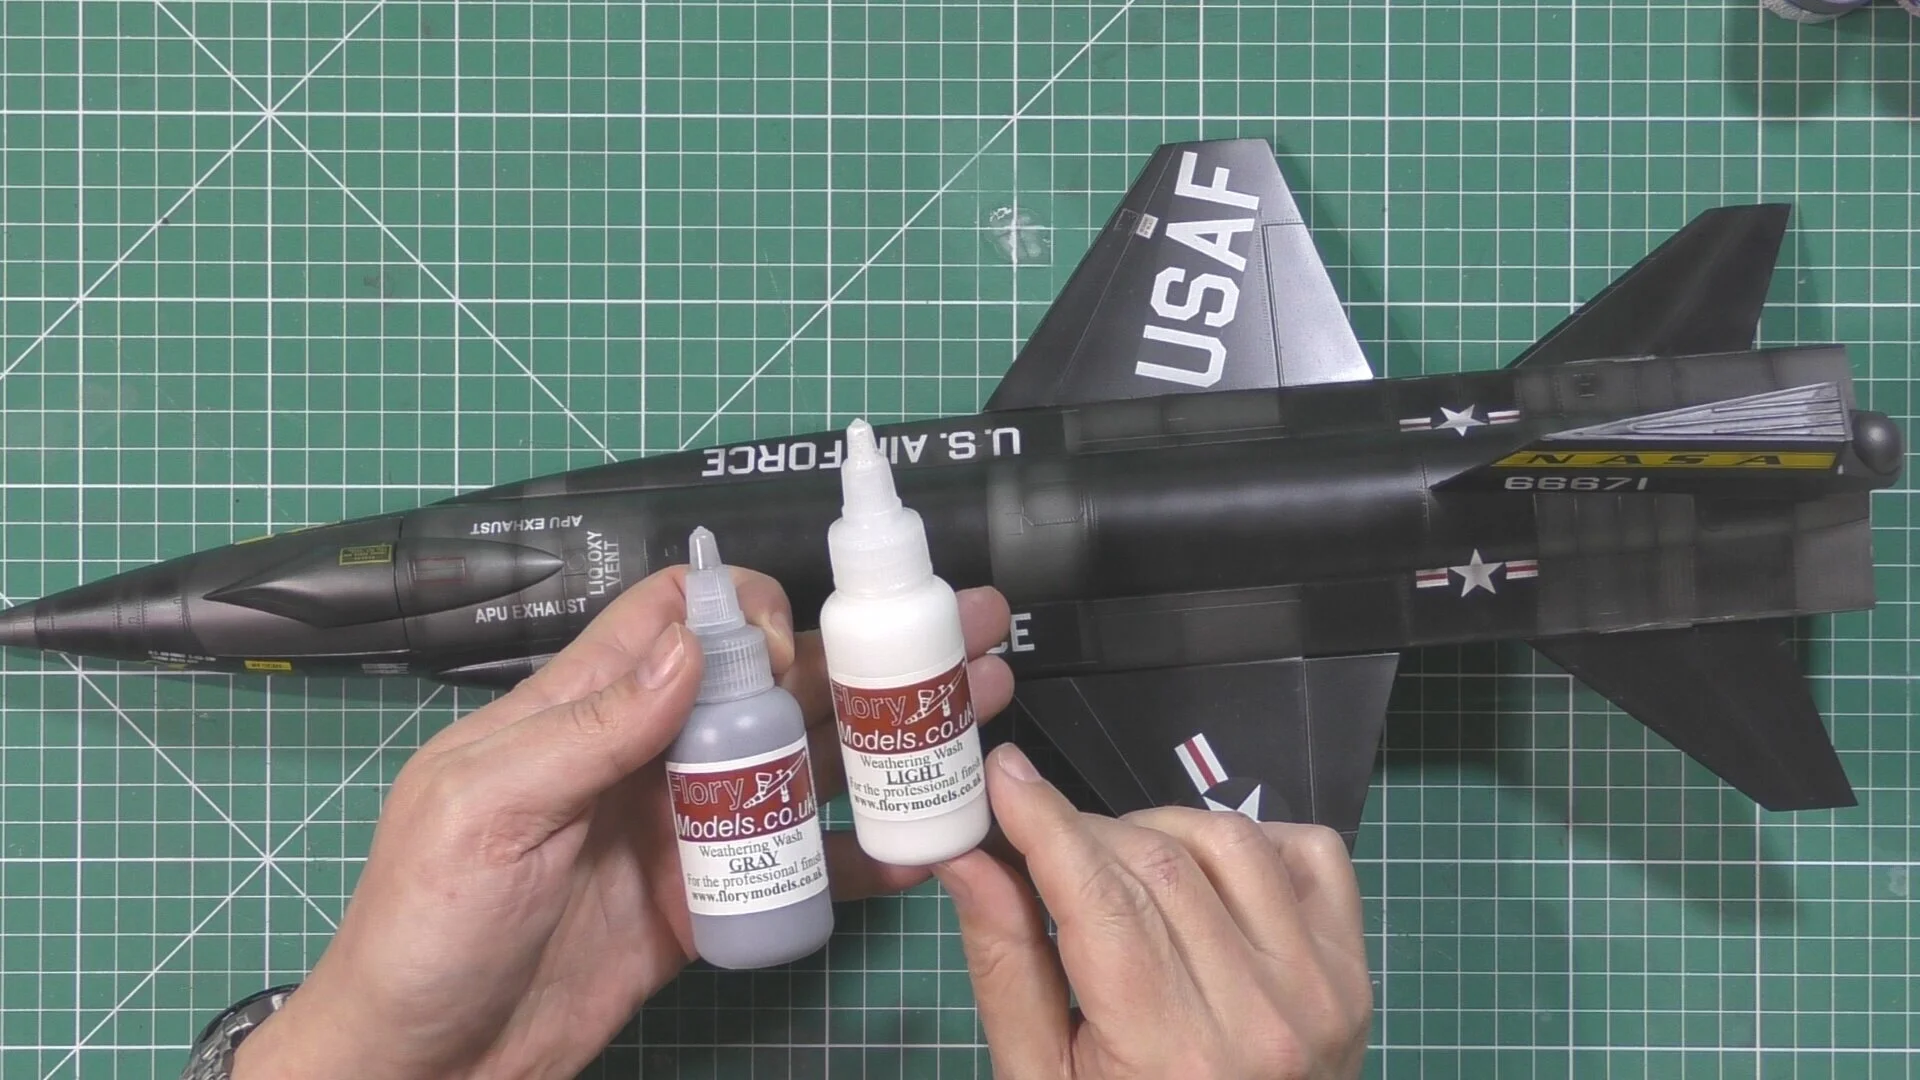
In Part mine, we move into the weathering stage with Flory models Grey wash, we mask up the dome on the rear and pant that silver
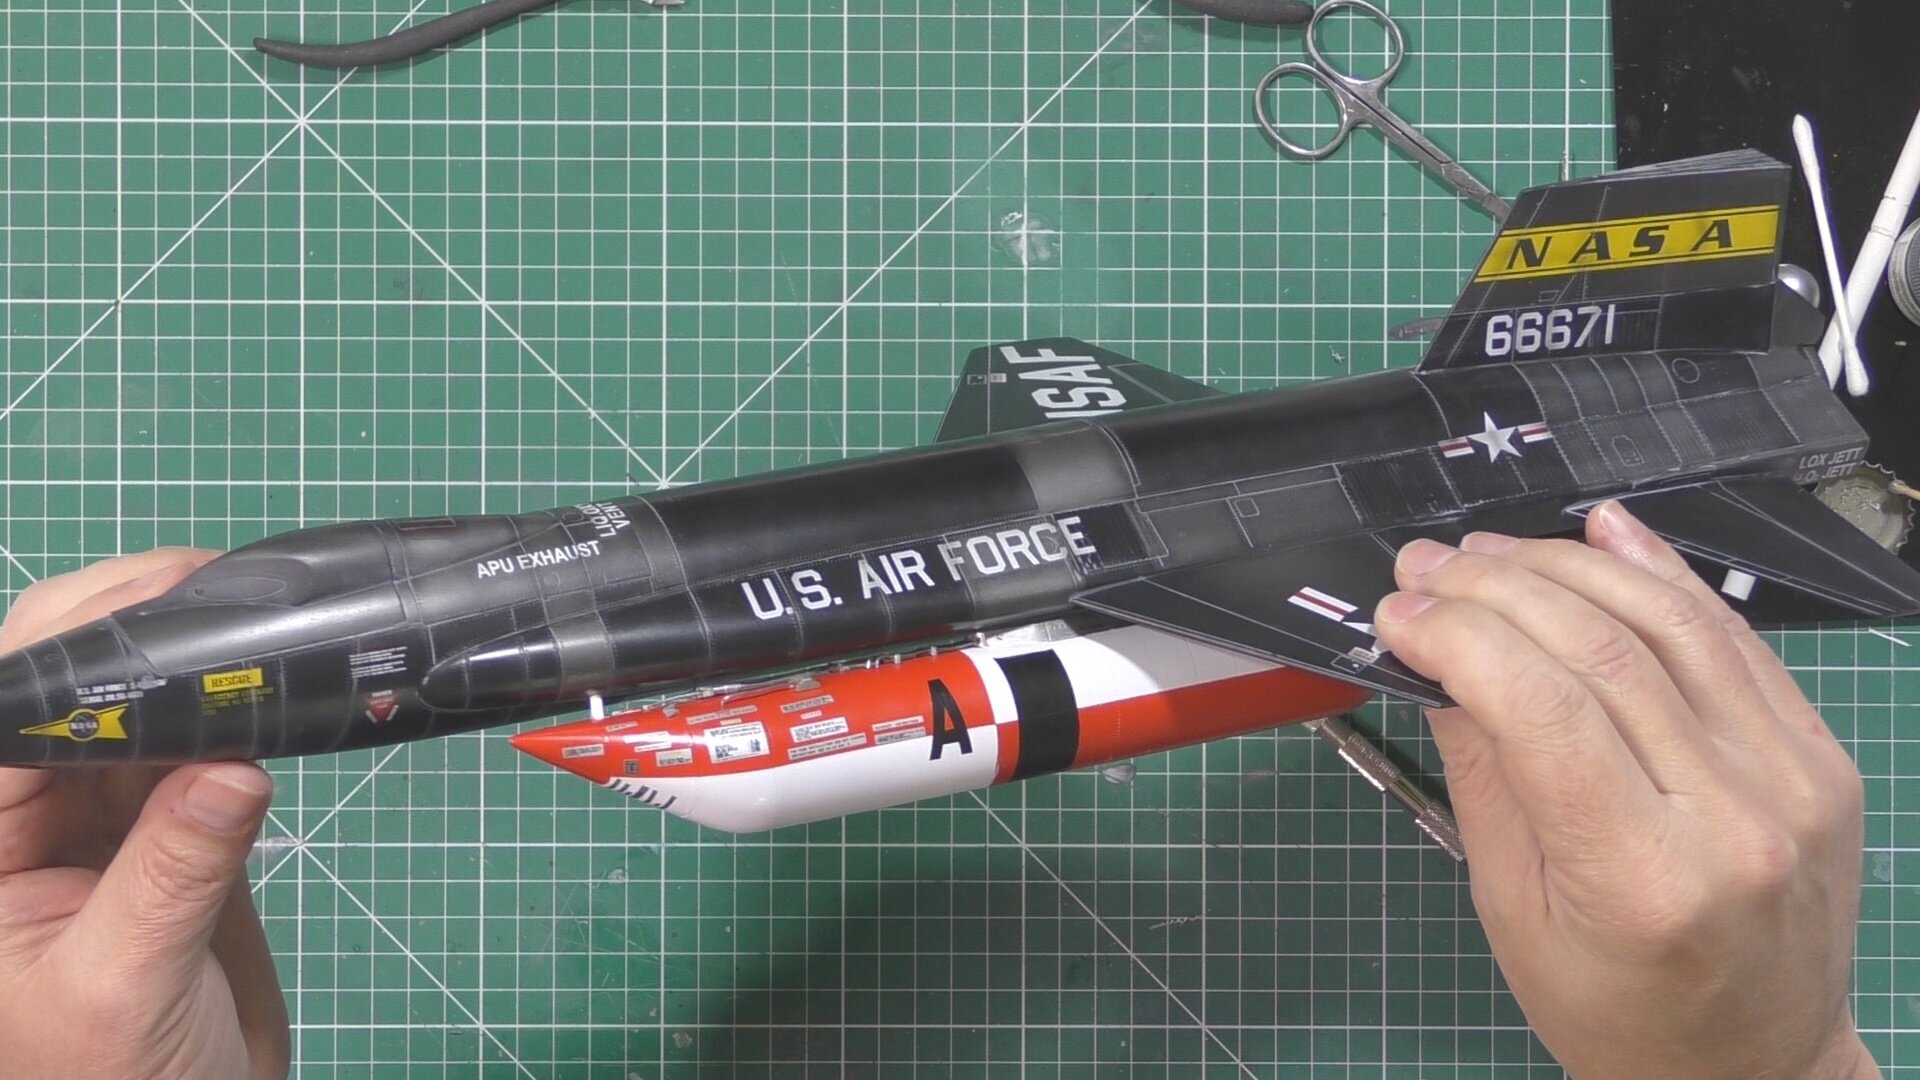
In part ten, we work on the external drop tanks, these are painted white and masked, and then a mix of Red and Orange is painted on and the photo-etch and resin parts are attached and painted steel. Next using 5mm lead wire we do all the plumbing work on the tank.
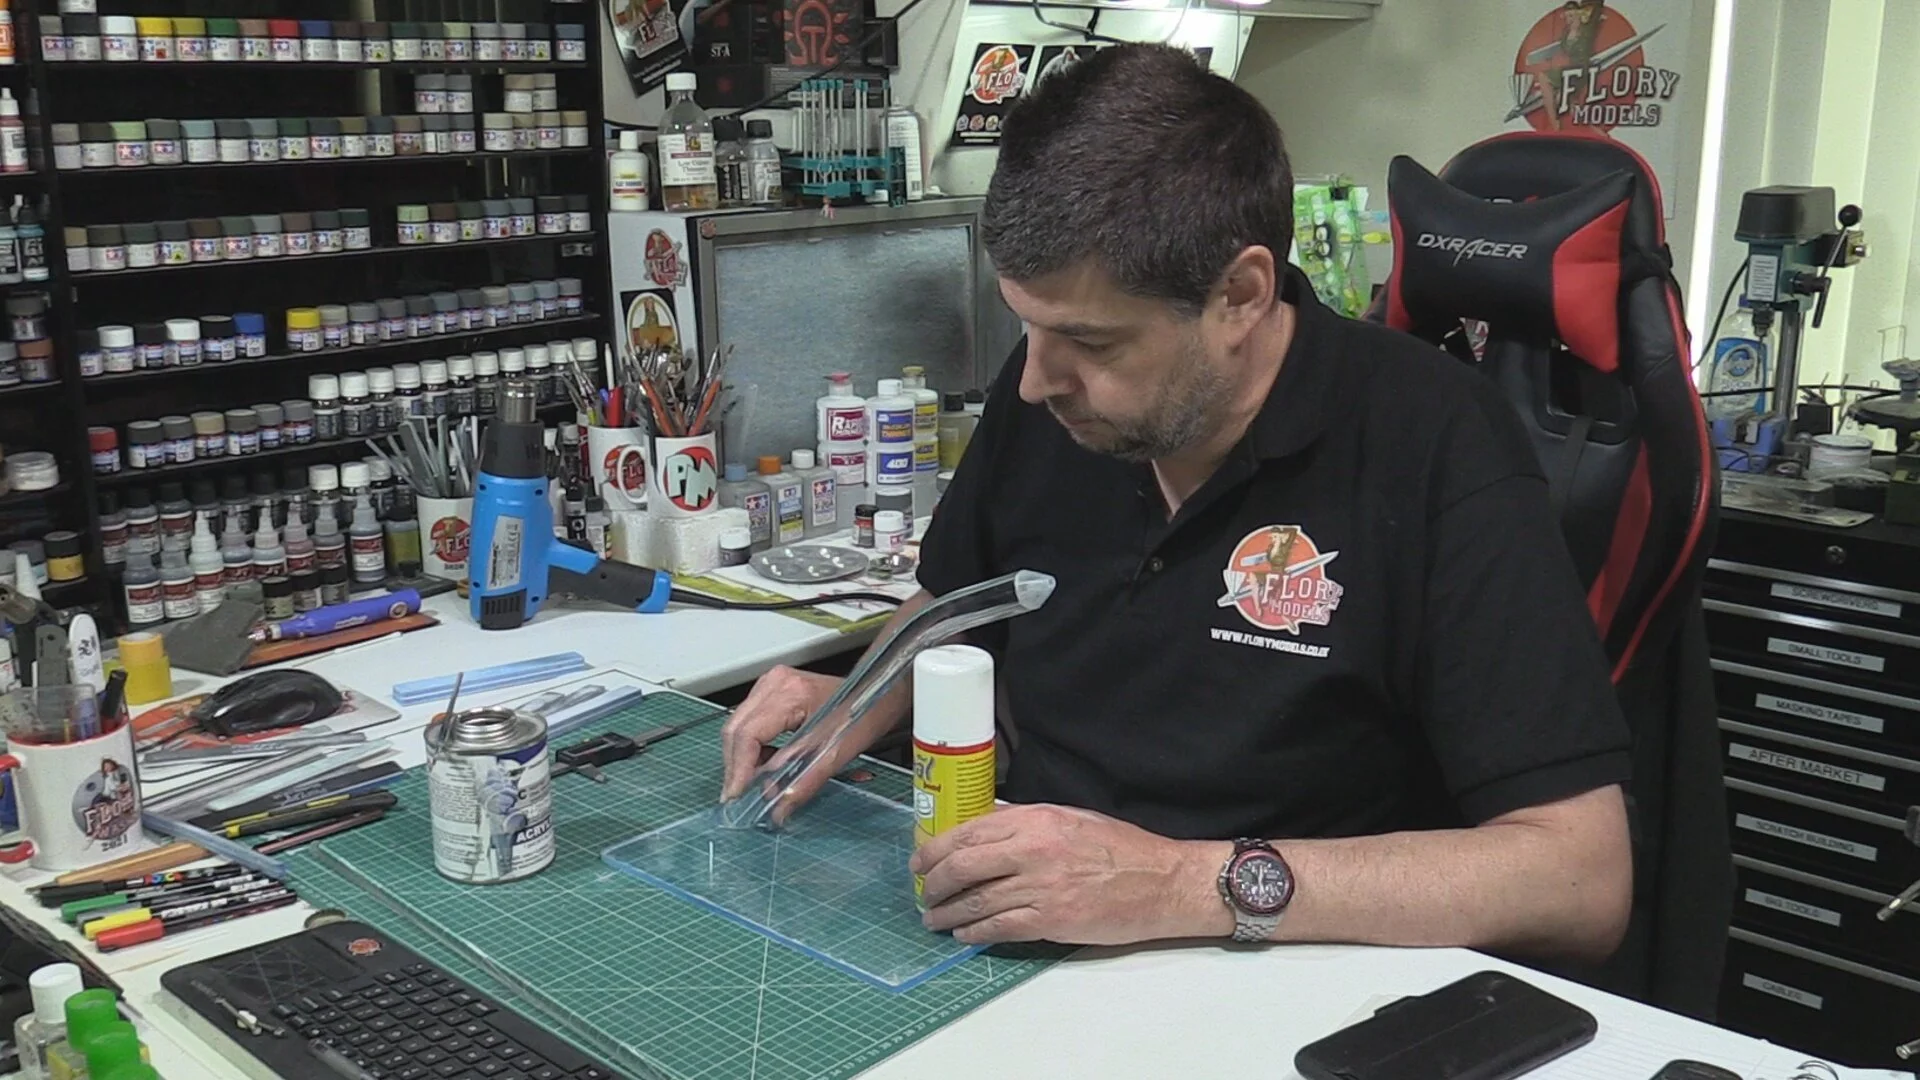
In part eleven, we add magnets to the drop tanks before we start work on the sand. For the stand, we use 20mm solid clear acrylic rod and heat and bend it into shape and then glue that to the clear 6mm acrylic sheet base for mounting the X-15 to the stand for the in-flight look.
In the final part, we finish off the stand and polish before mounting the X-15A2 to the stand for the final reveal.