MRAP A-T-V
Scale: 1/35
Manufacturer: RFM
Parts used: Out Of The Box with Radio set and resin Wheels
Main paints used: Tamiya and Hataka
In part one, we look at the build ahead and start work on the chassis adding the drive train.
In part two, we carry on with the chasses work and install the suspension and steering in the highly detail area of the kit.
In part three, we finish off the suspension on the chassis and put the CAT engine together along with the radiator.
In Part four, we attach the front bumpers and install the radiator, crossbar. This completes the chassis and all the drive and running gear ready to start the body.
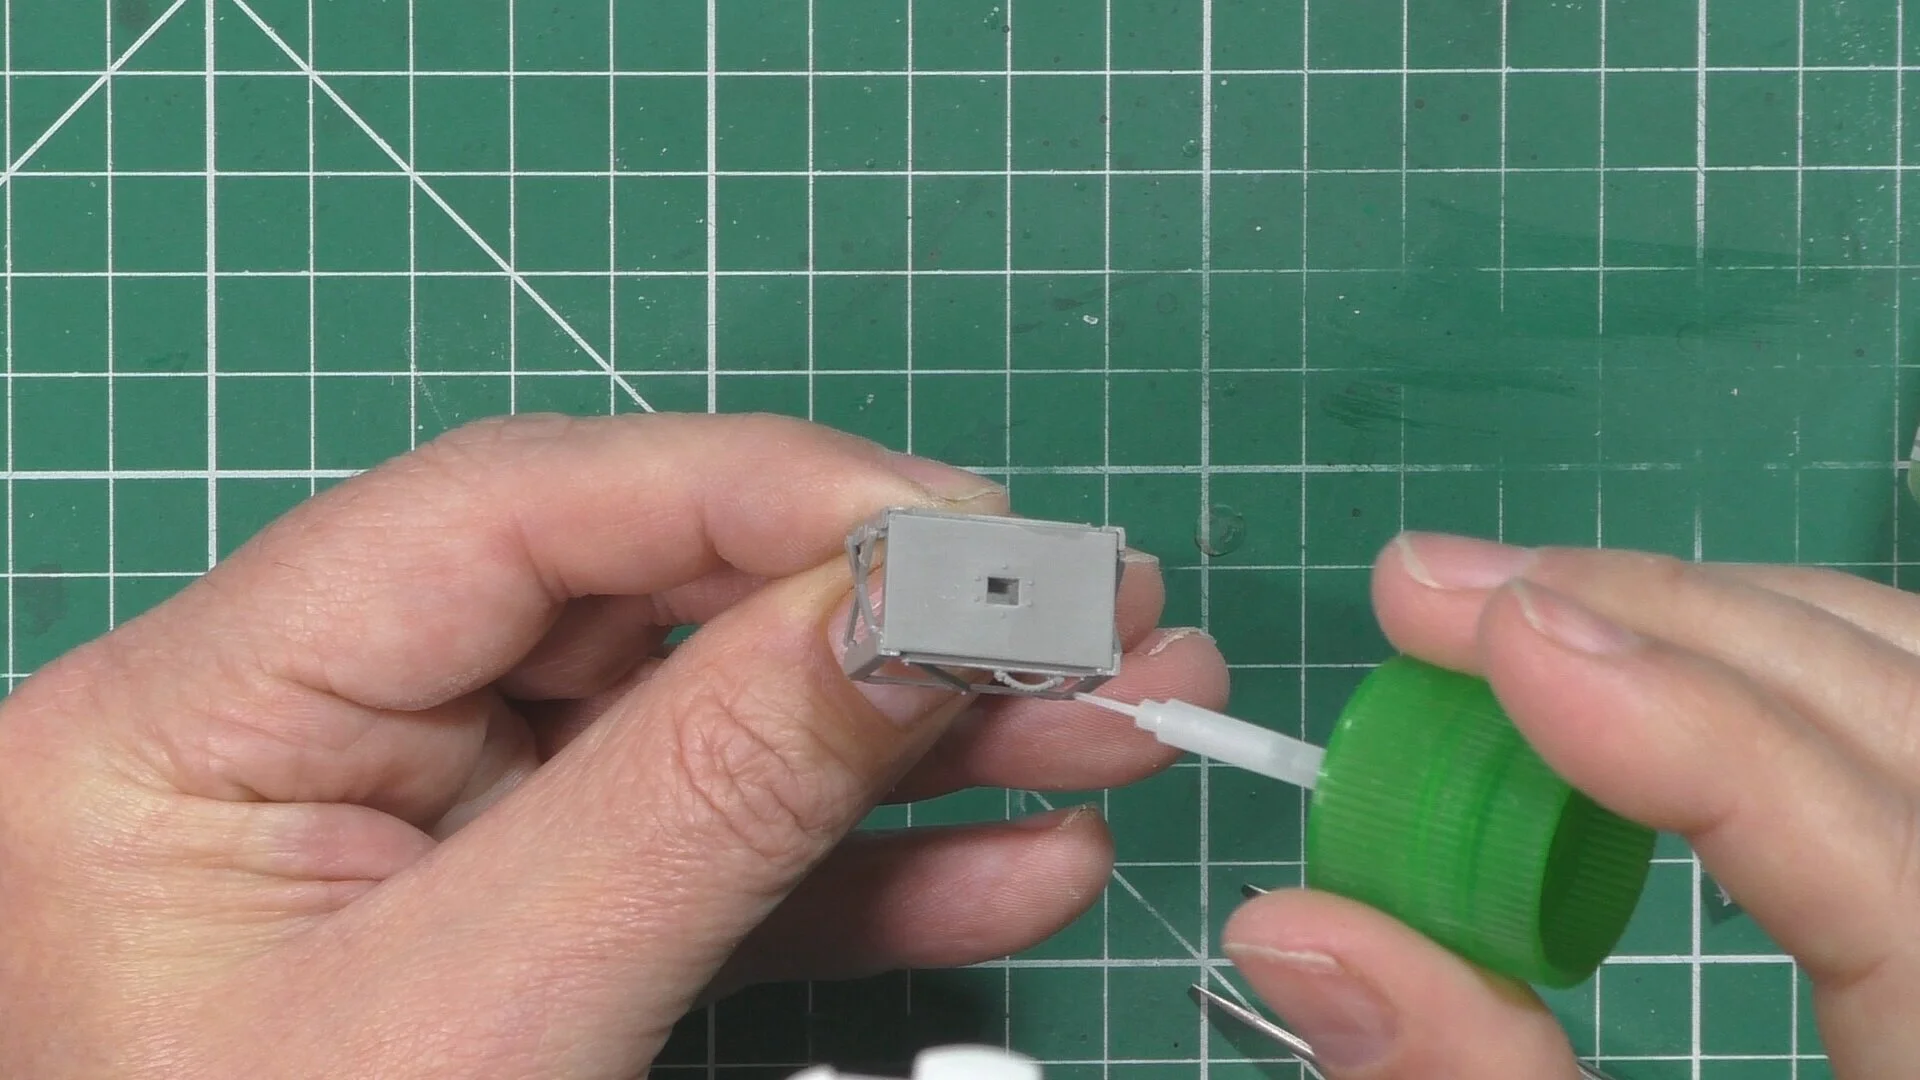
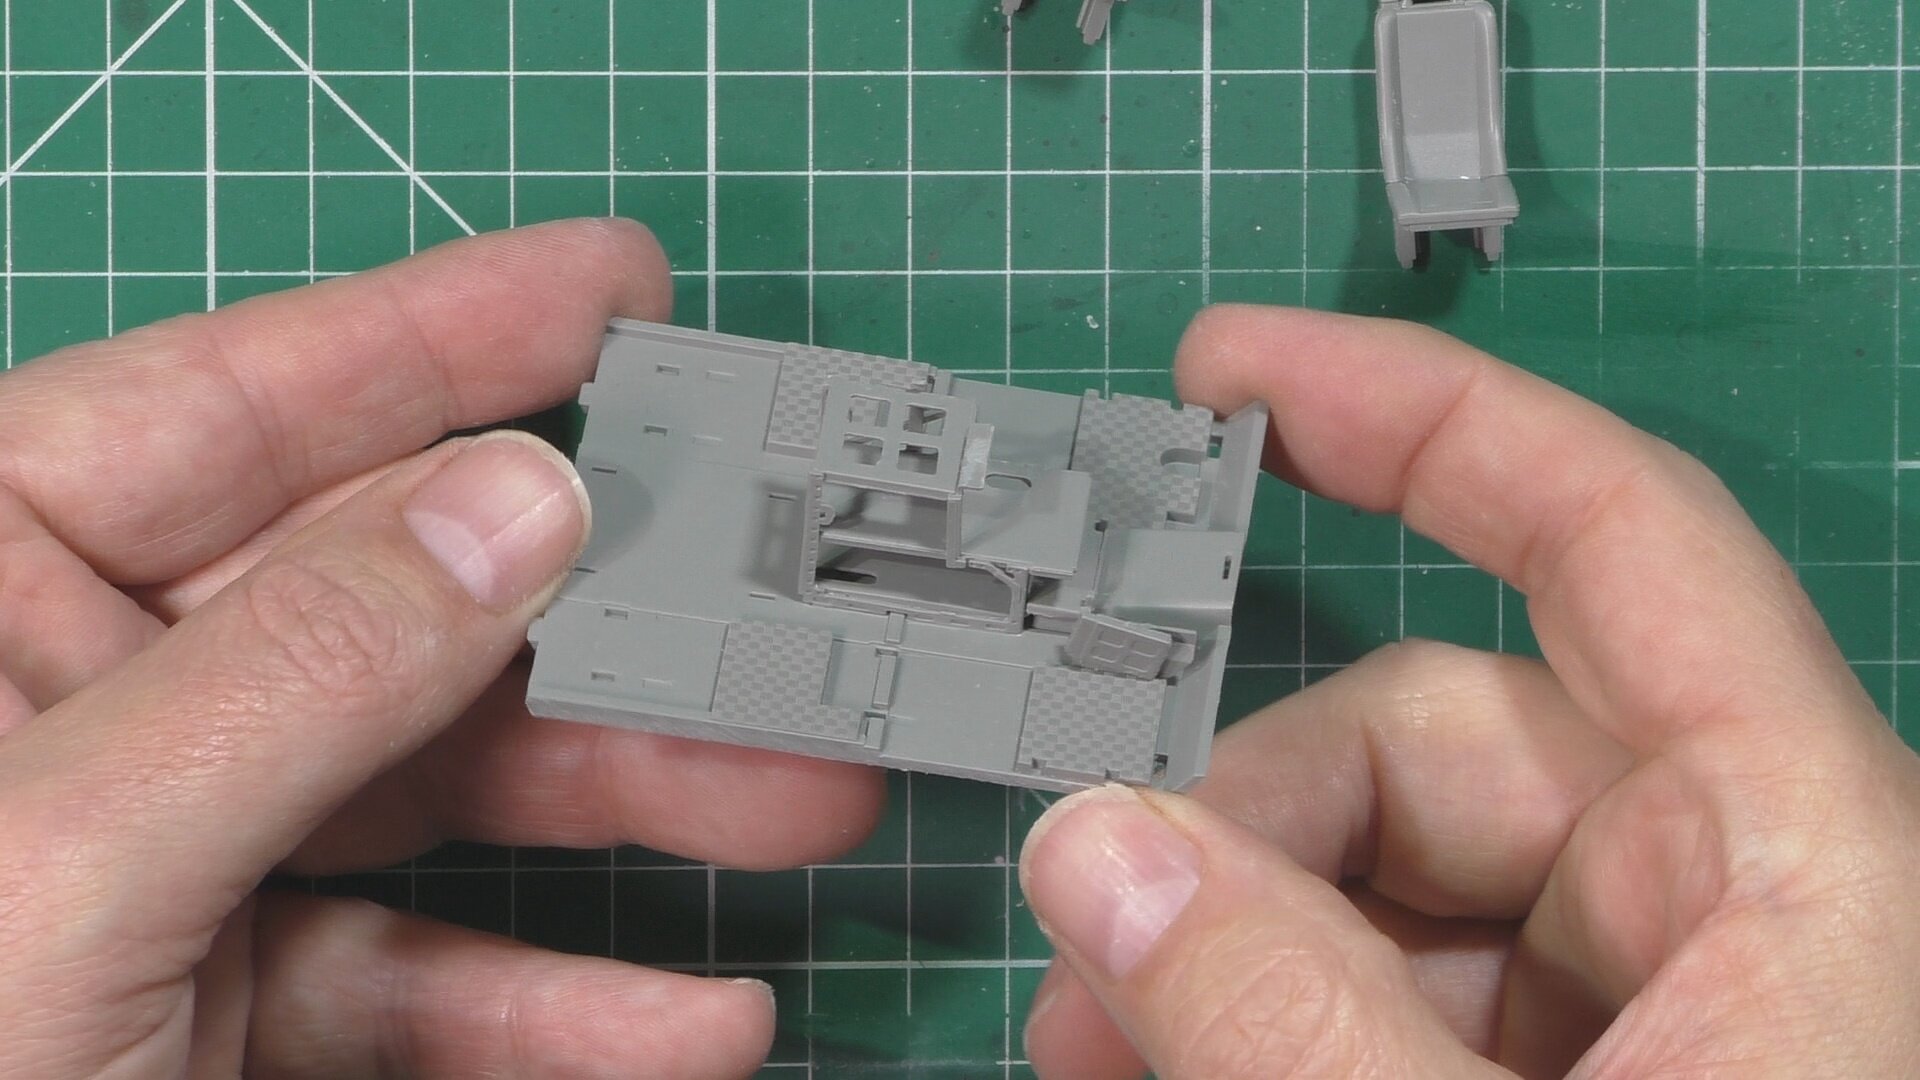
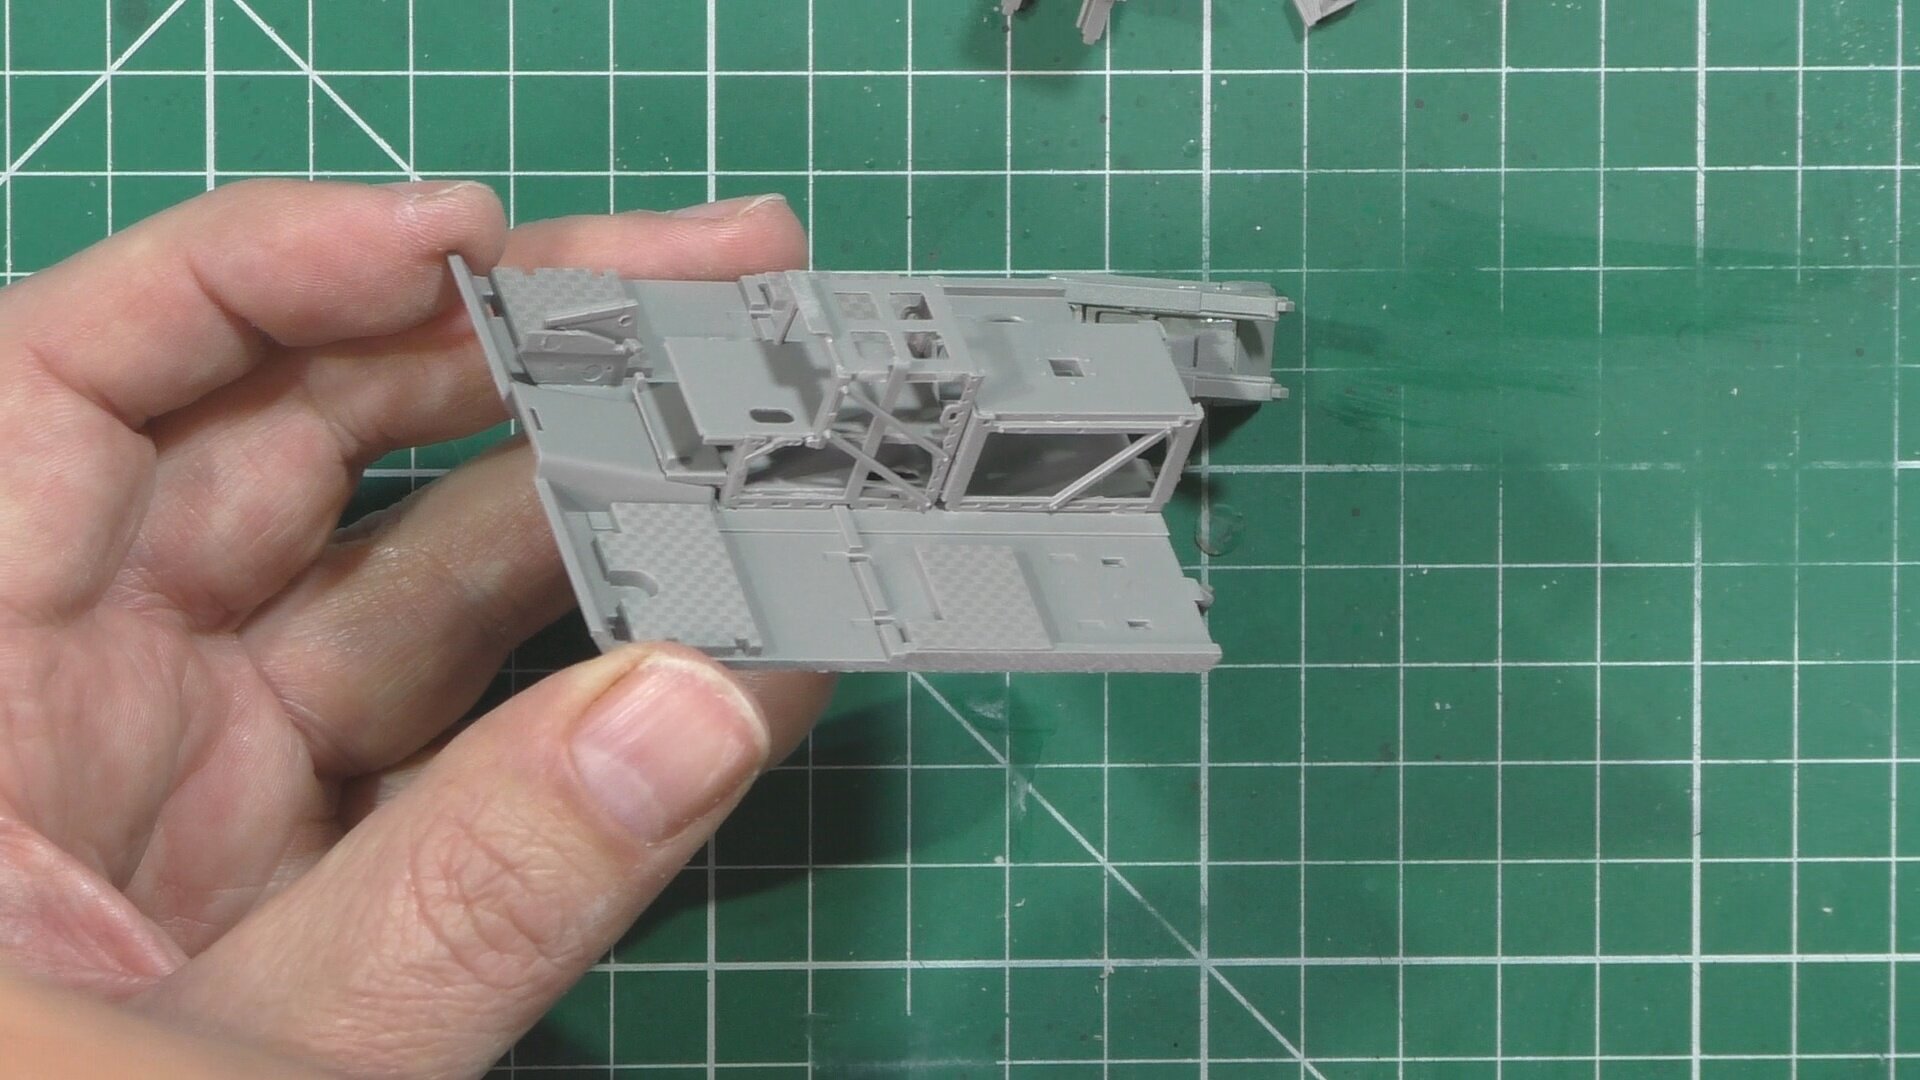
In part five, we start work on the cabin with the center console area and the seats.
In Part six we carry on with the cabin, working on the dash and photo-etch details in the rear.
In Part seven, we work on the roof of the cabin and doors before moving into the spray booth and priming up everything and add the sand color and Cat engine yellow.
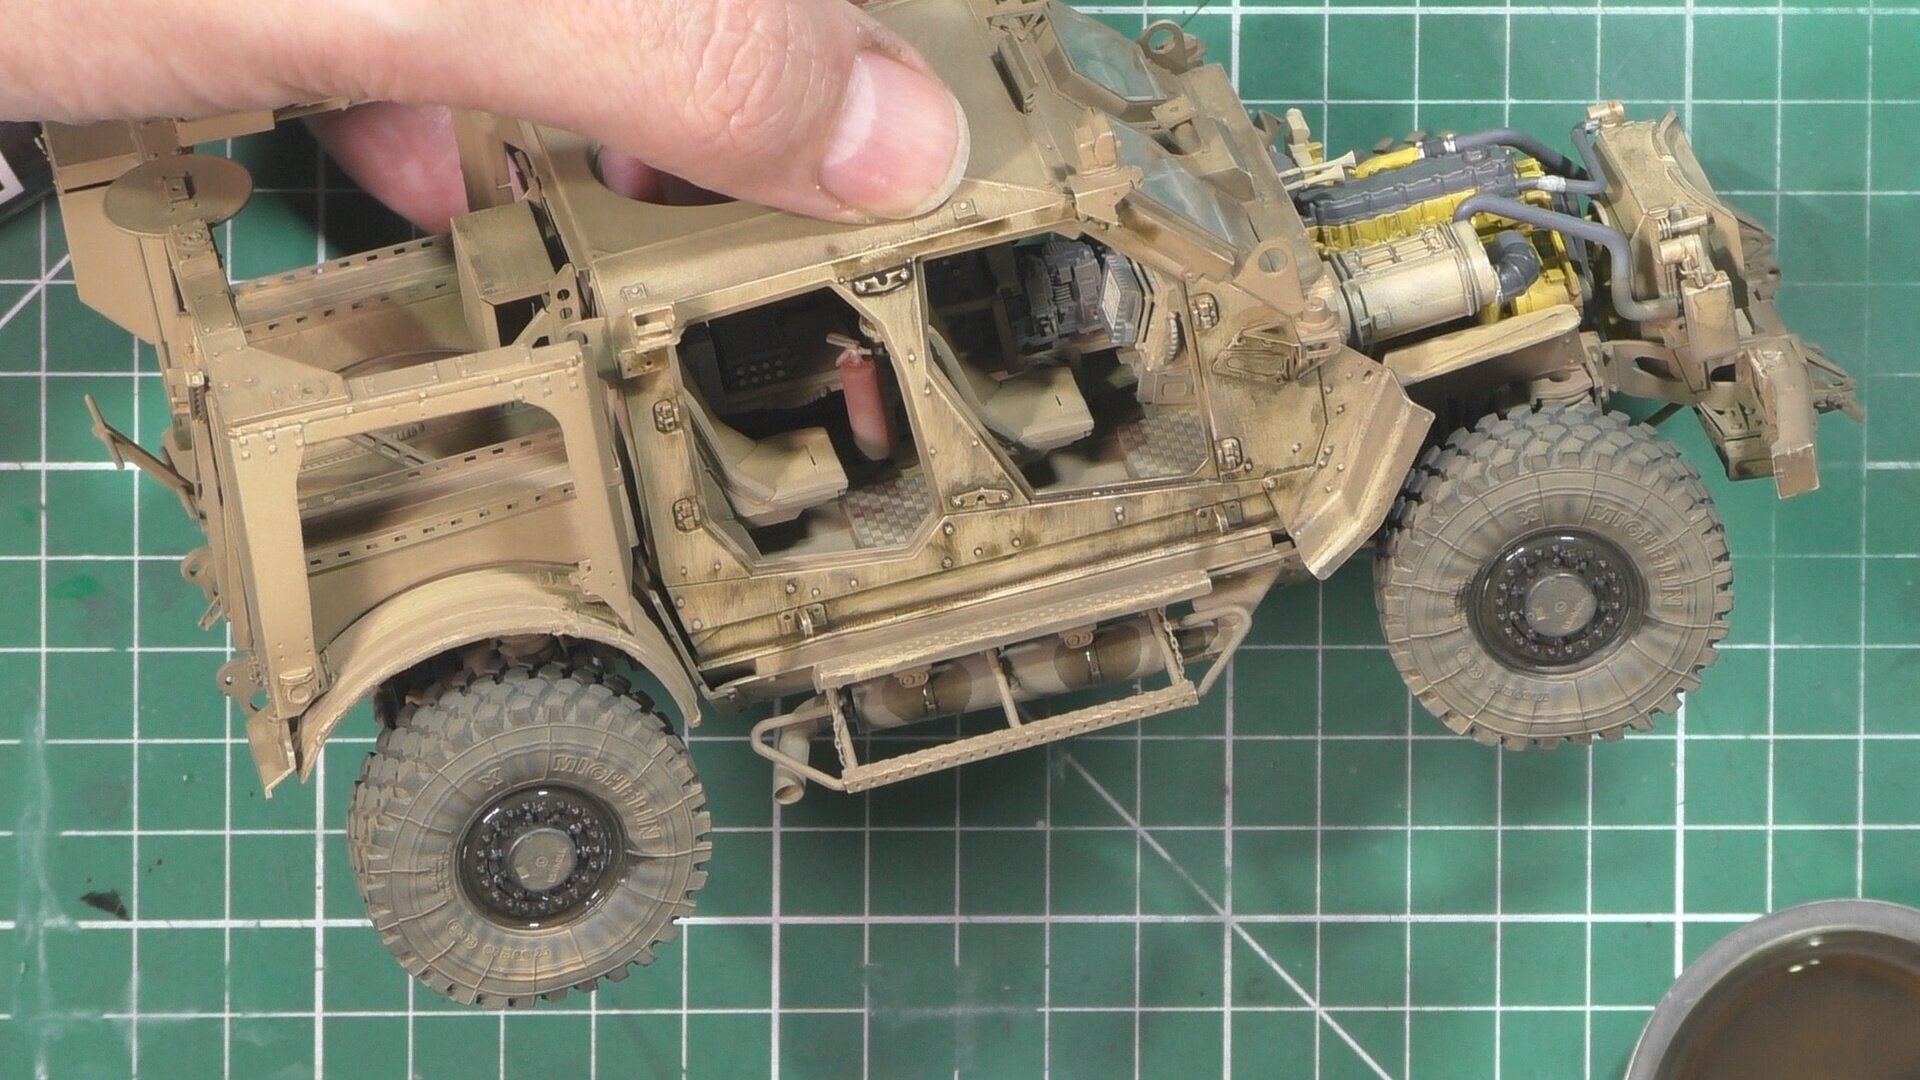
In part eight, we start the detail painting in the cab and the engine bay using greys for the instrument panel and hoses (Tamiya XF-24) and detail painting with Posca pens. Next a metal drybrush/scrub Mr Metal color 214 dark iron with oil wash with ABT 015 shadow brown.
In Part nine, we add all the Photo Etch to the body of the Mrap. Next we work on the rear deck and body and the armored underside plating.
In Part Ten, we finish off the construction with the top gunner’s position and get the model masked up ready for painting.
In Part Eleven, we post shade and put the top coat on Hataka C236 (FS33446) Next we install the windows with PVA glue. Then it’s into the weathering with Flory models washes starting with the FMW002 Dark dirt clay wash, and airbrush the wash on. Next oat is the FMW008 Grime clay wash to give a more earthy look.
In part twelve, we carry on with washes and add a coat of the sand wash FMW005 to give a dusty finish. Next, we use a brush to remove the excess wash with a paintbrush, and by lightly dampening with brush remove more. We use an oil wash (Abteilung) to give a more warn look and add staining.
In the final part, we use color pigments with light earth and sand to give the final dust effects to the Mrap, Next we app all the small detailed parts to the models for the final reveal