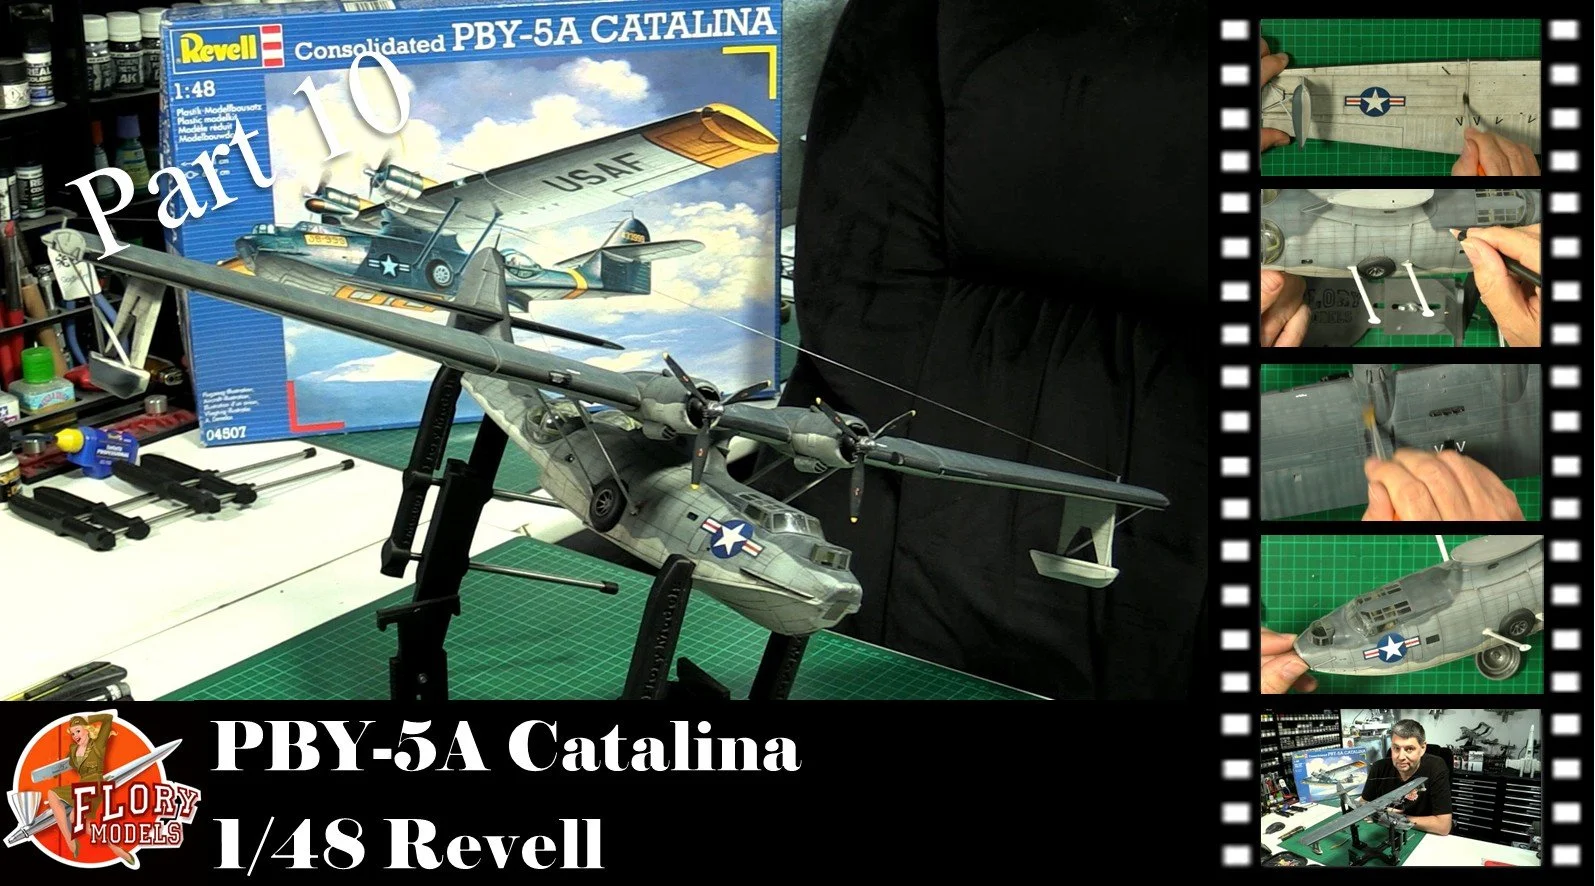
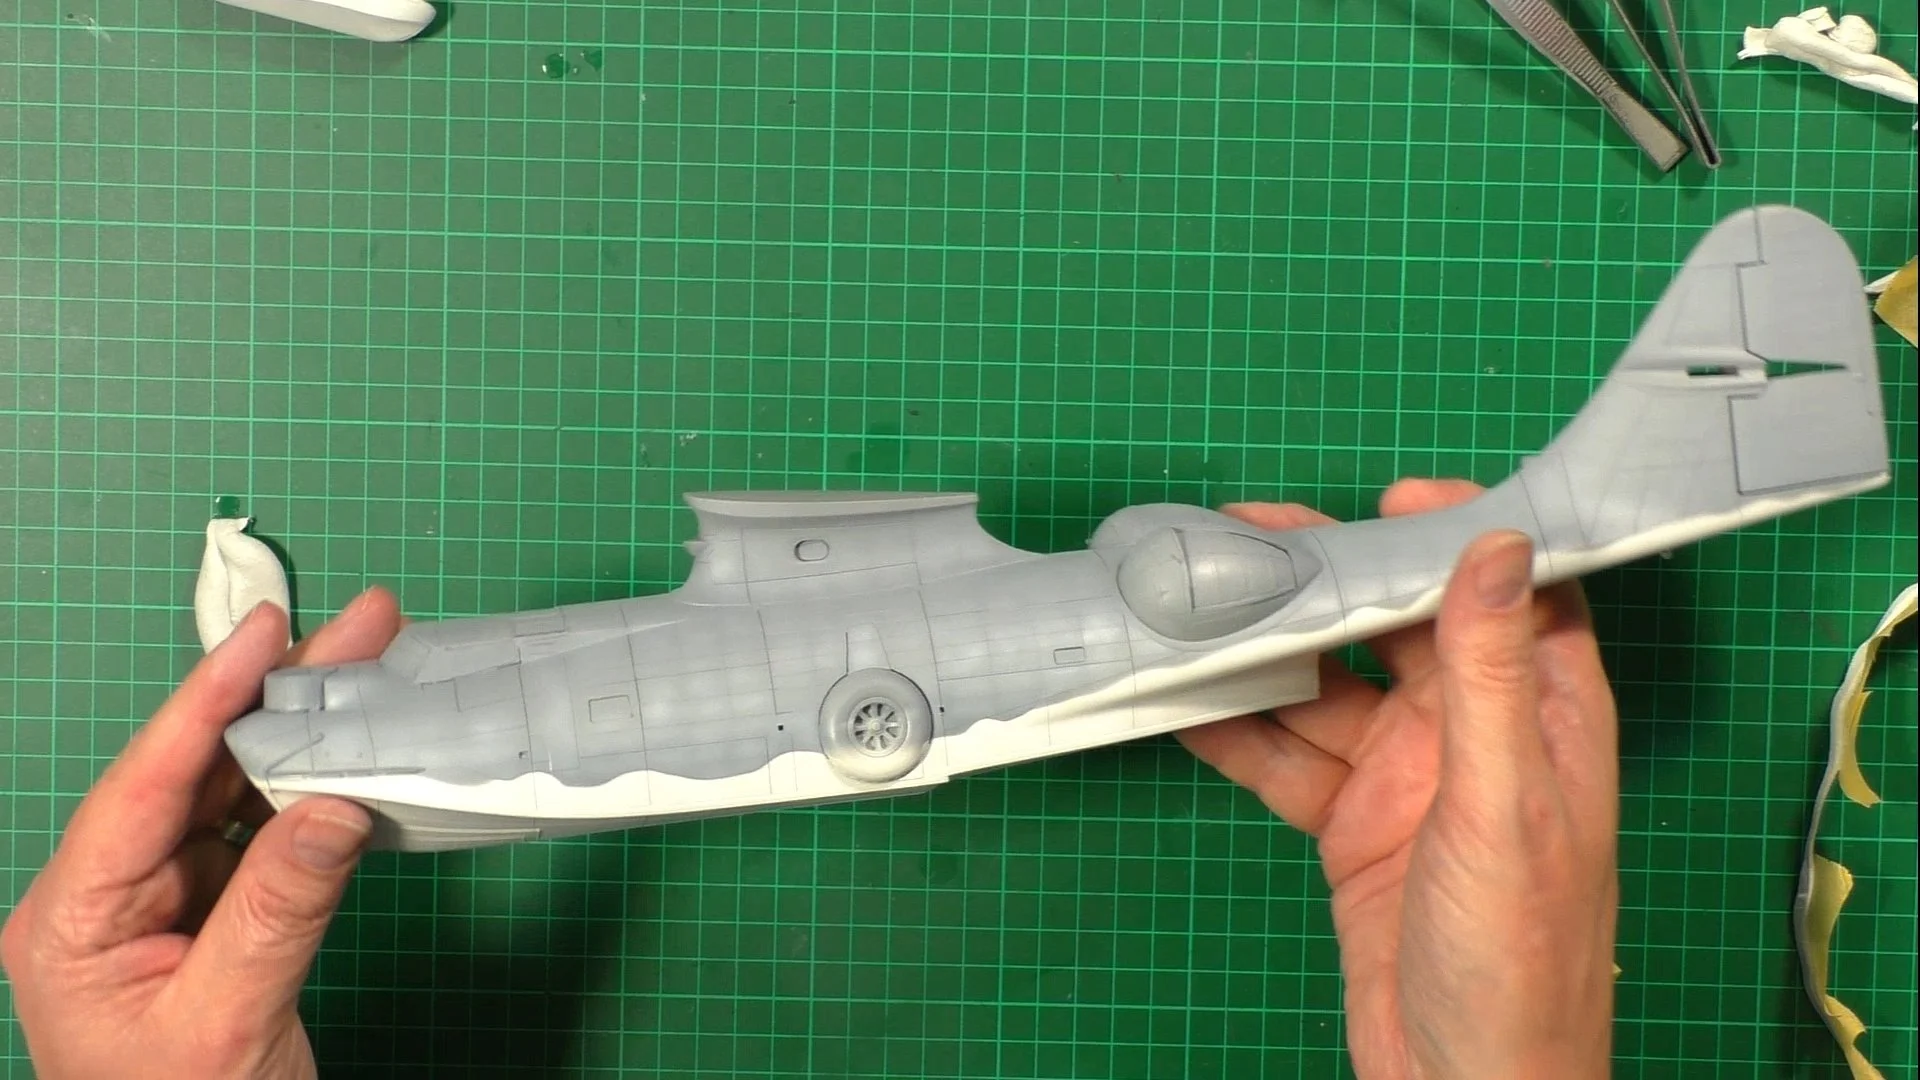
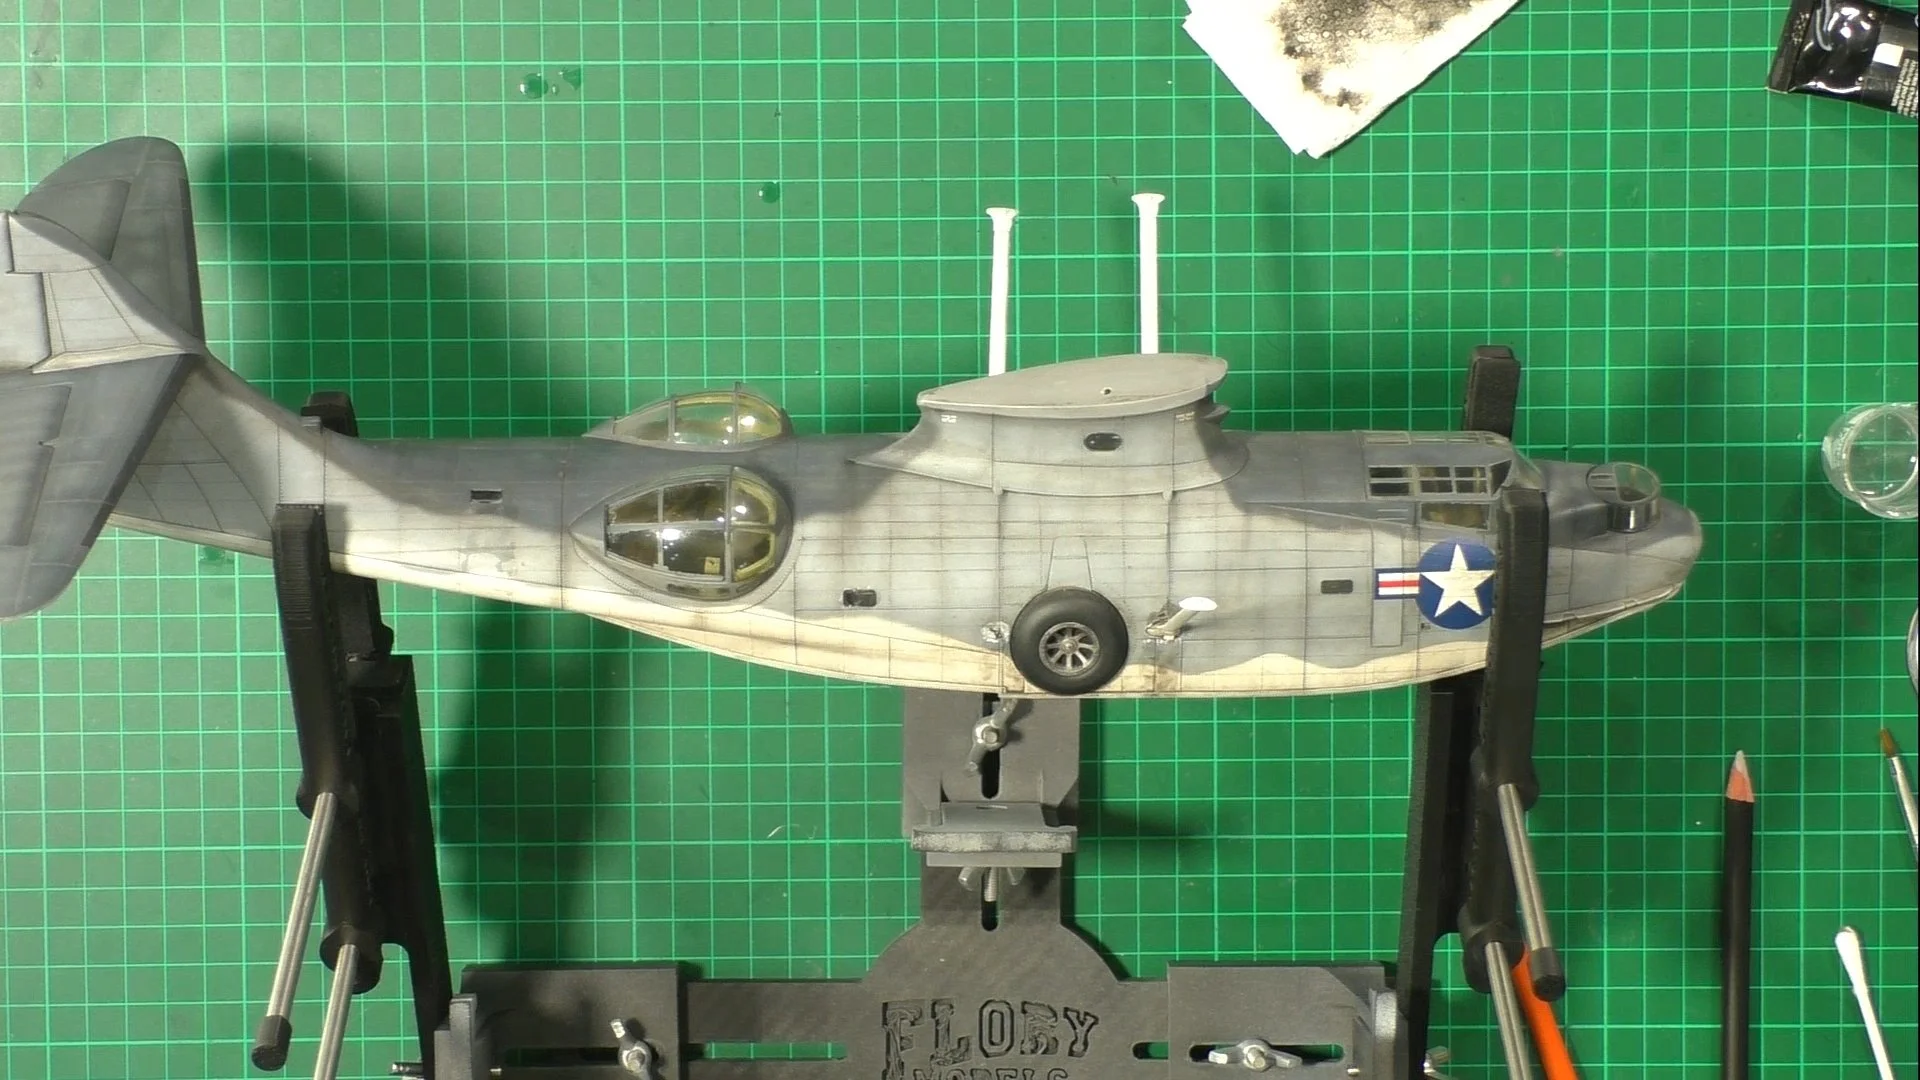
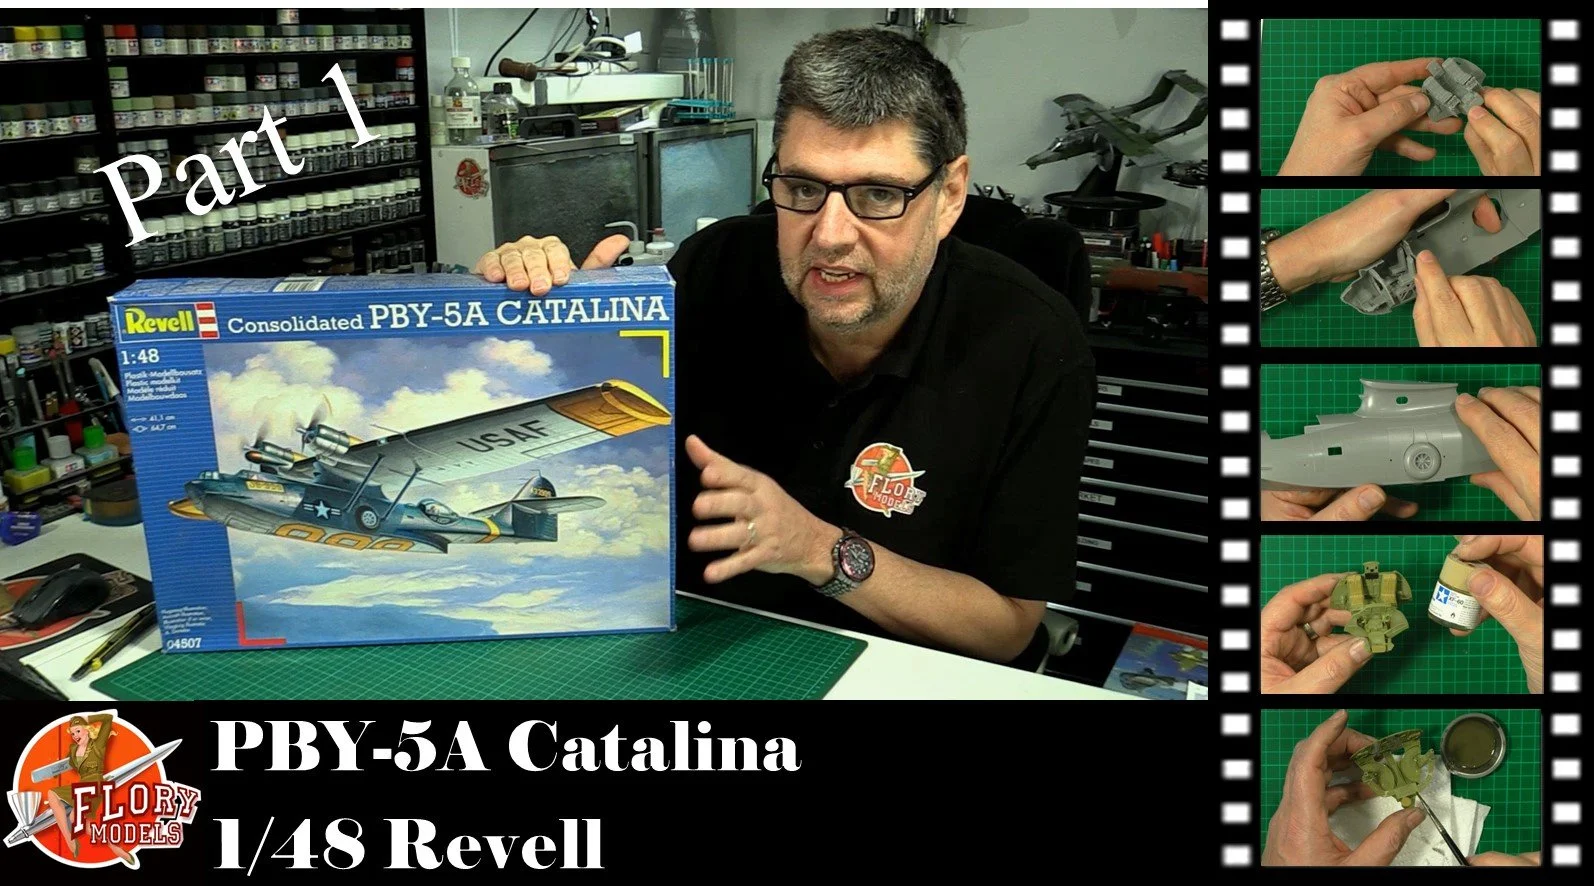
PBY-5A Catalina
Scale: 1/48
Manufacturer: Revell
Parts used: Out Of The Box
Main paints used: AK Real Colors, Hataka
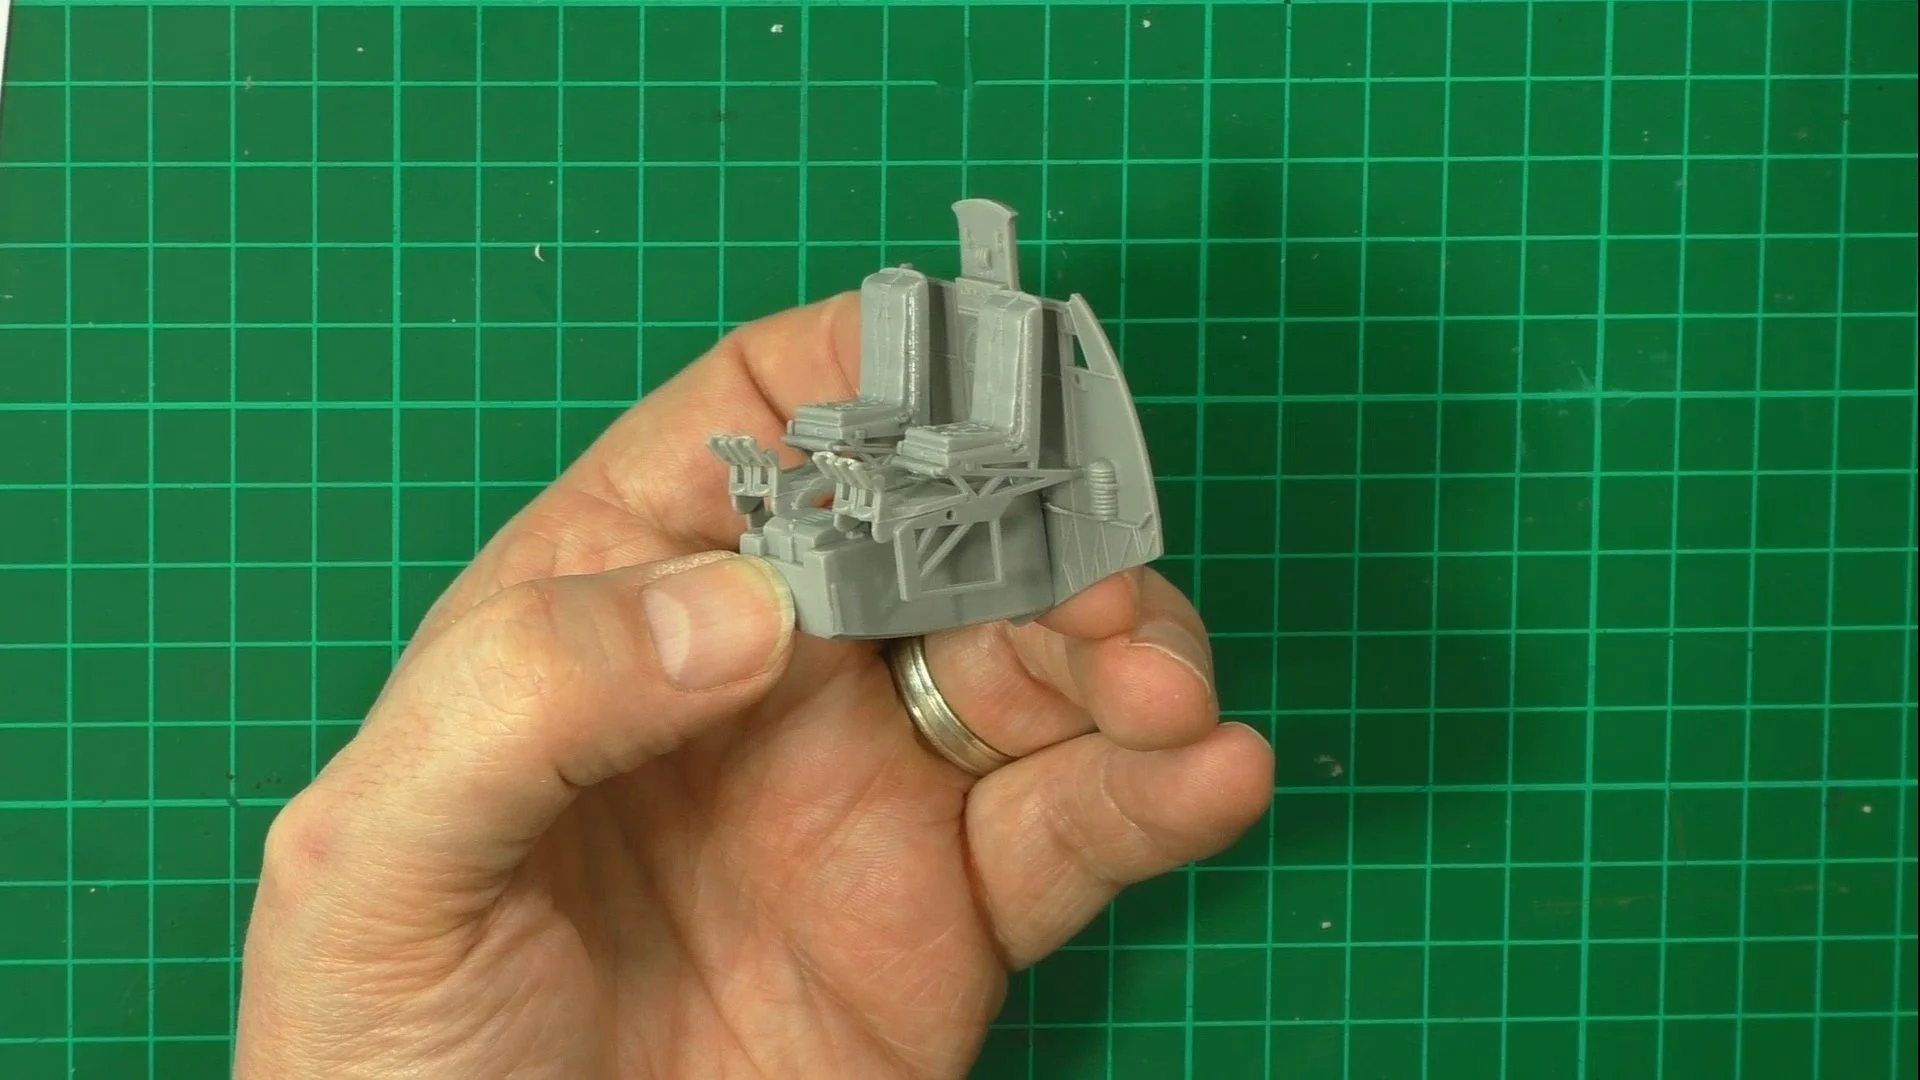
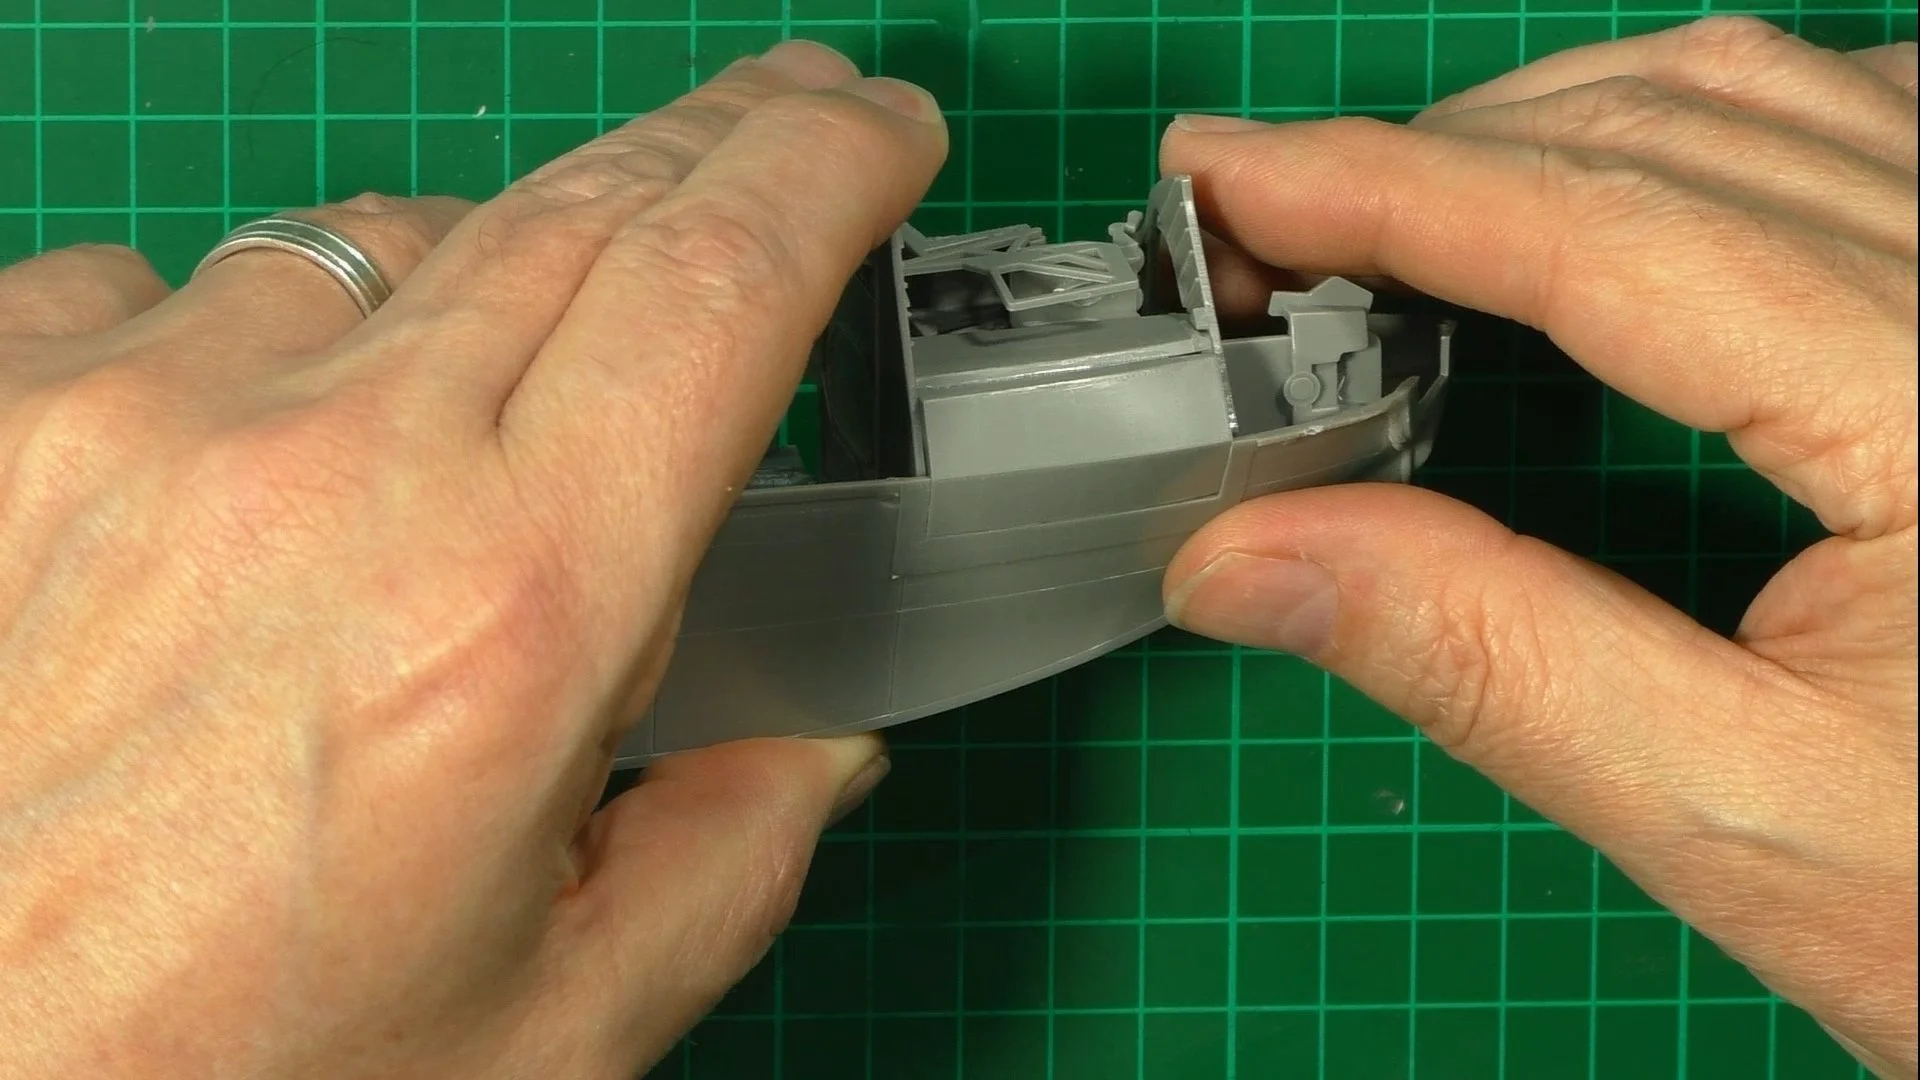
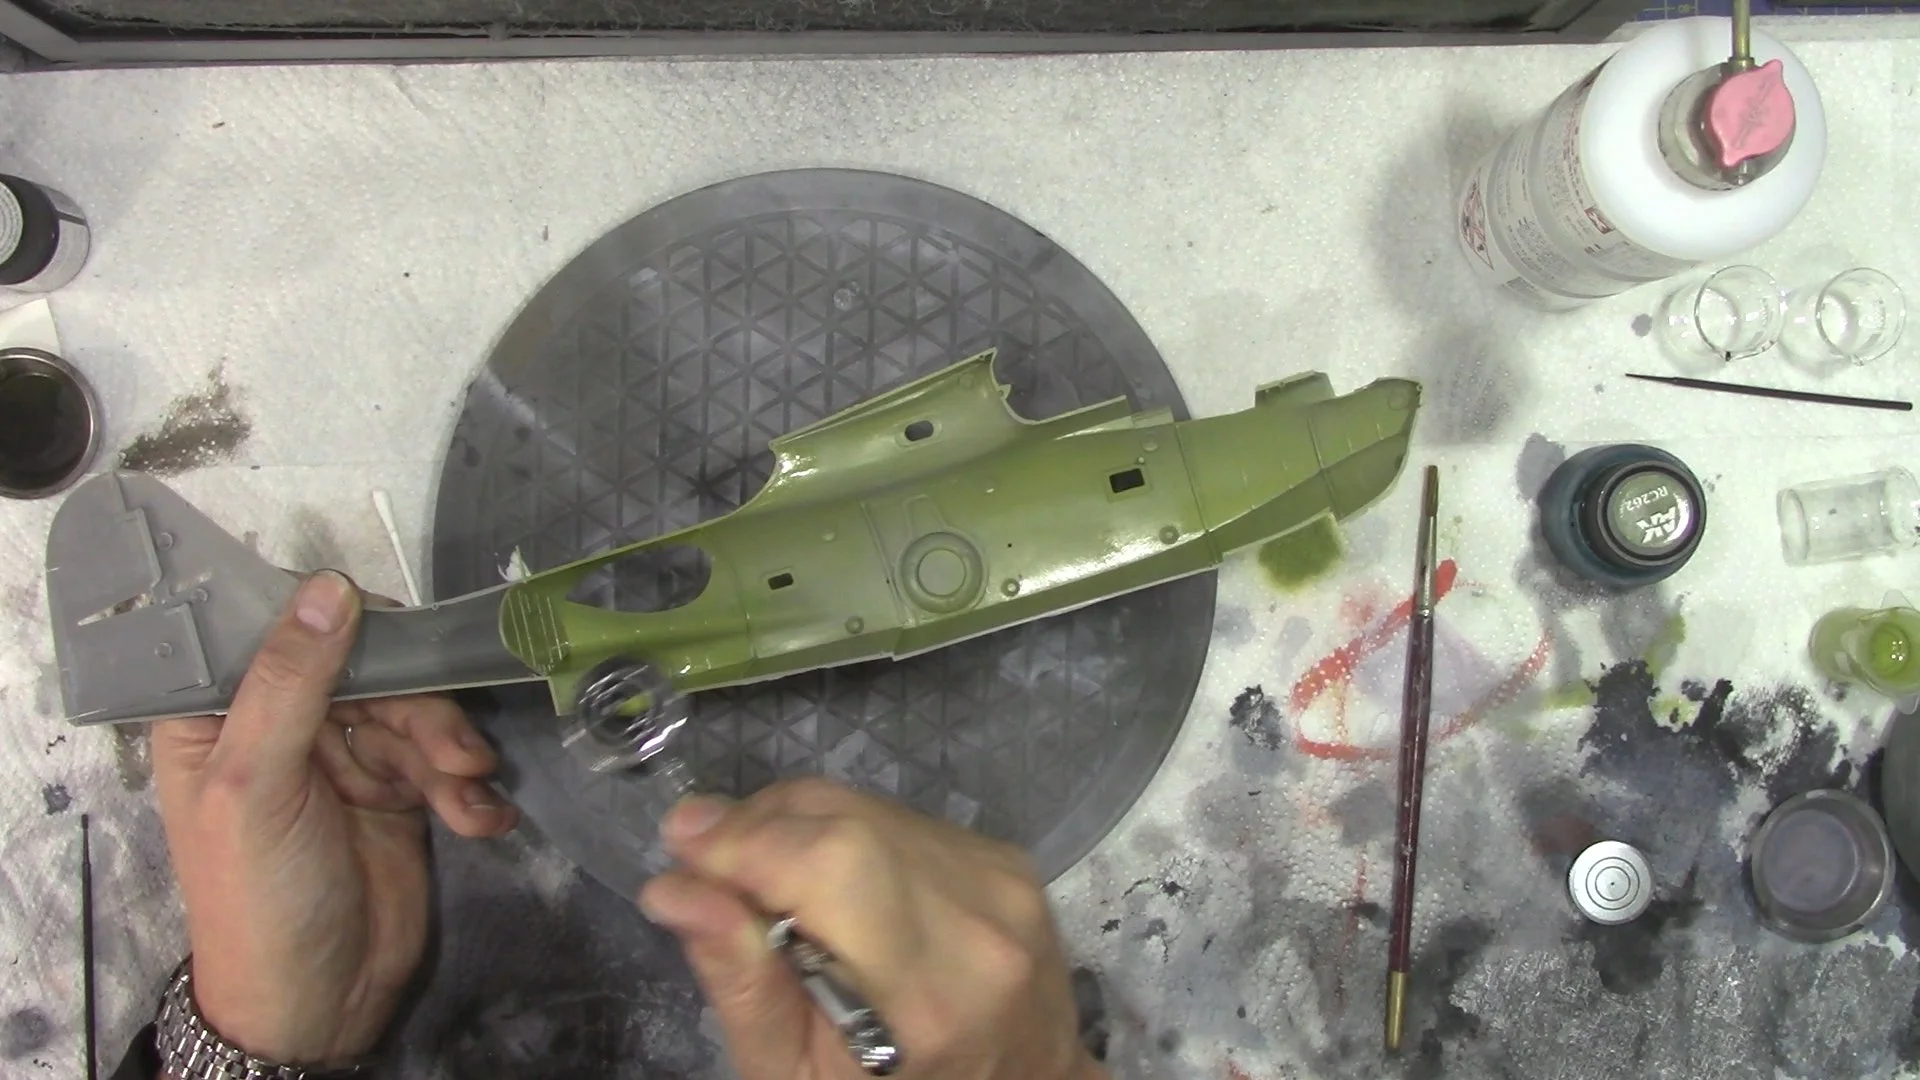
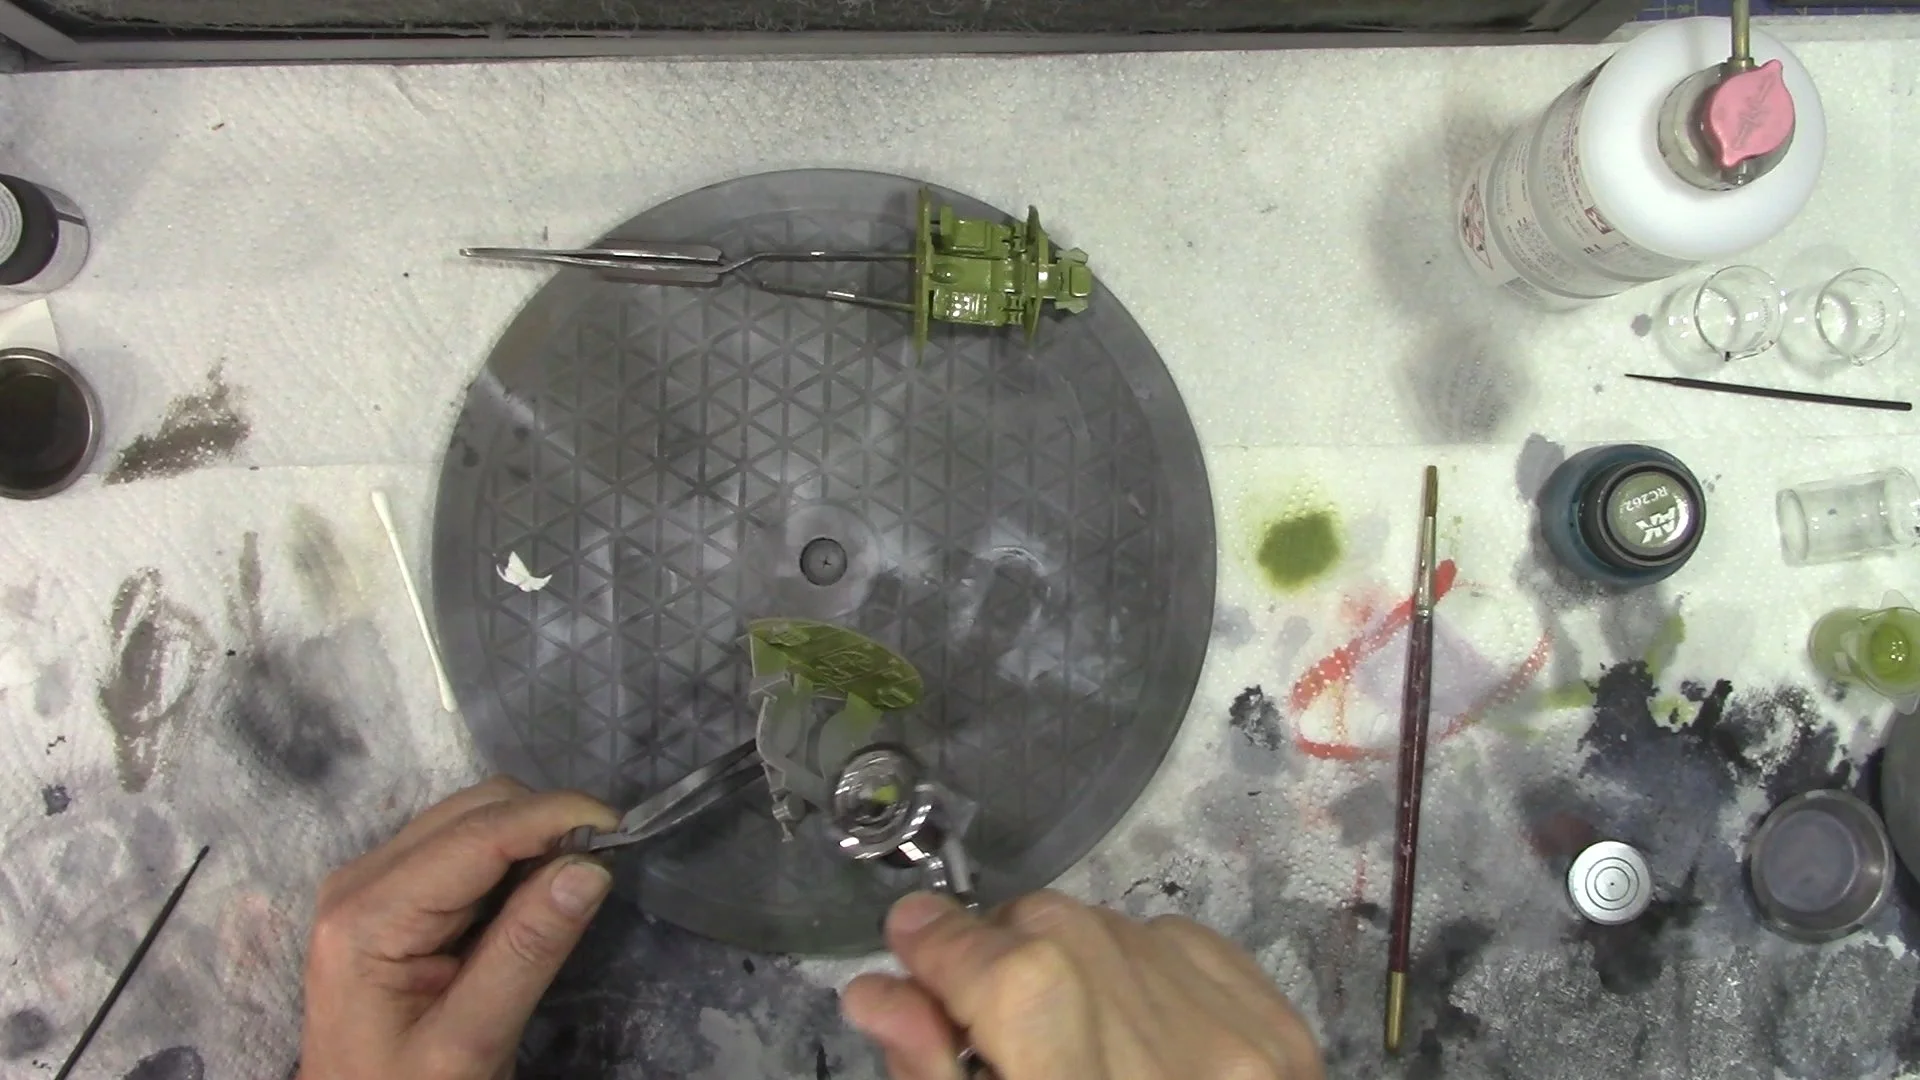
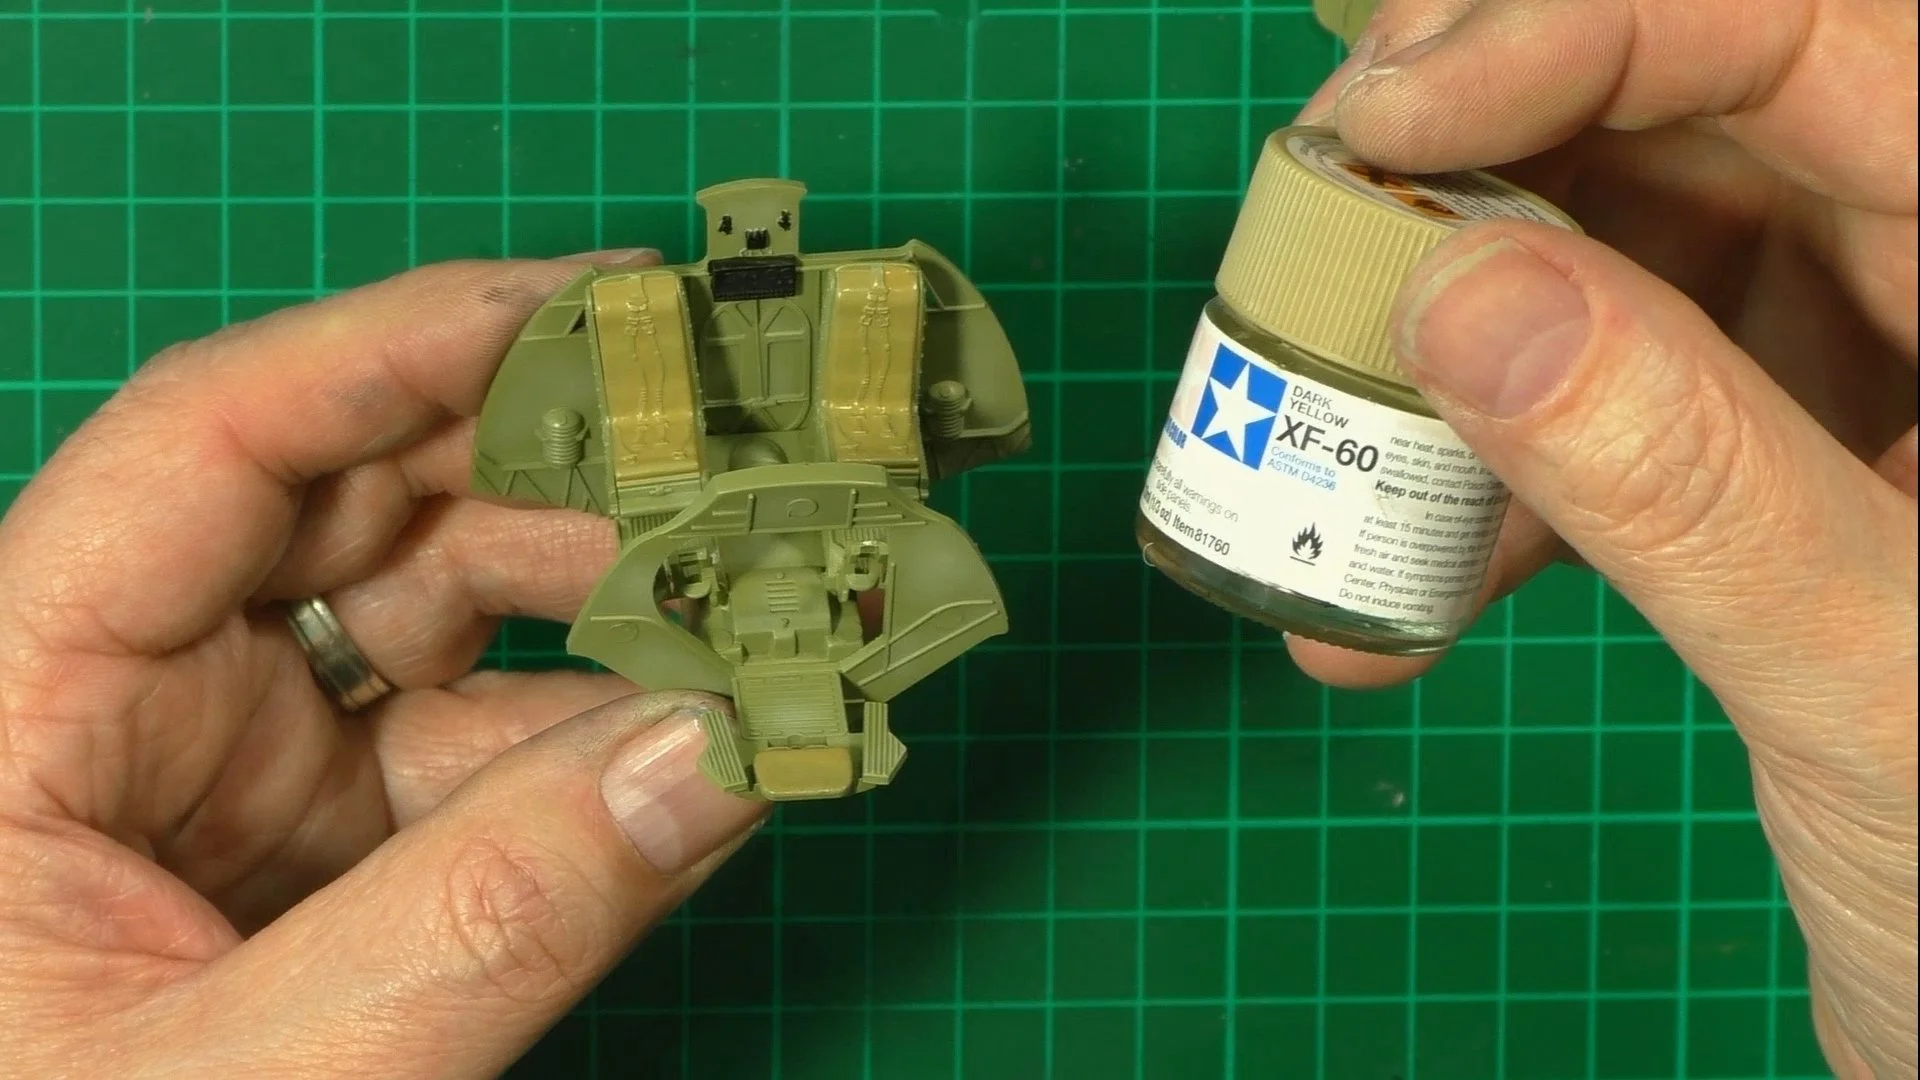
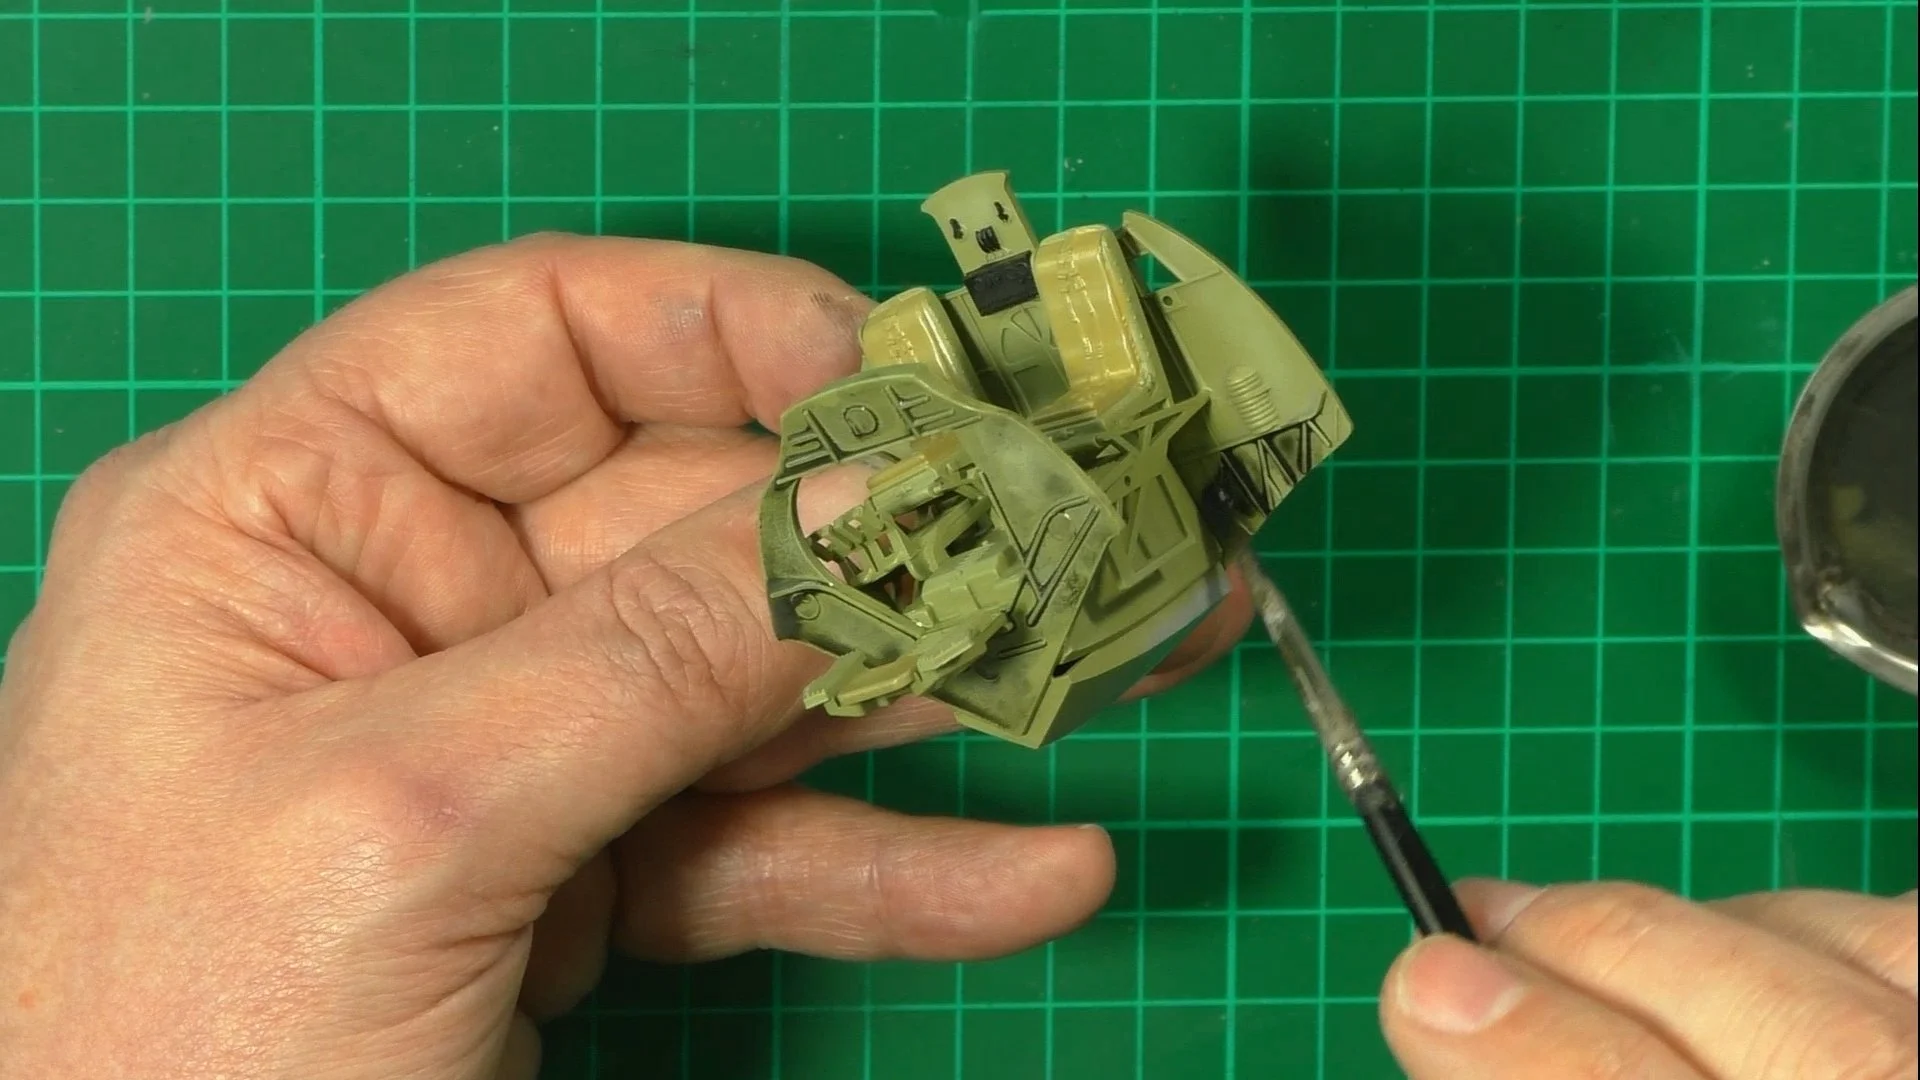
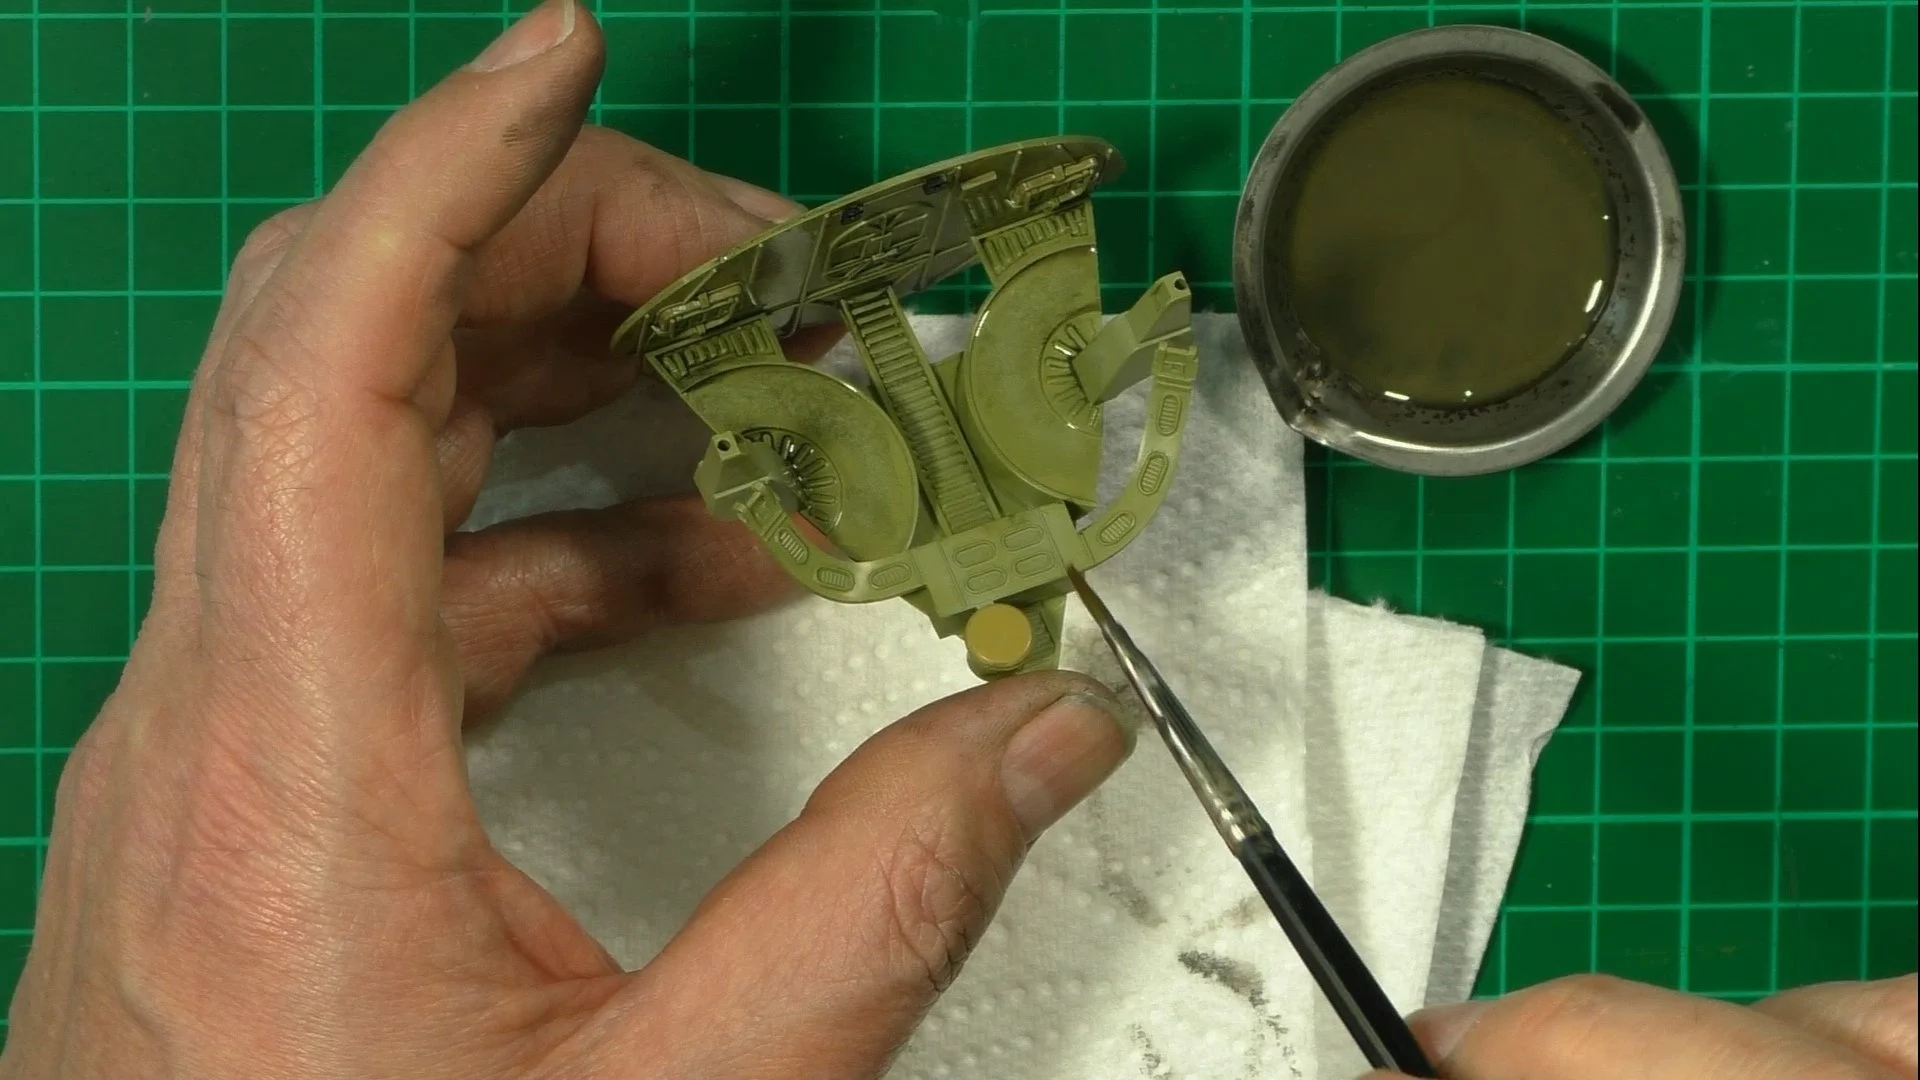
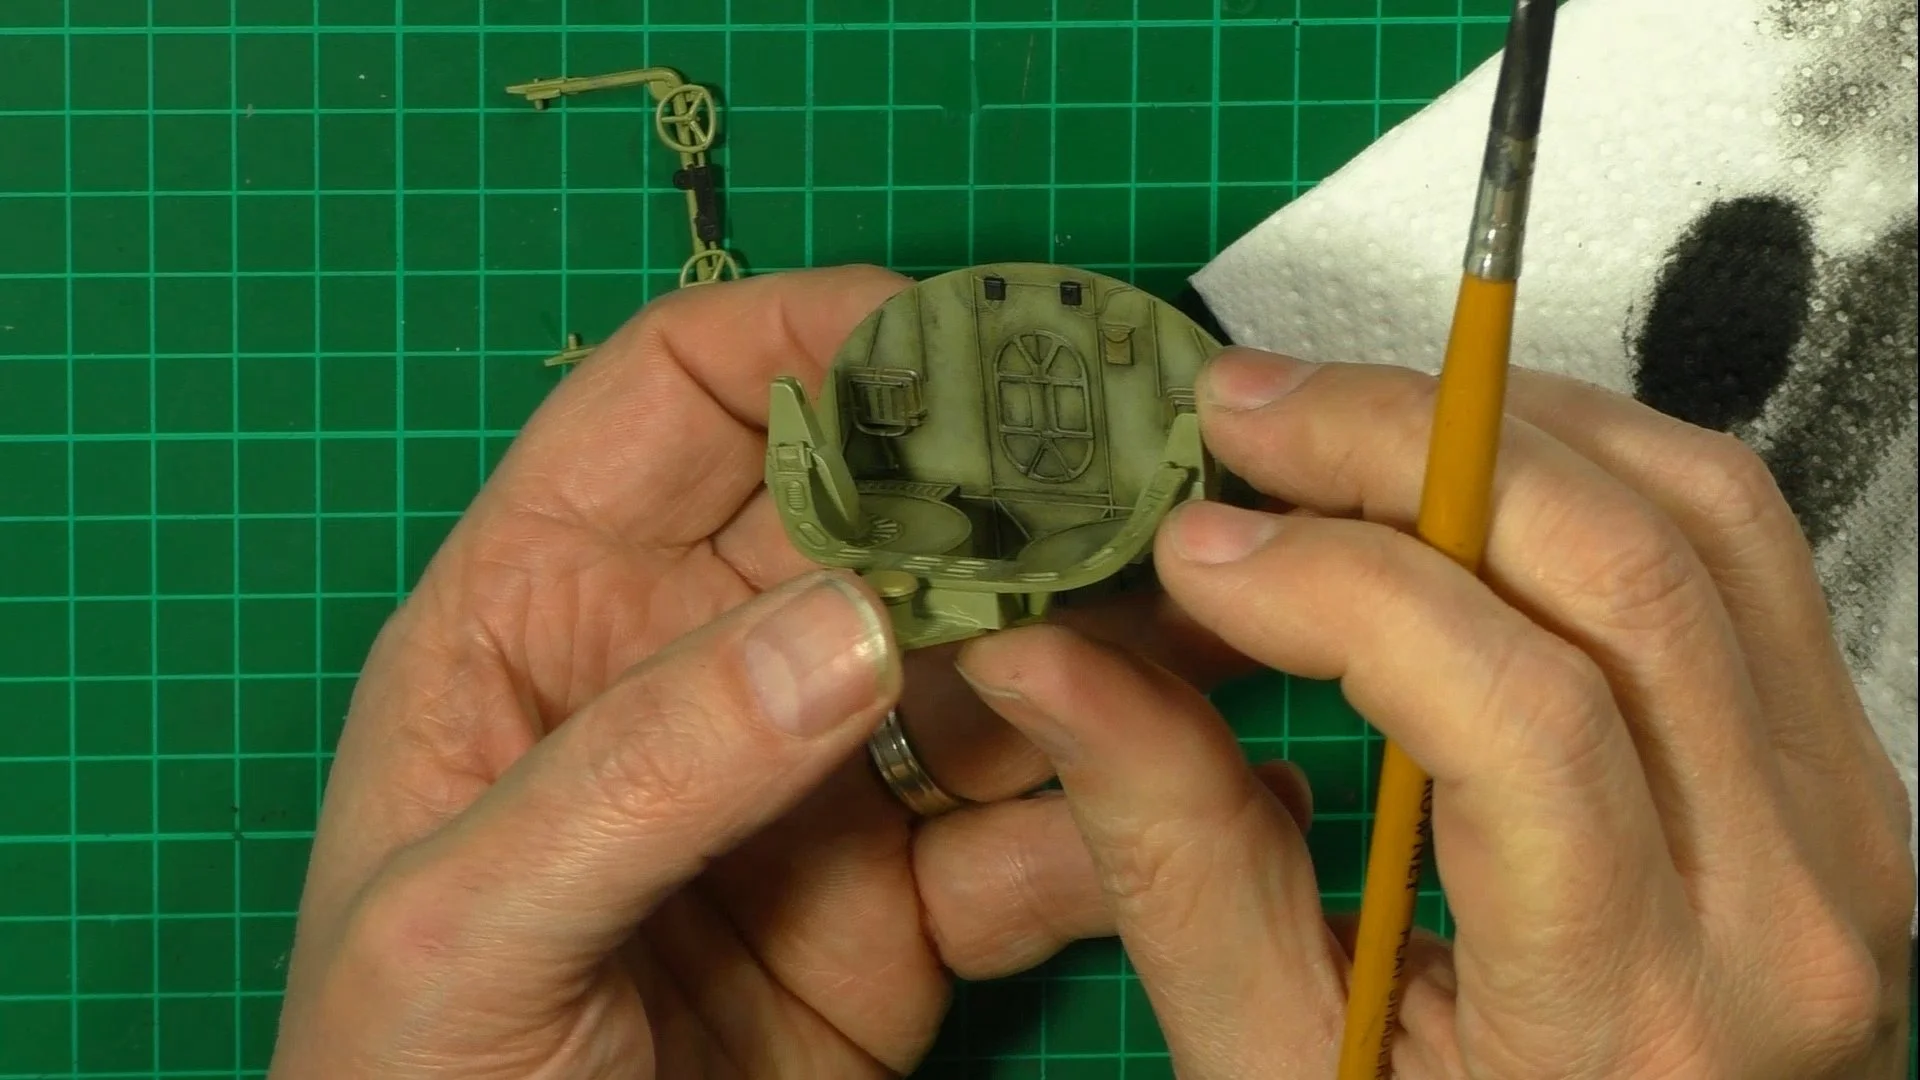
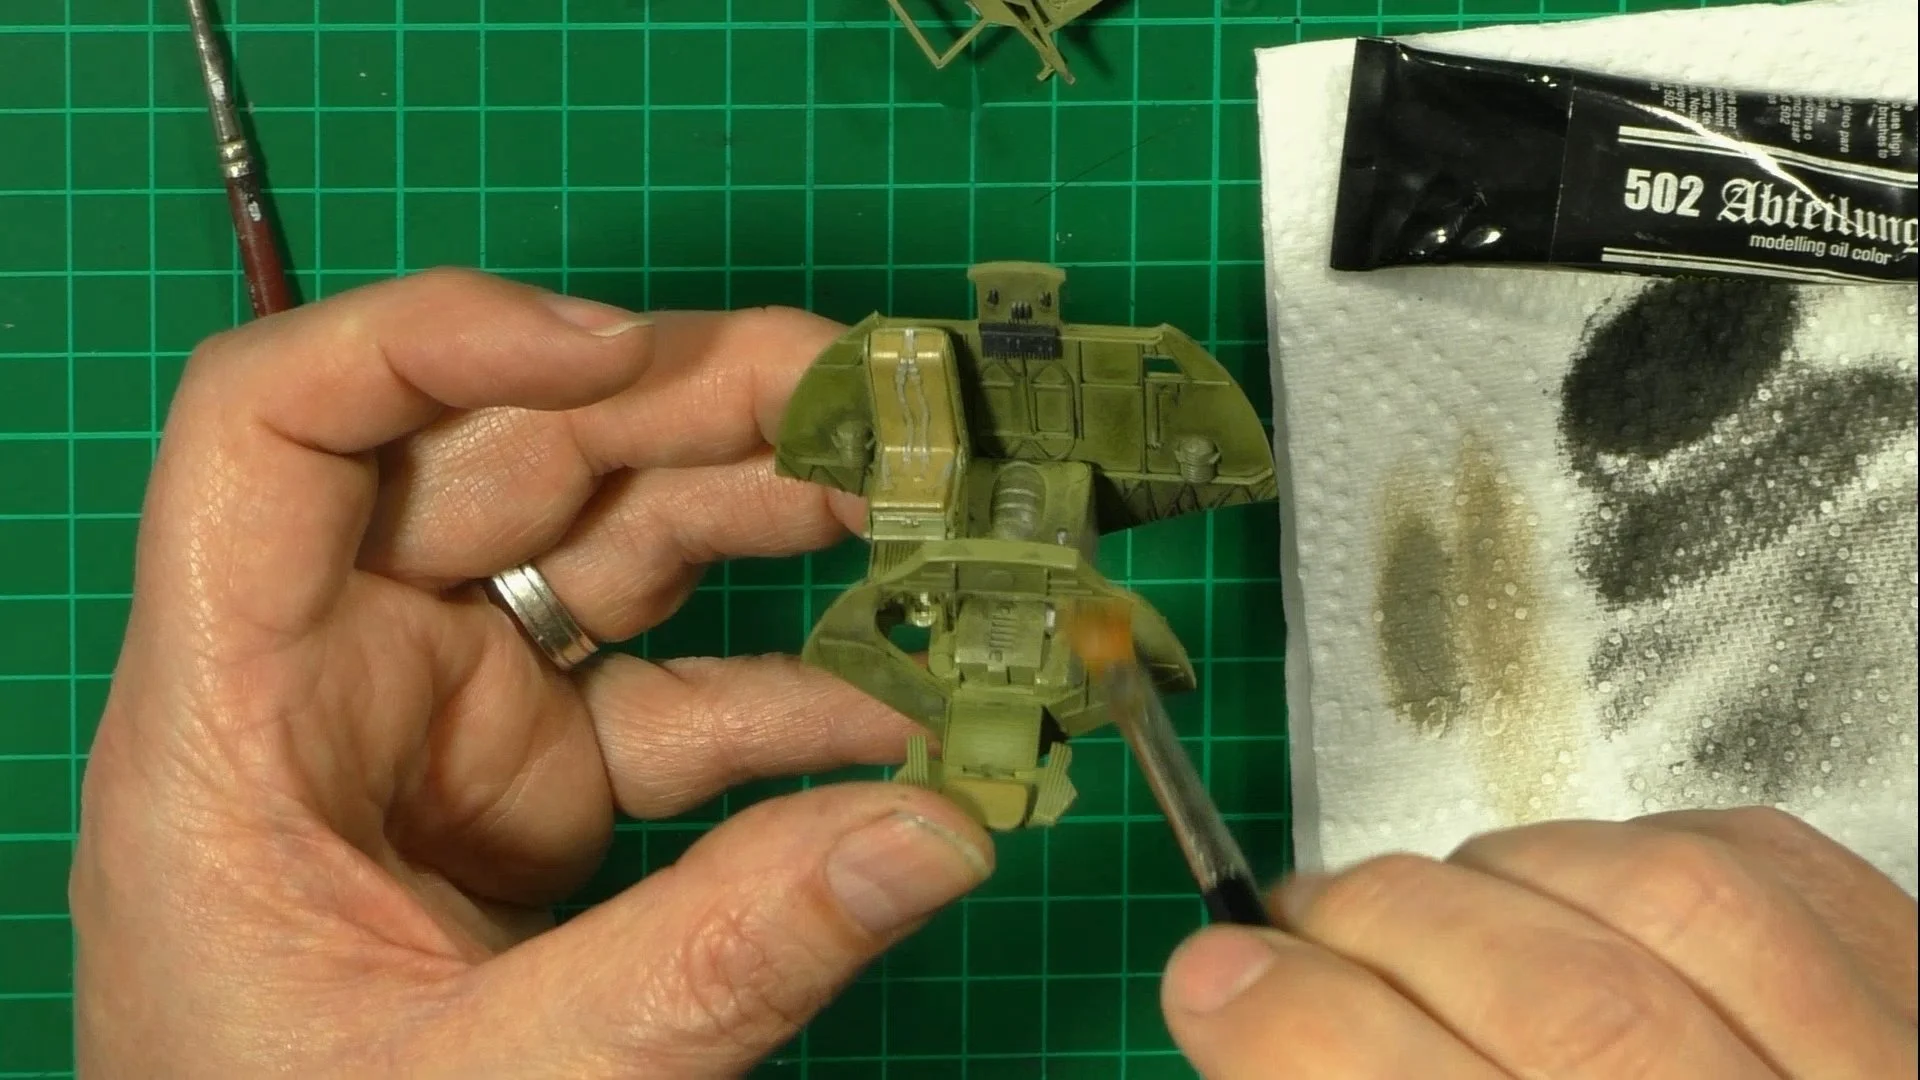
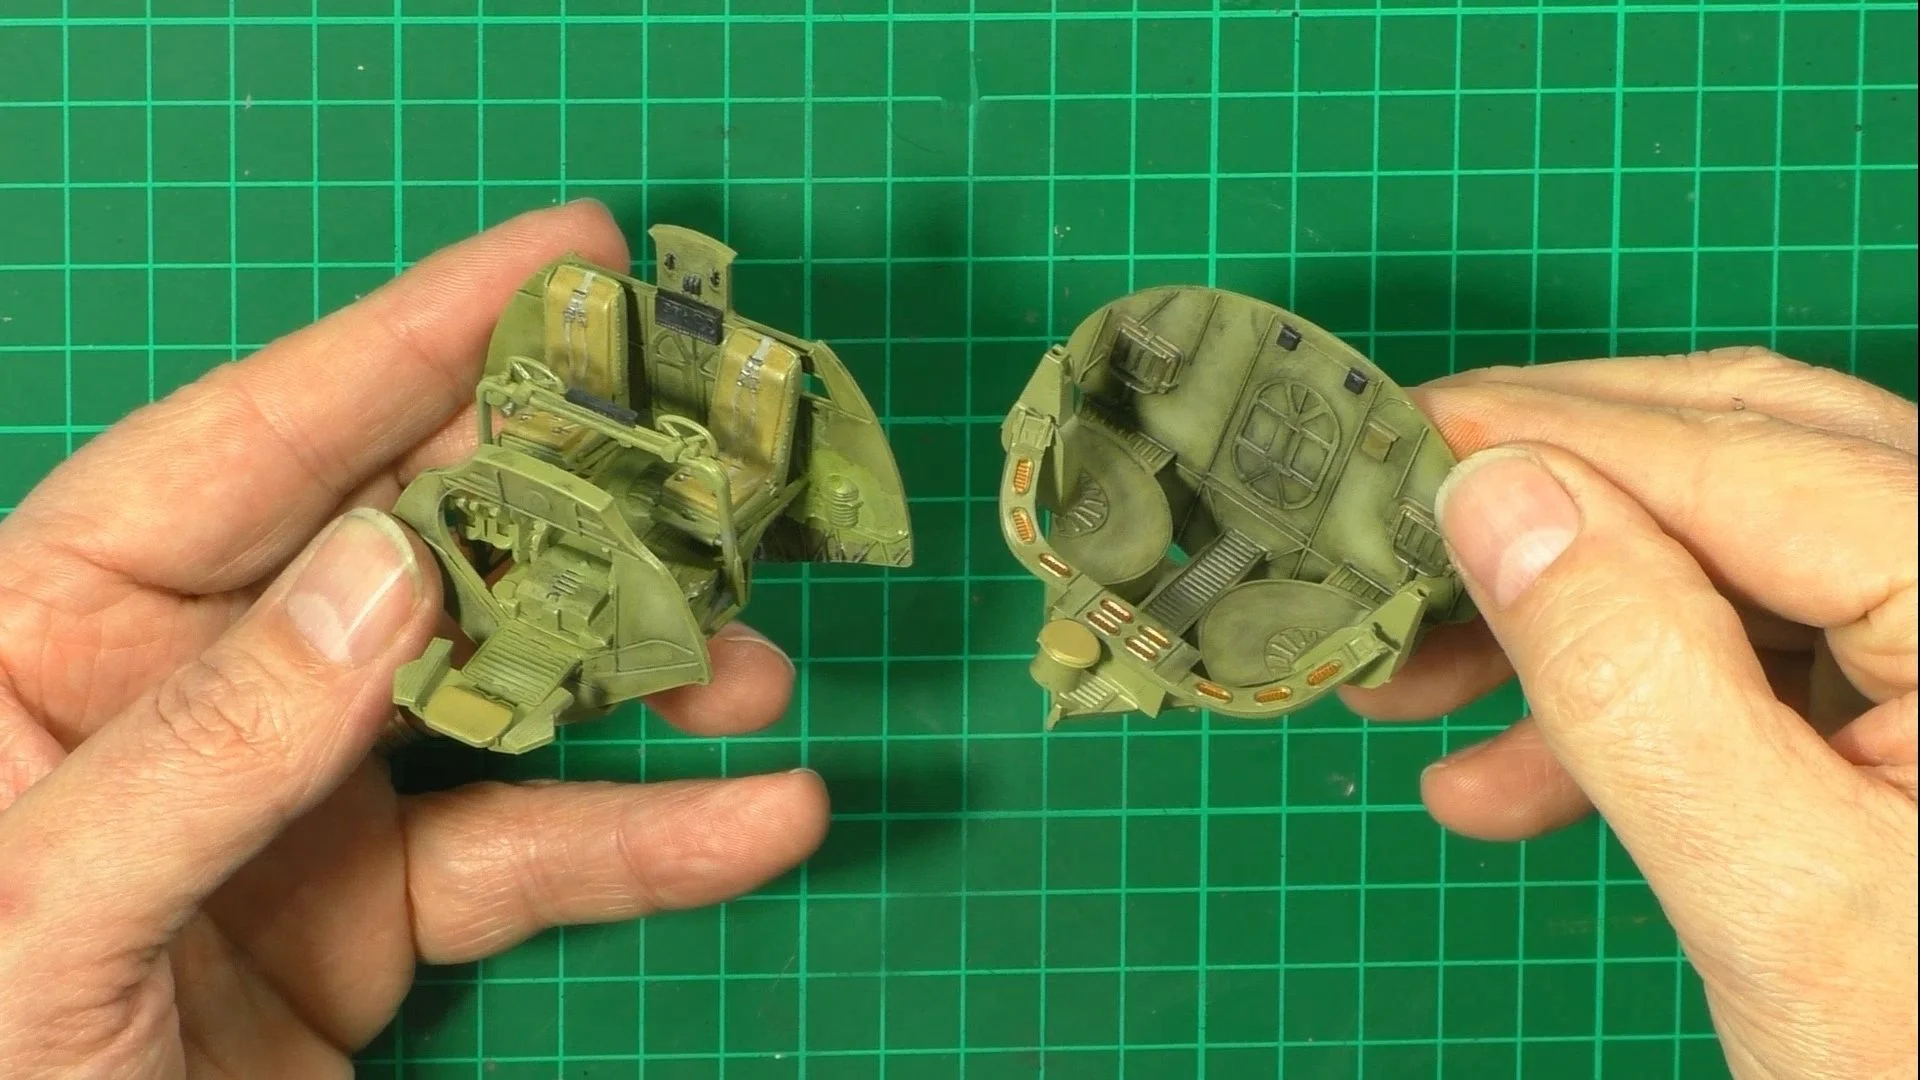
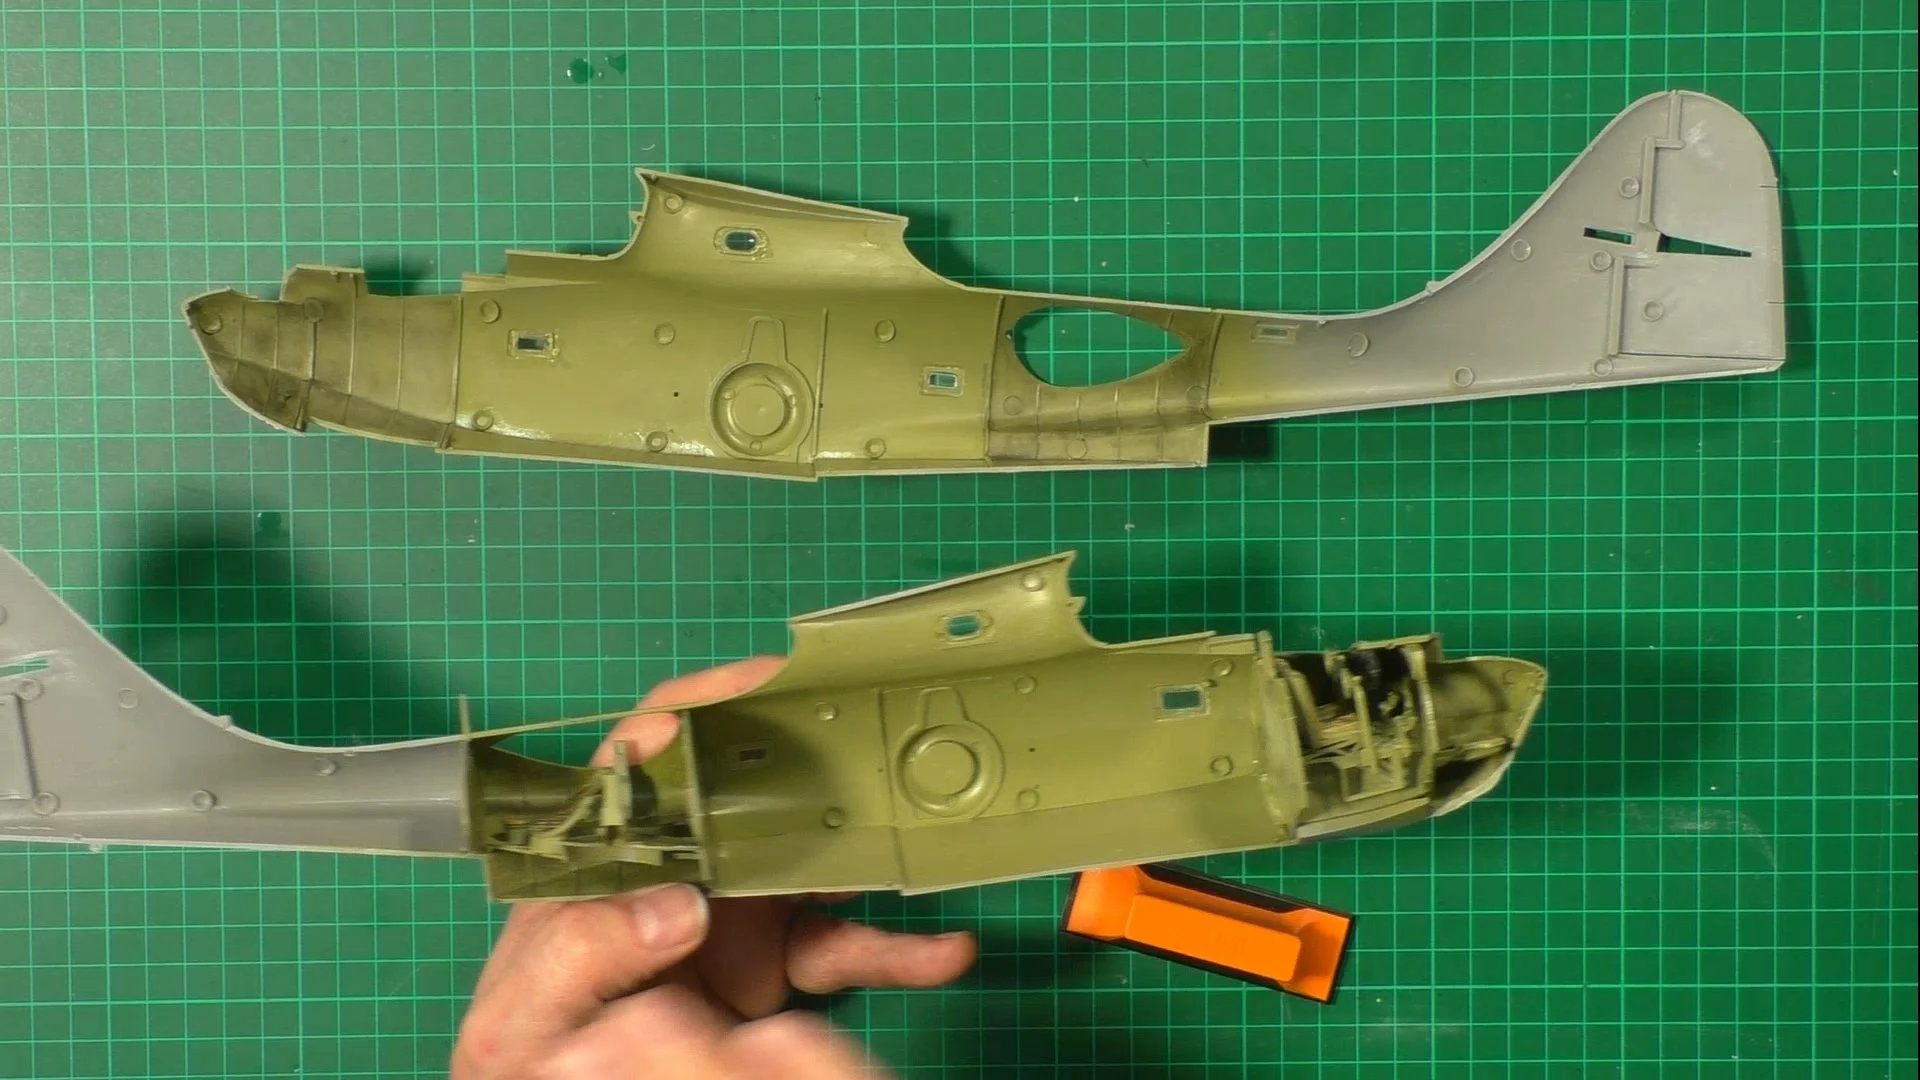
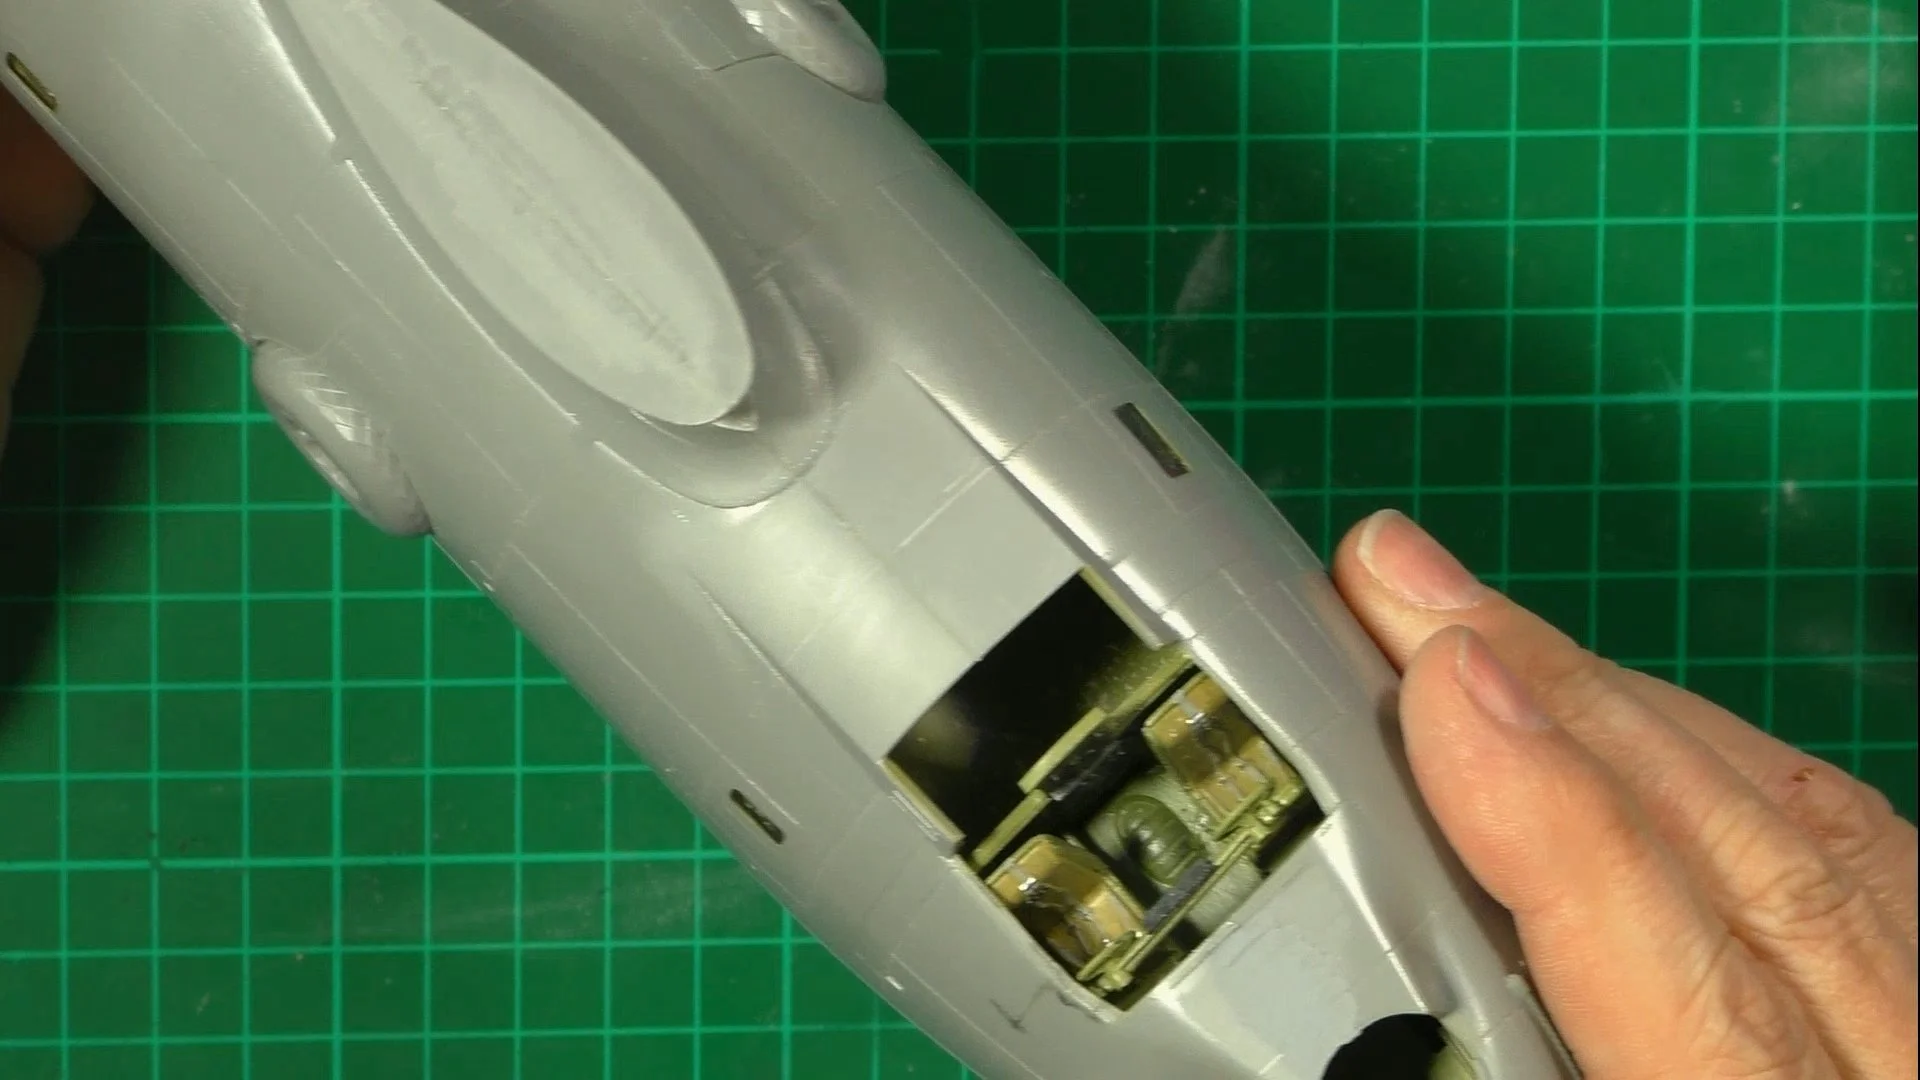
0:00 First up, we look at the kit and the build ahead. 1:27 To start, we put together the cockpit area and clean up the main fuselage. 14:29 Next, we put together the rear observation area. 19:24 Here, we move into the spray booth and paint the cockpit interior green. 24:26 With the green dry, we add a drop of white to the mix to fade the green for some post-shading. 28:30 Next, we move back to the bench and detail and weather the cockpit.
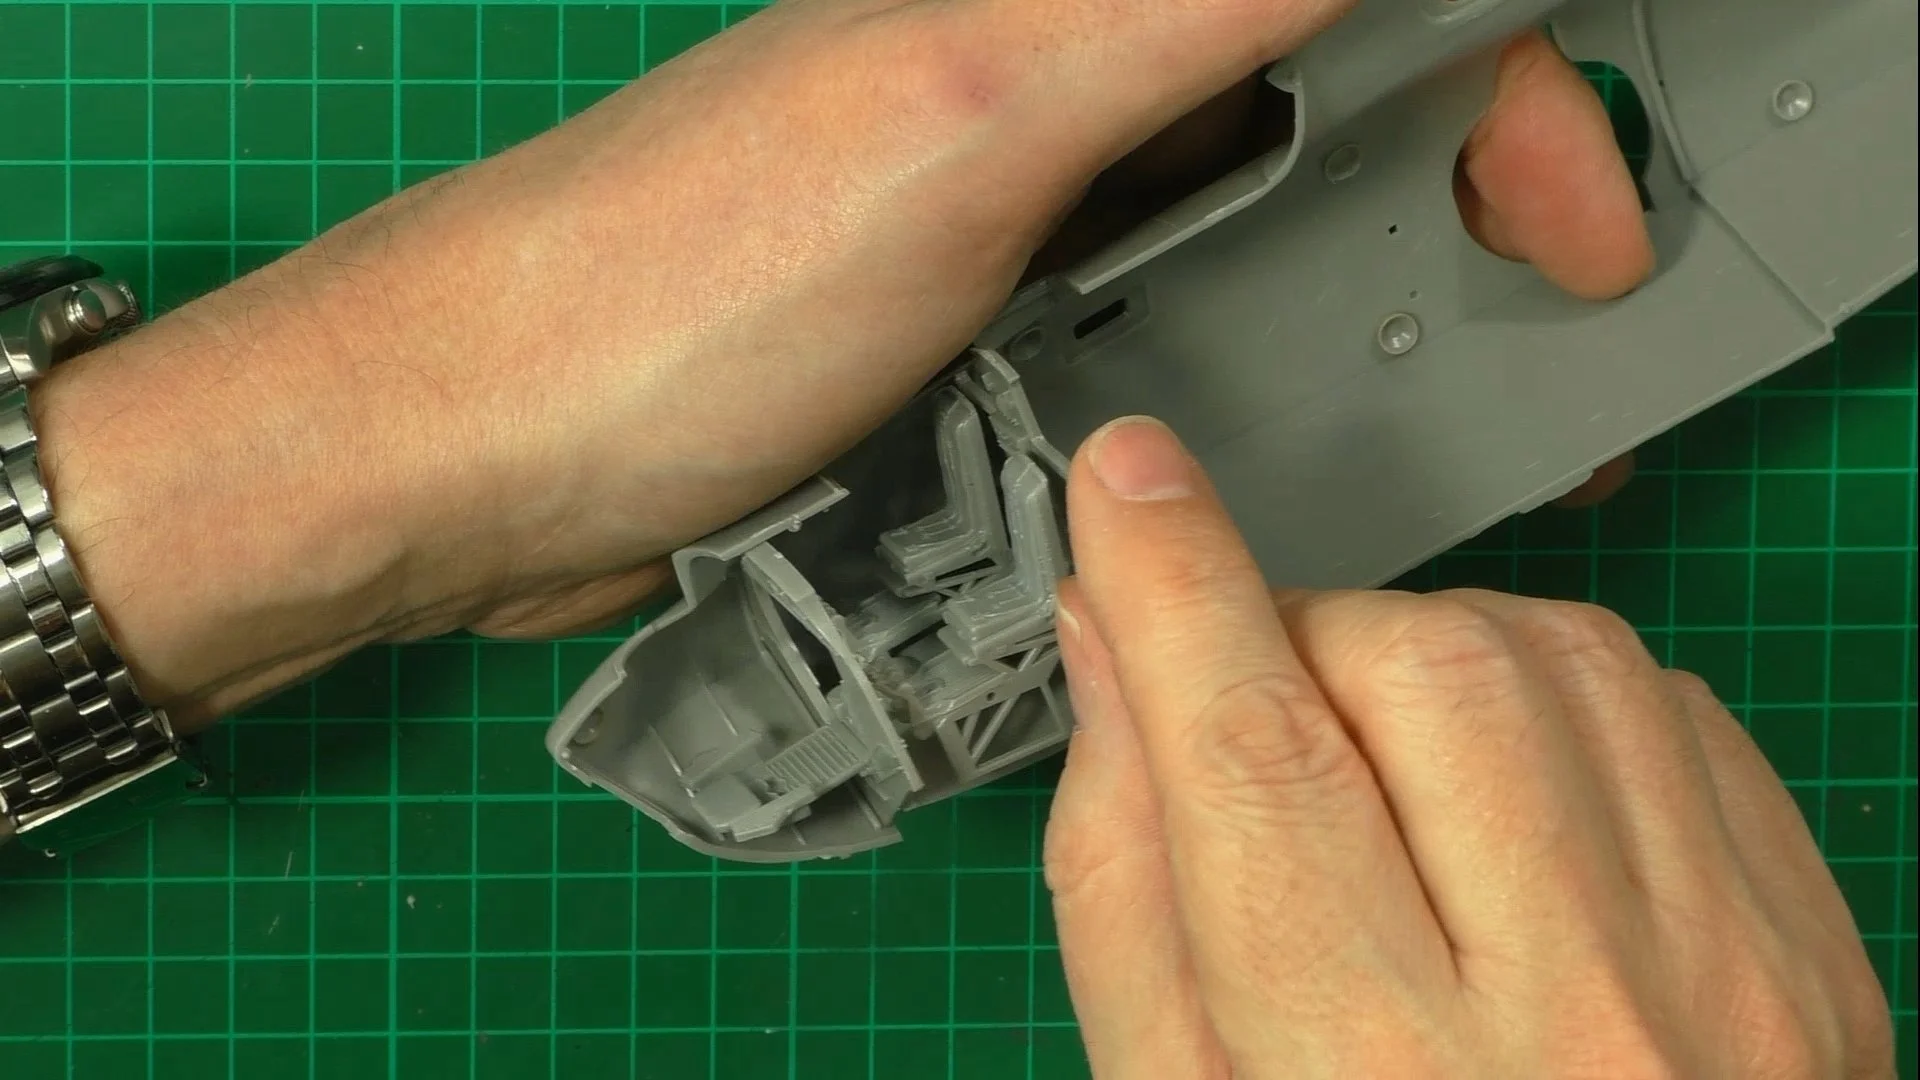
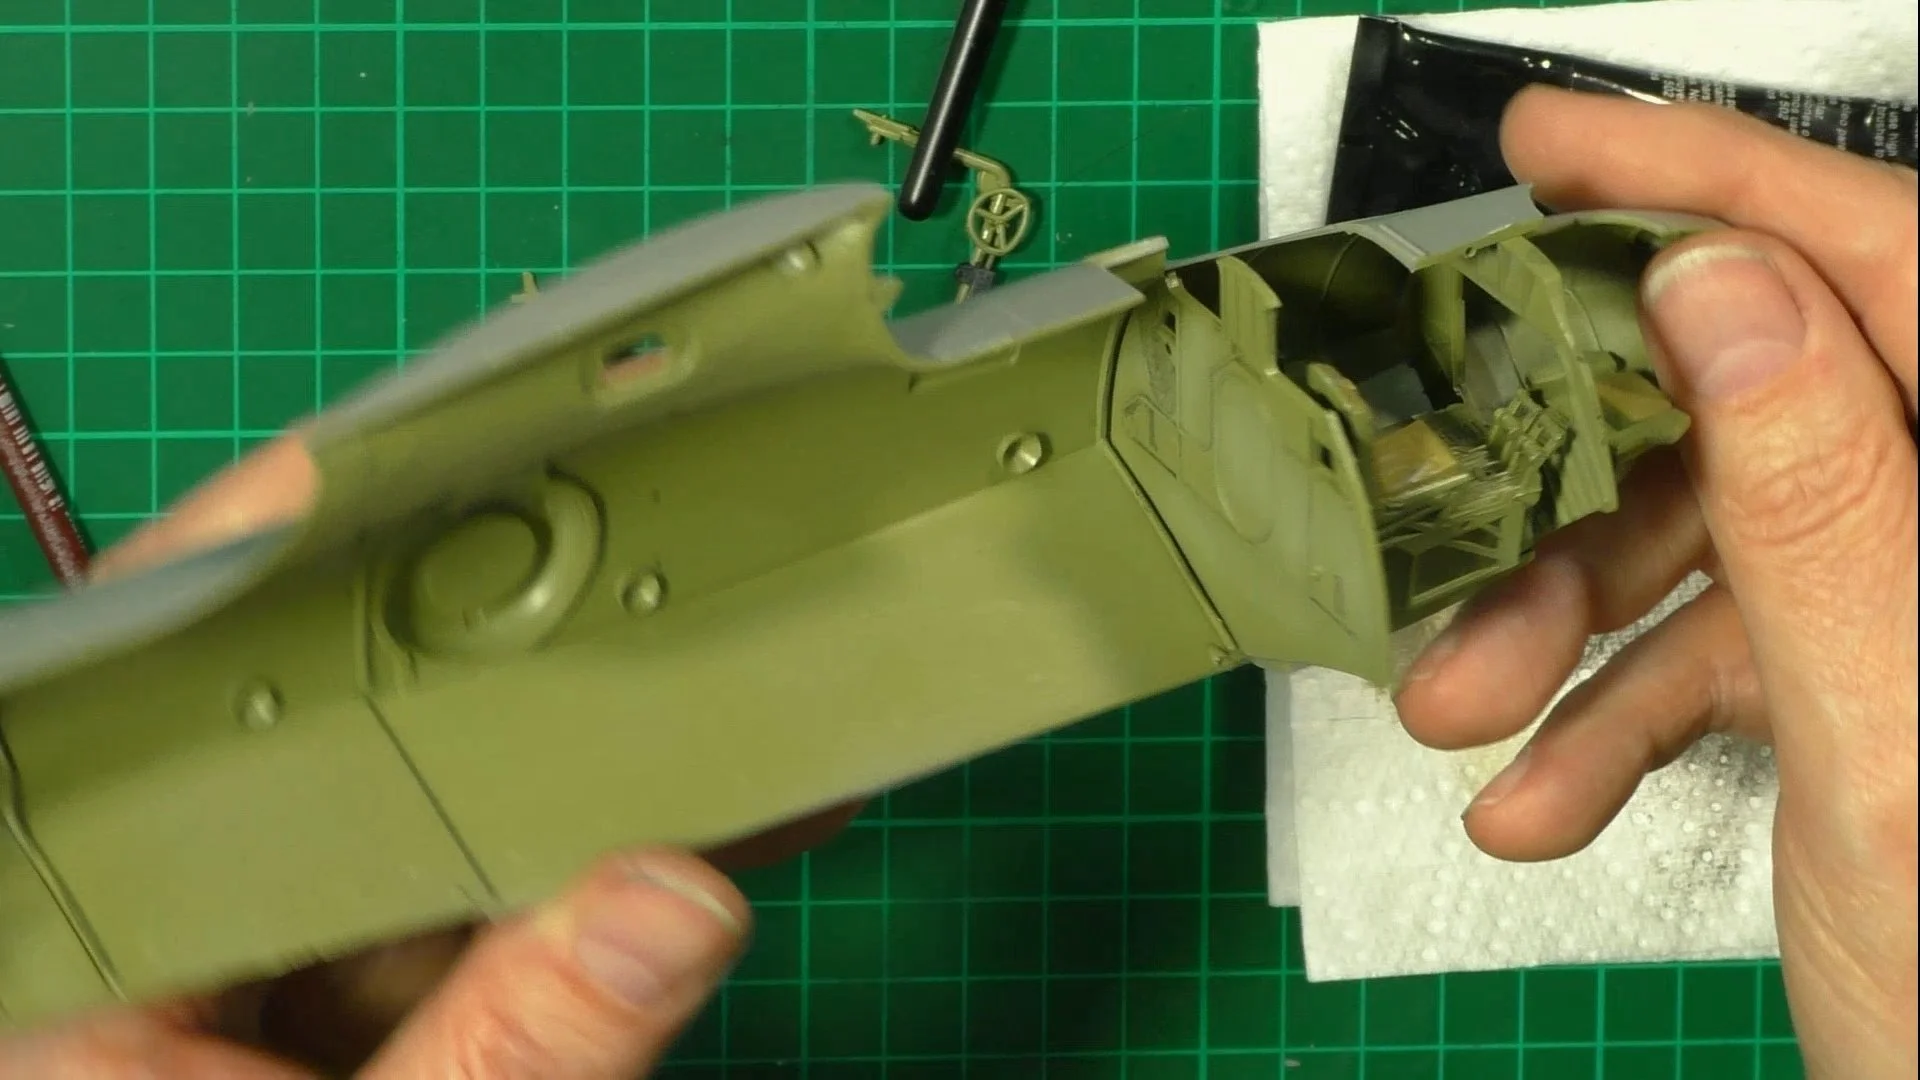
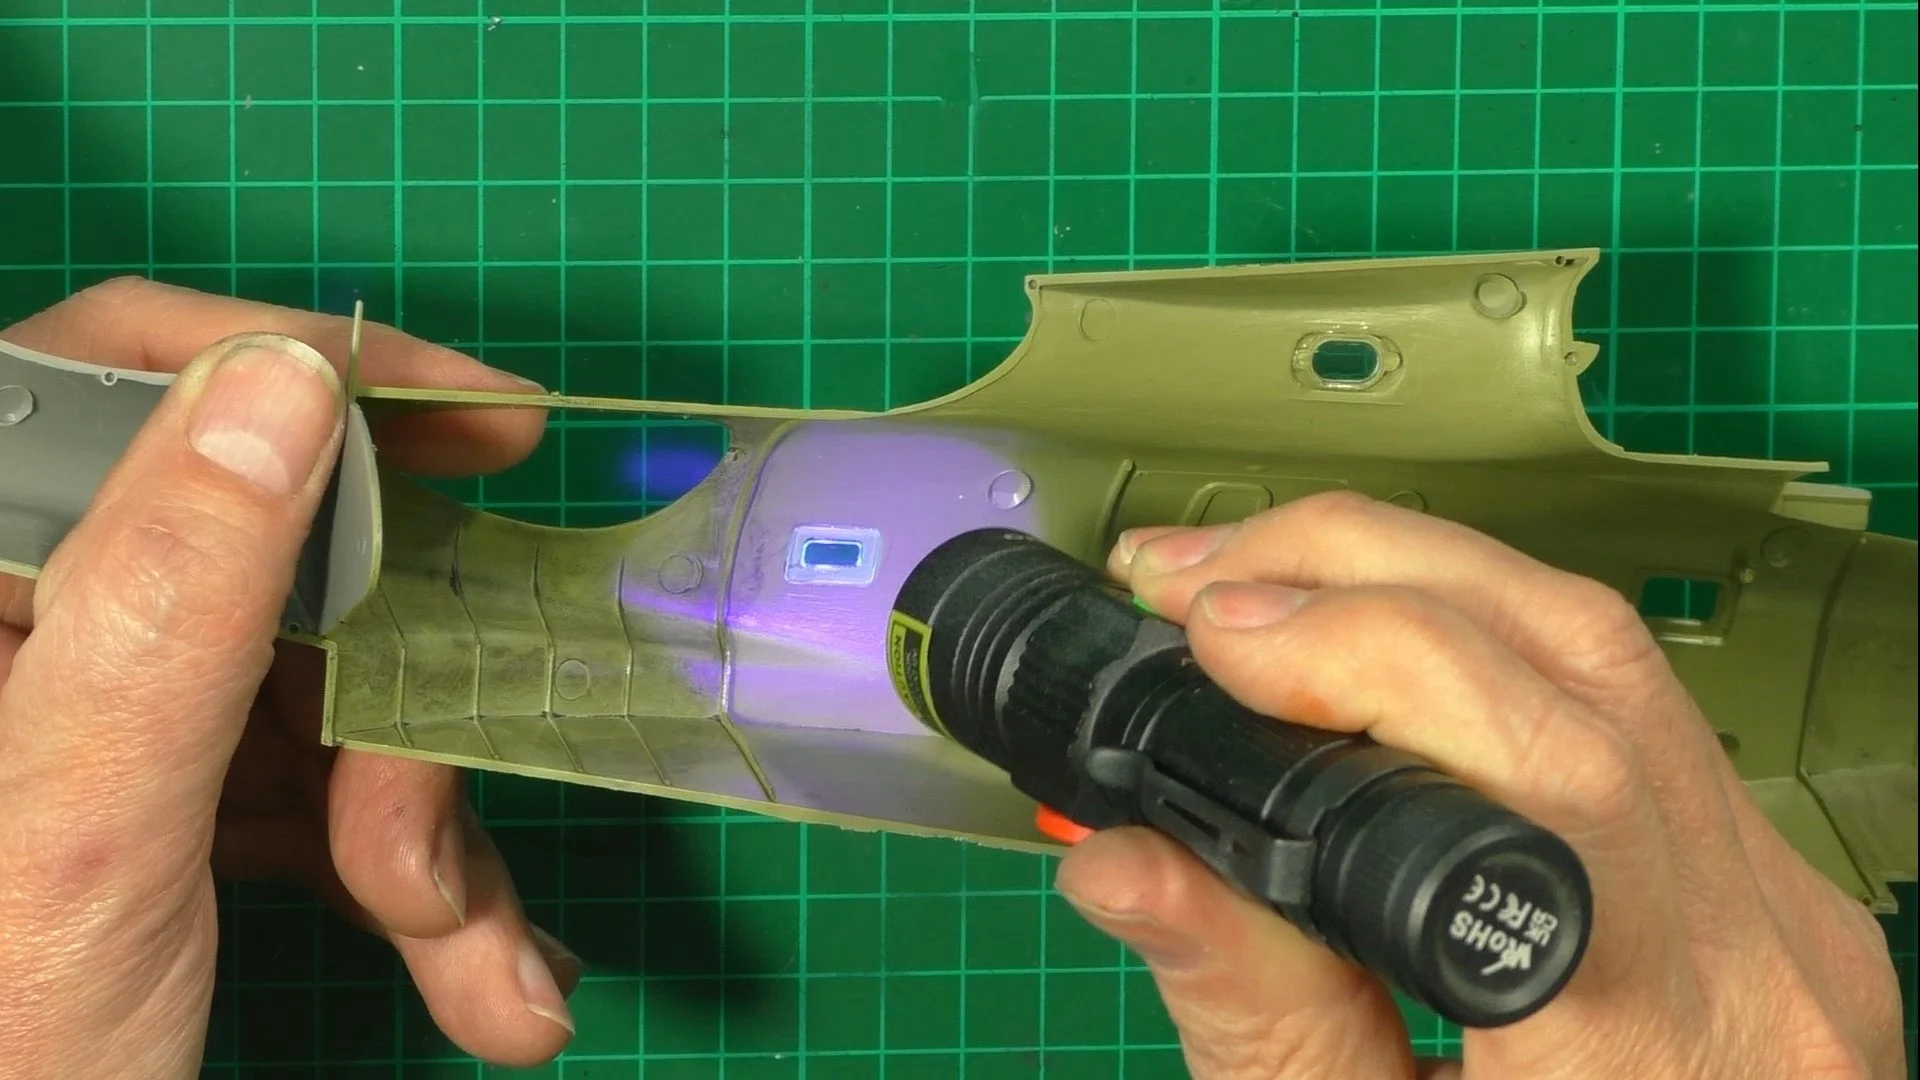
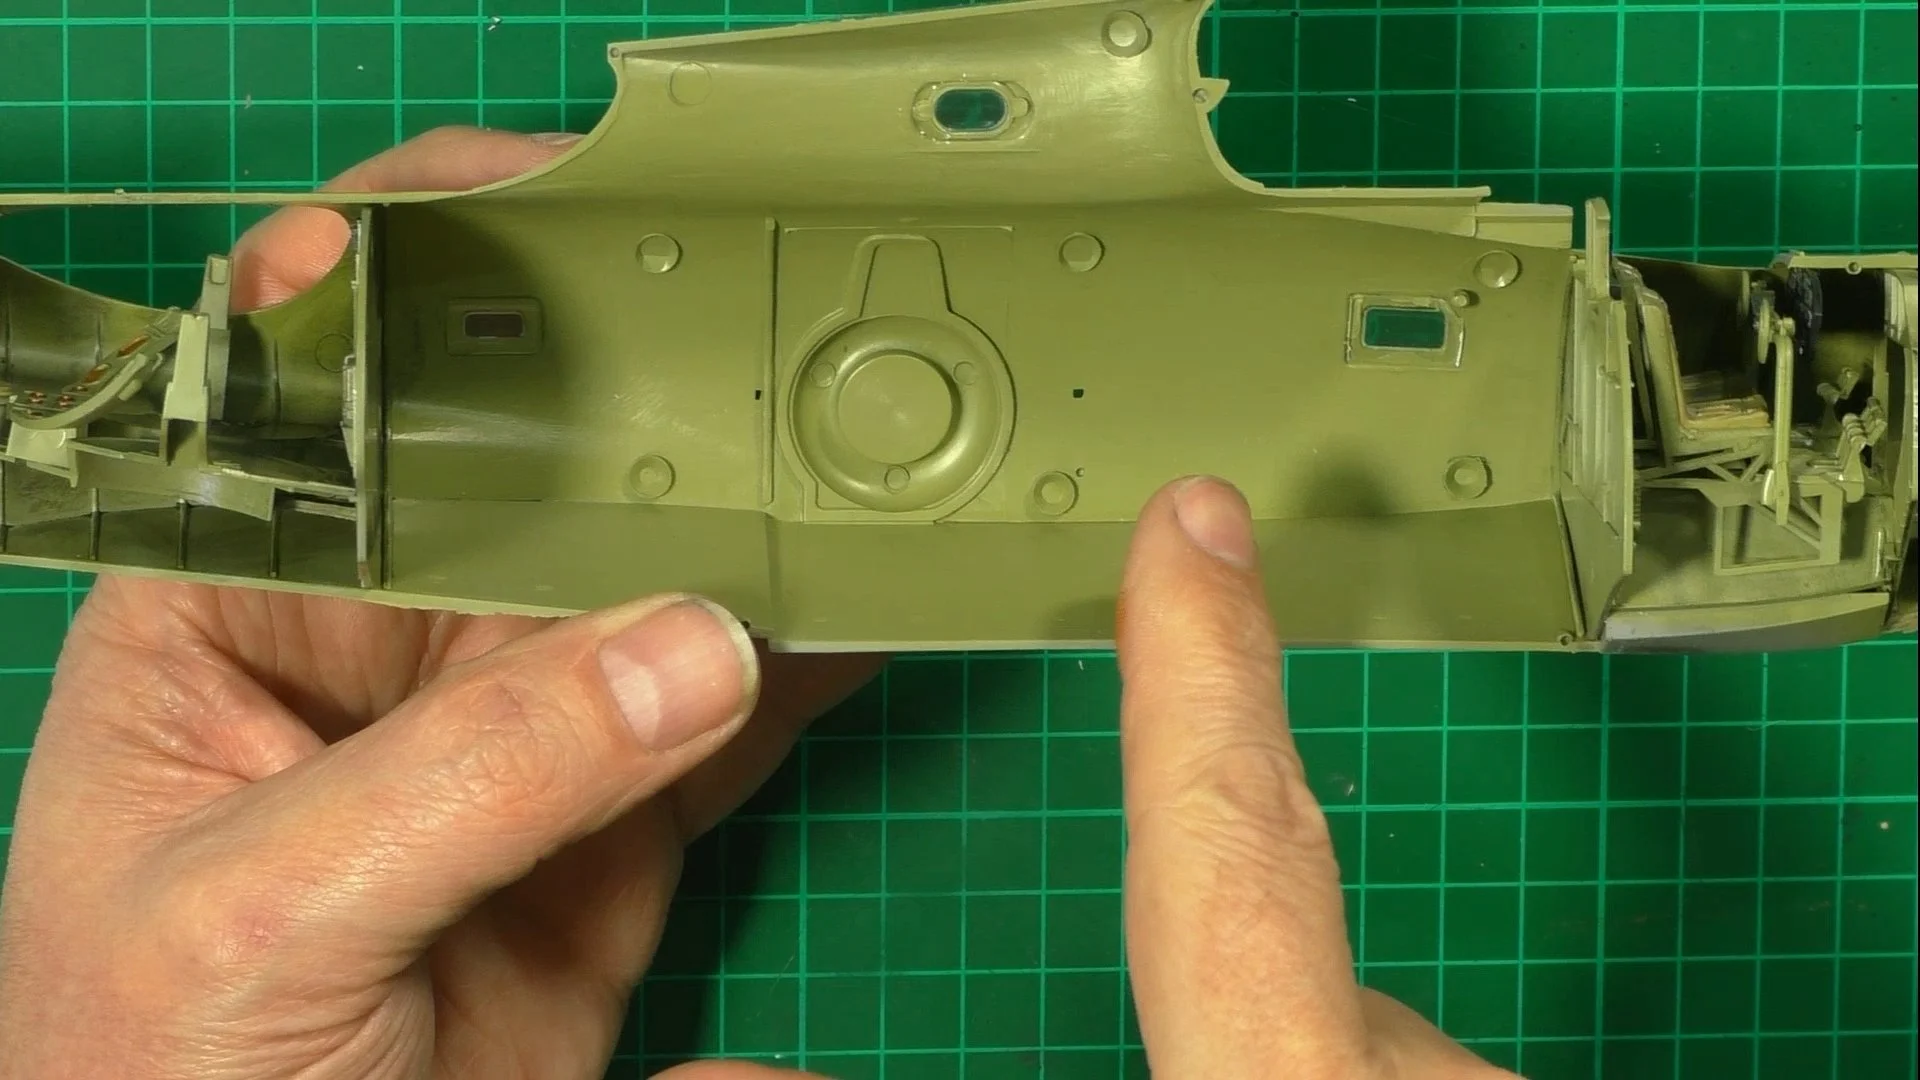
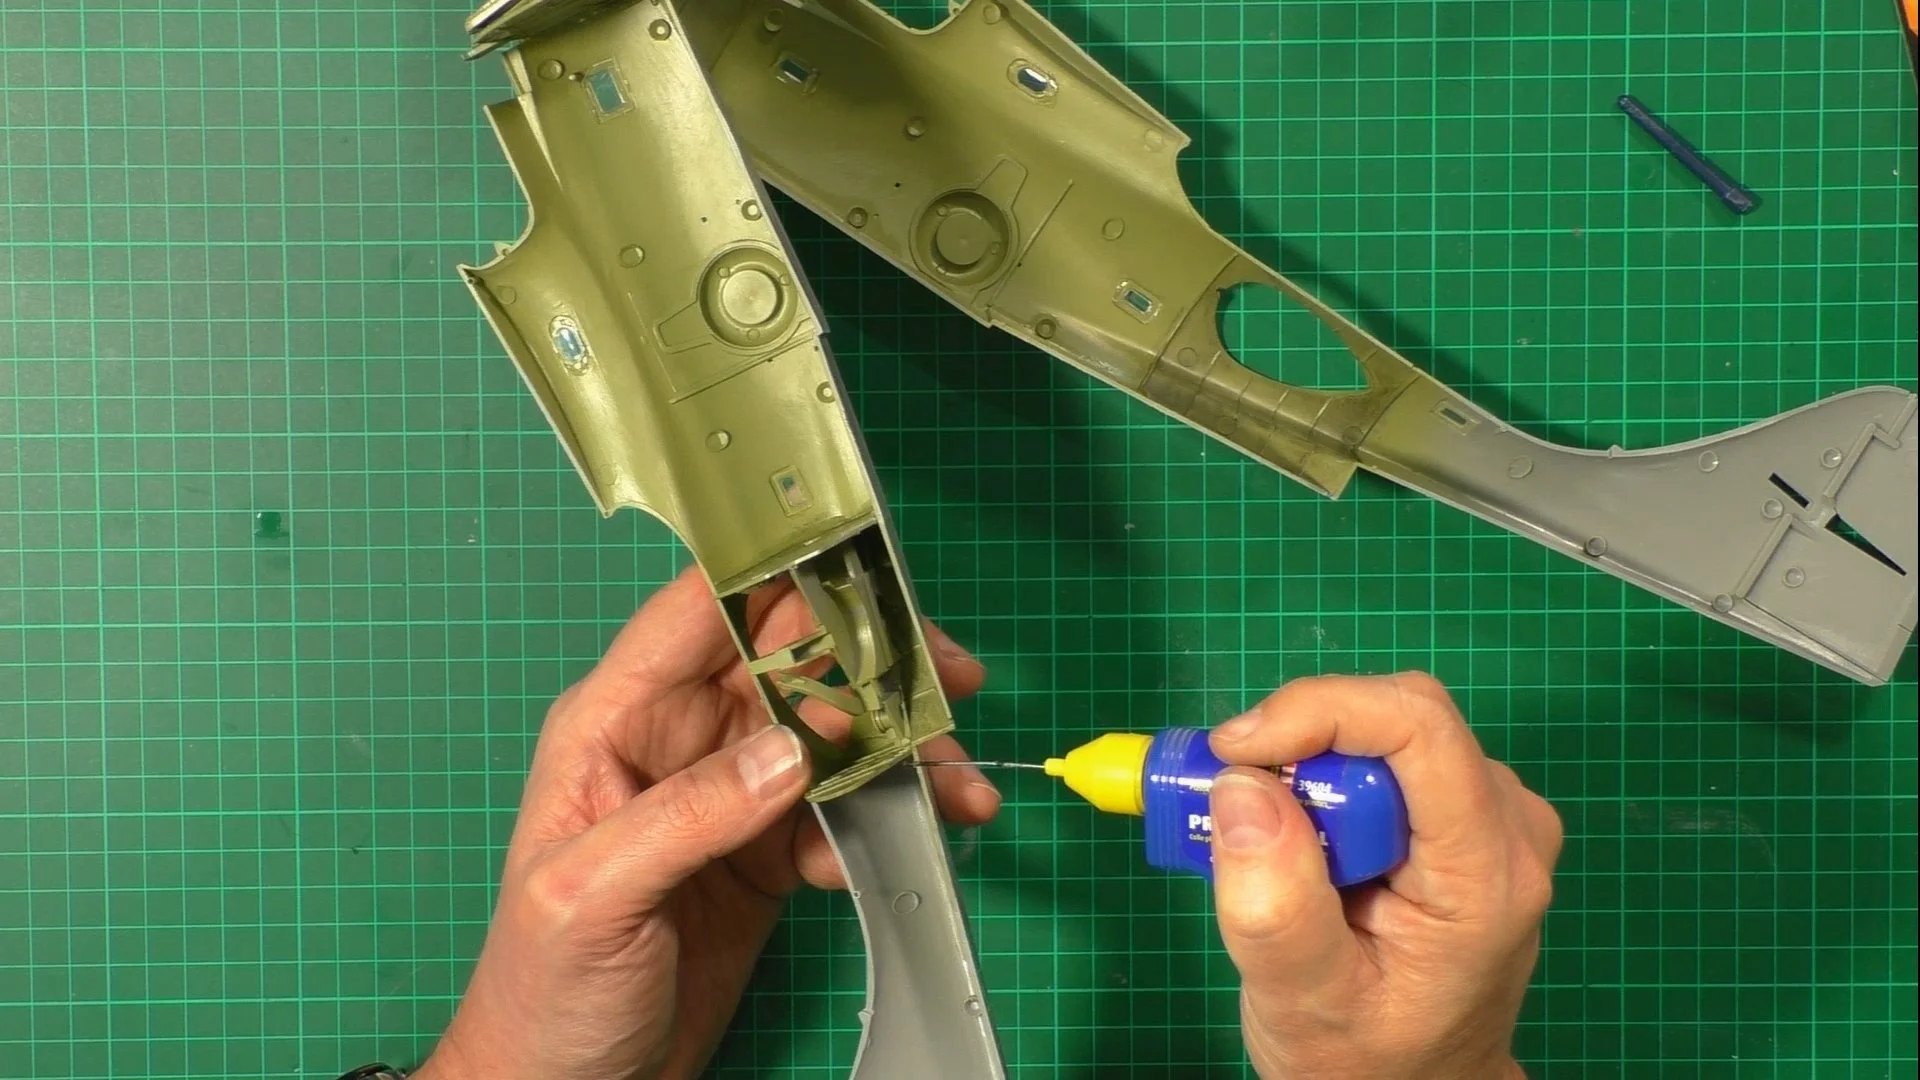
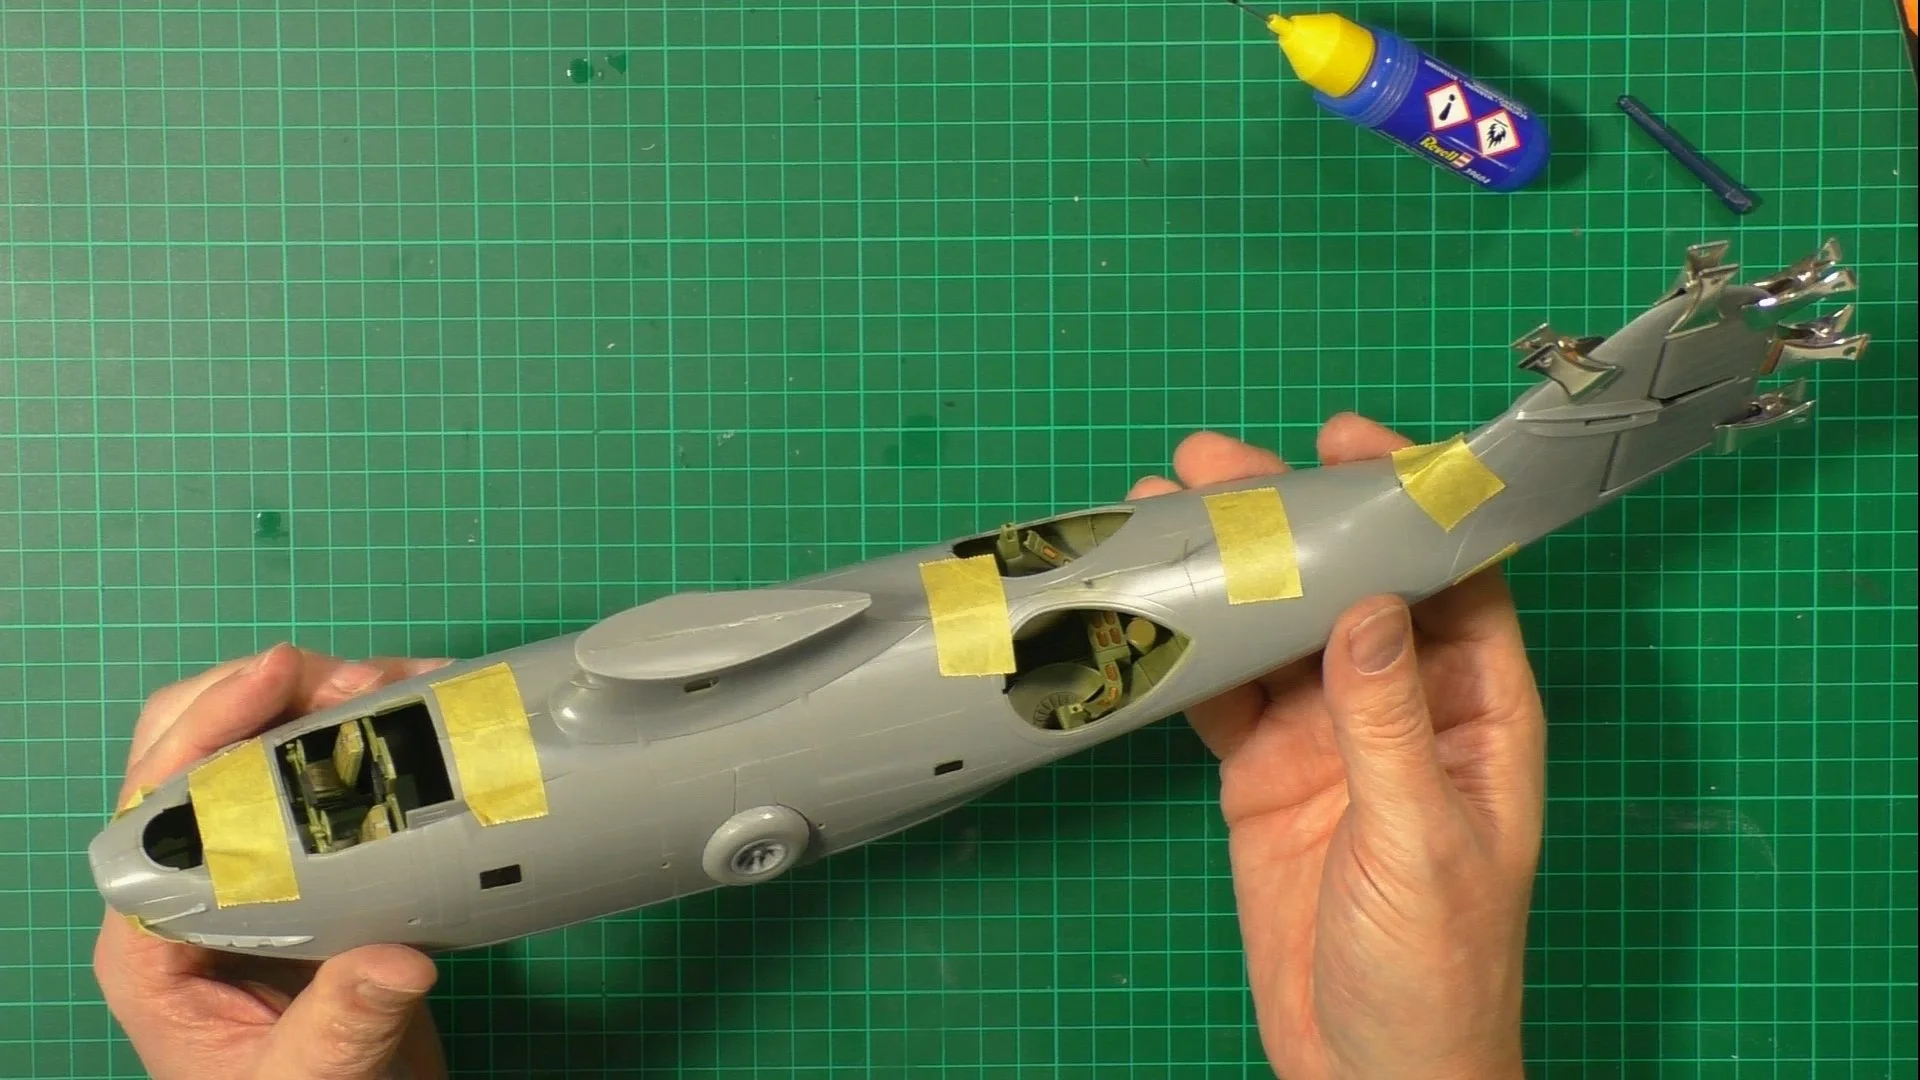
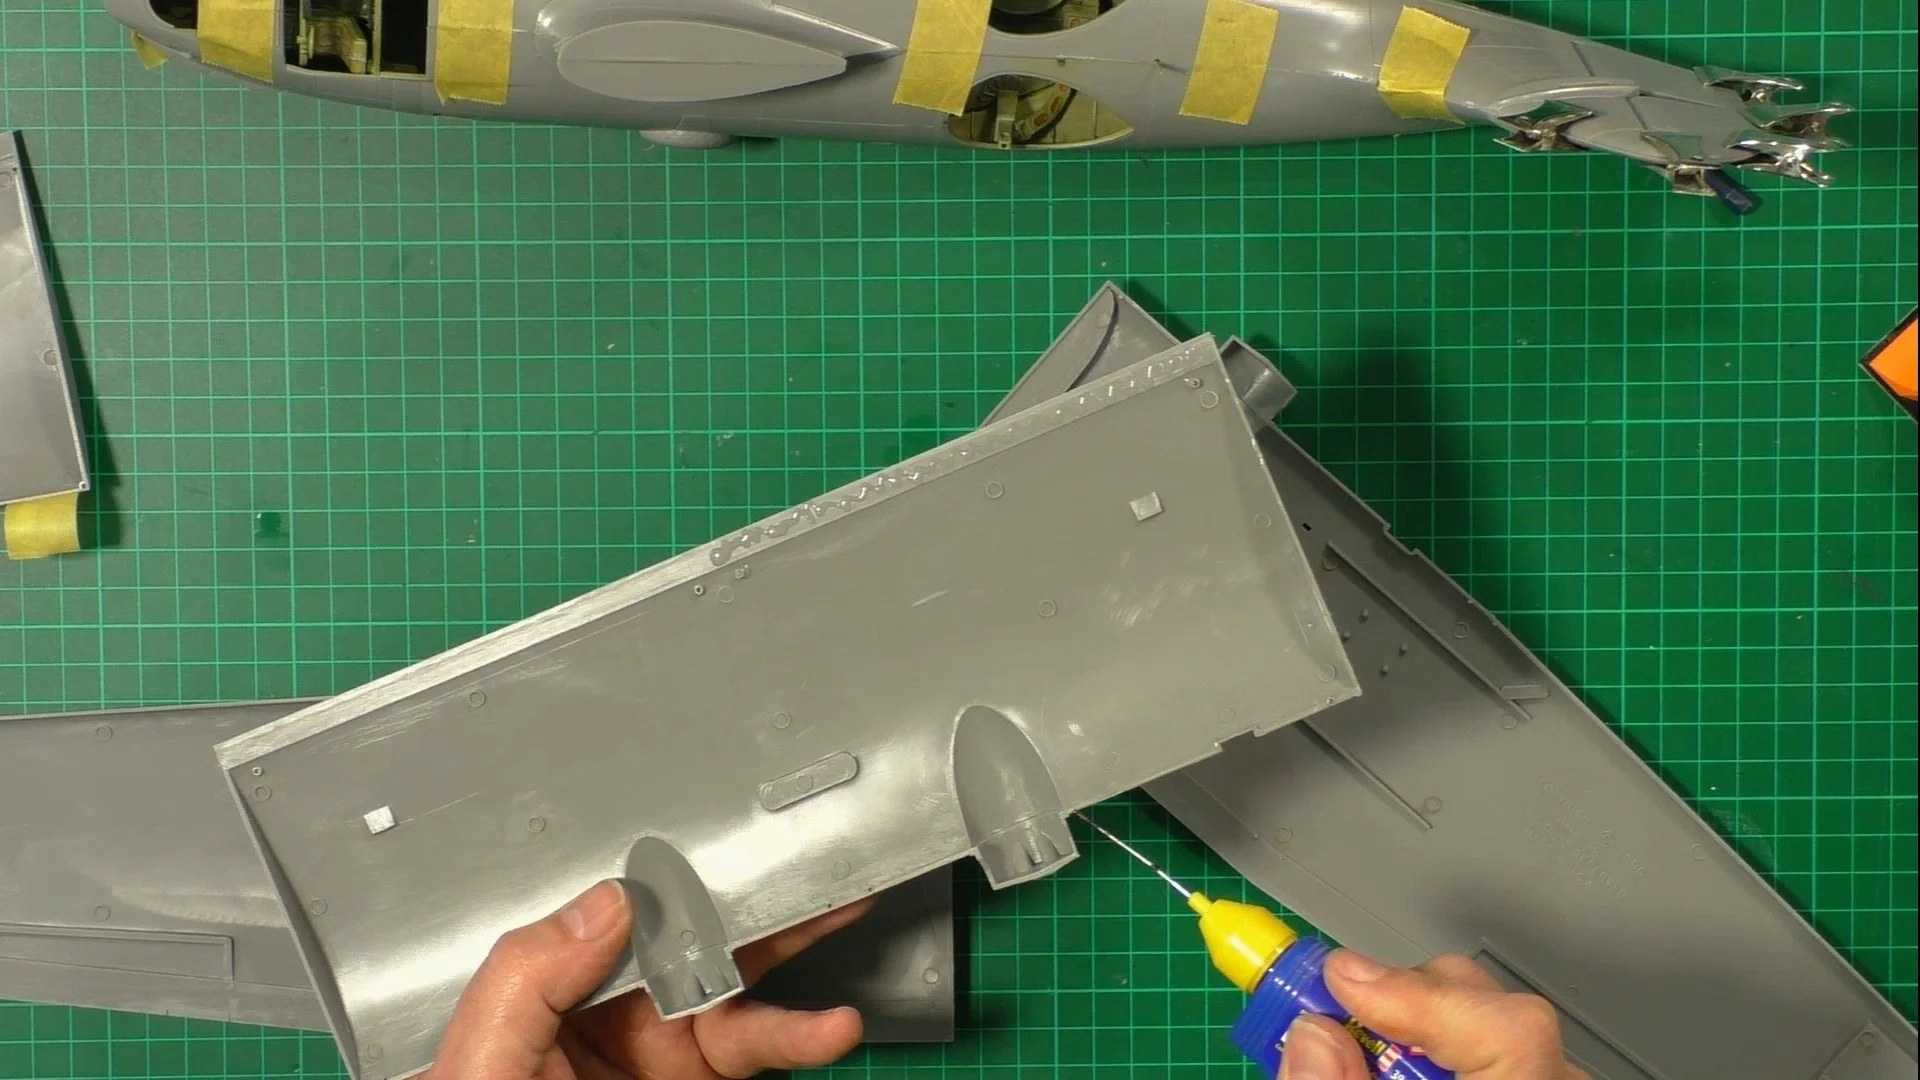
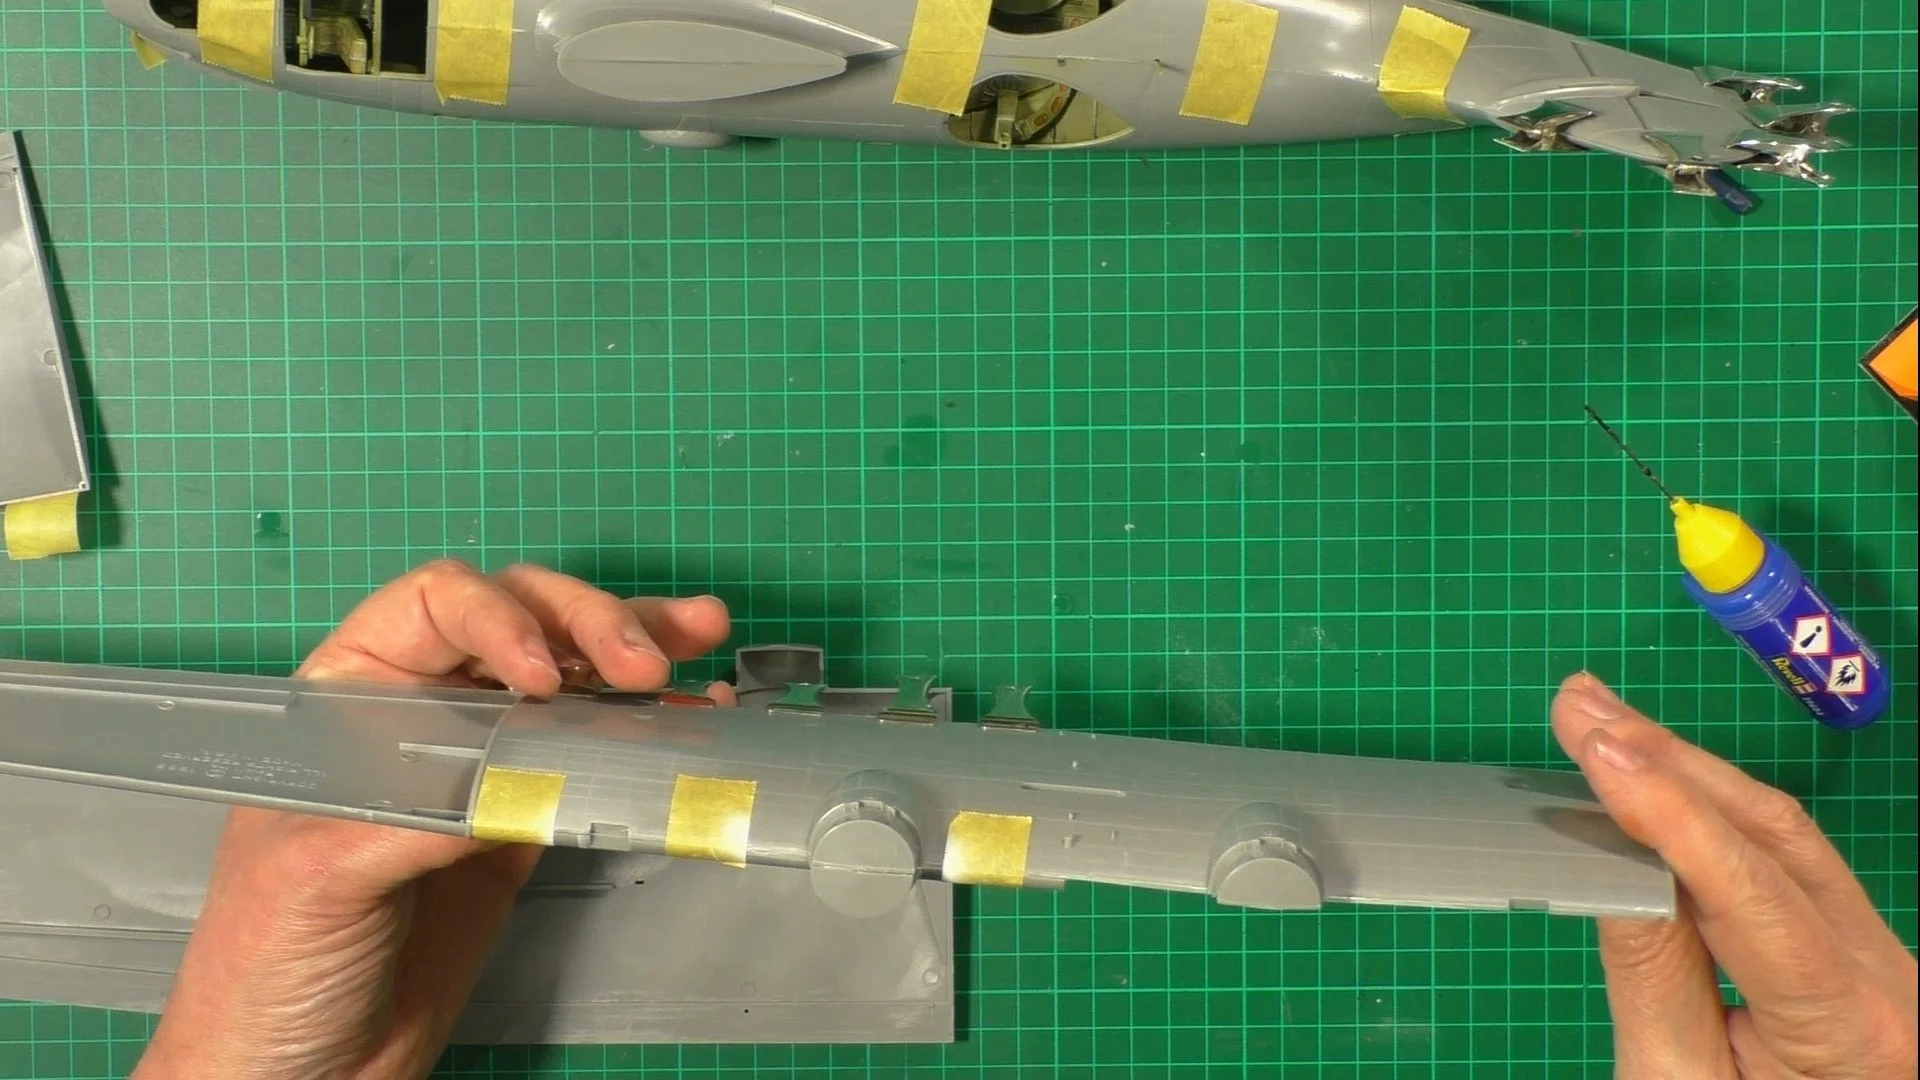
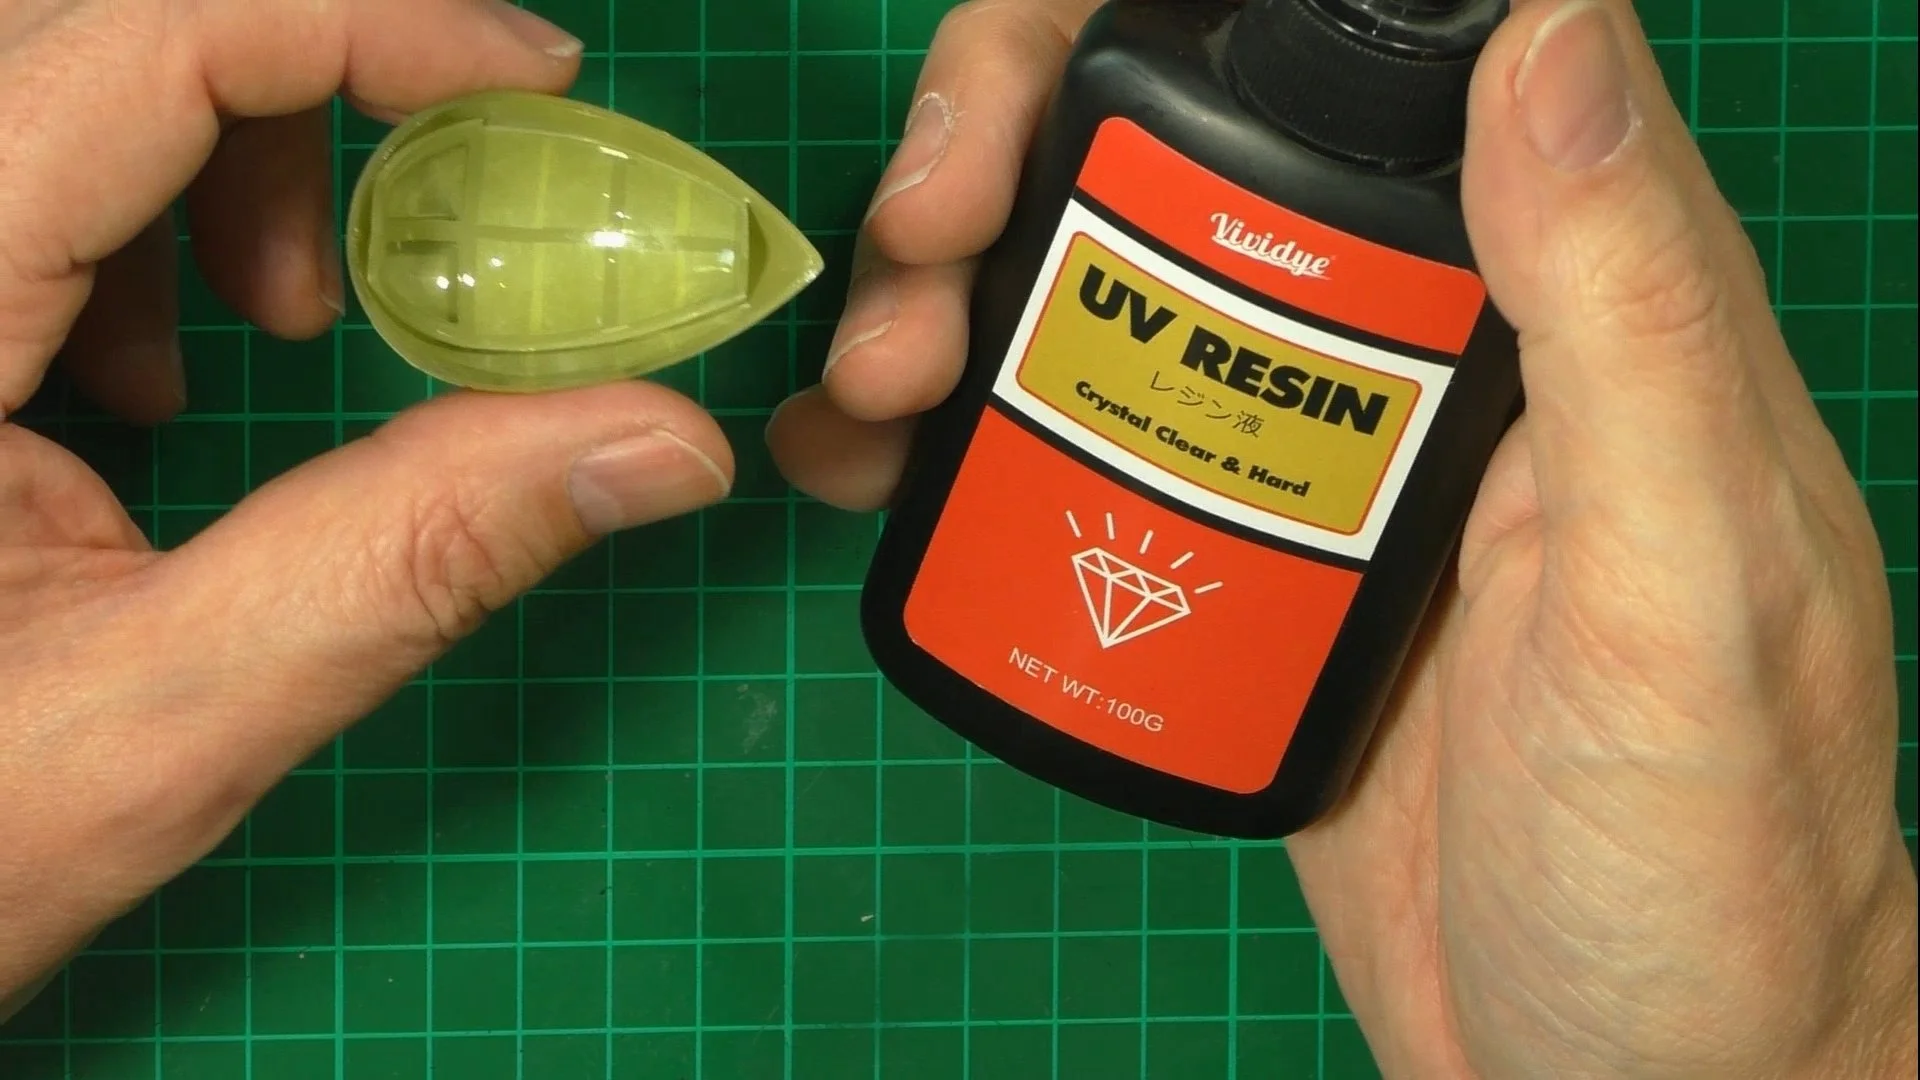
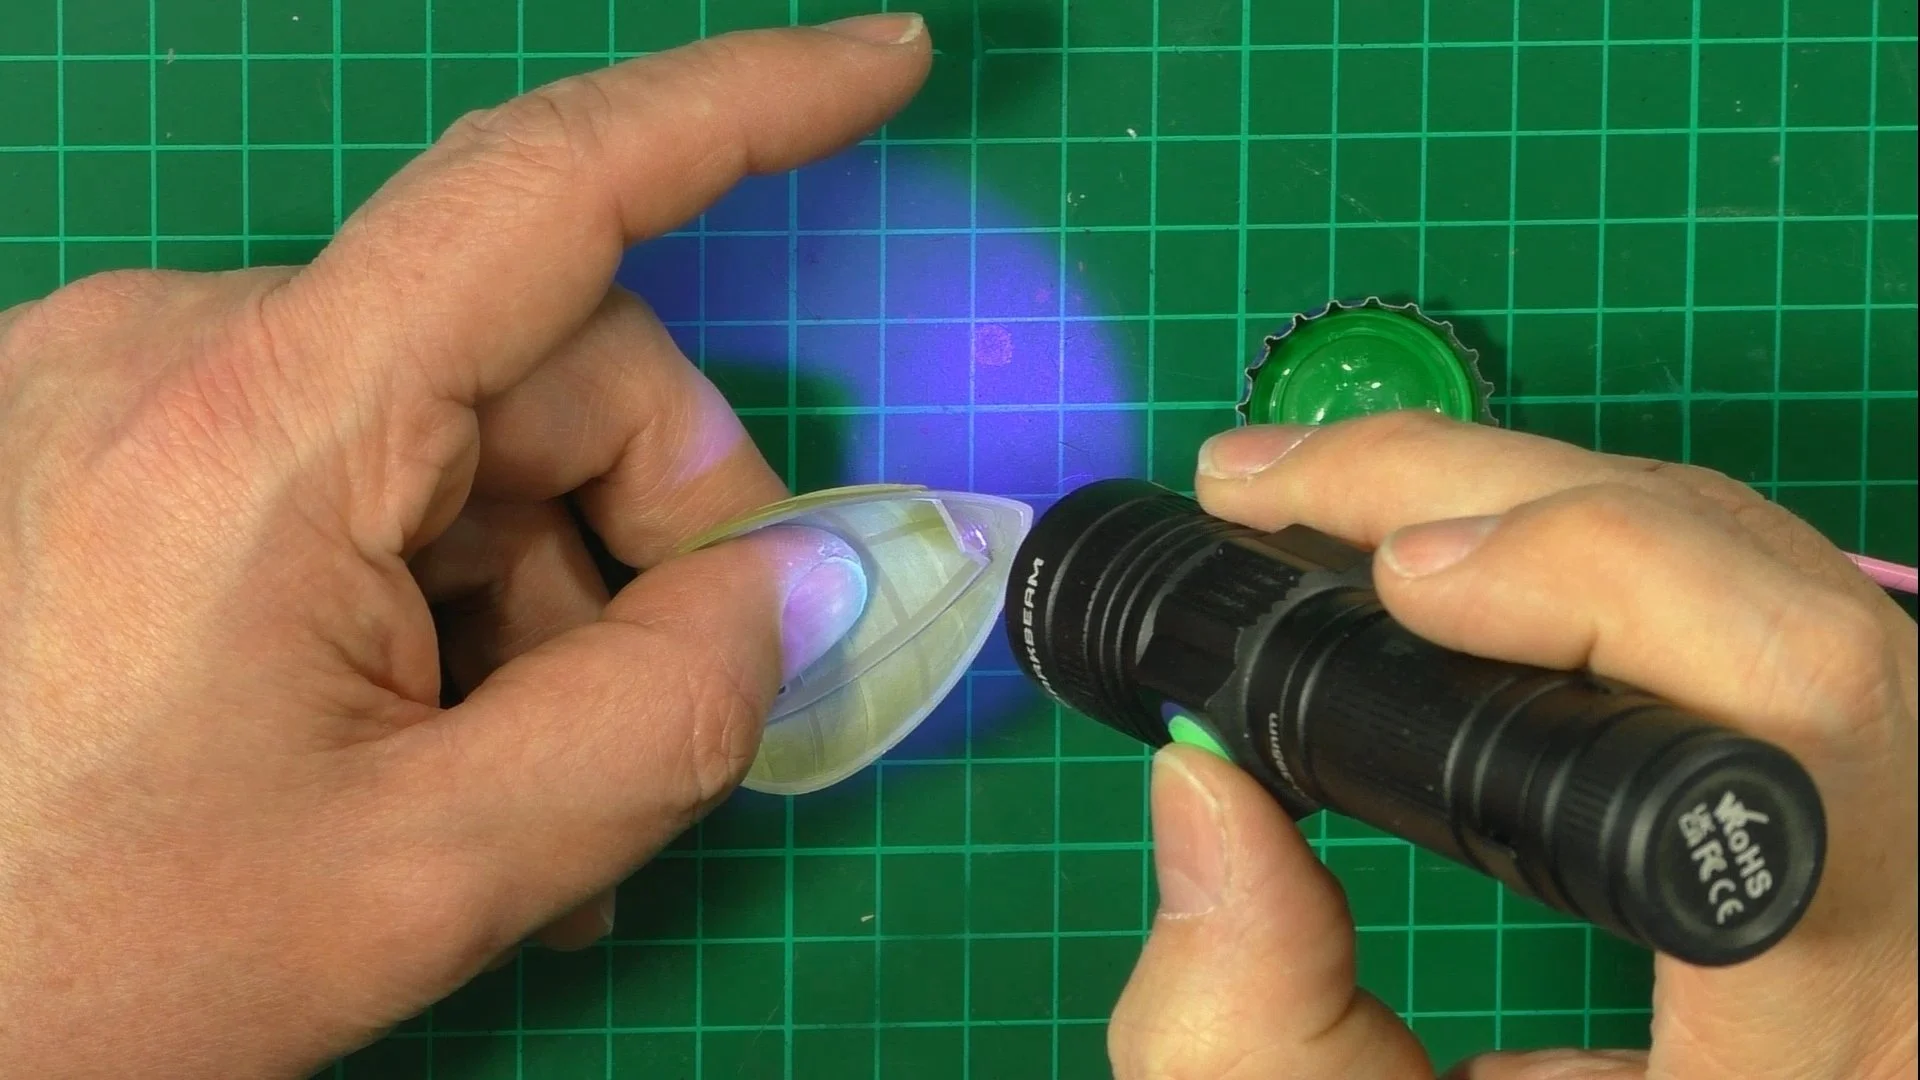
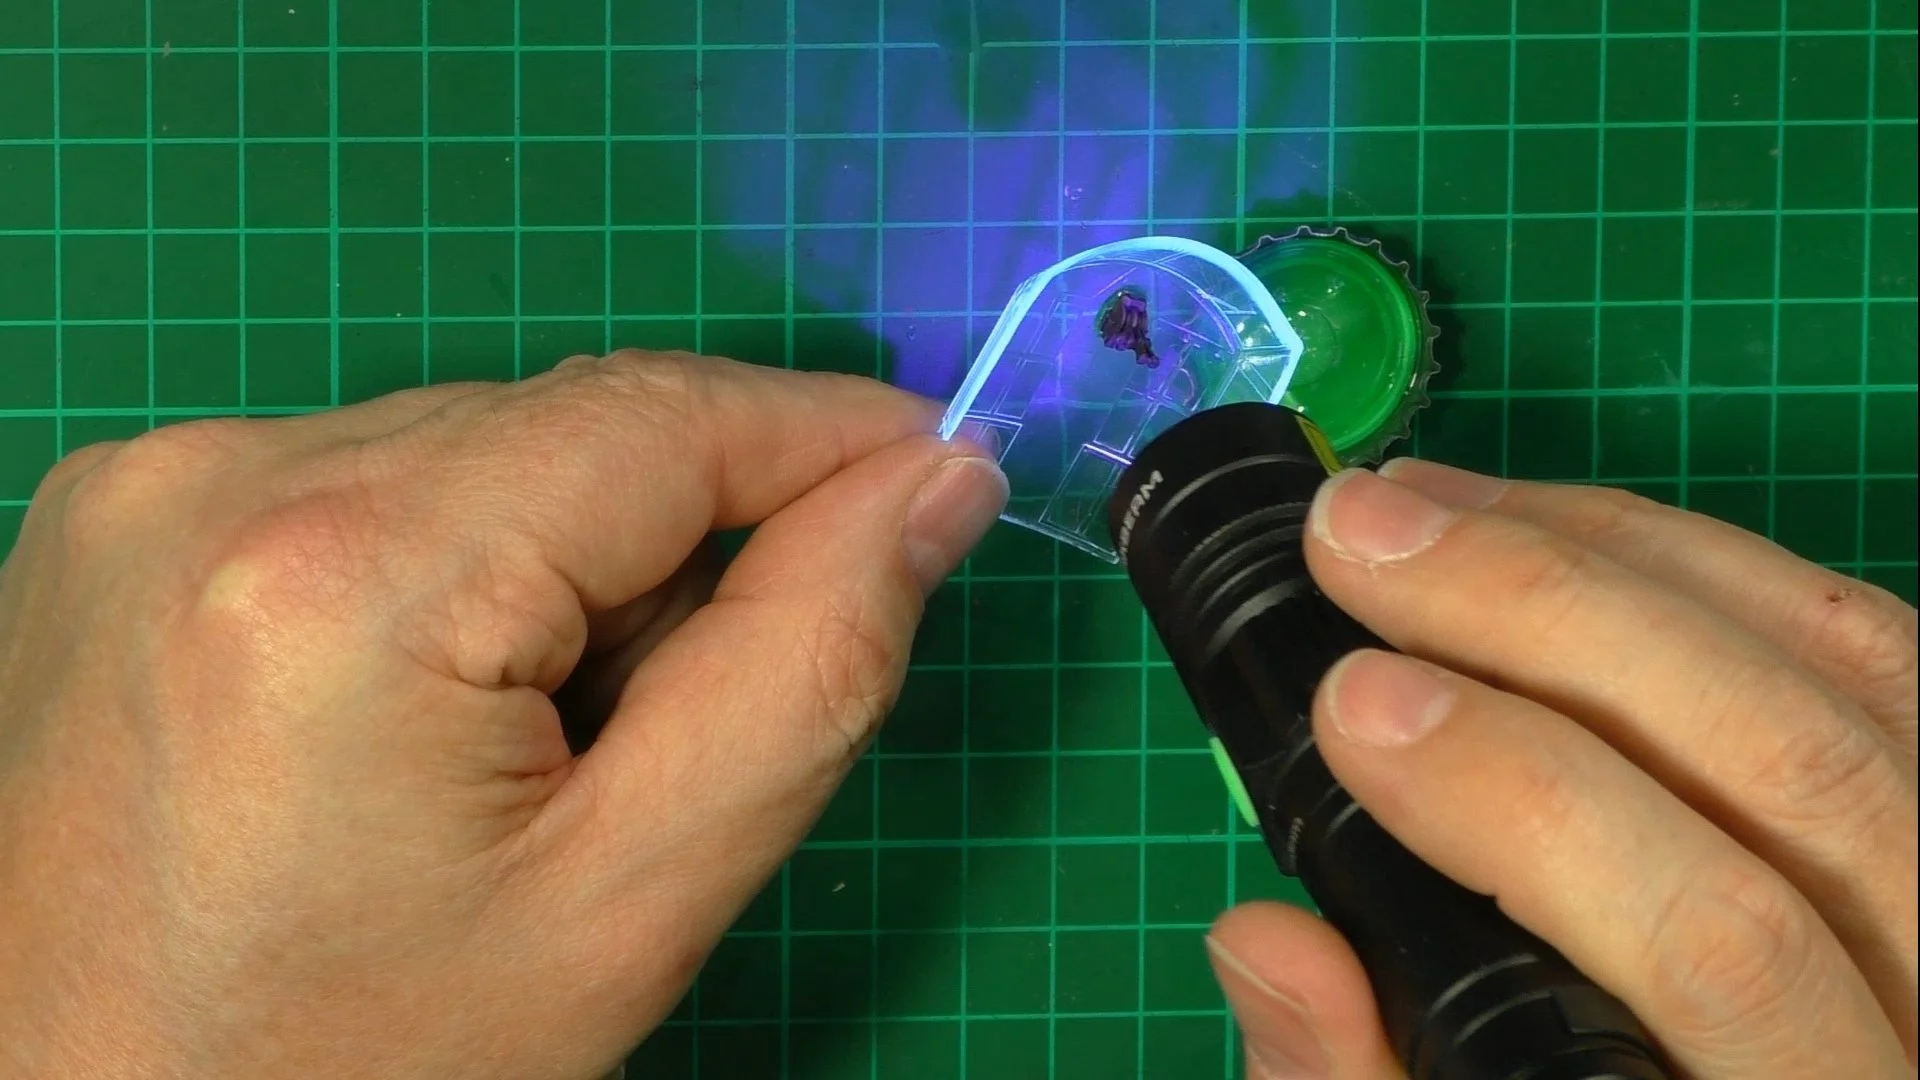
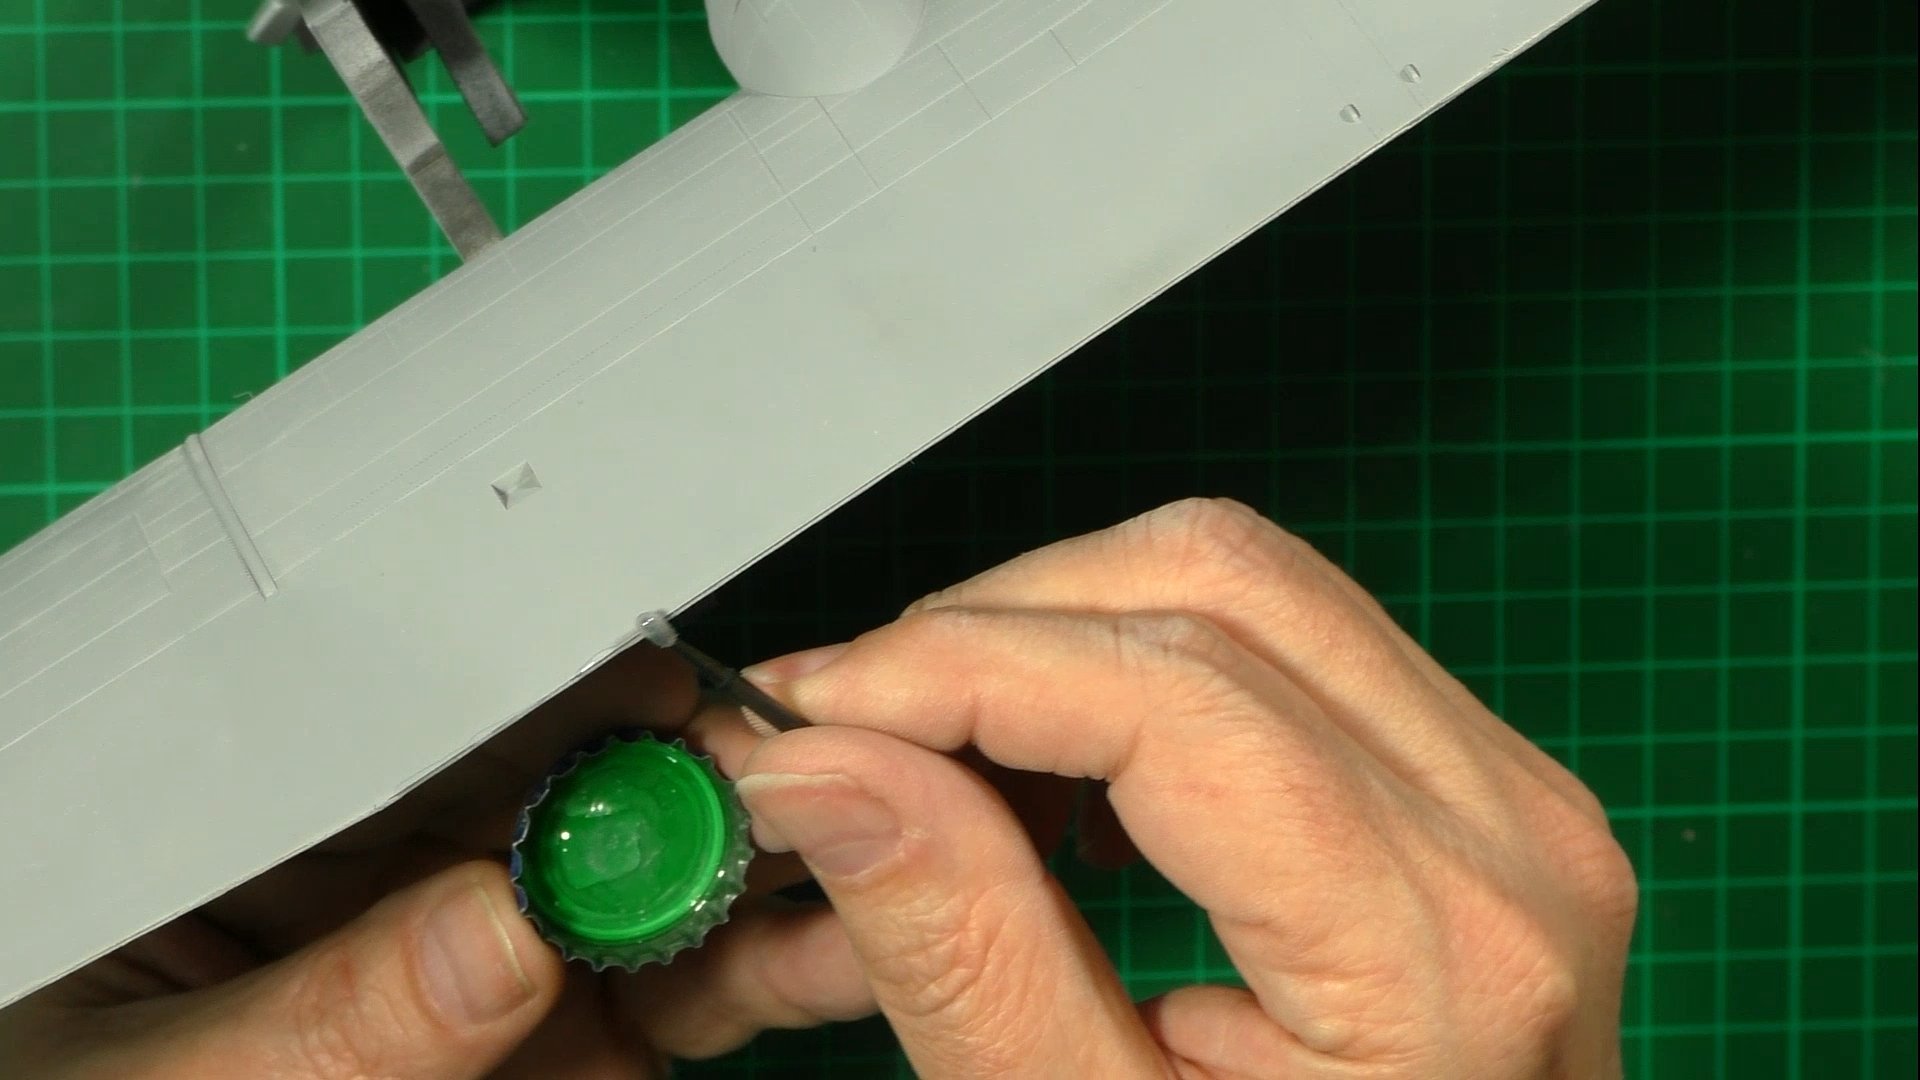
0:00 First up, we weather the cockpit with Metalizers and oils. 11:29 Next, we use UV glue to install the windows and test-fit the two halves together. 20:21 Now it's time to close up the two halves, we use contacta and tape for this. 27:58 Last up for now, we build the five-part wings.

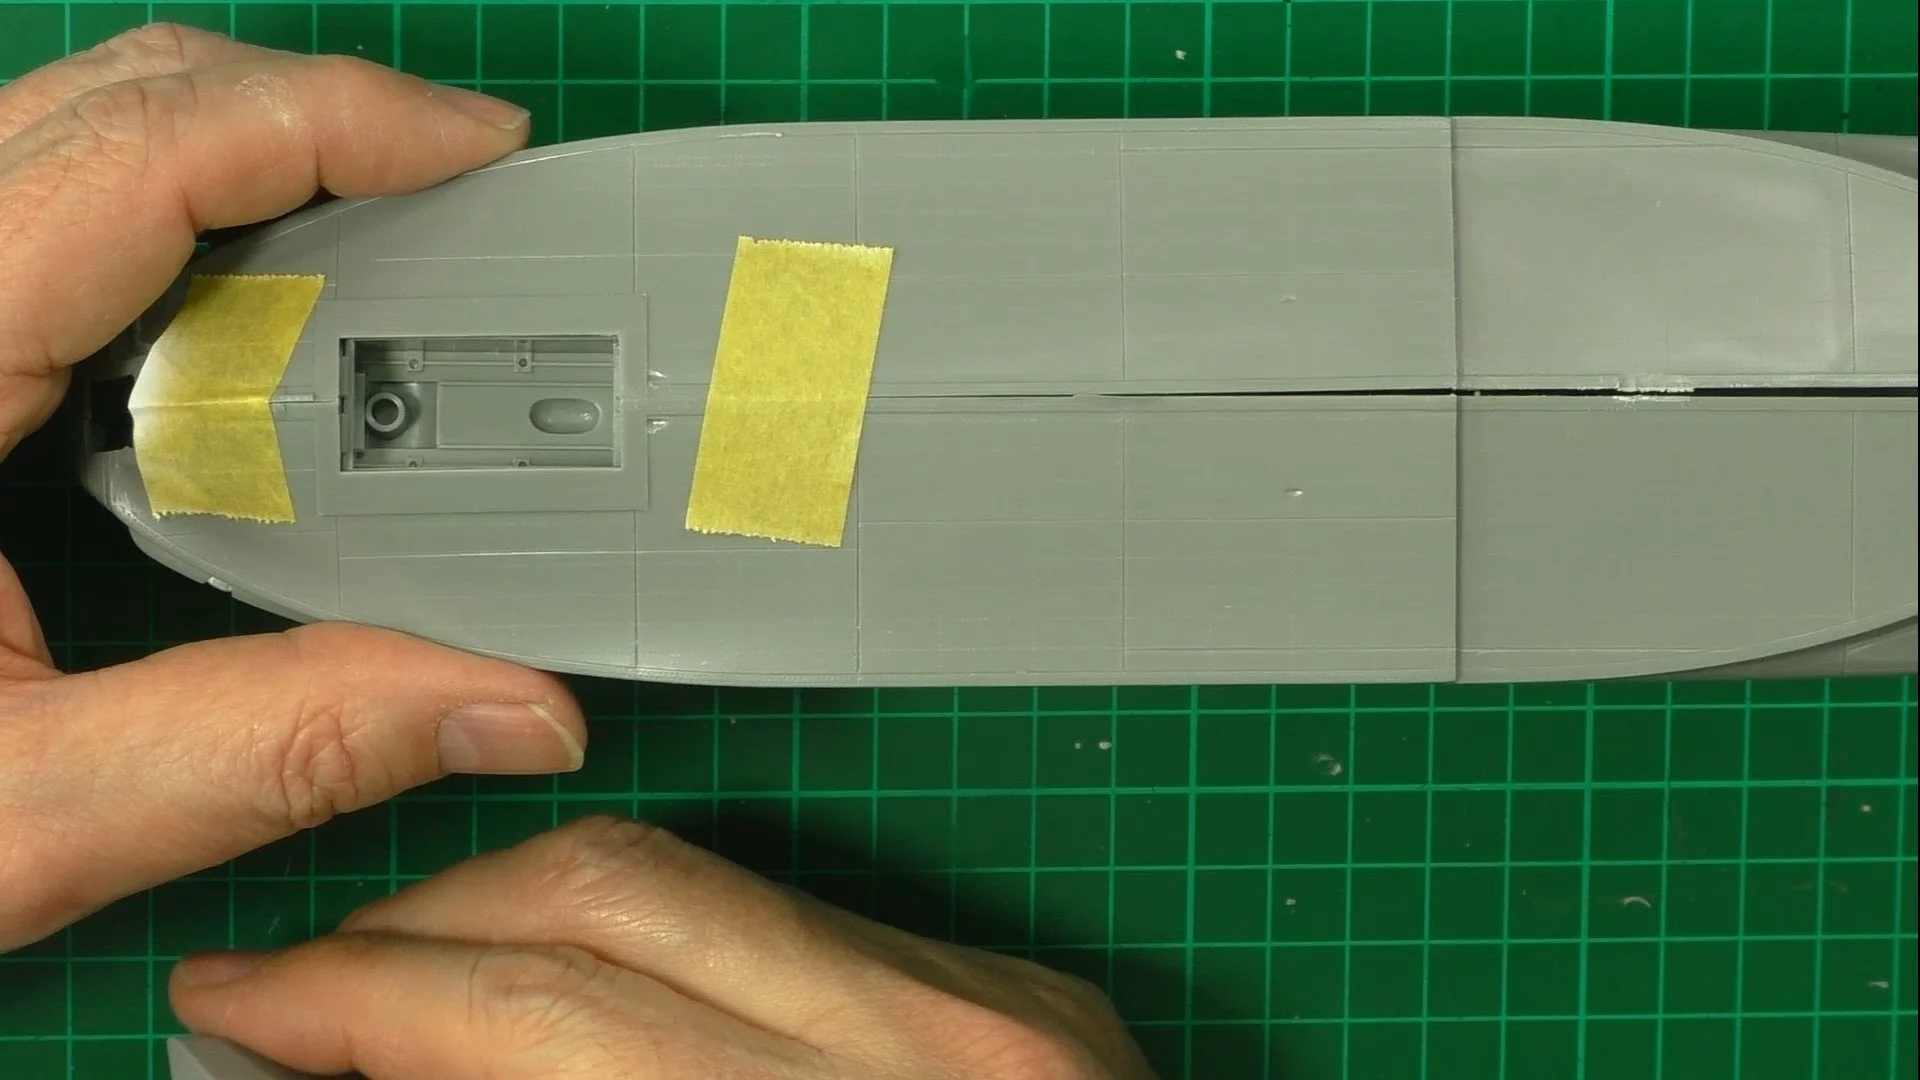
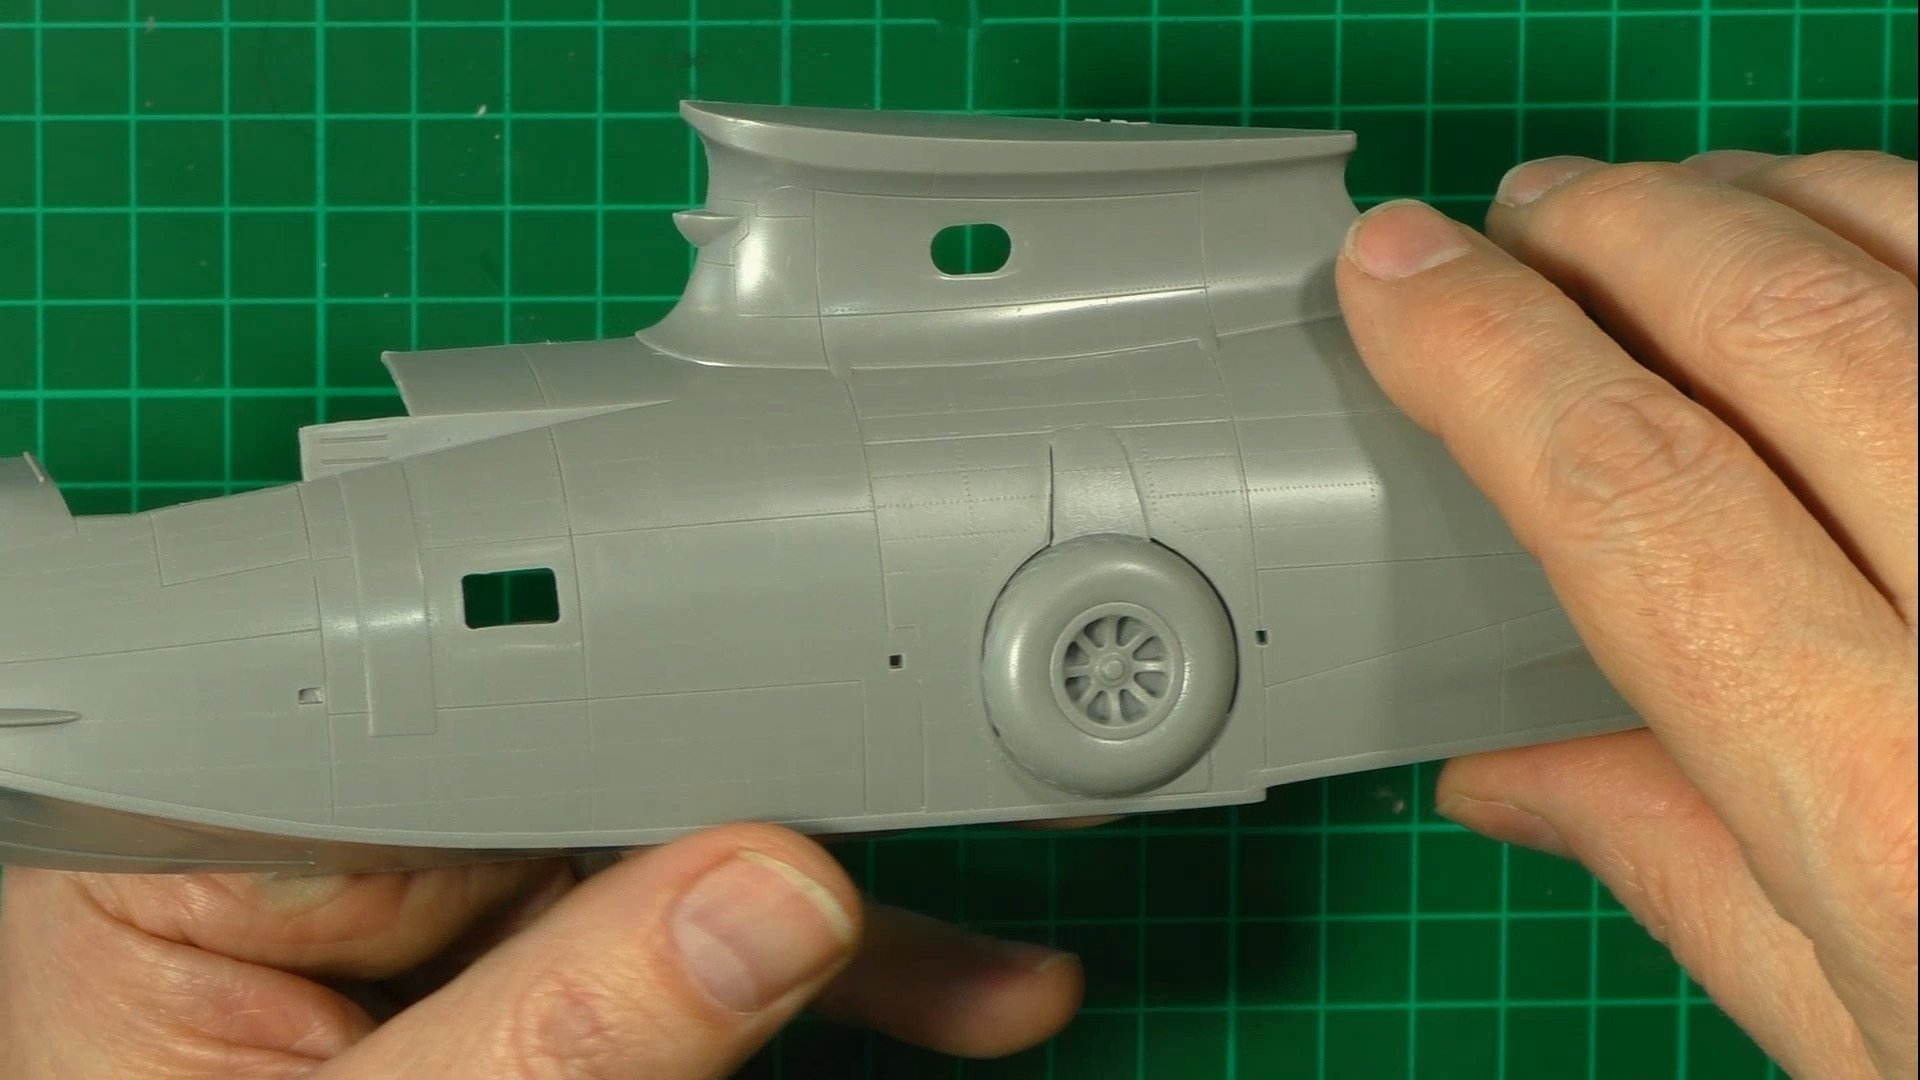
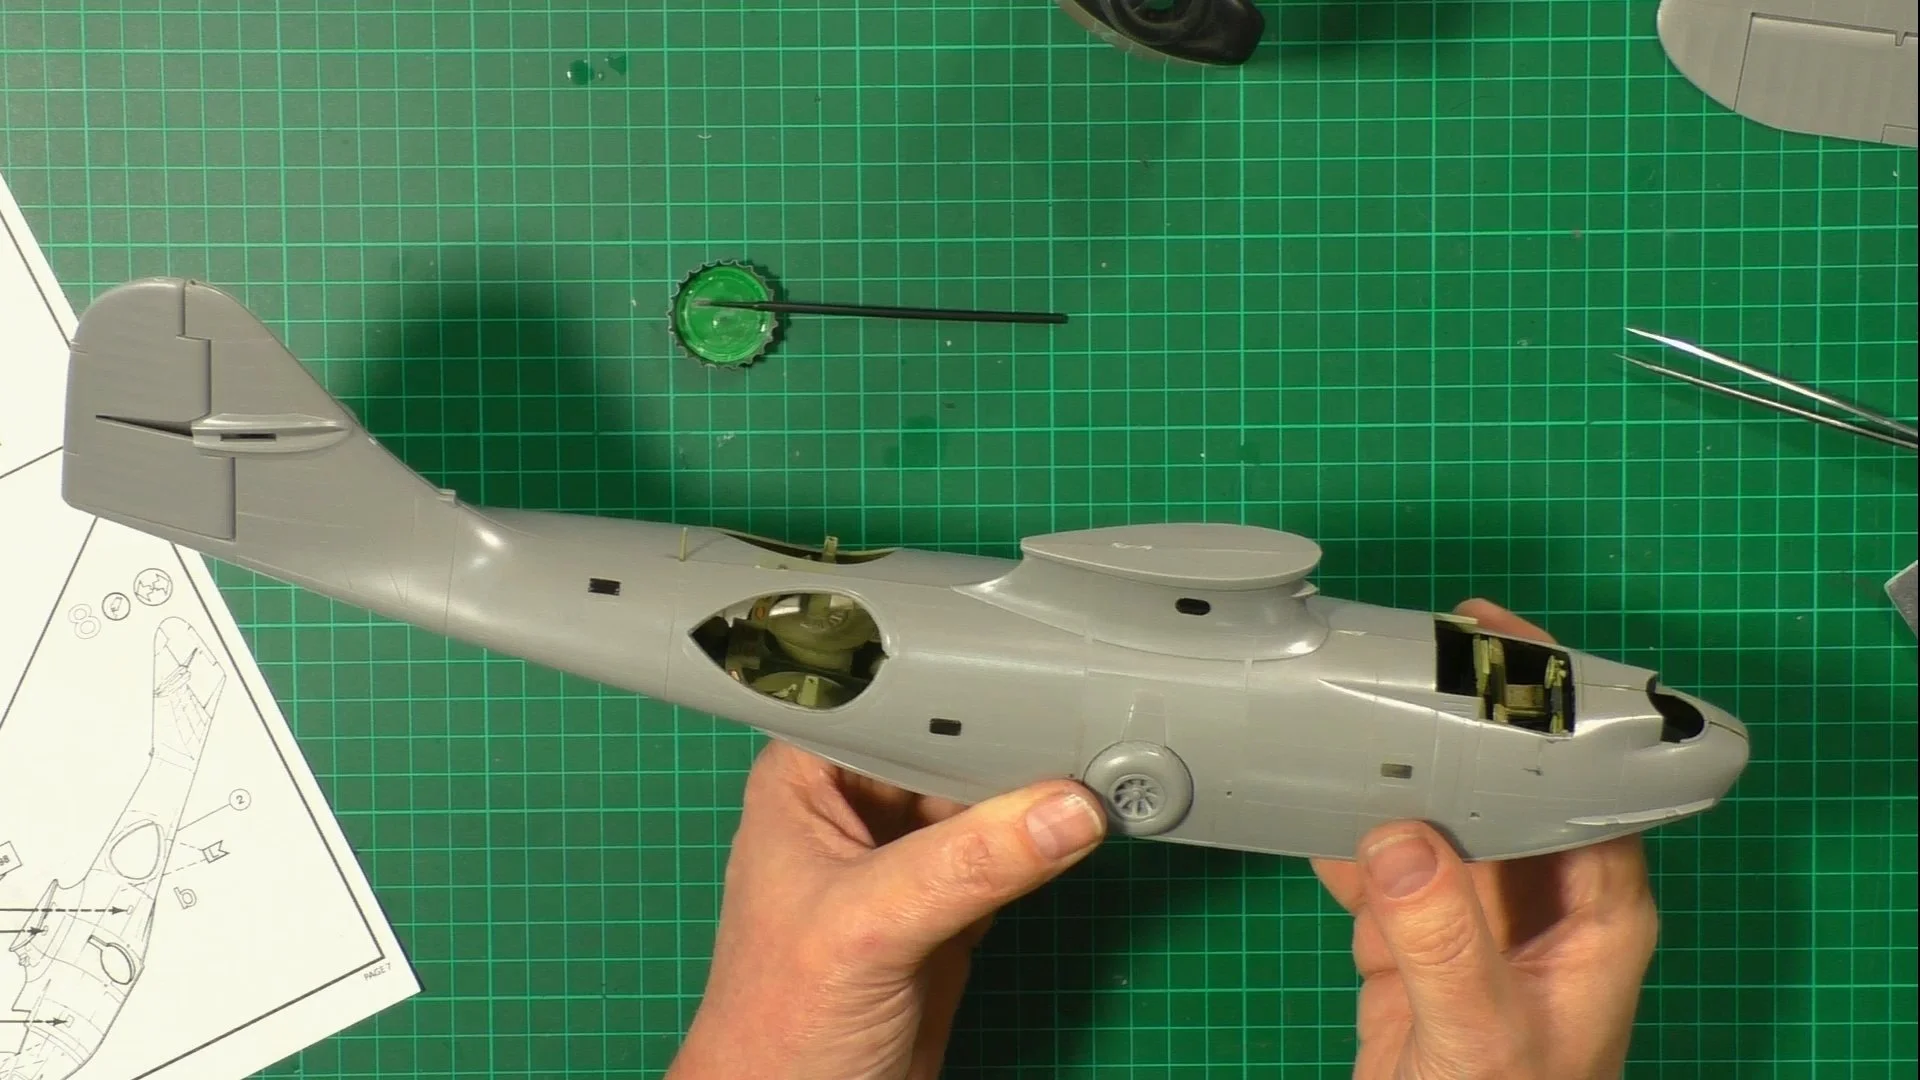
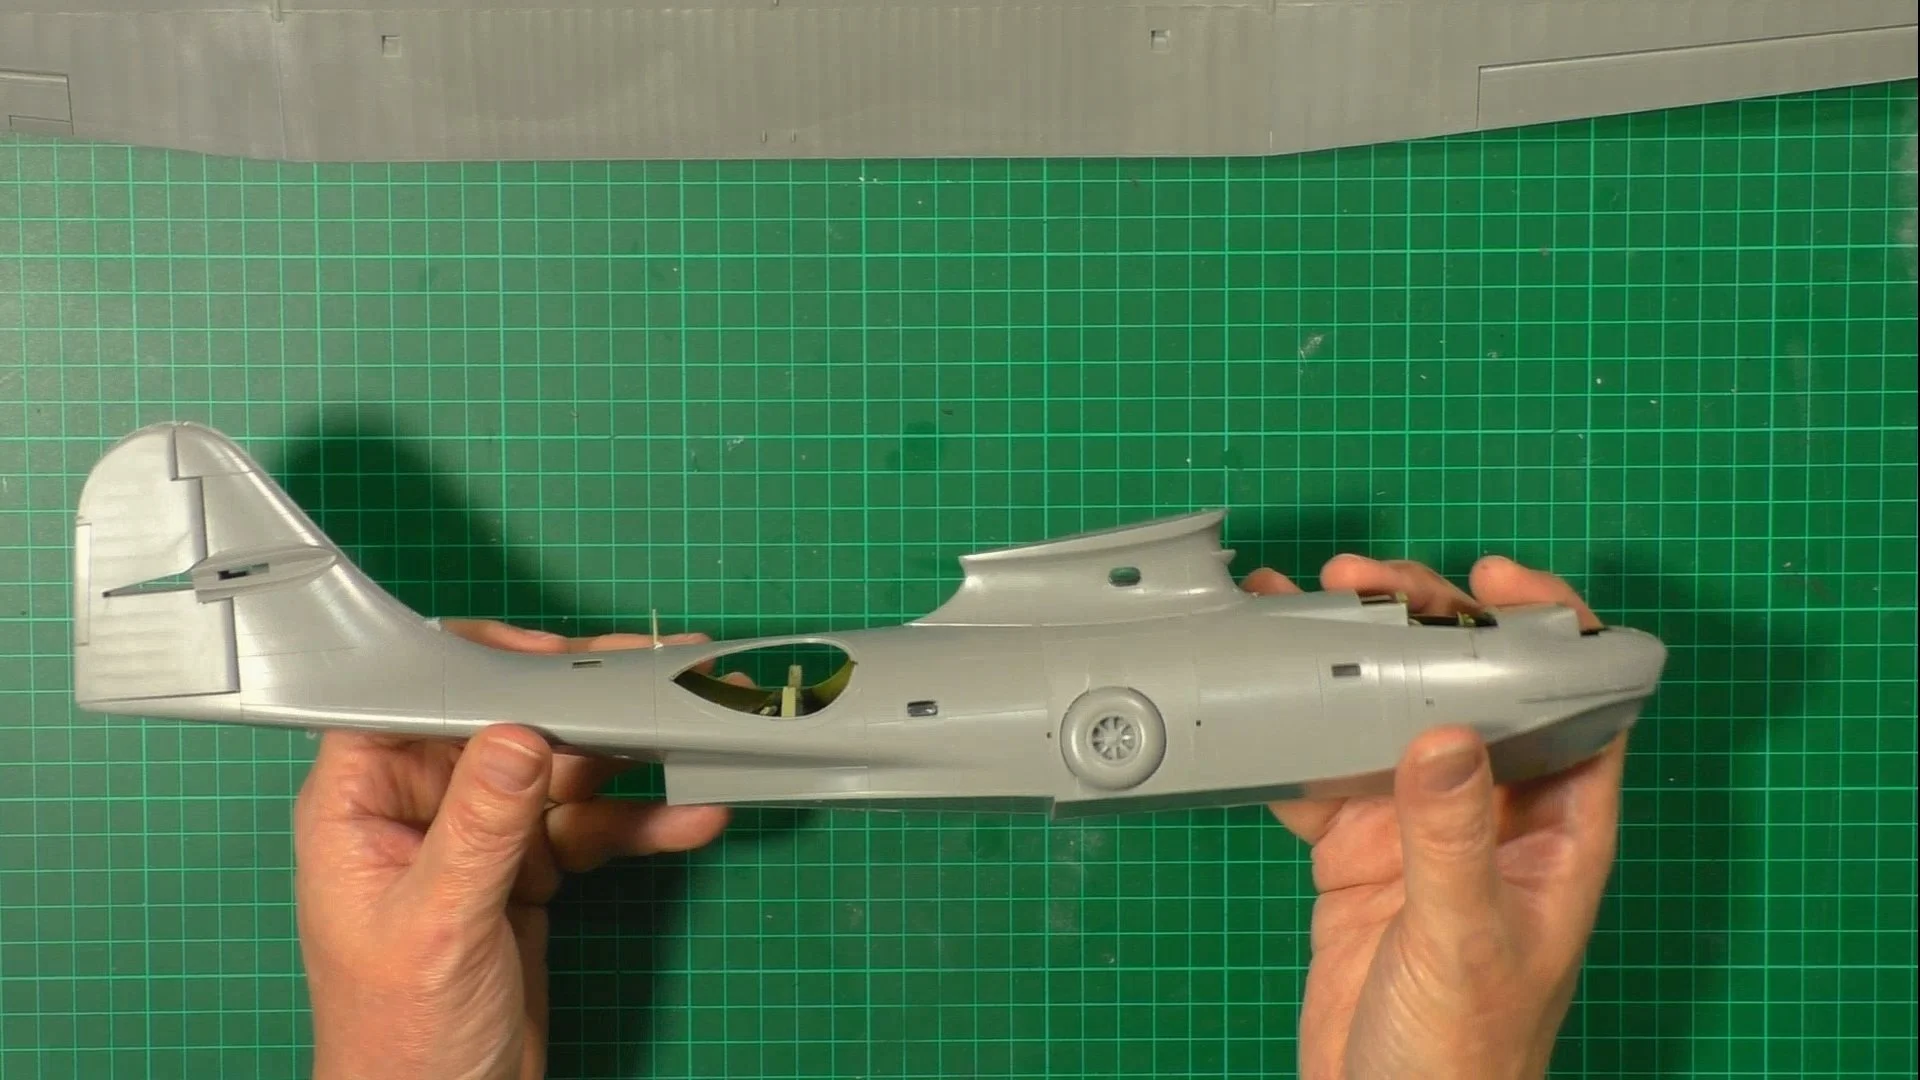
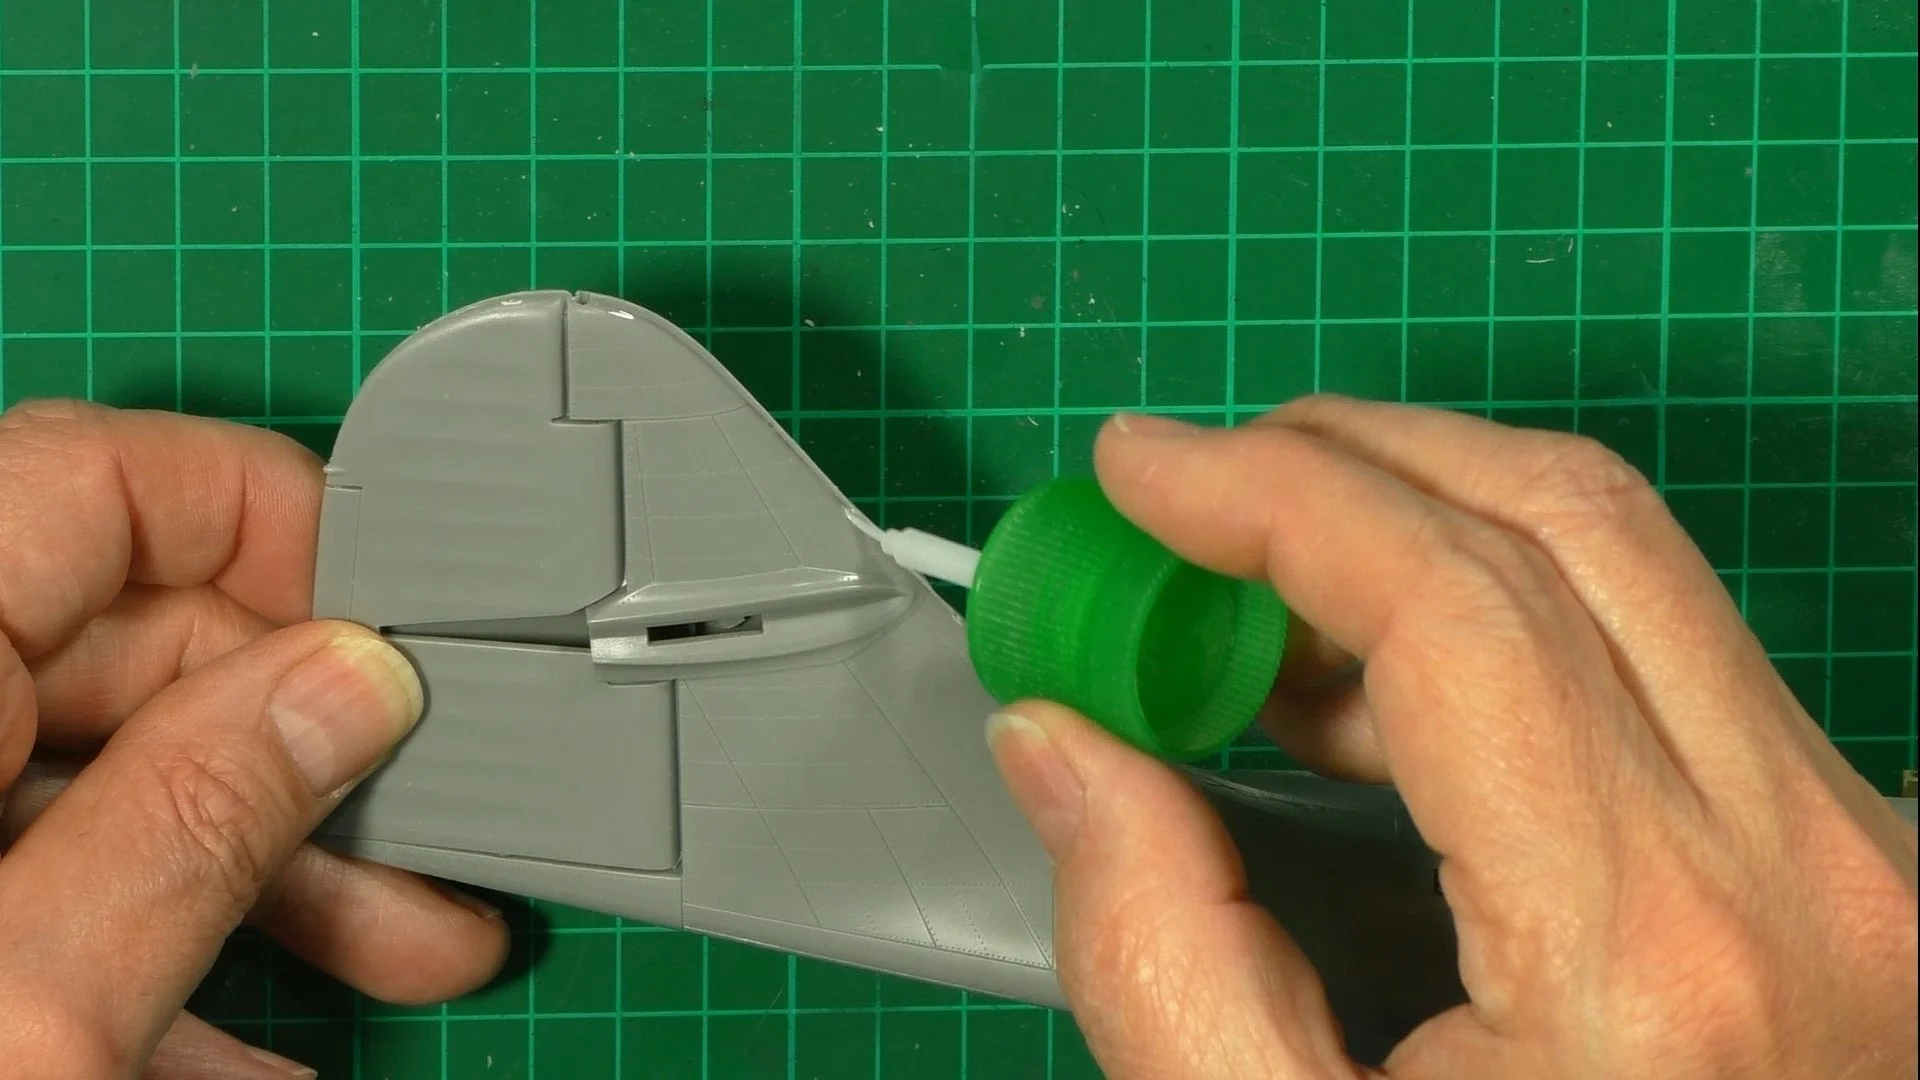
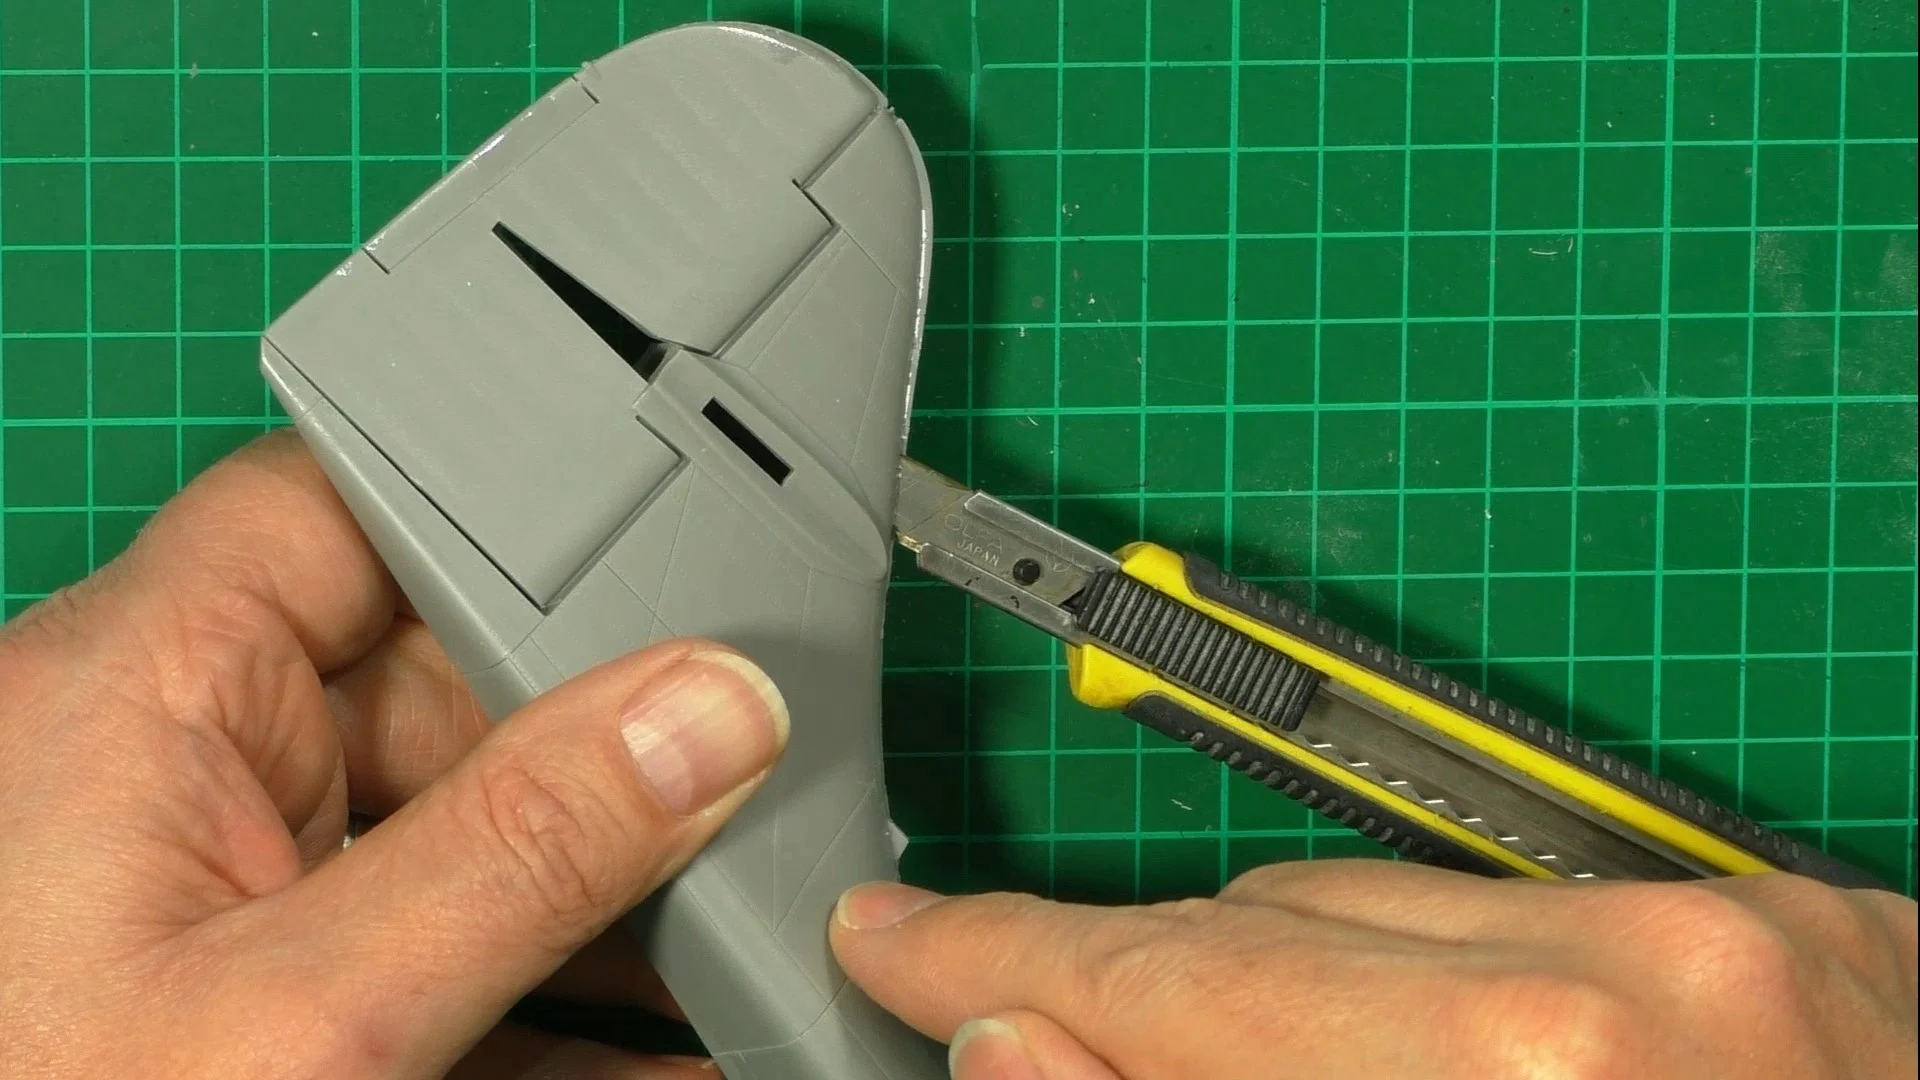
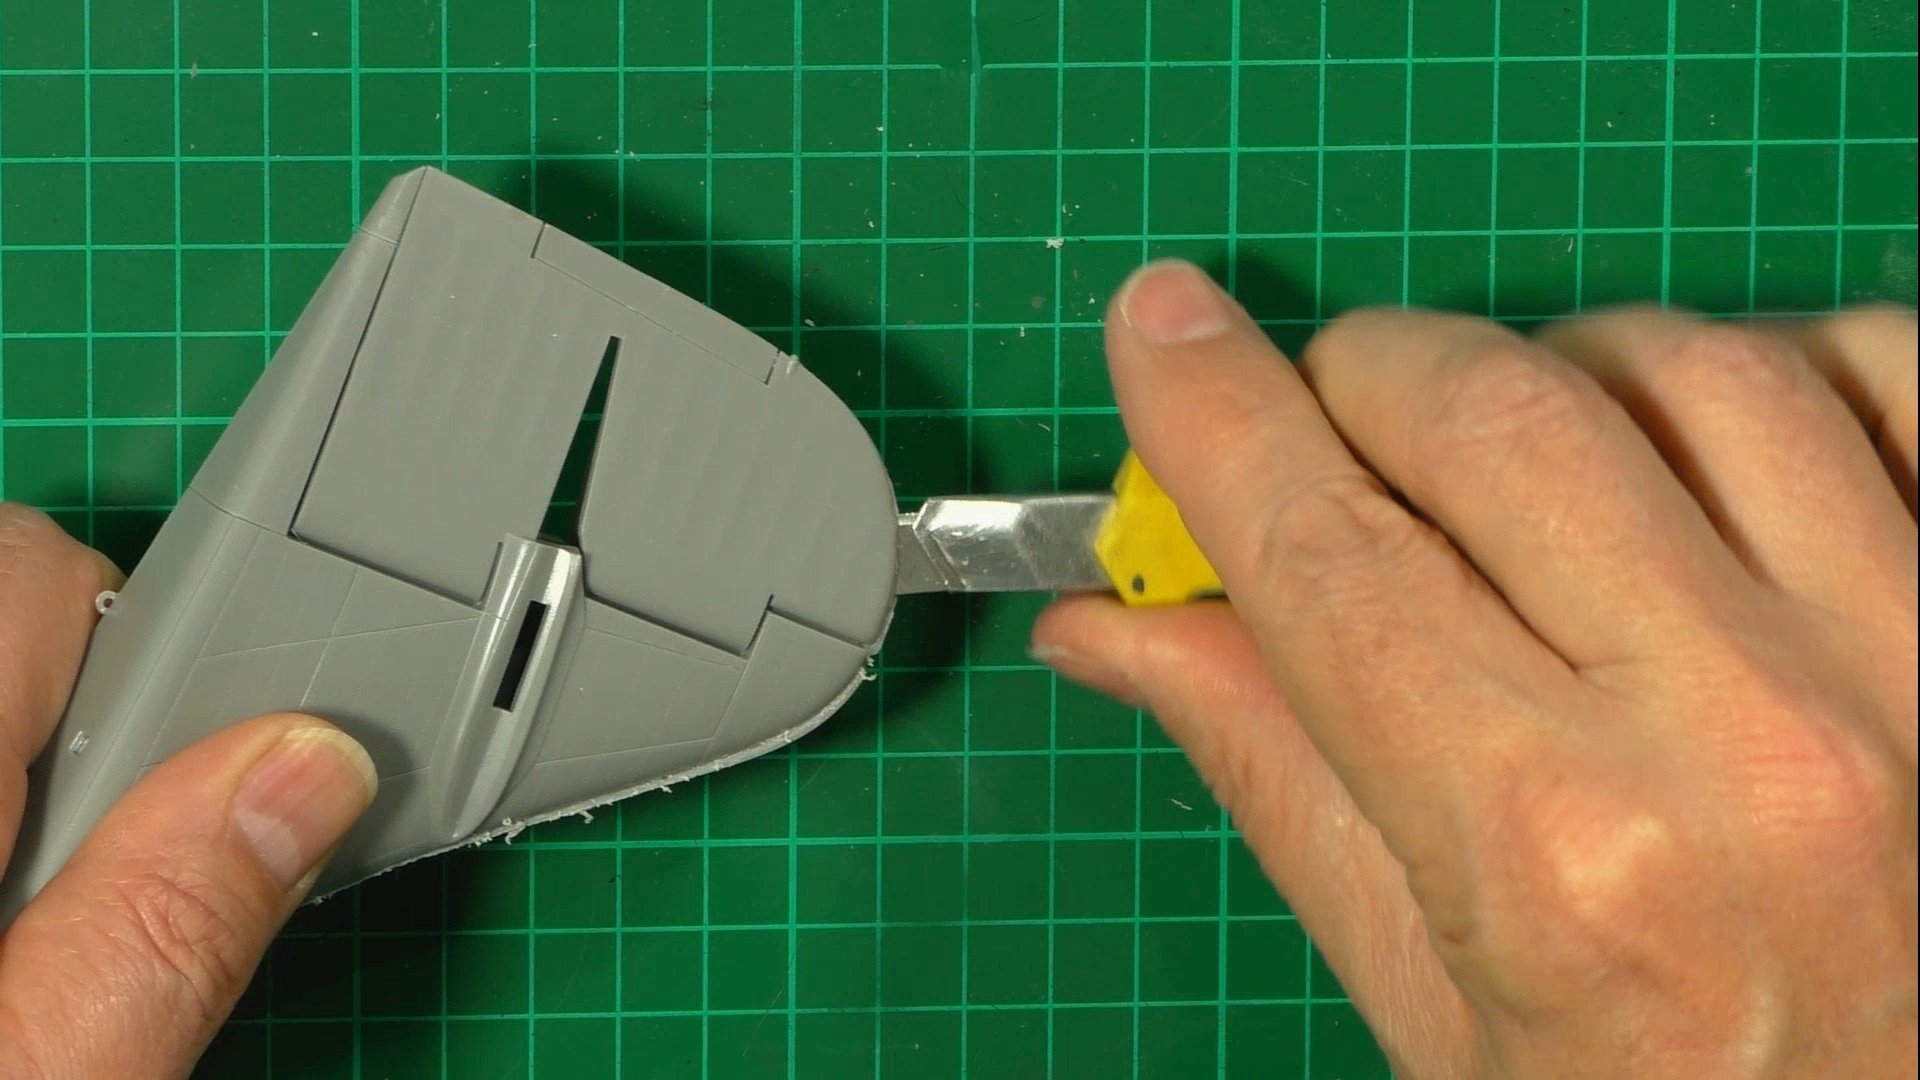
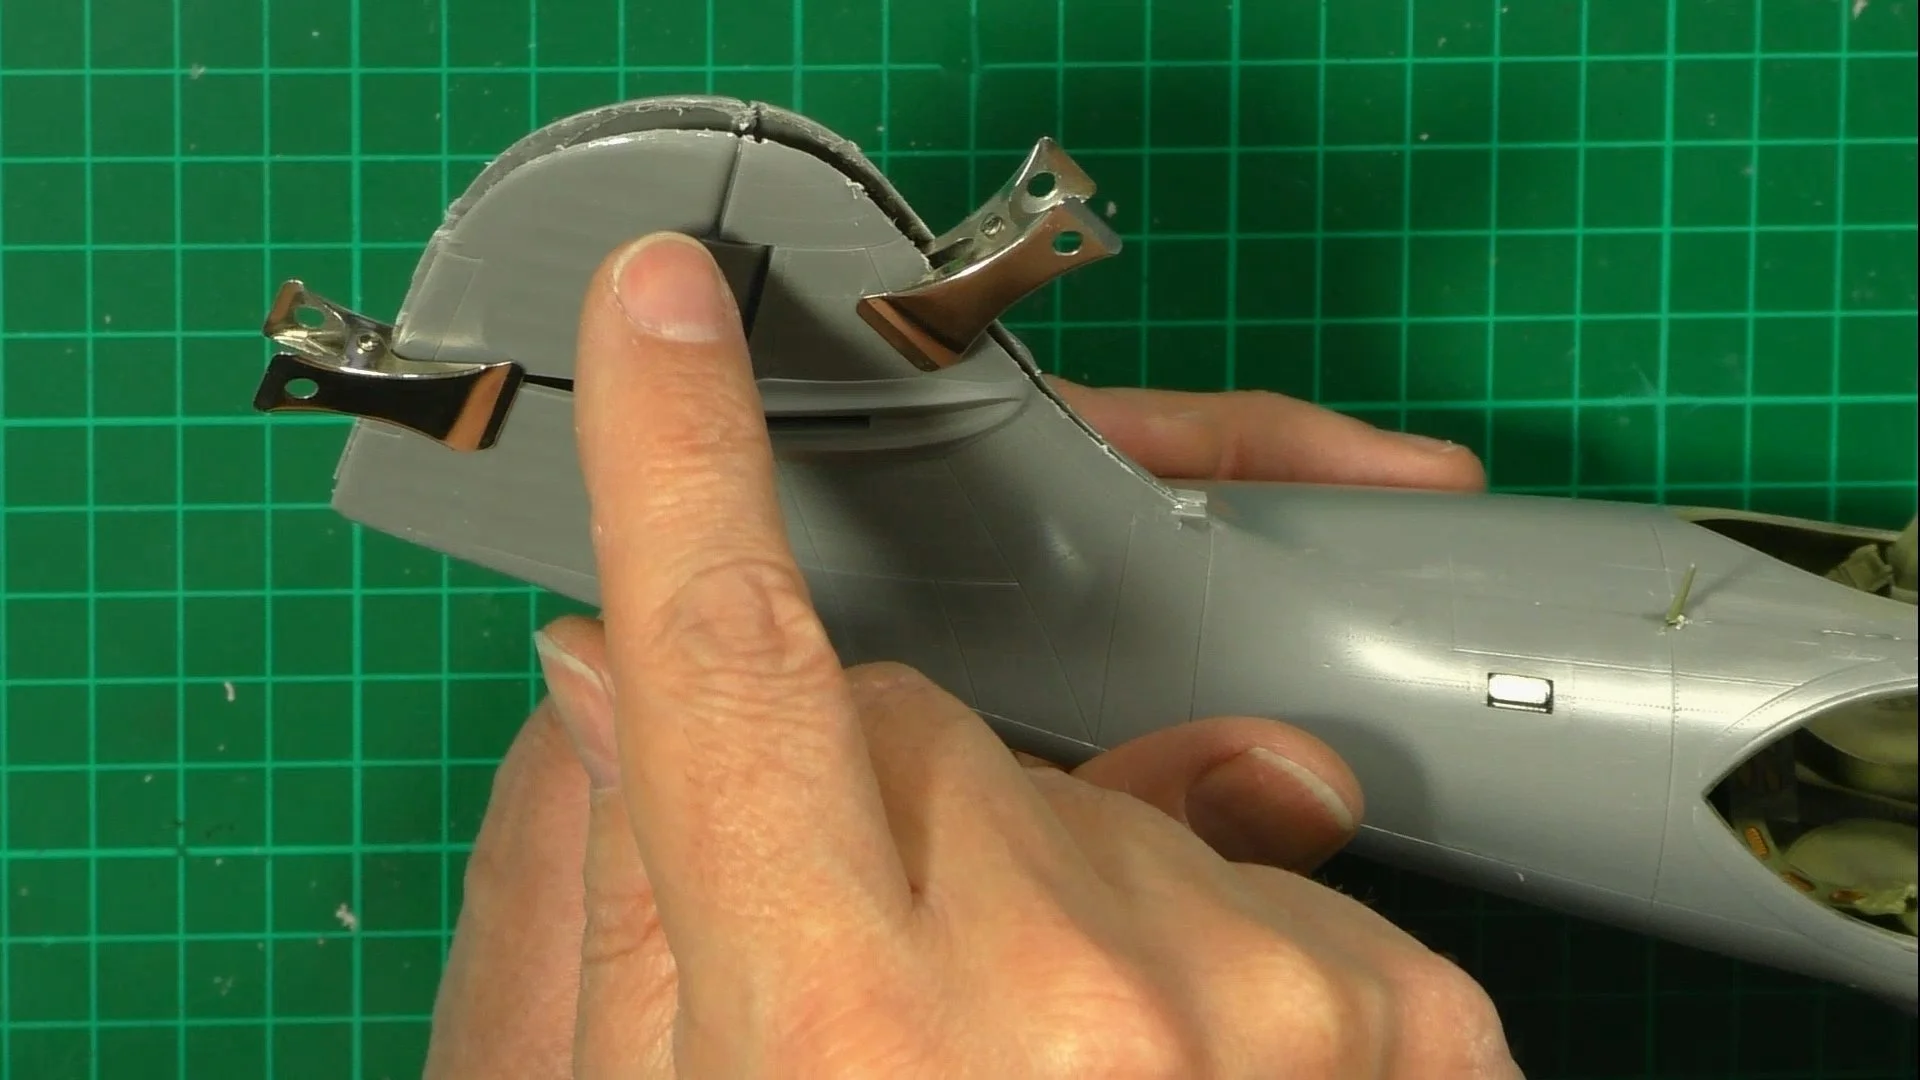
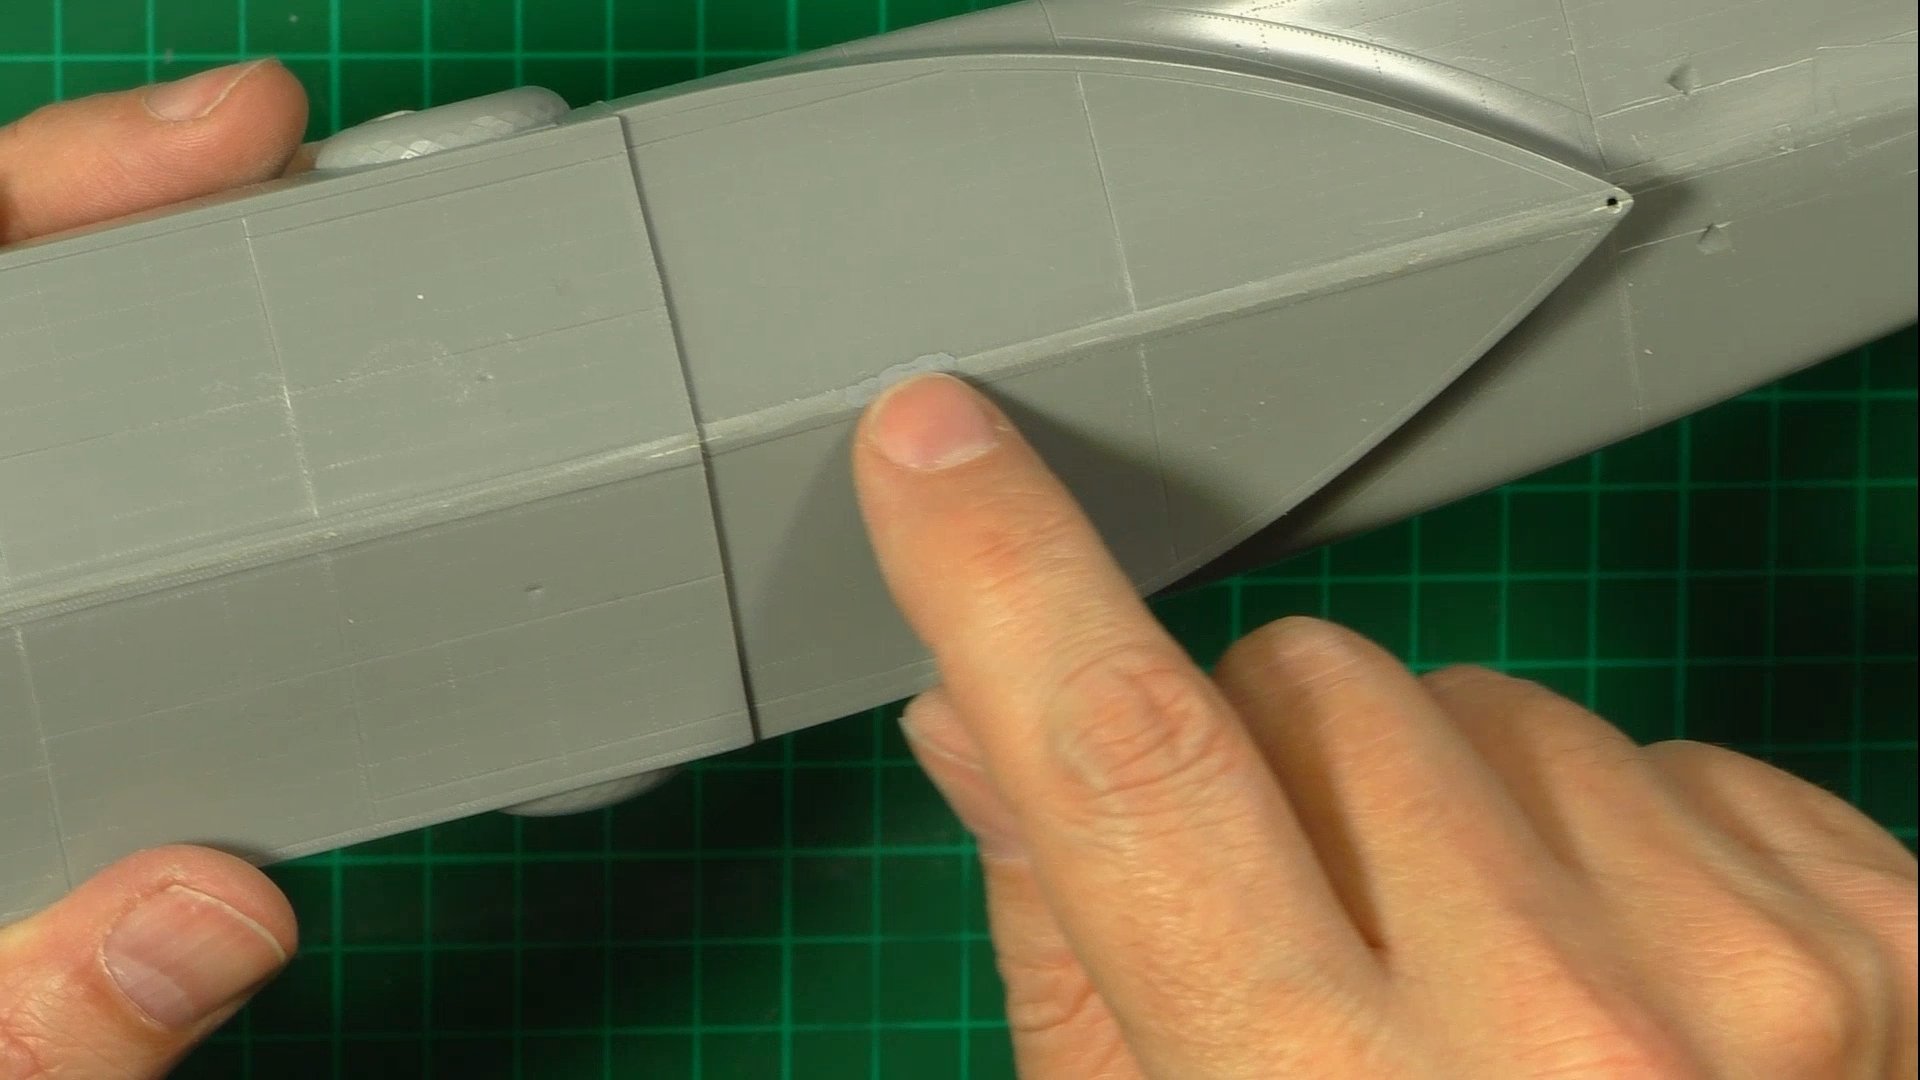
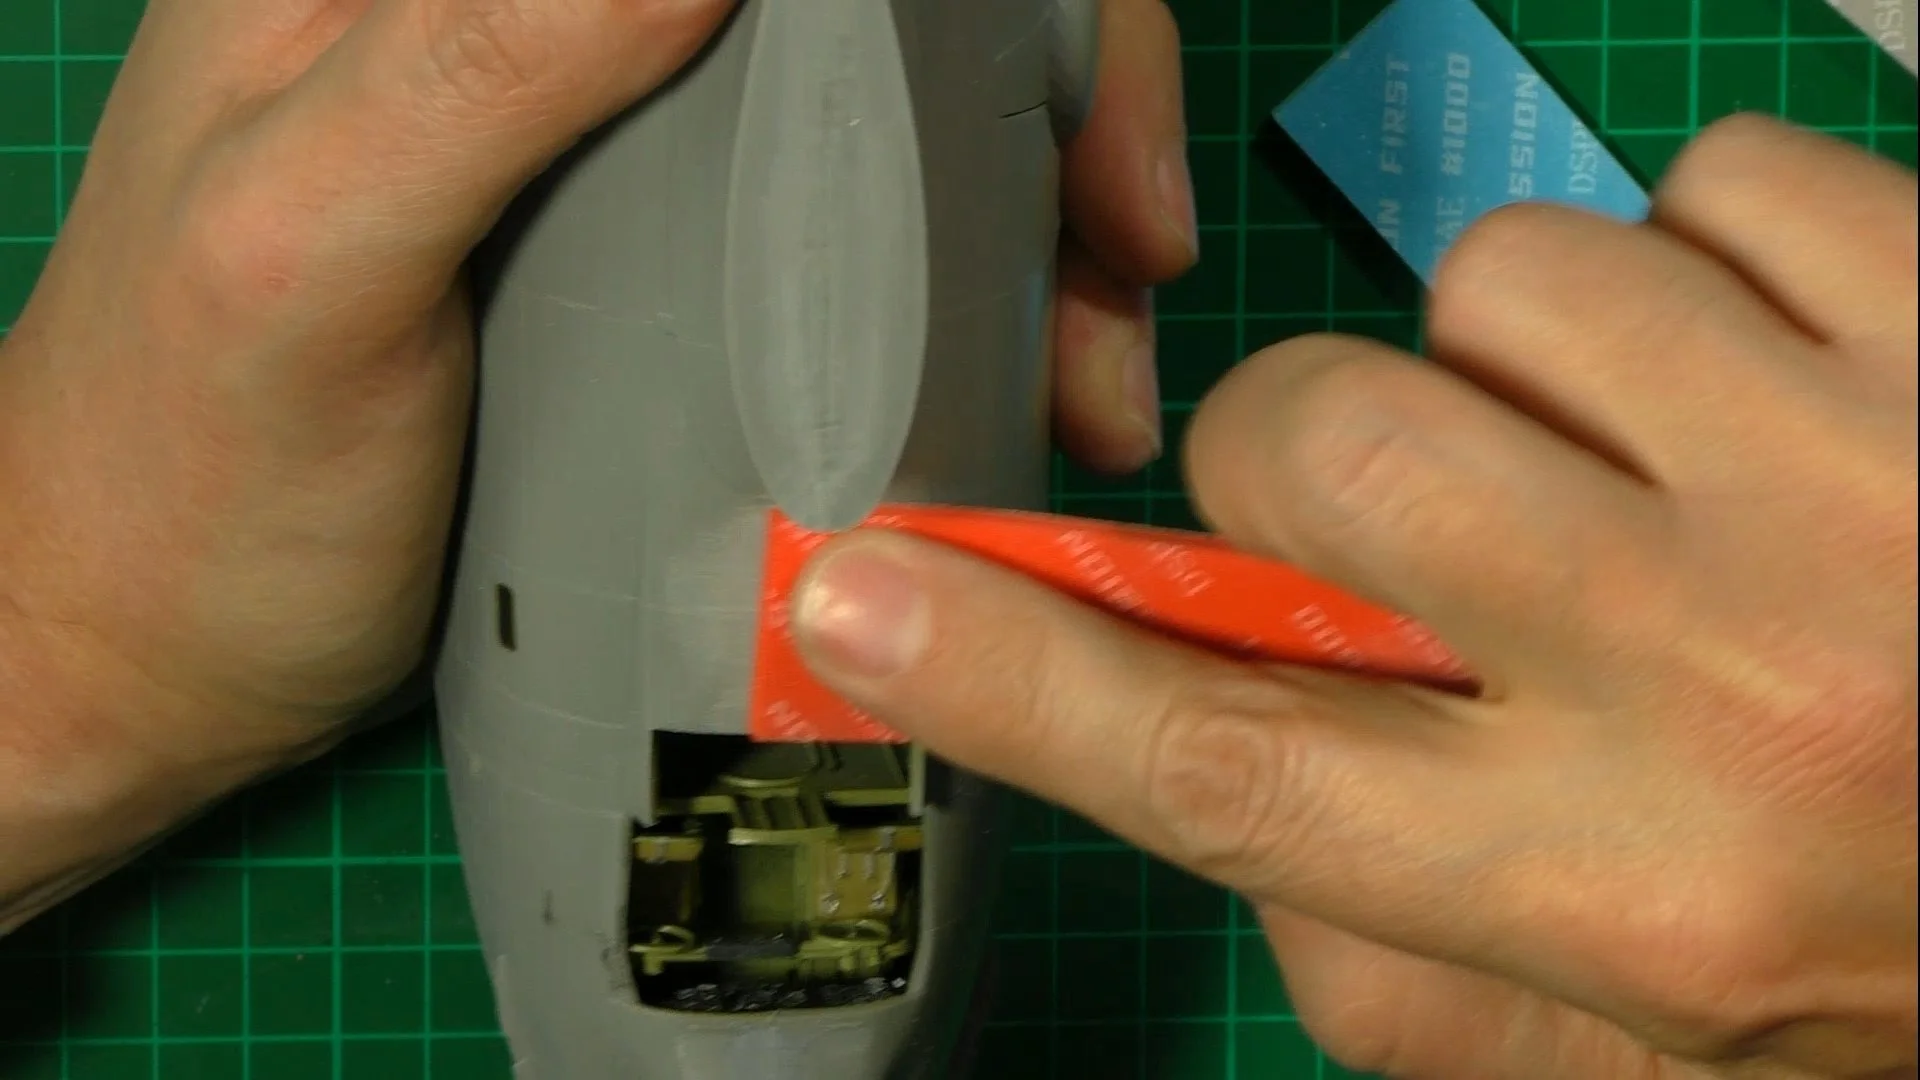
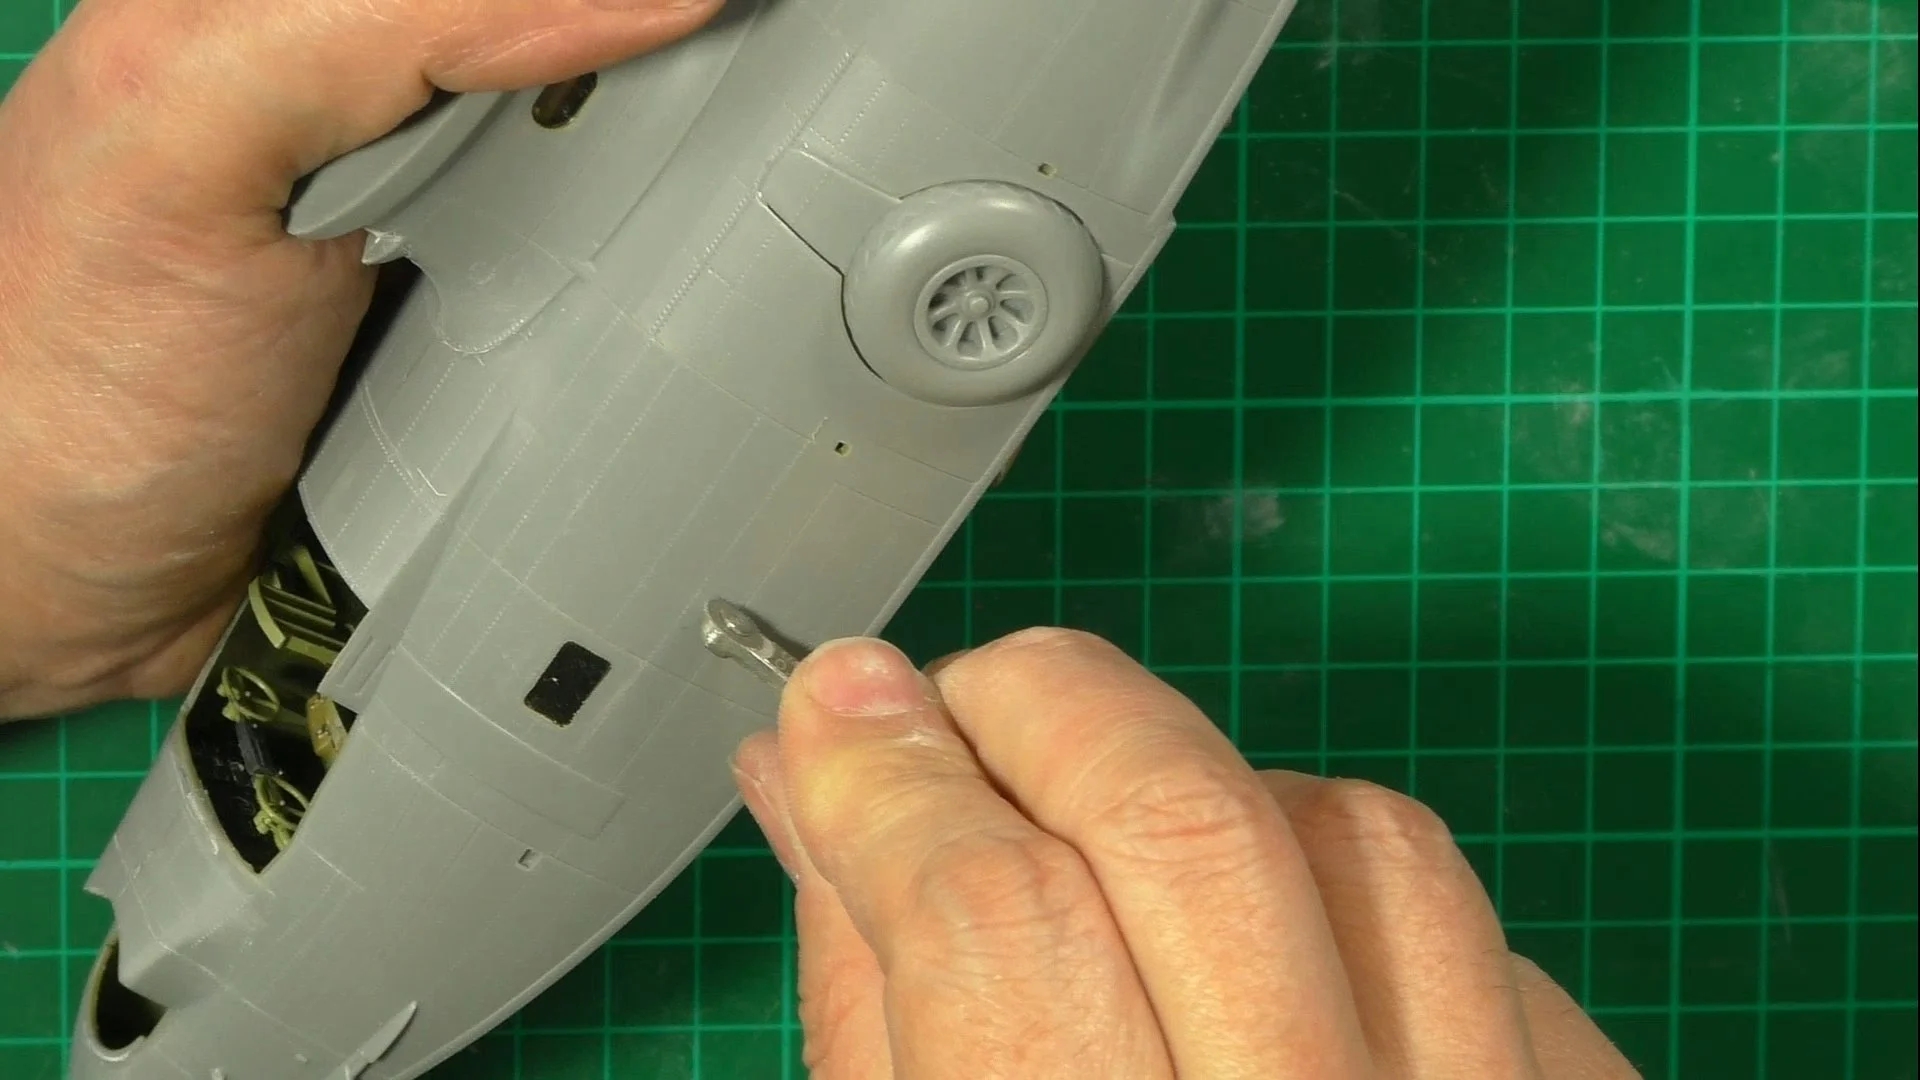
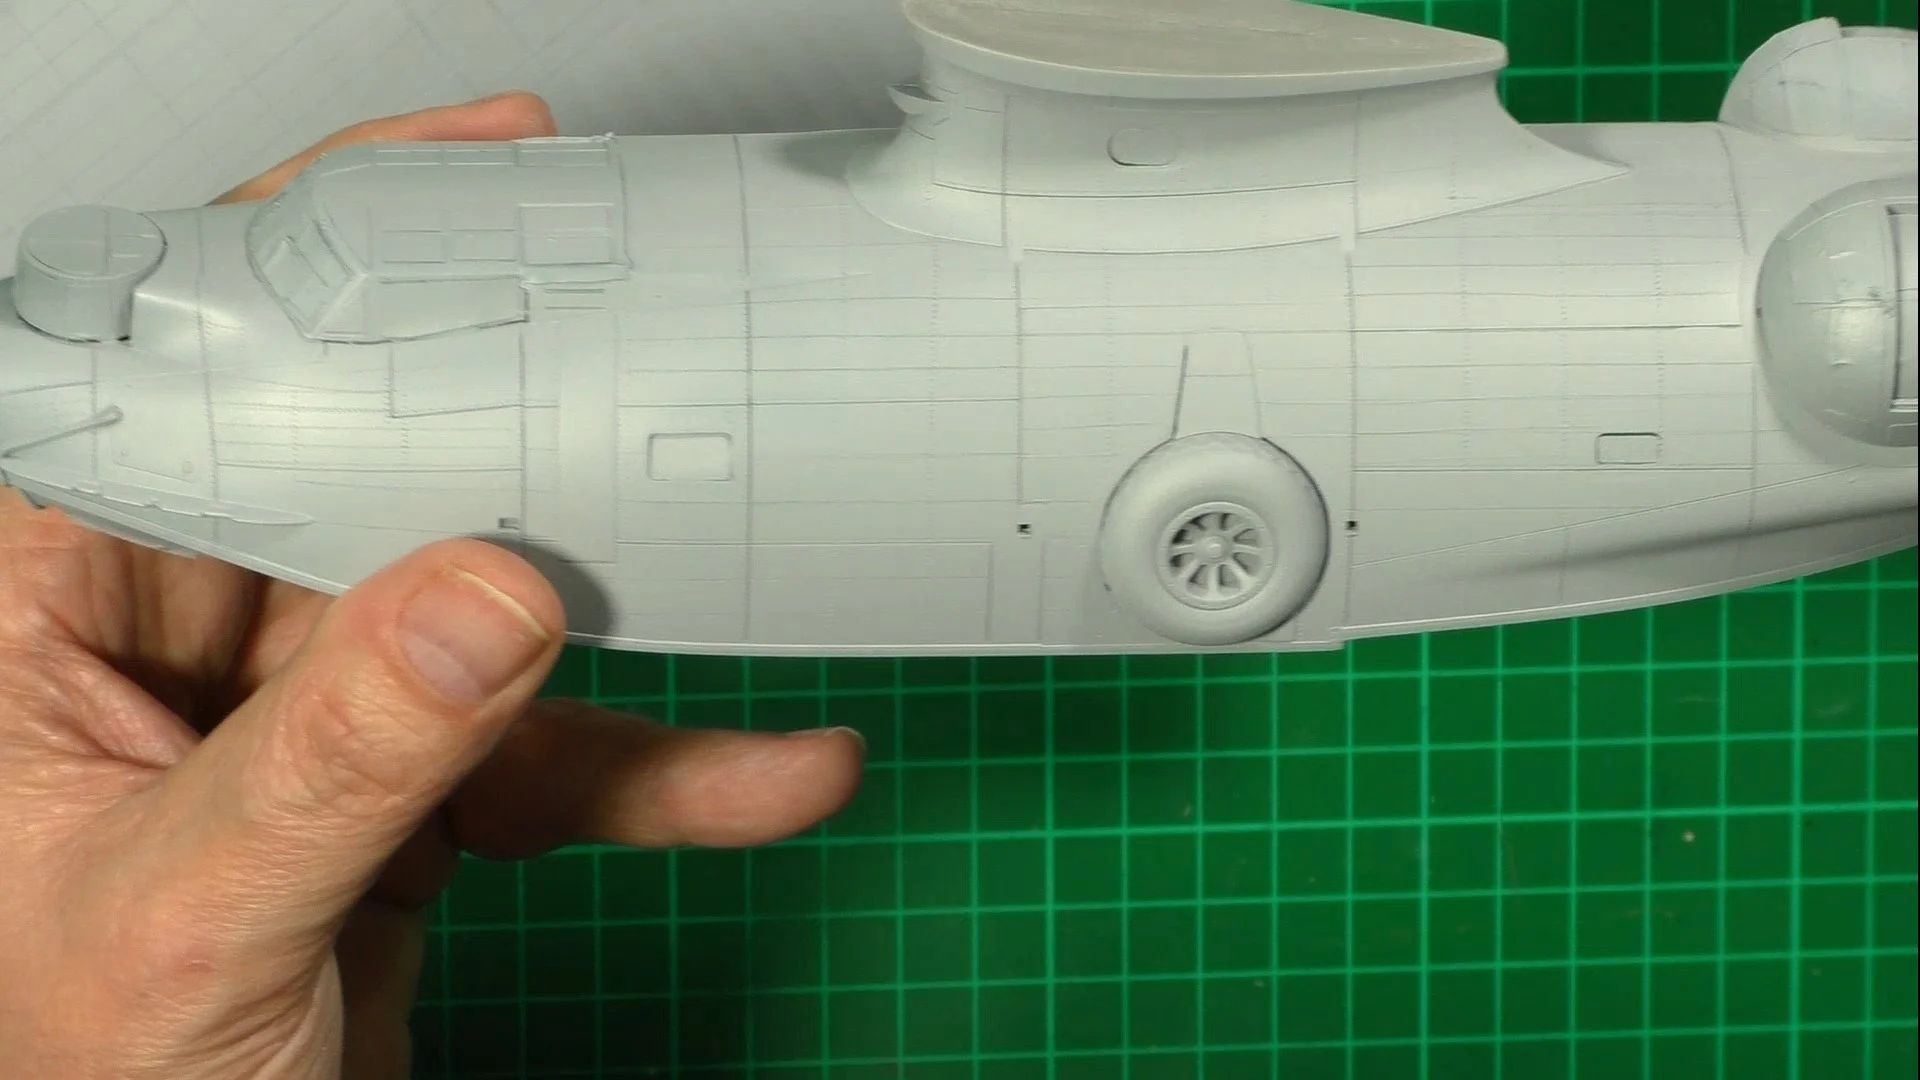
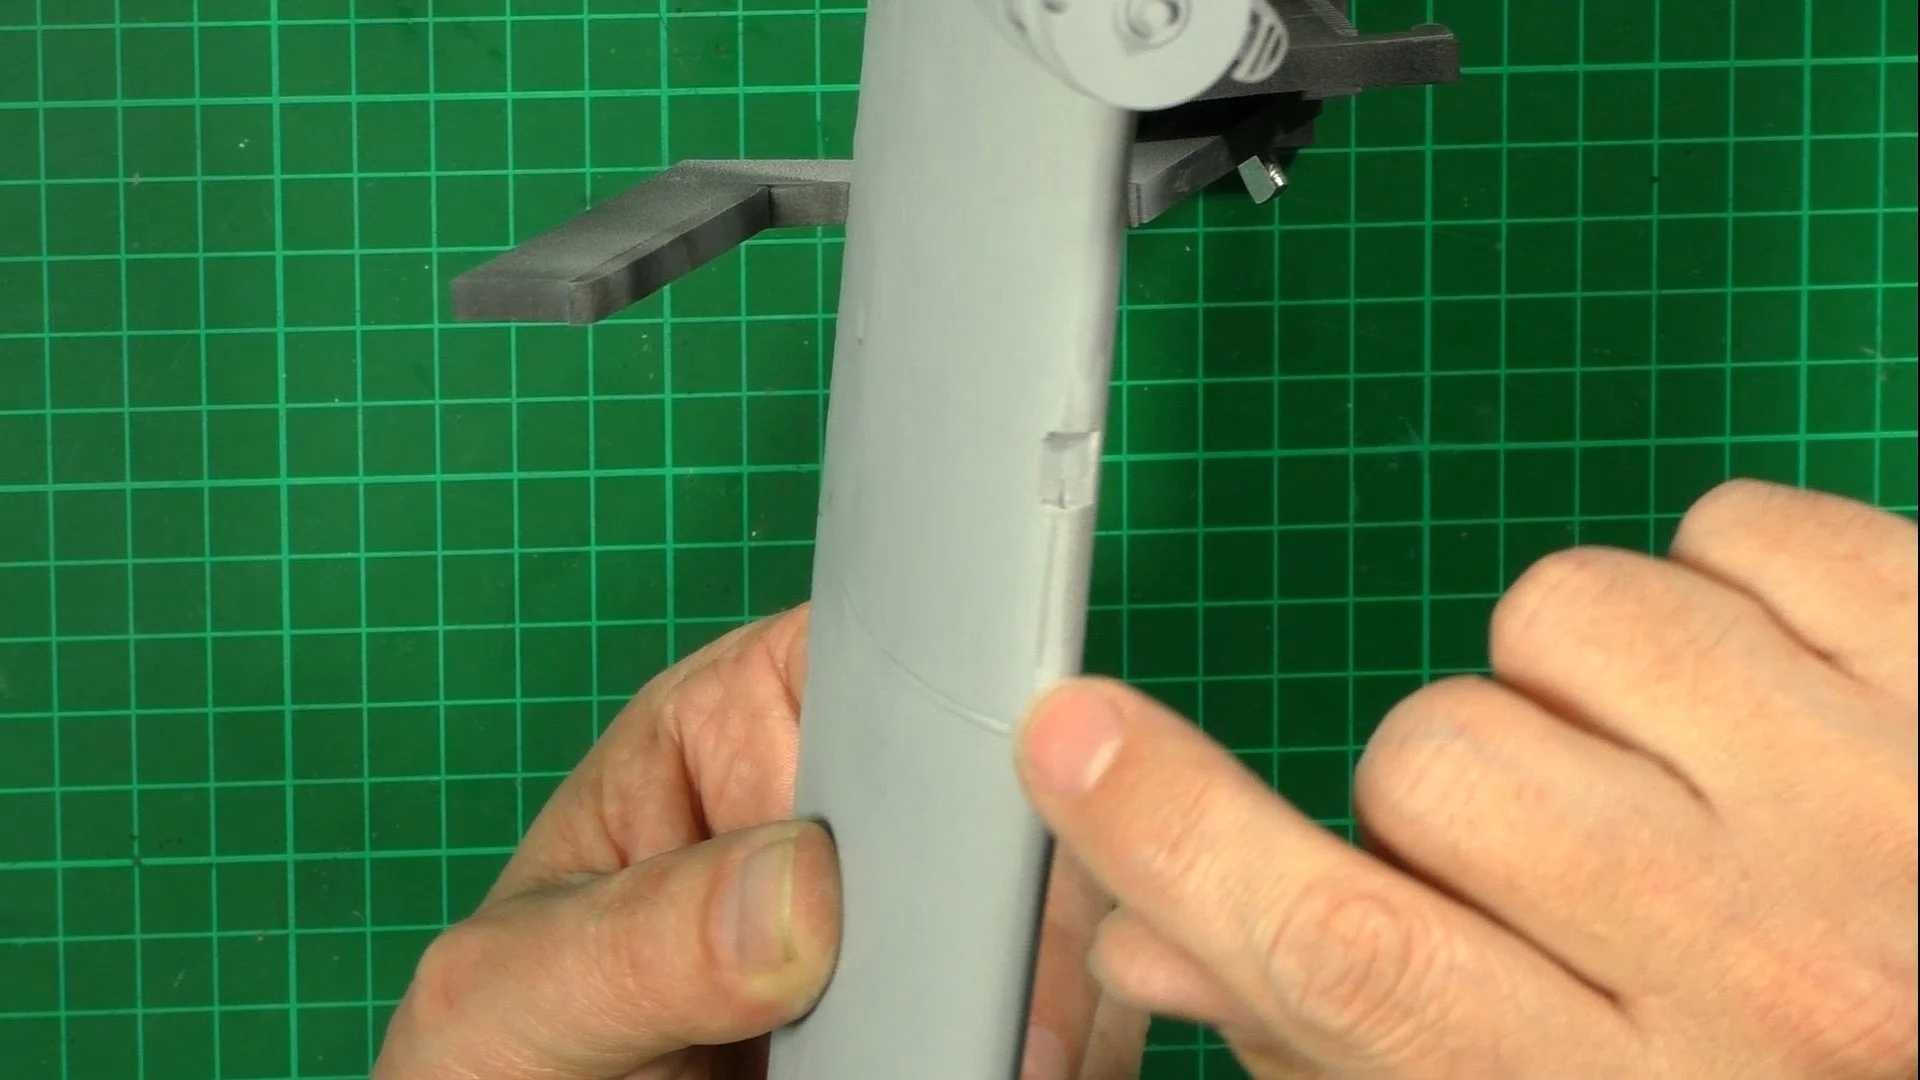
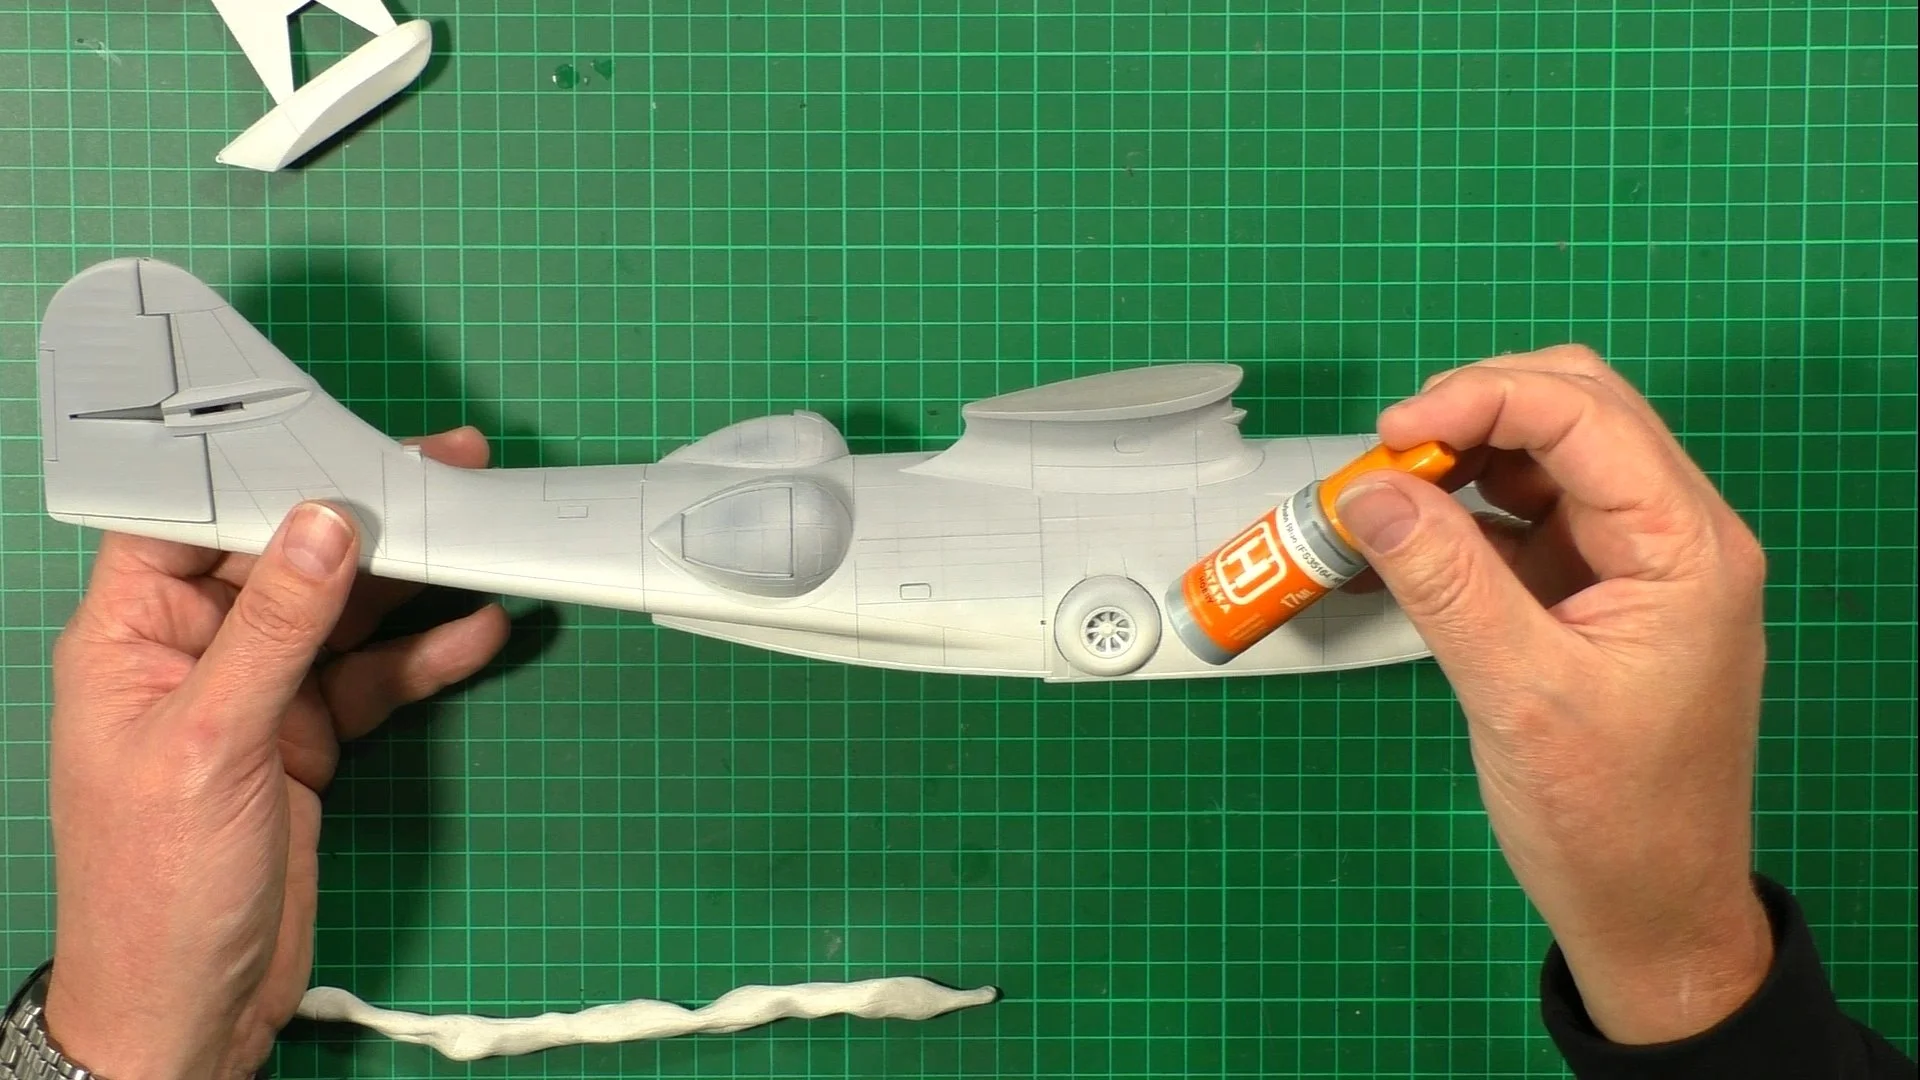
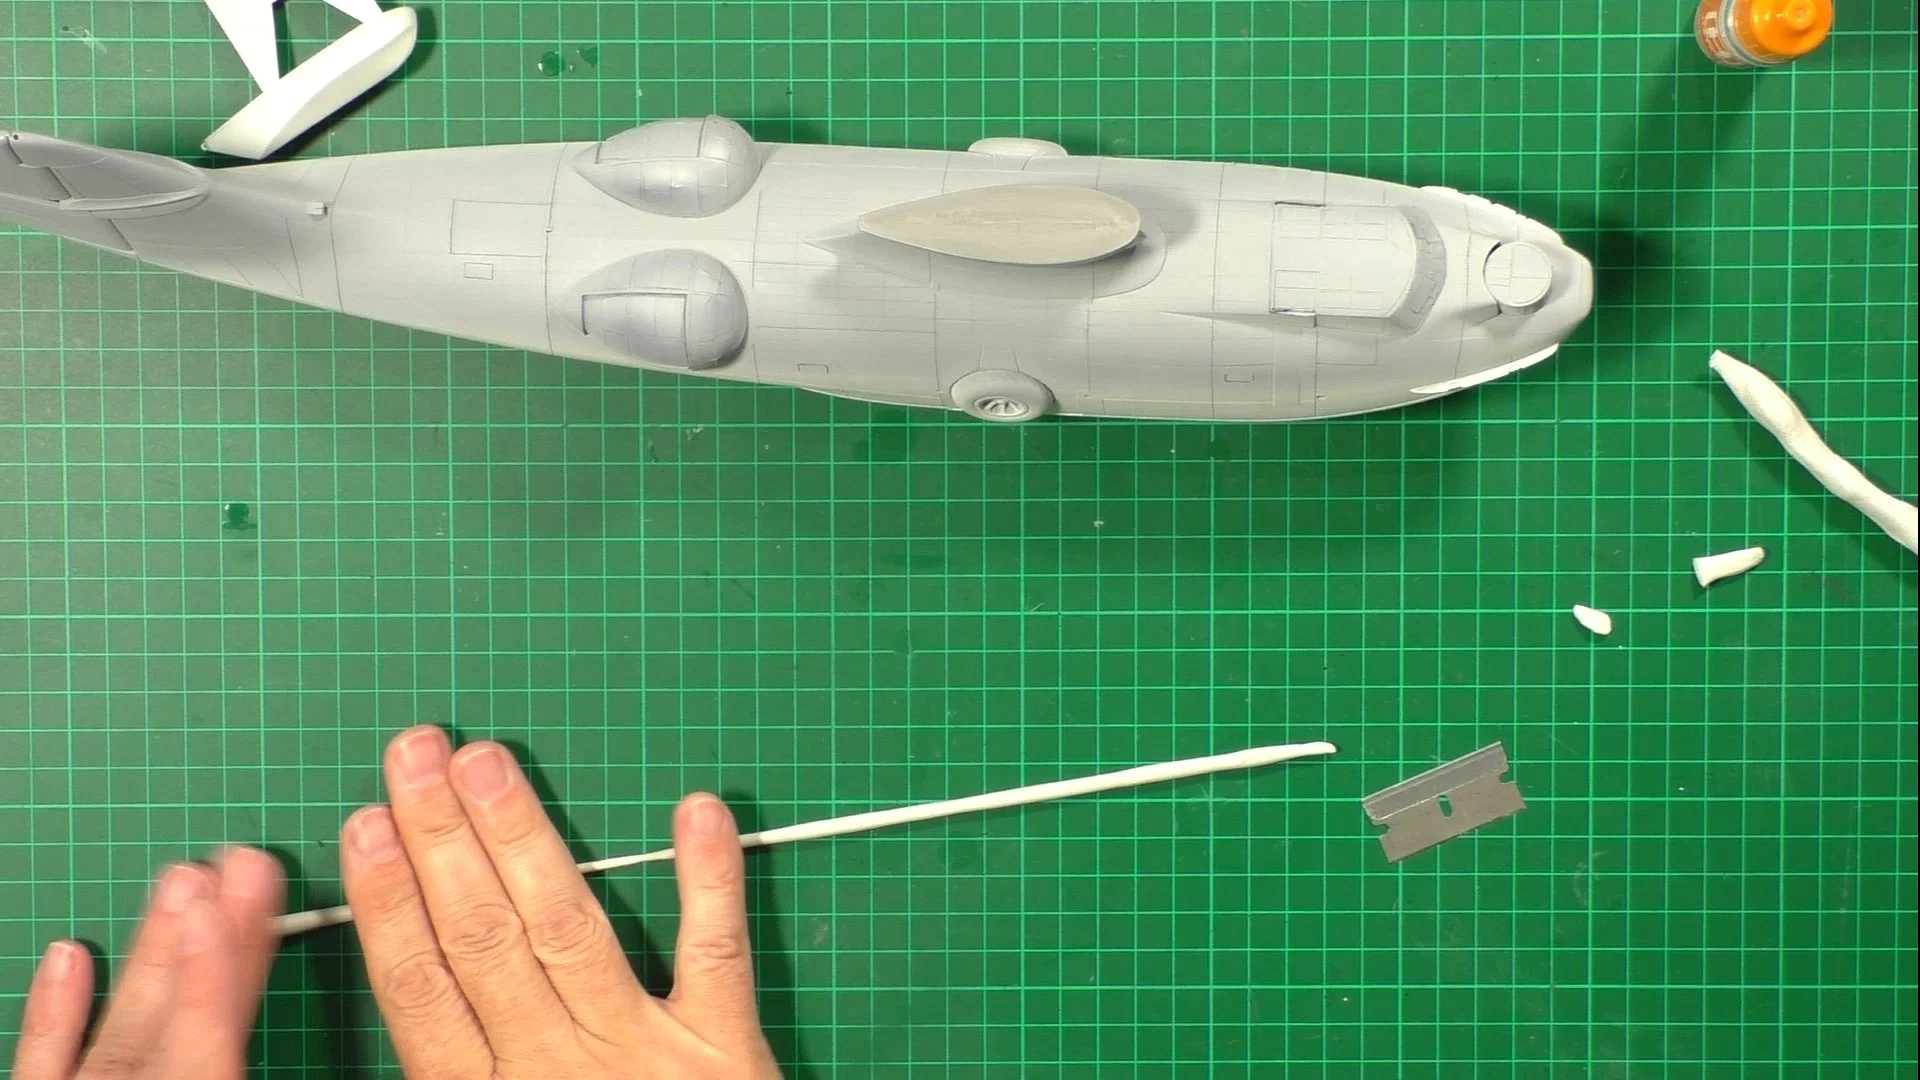
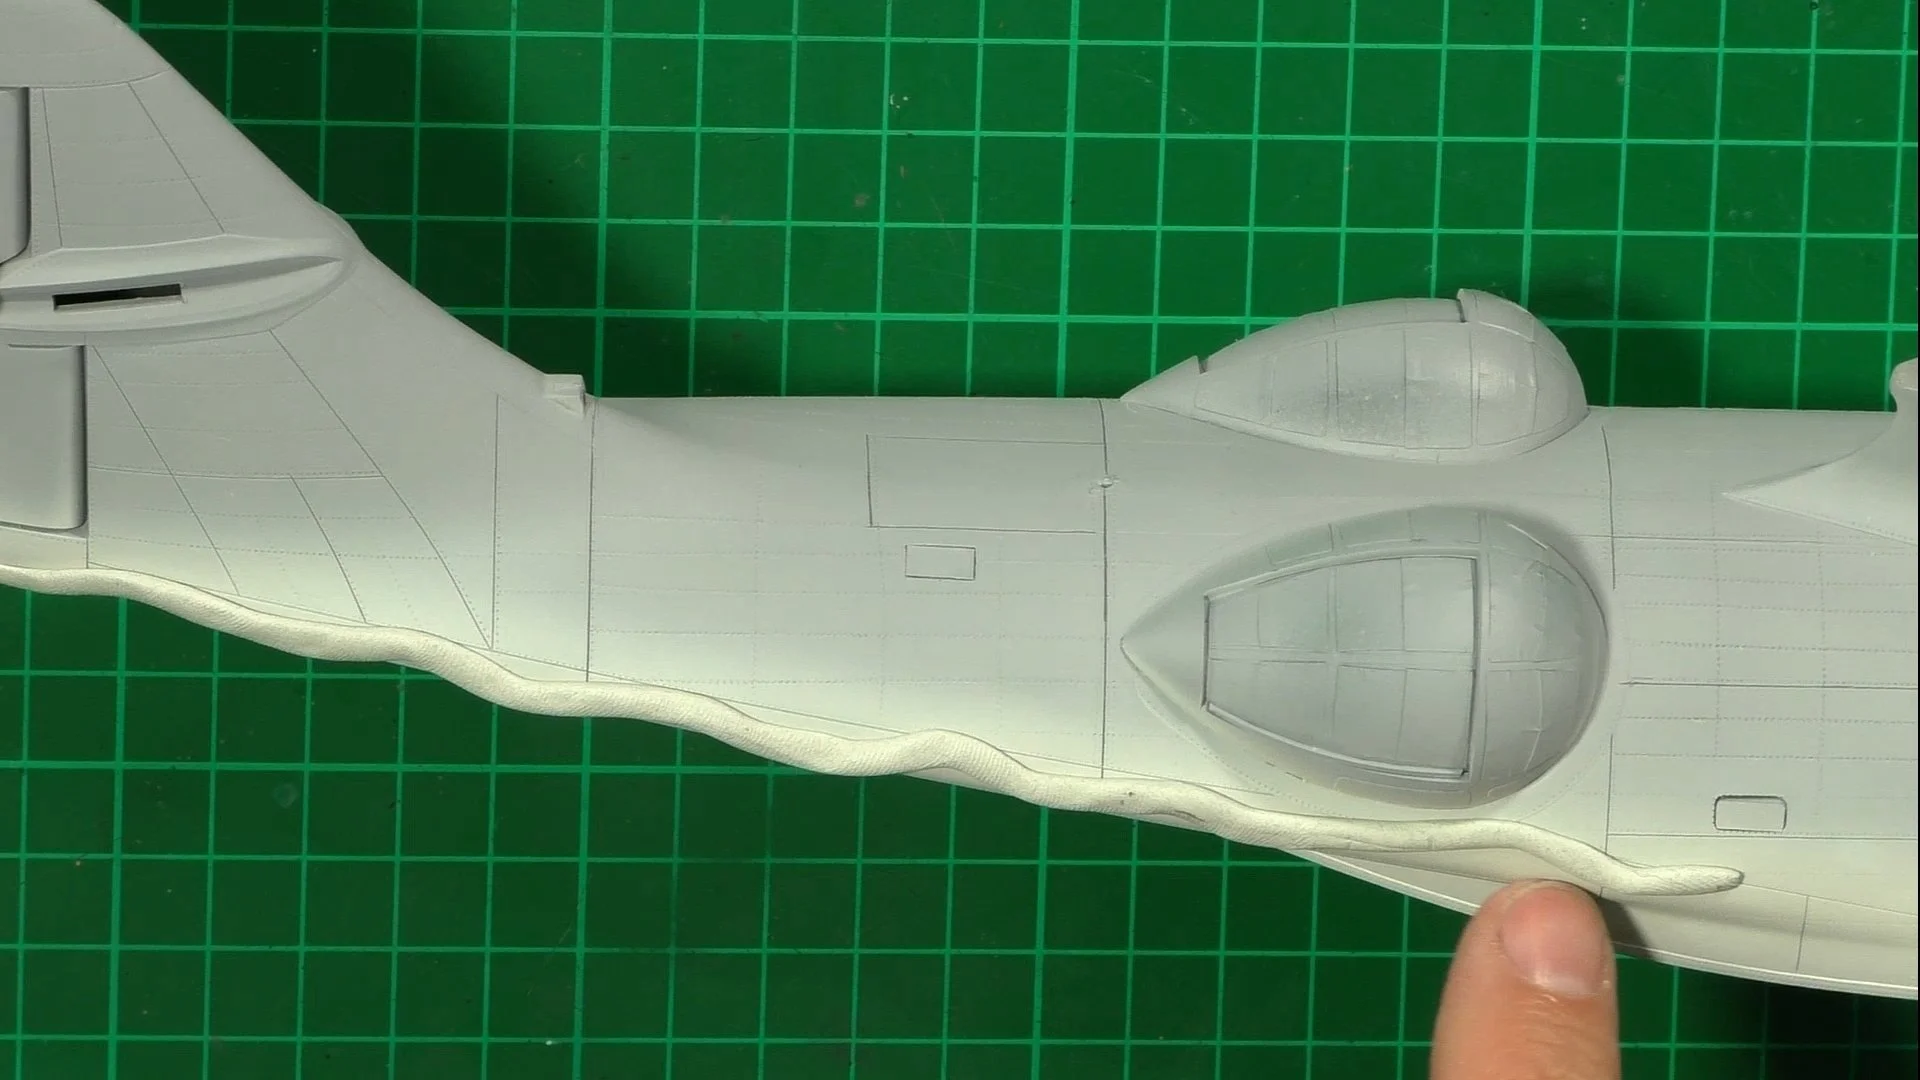
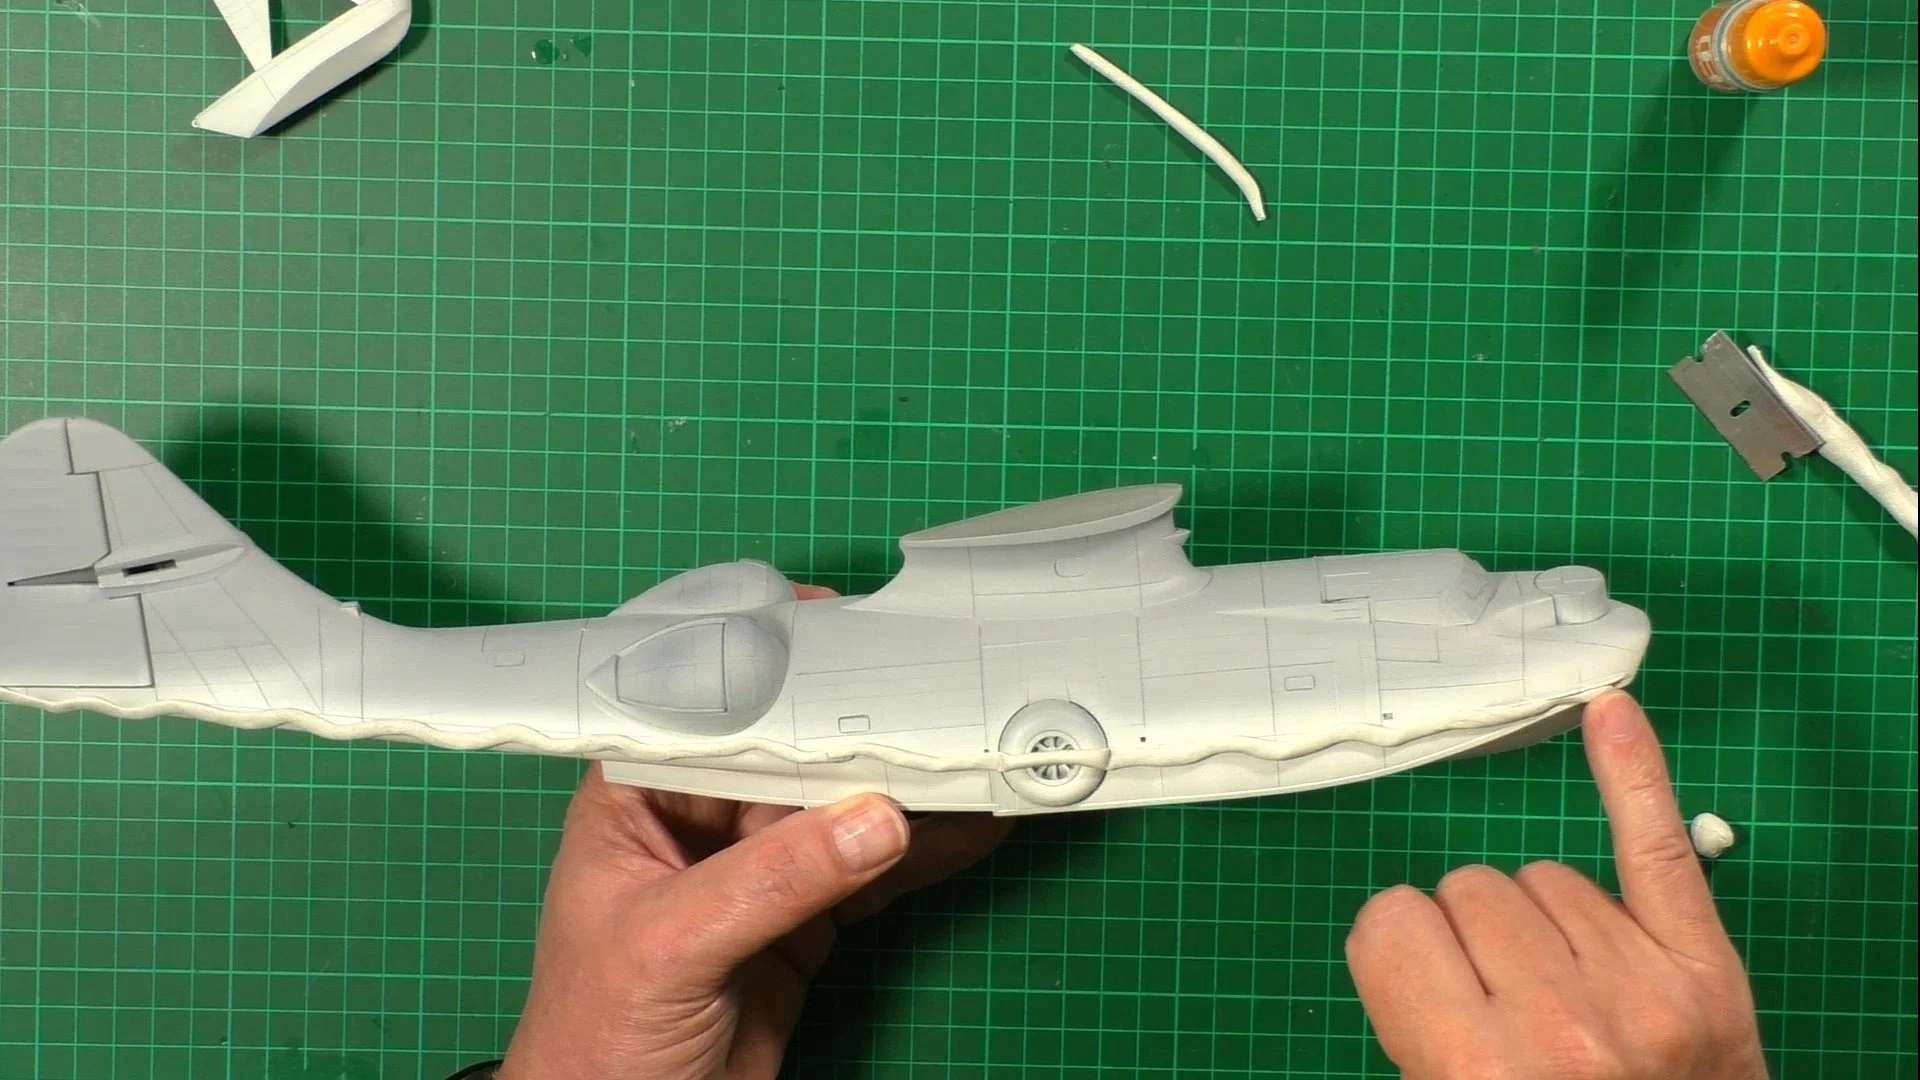
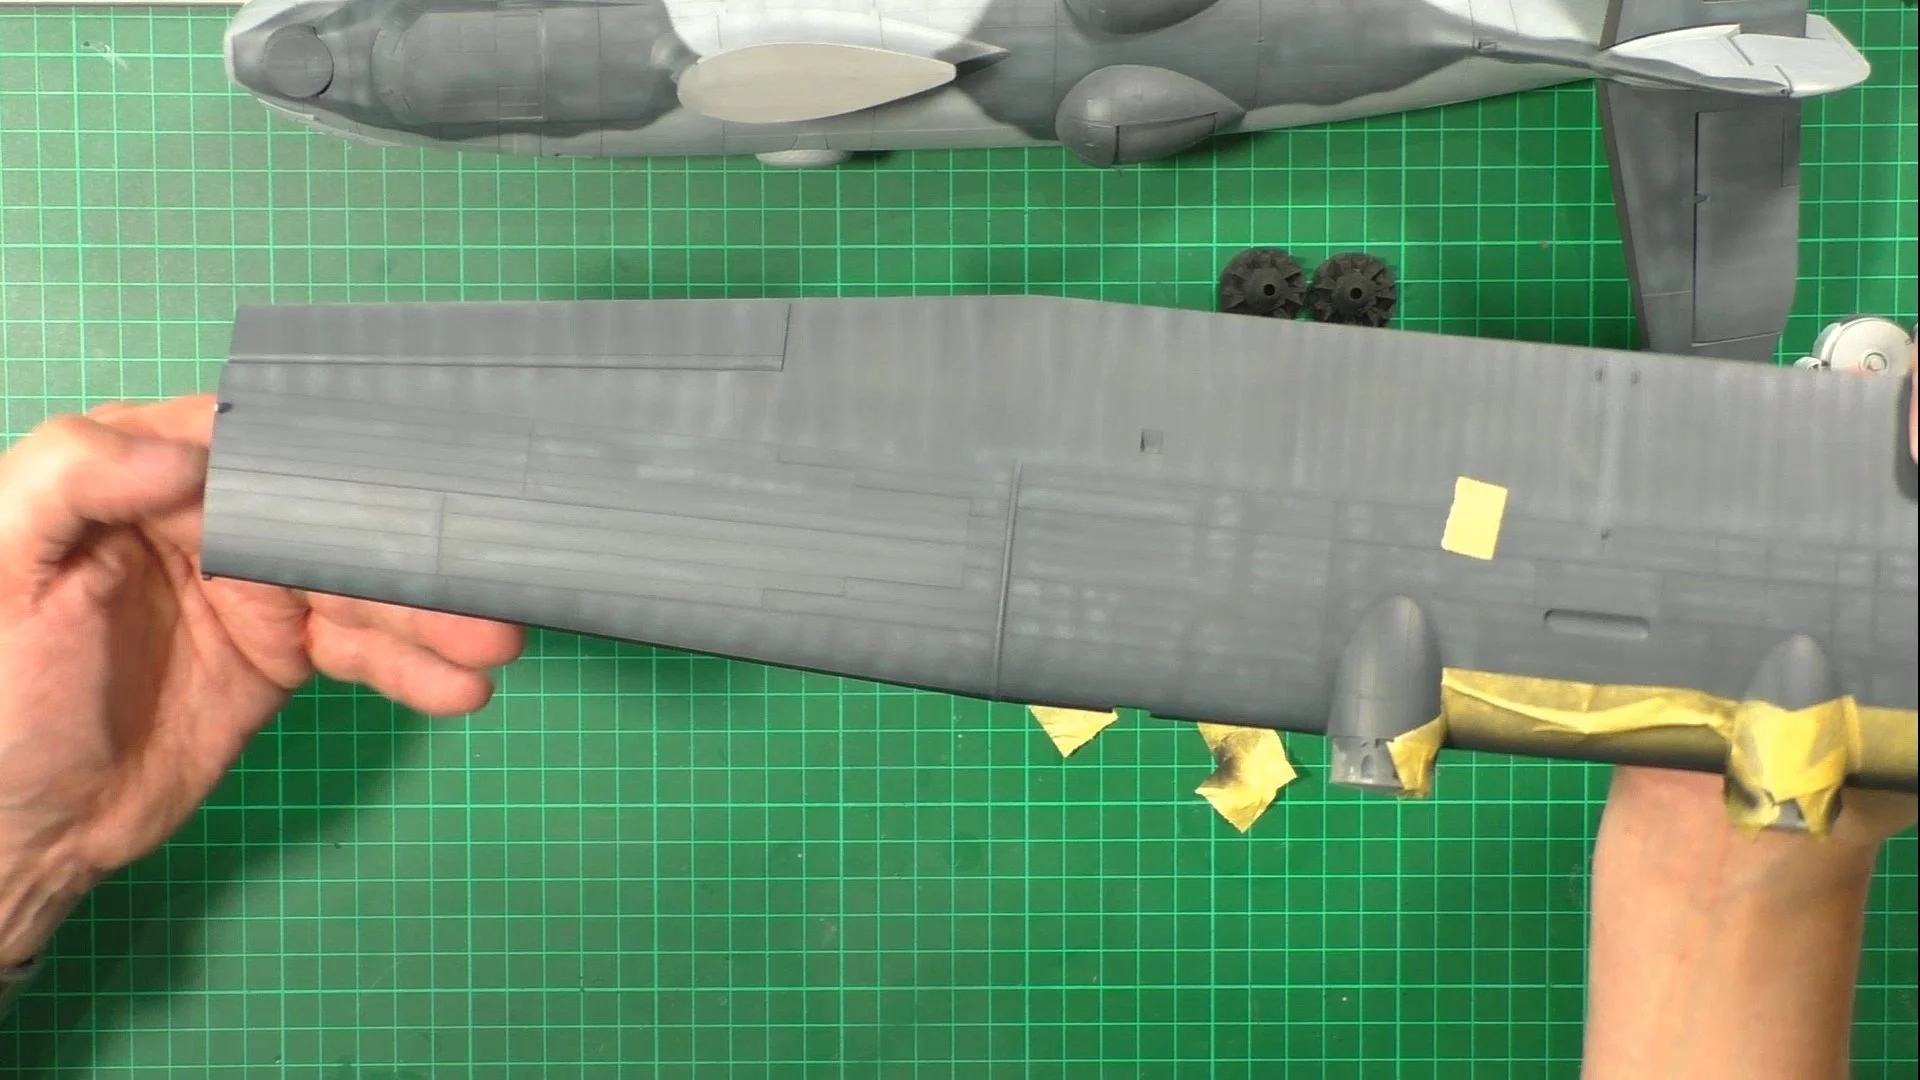
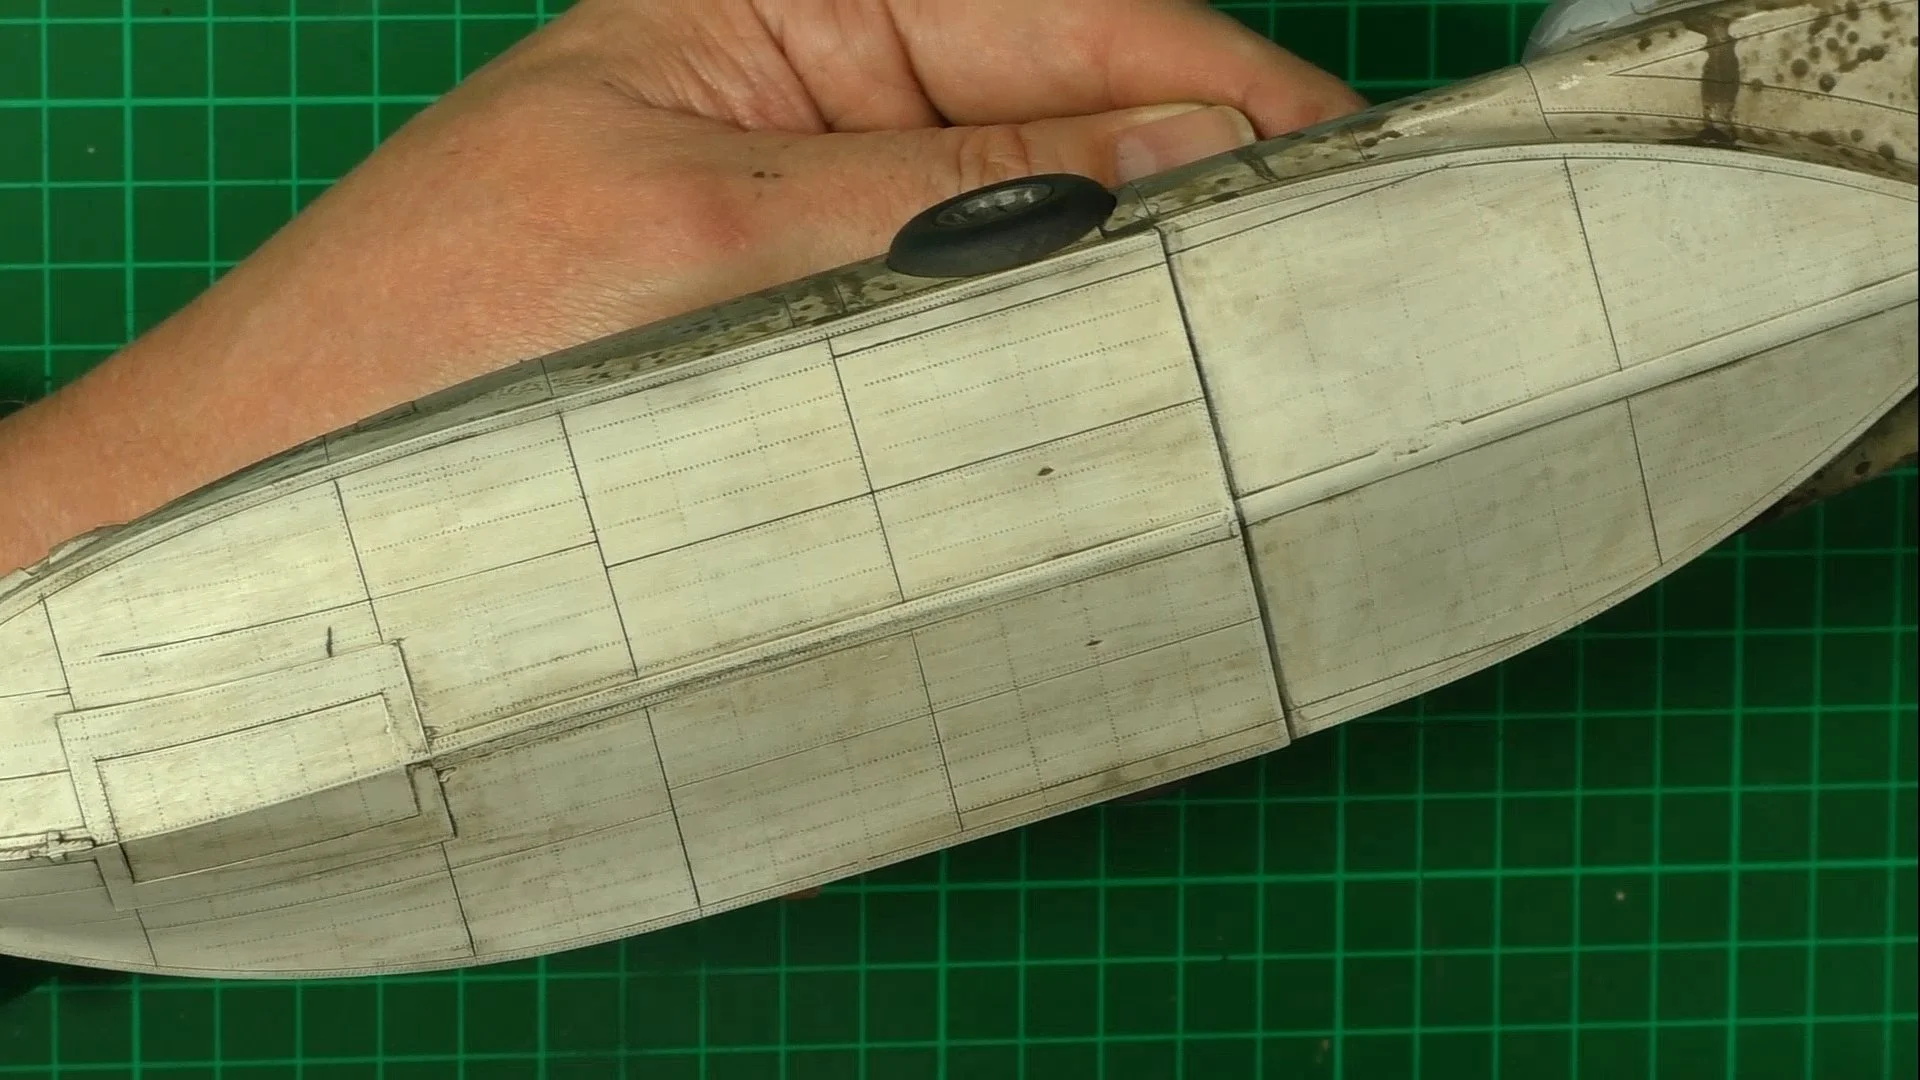
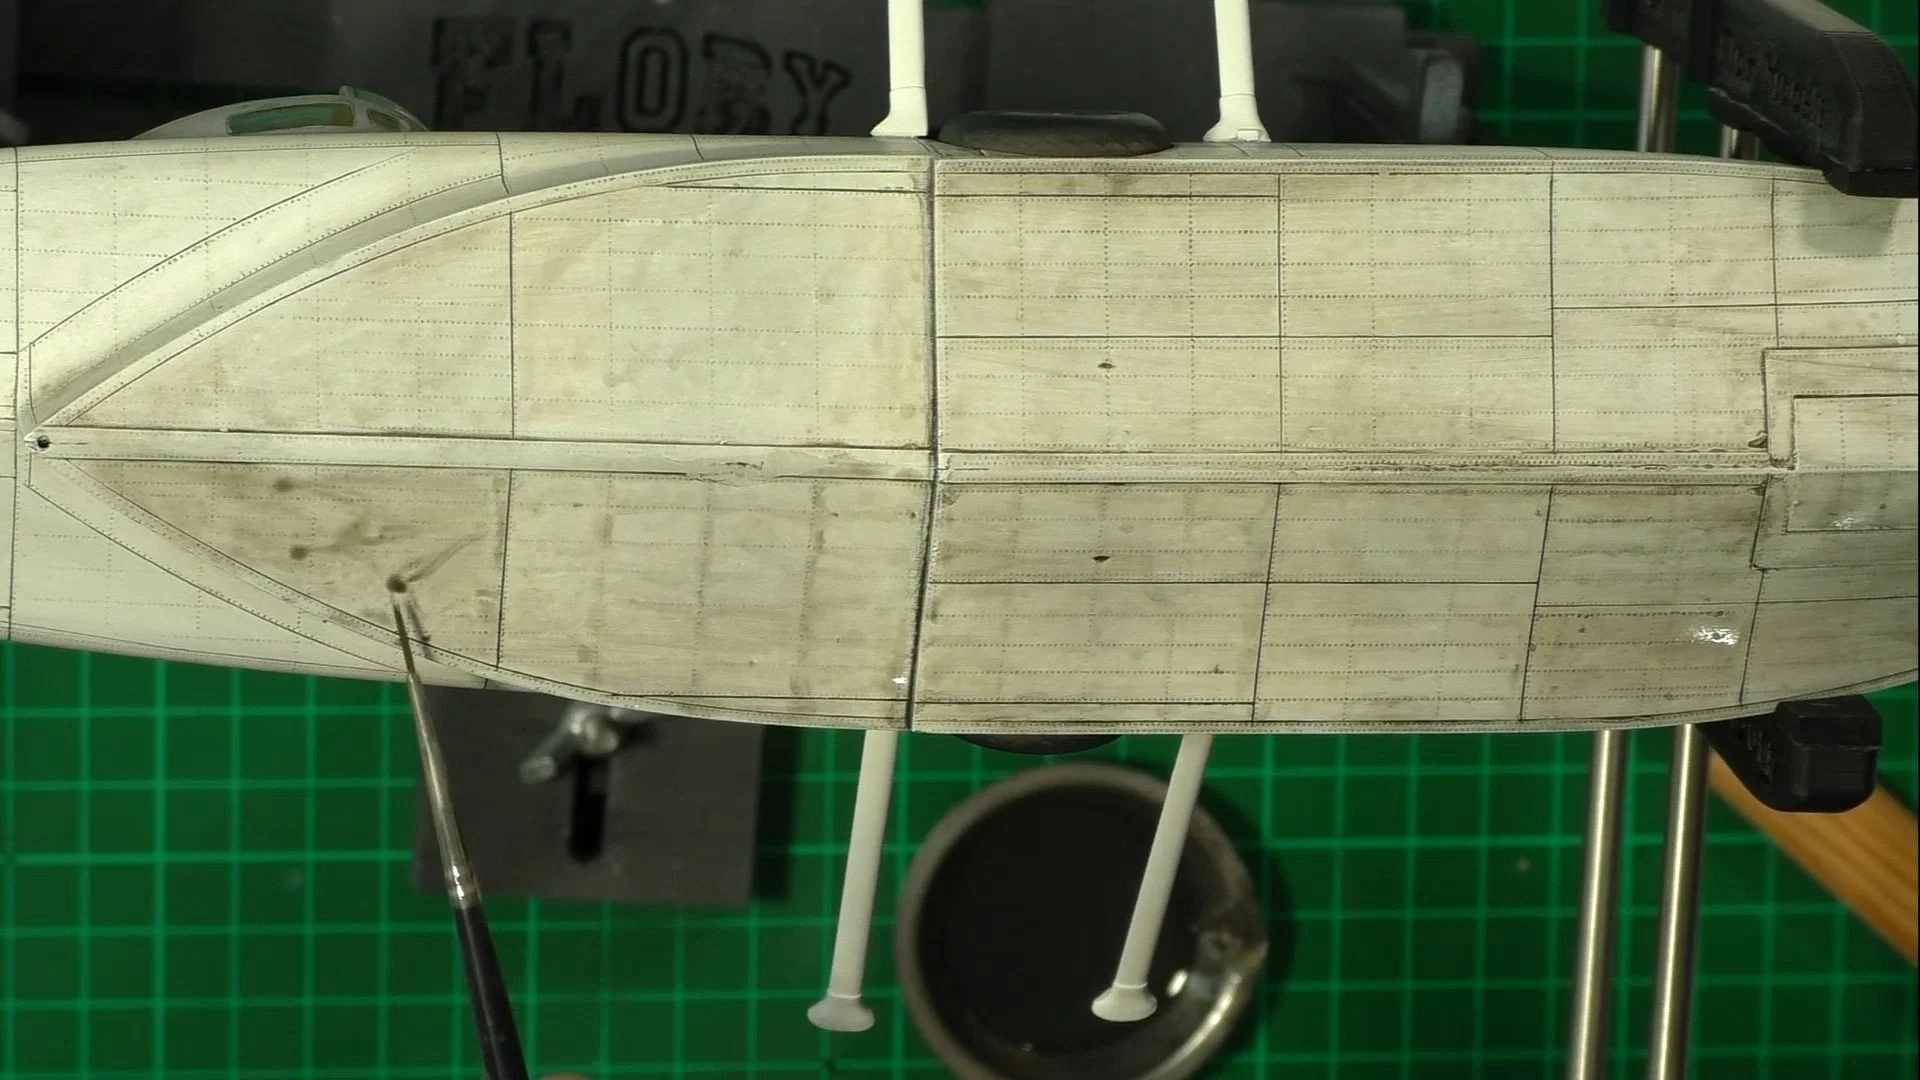
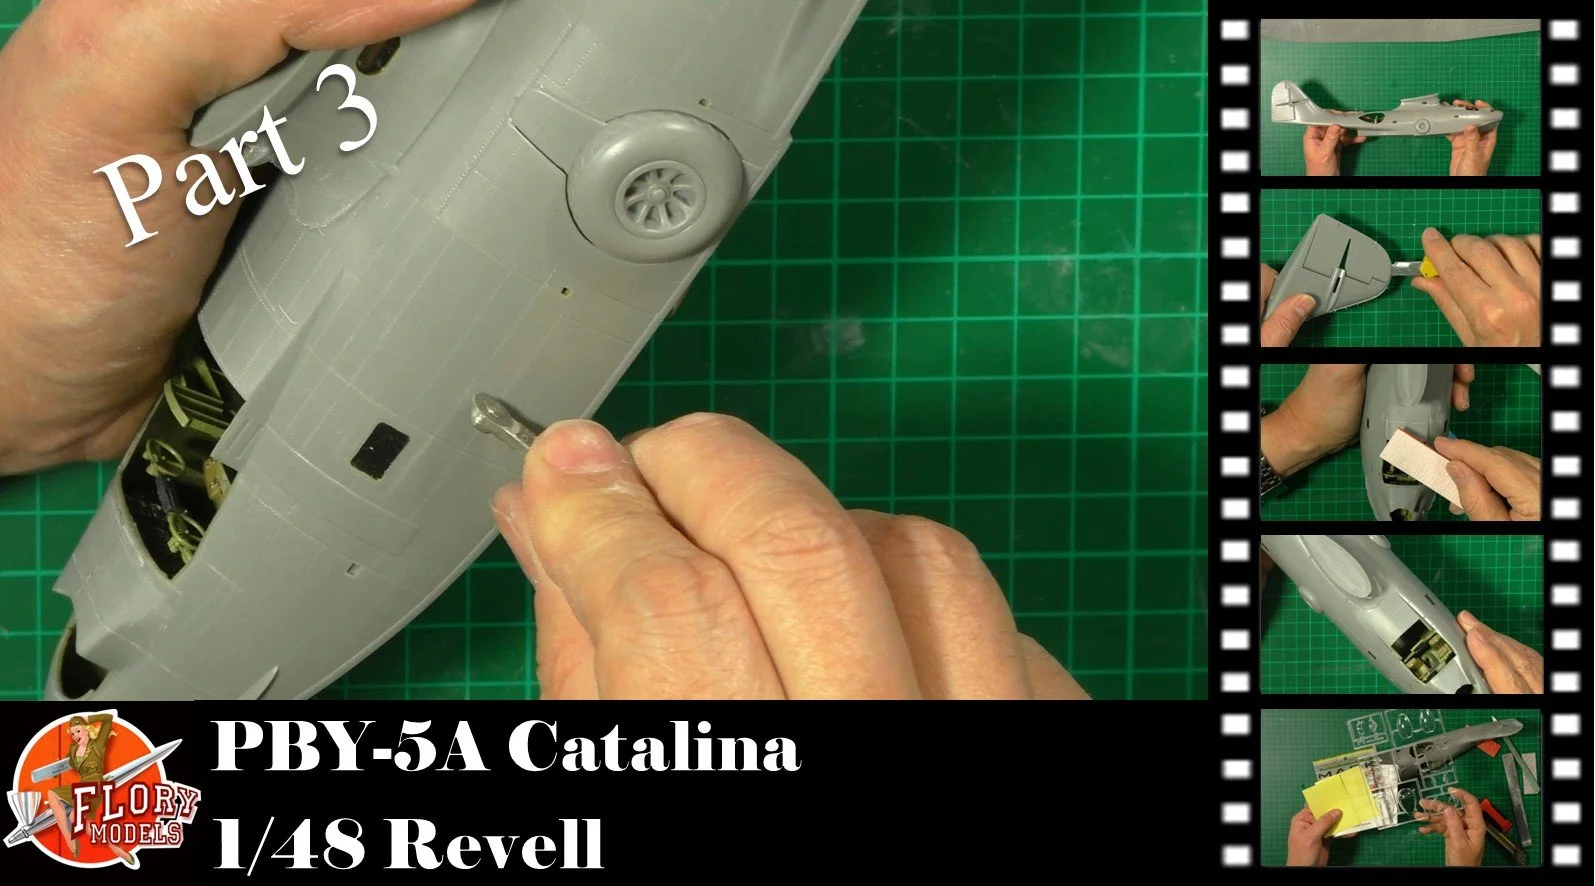
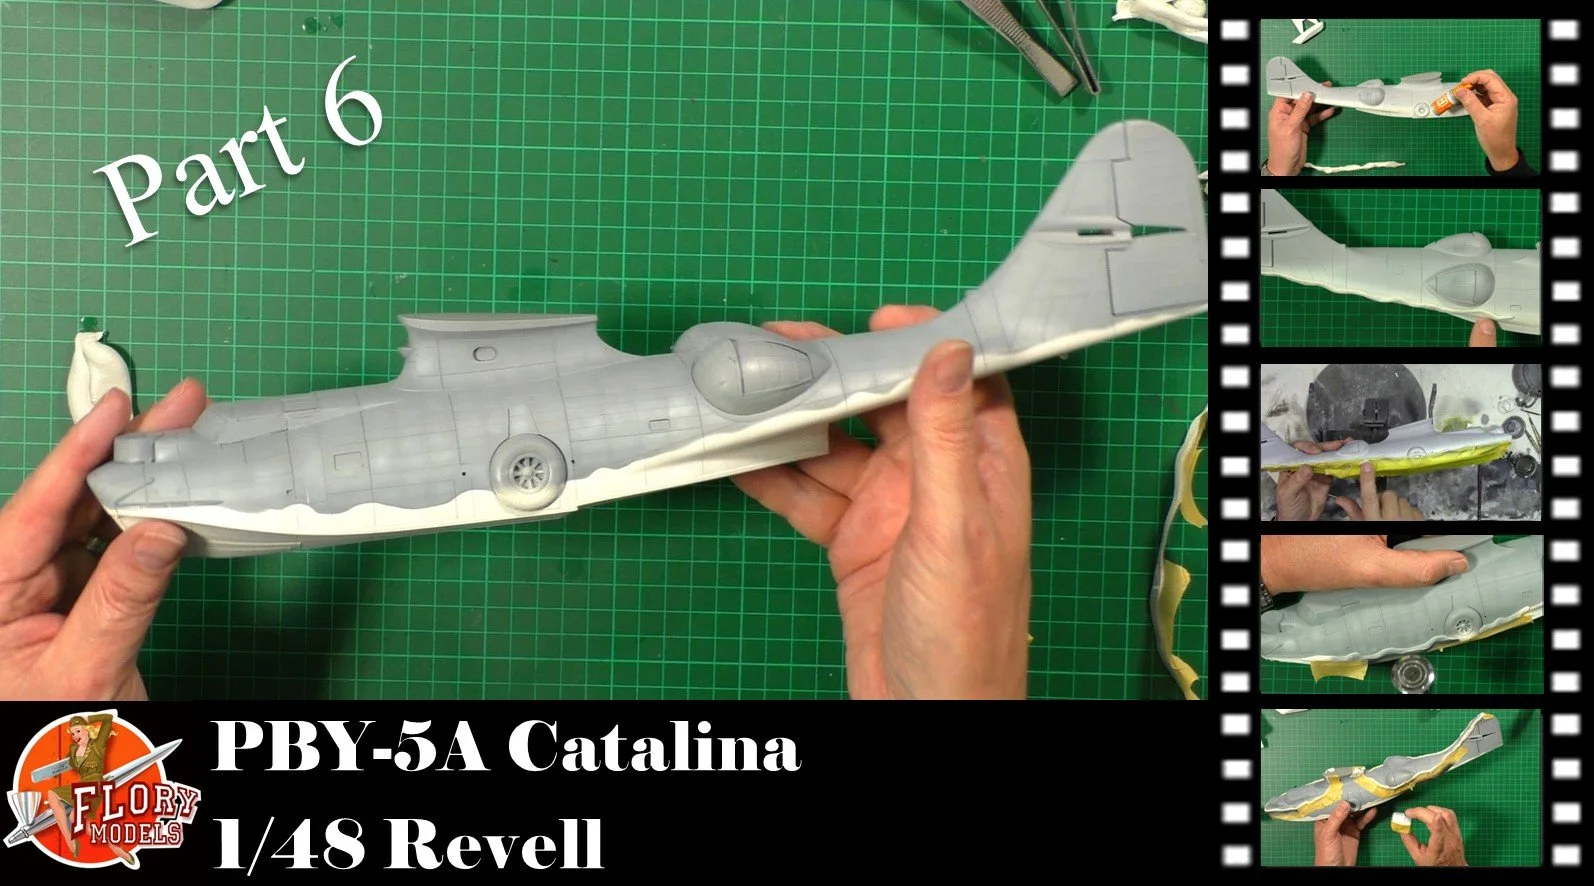
0:00 First up, we fix a small problem. We have glued the tail wrong and need to open the seam and then reset it in the correct place. 14:17 Next, we fill and sand all the seams. 19:15 Here, we fix the hull, it has a gash in the plastic caused by the sprue tab tearing the plastic from the part. 22:25 Last up, we re-scribe and re-rivet the whole model as the original is very faint and won't show up well after priming and painting.
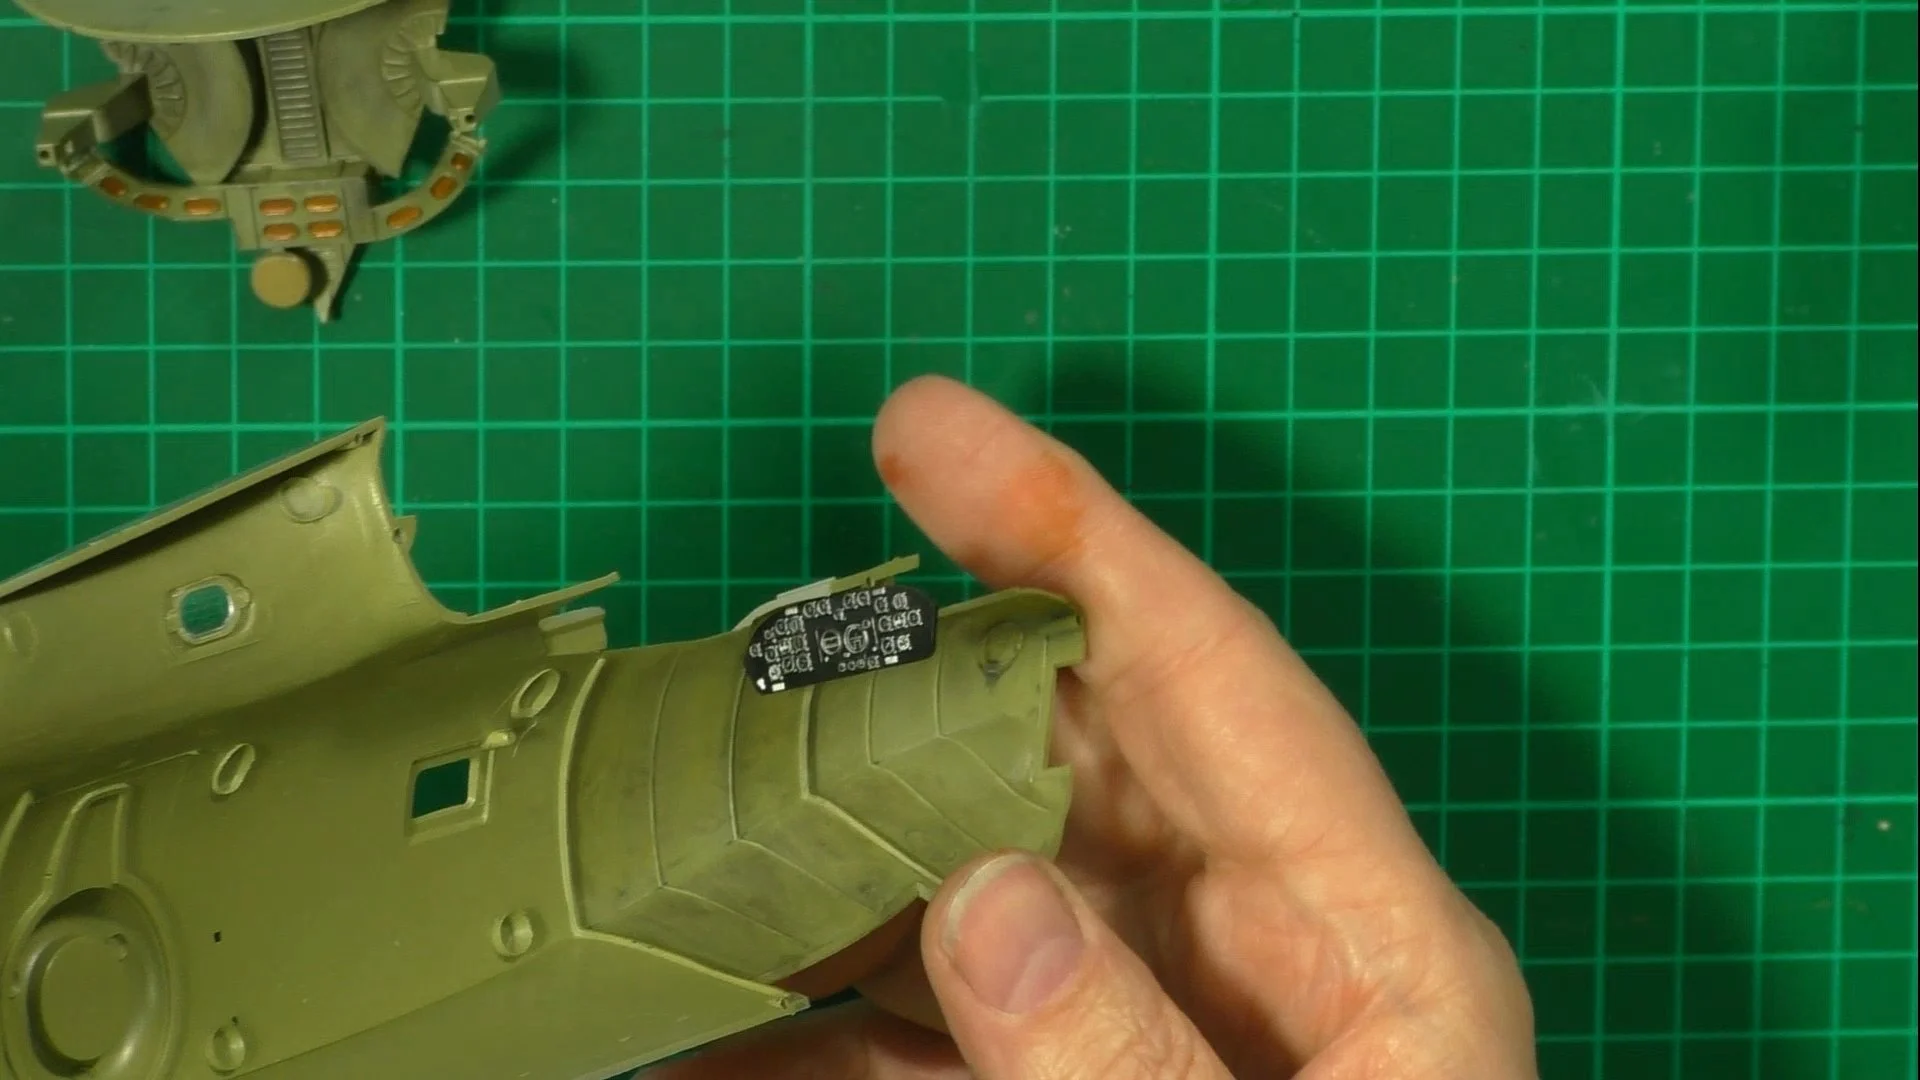
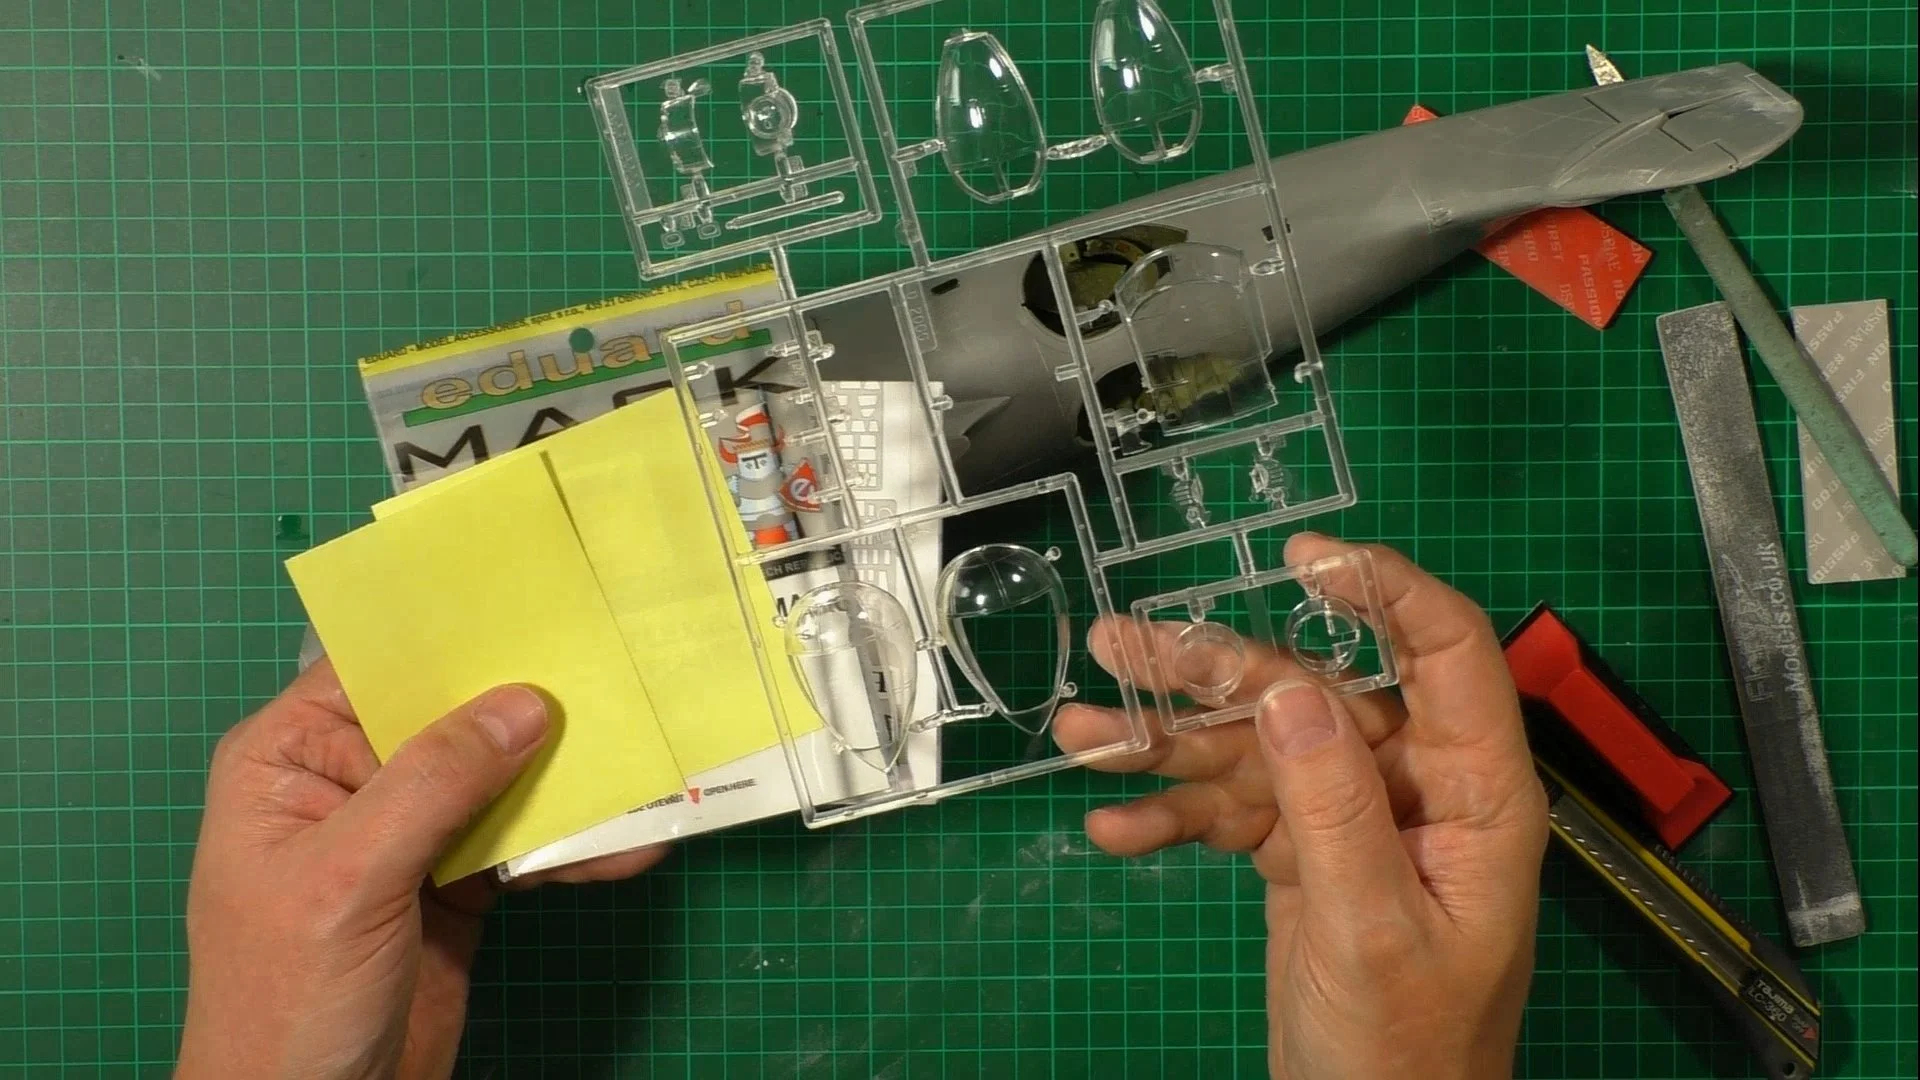
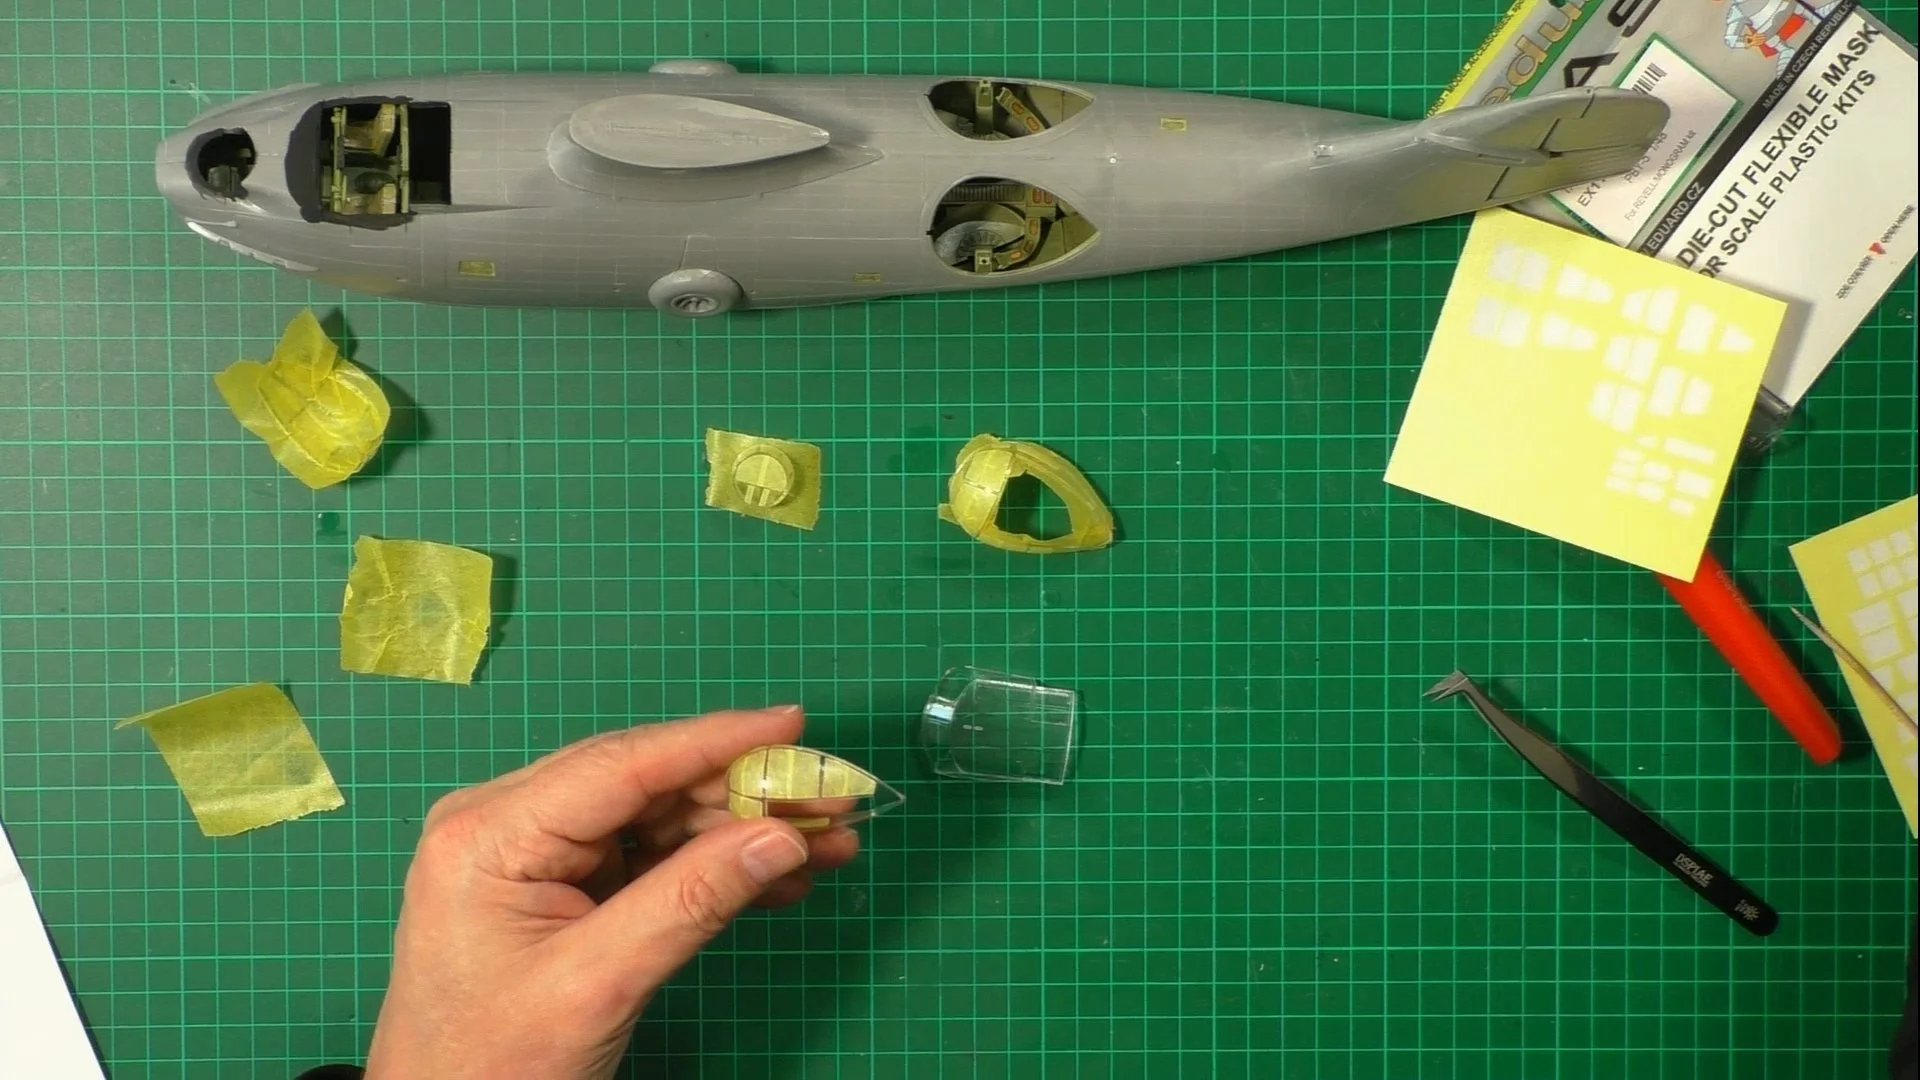
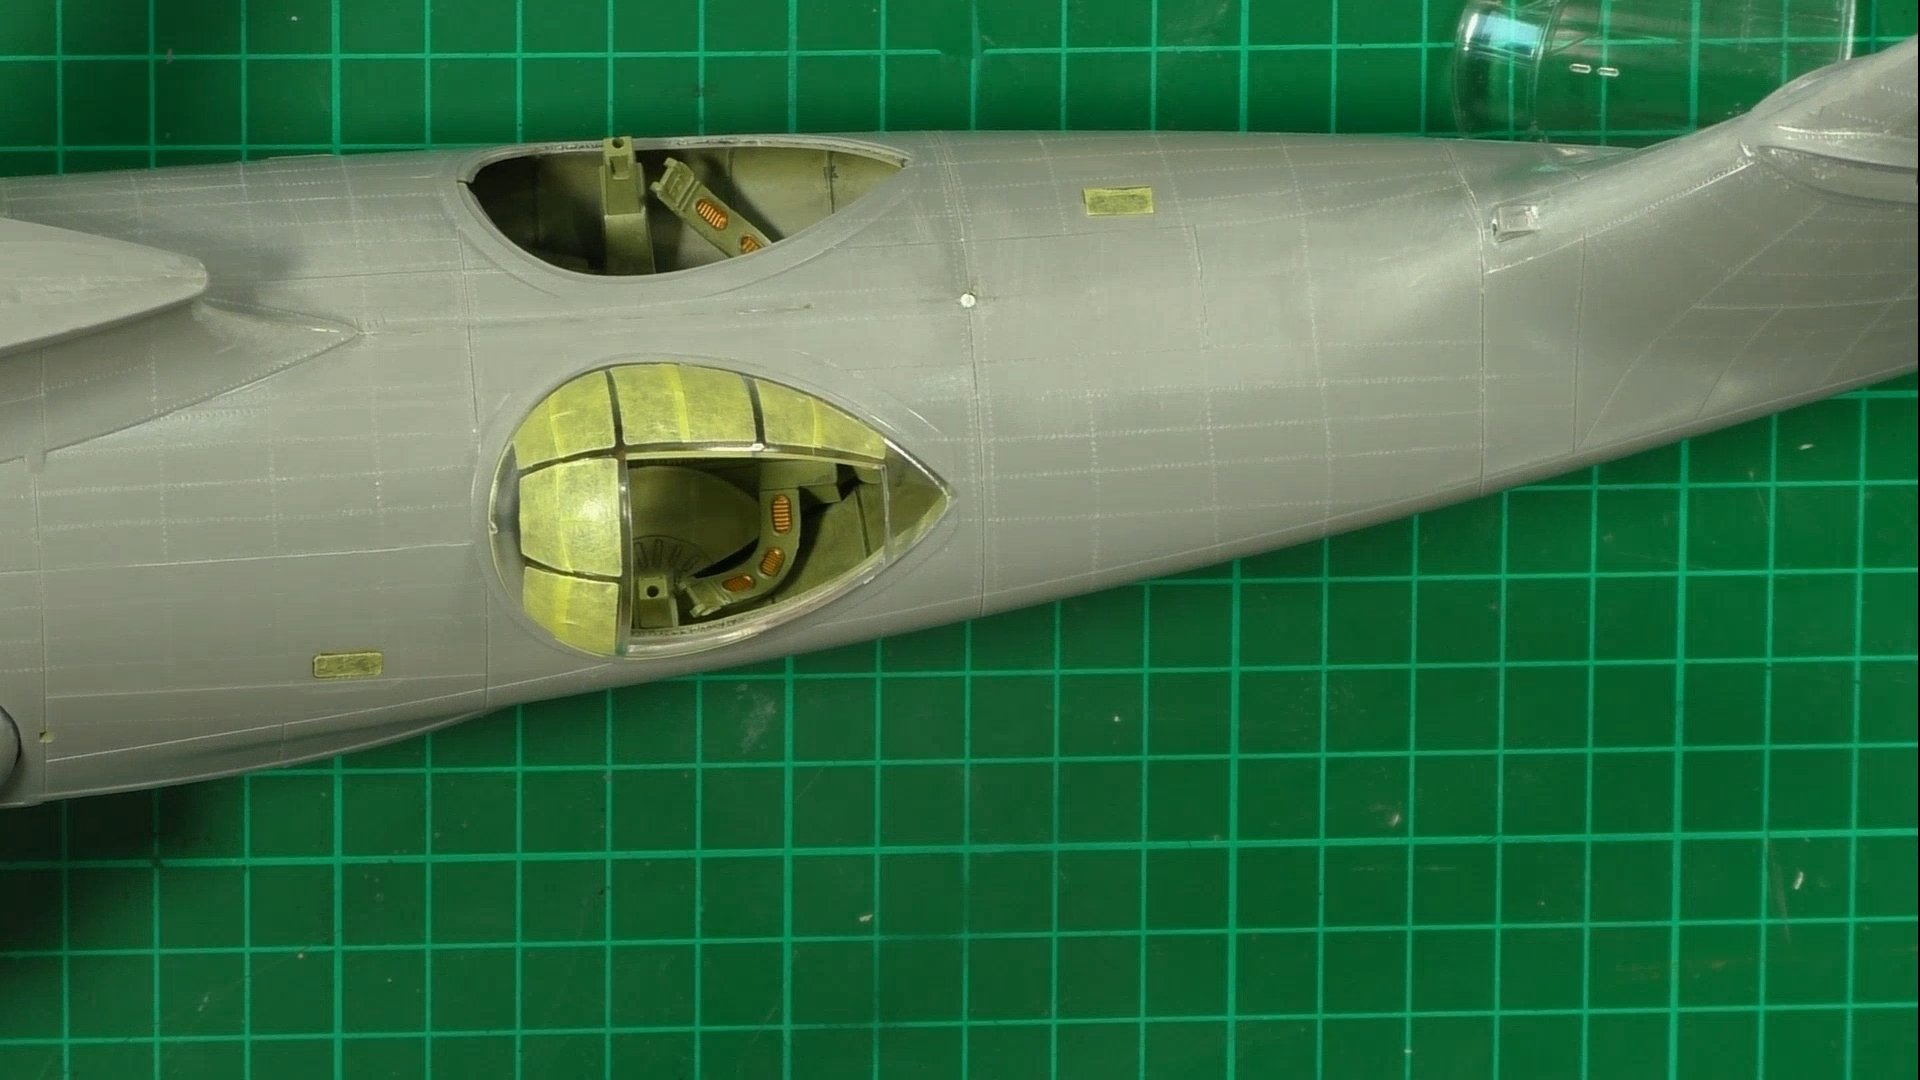
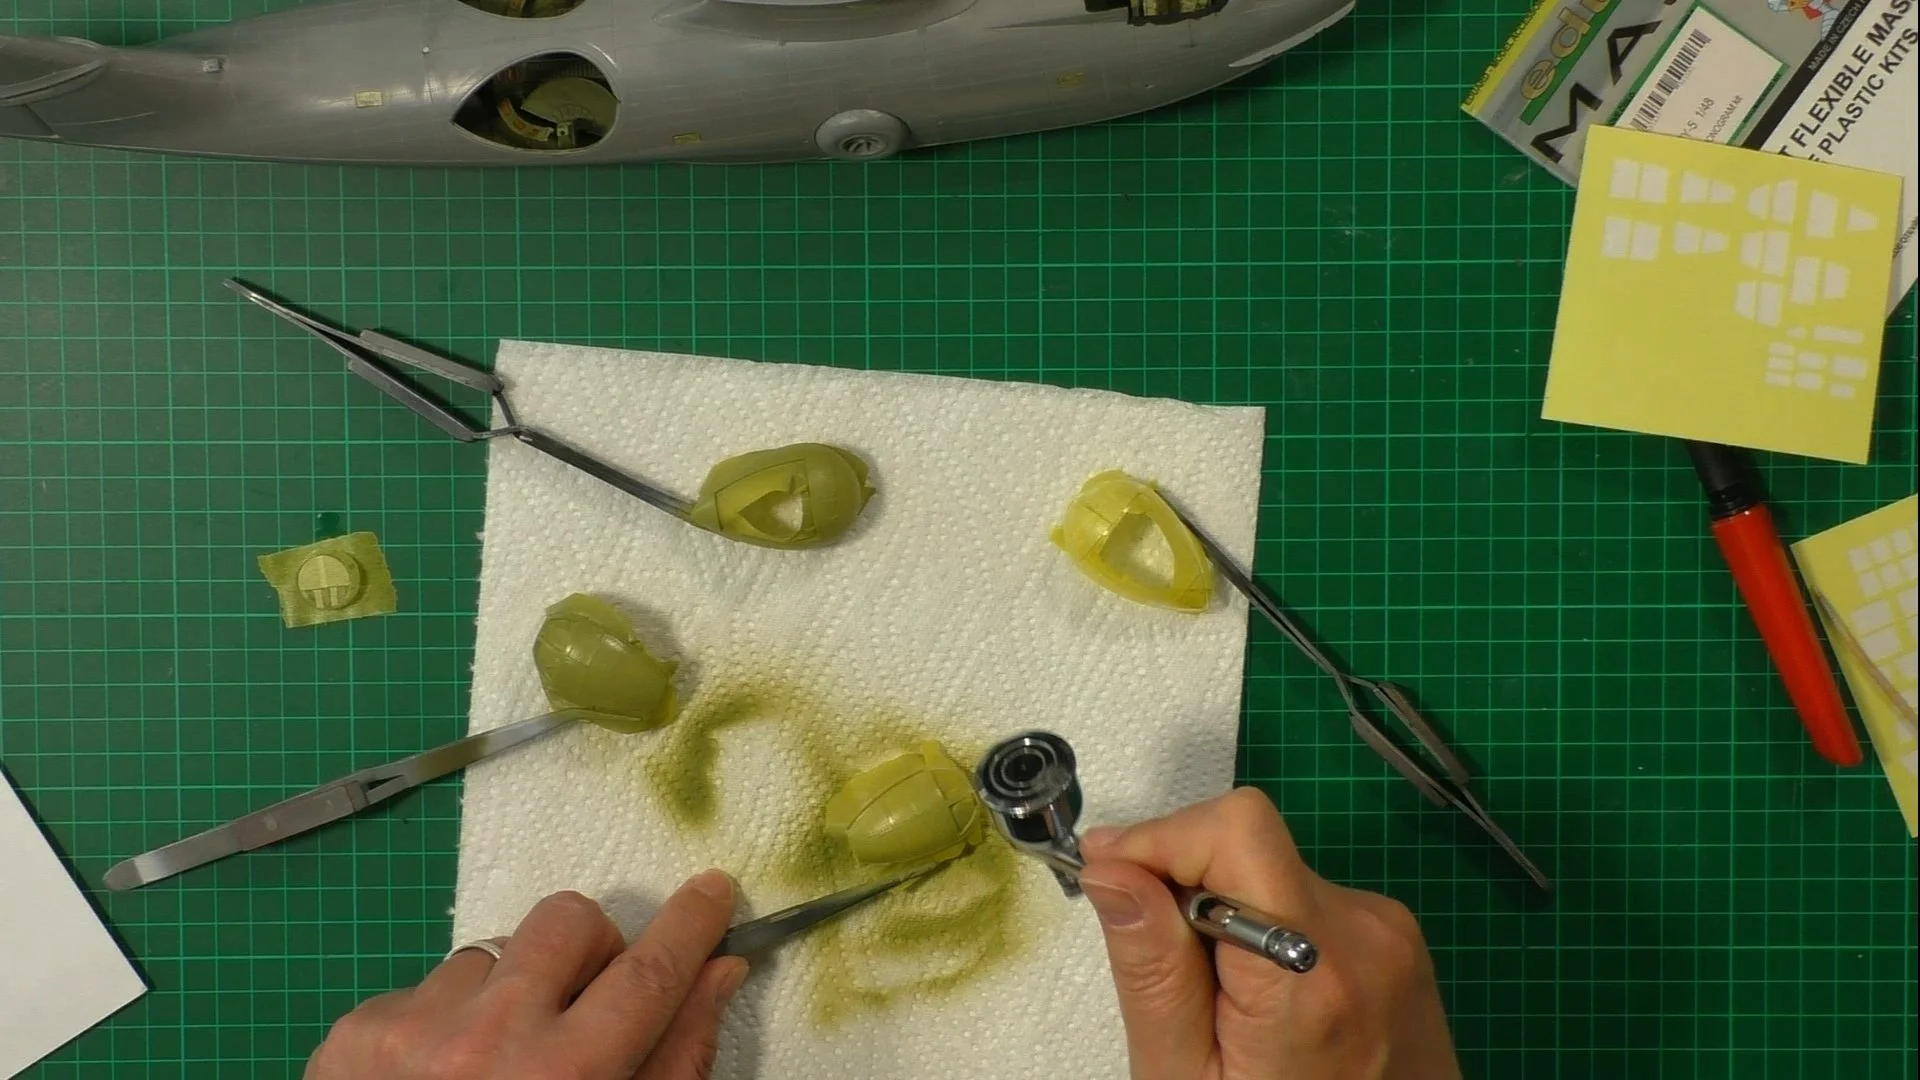
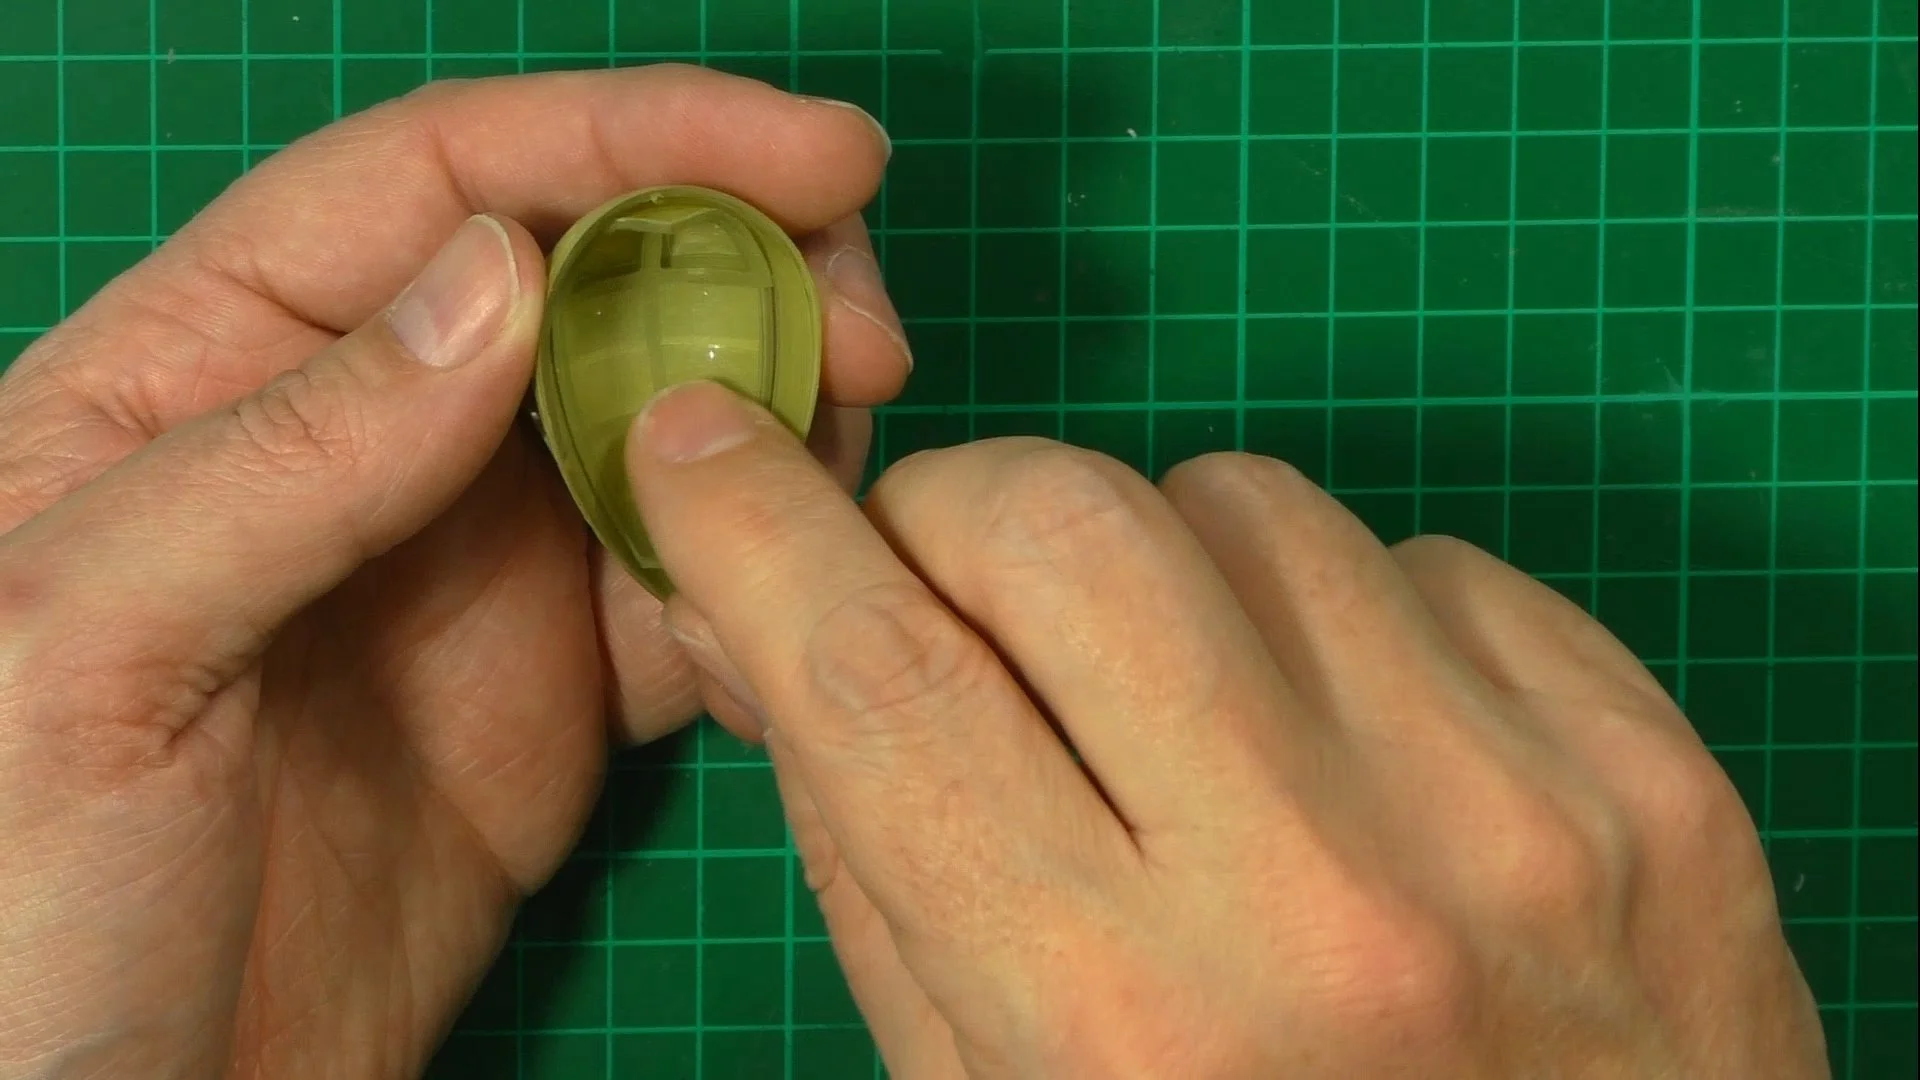
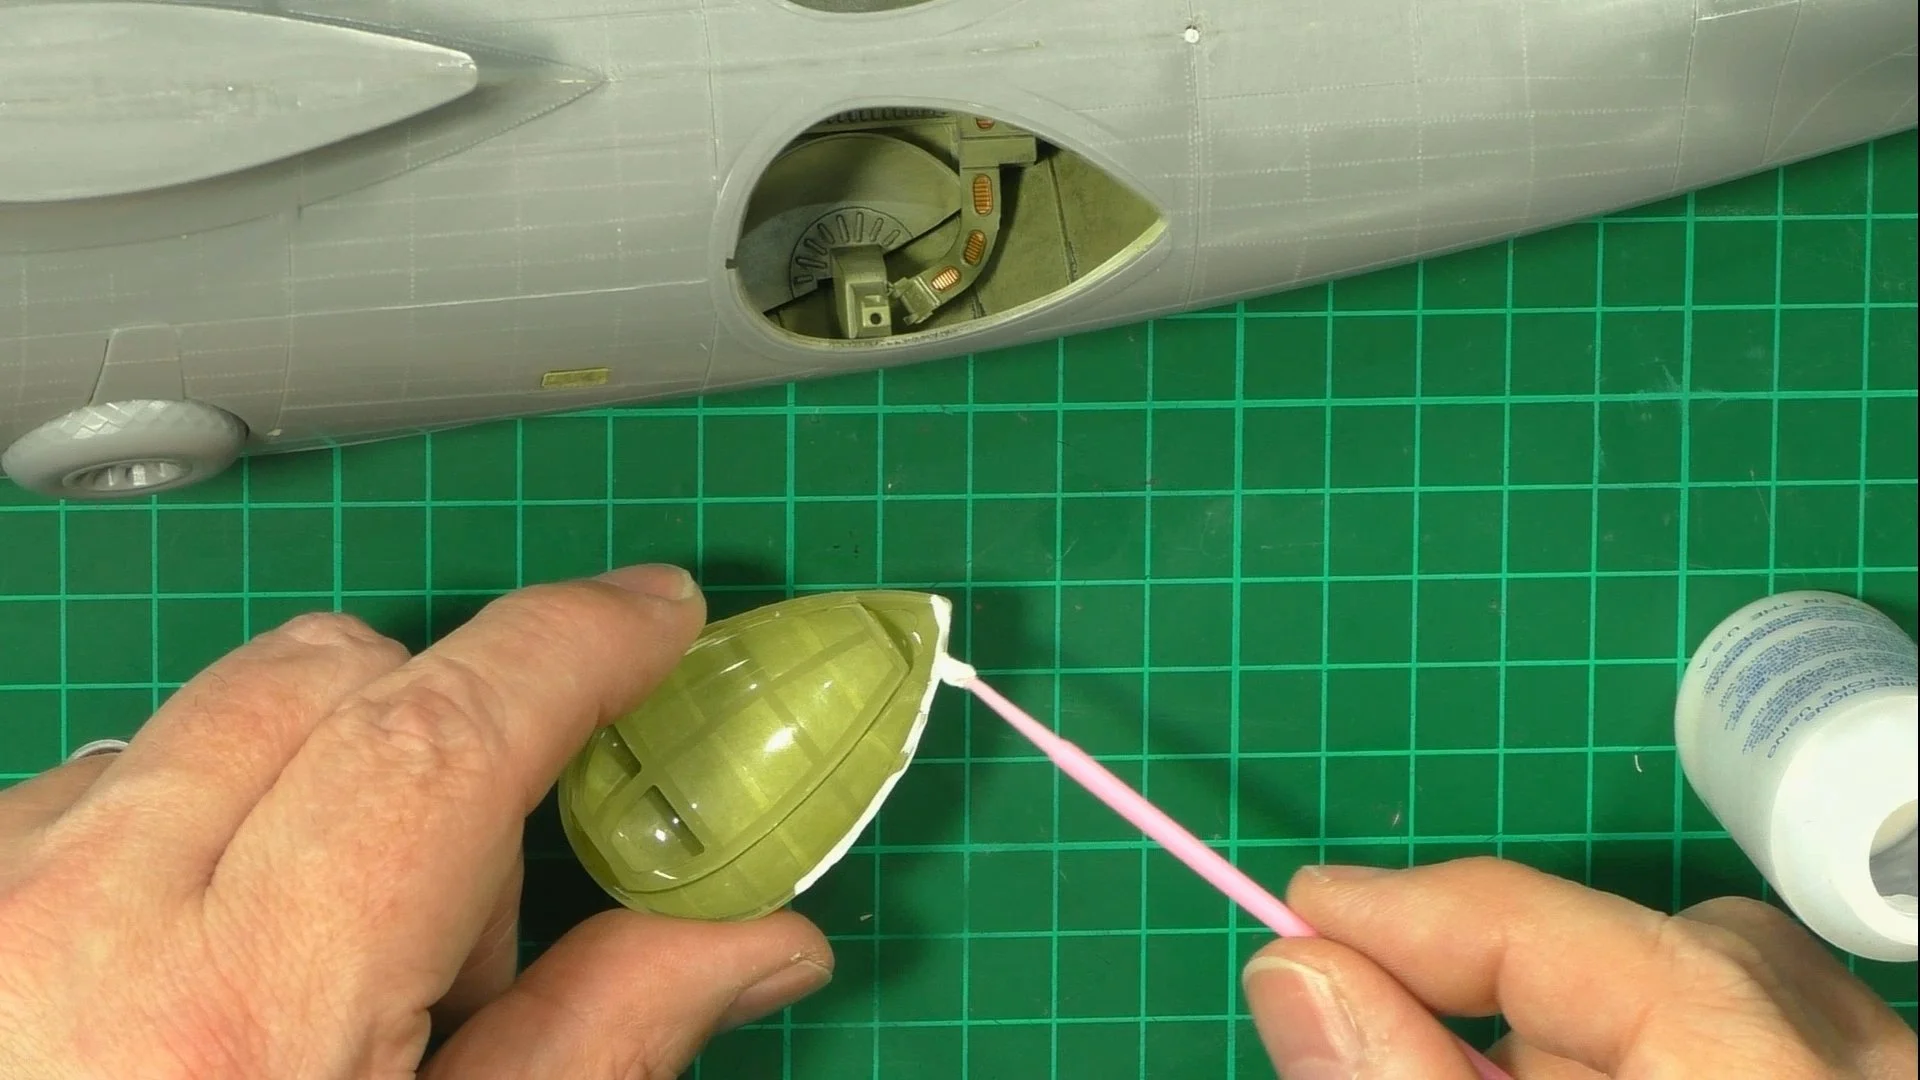
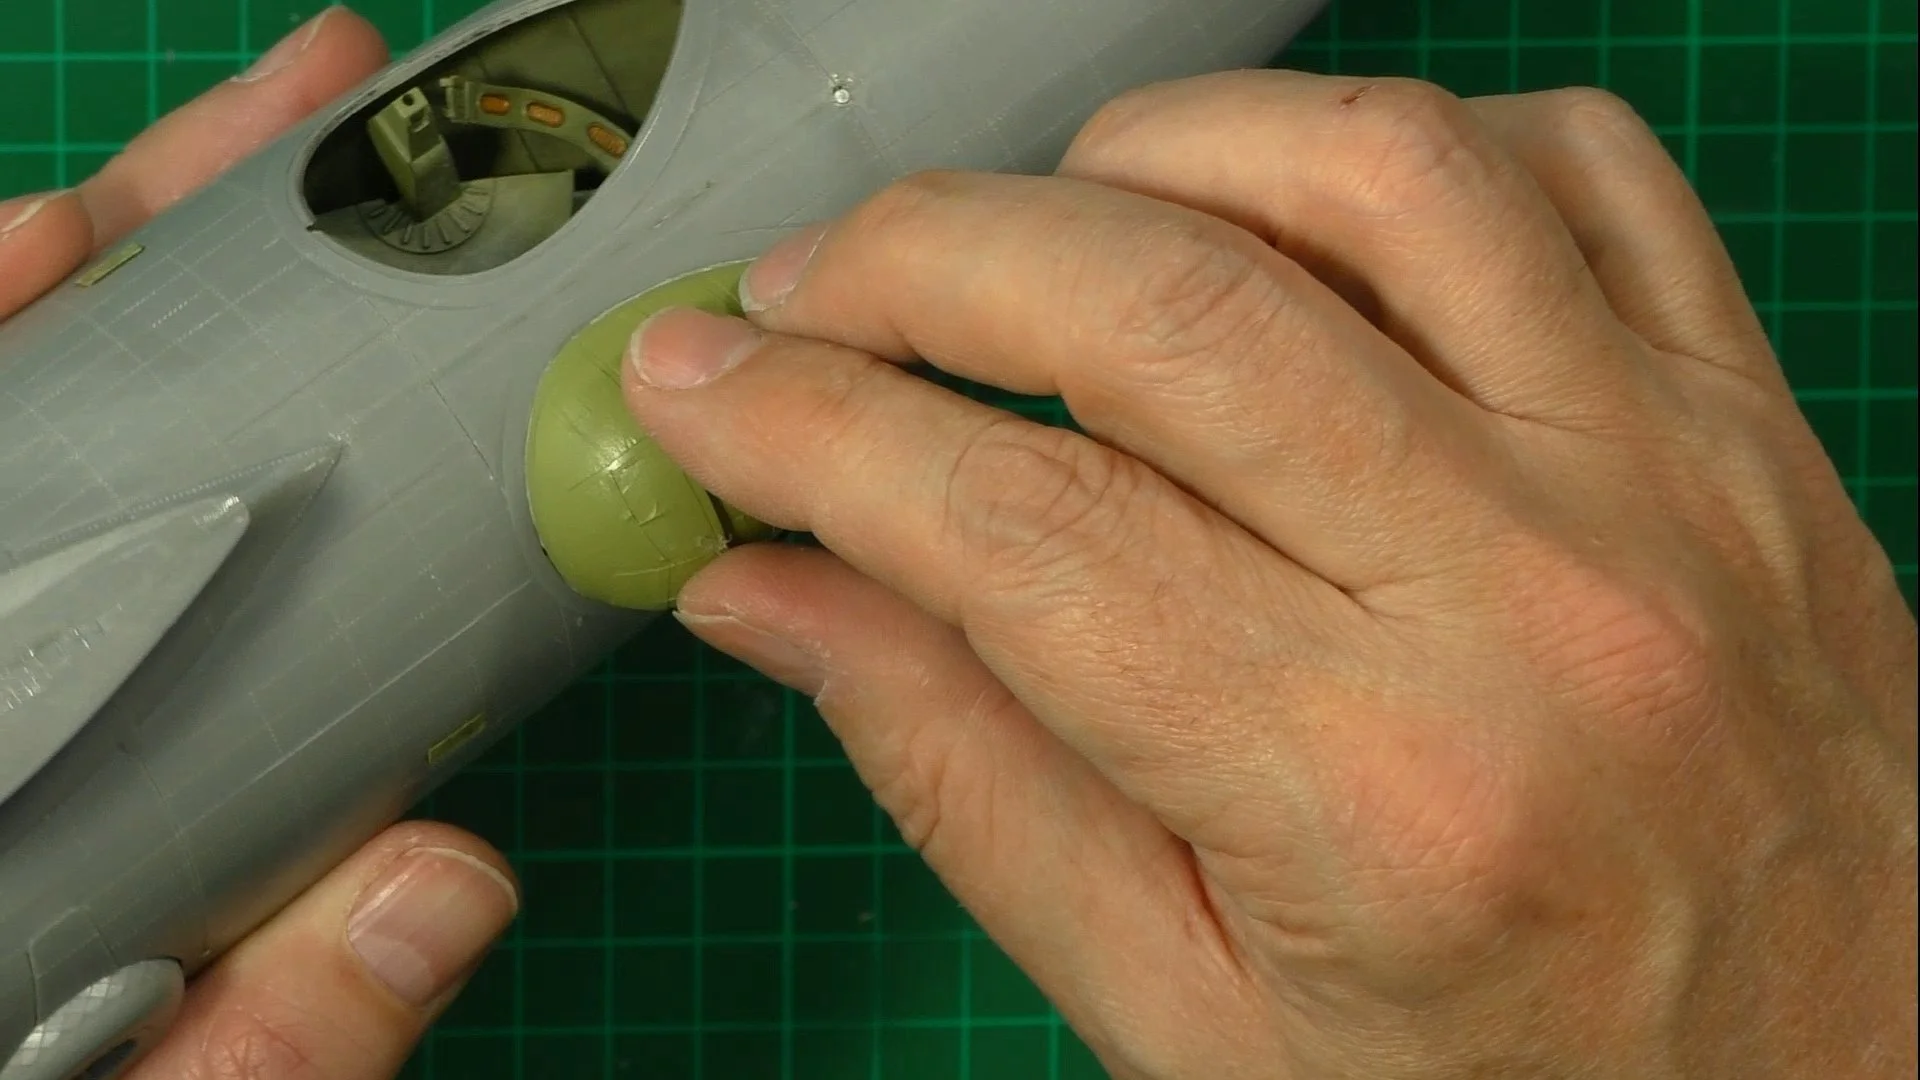
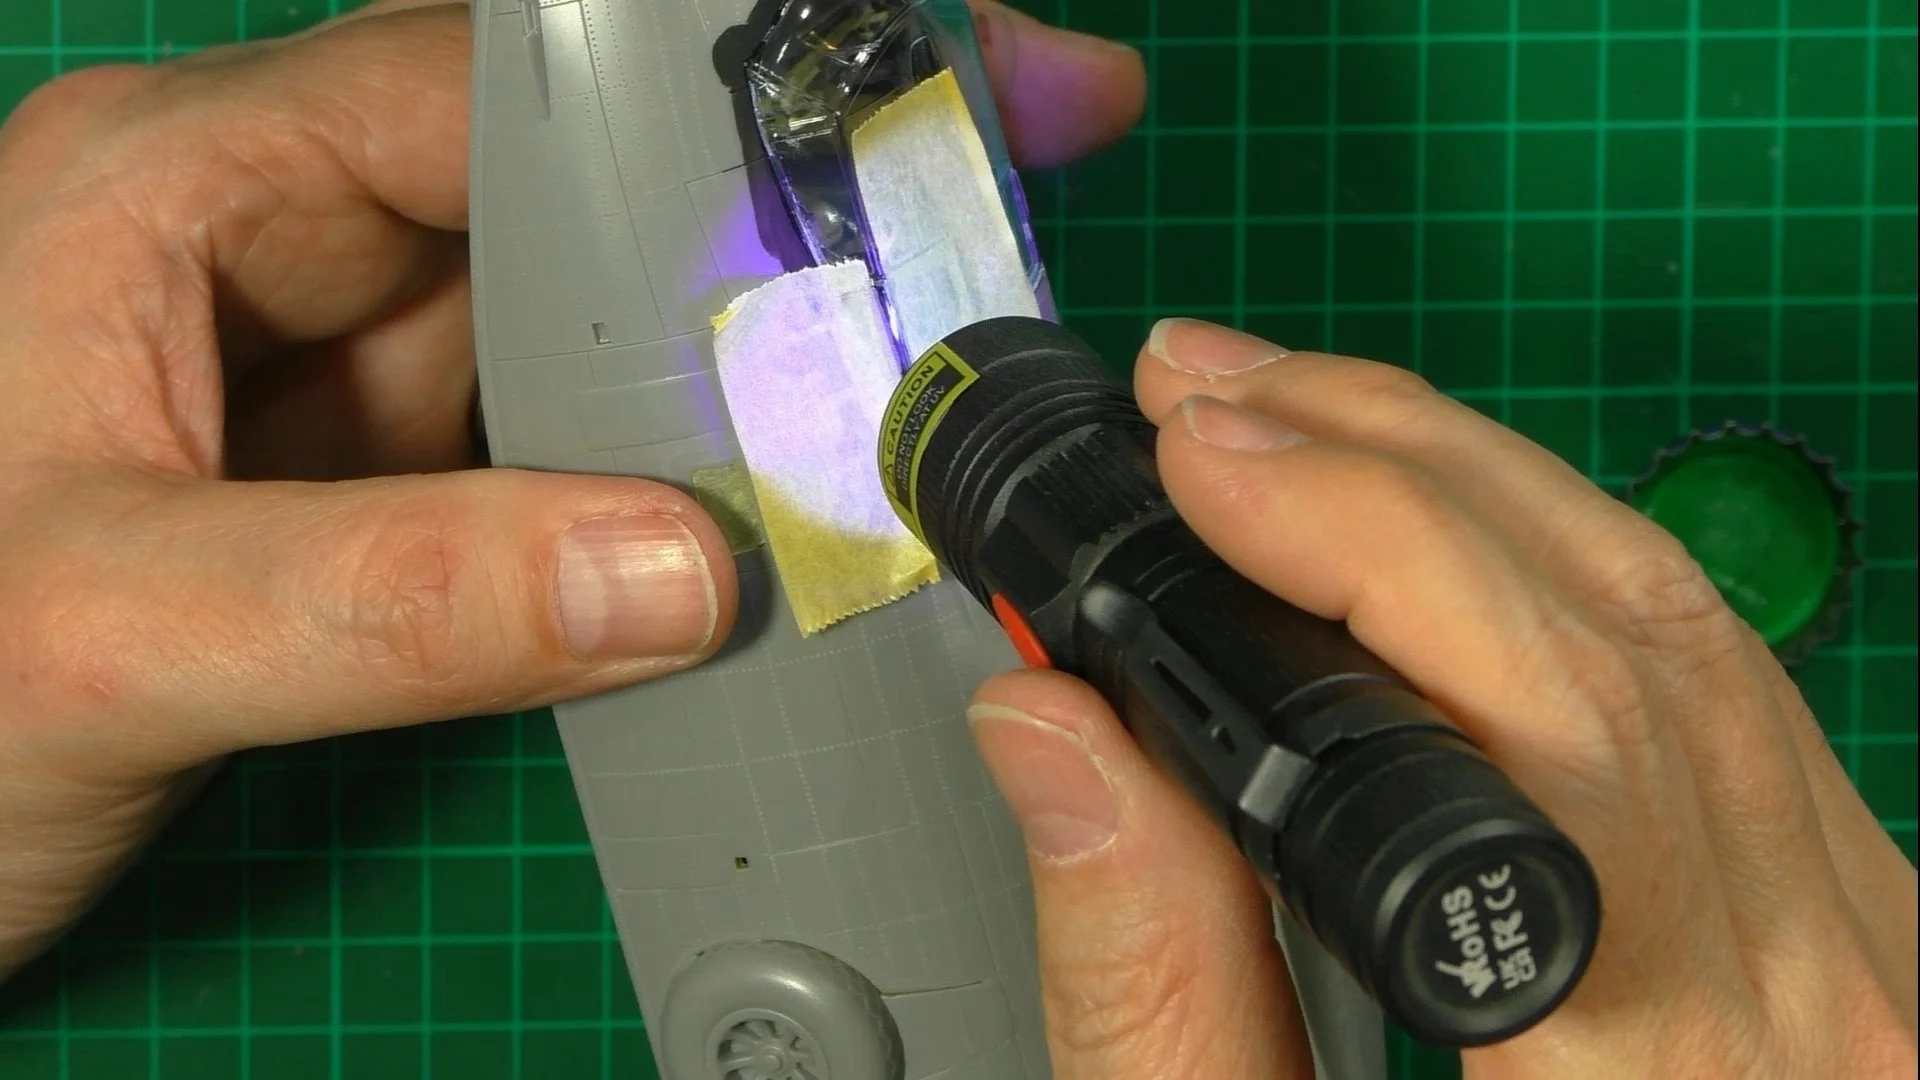
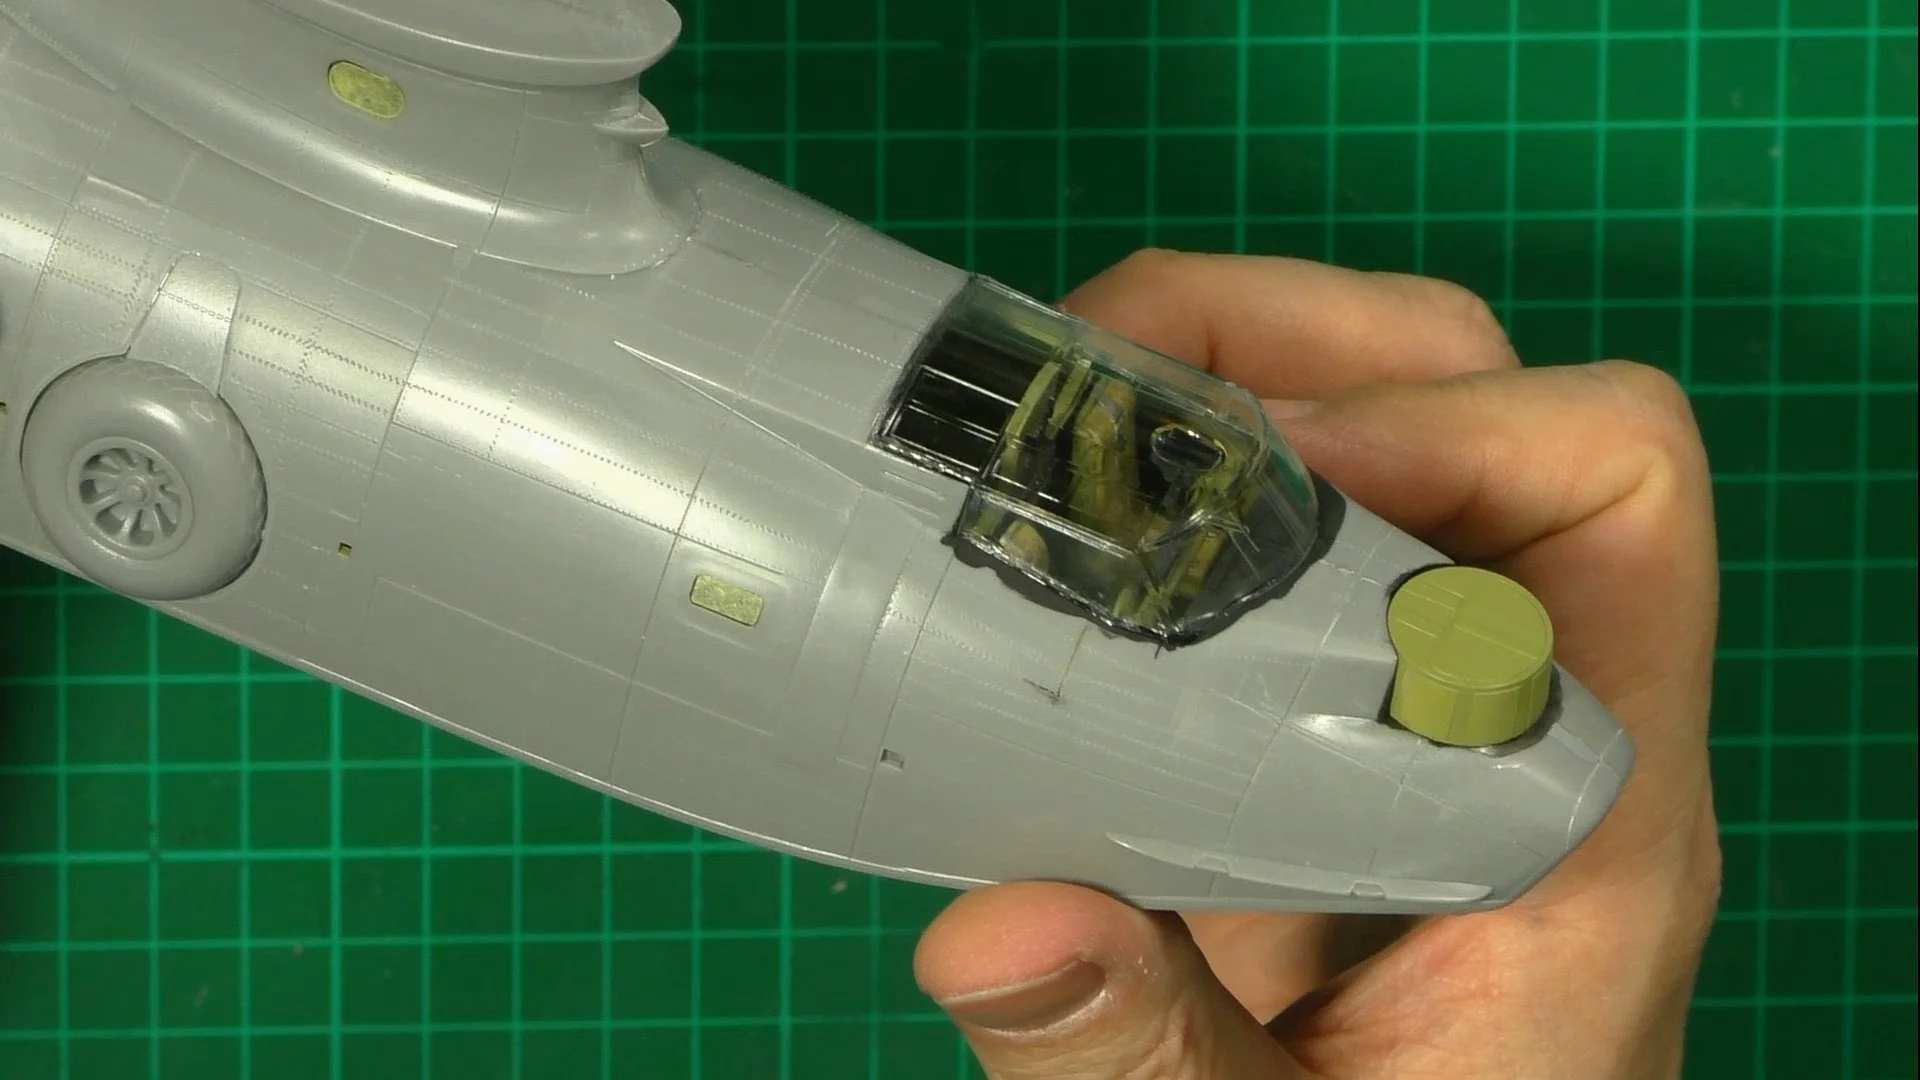
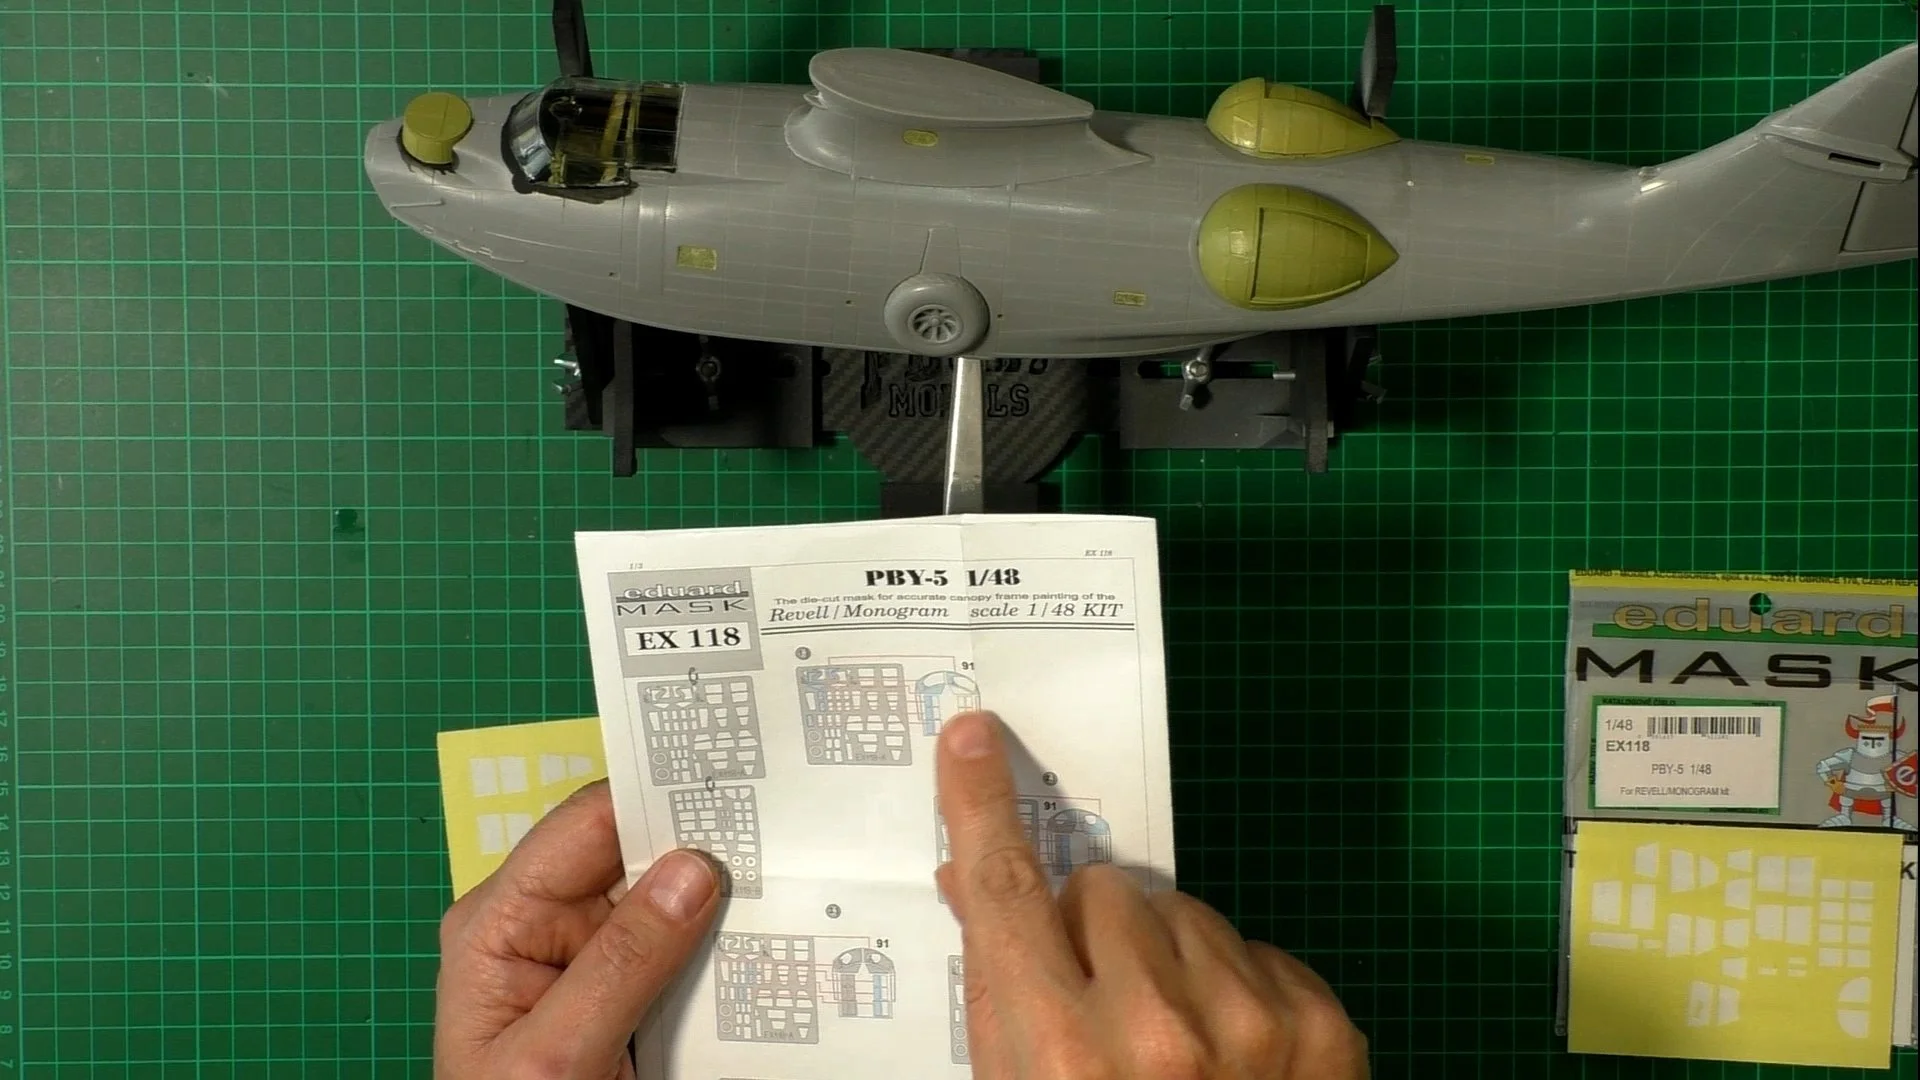
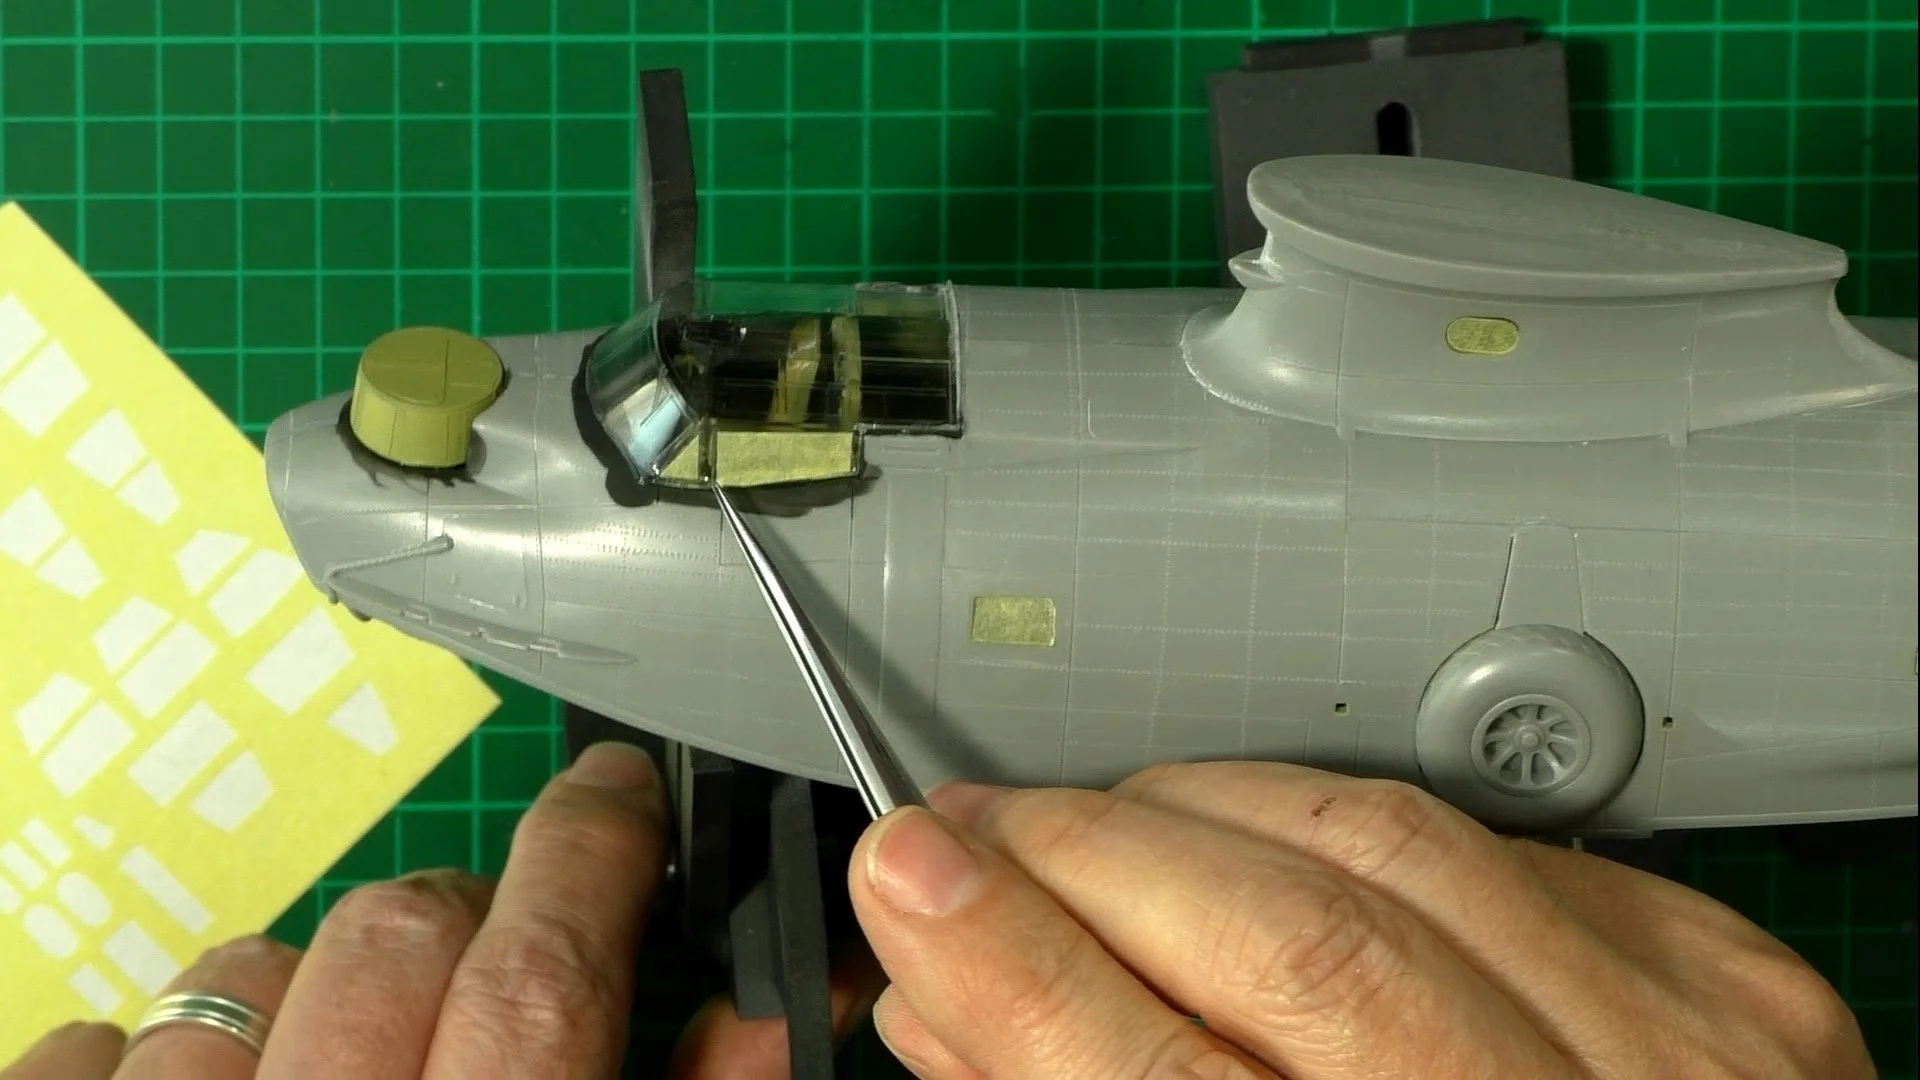
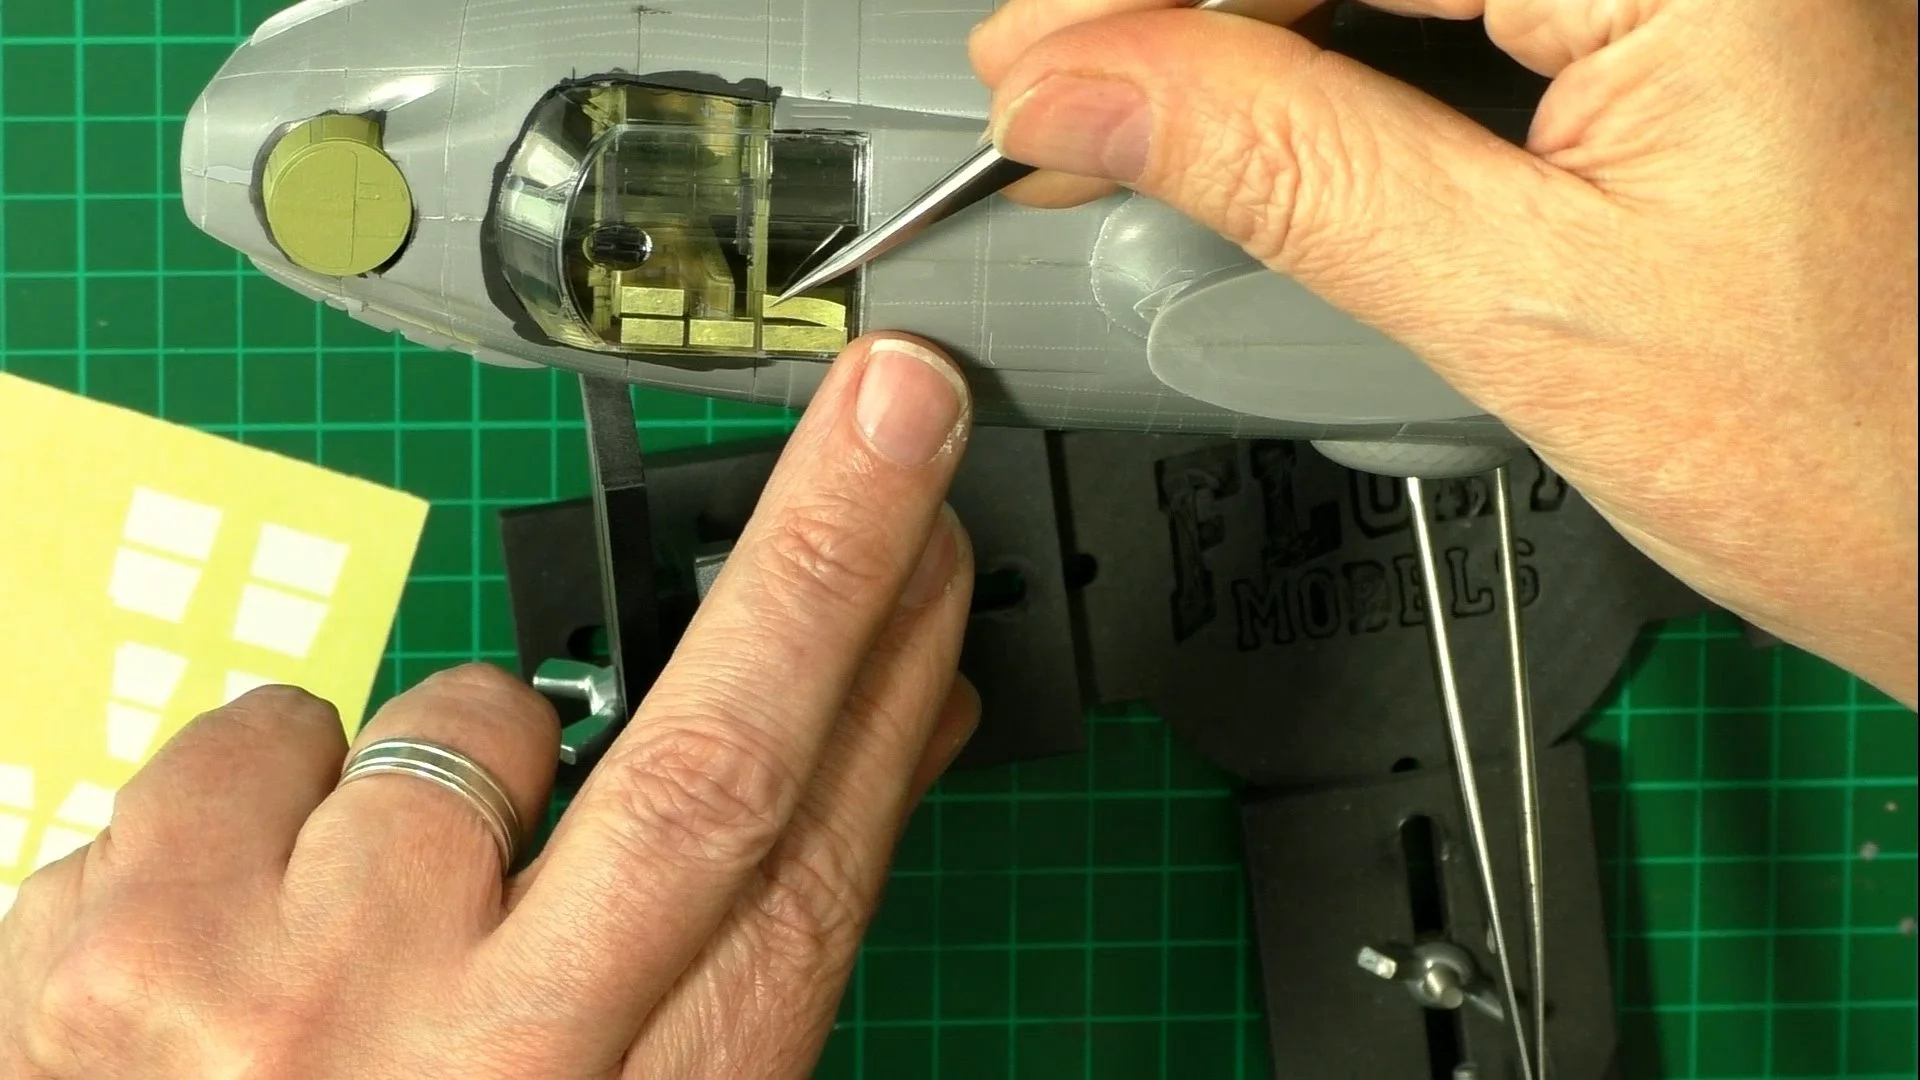
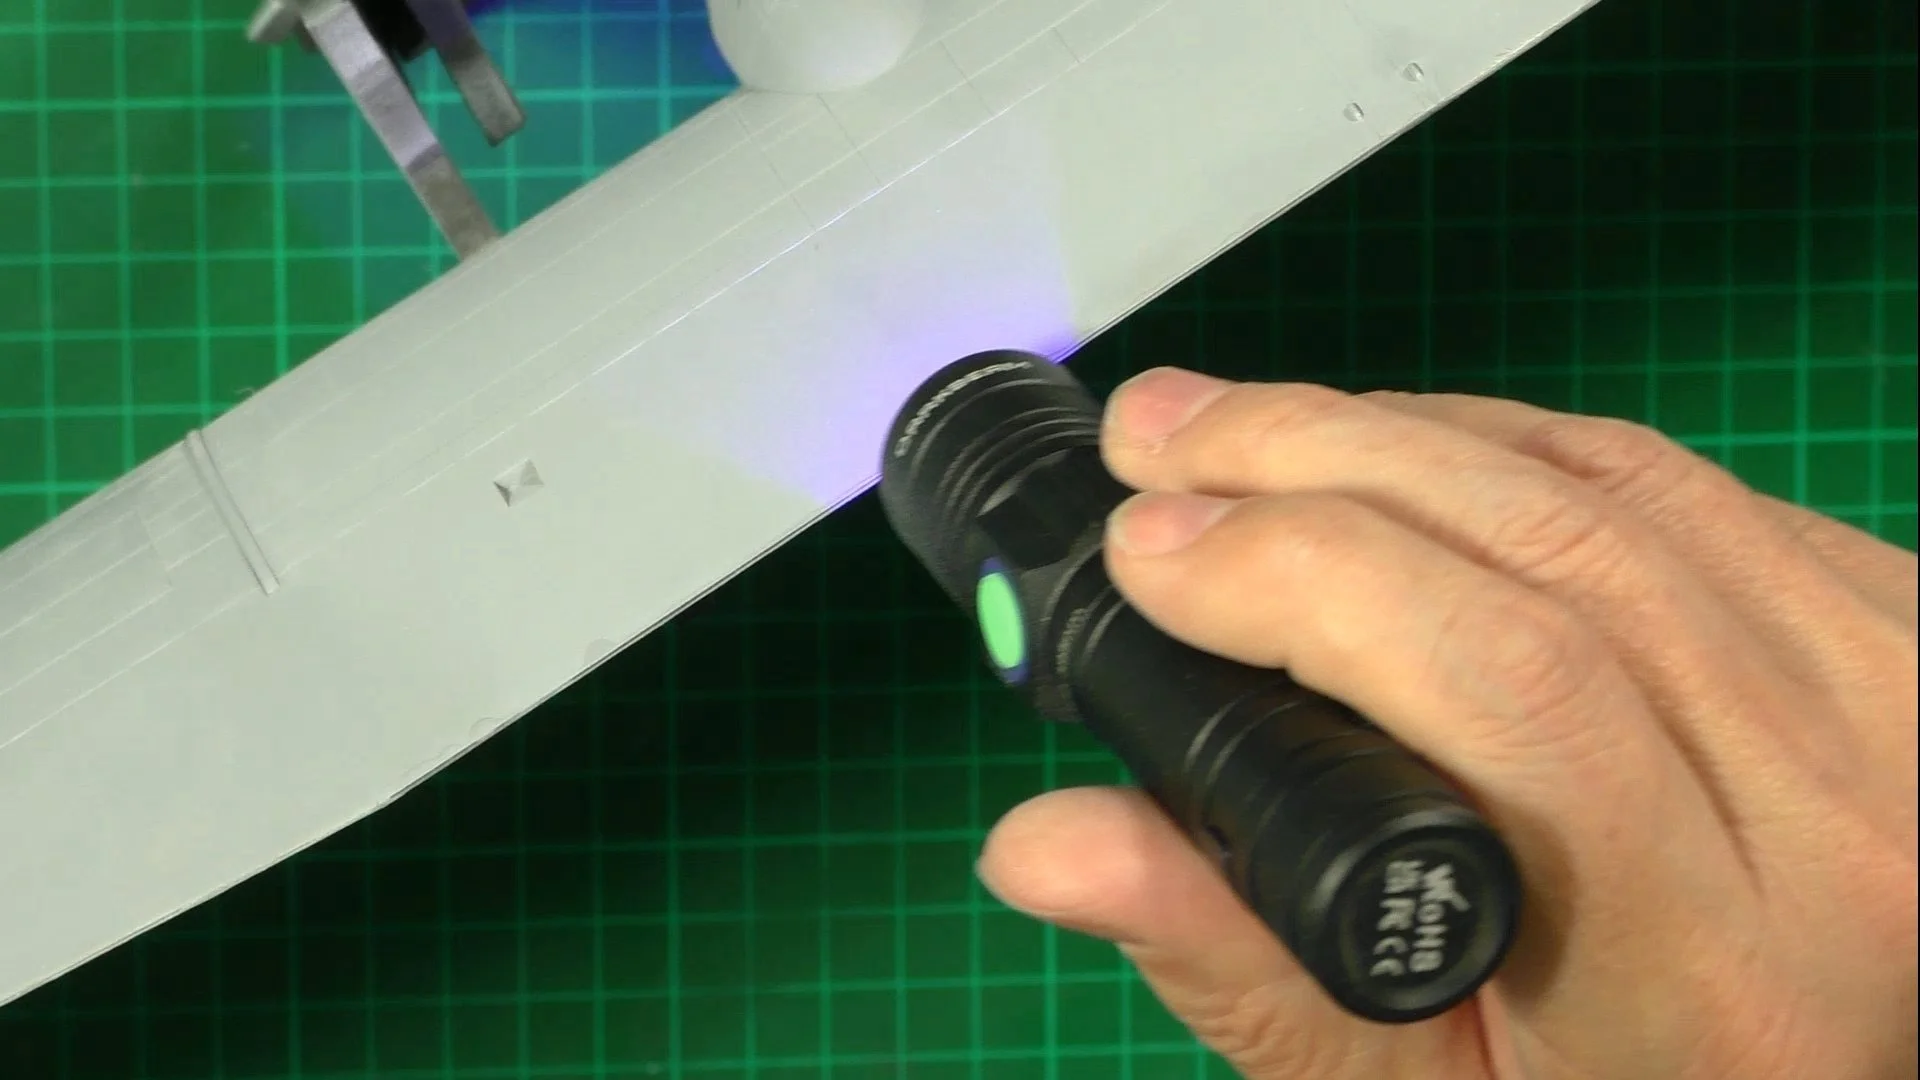
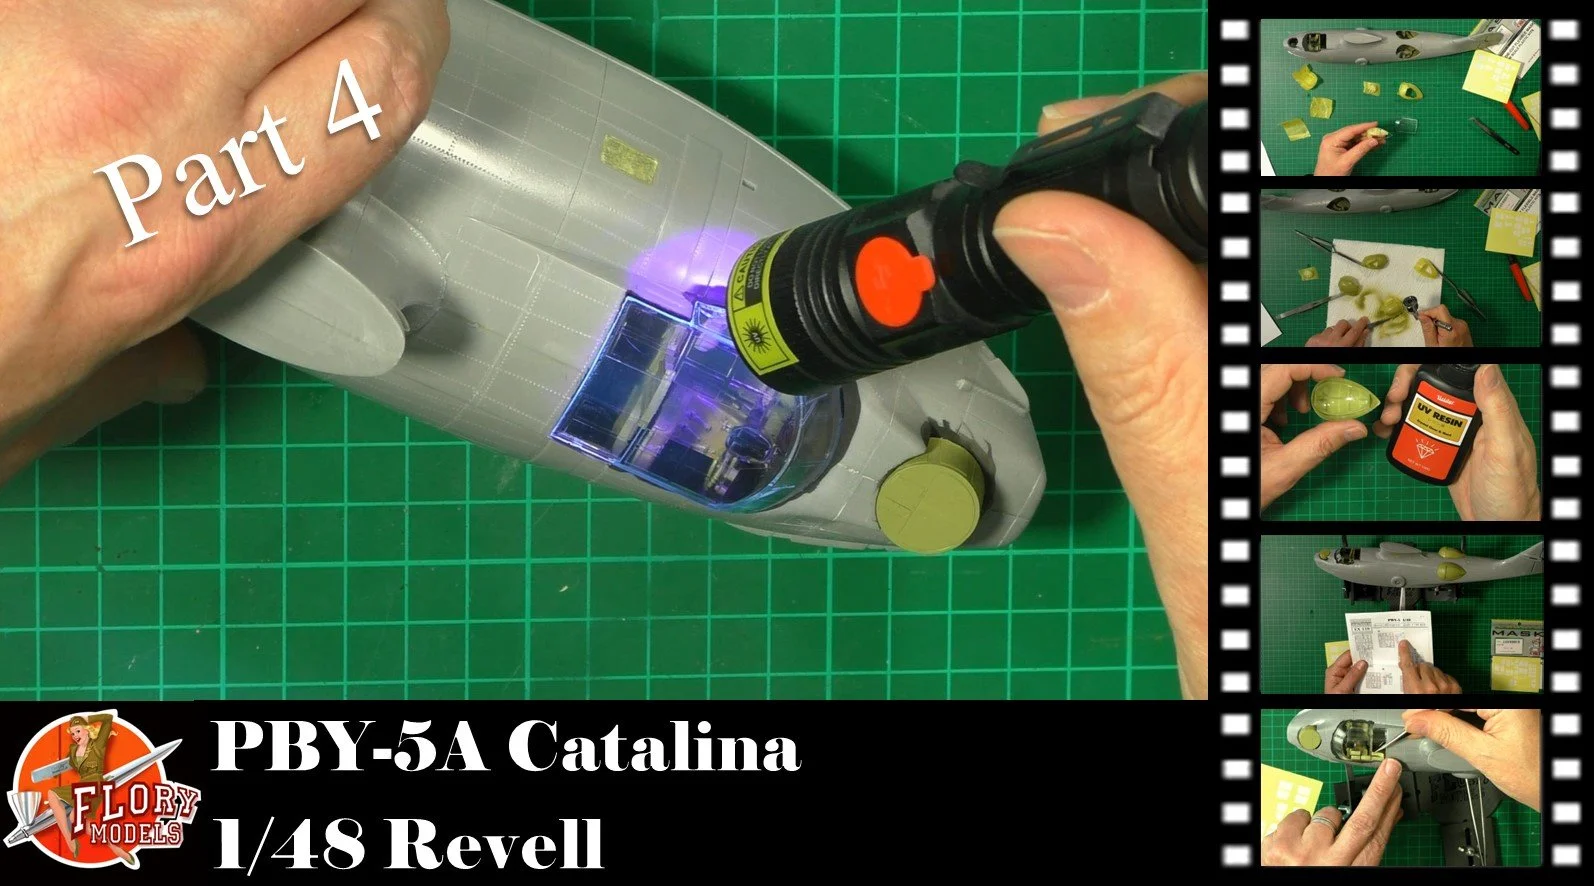
0:00 Here we mask up using the Eduard mask set XE118 on all the clear parts. 5:29 Next up, we paint the framework the interior green, so it shows through from the inside. 8:17 Then, we use UV clear to close the windows and then PVA glue to fix them in place. 15:24 We then repeat for the front cockpit class and use UV glue to fill a few small gaps. 31:11 We look at the masked model ready for paint.
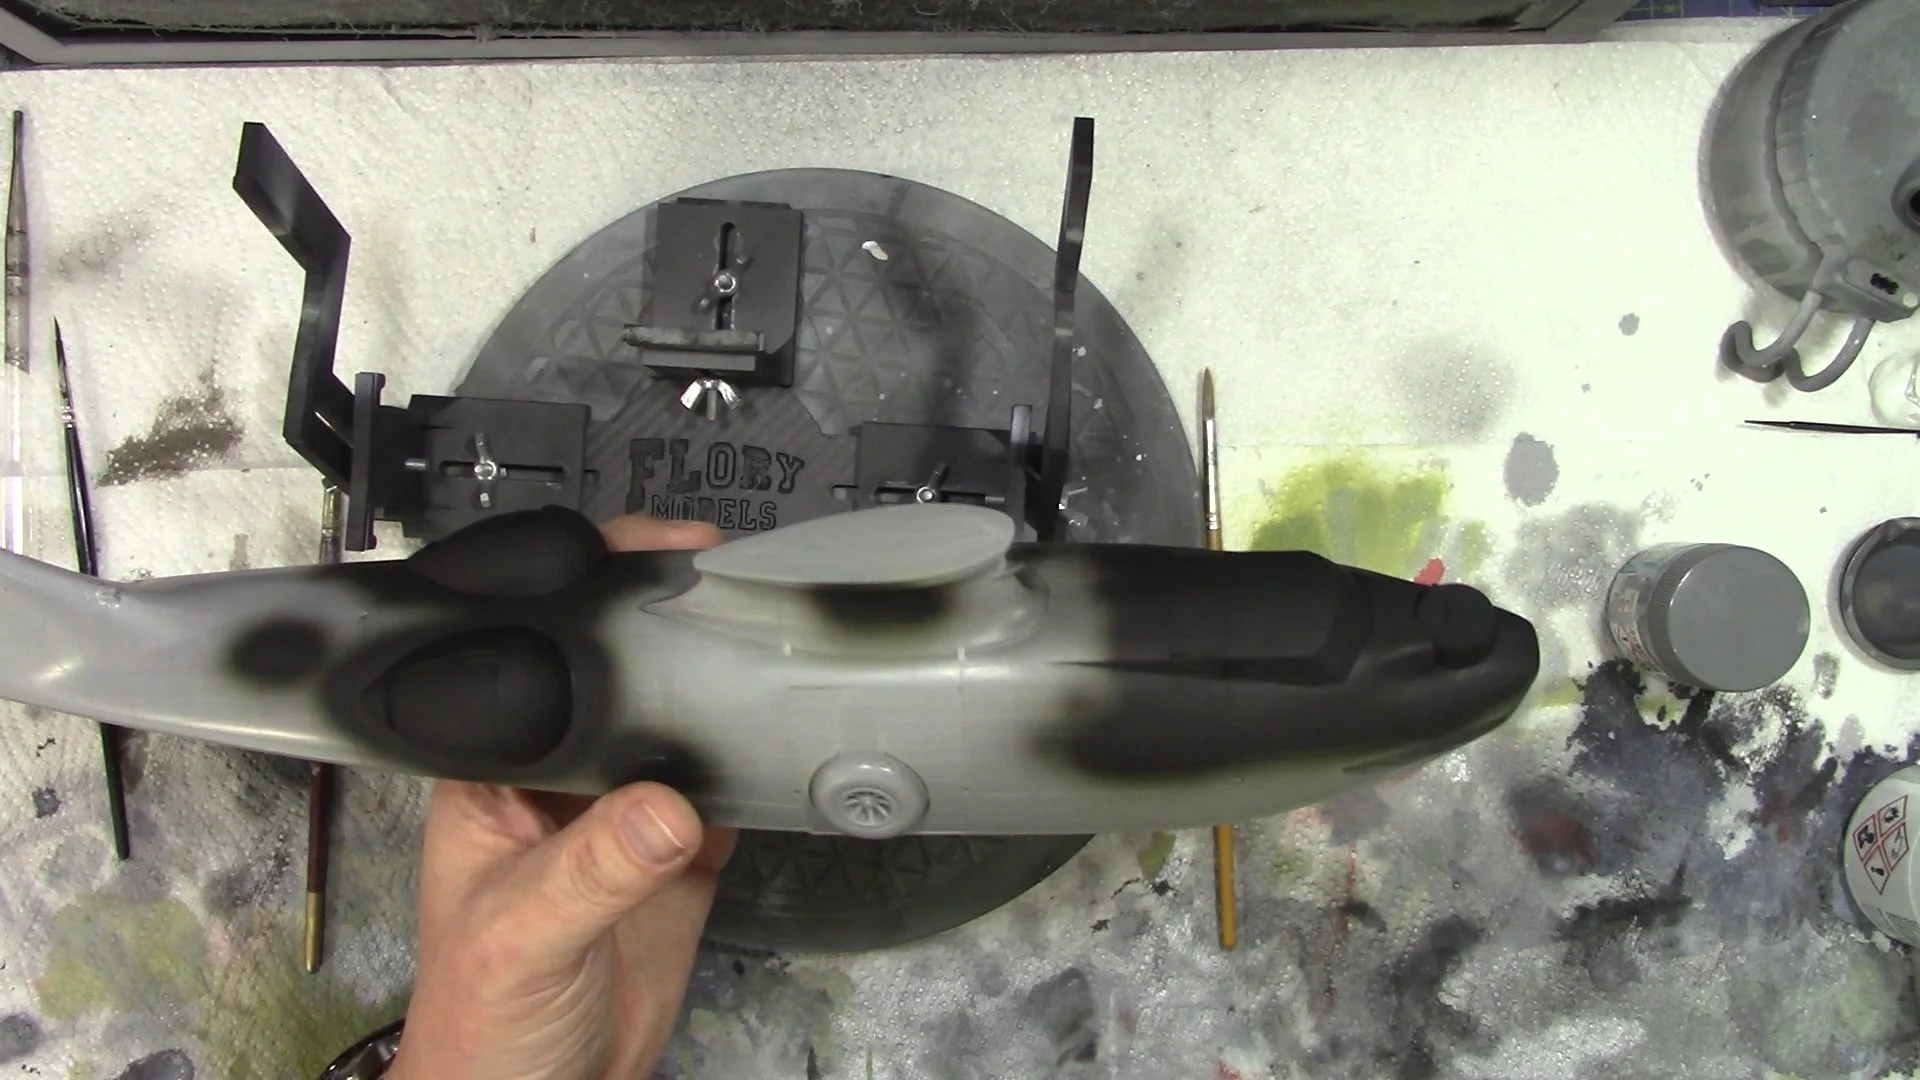
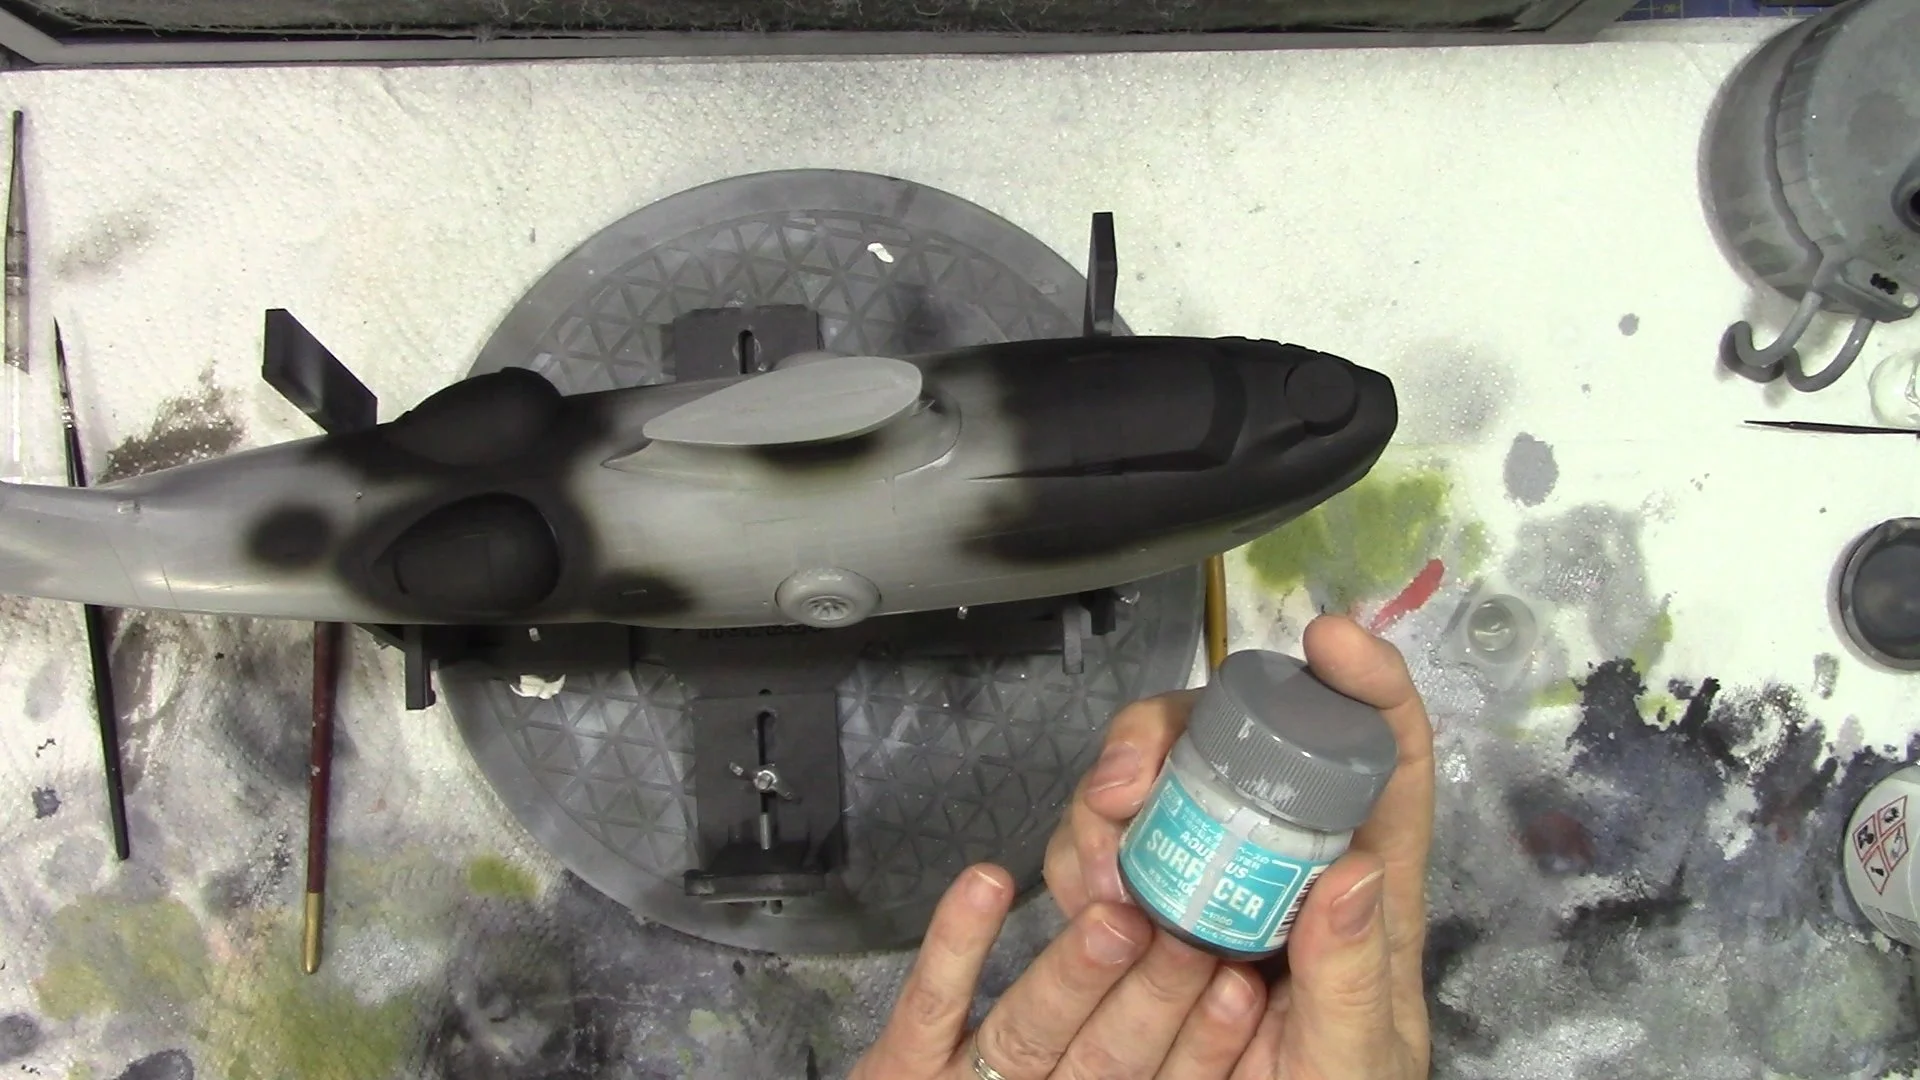
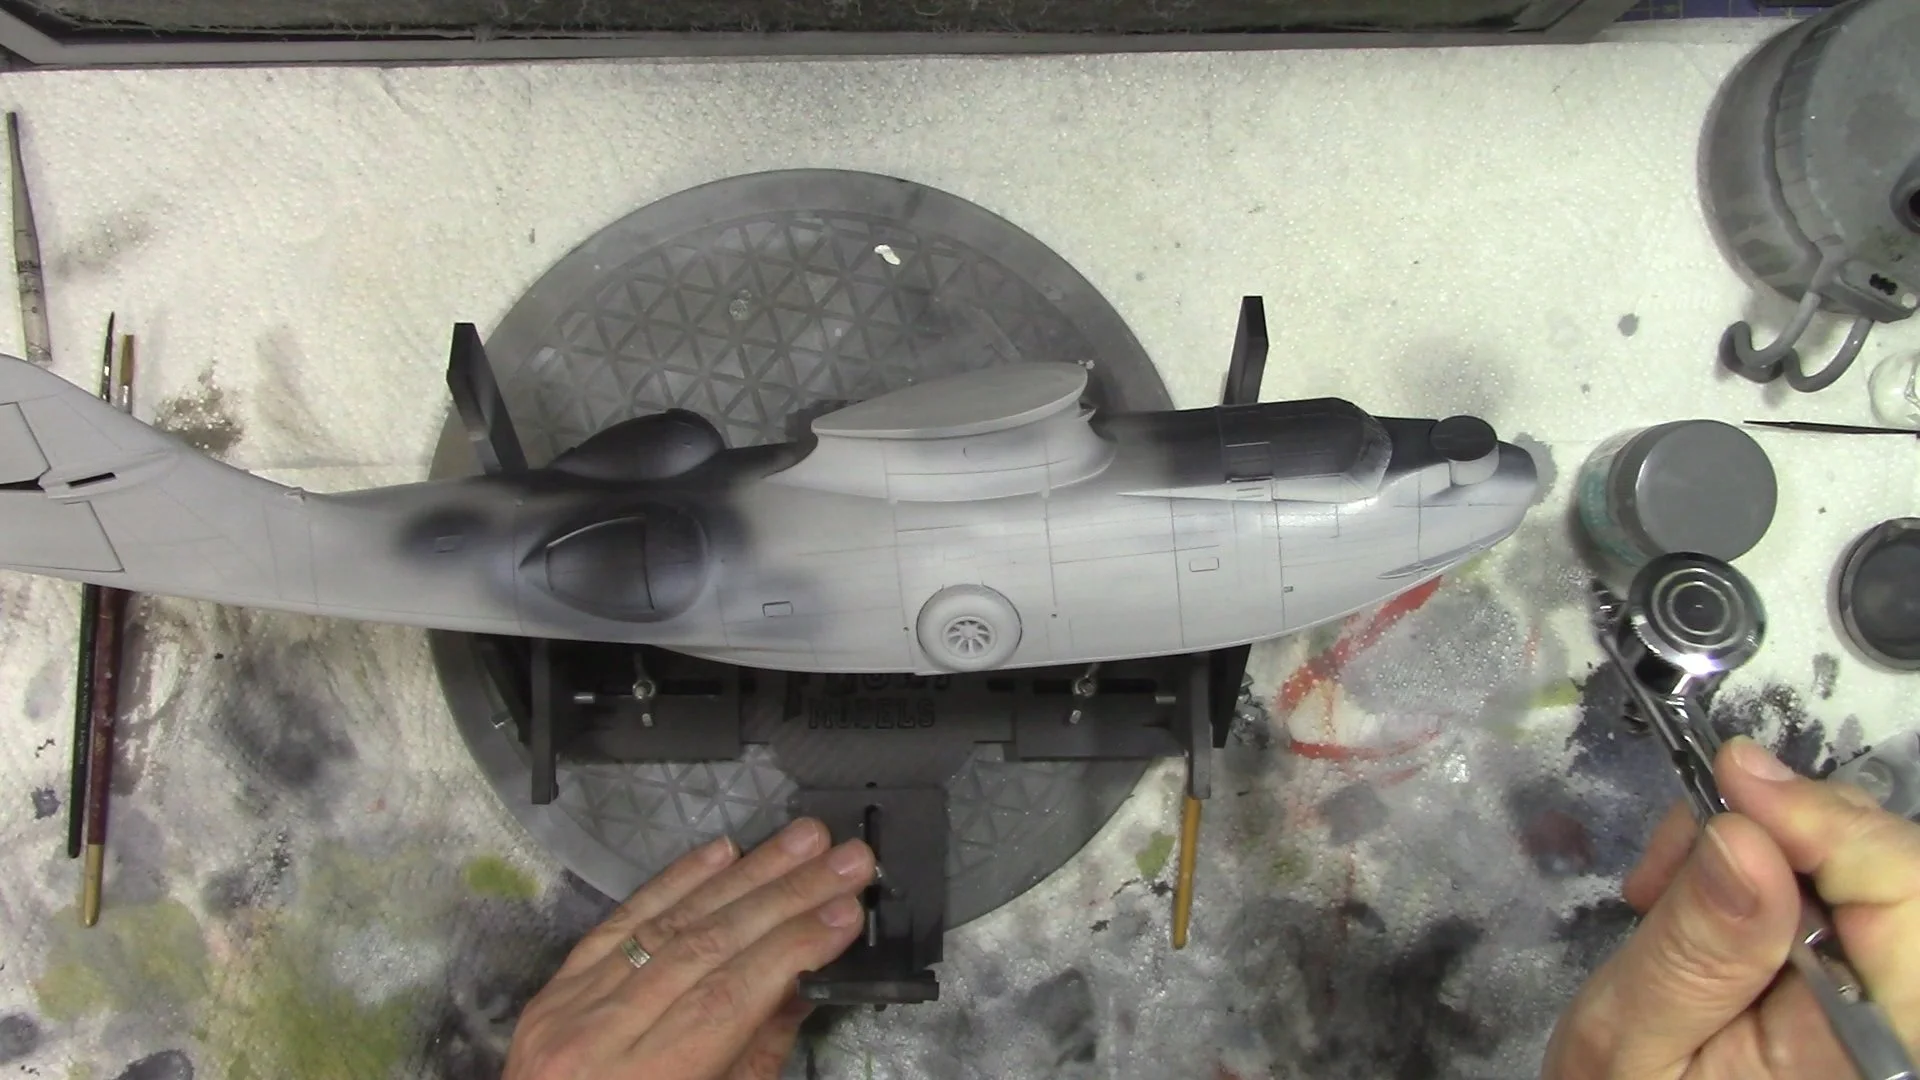
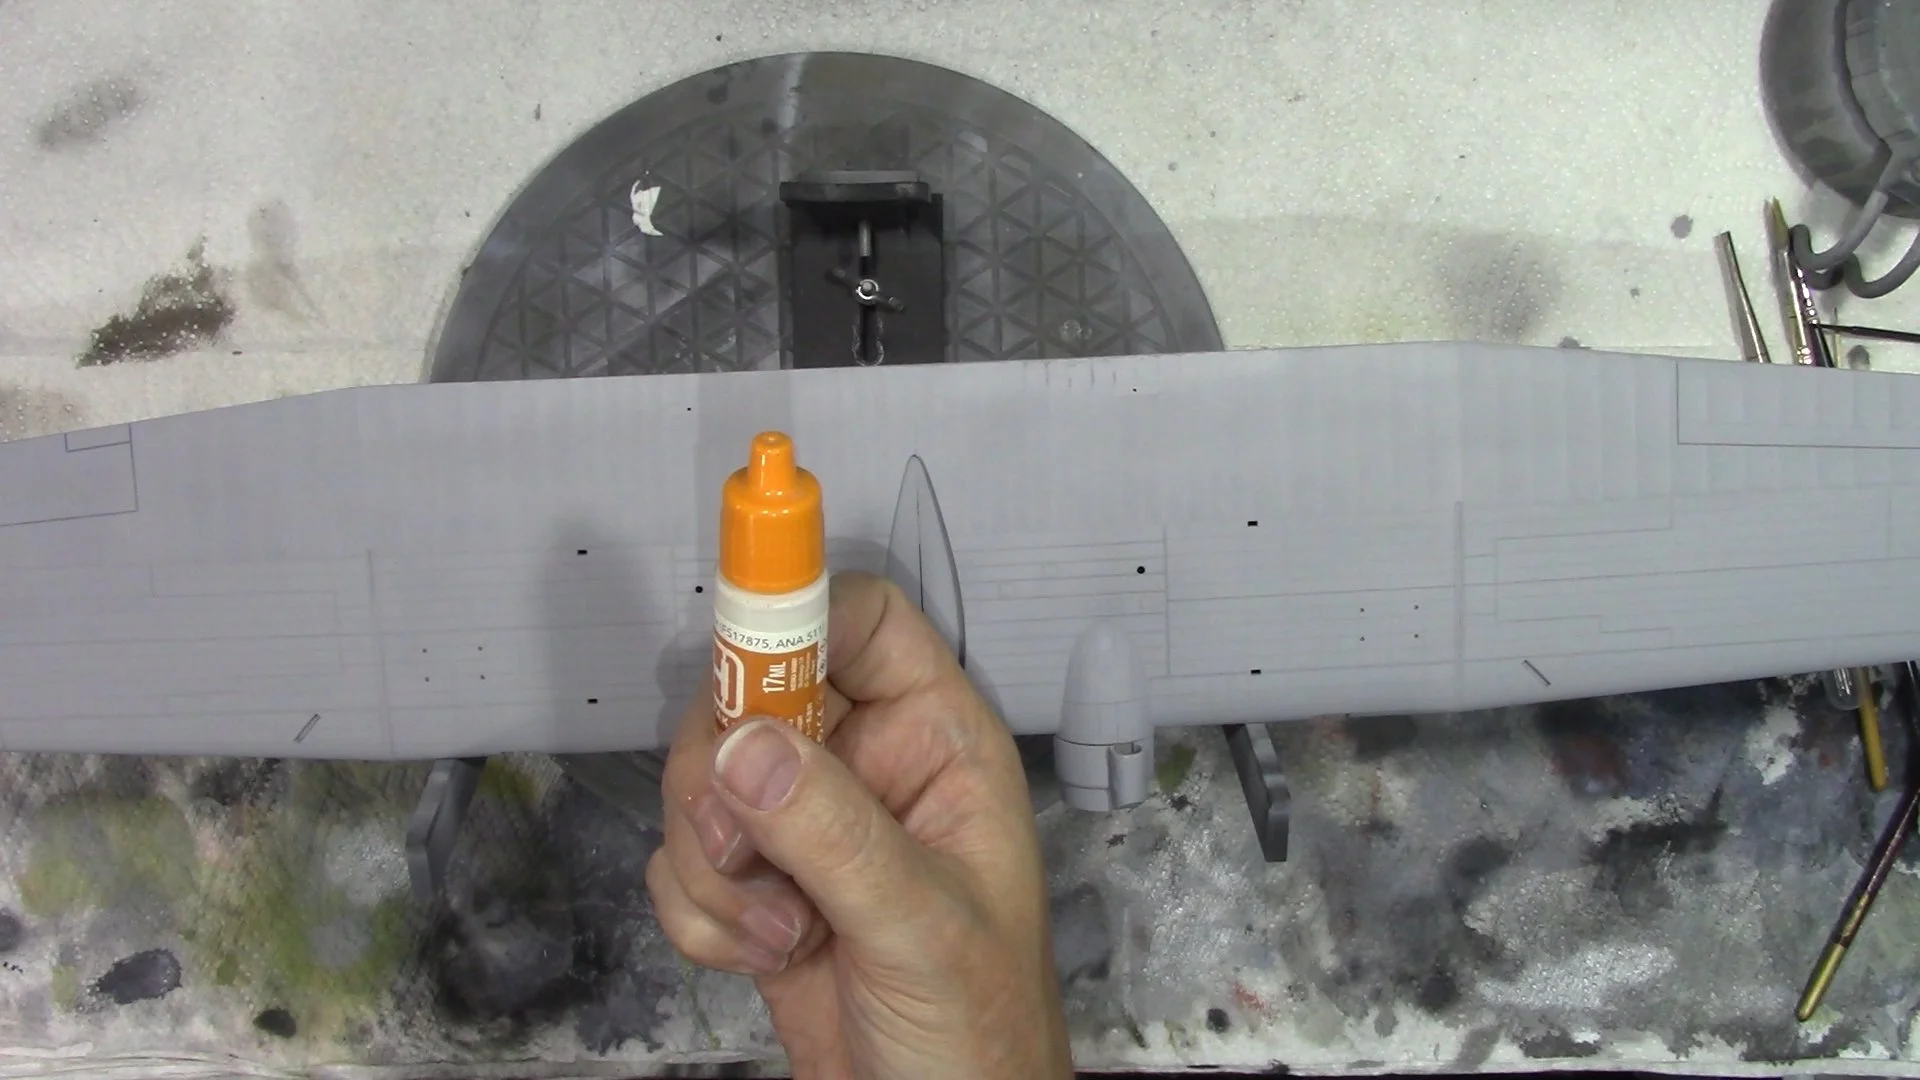
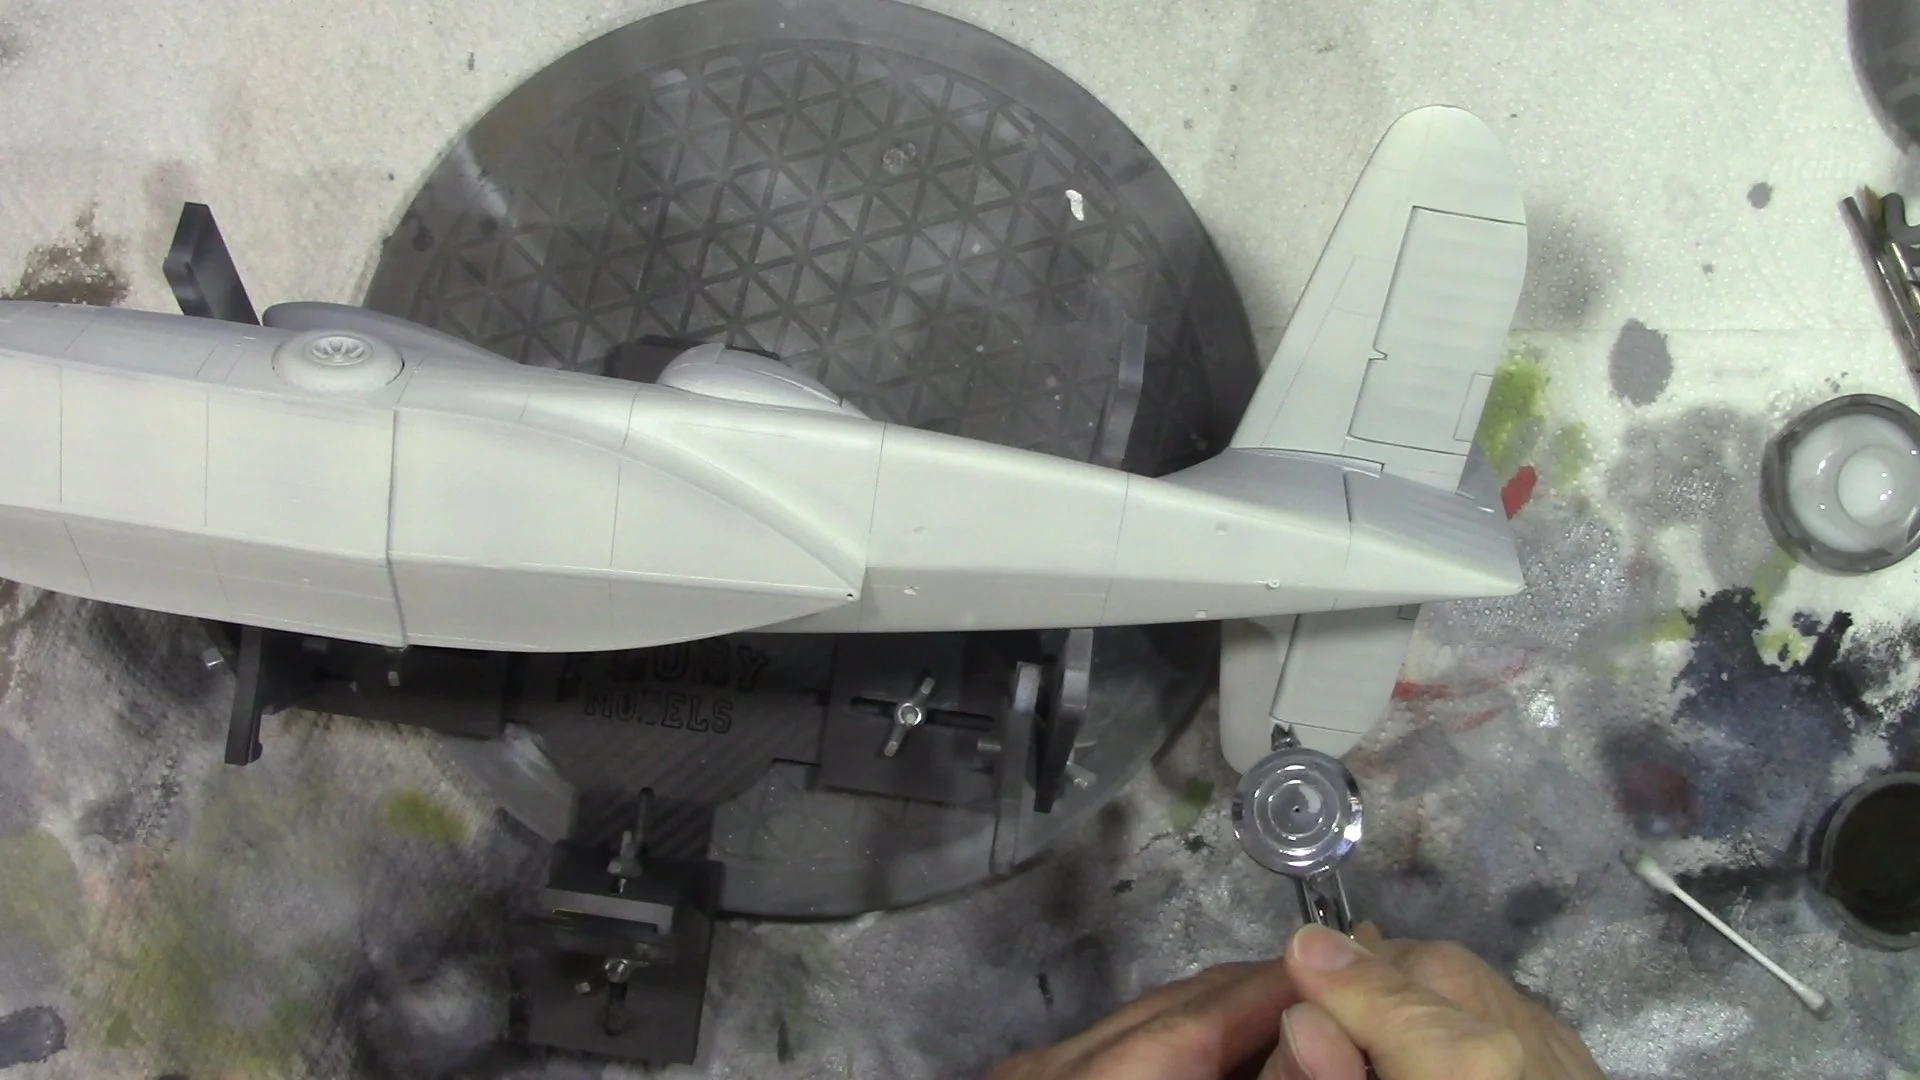
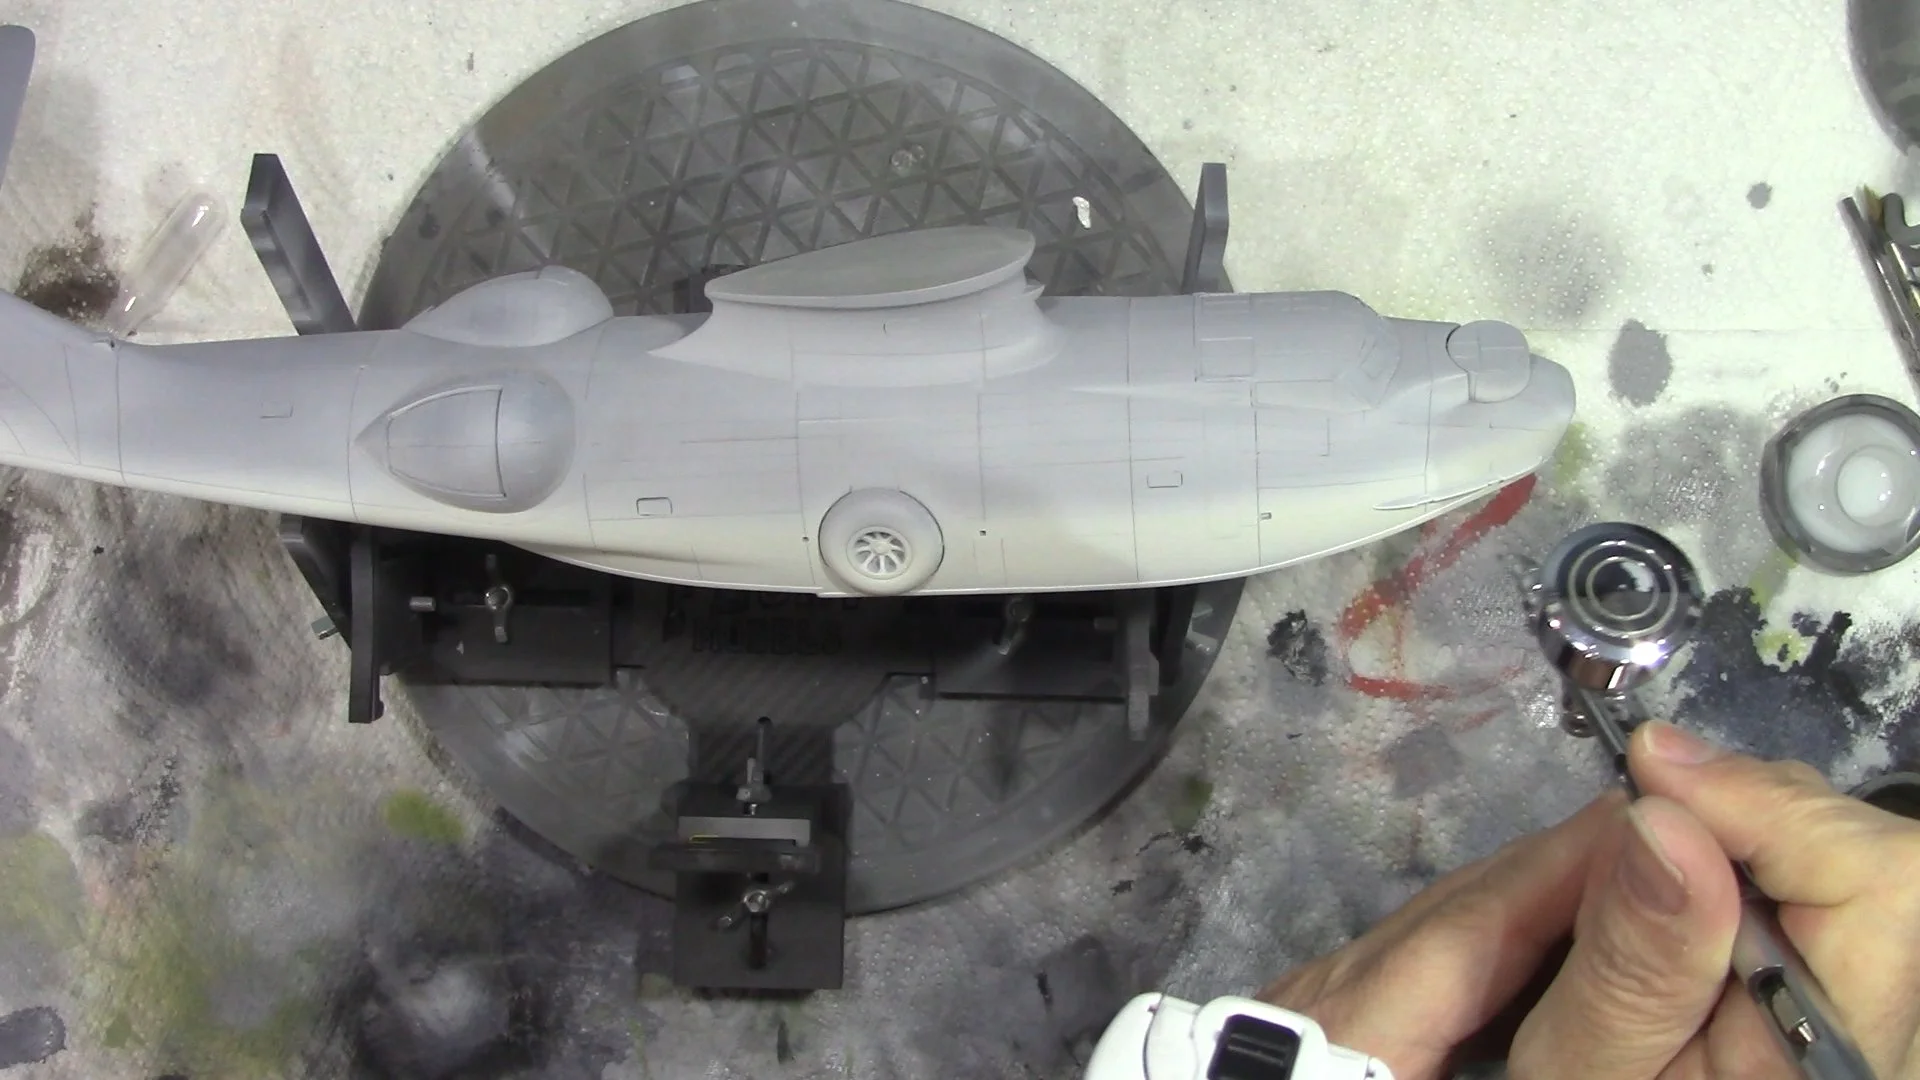
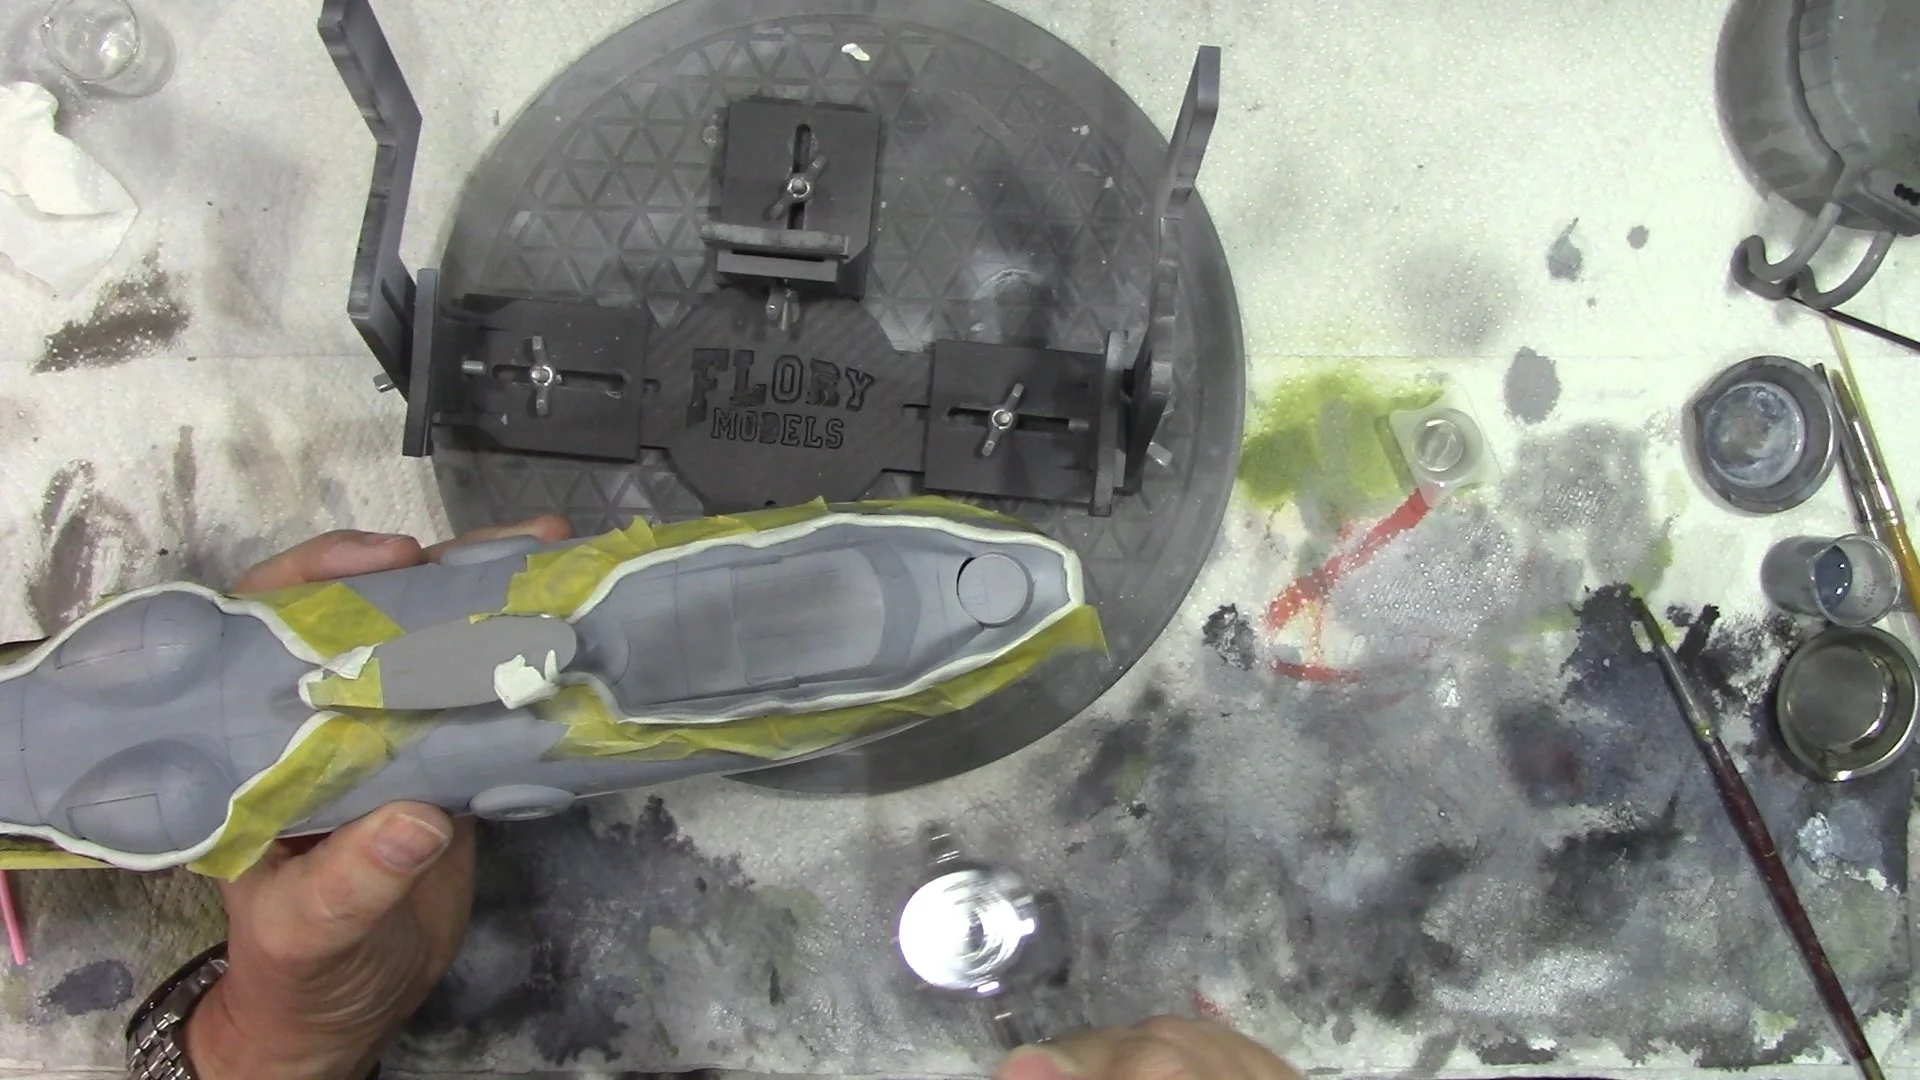
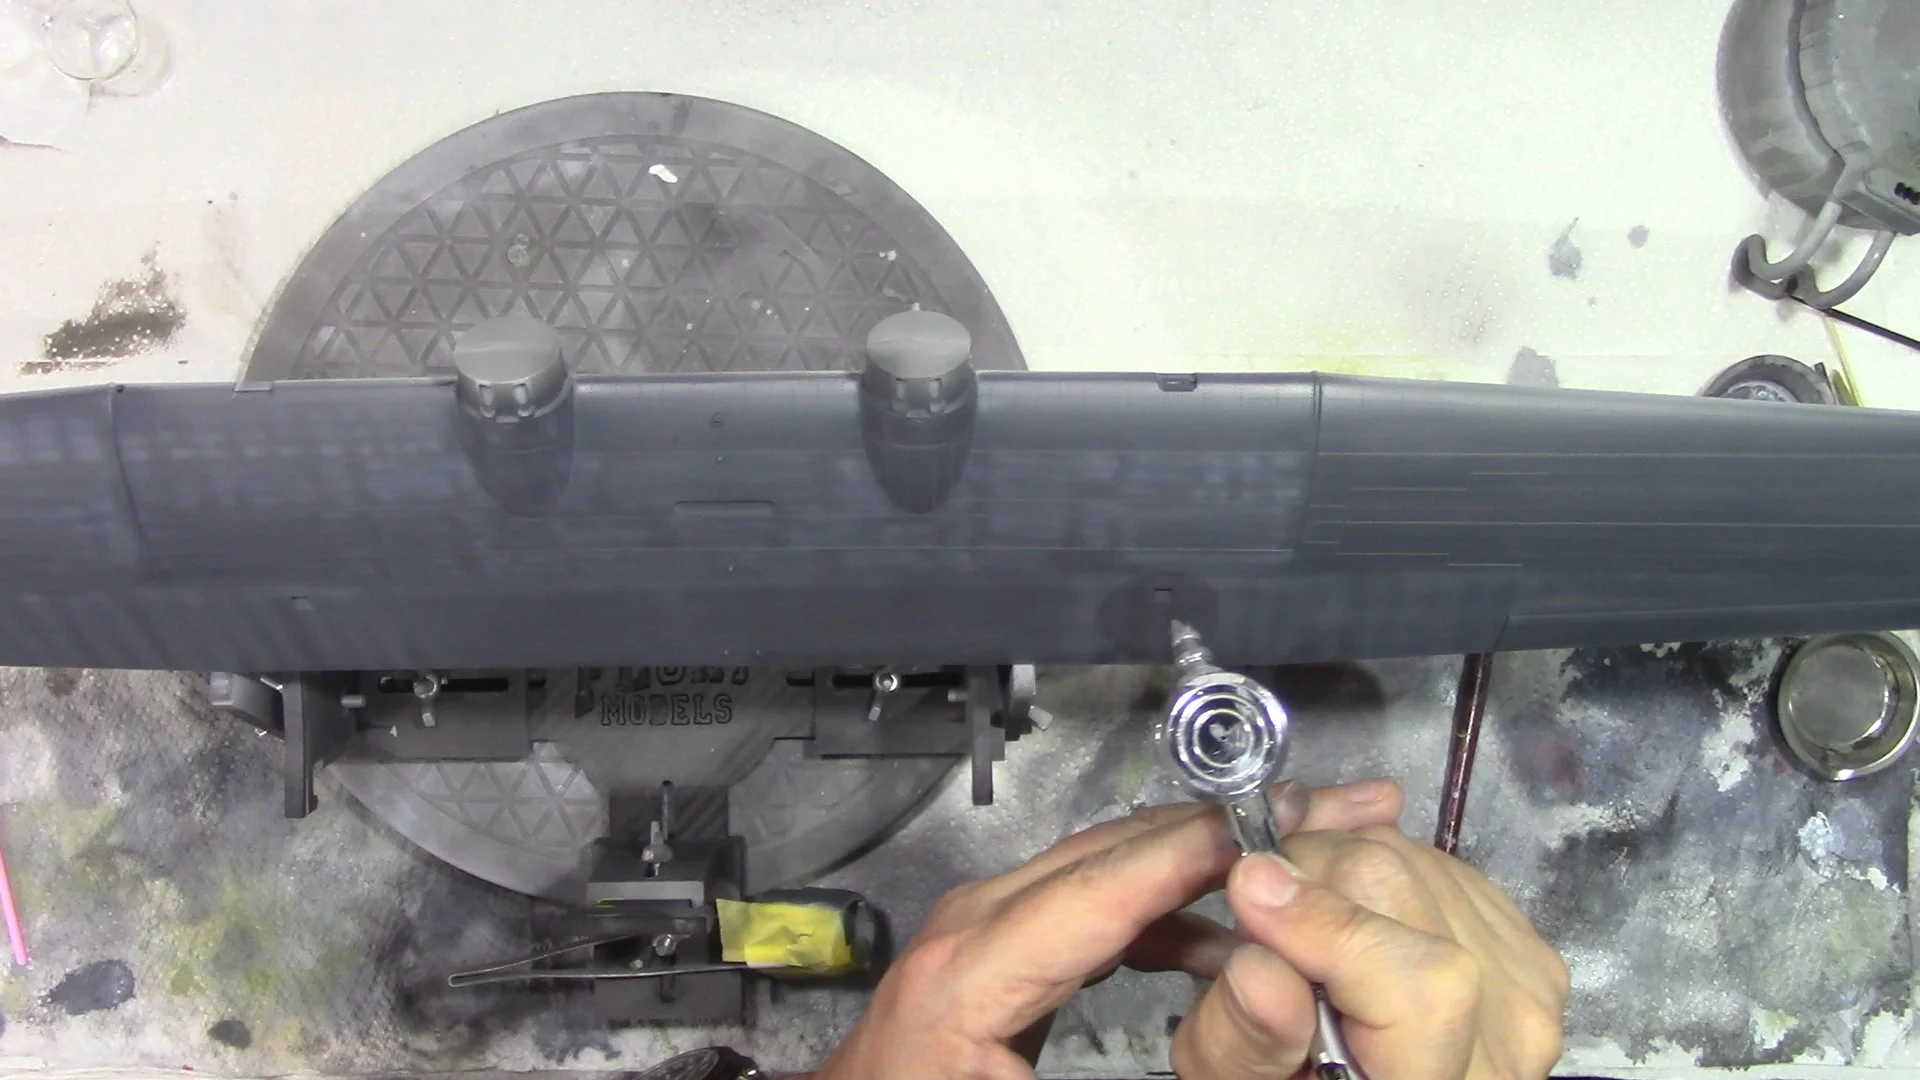
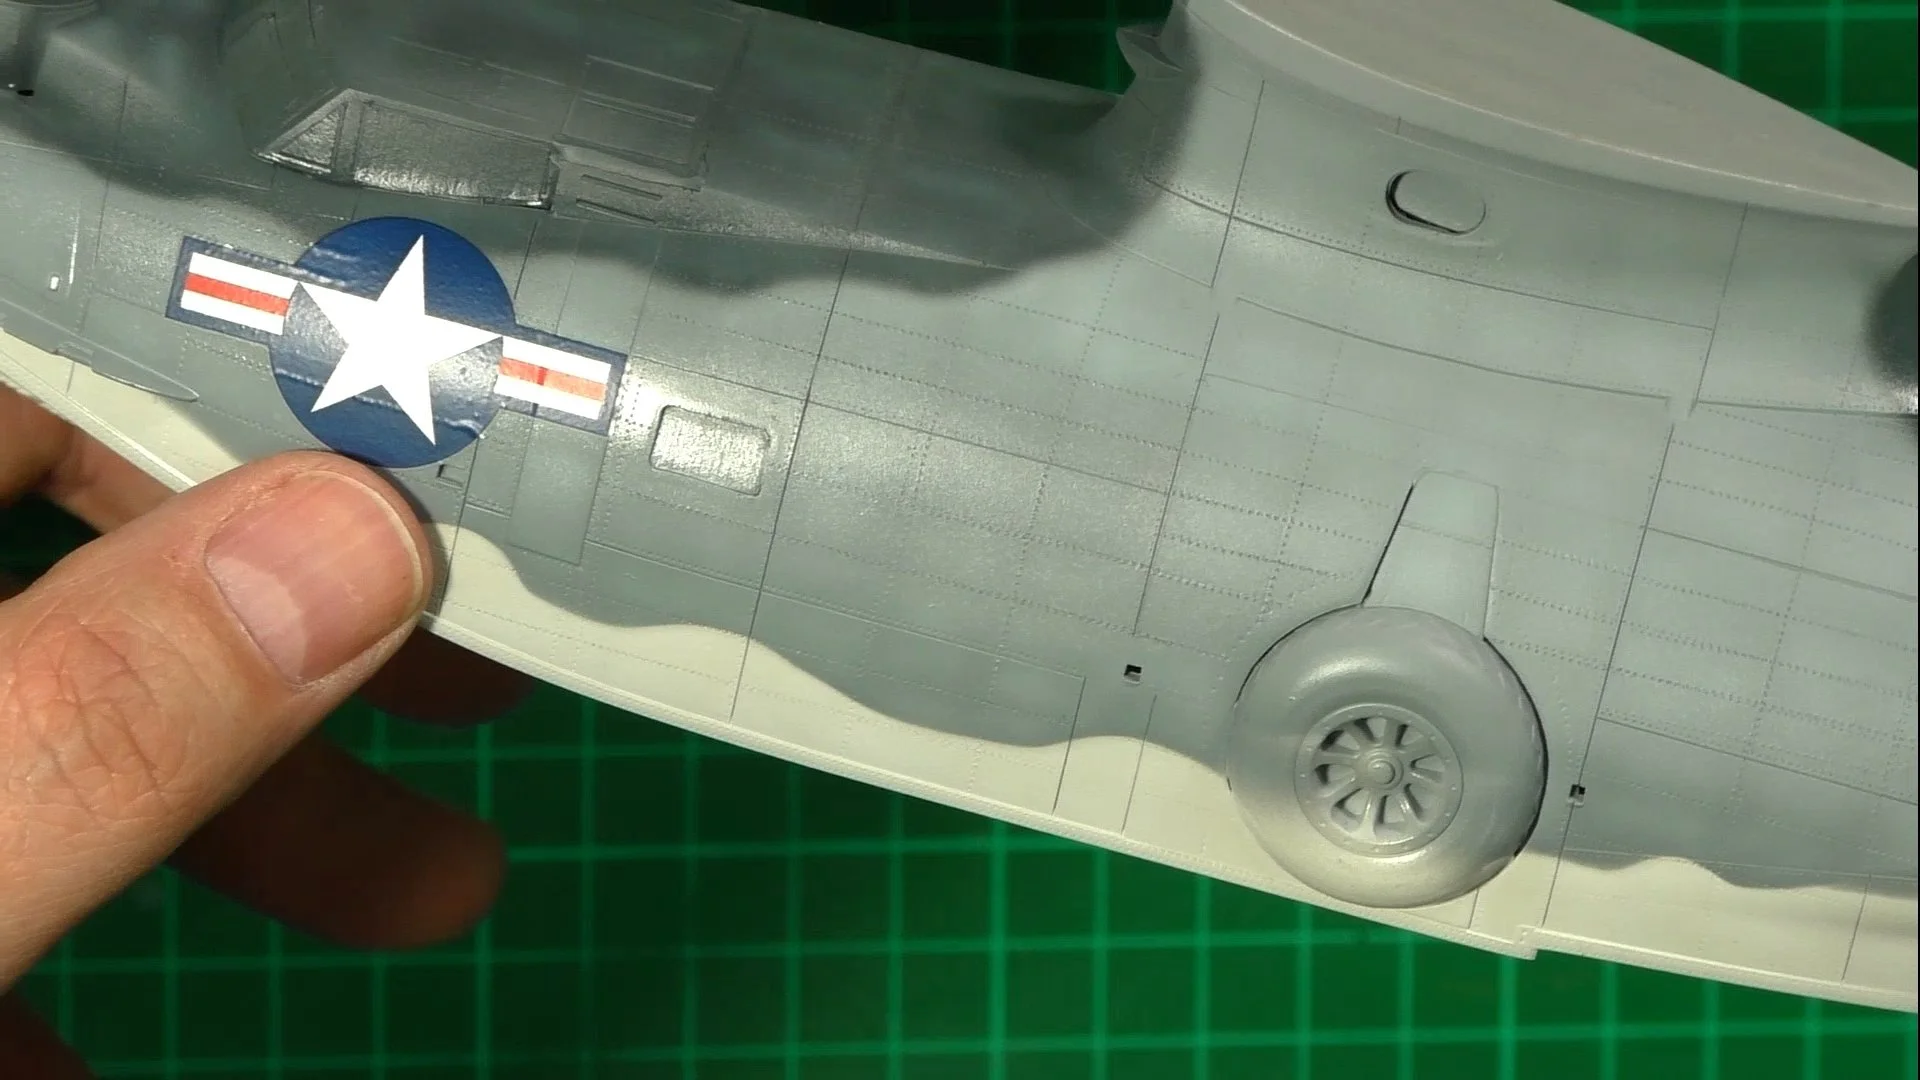
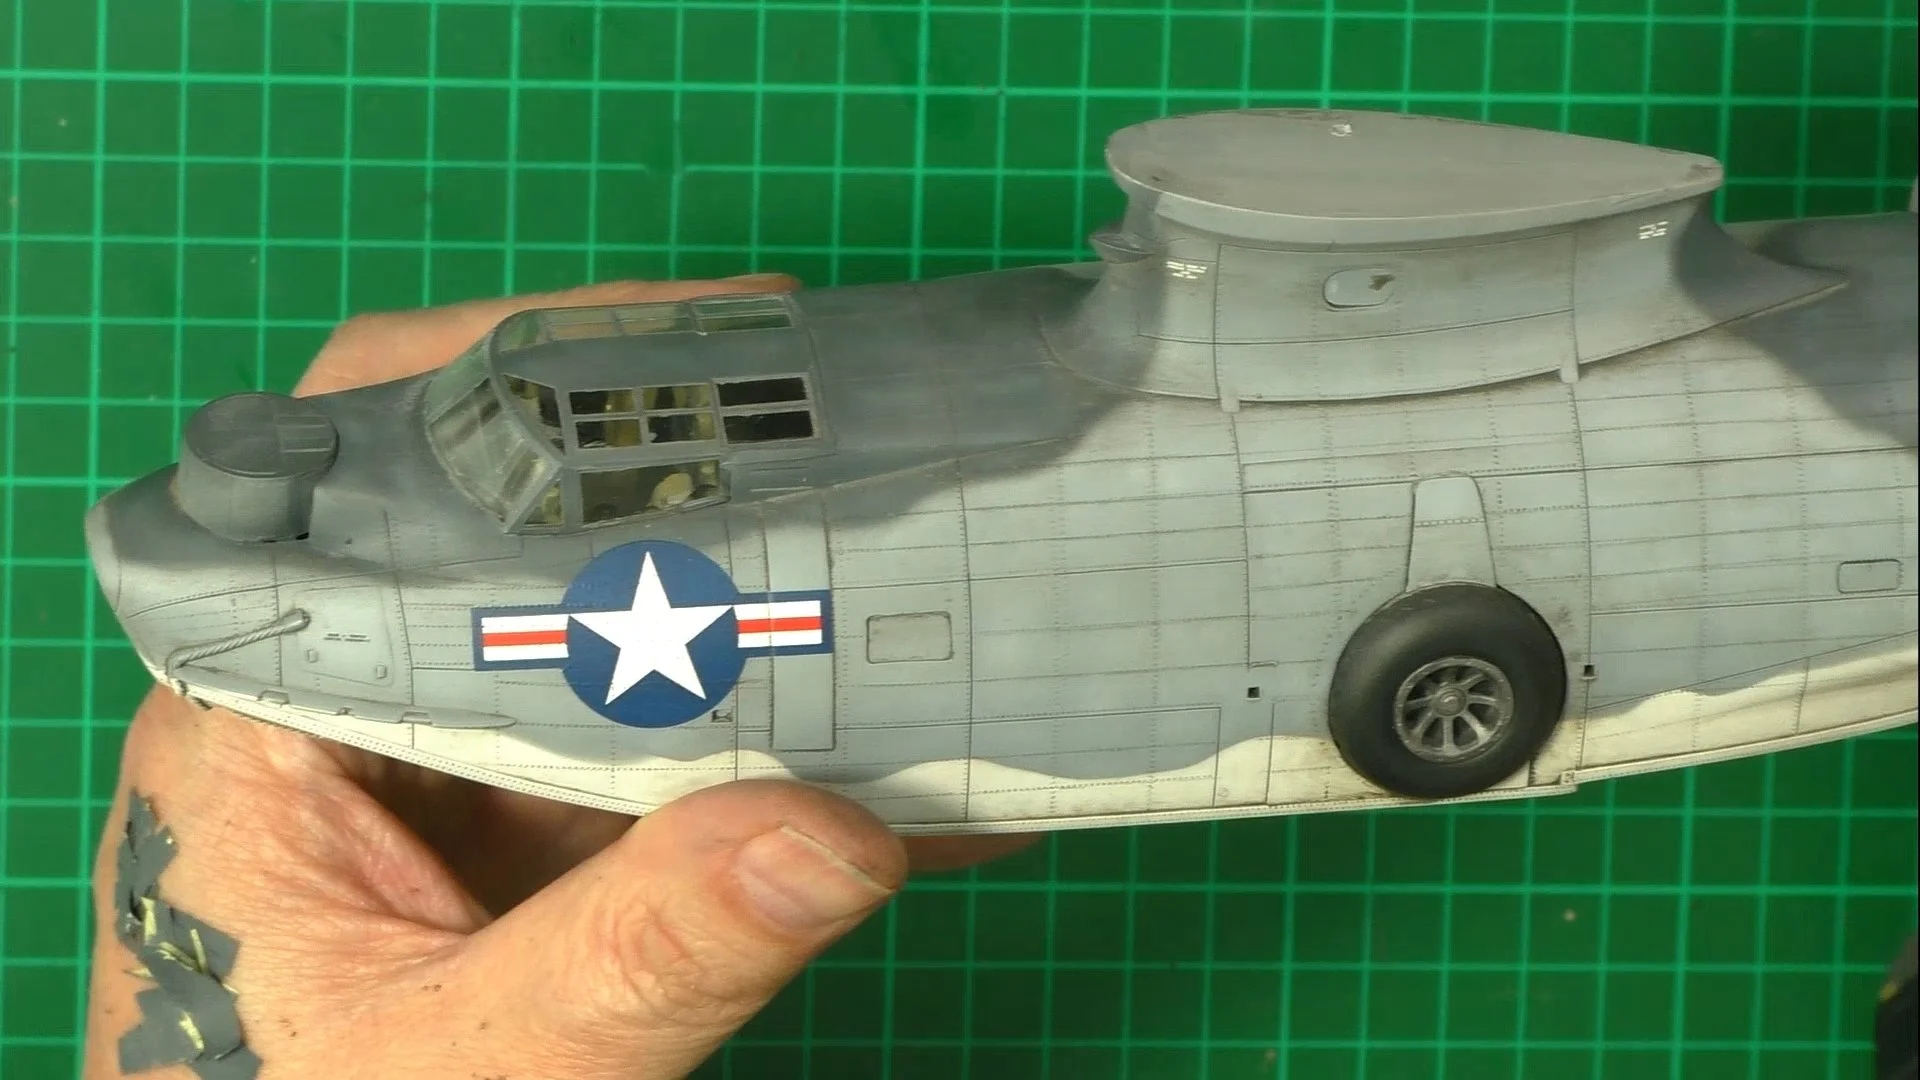
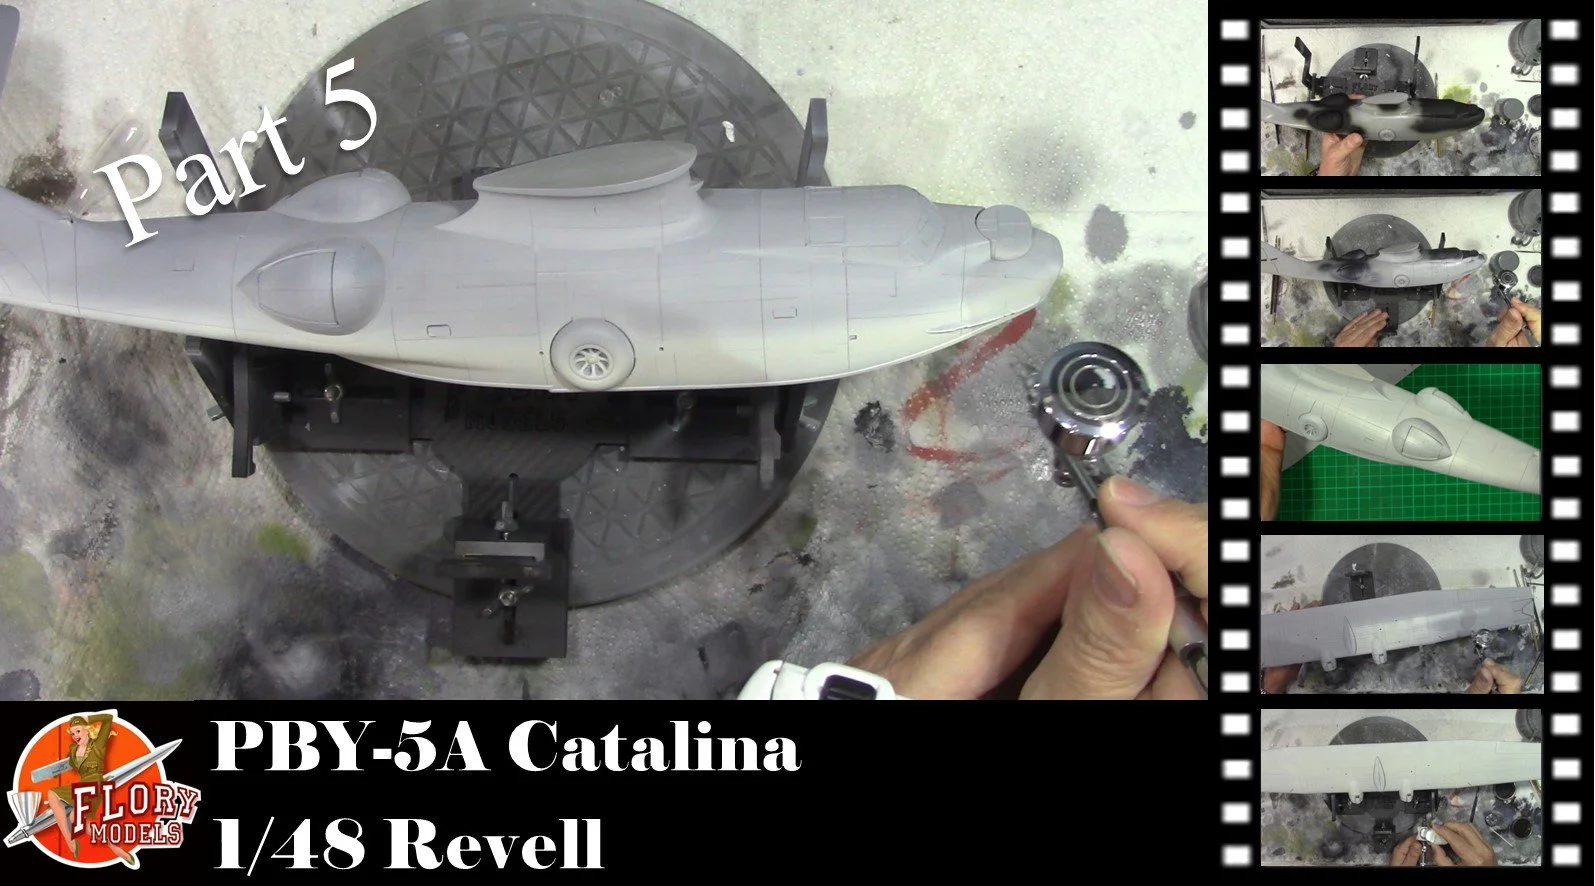
0:00 Now it's time to start the painting work. First up, we black out the window frames and then put a coat of Aqueous primer on. 7:03 Here we move back to the bench to check how the model looks now with primer. We find a few small areas we need to take care of. Here we use UV glue as a filler and then sand it into place. 19:16 Next, we put on the insignia white, we use HATAKA C049. This is thinned 60% Thinners to 40% paint. 26:00 Next up, we lighten the paint with white and then make a mix of 80% thinner to 20% Paint. We lighten the centre of each panel to break up the paintwork.
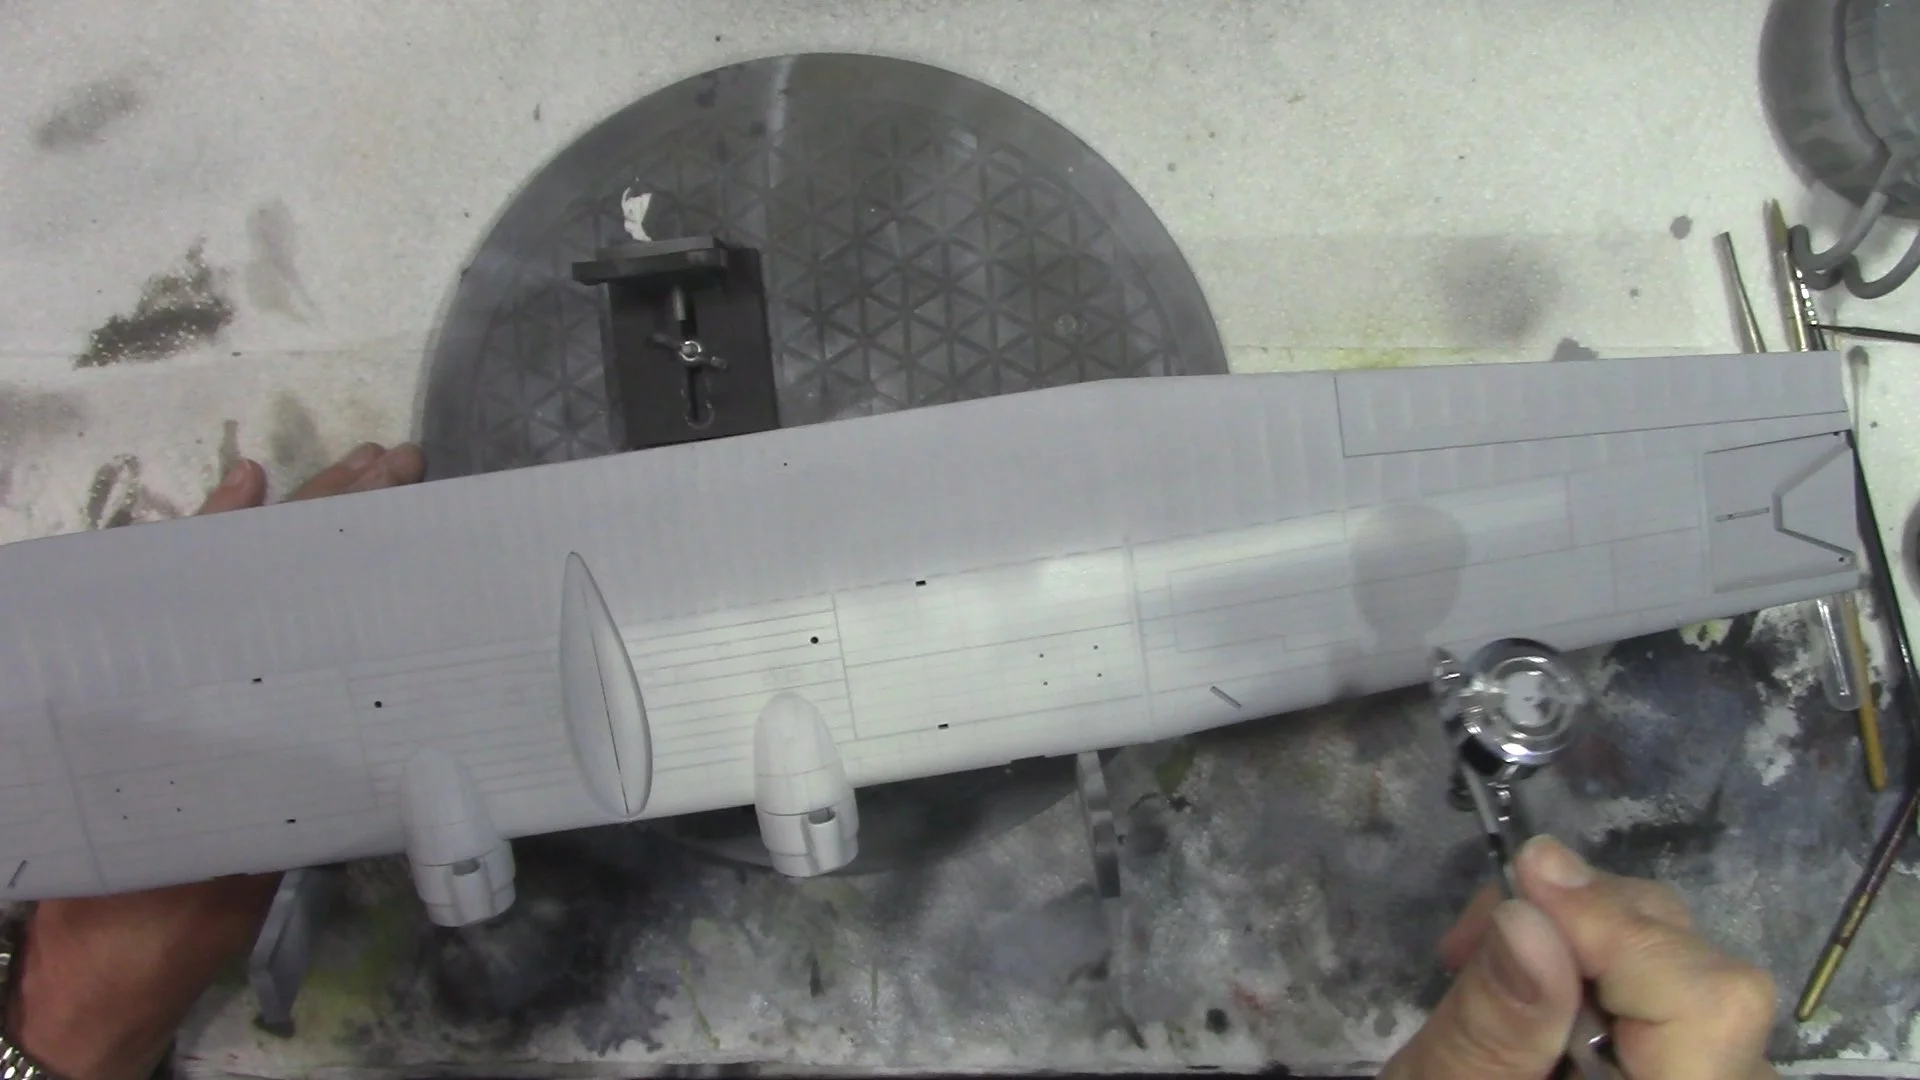
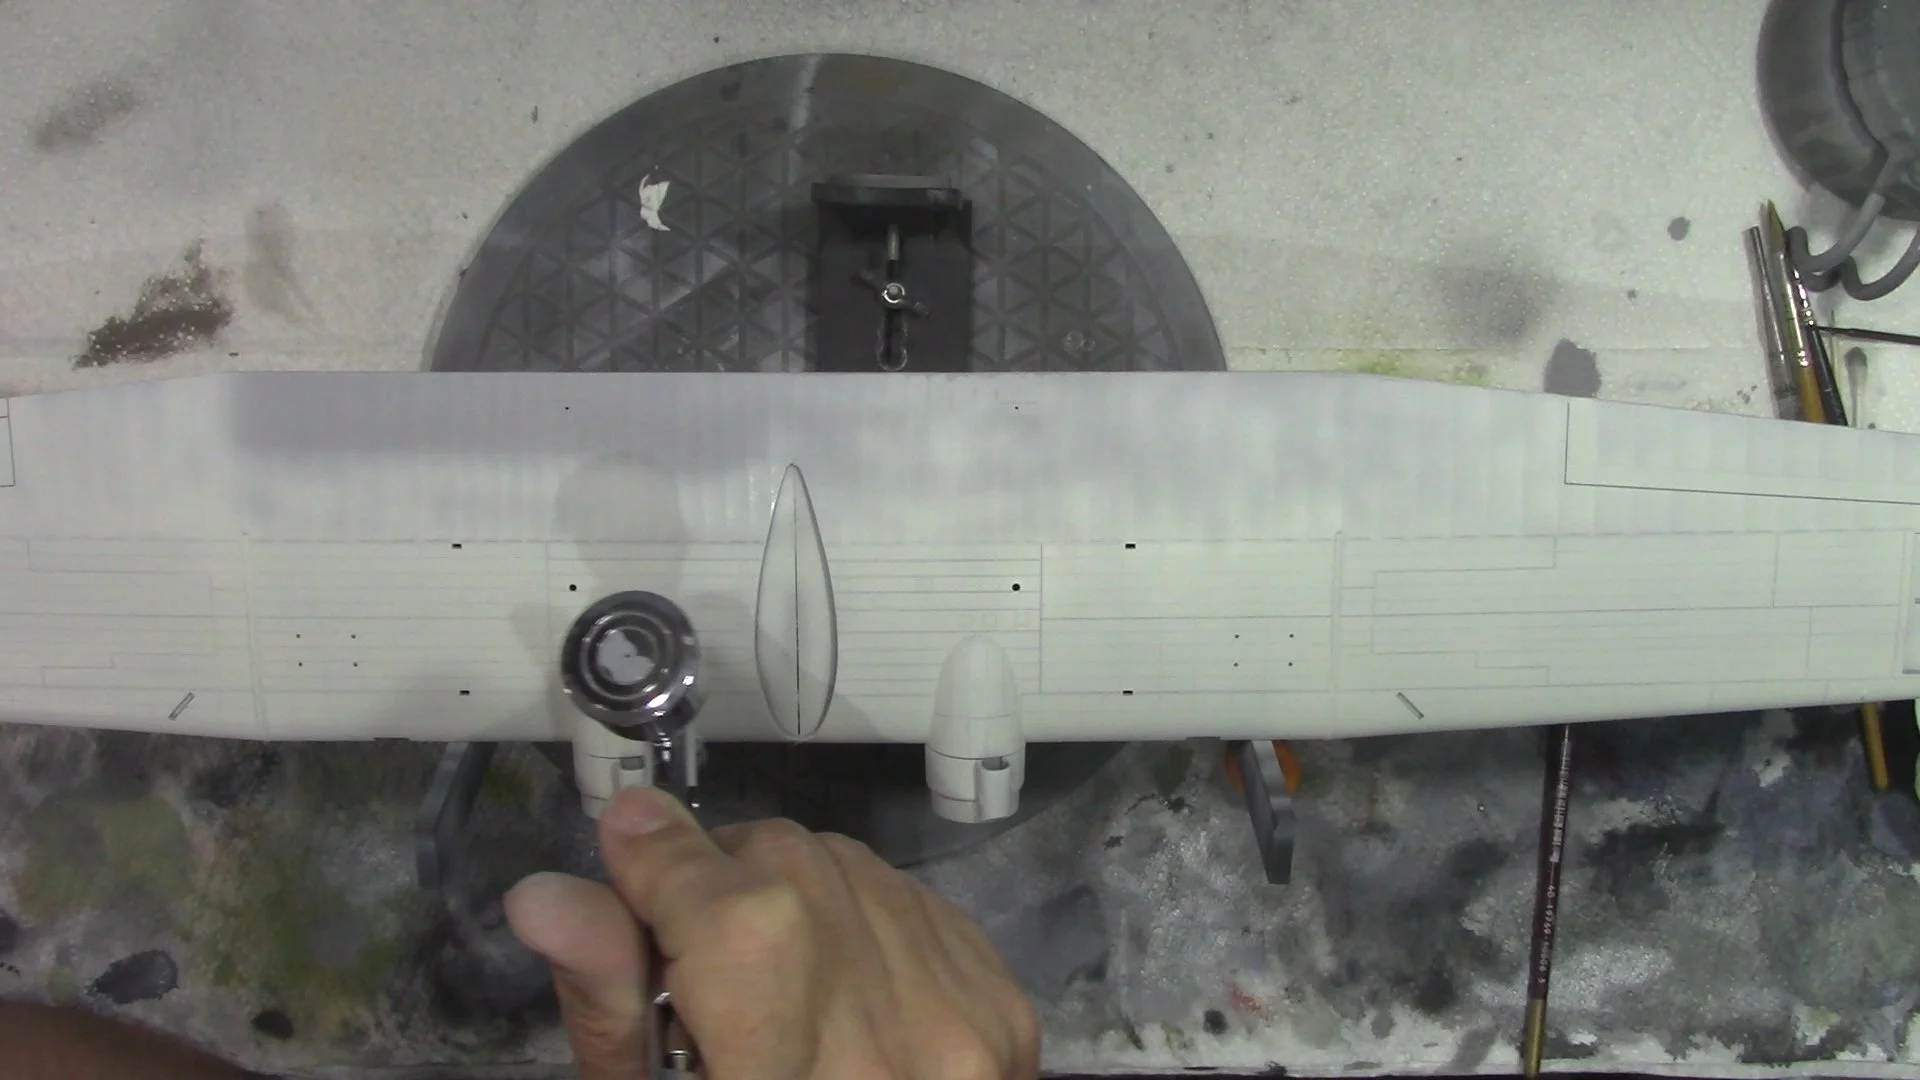
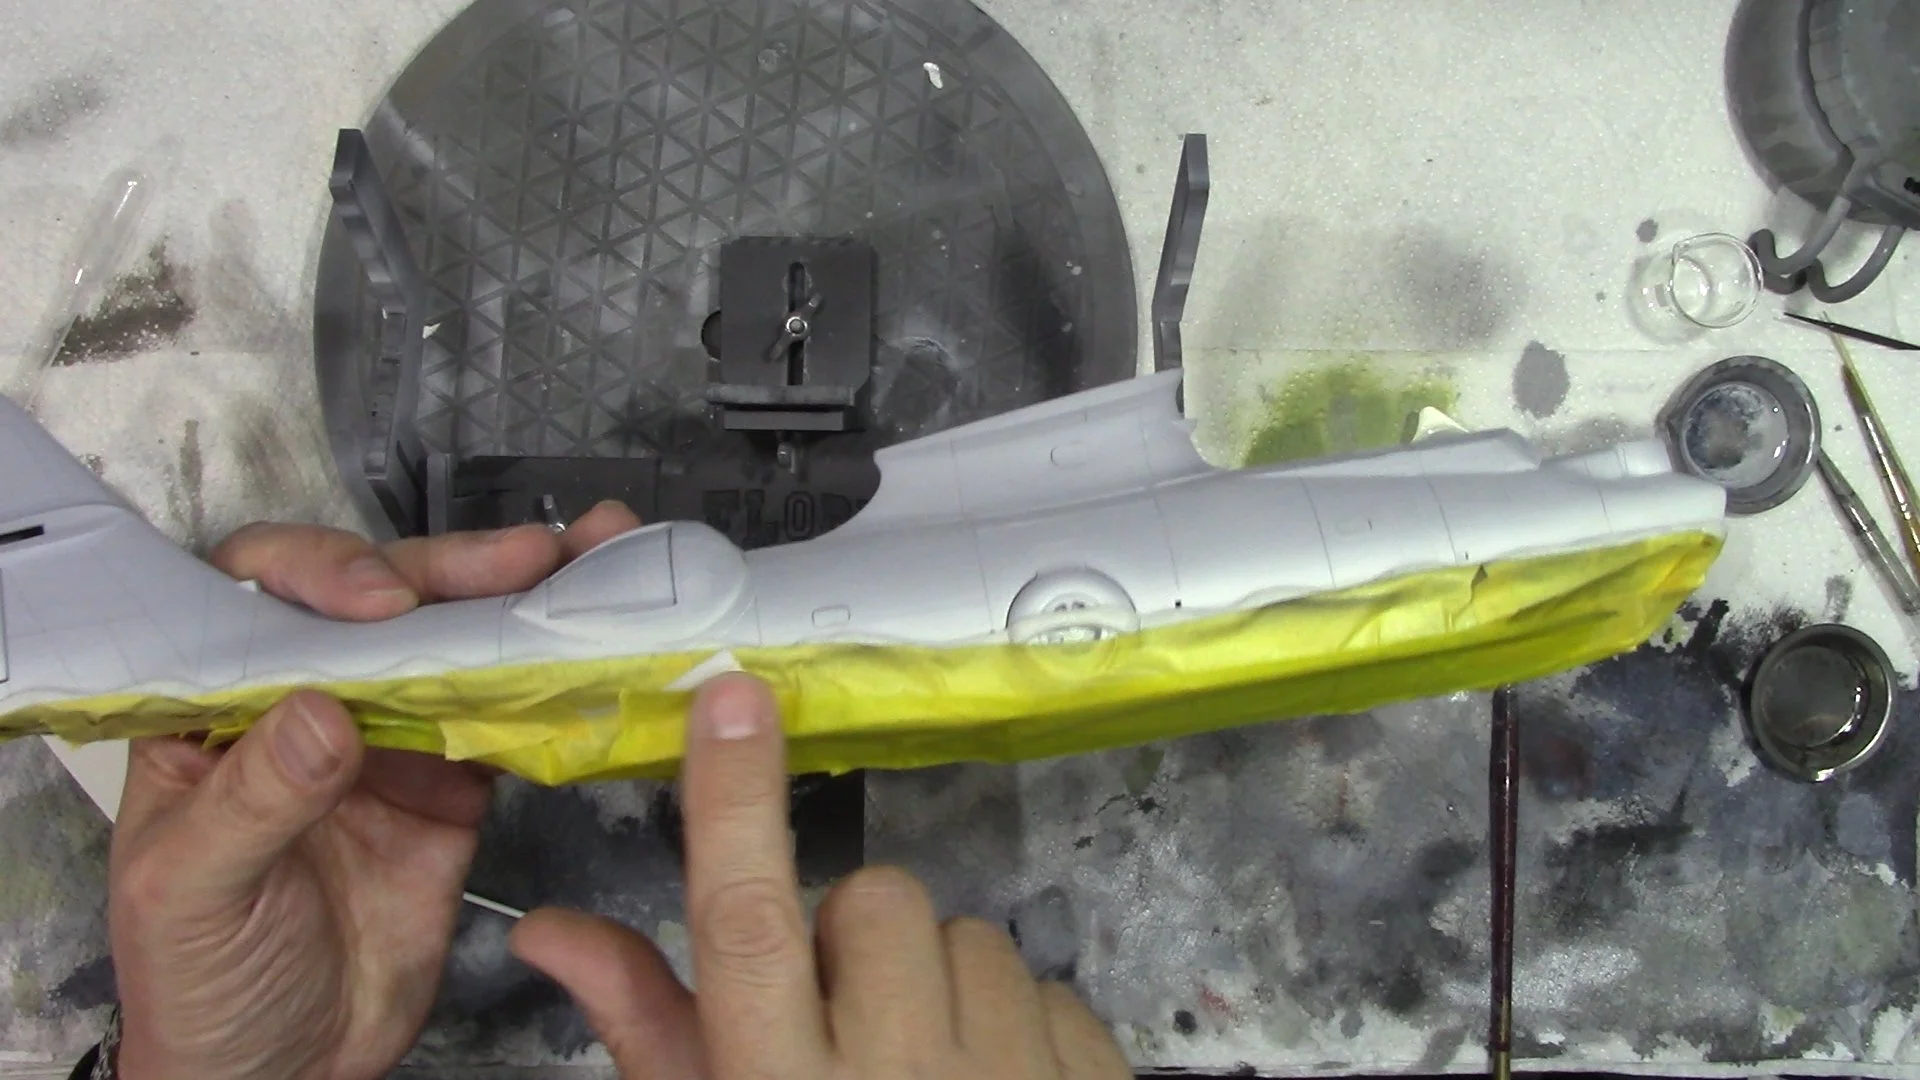
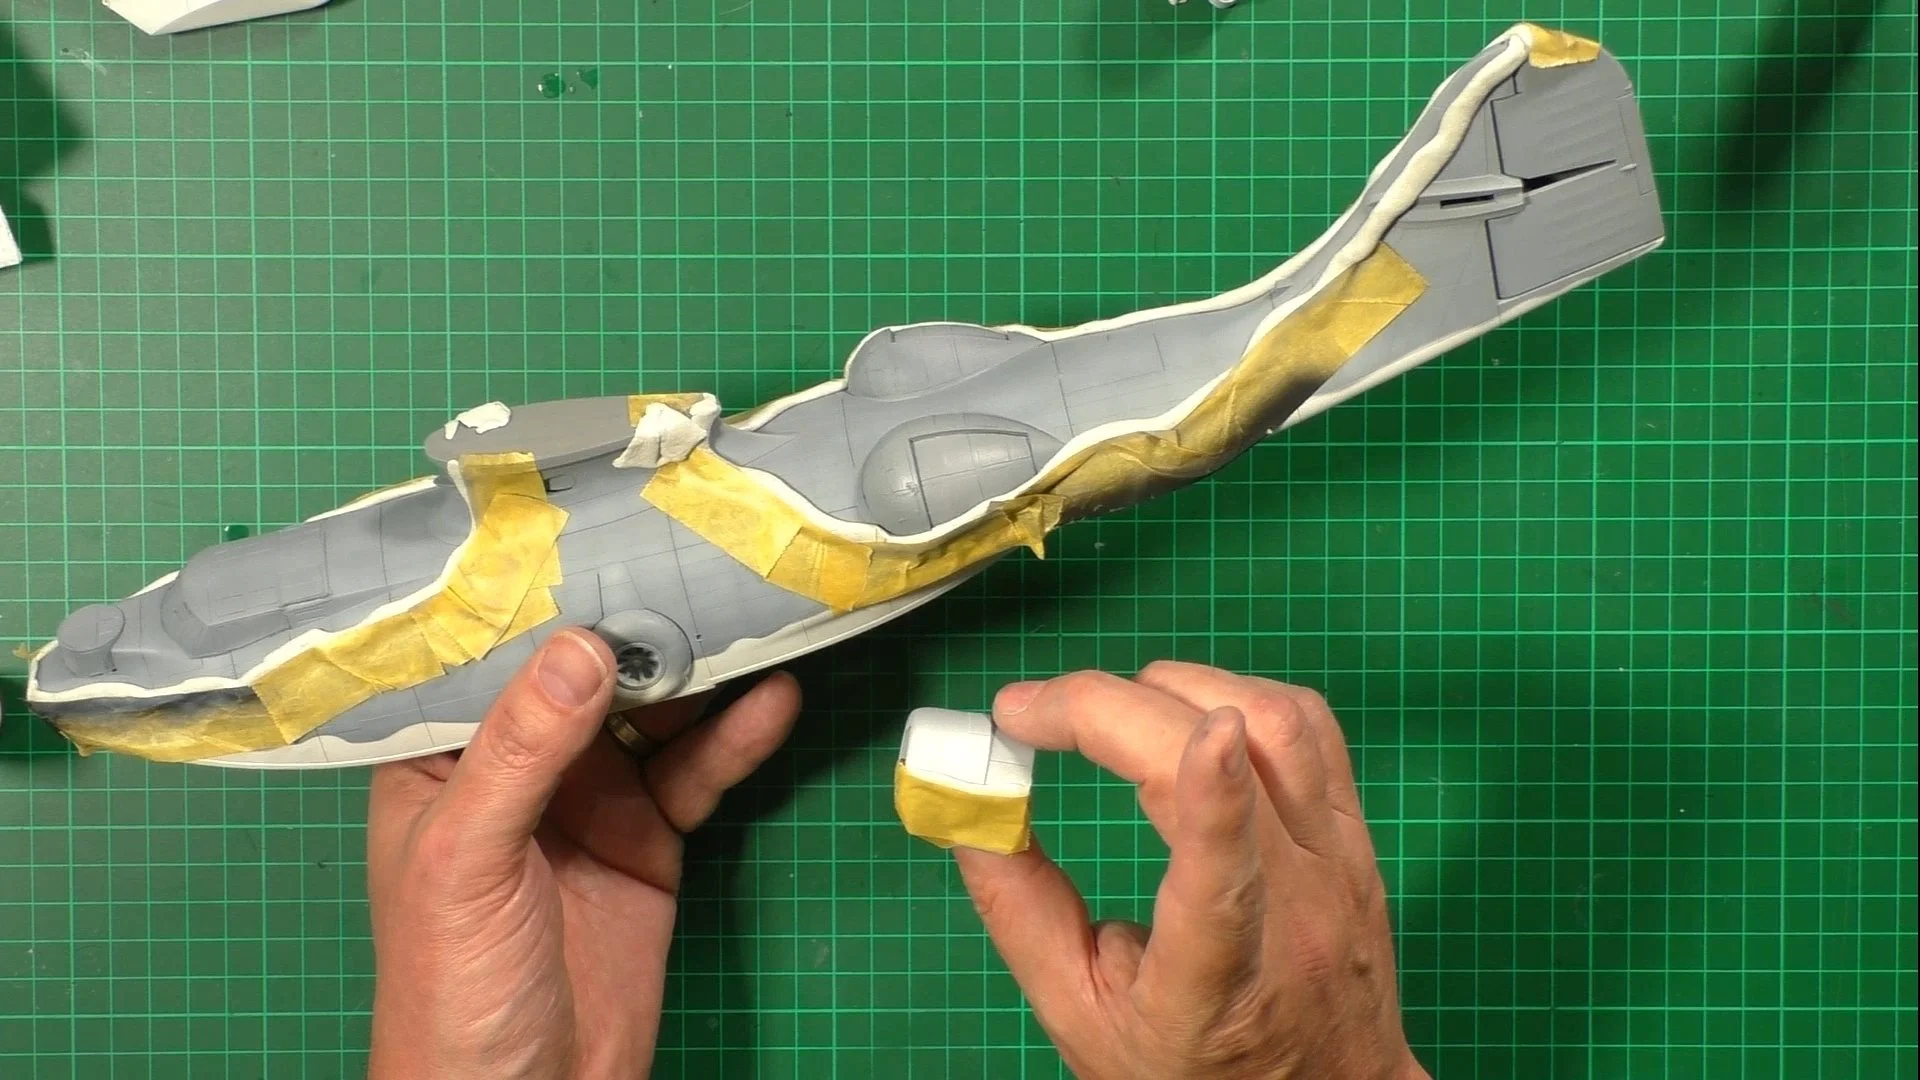
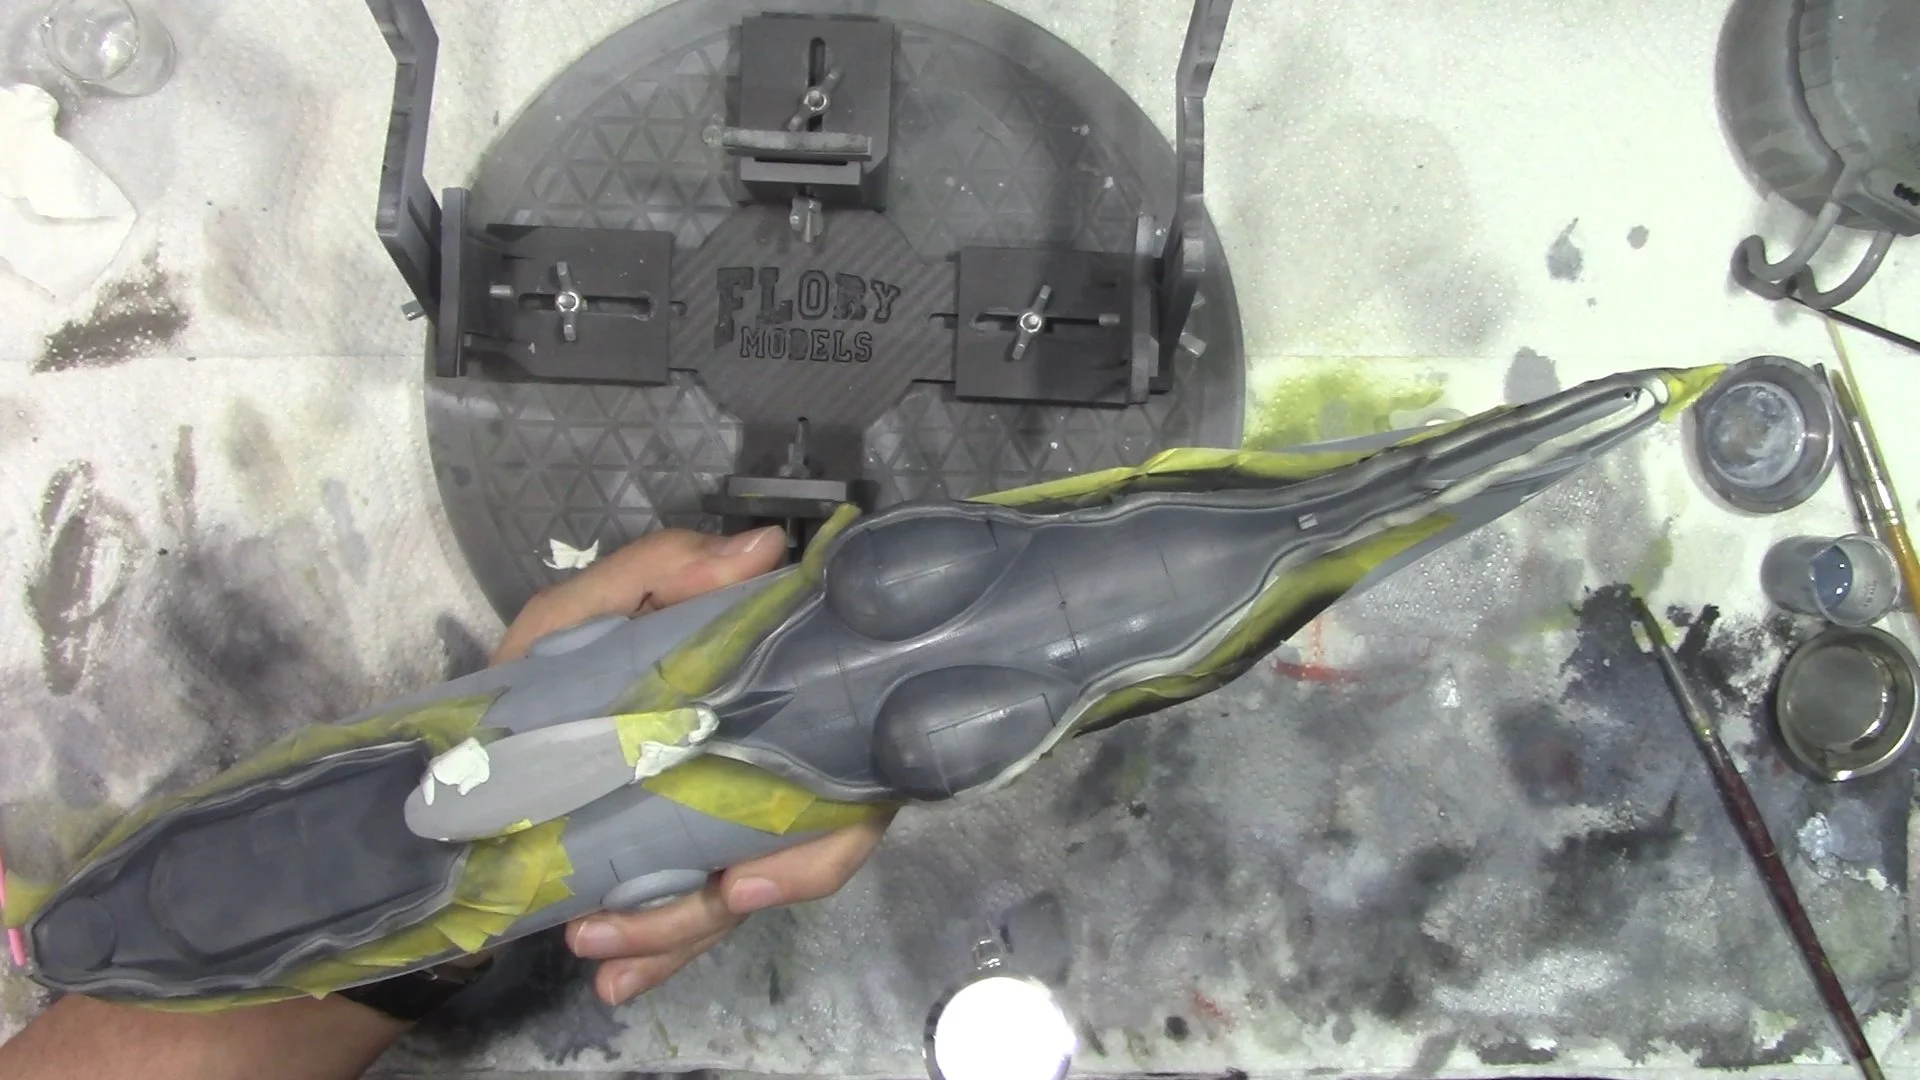
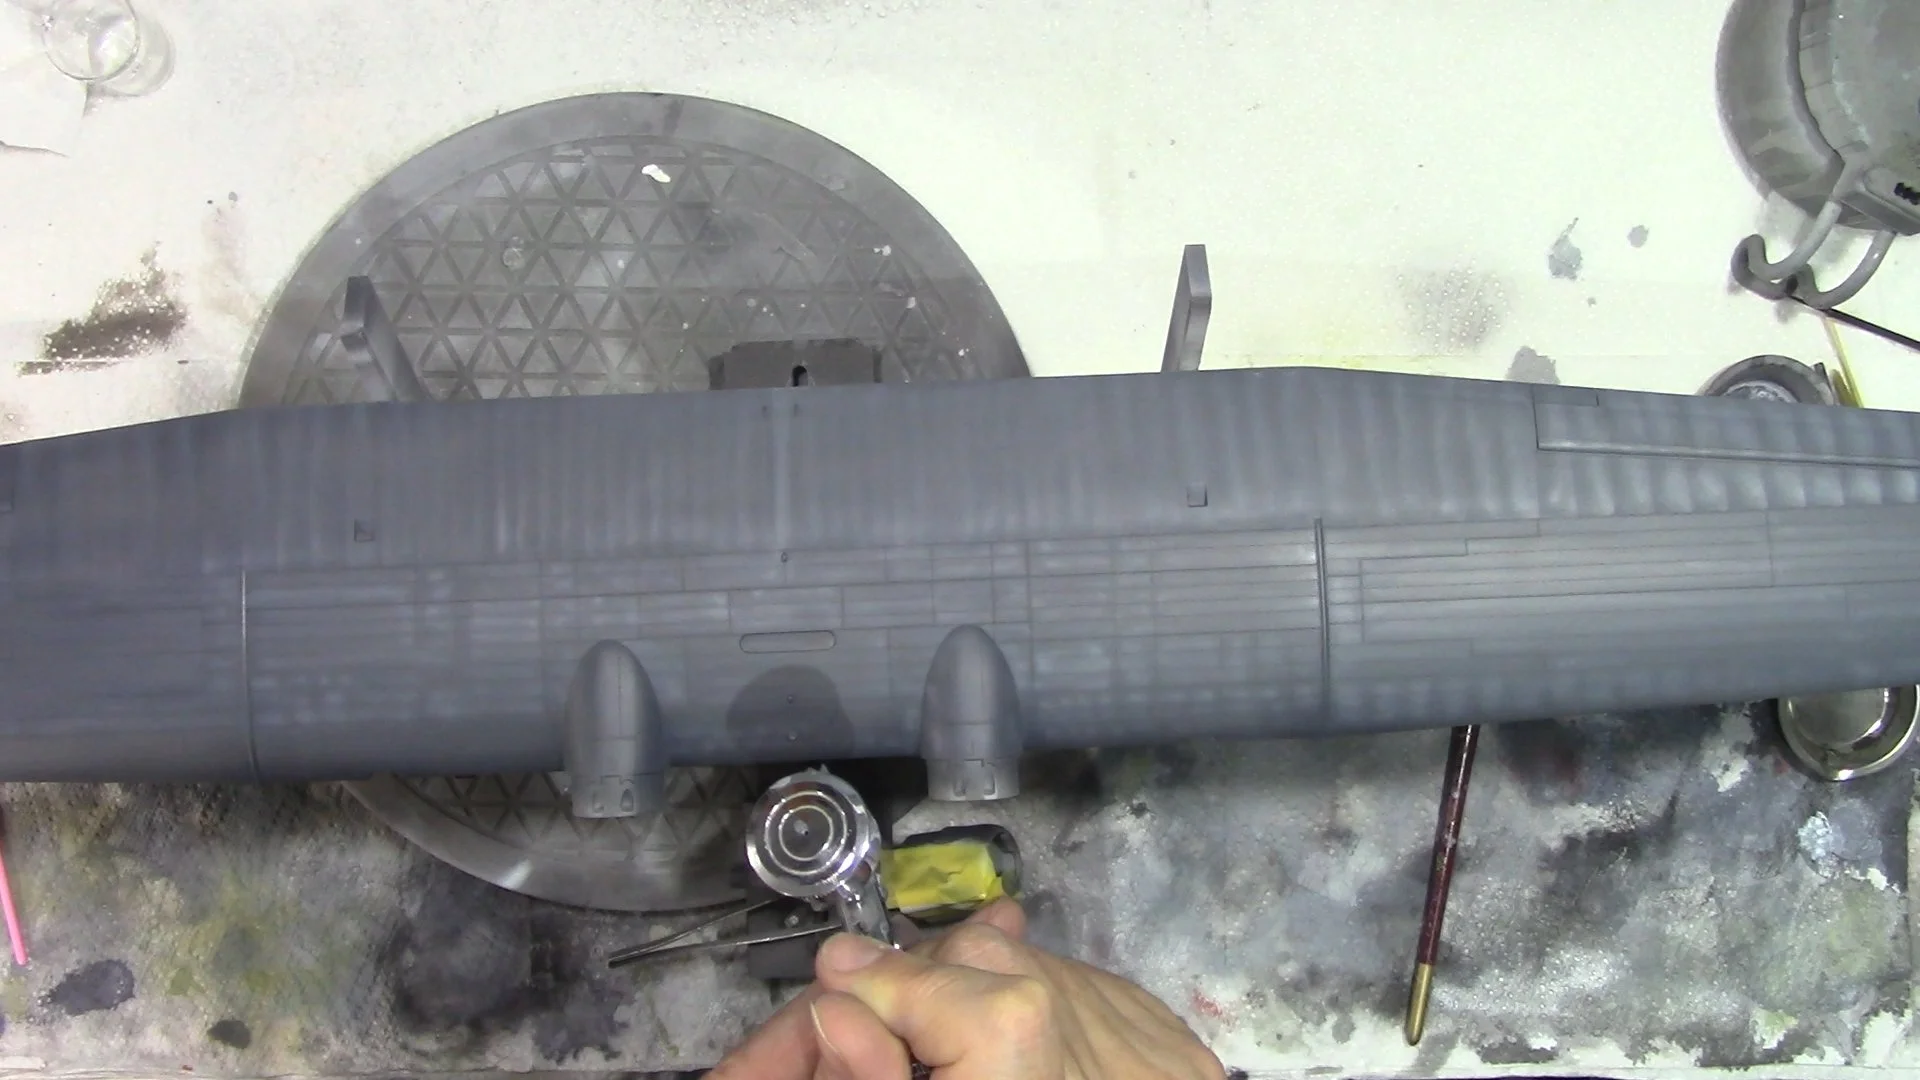
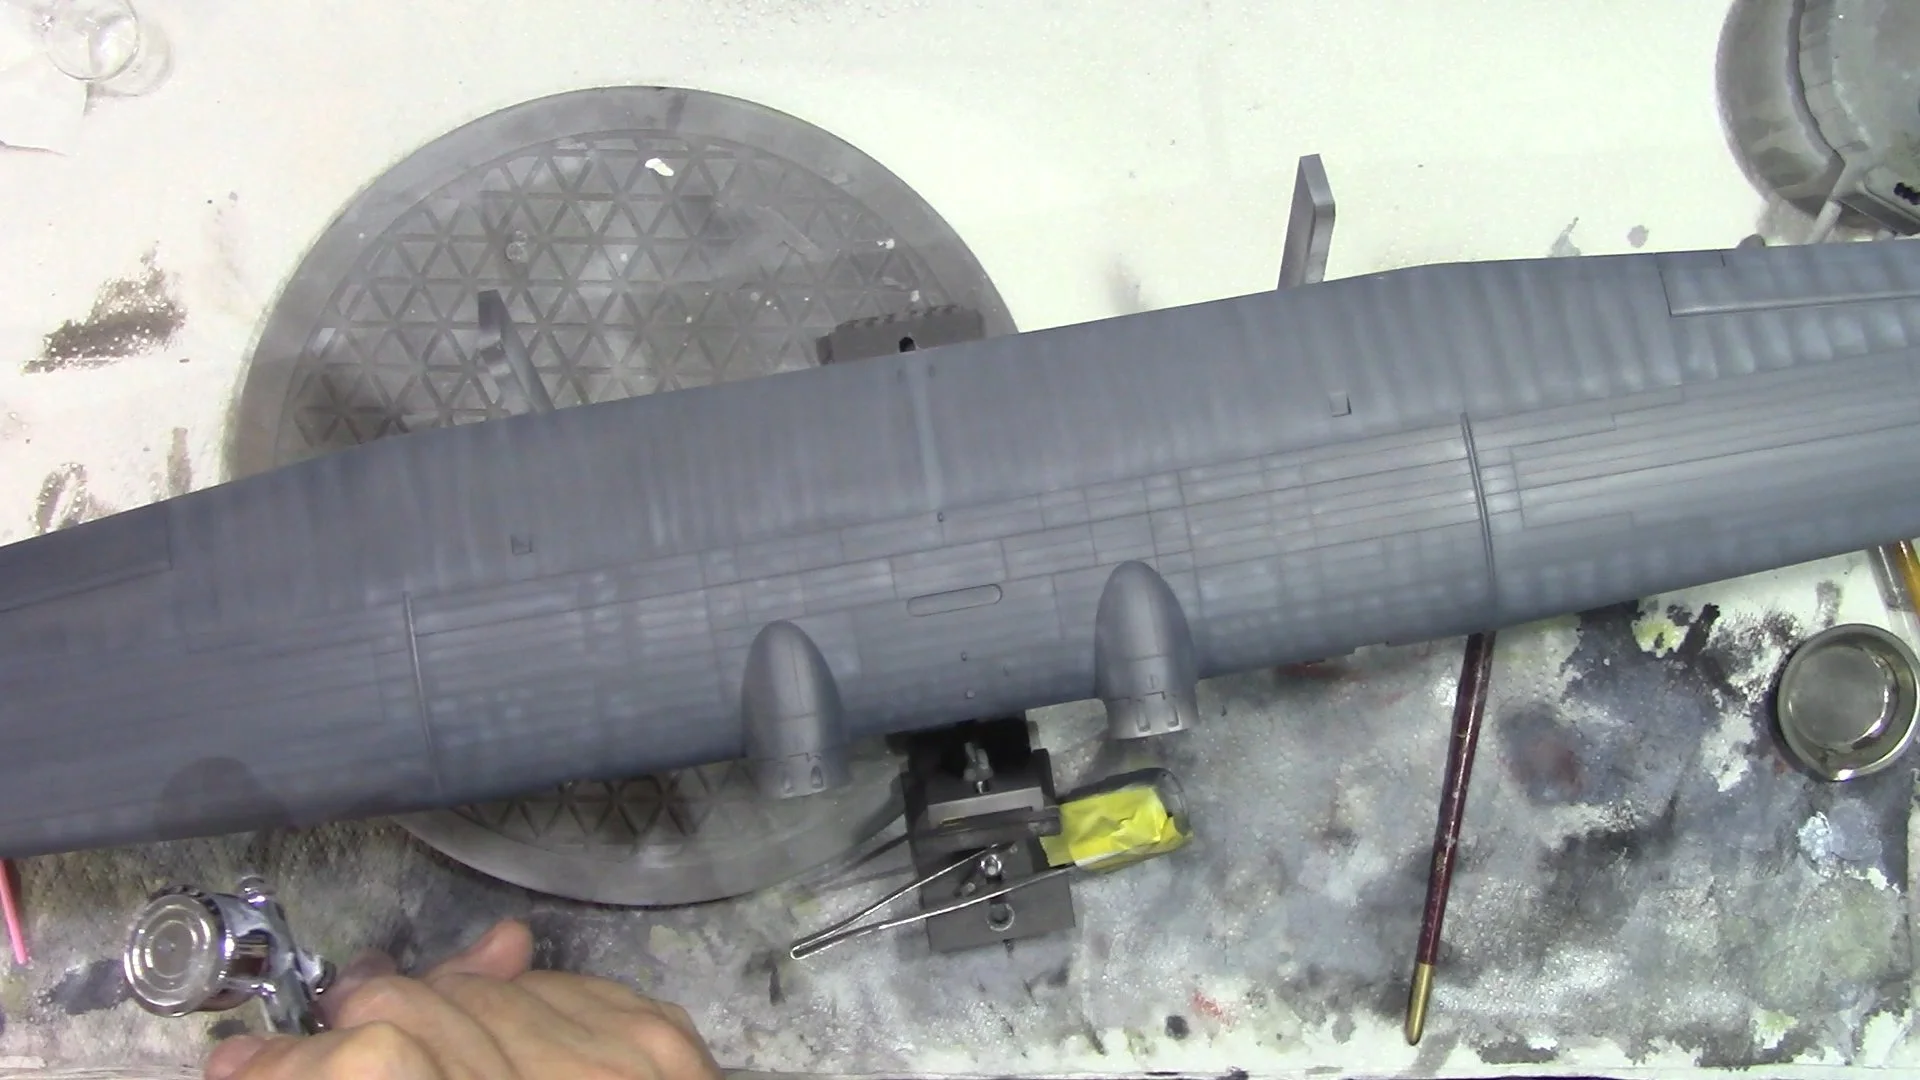
0:00 To start, we use the tac worm method for the camo line from the white to the intermediate blue ( Hataka C027) and then mask up ready for paint. 10:58 With everything masked up, we put down a coat of Hataka C027 intermediate blue. Thinned around 60% with thinners. 16:30 Next, we fade the paint work with a mix of the blue with white and thinned to around 90% thinners. 24:30 Now it's back to the bench to unmask and see what we got. 30:14 Last up, we repeat the masking with the Tac worms for the Dark Blue areas on the top.
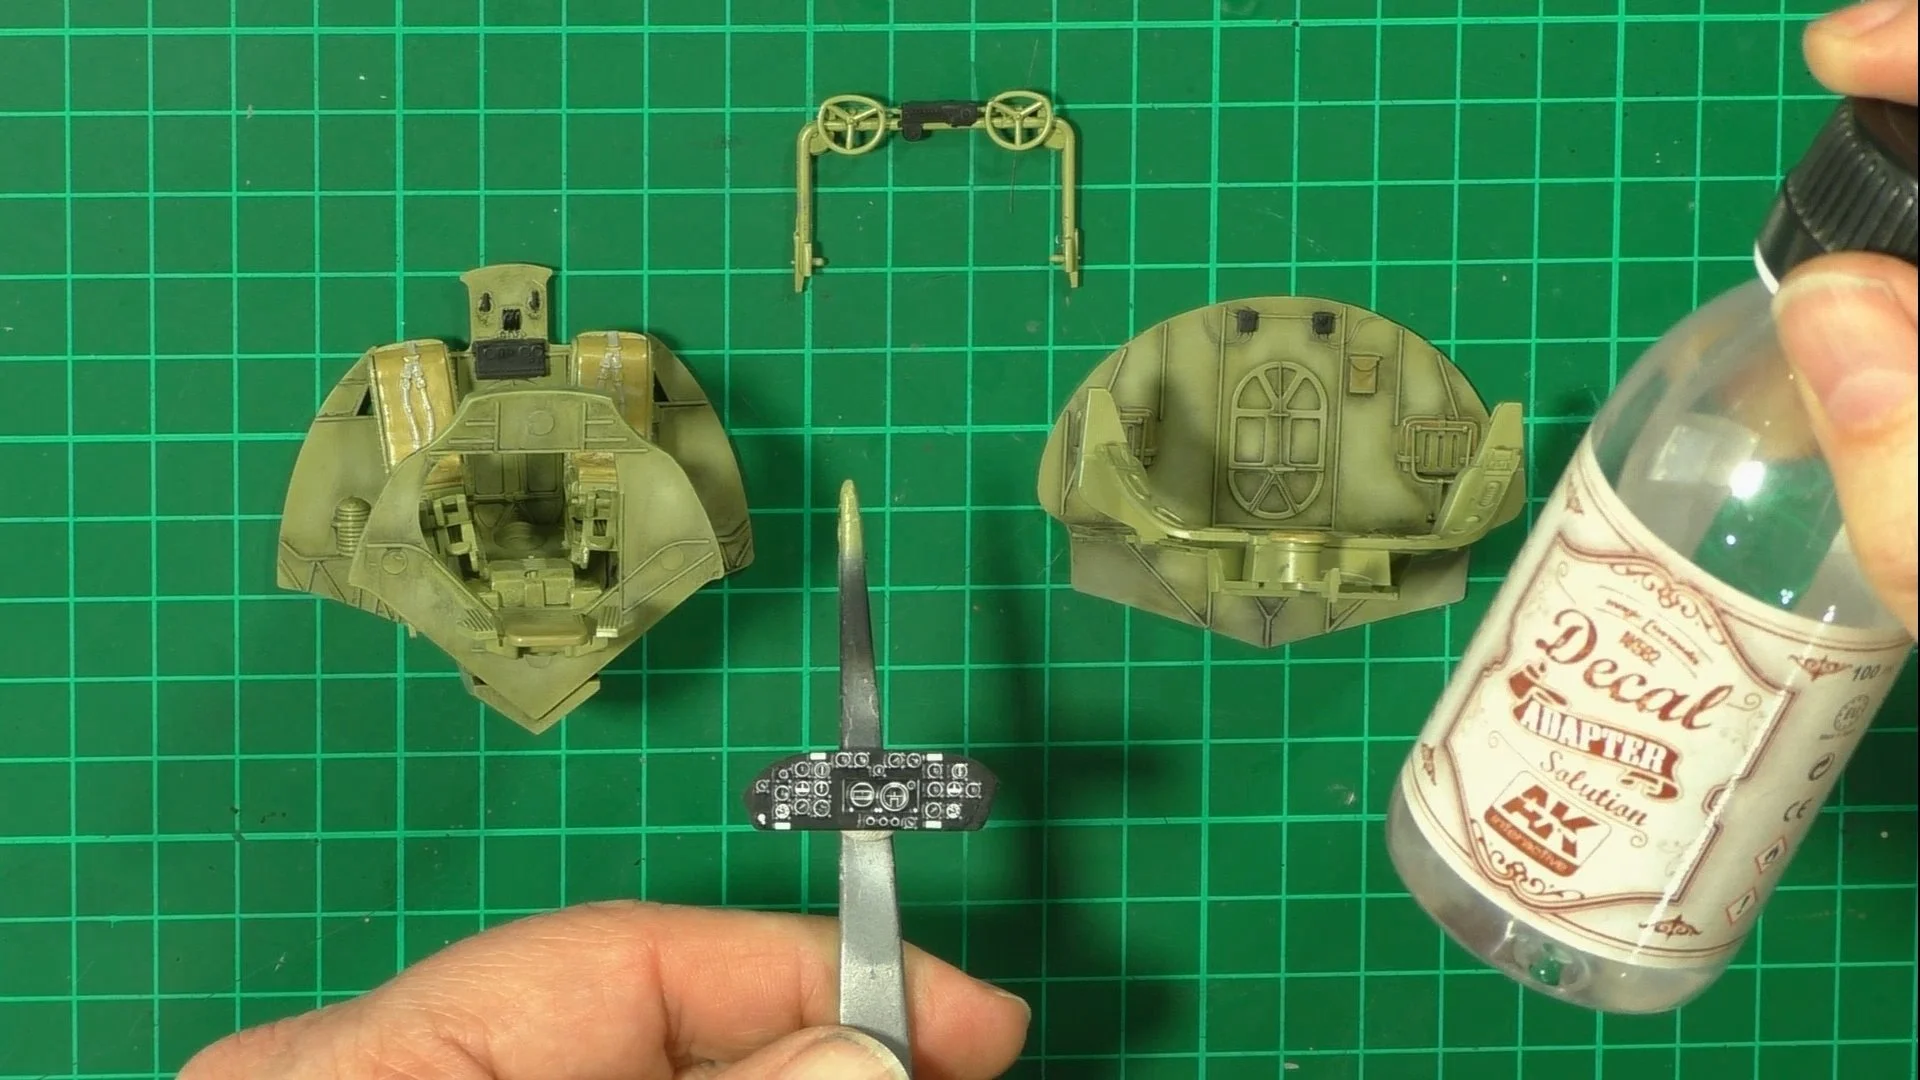
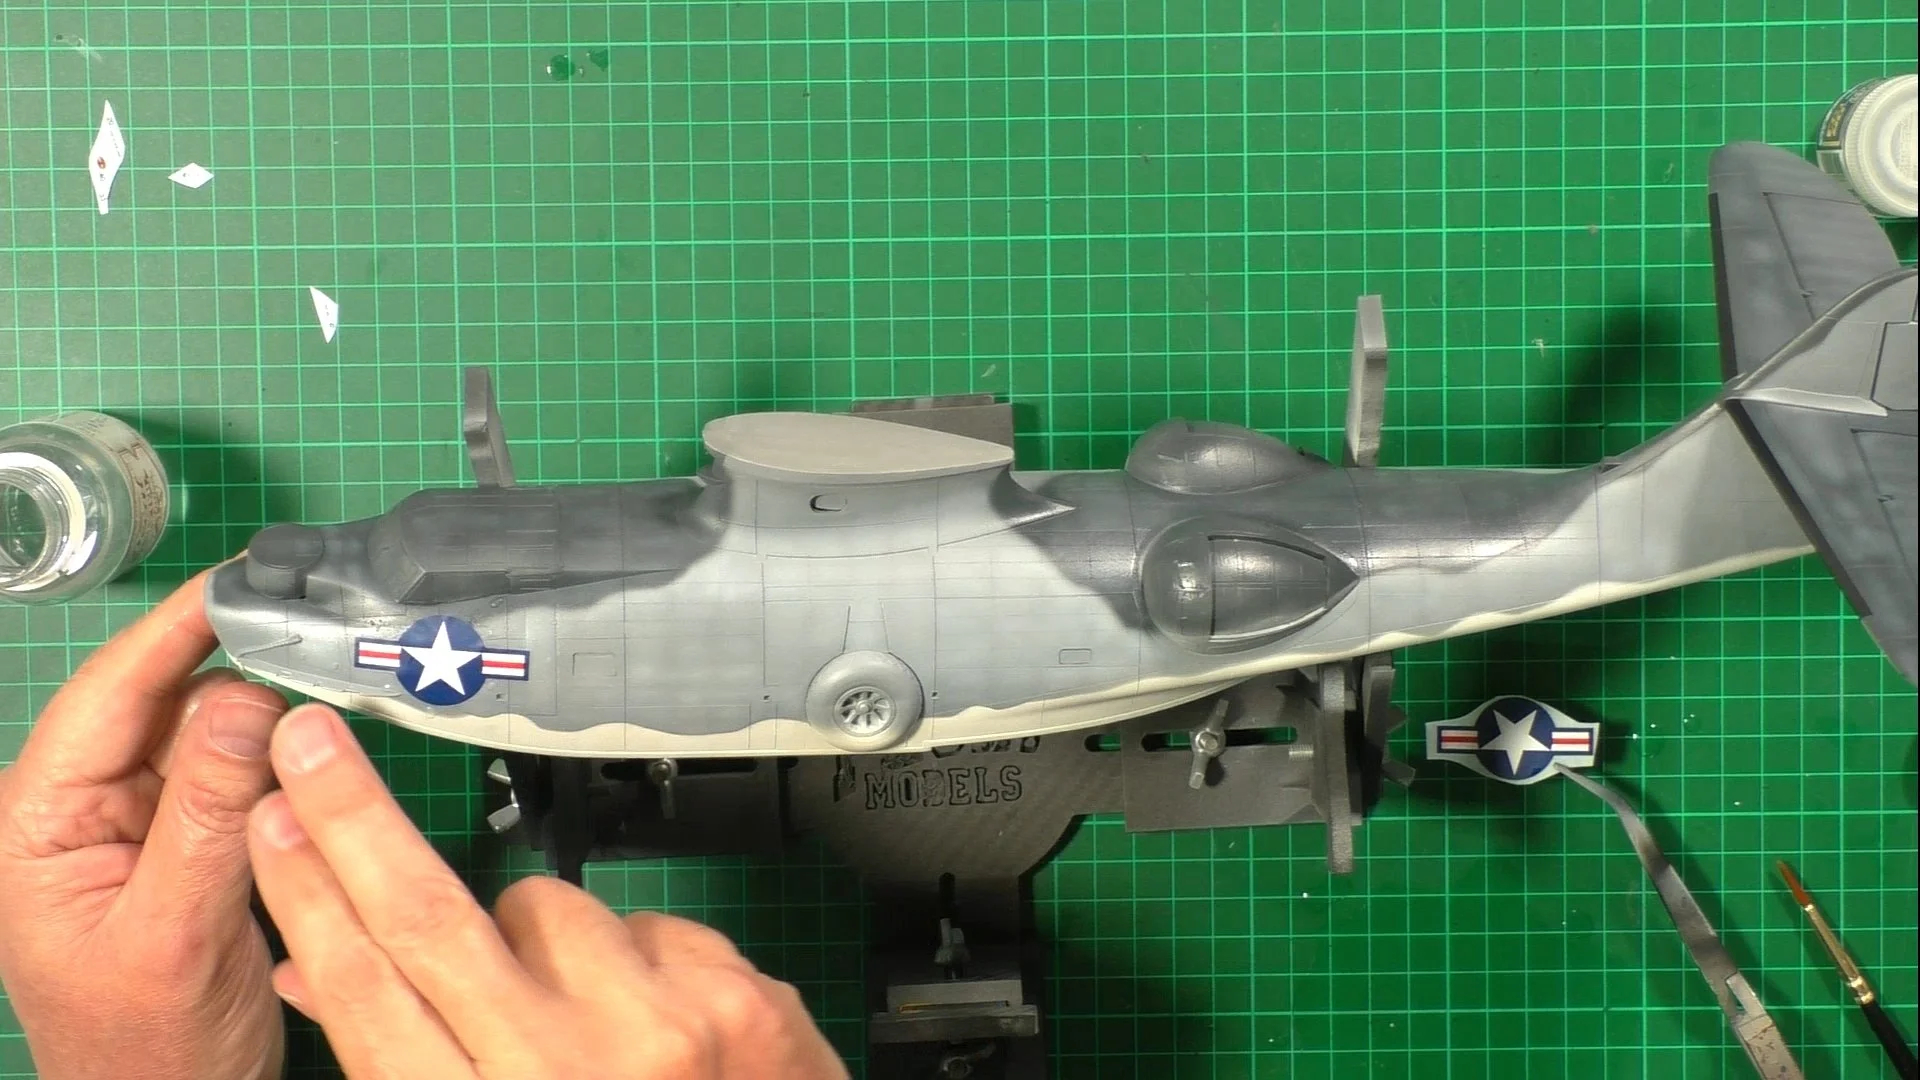
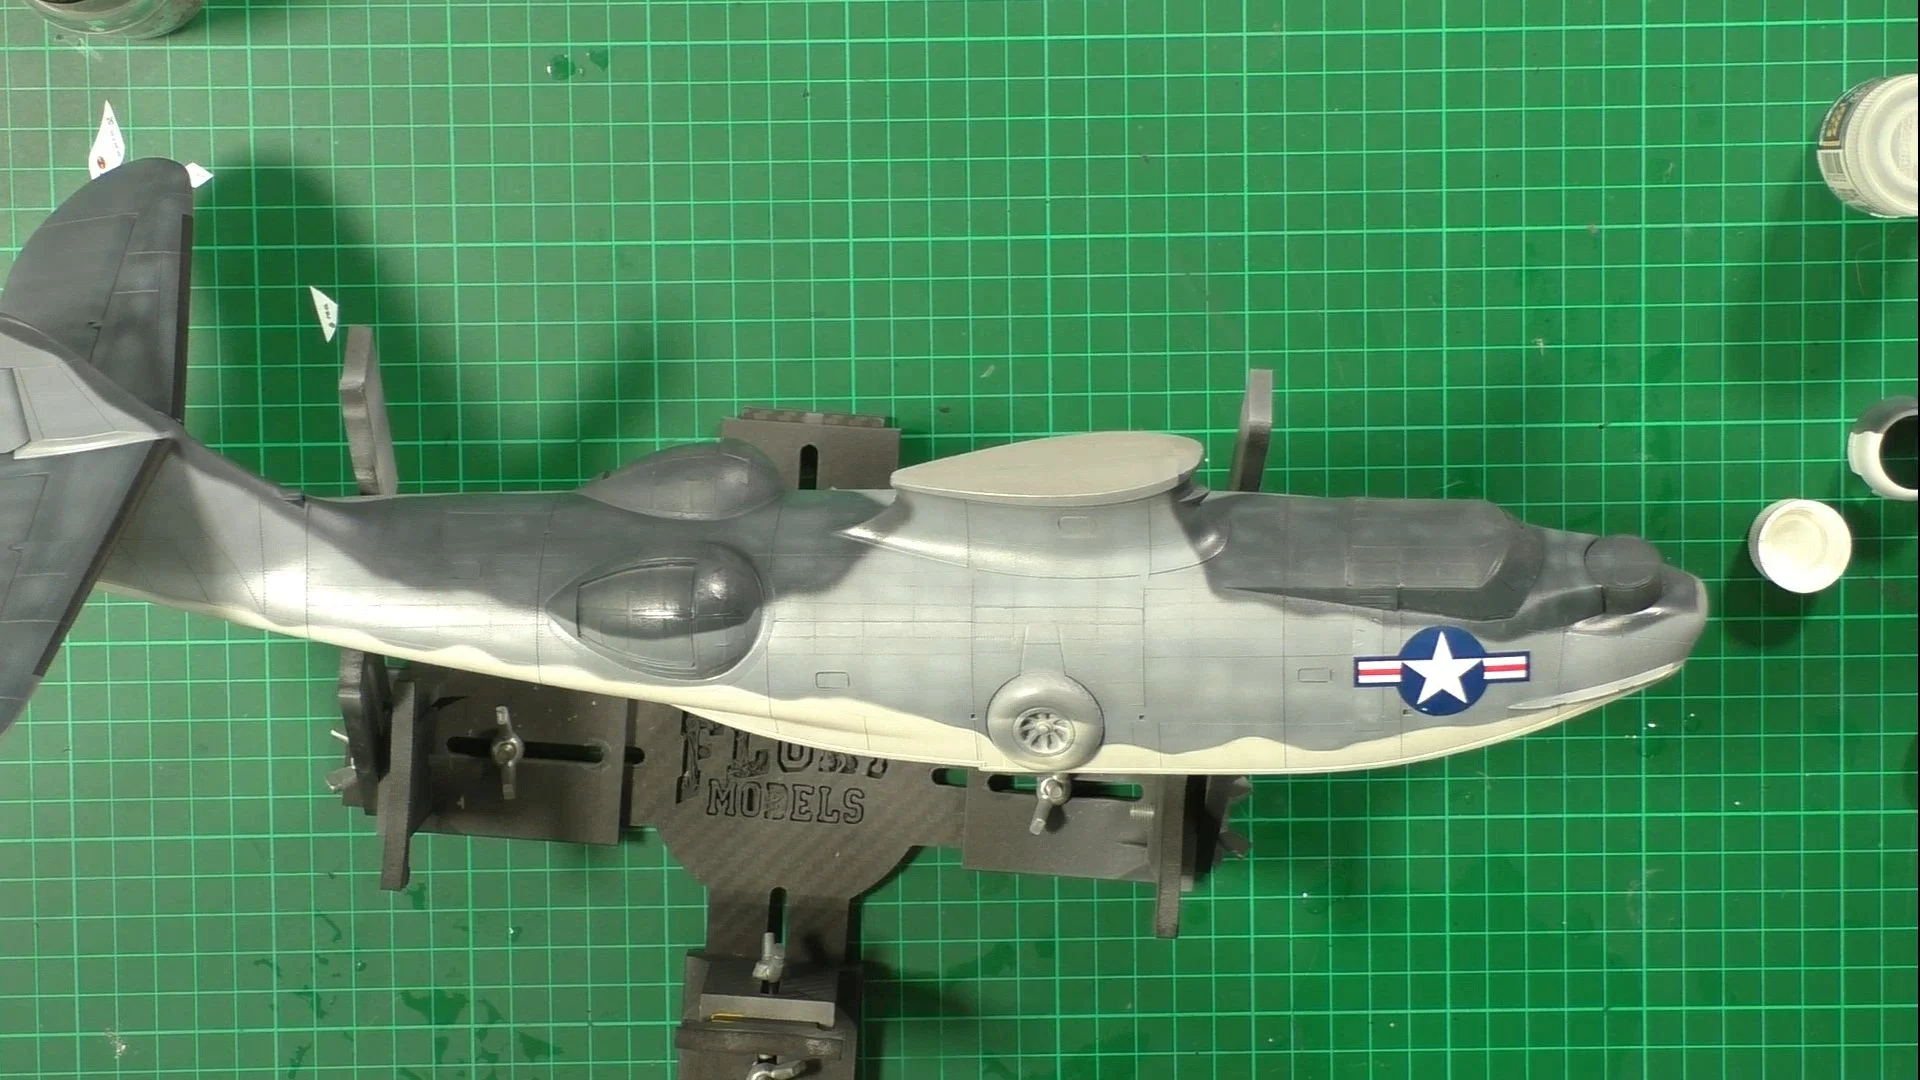
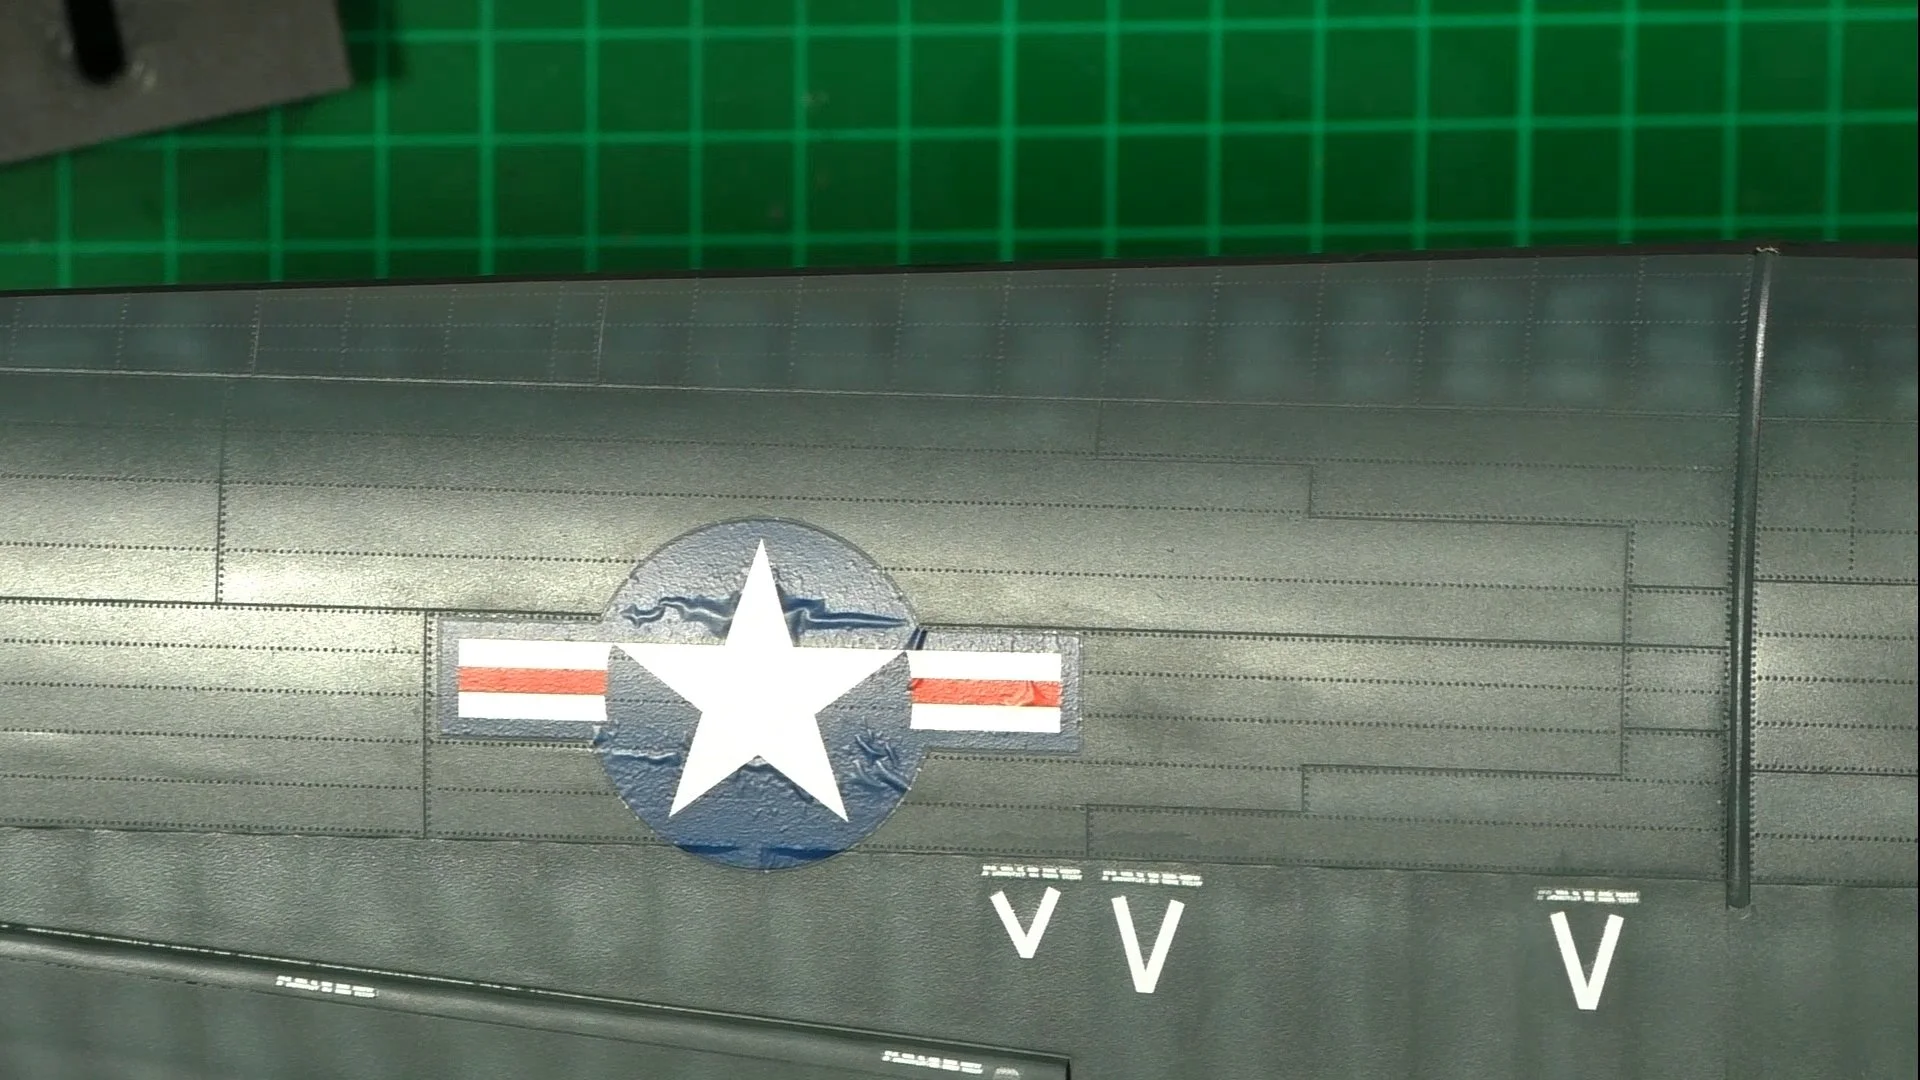
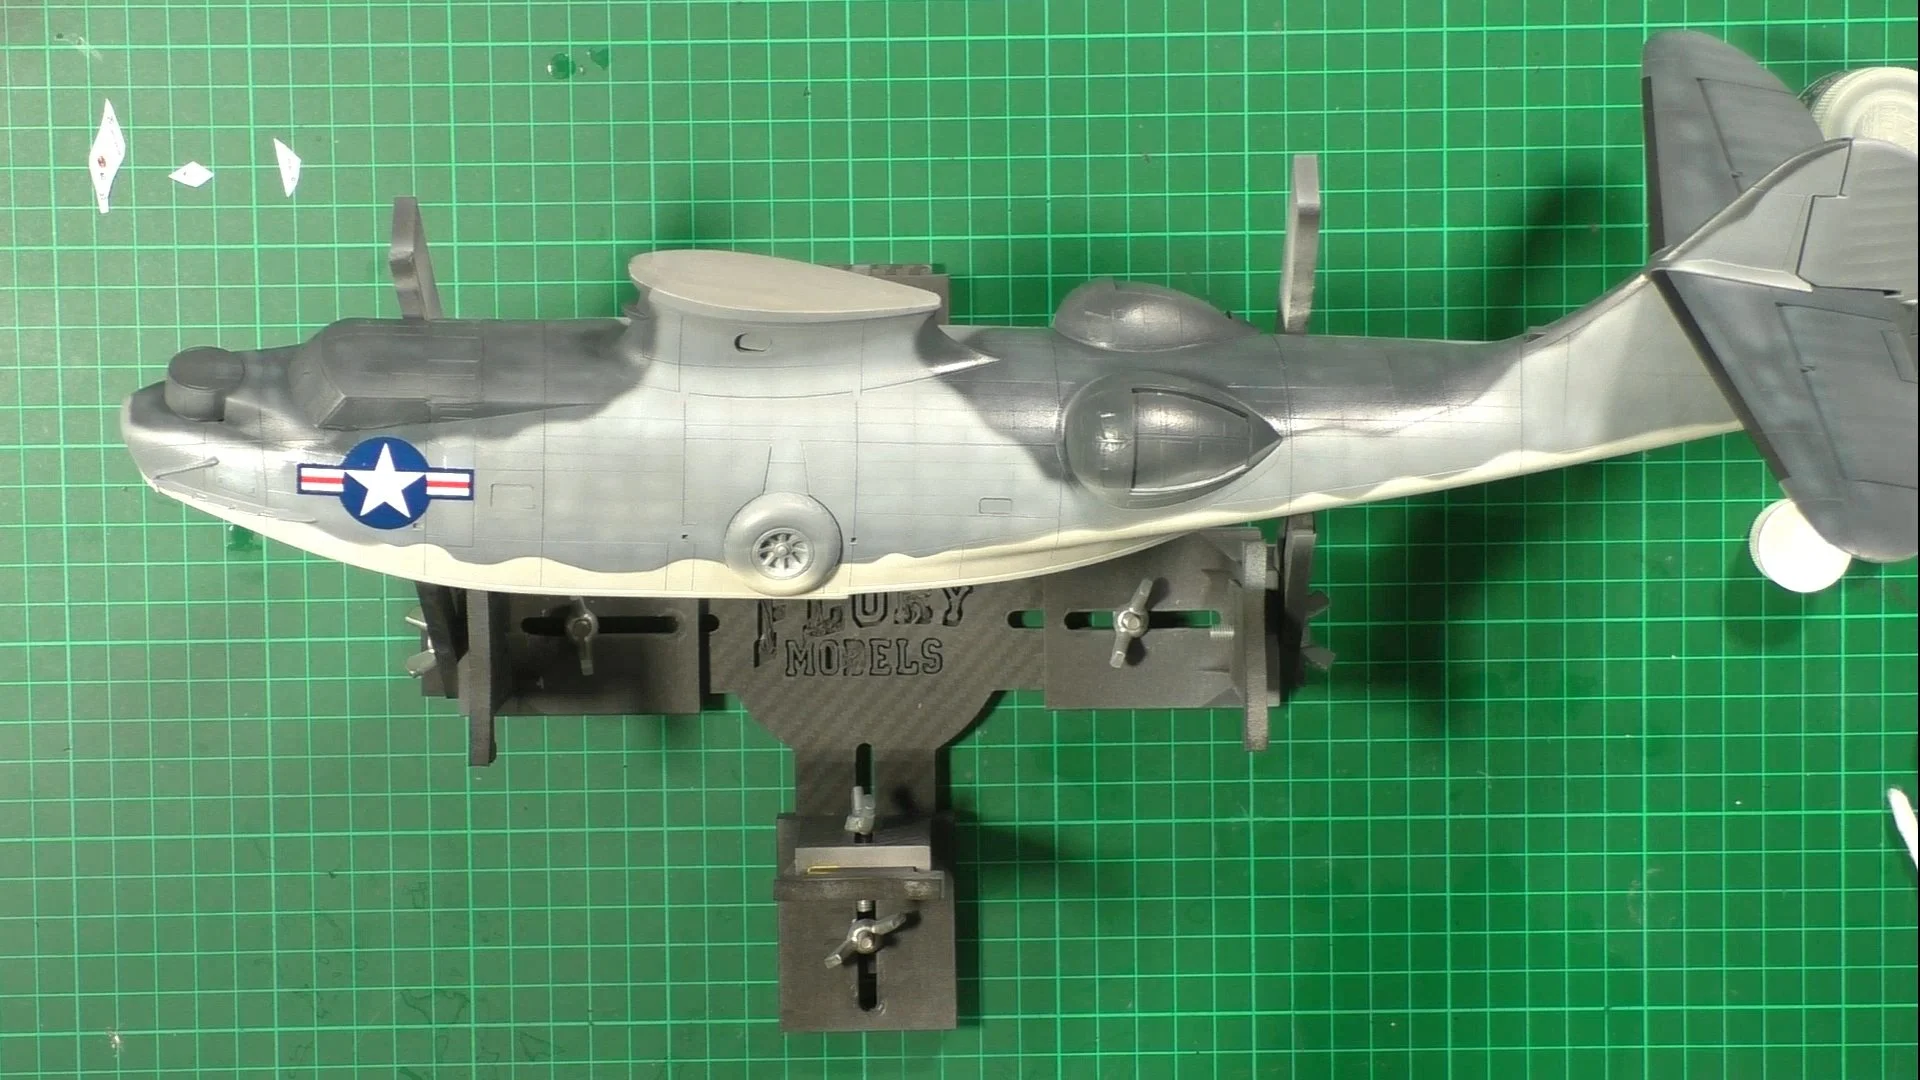
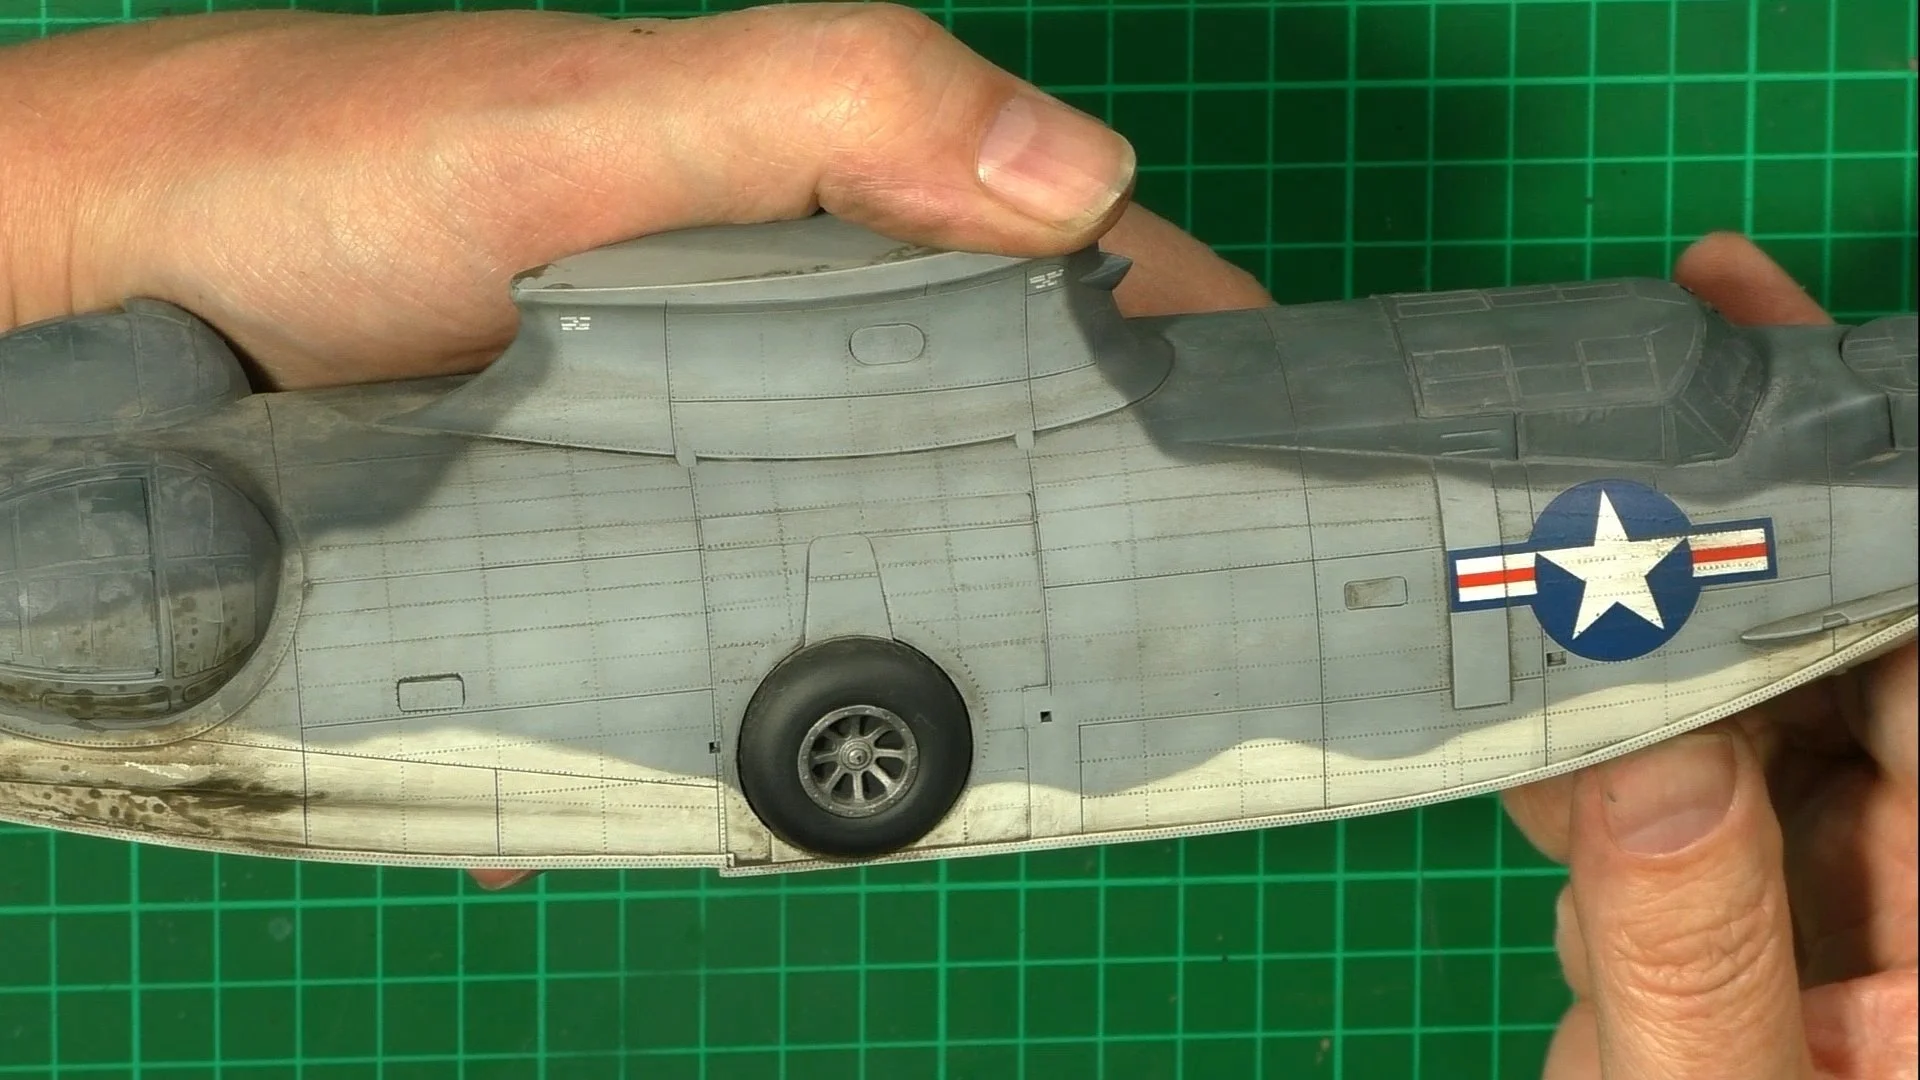
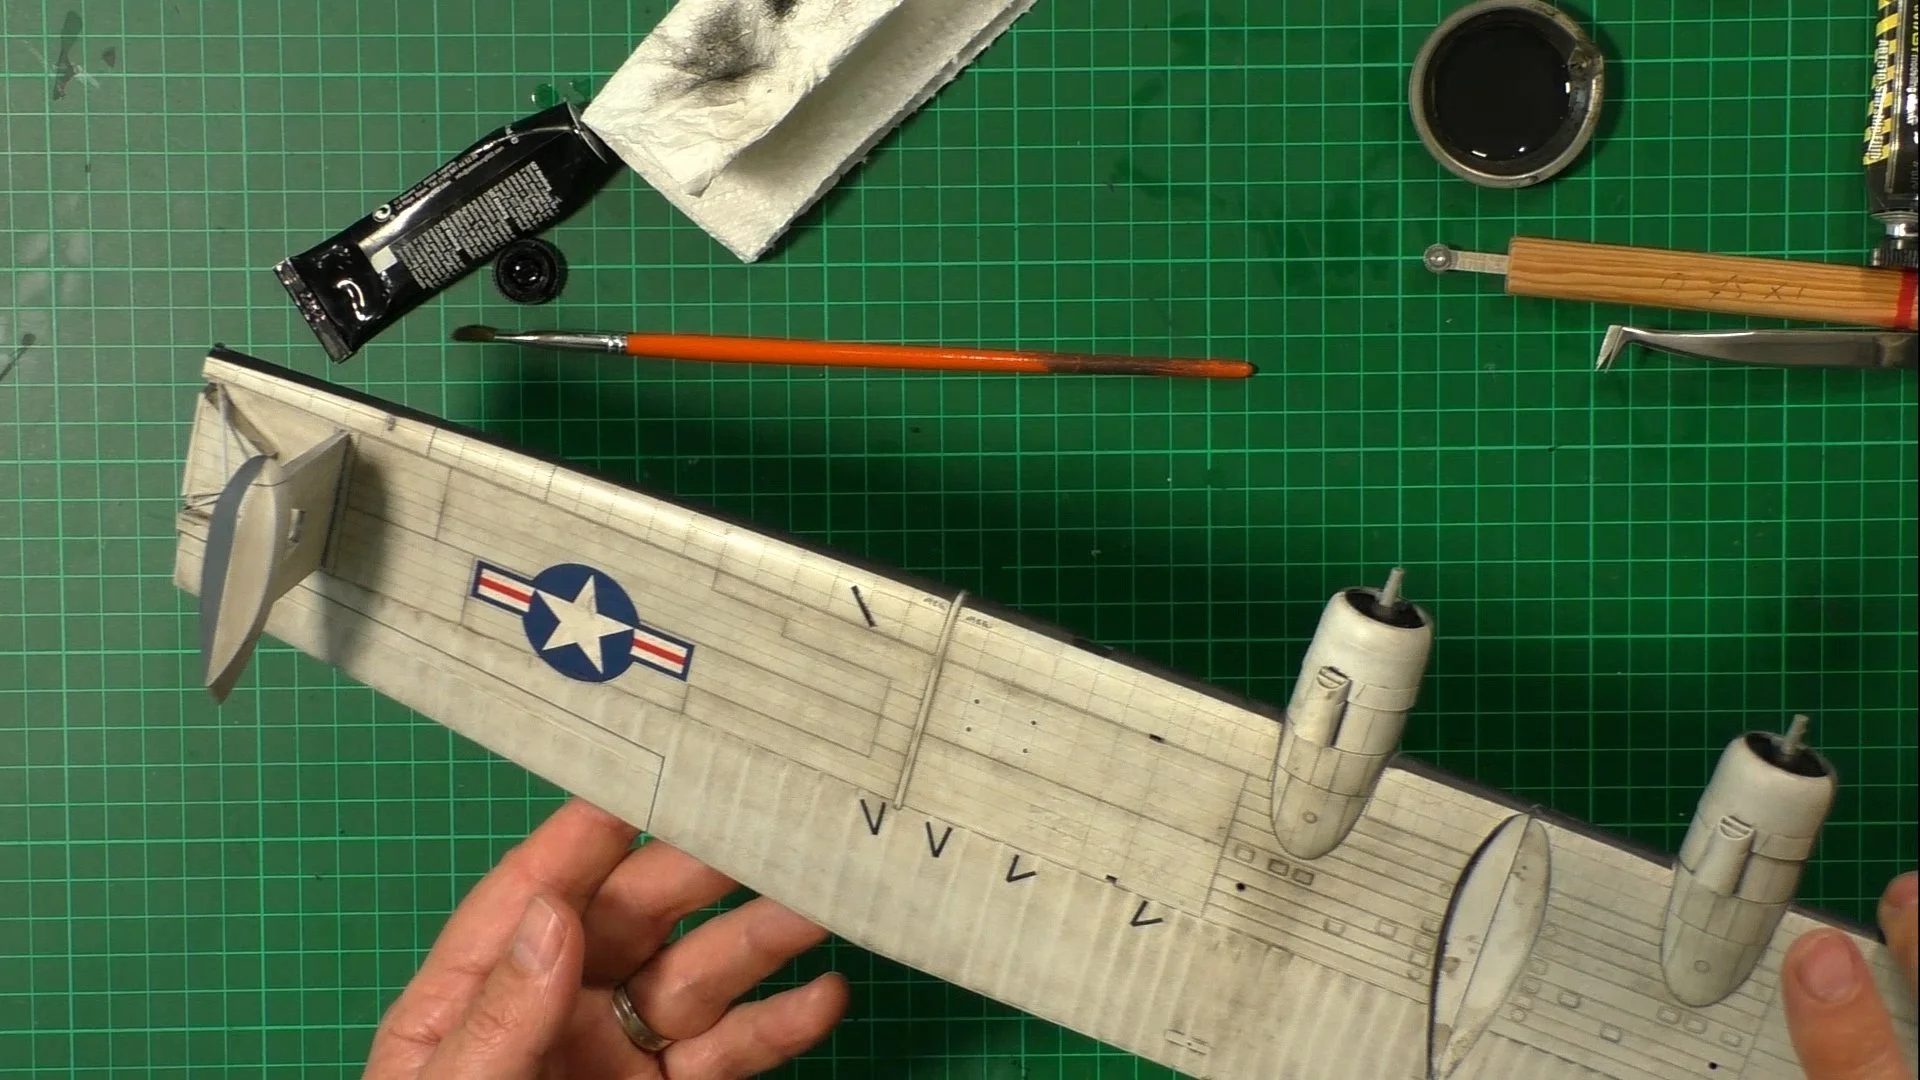
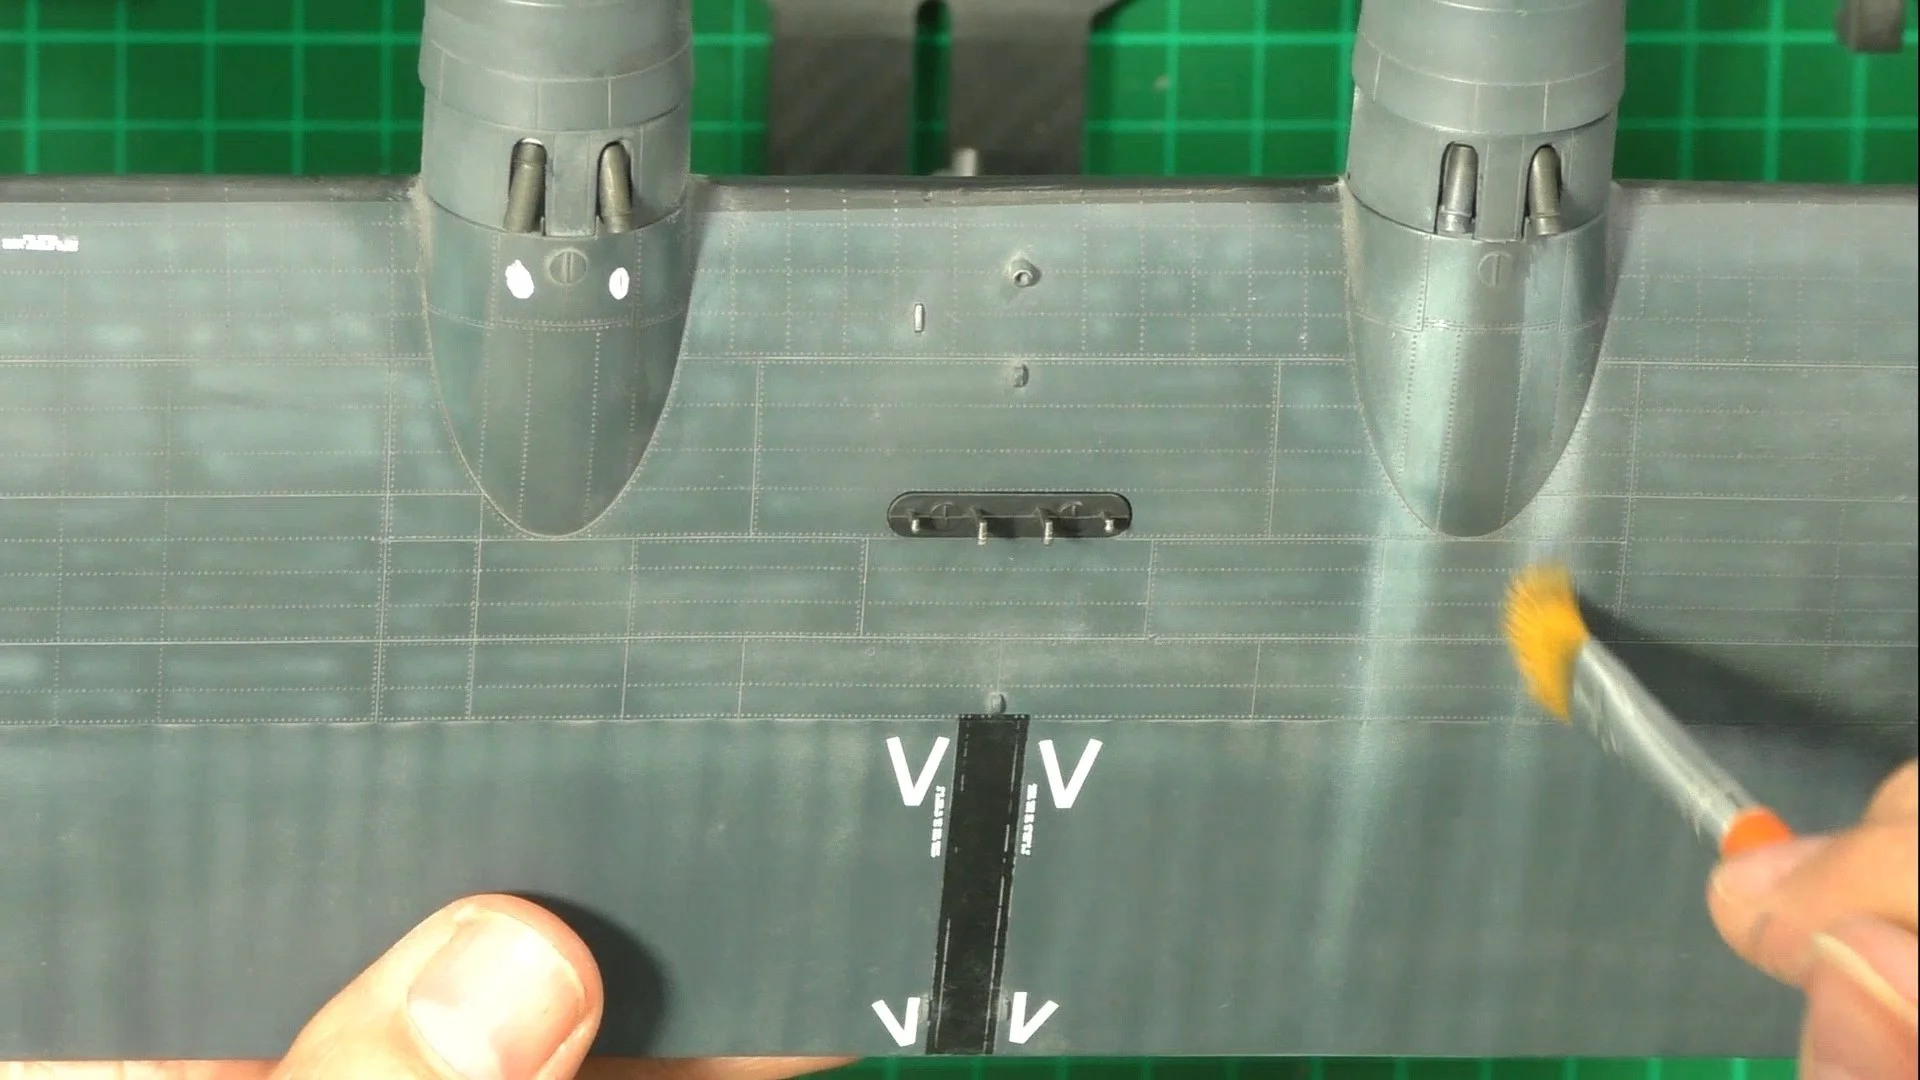
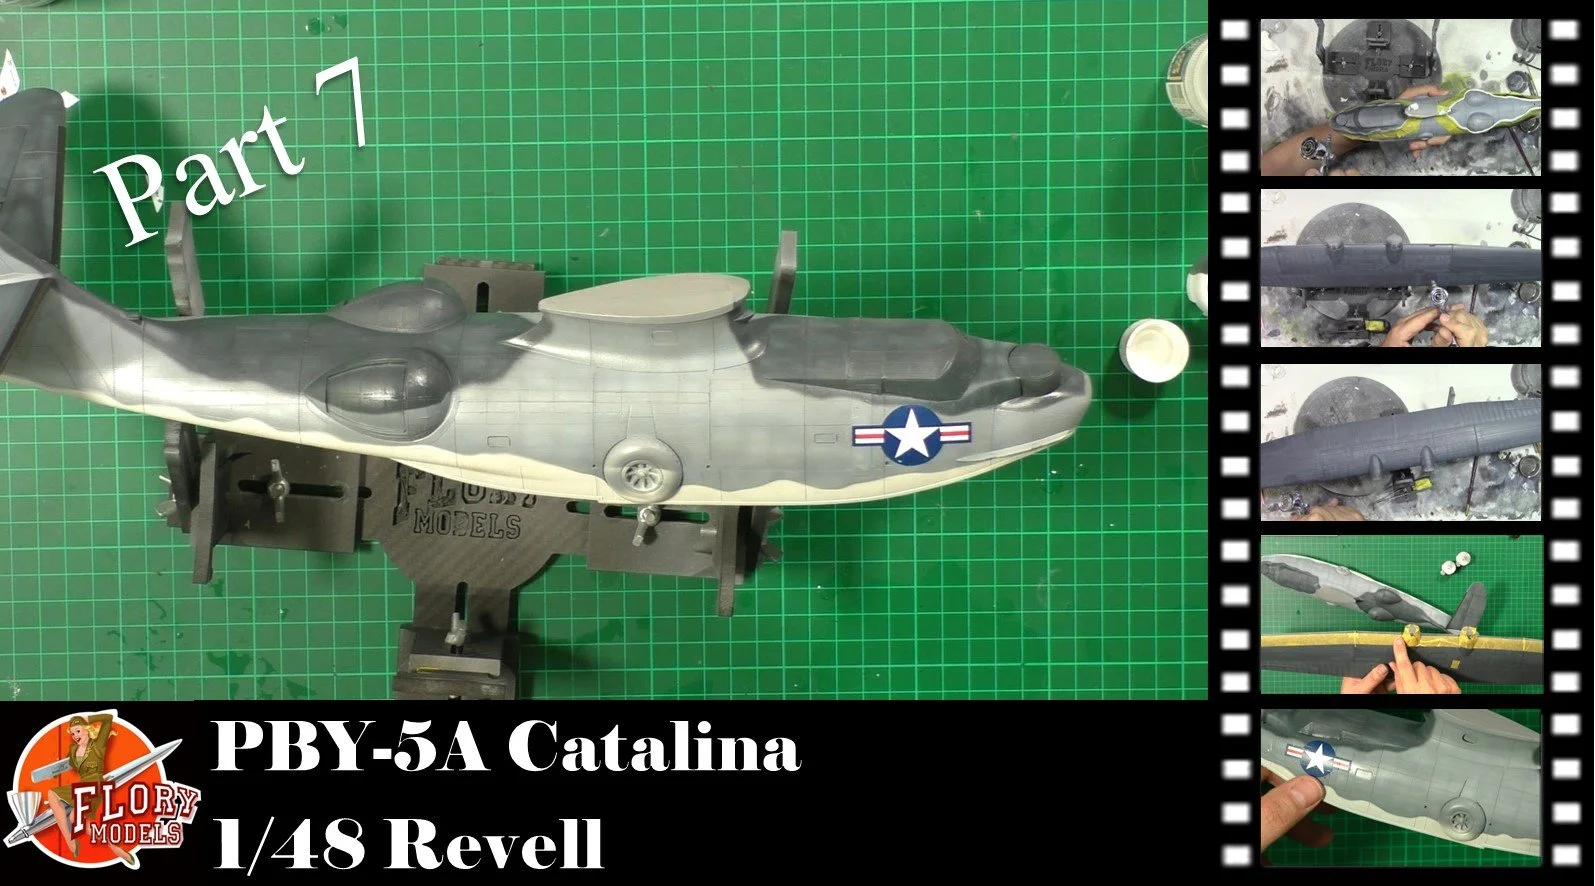
0:00 with the top side all masked, we put down a coat of the Hataka CC001 Dark Sea Blue. 7:43 Next, we add a few drops of the Intermediate Blue C027 we used before to lighten the dark blue, then thin it more to do more post-shading of the dark blue. 12:23 Now it's time to mask up the De-icing boots on the leading edge of the wing and paint rubber black with Tamiya XF-85. 16:44 Finally, it's time to bring the model to life with decalling.
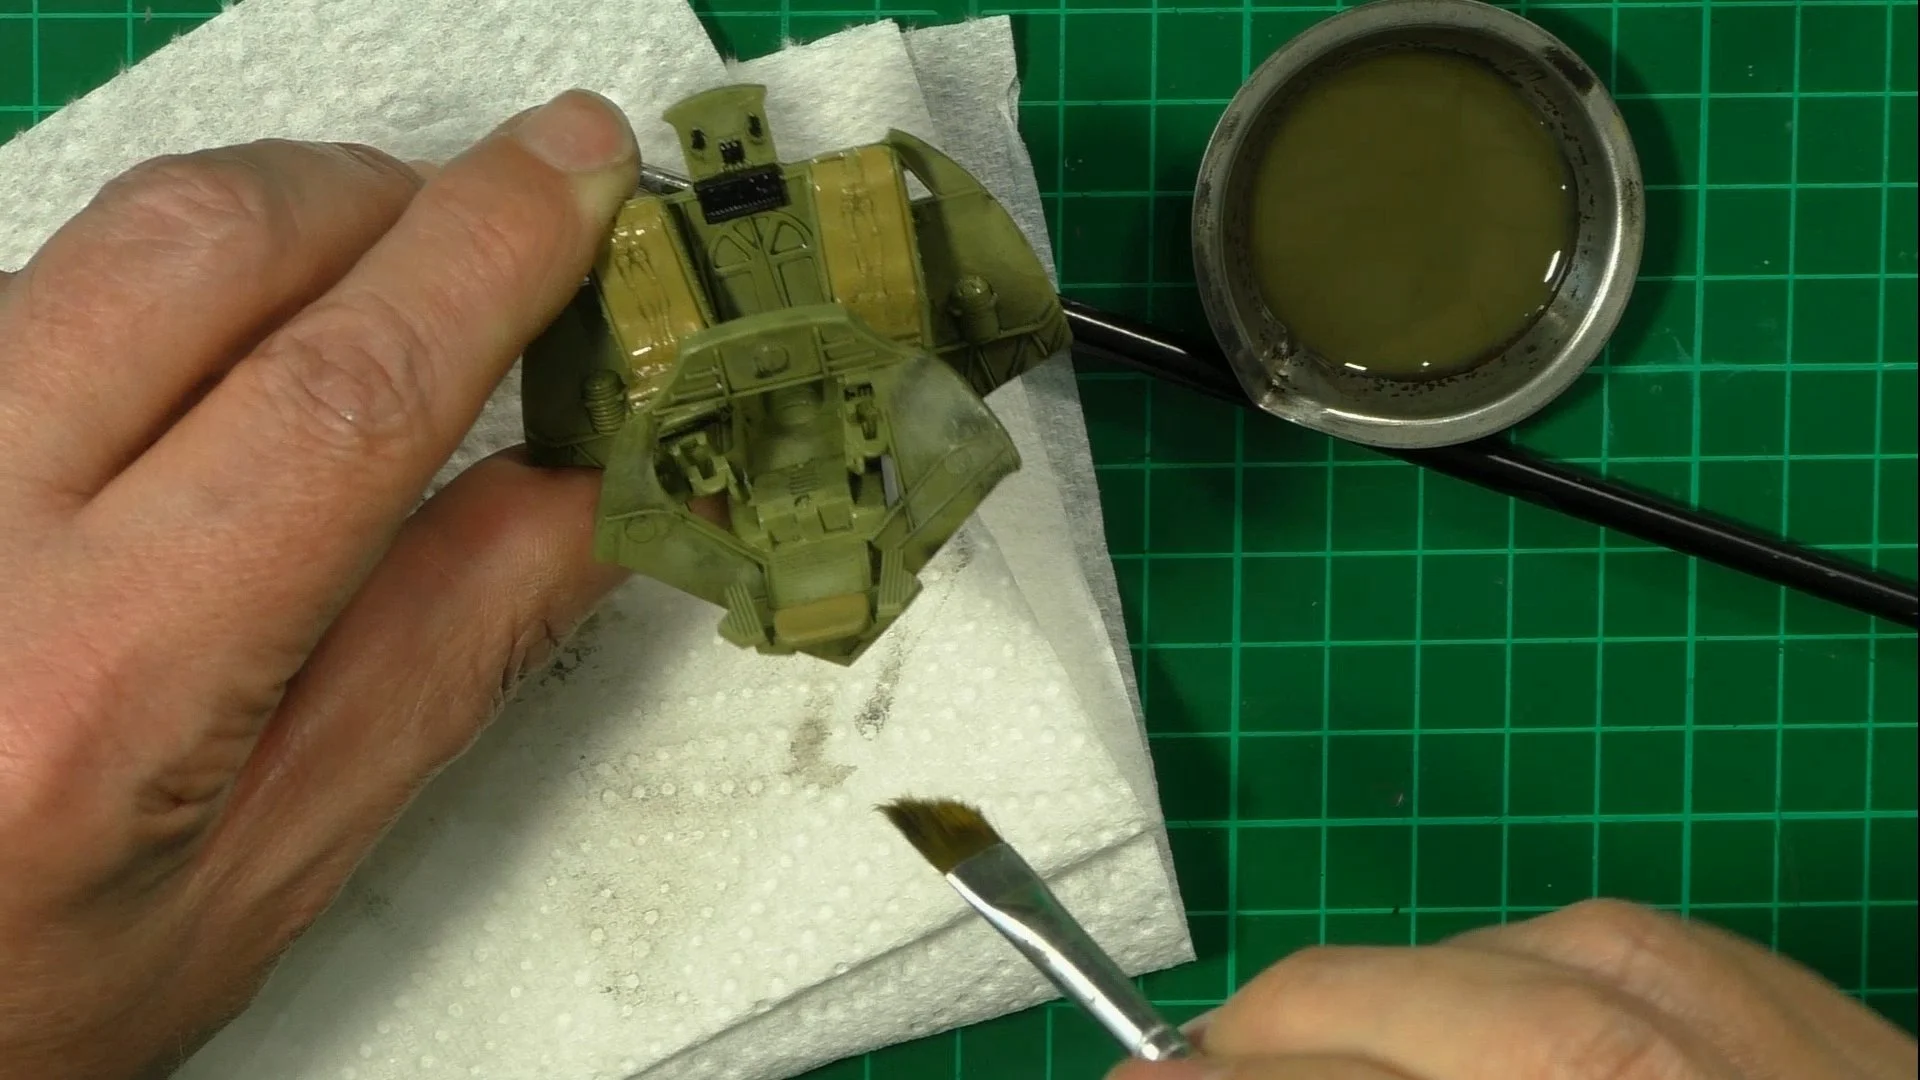
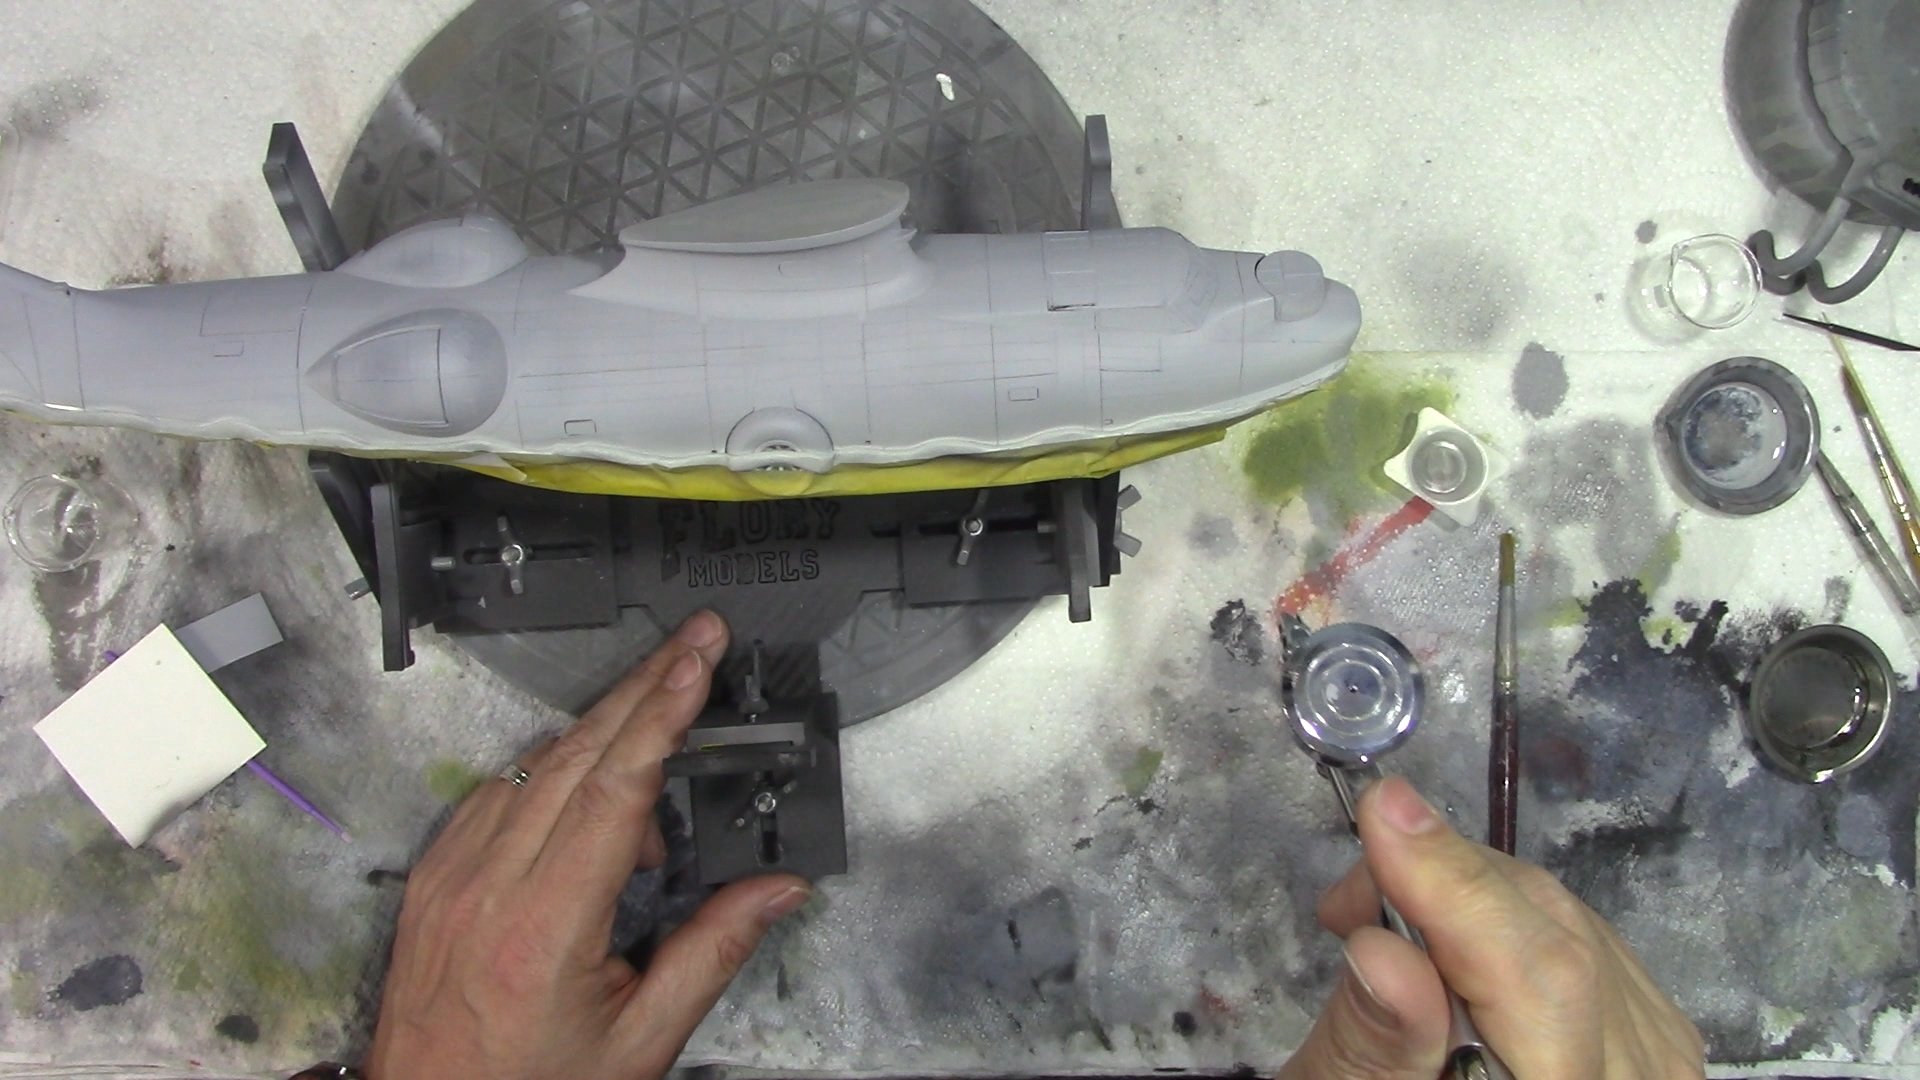
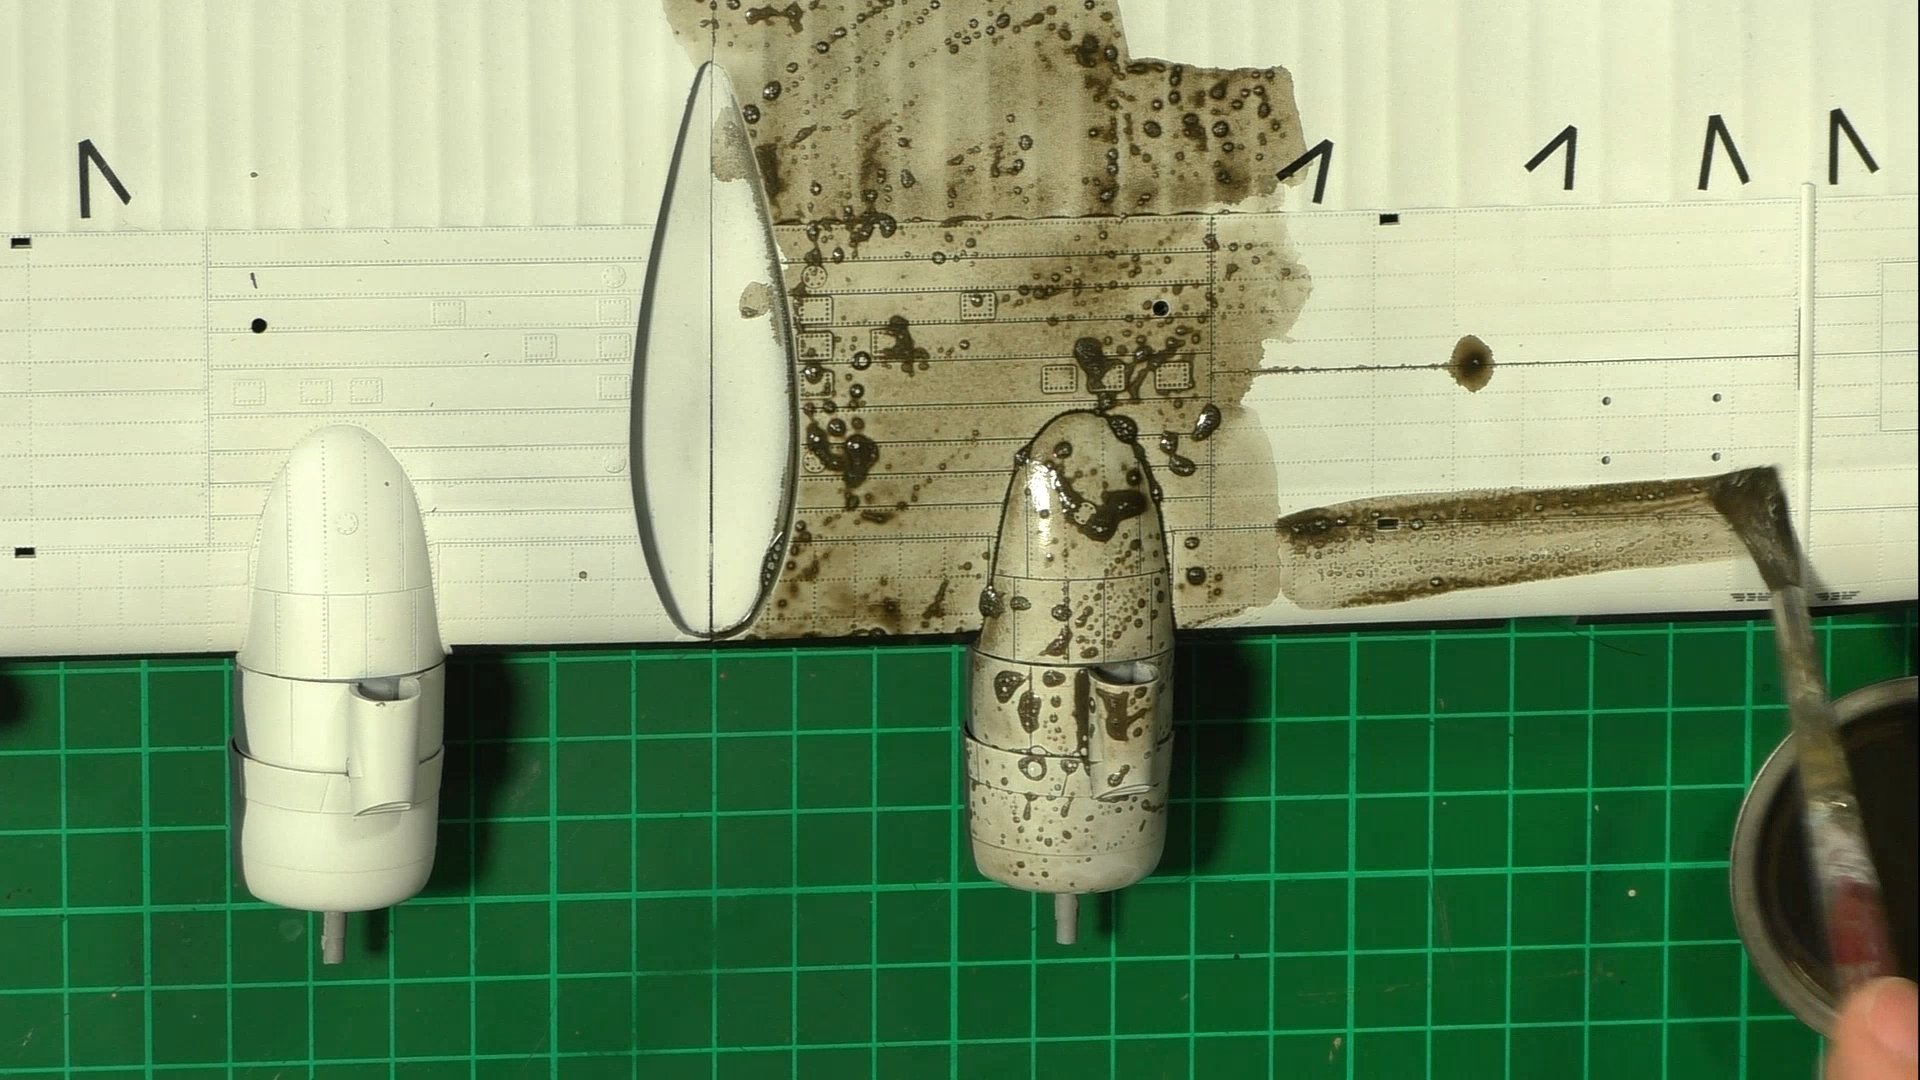
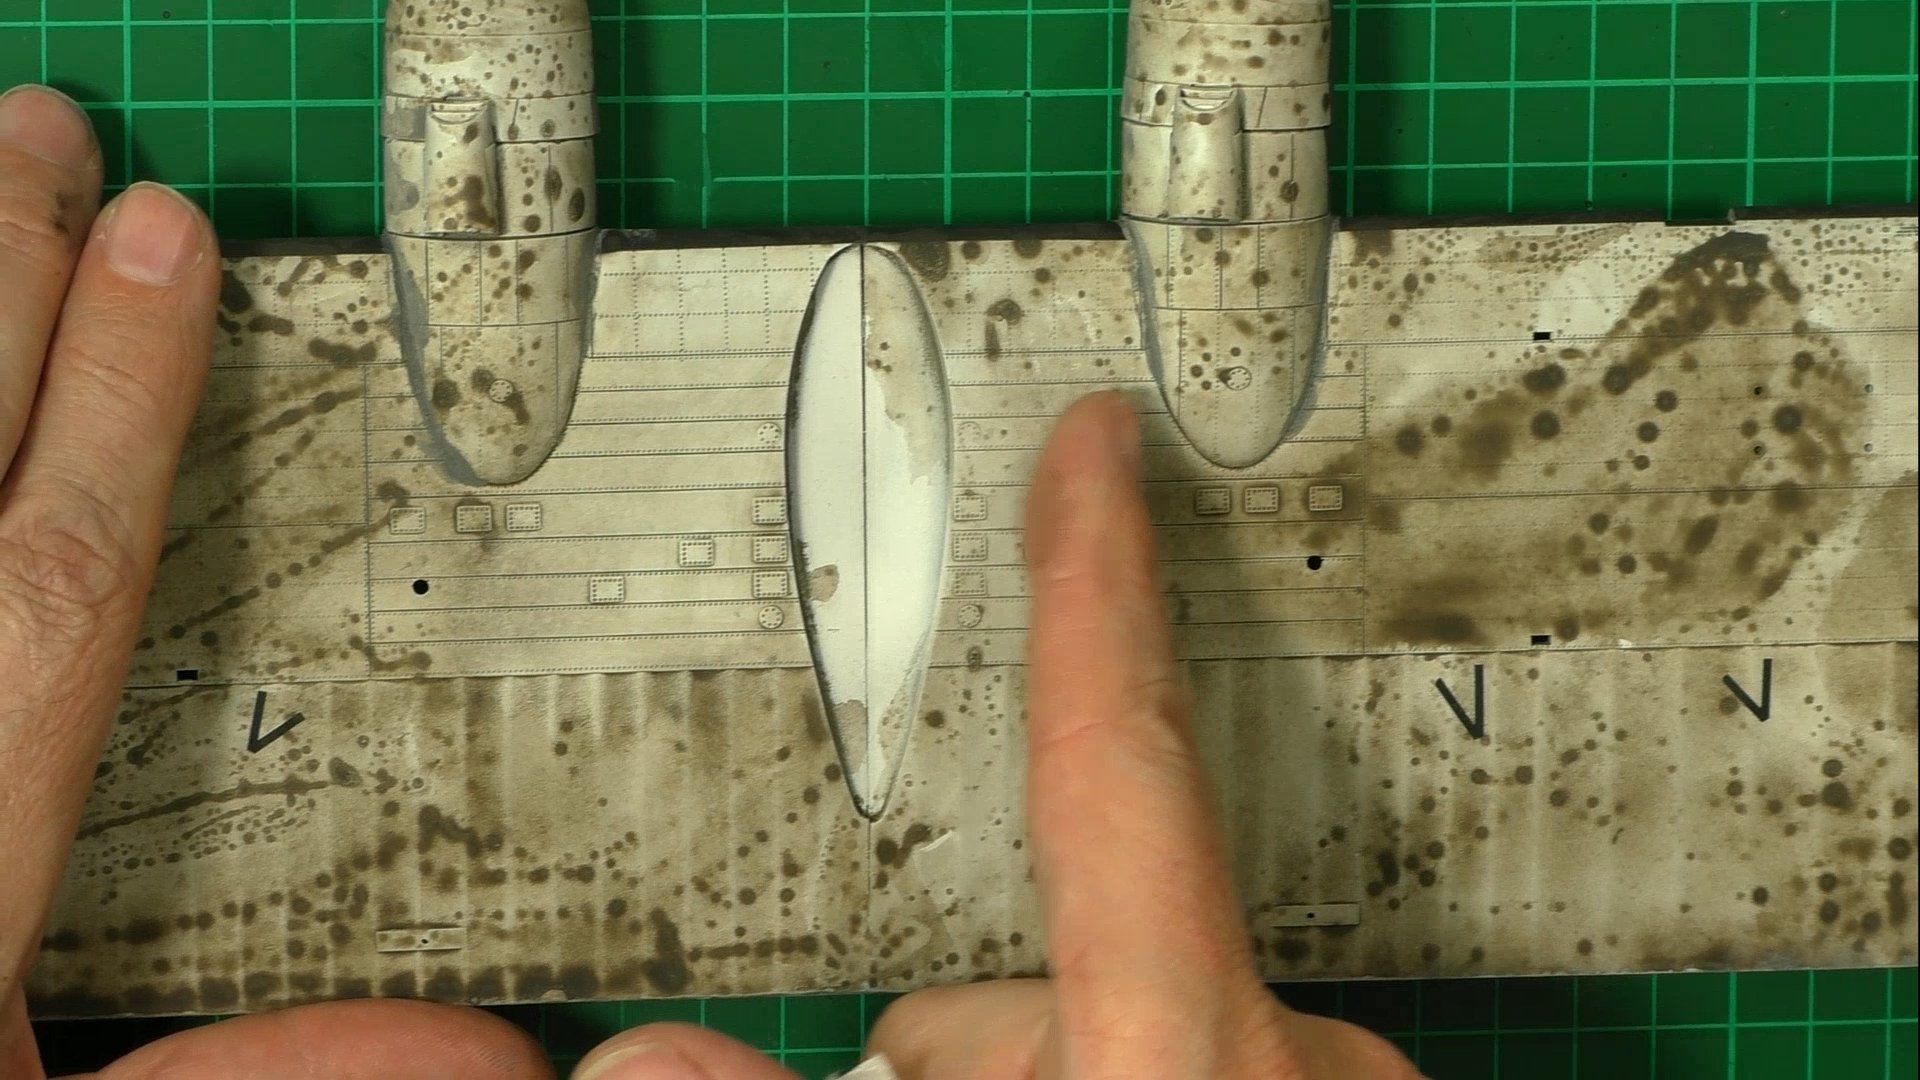
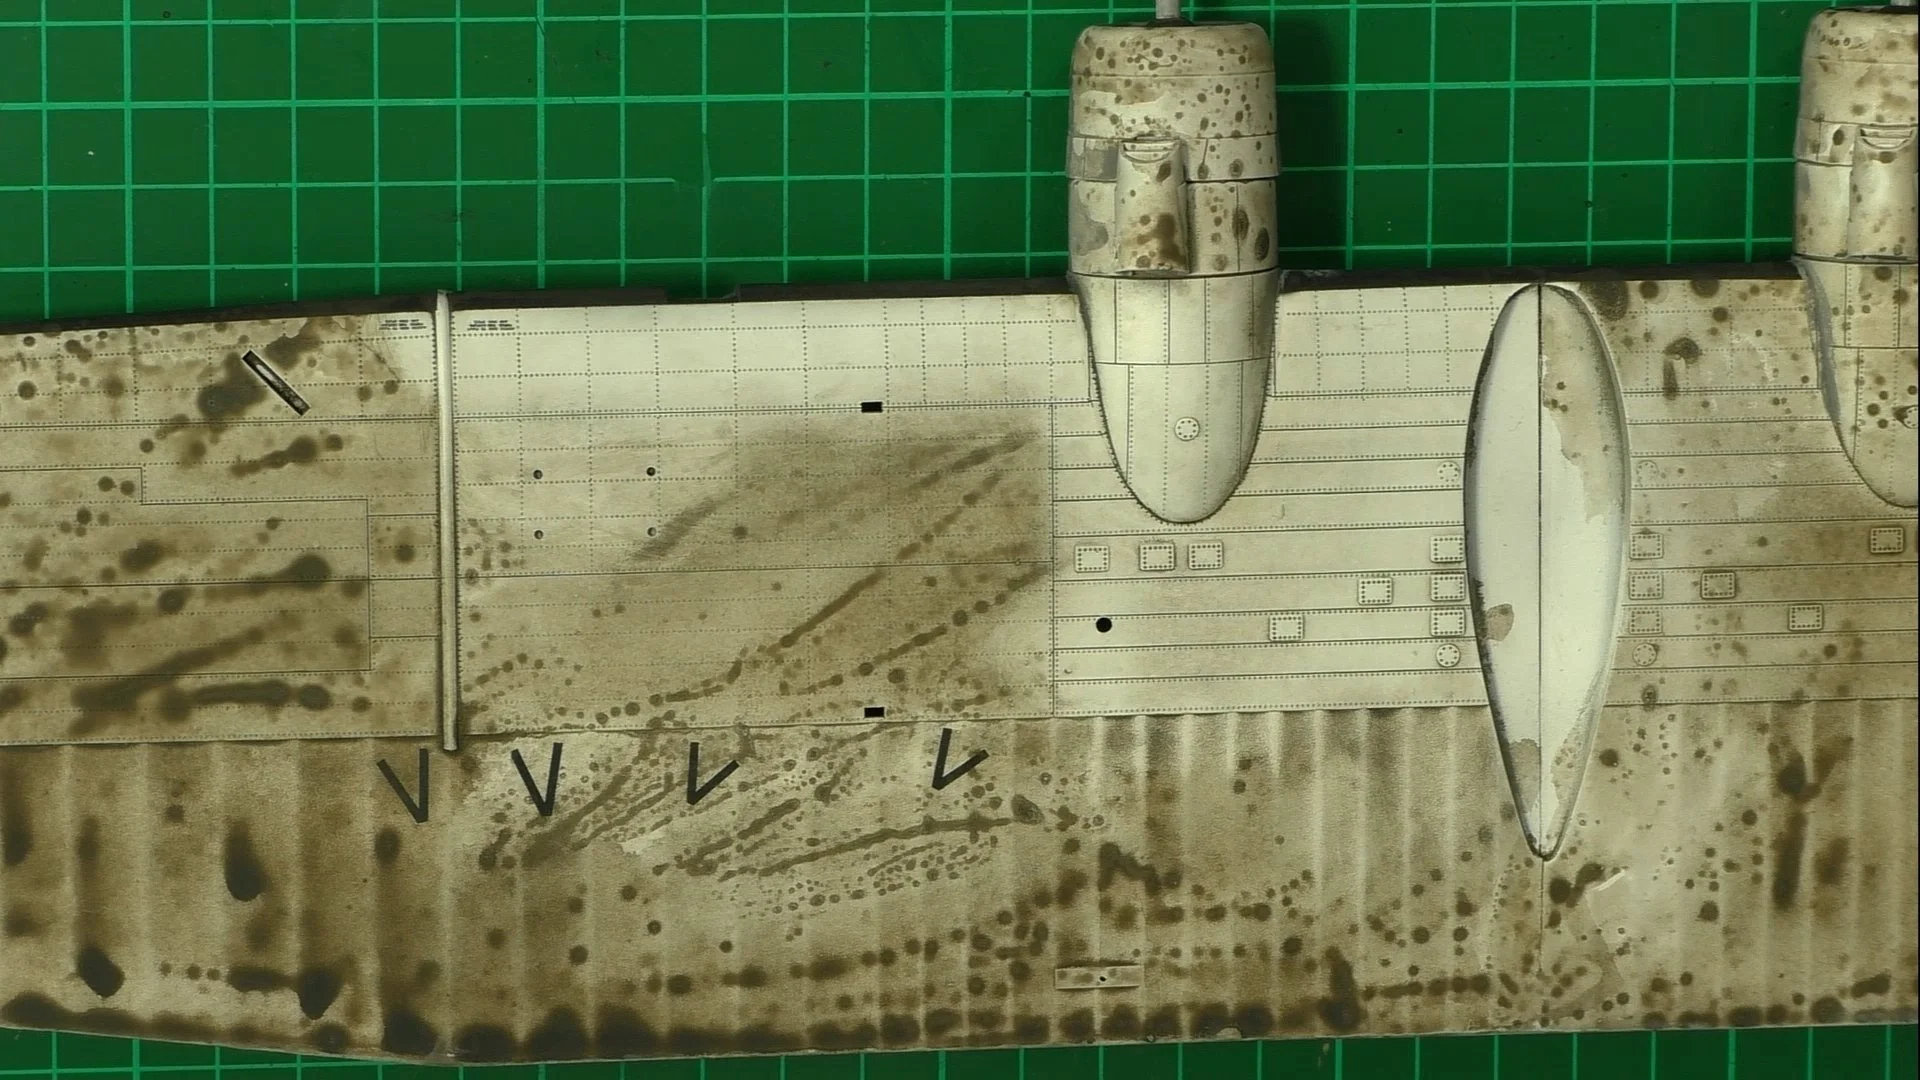
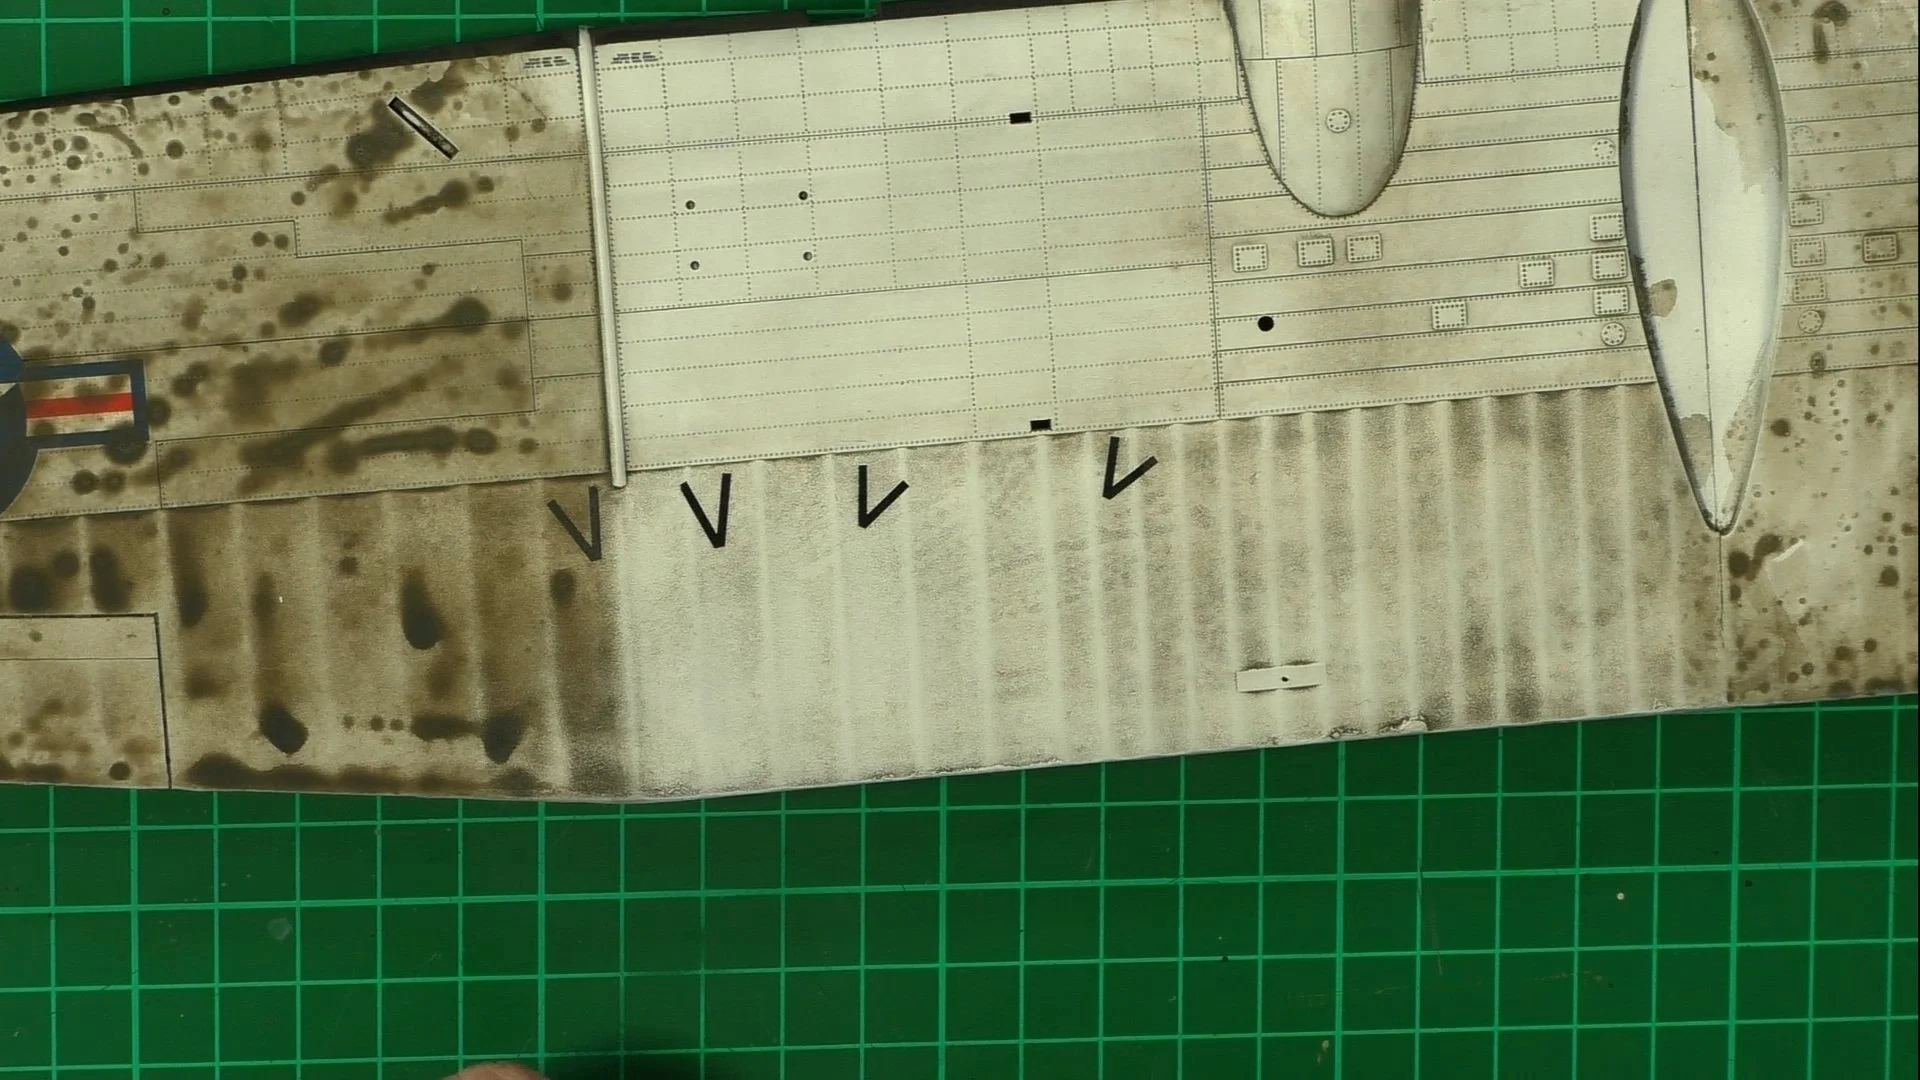
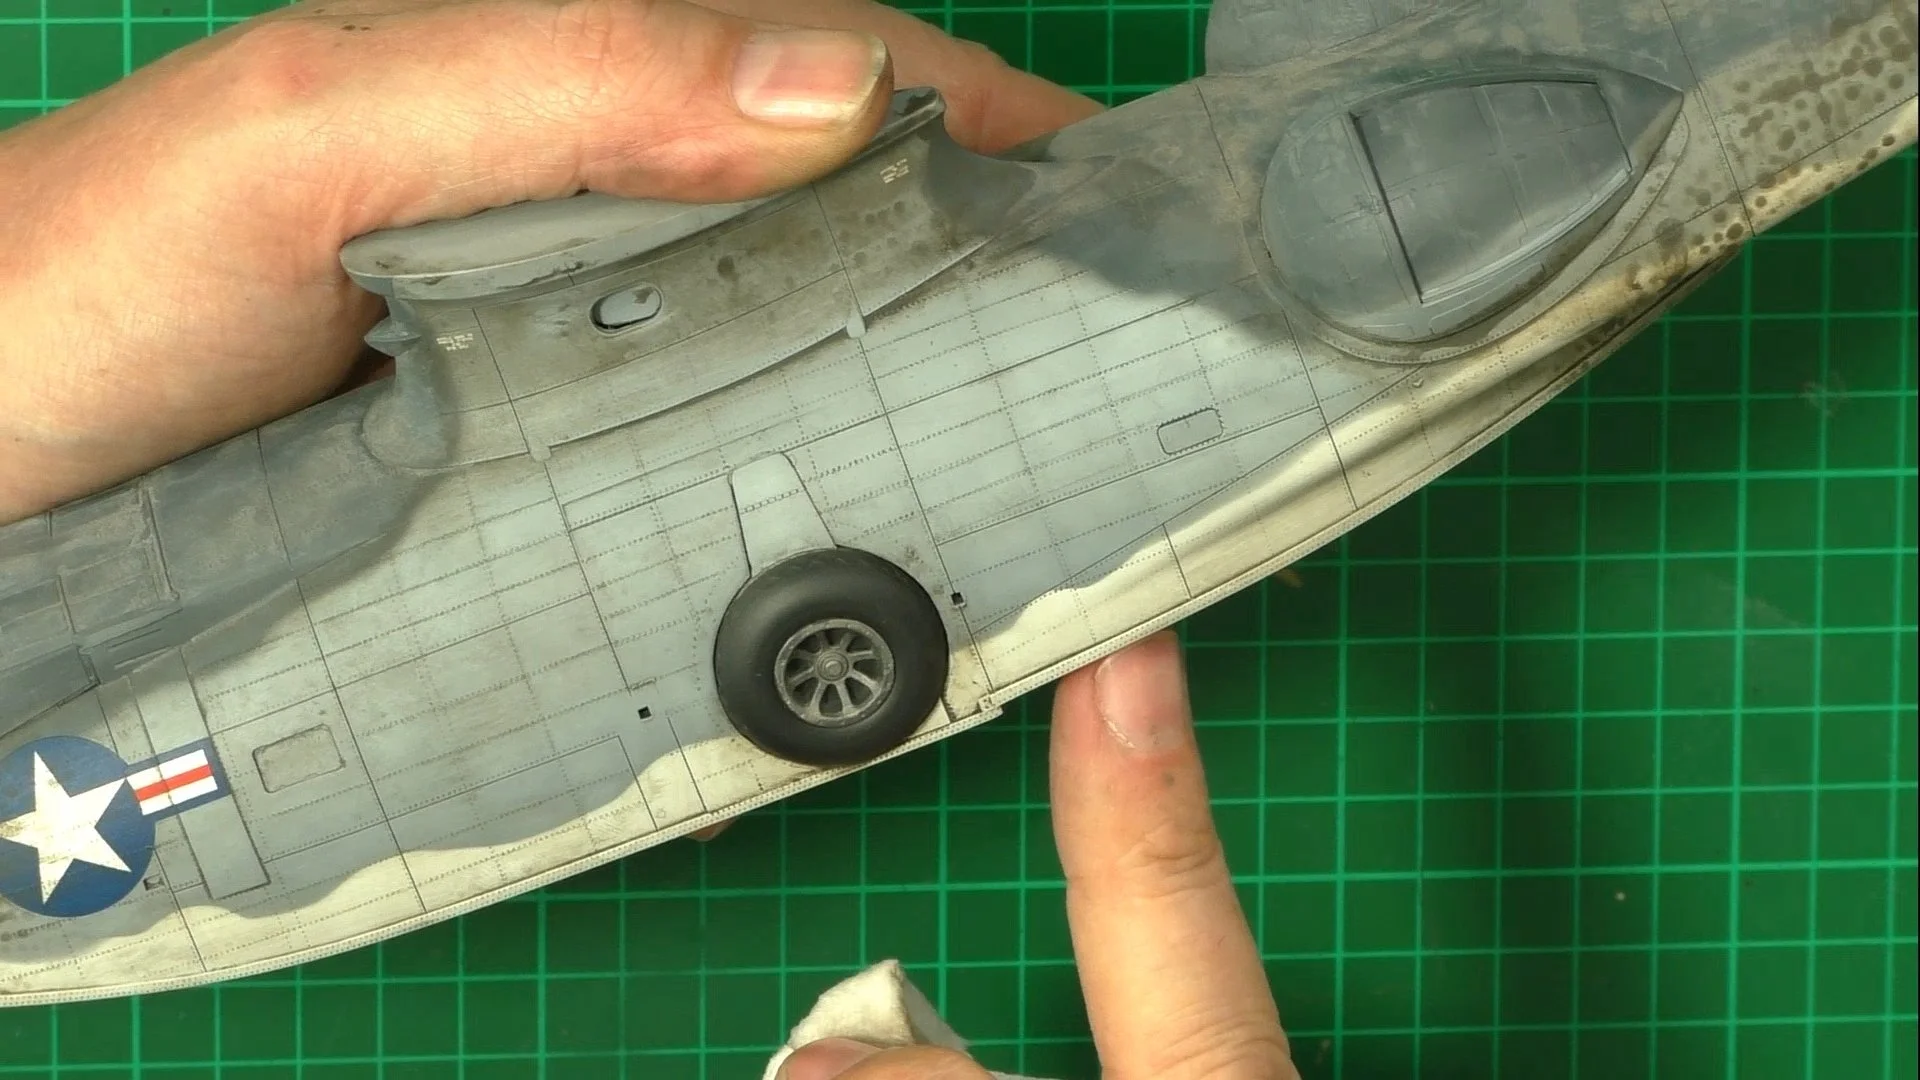
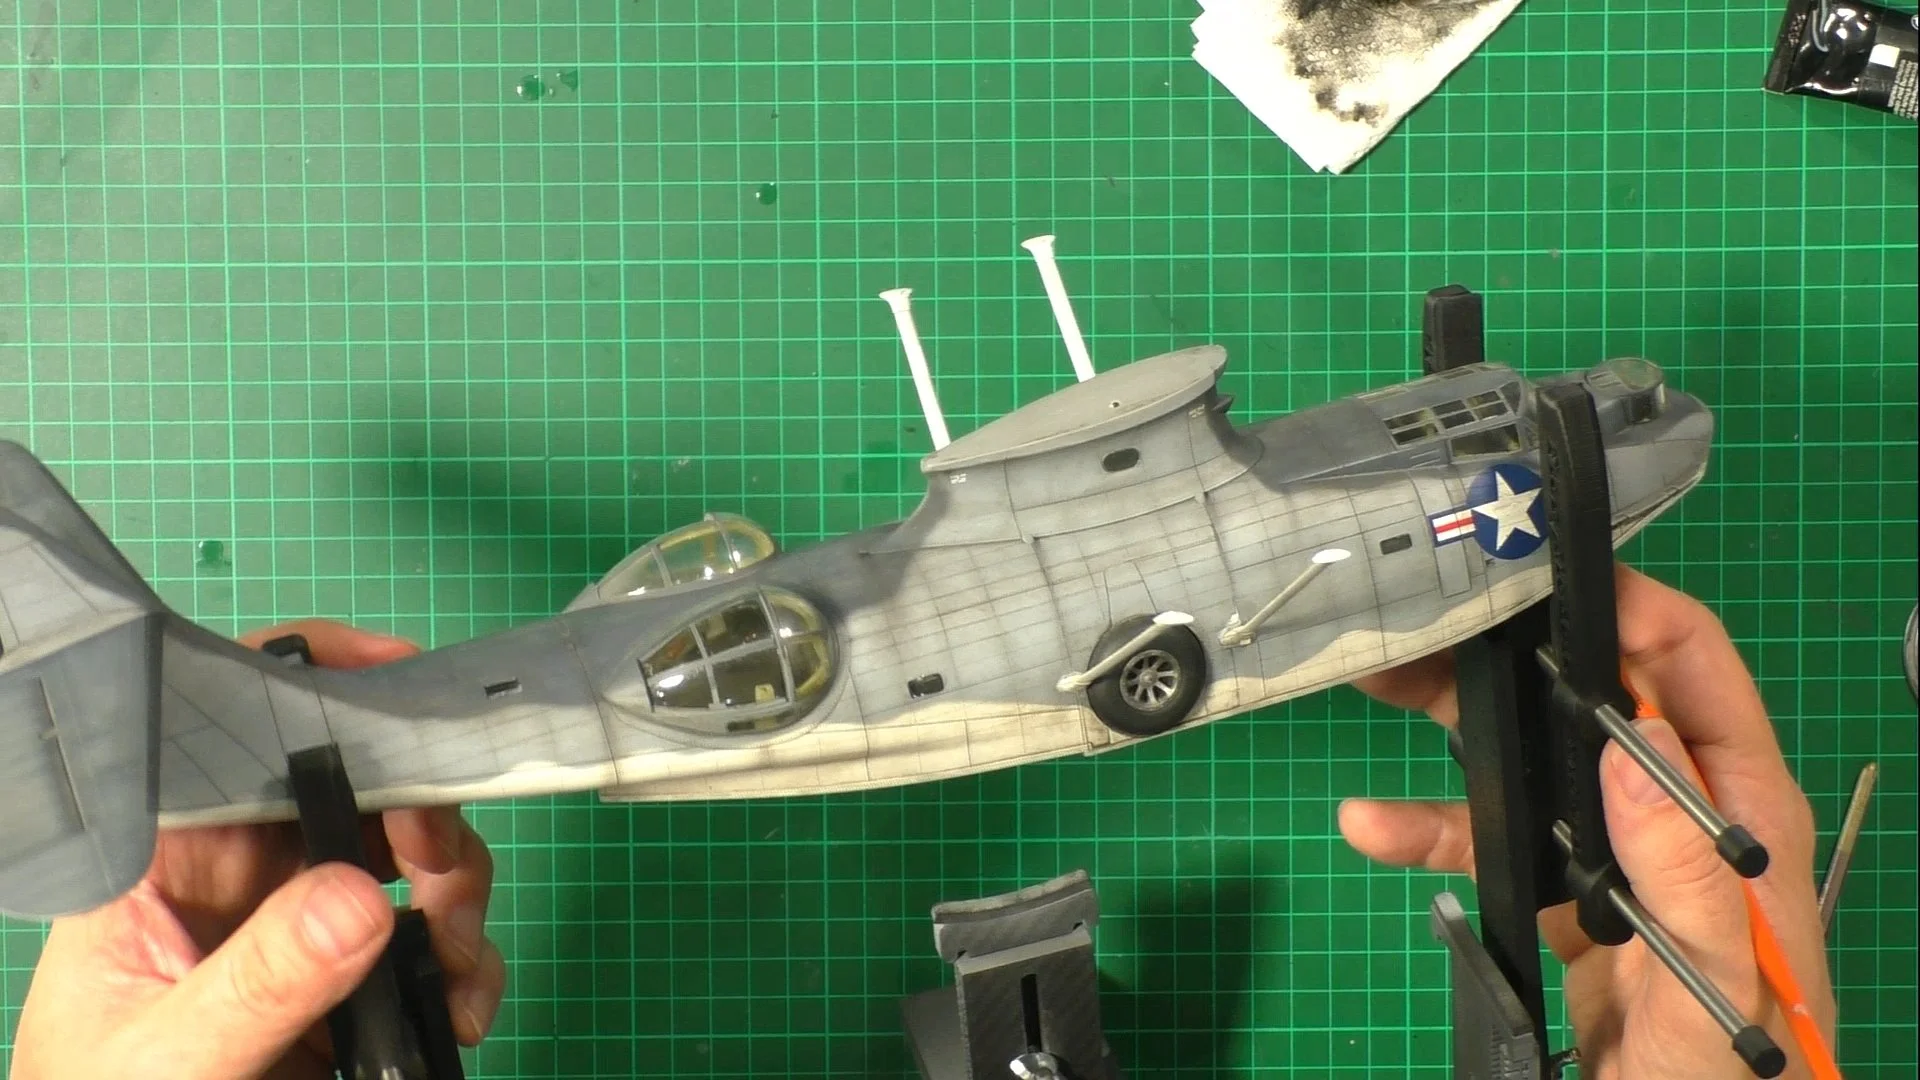
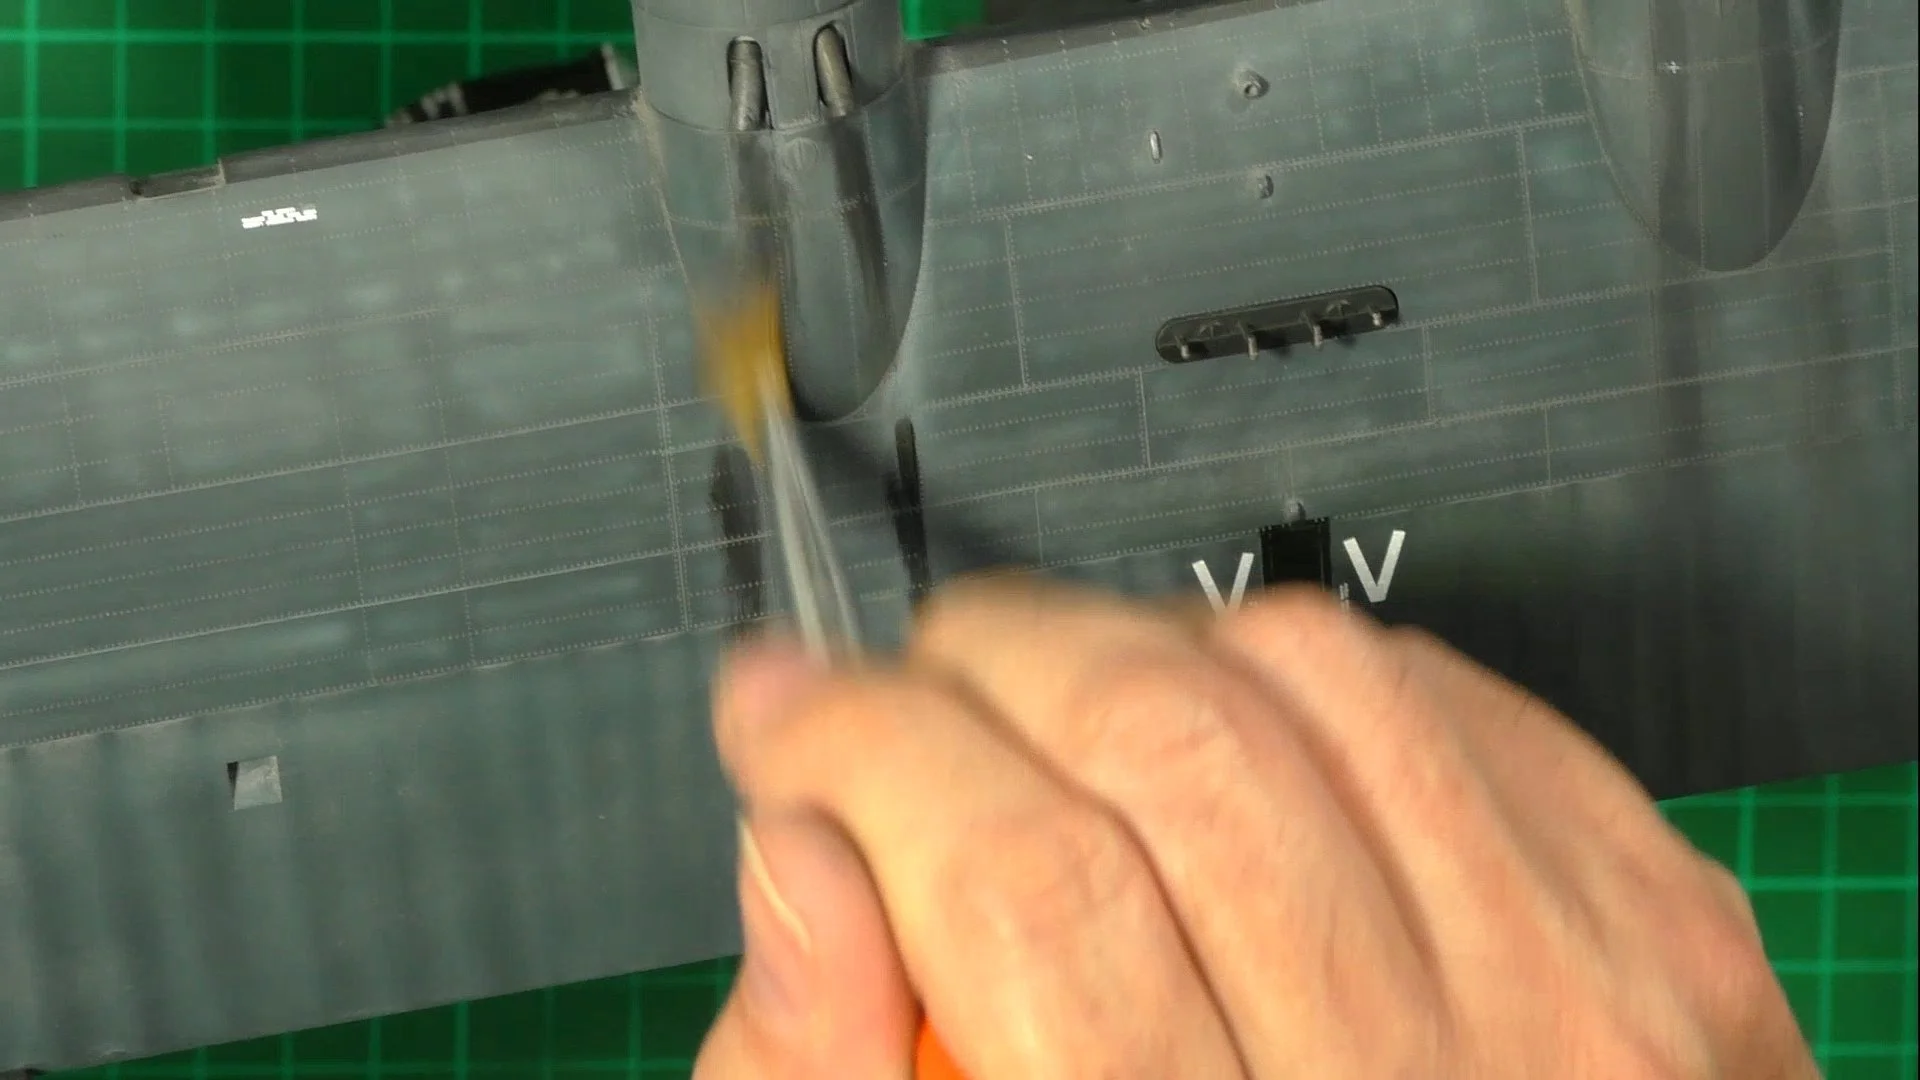
0:00 In the episode, we weather the Catalina with the Flory models Weathering wash. To start, we use the Dark dirt wash FMW001 and brush it over the white and Medium blue areas. 6:35 Next, we add Grey wash FMW007 to the Dark Dit to make a mix for the dark blur top areas. 11:46 We let the wash dry for thirty minutes, and once totally dry, we remove the wash with a damp paper towel or a worn-out fine sanding sponge.
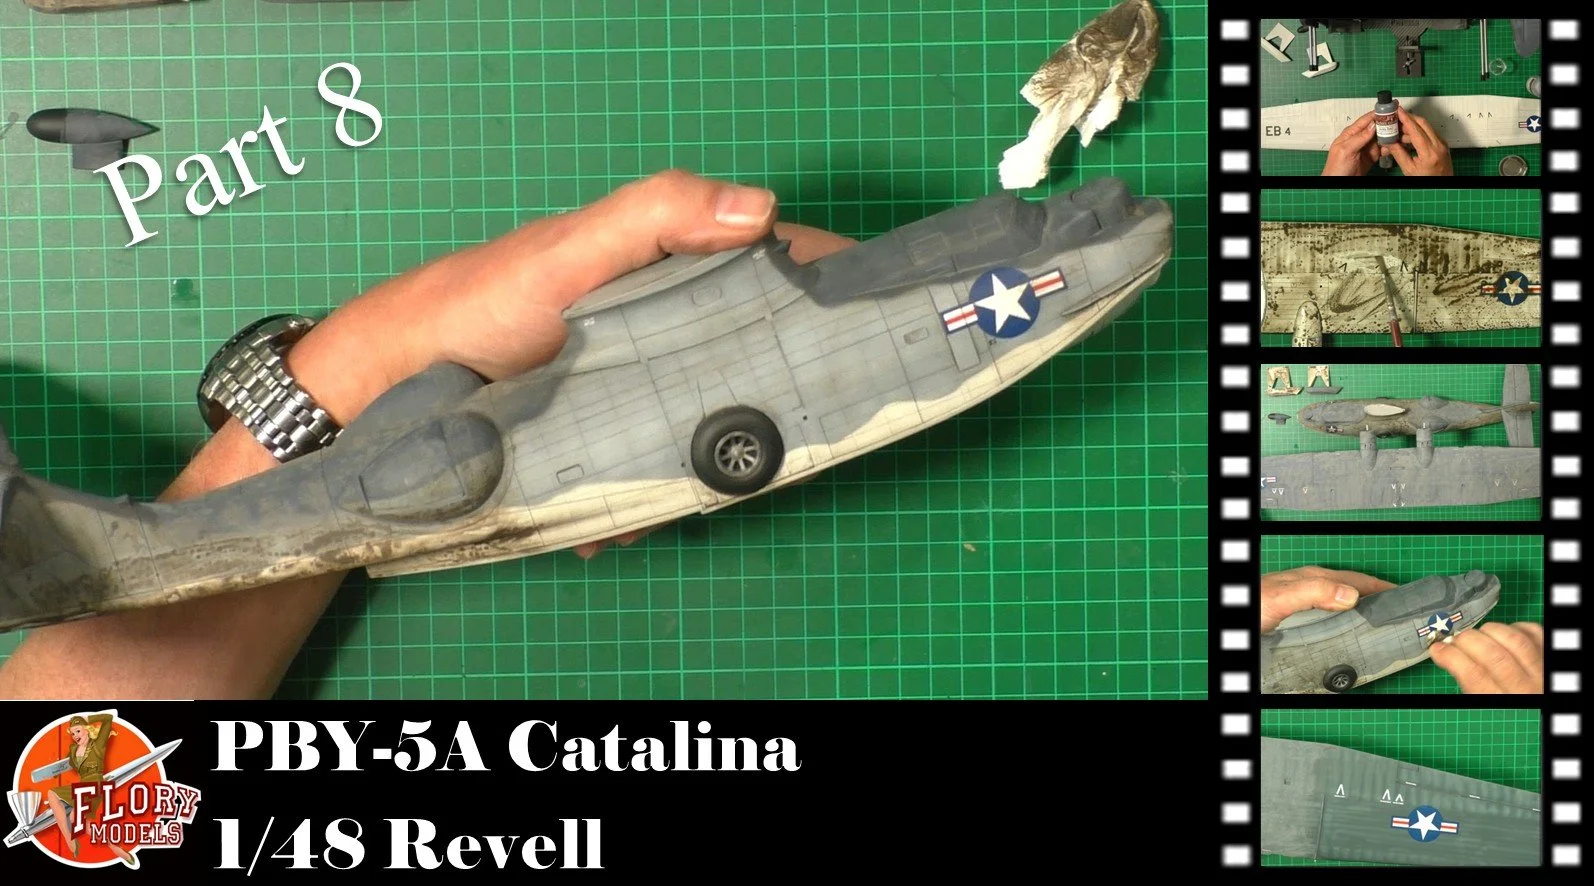
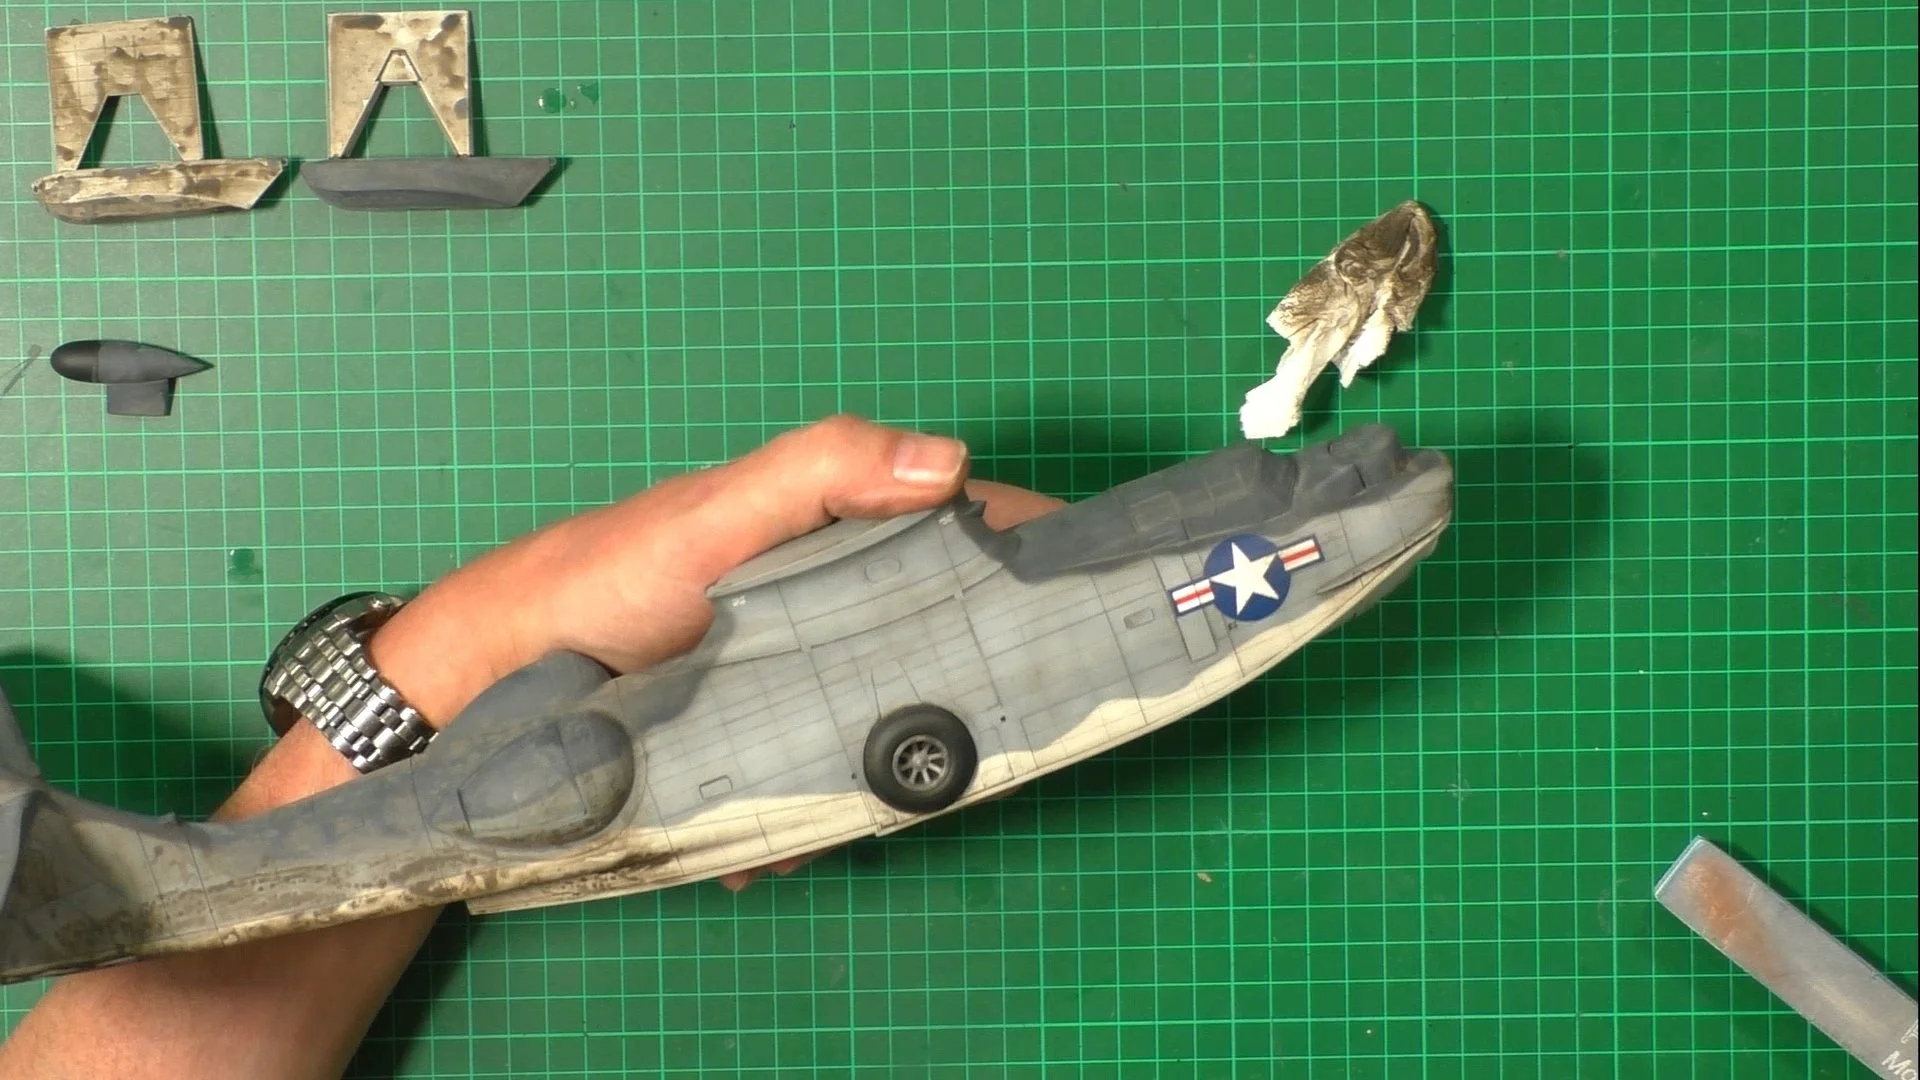
0:00 First up, it's time to unmask and bring the Catalina to life. 12:43 Now it's time to add another layer of weathering, this time using oil washes and stippling. We use Starship filth and a grey-green mix rather than a smoke or black.
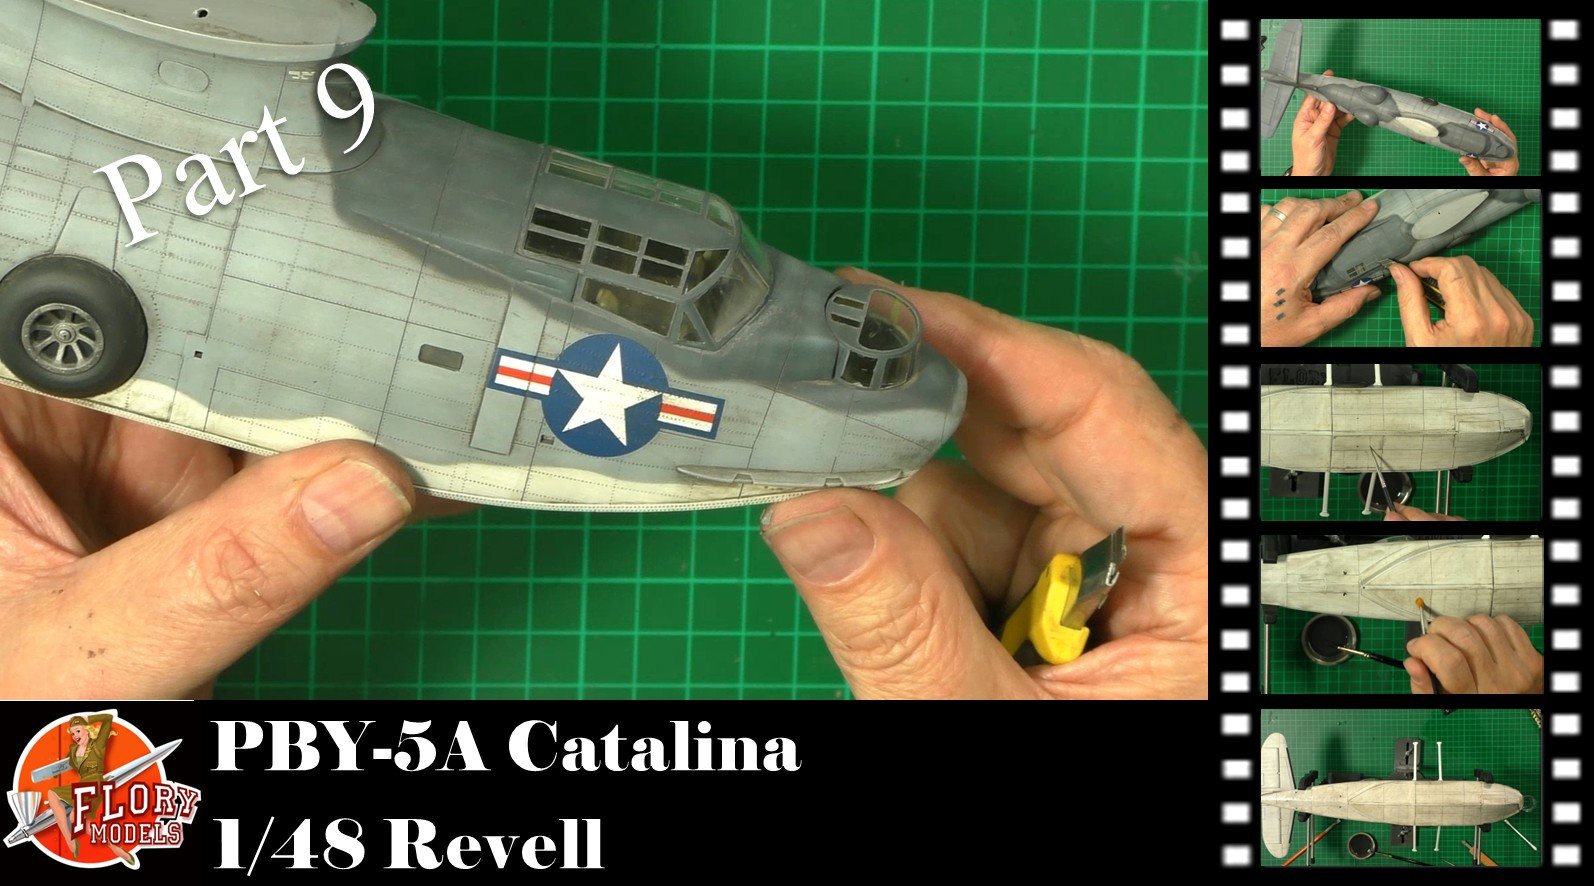
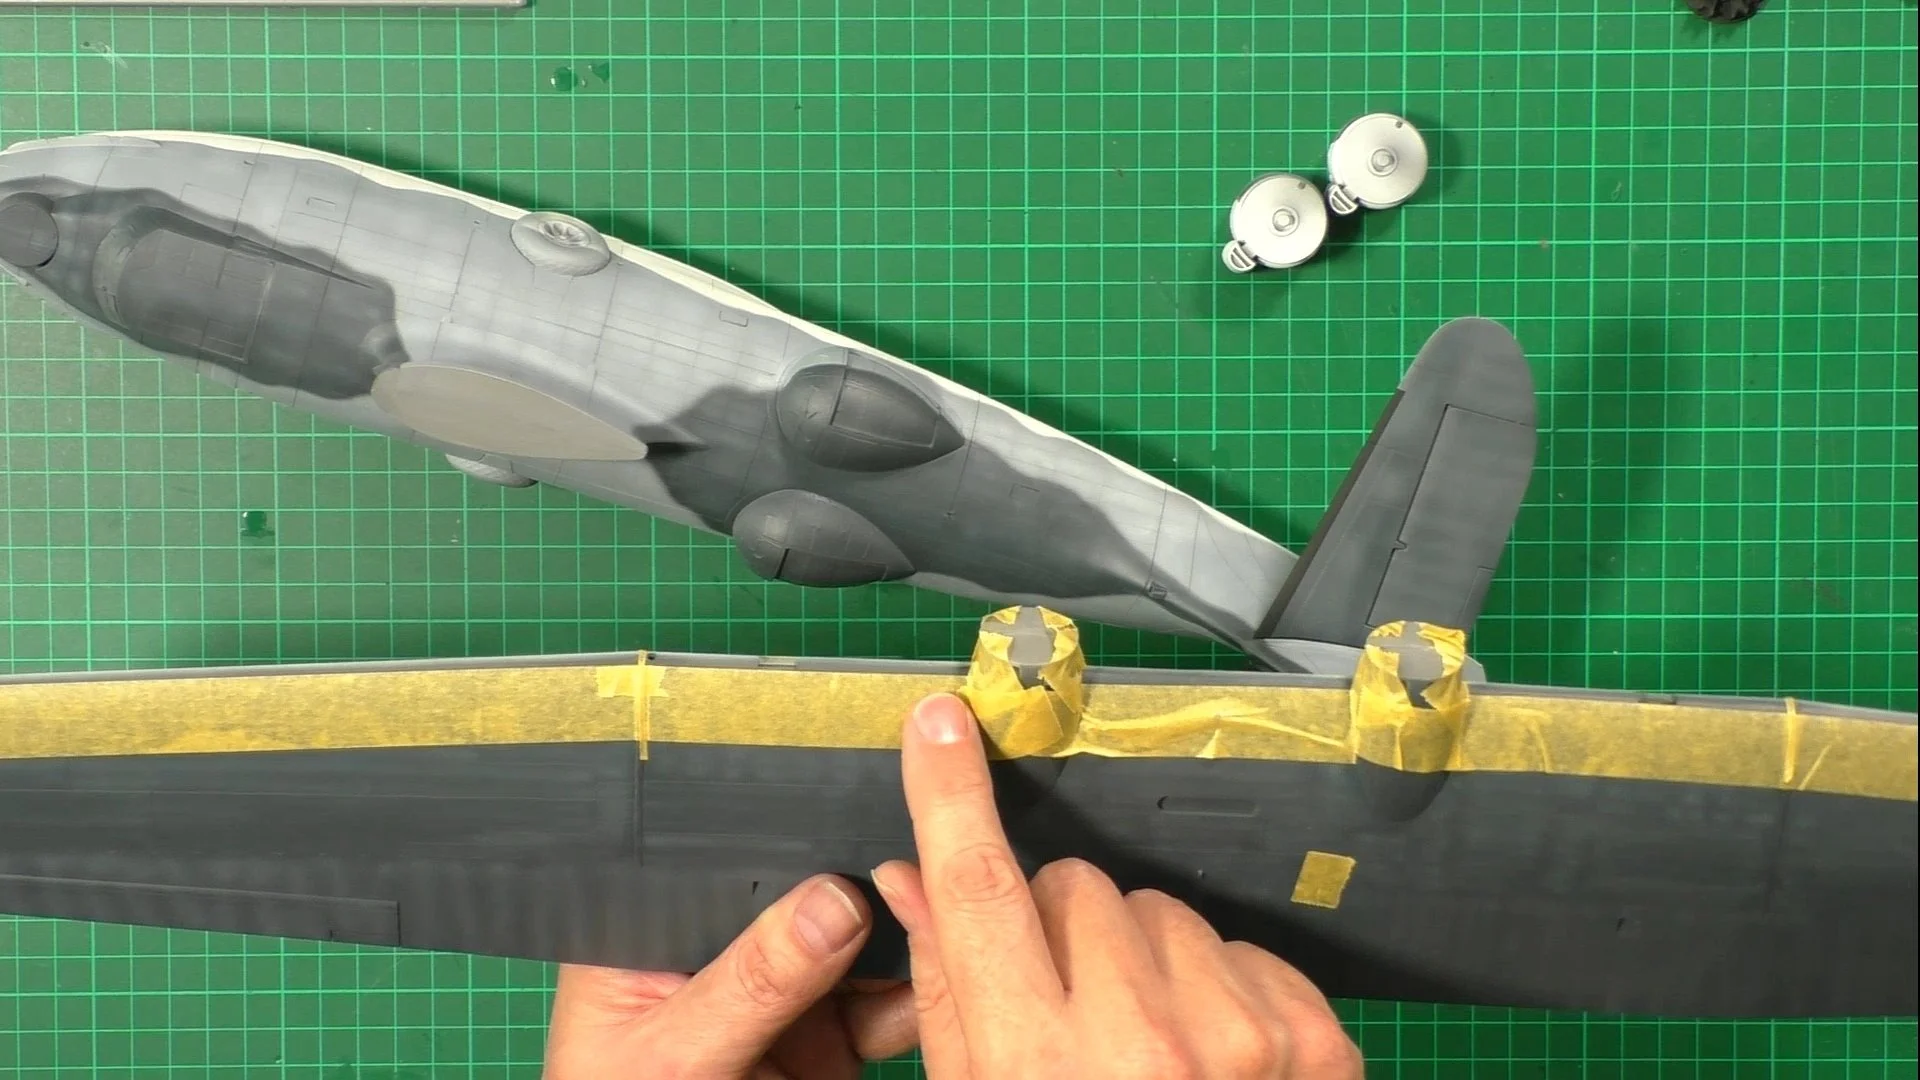
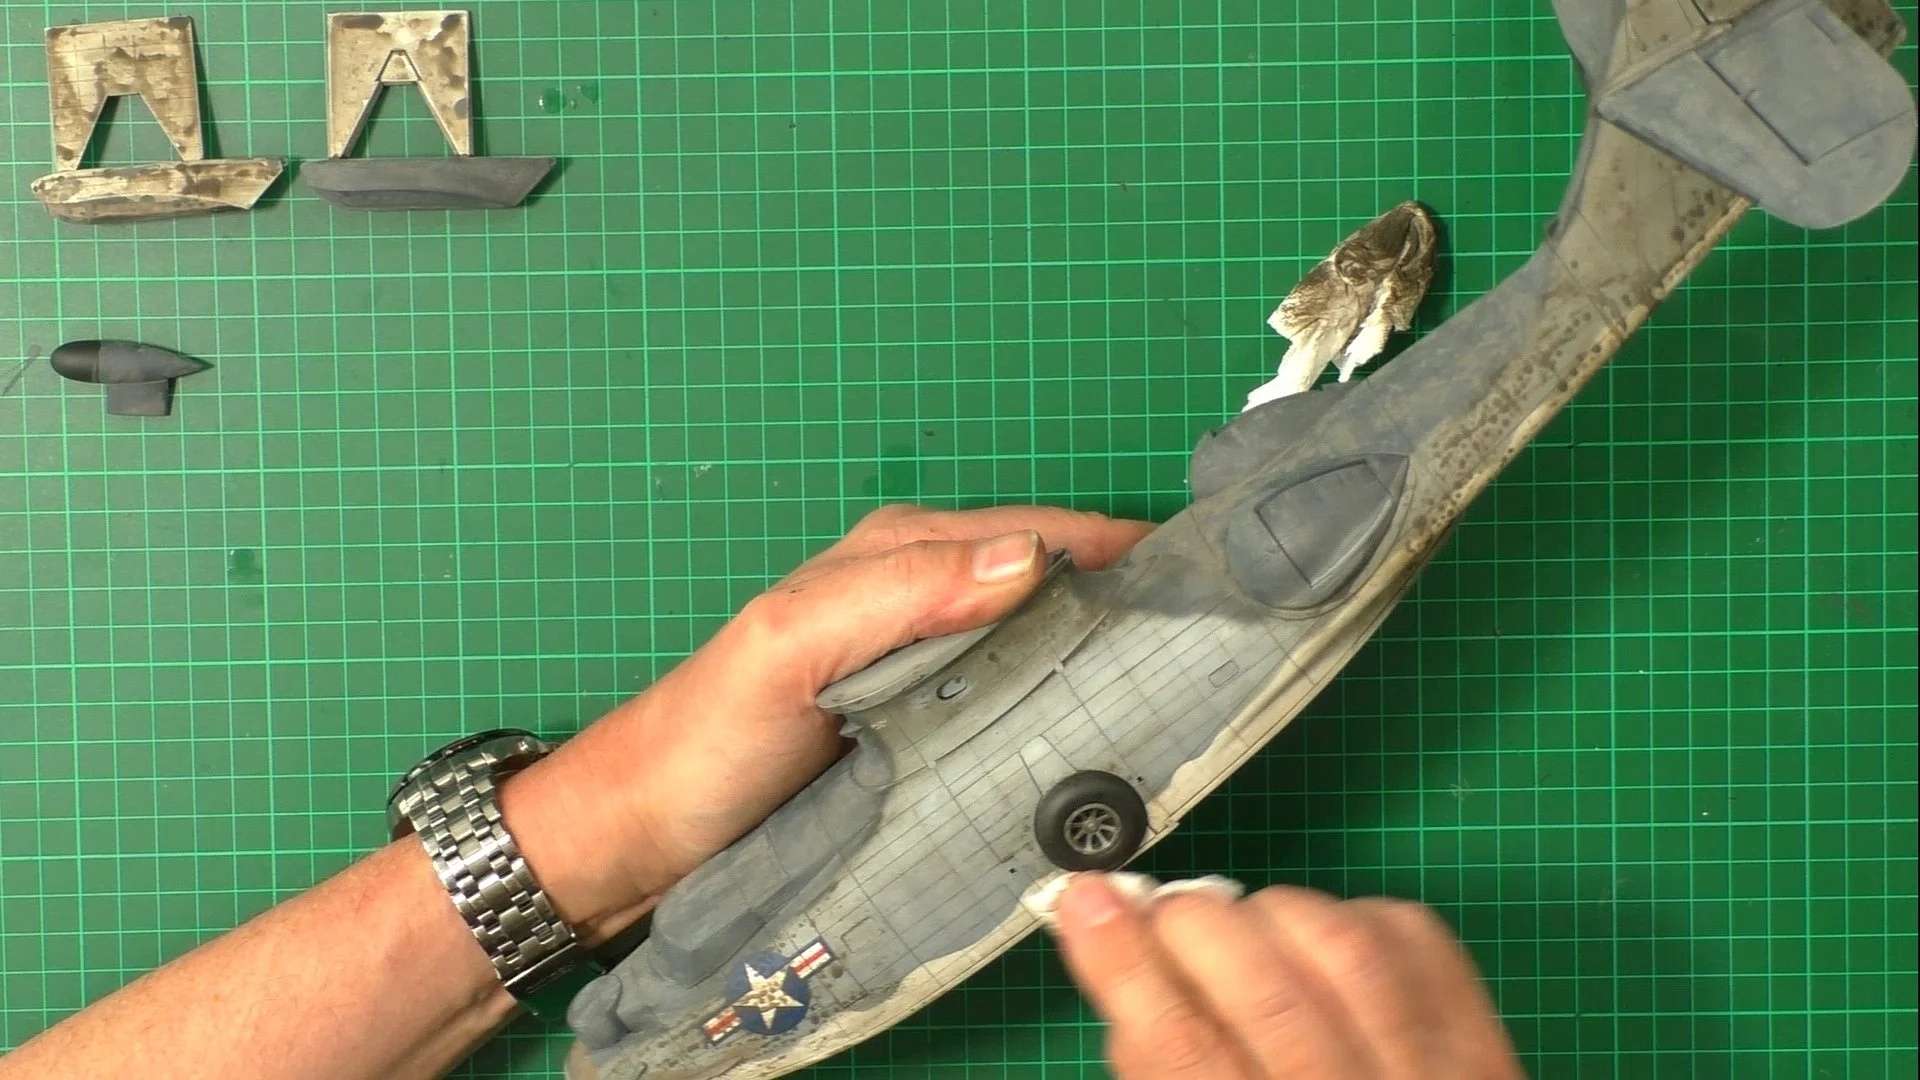
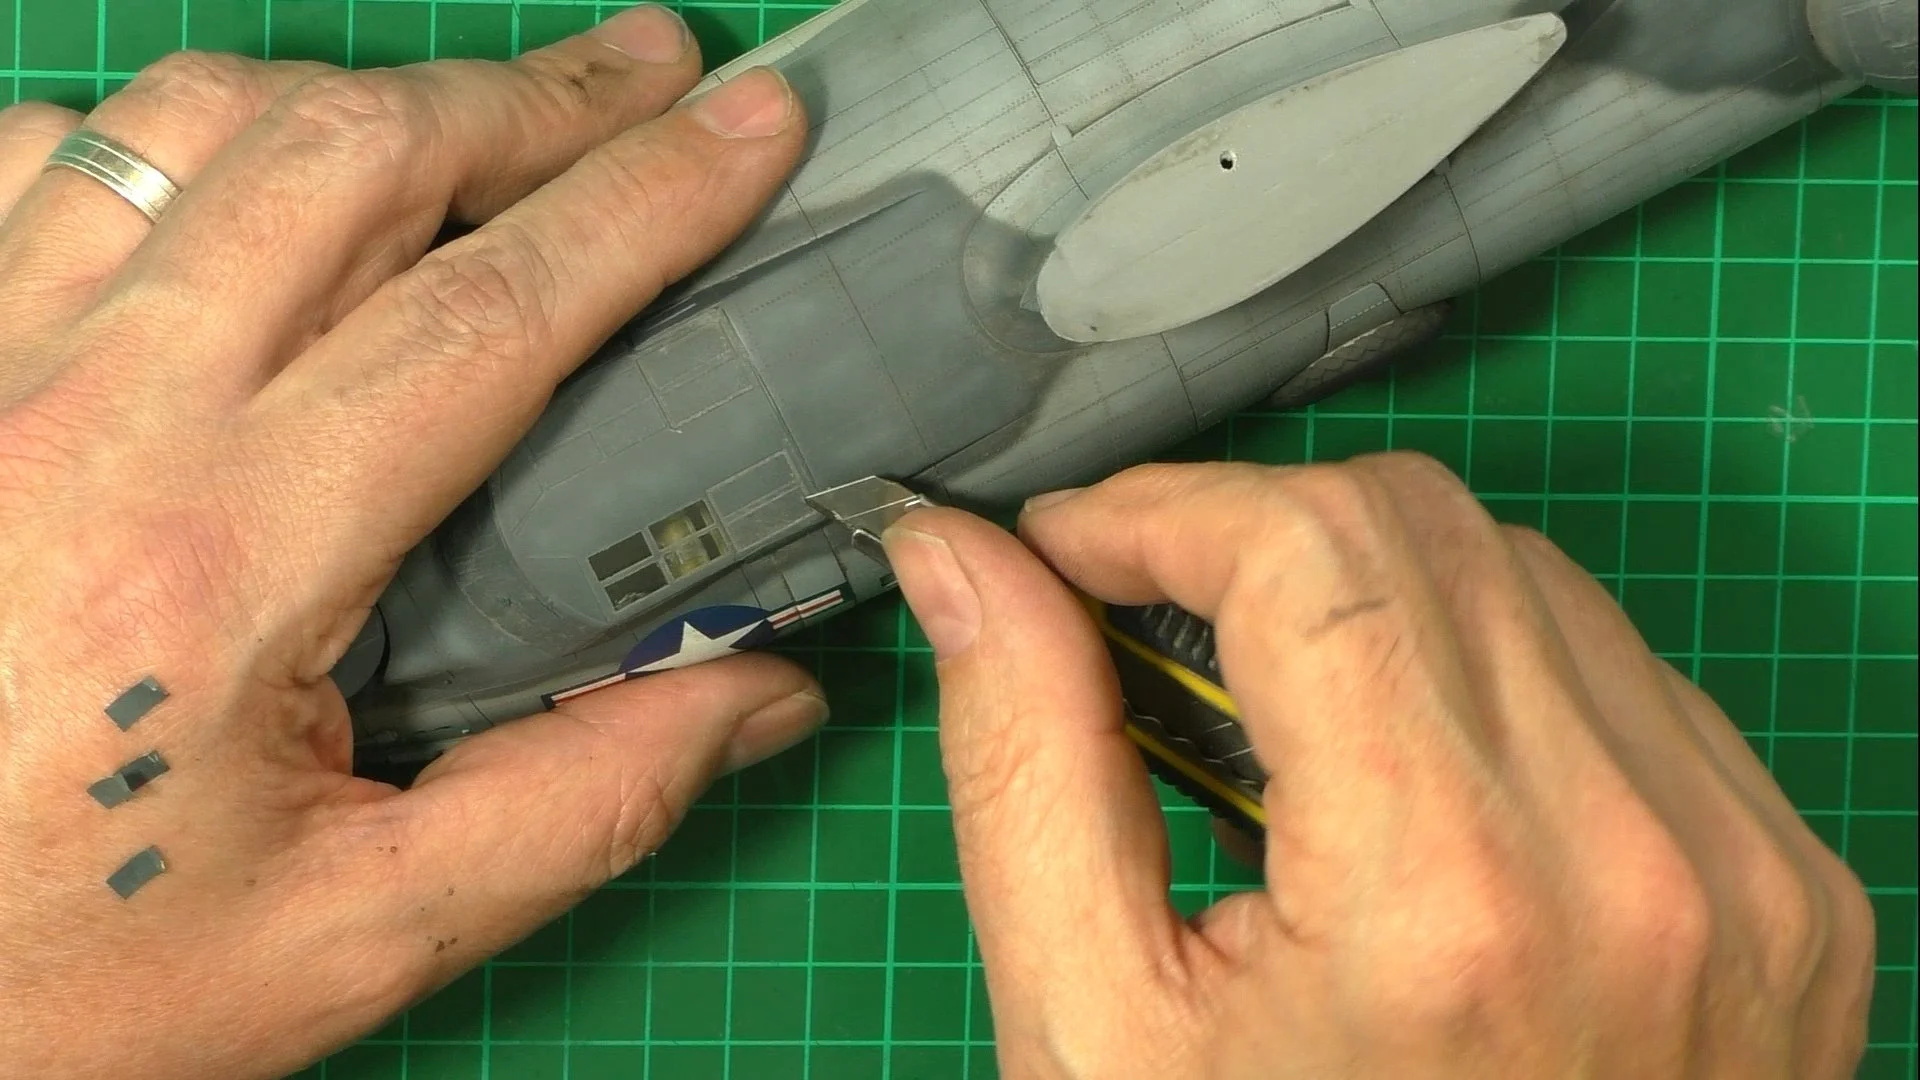
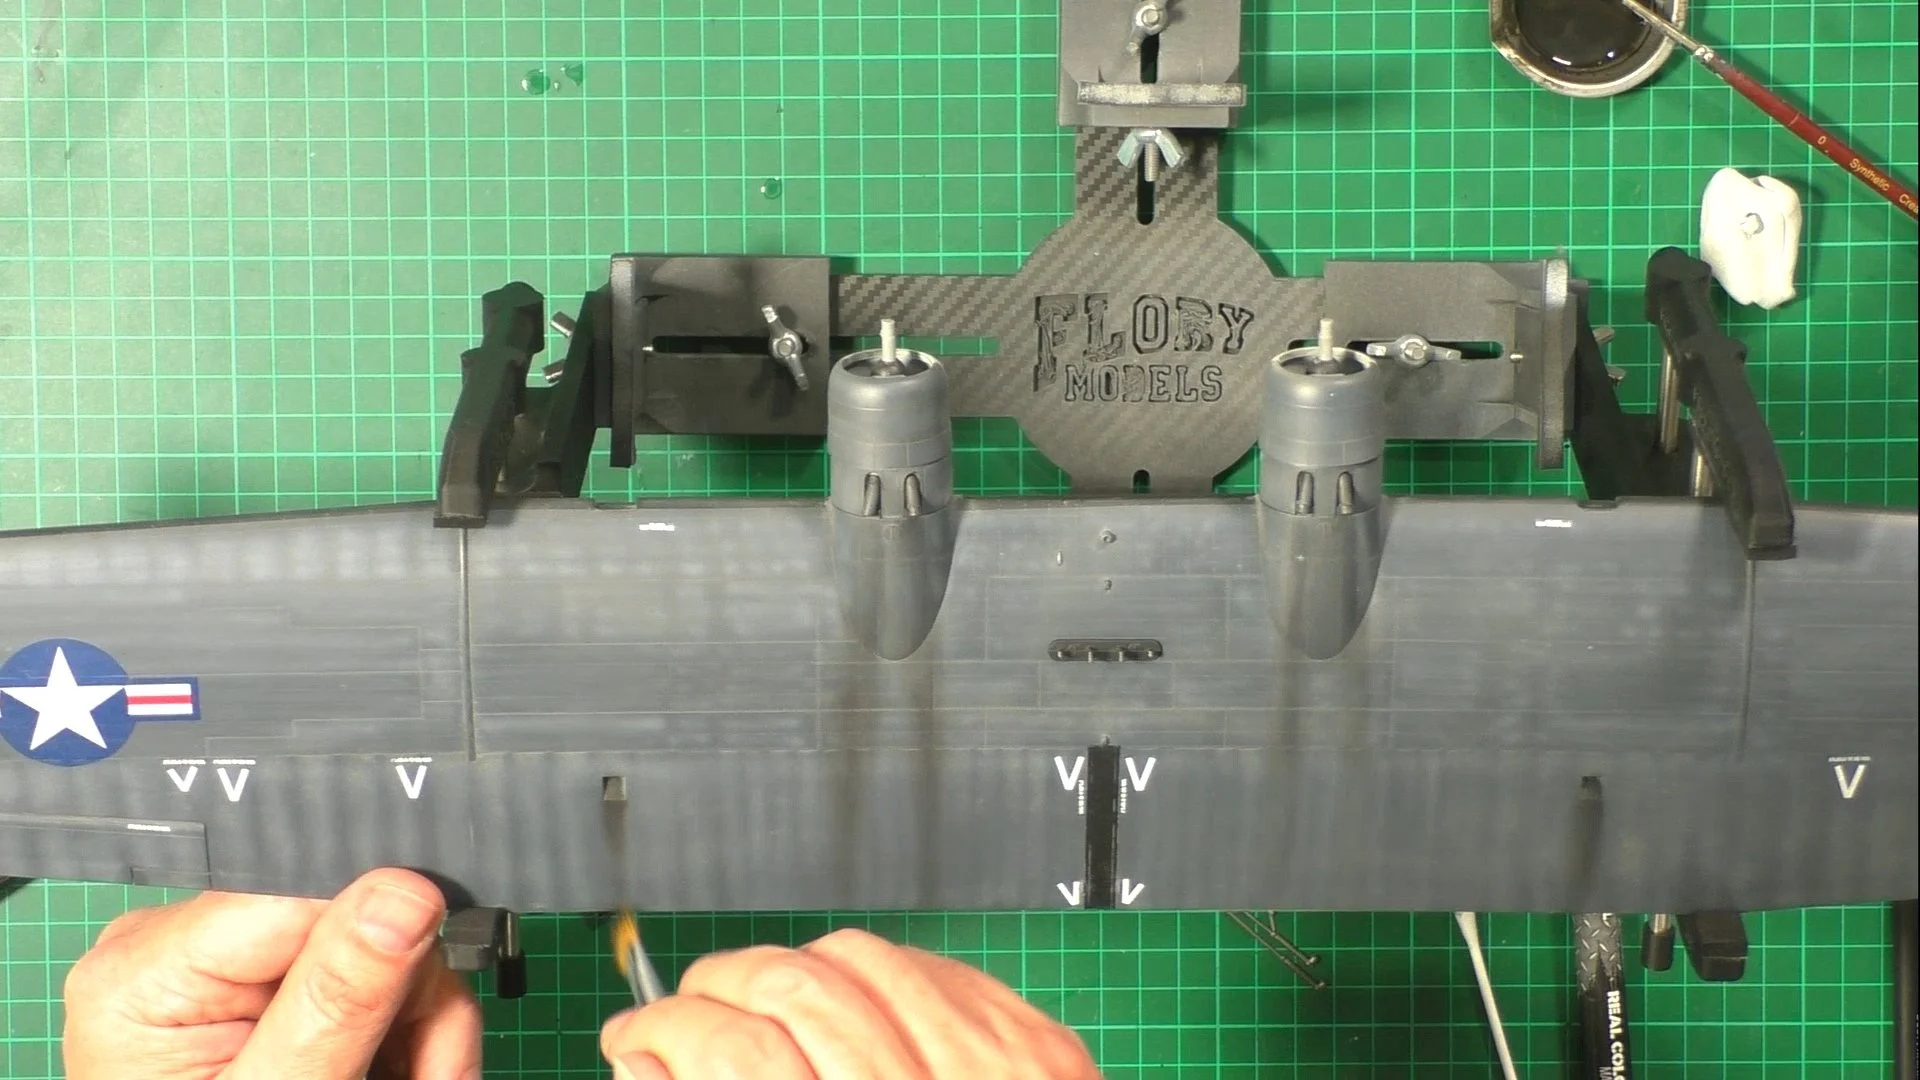
0:00 To start off, we use neat oils to add grime and water stains to the aircraft. We use ABT005 and AK weathering pencils. 26:00 Next, we add the exhaust stains to the upper wing with a mix of neat grey and smoke oils. 42:45 Here we cover the unused holes on the underside of the wings with very thin aluminium sheet. 51:44 Next, we look at the lights, a real weak spot on the kit. We use UV glue to make a better light and reshape. 56:48 Now we can add some chipping, for this, we use a sponge and SM201 Dark Iron. 1:05:19 Last job is to install the wing and level it all up. 1:09:54 The final reveal!!