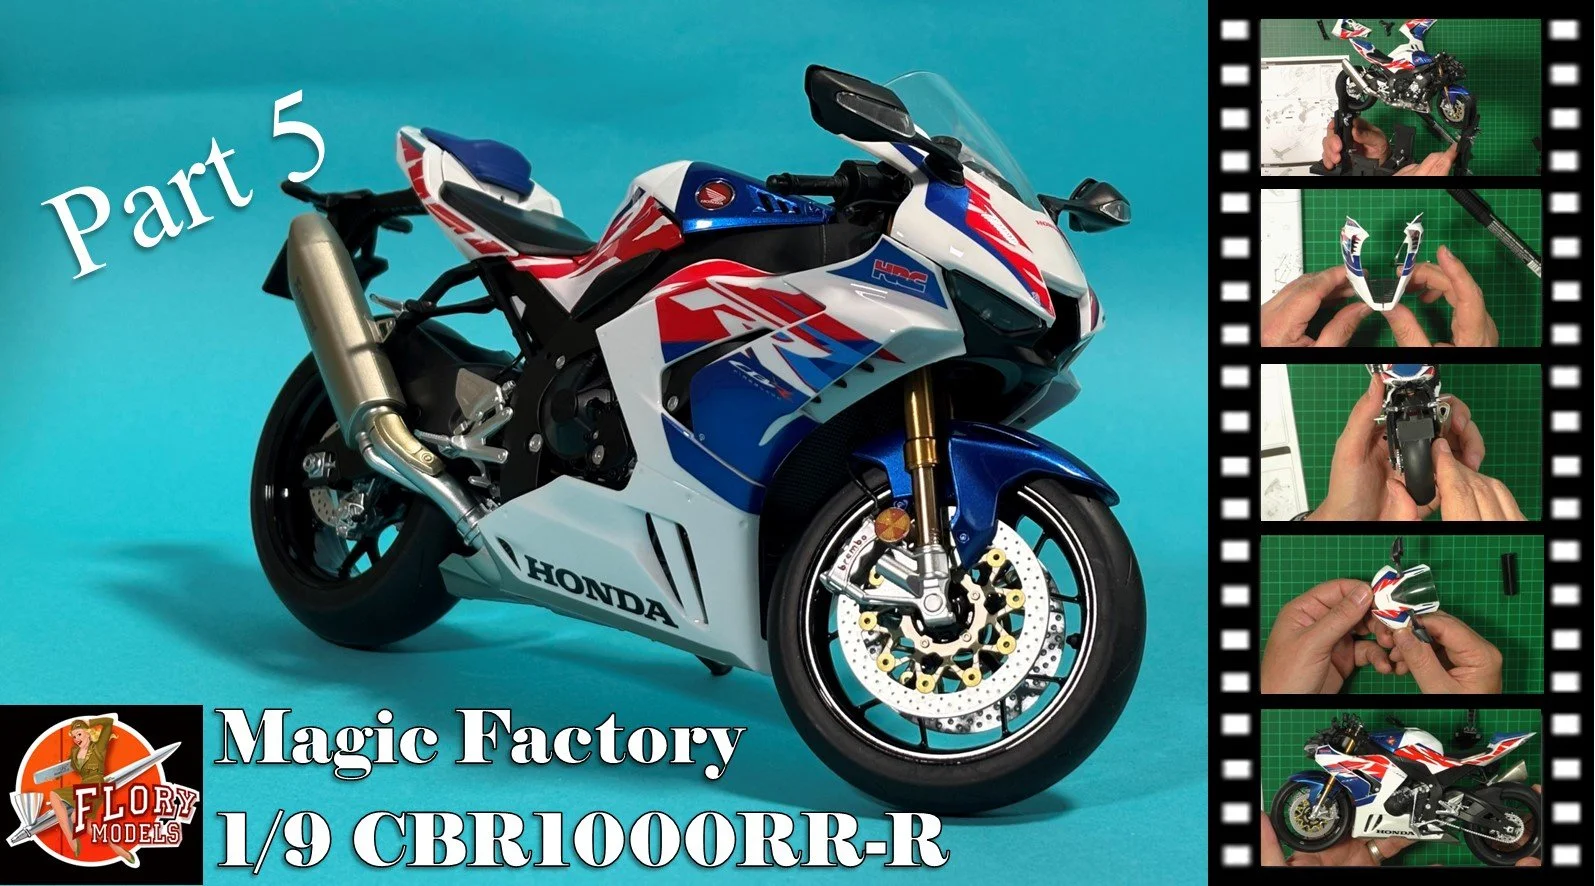
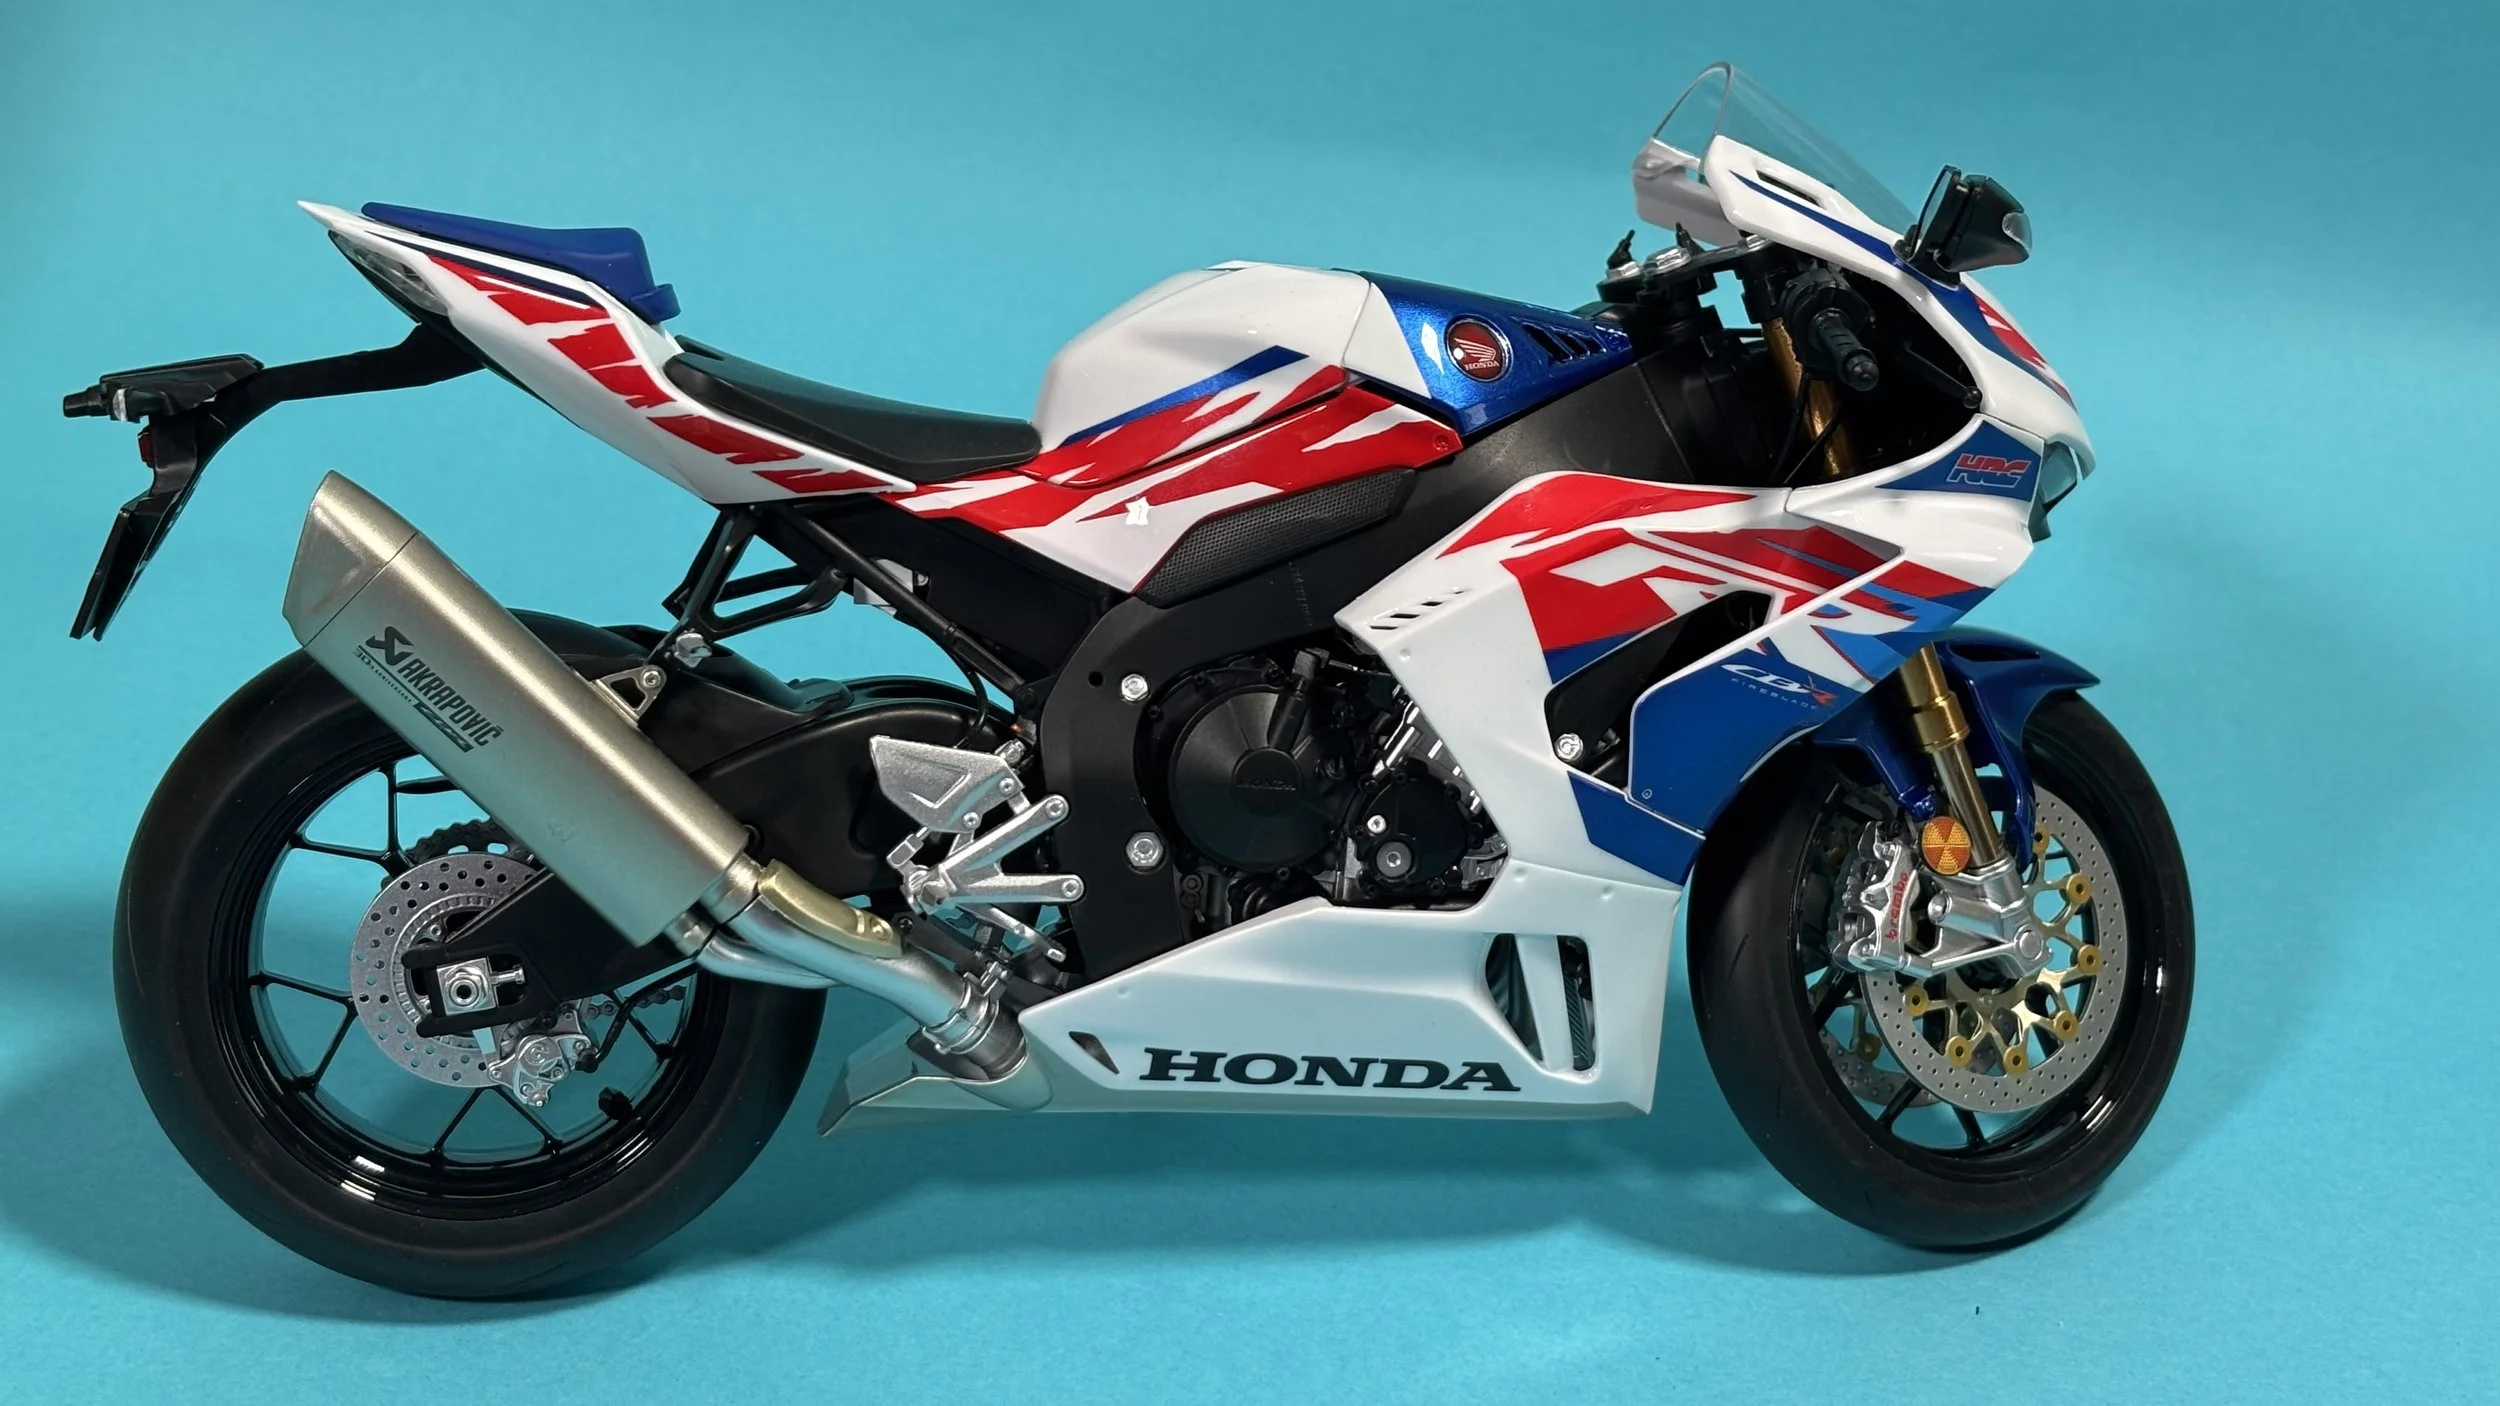
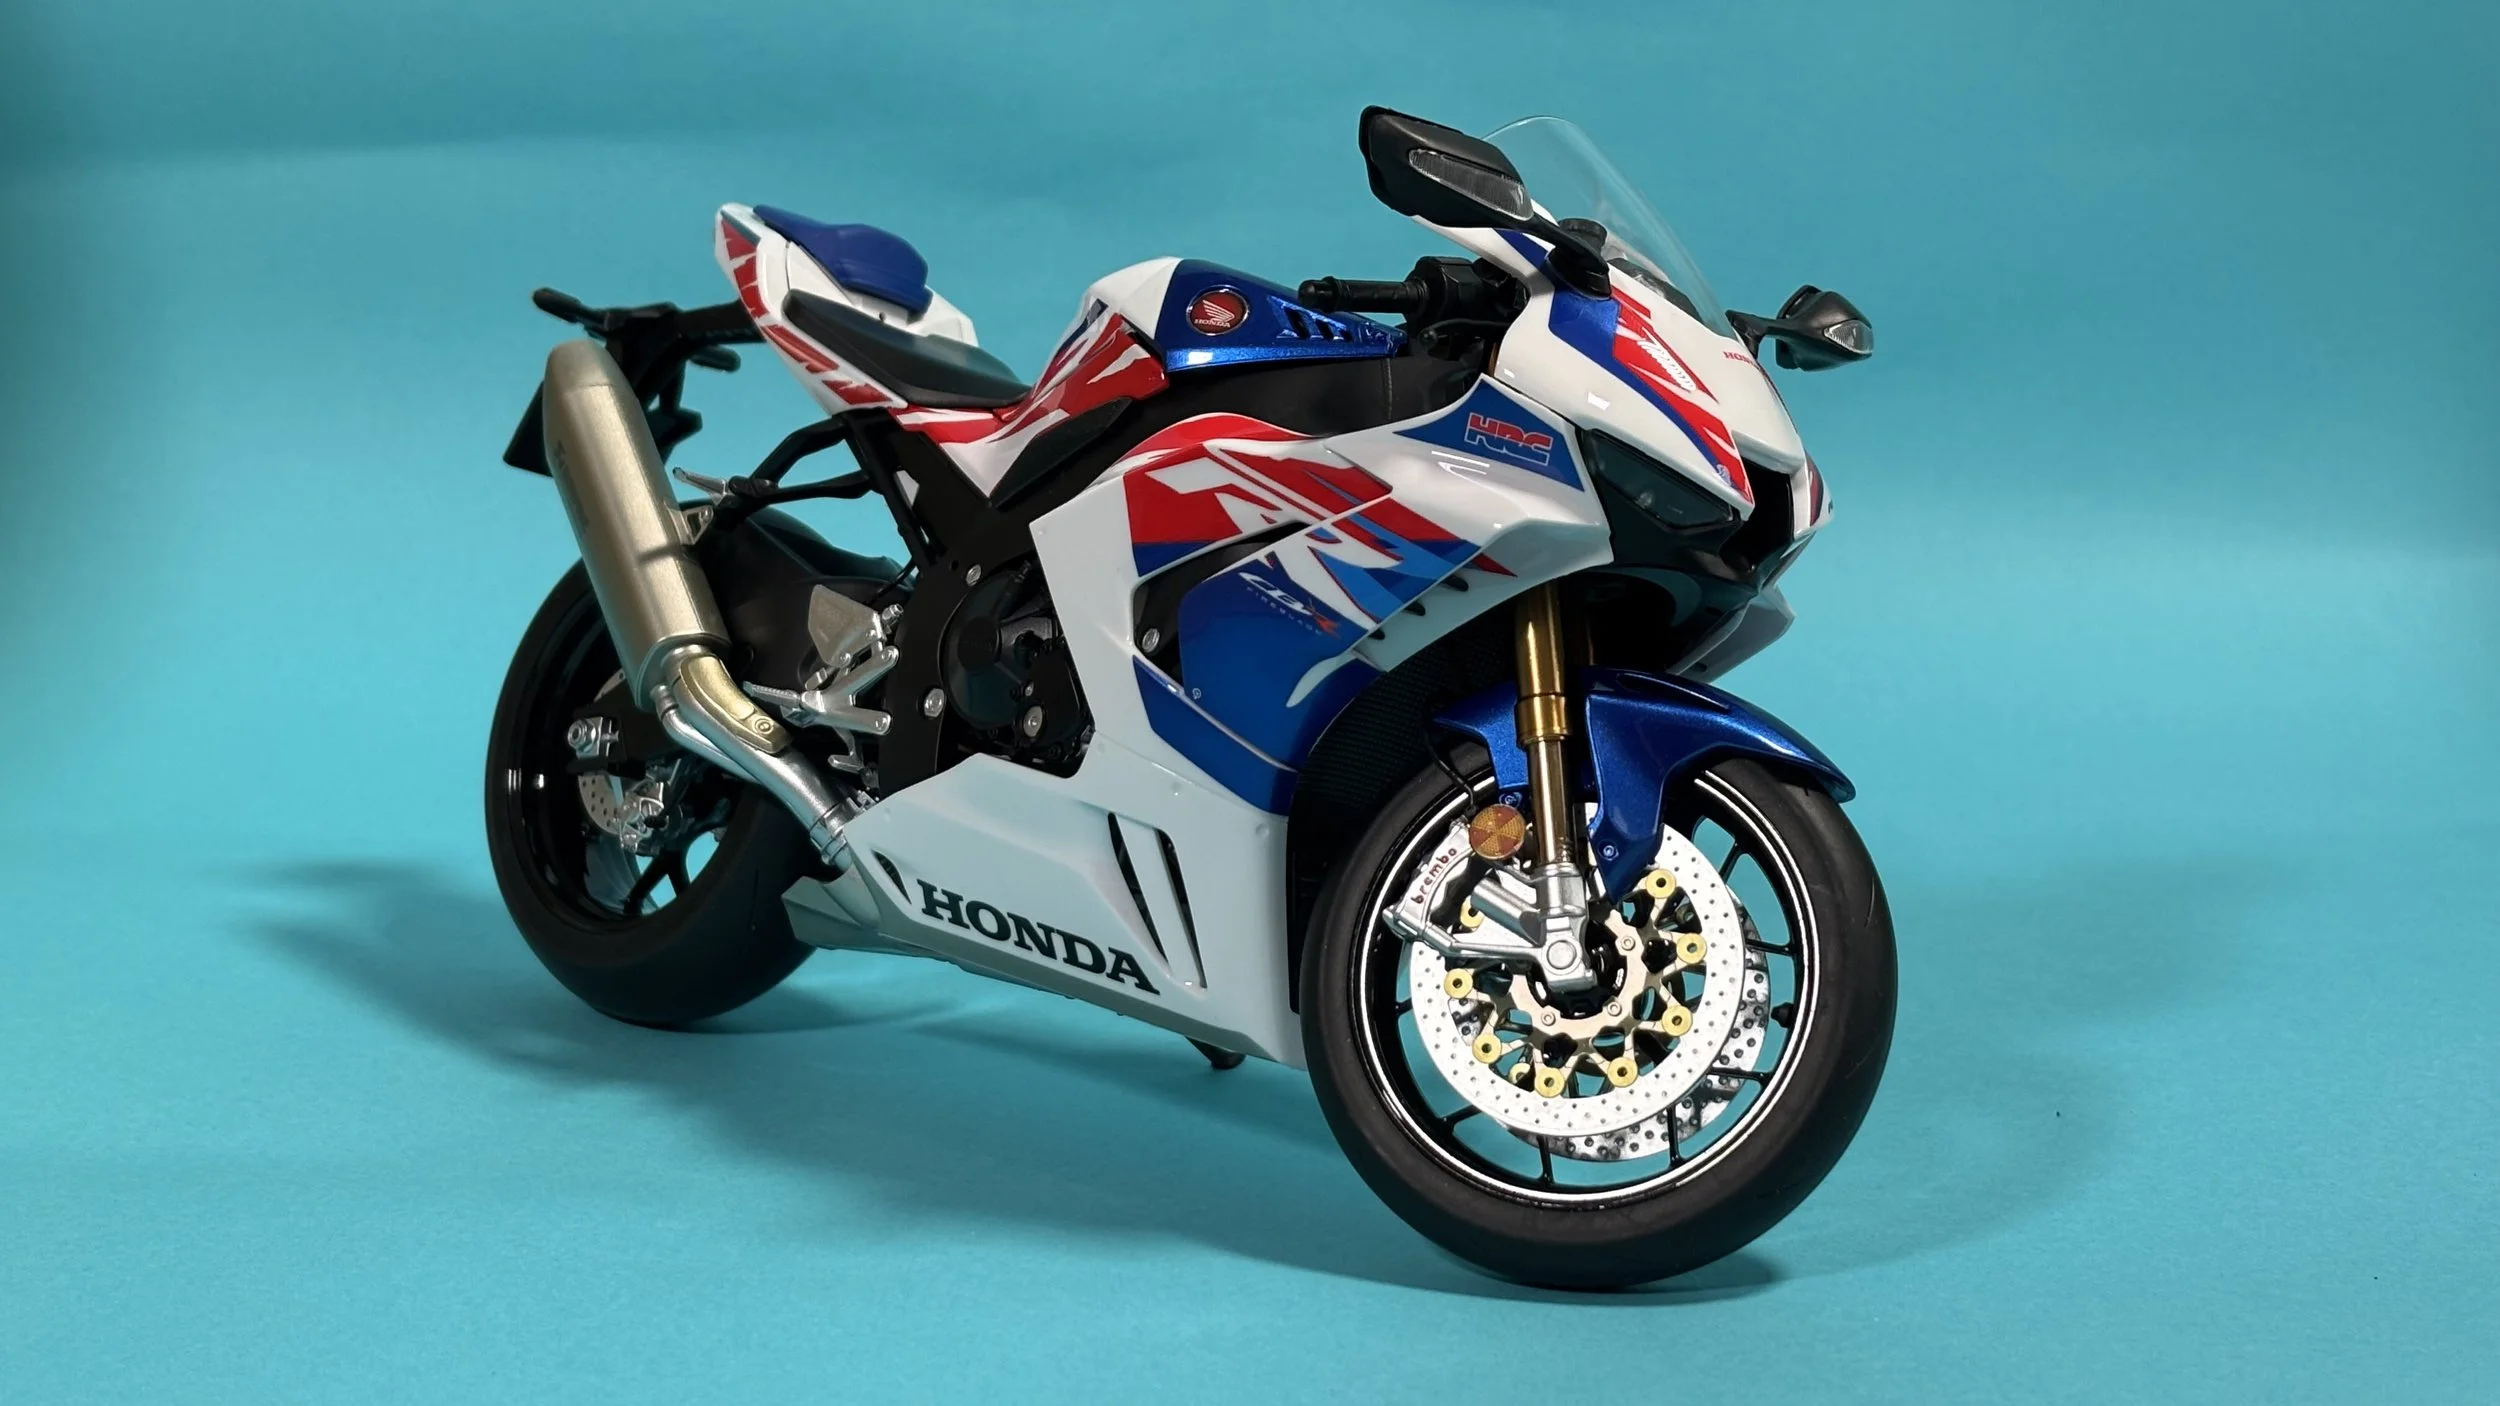
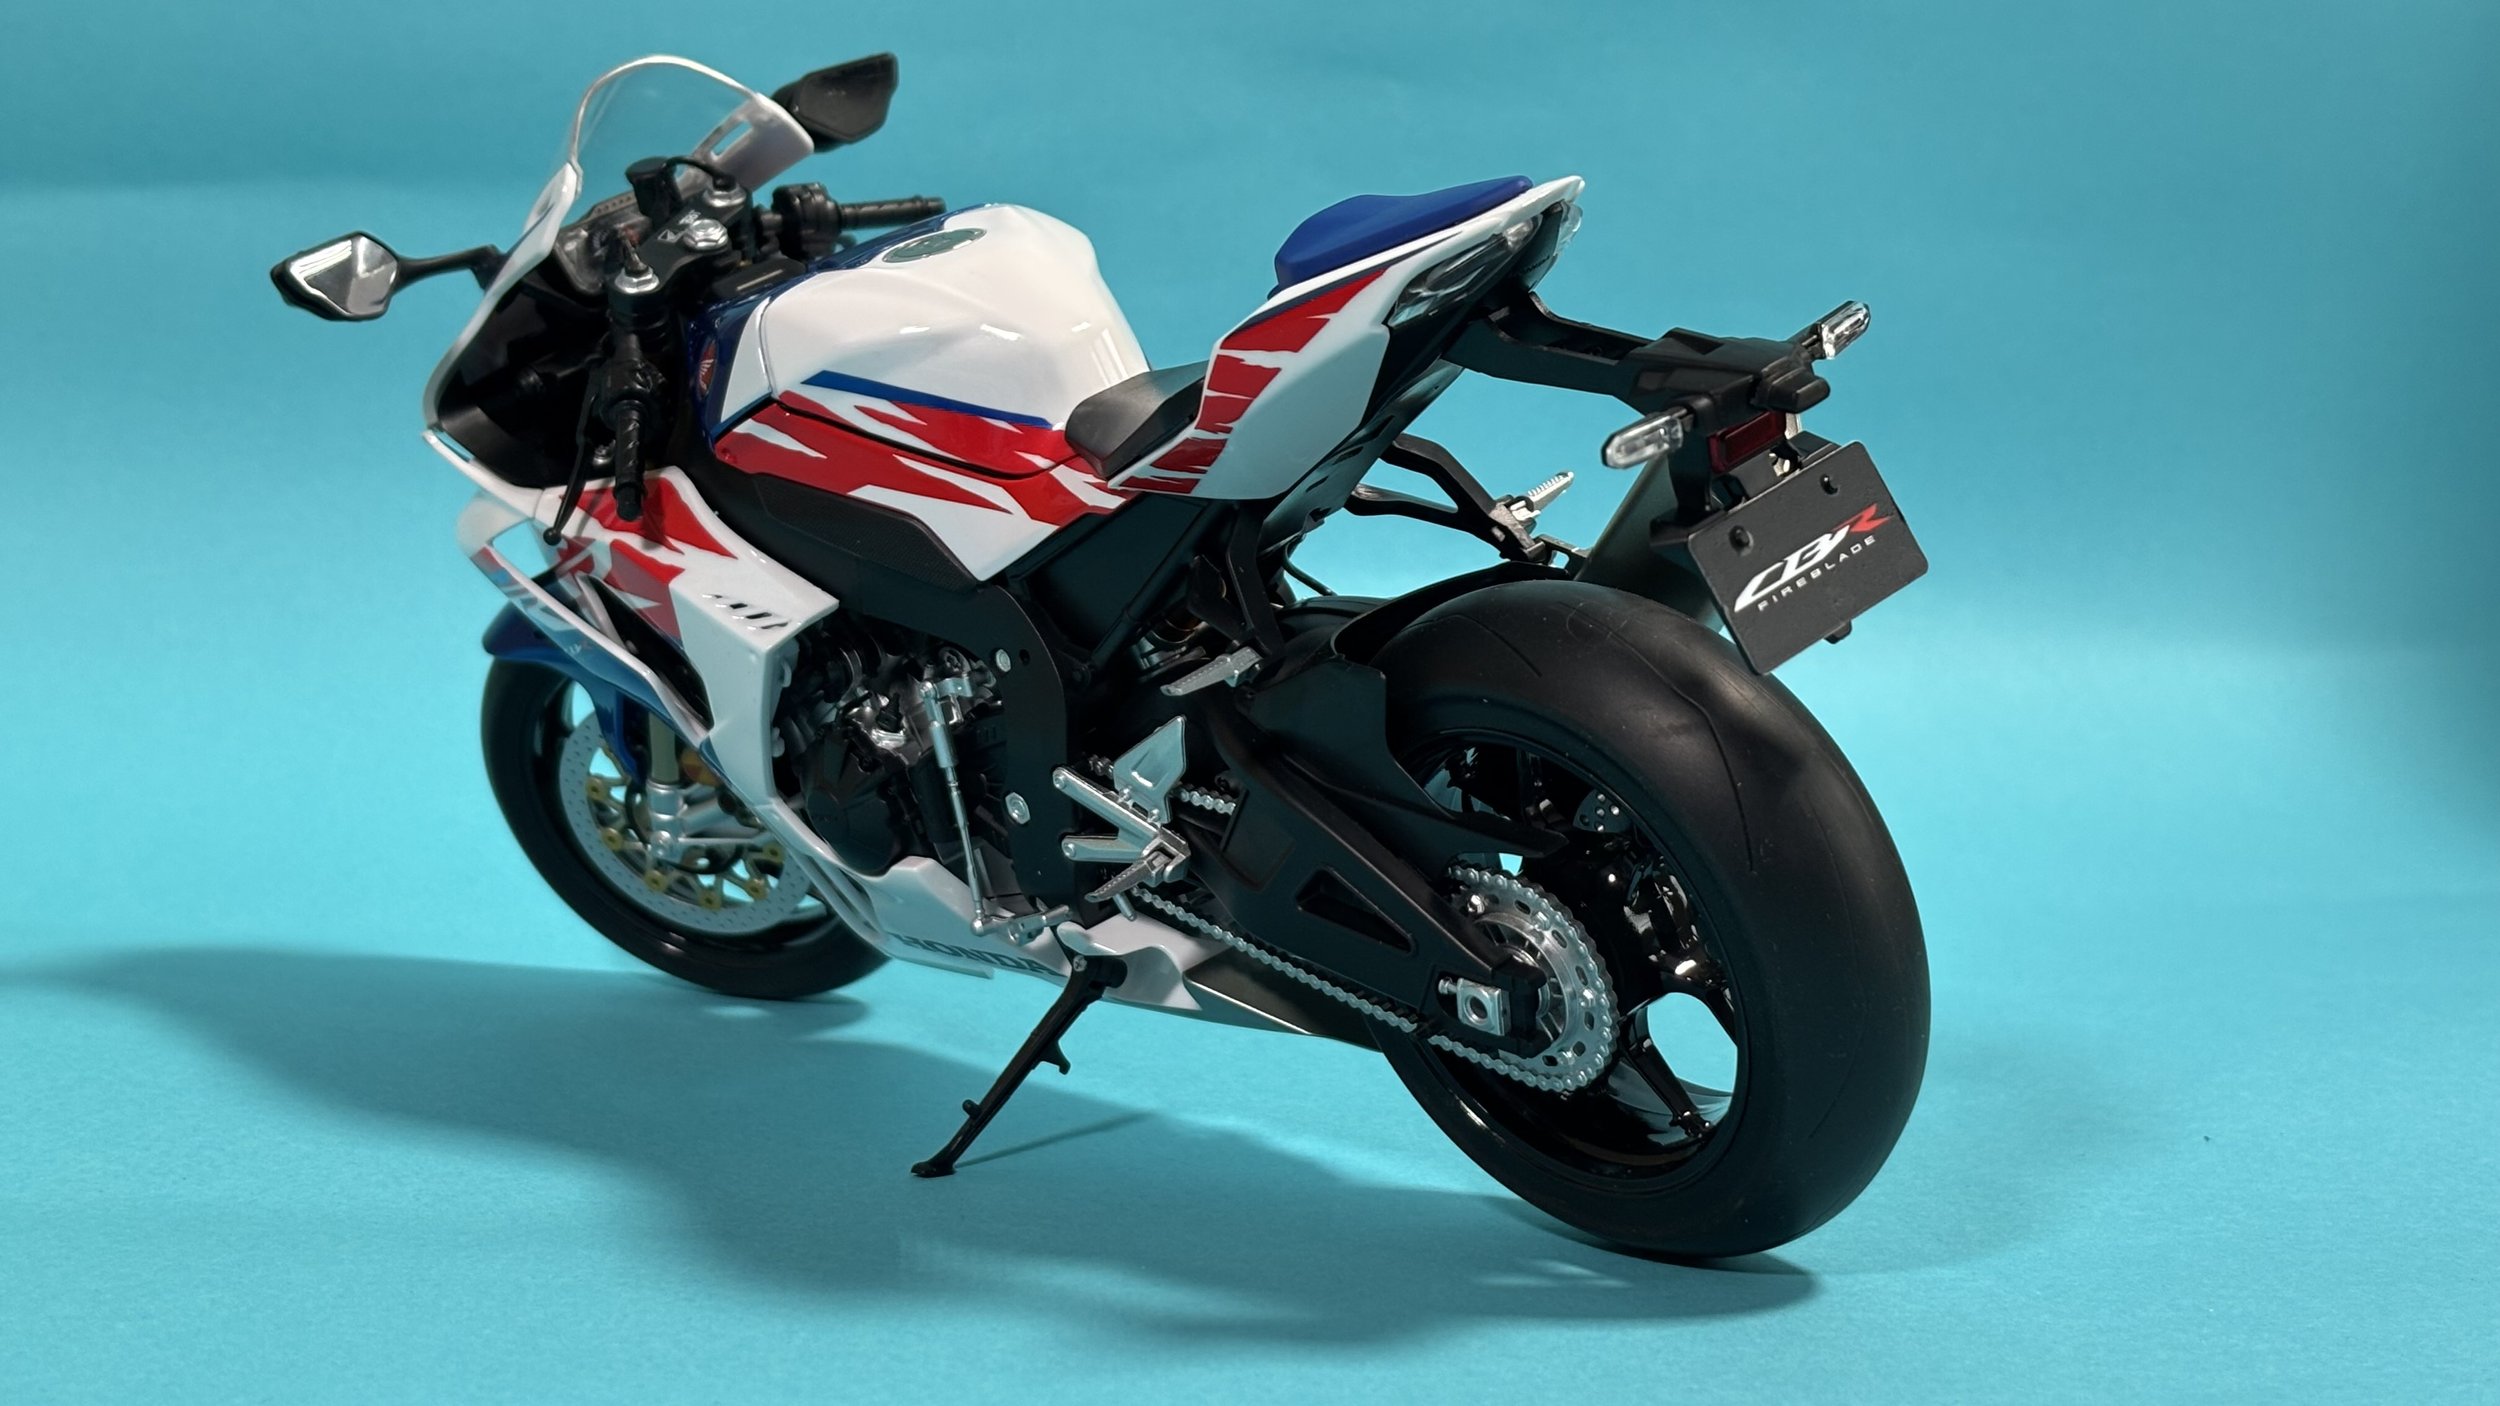
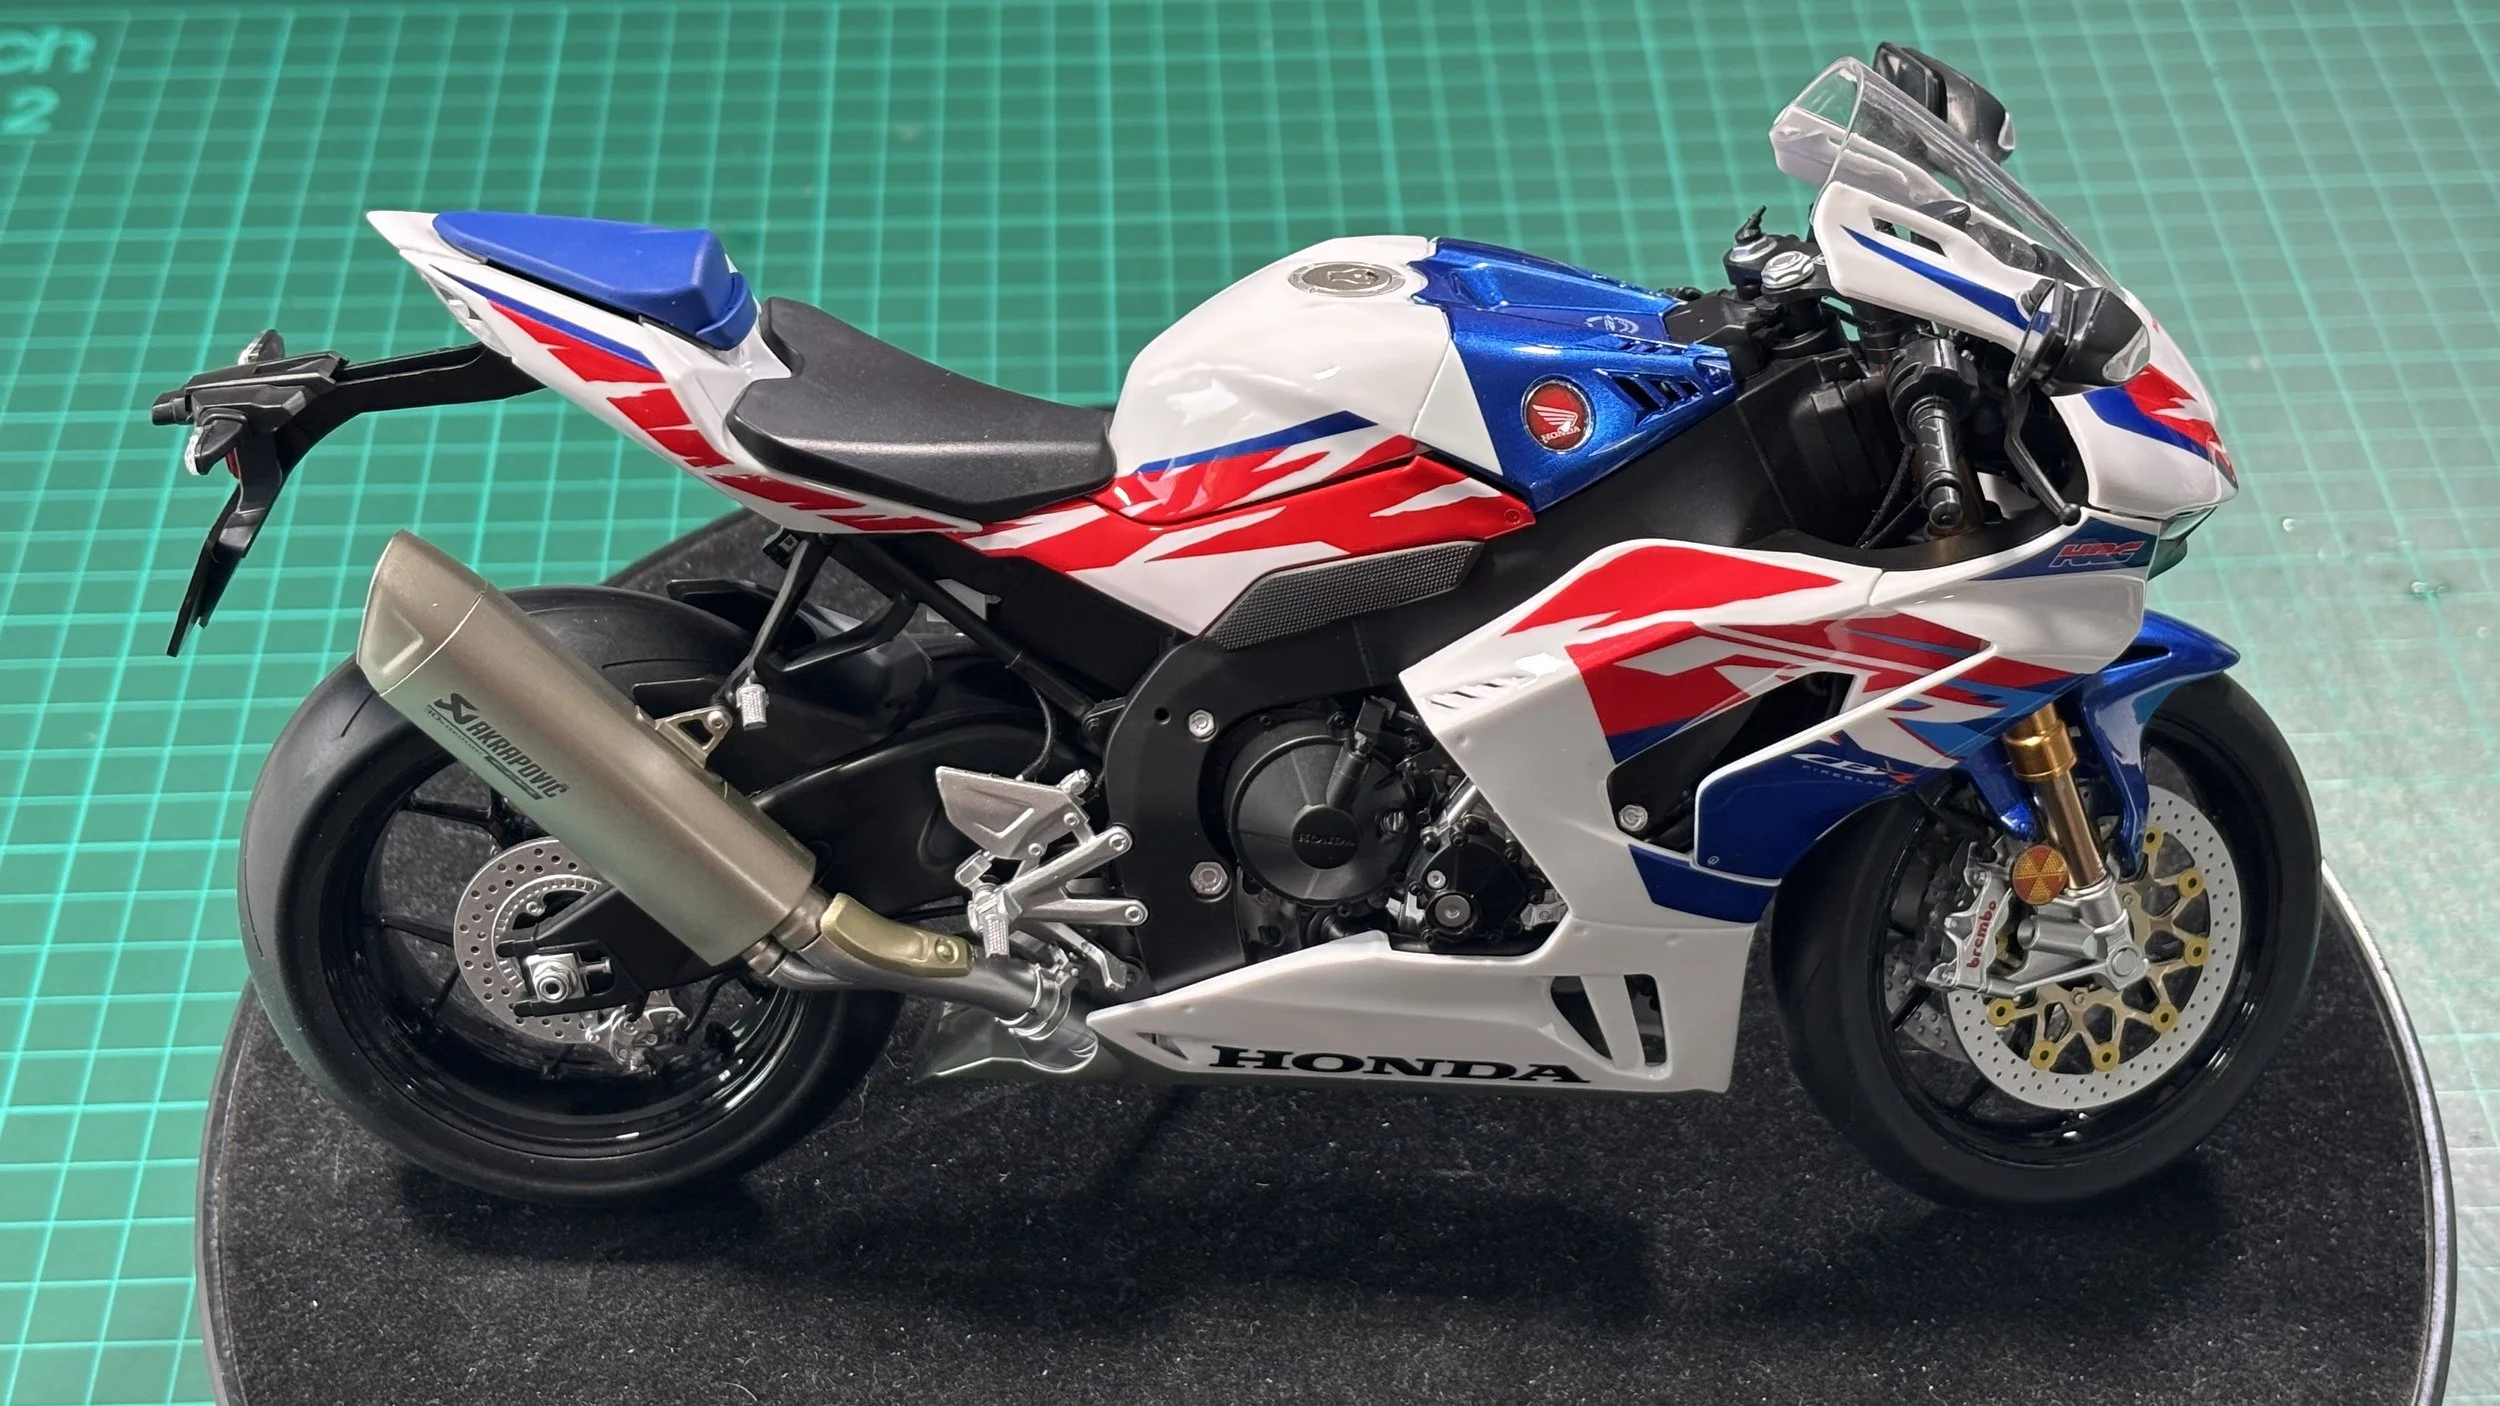
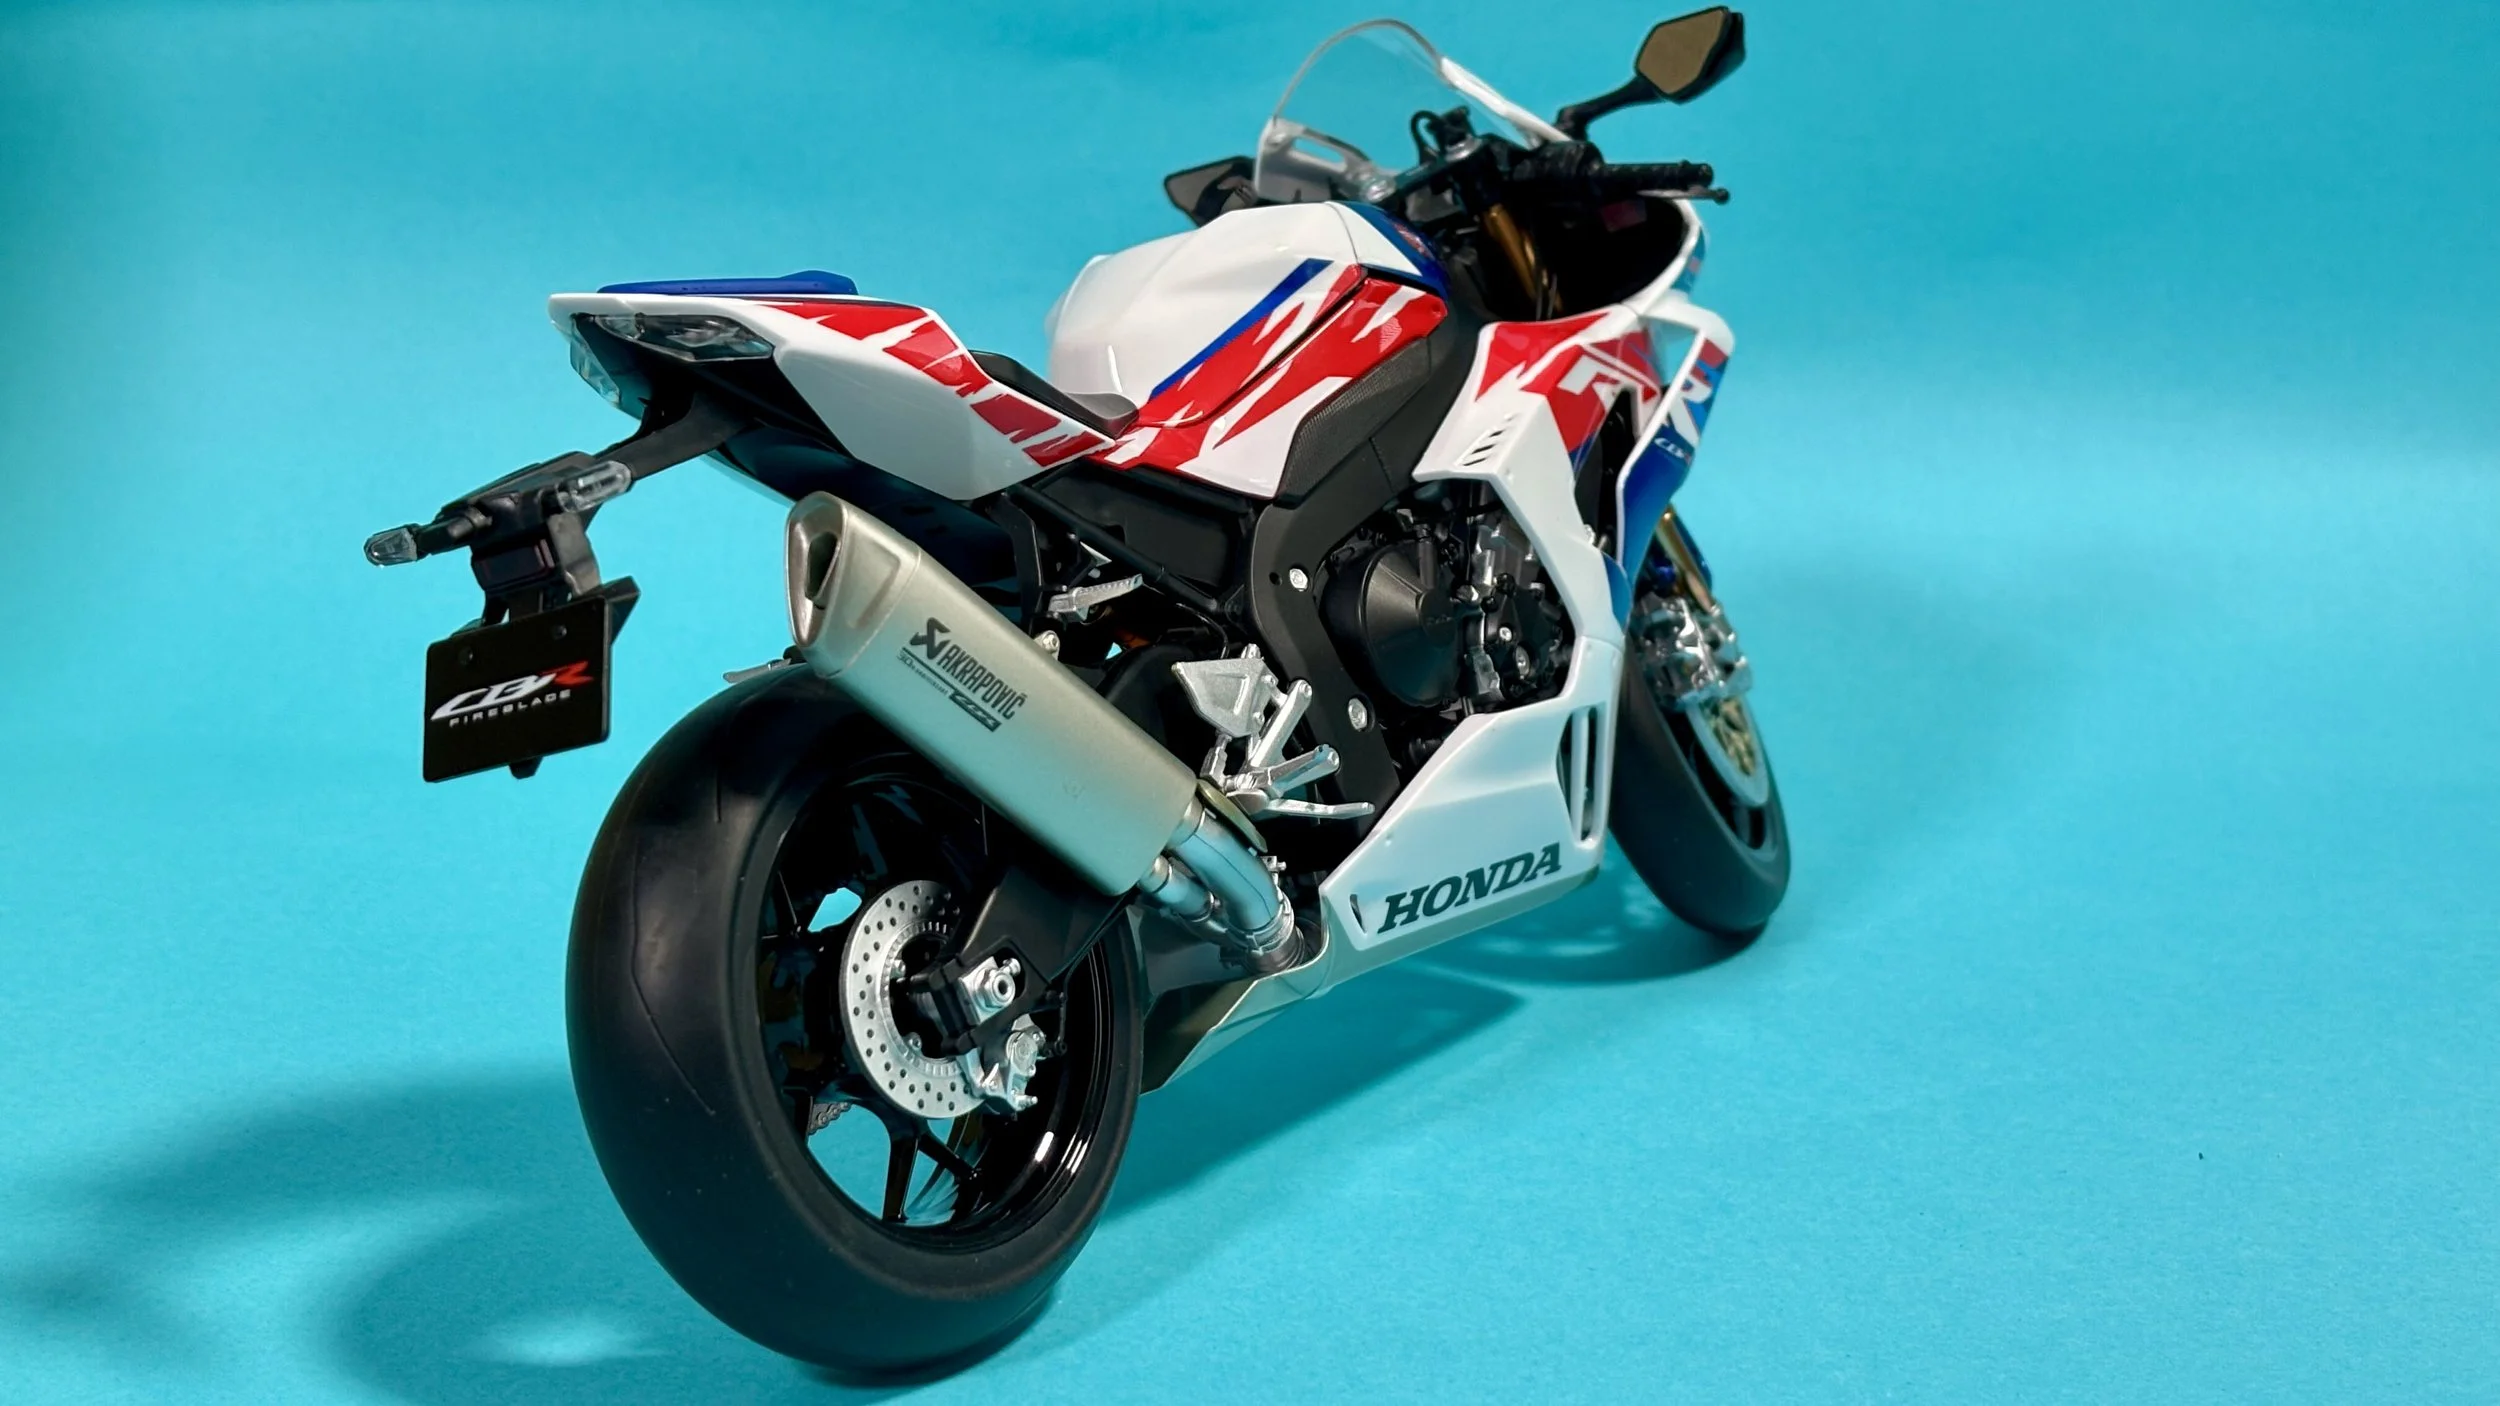
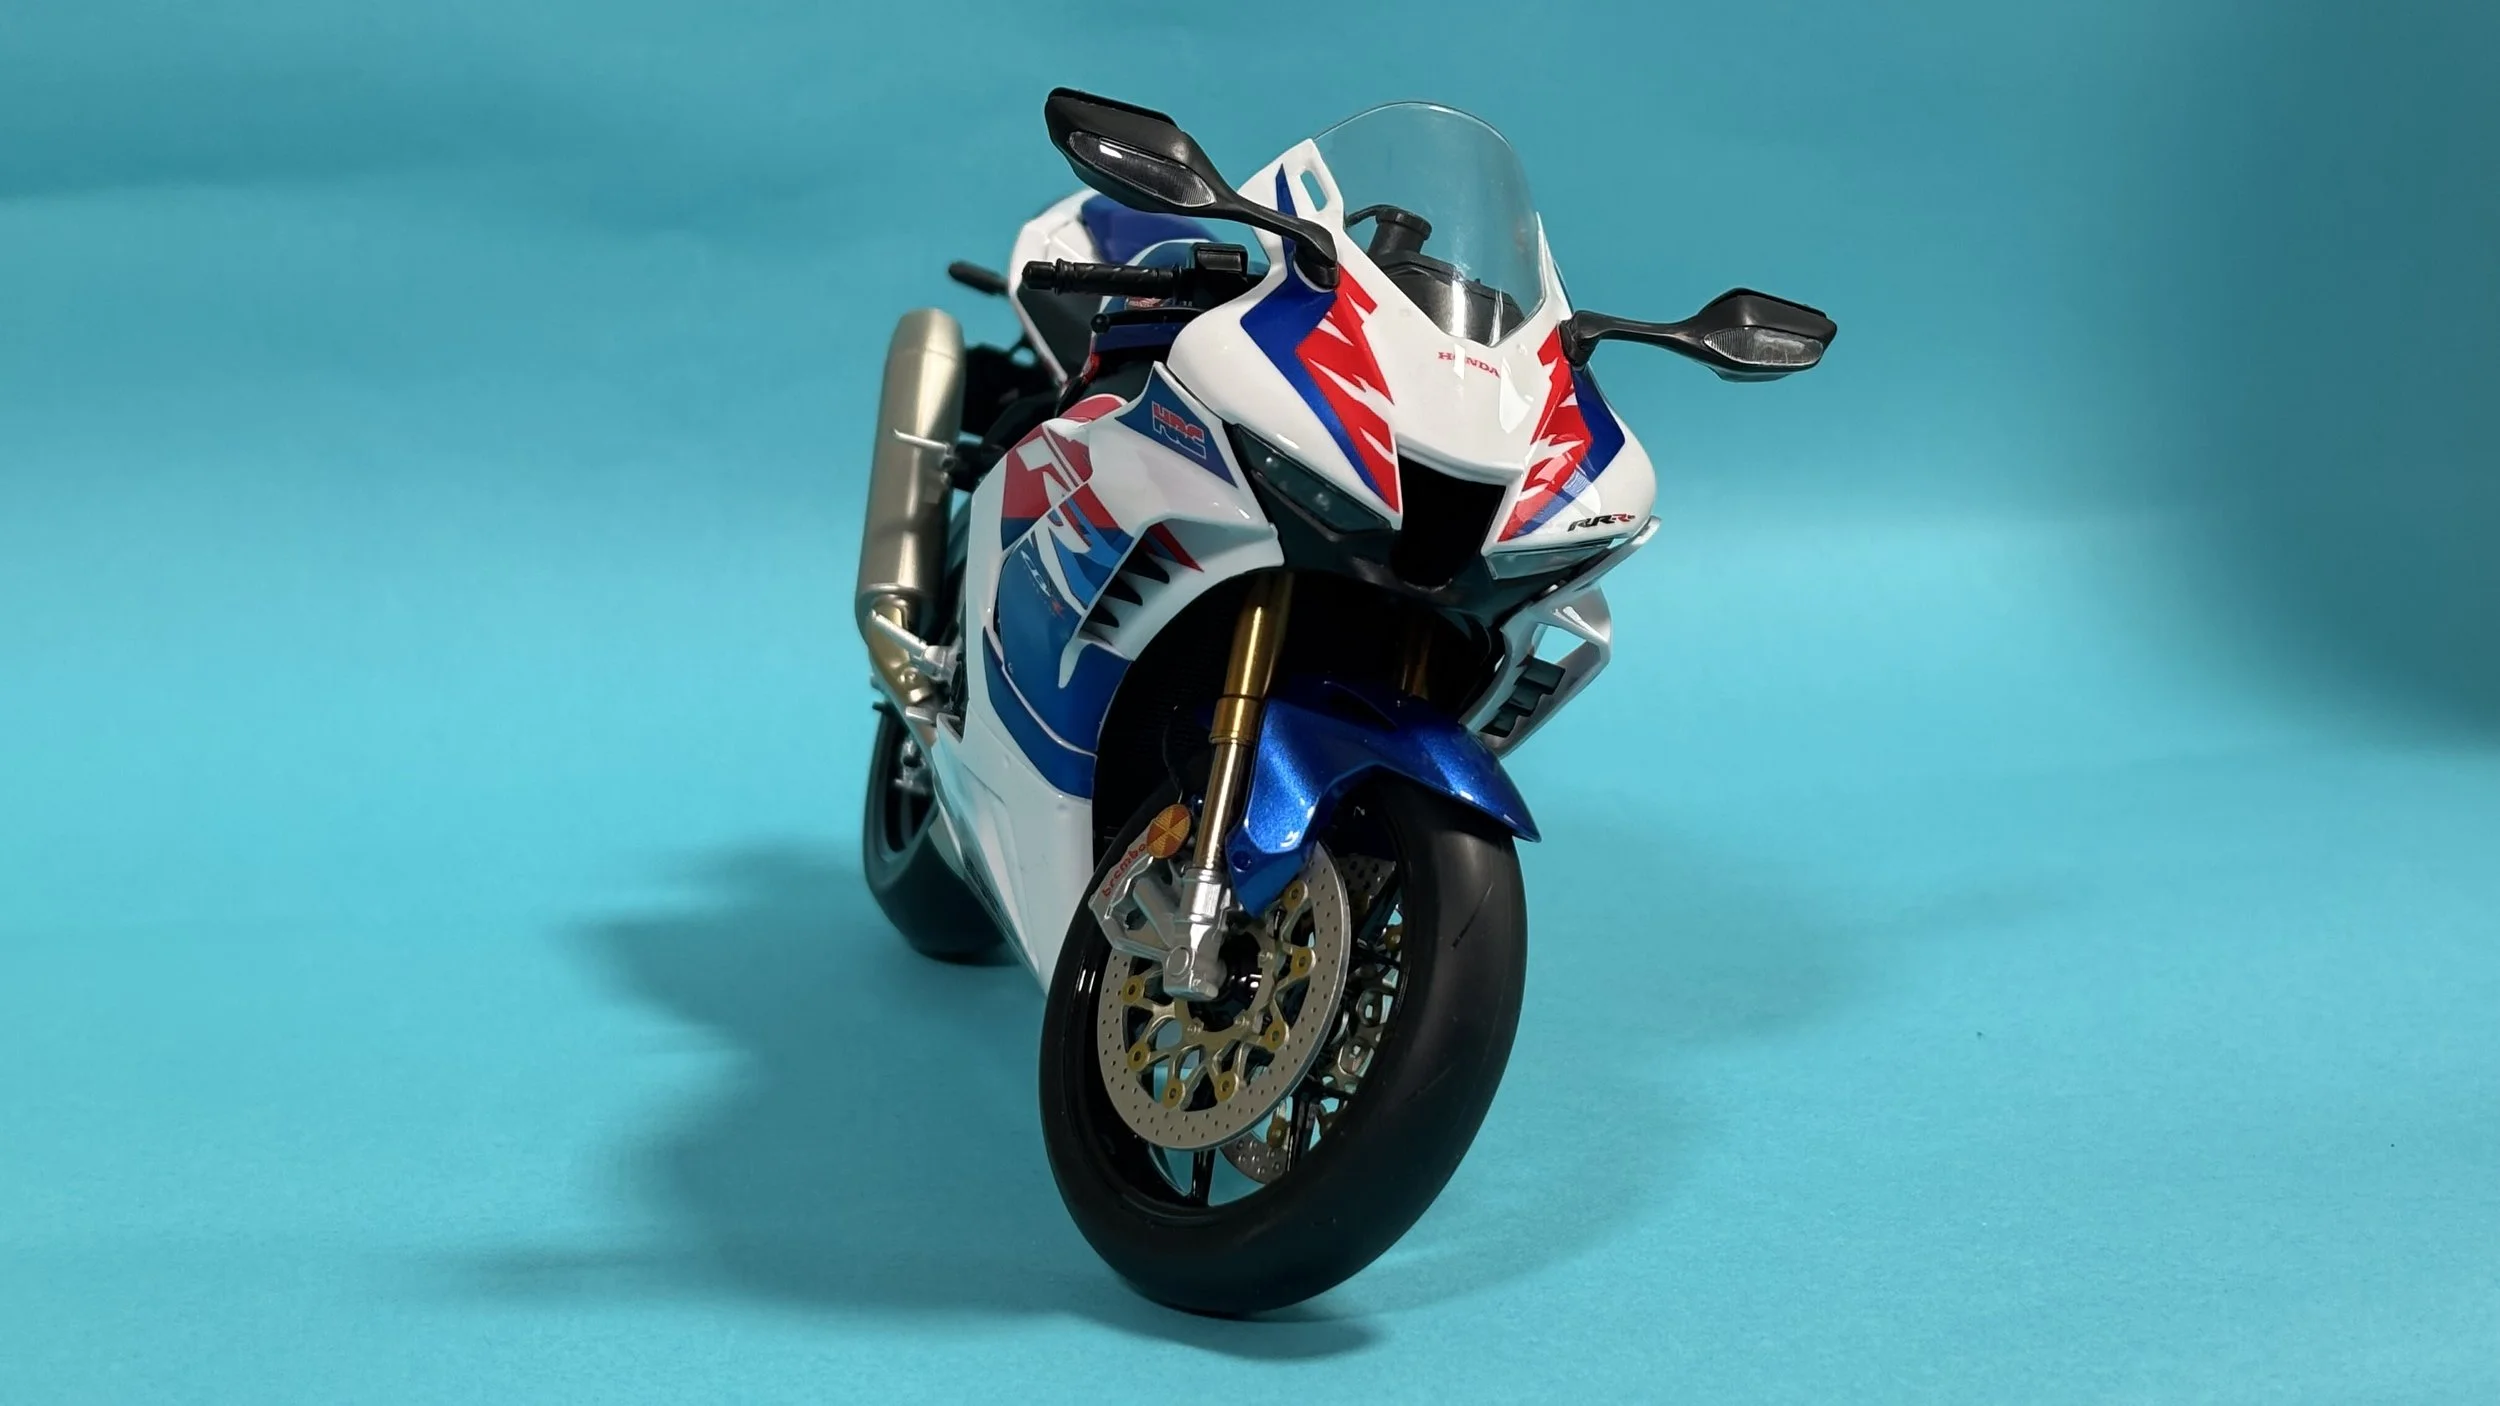
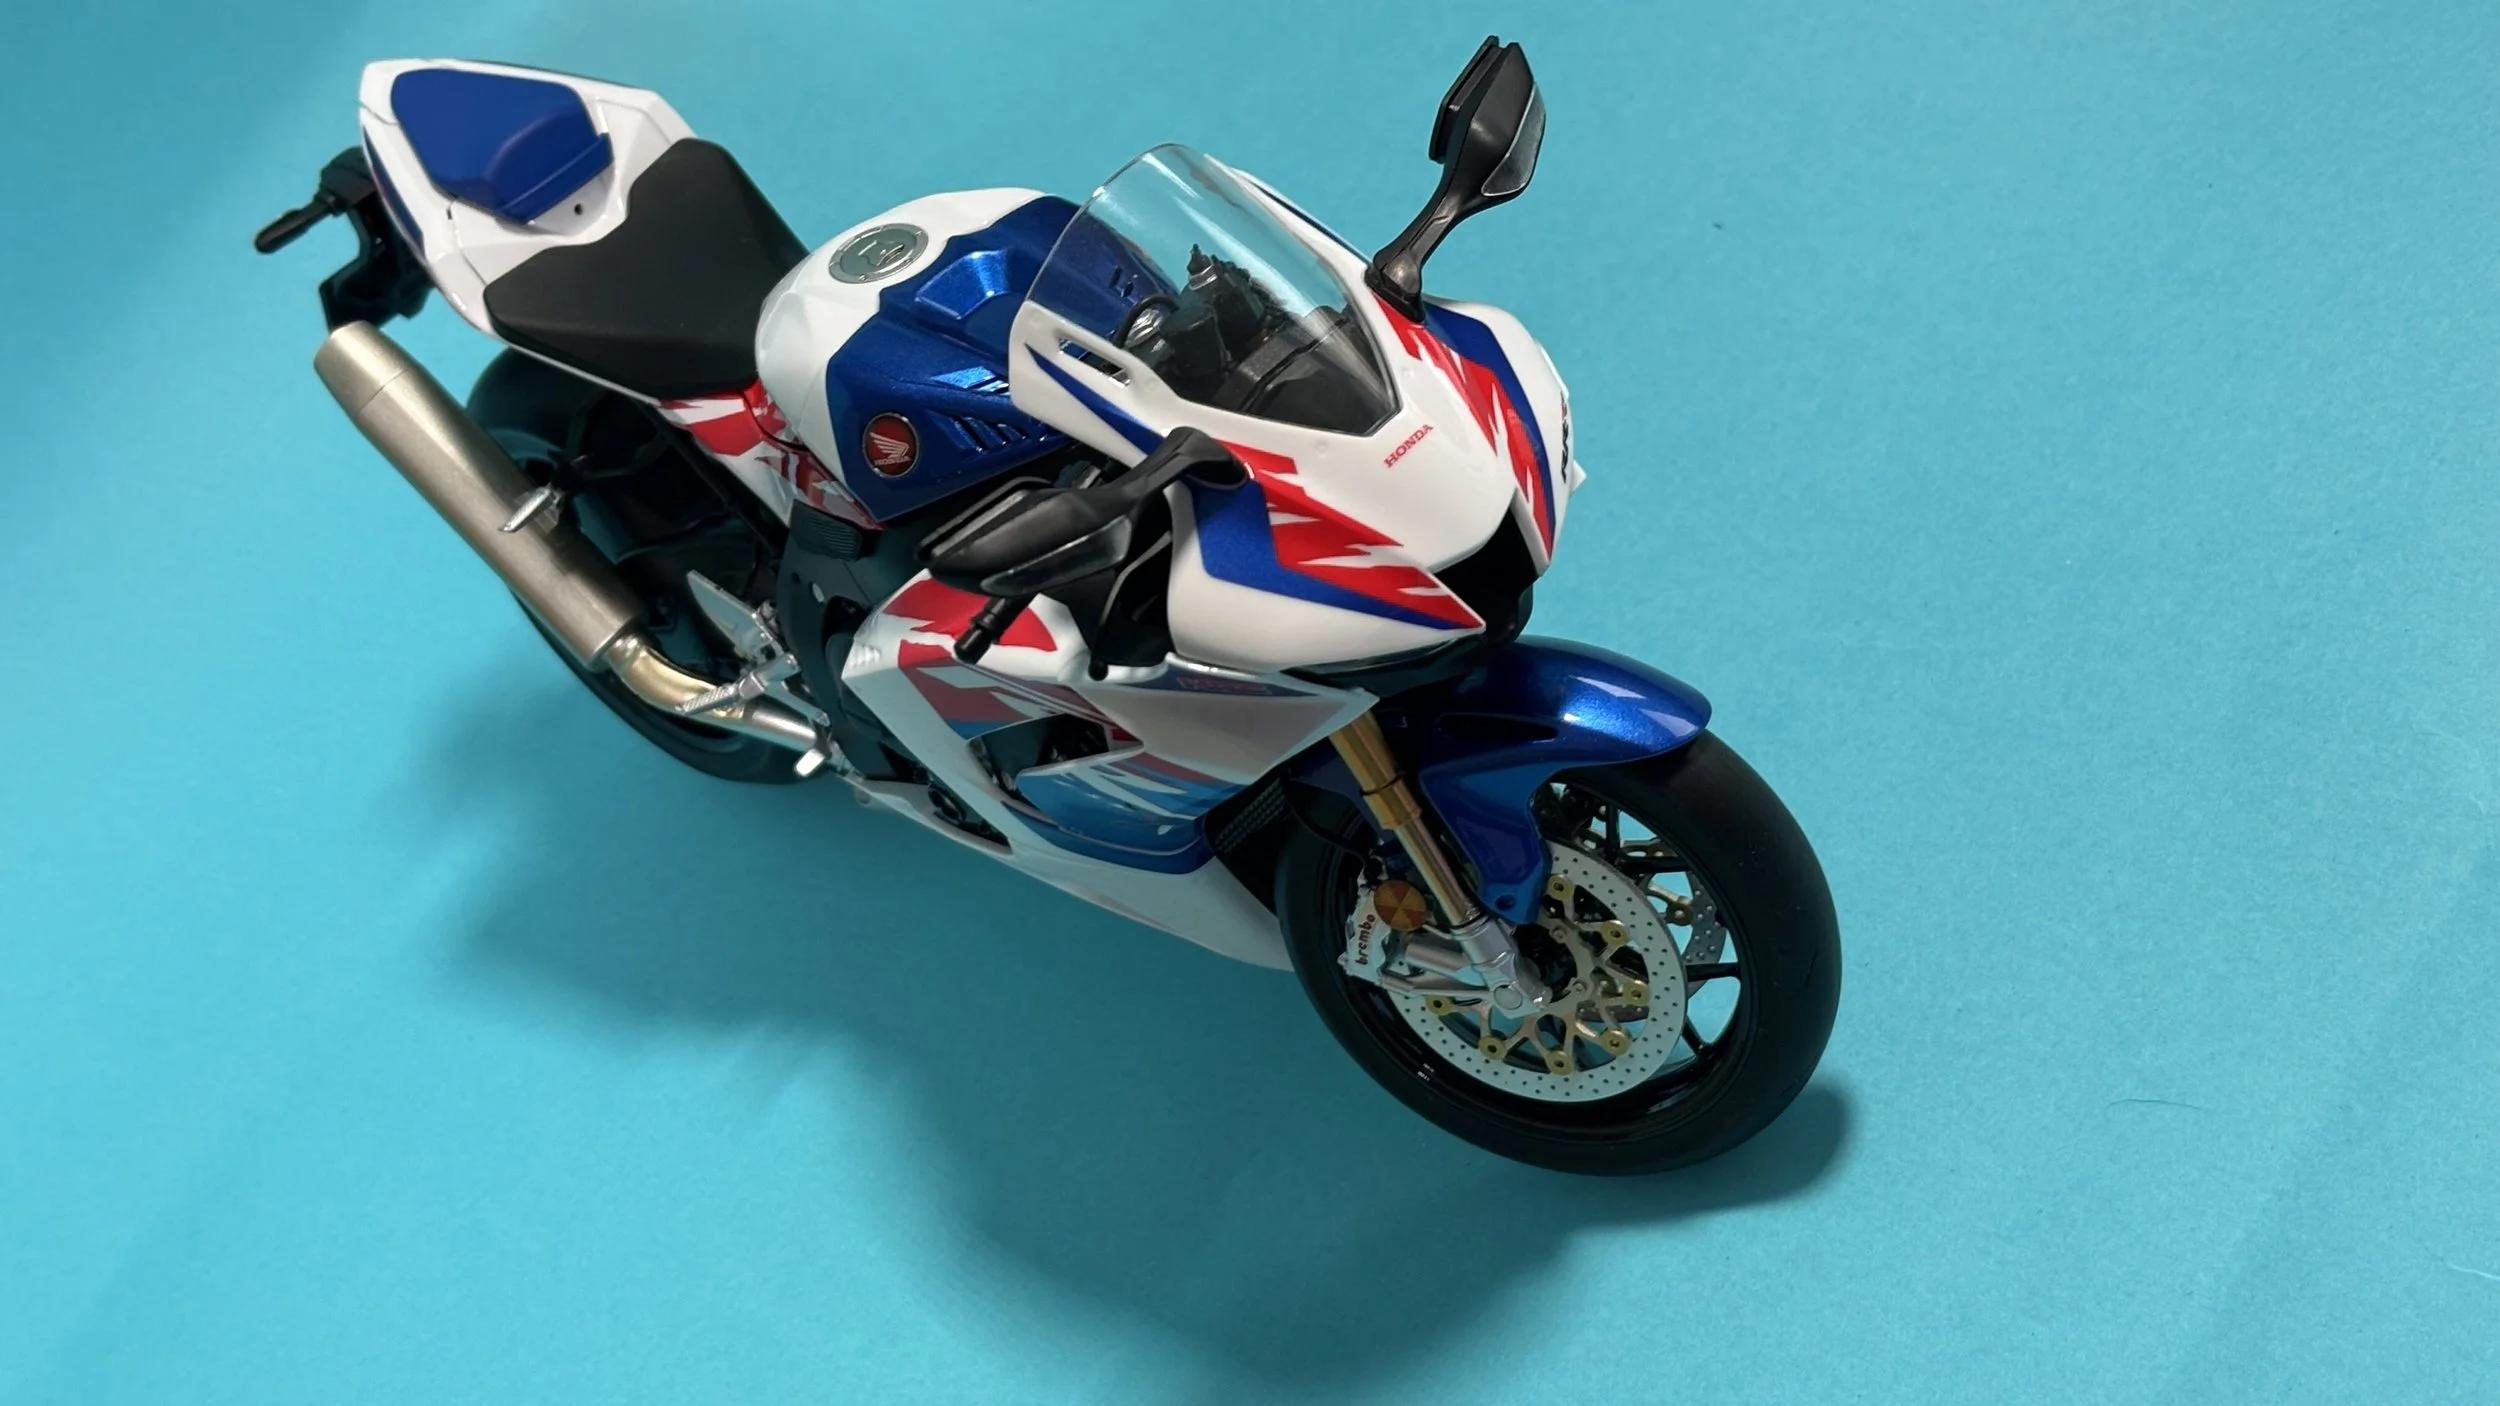
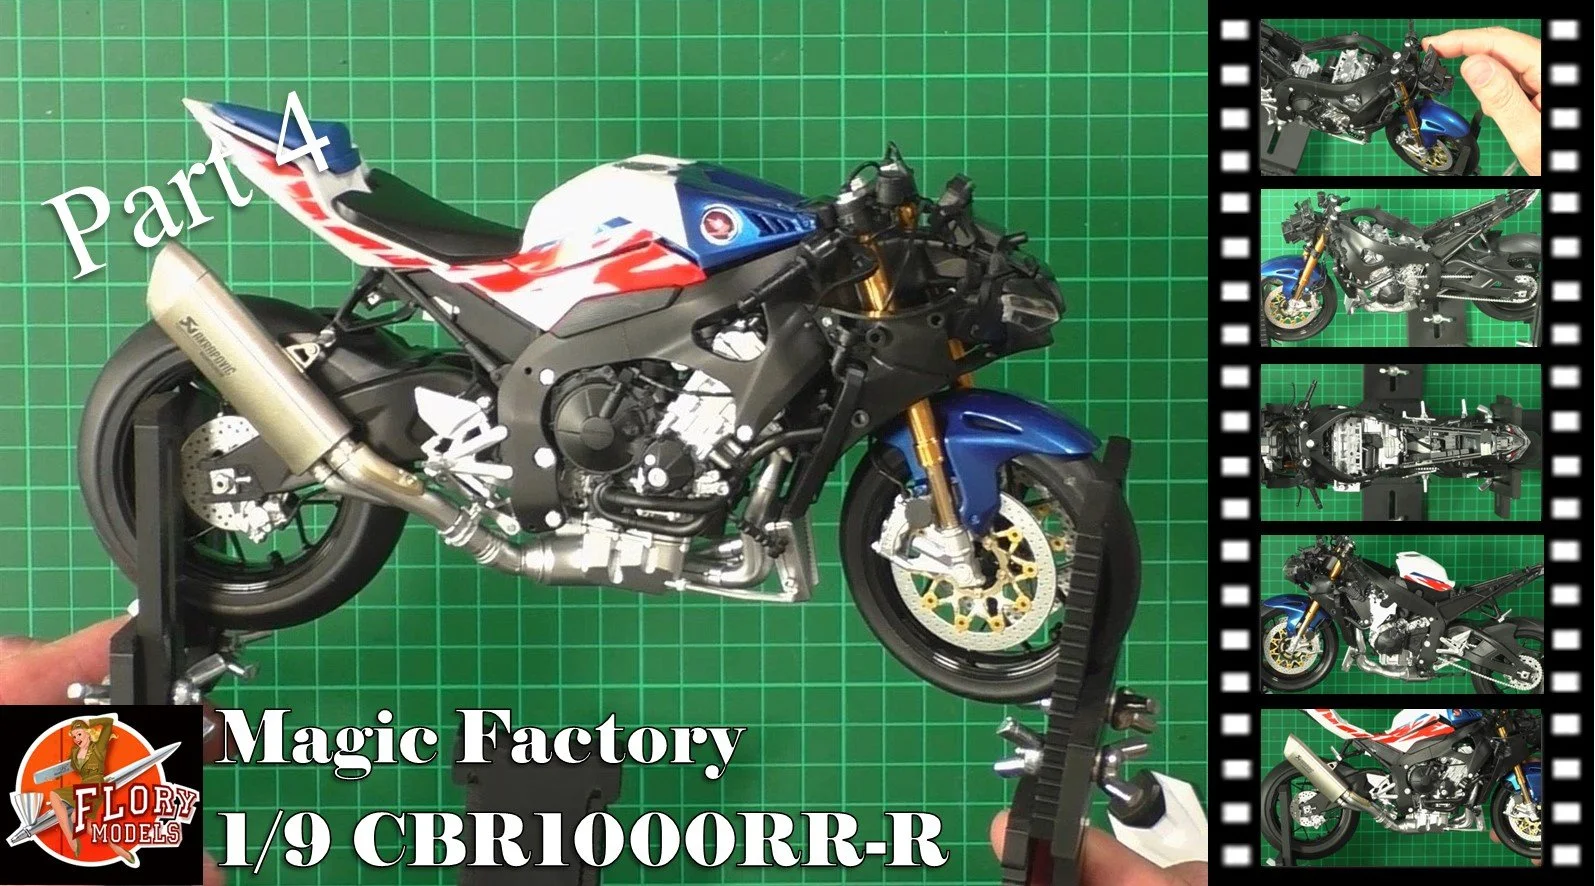
CBR1000RR-R Fireblabe SP
Scale: 1/9
Manufacturer: Magic Factory
Parts used: Out Of The Box
Main paints used: AK Real Color Markers
0:00 Welcome to the build and the plan ahead. 1:26 We start the build with the main engine block, all pre-painted and no glueing!! 11:33 Next, we add some of the black parts and the smaller details. 16:20 Here, we install the manifold and starter motor 19:41 Now it's time to put together the suspension assembly 24:57 Last up for the engine, is to install the exhaust system onto the engine, completing that section.

0:00 With the engine done, we now move on to the rear suspension and drive. 7:13 Next, we fit the rear wheel and tire along with the chain. 12:06 With the rear parts done, we mounted the engine to the chassis using the screws. 20:38 Here we install the rear lights and need to open up the light holes a little more to get them to fit. 25:46 With everything in place, we can now join both chassis together and fix them in place with the screws.

0:00 To start off, we install the radiator and cooling fans and attach the hoses. 10:45 Next, we install the instrument panel and add the decal (Doesn't fit) 16:48 Now we move onto the wheel and install the brakes and then the front forks. Here we have a few problems with the sleeve getting stuck. 26:14 We ended up cutting the sleeve free and then using a piece of rod to attach the upright to. 30:54 Next up, we put together the handlebars and install them in place. 39:15 Here again, we have a few problems installing the fixing screw in place. Then, once done, we hook up all the brake hoses in place.

0:00 With all the cables and hoses connected, we can now install the inner fairings to the bike. 9:43 Next, we install the front lights and attach. 19:58 Now we can put together the intake air filter and install it in place. 29:08 With that installed, we add the side fairings and seat 31:21 last up, we have a choice of two pillion seats in blue or black? We go with the blue.
0:00 In this final part of the build, we add the body fairings to the front of the bike. 7:05 Next, we work on the windshield and the rear-view mirrors. 13:48 Here we add the indicator light to the mirrors and fix in place. 16:31 After a fantastic and very enjoyable build, it's time for the final reveal and thoughts.