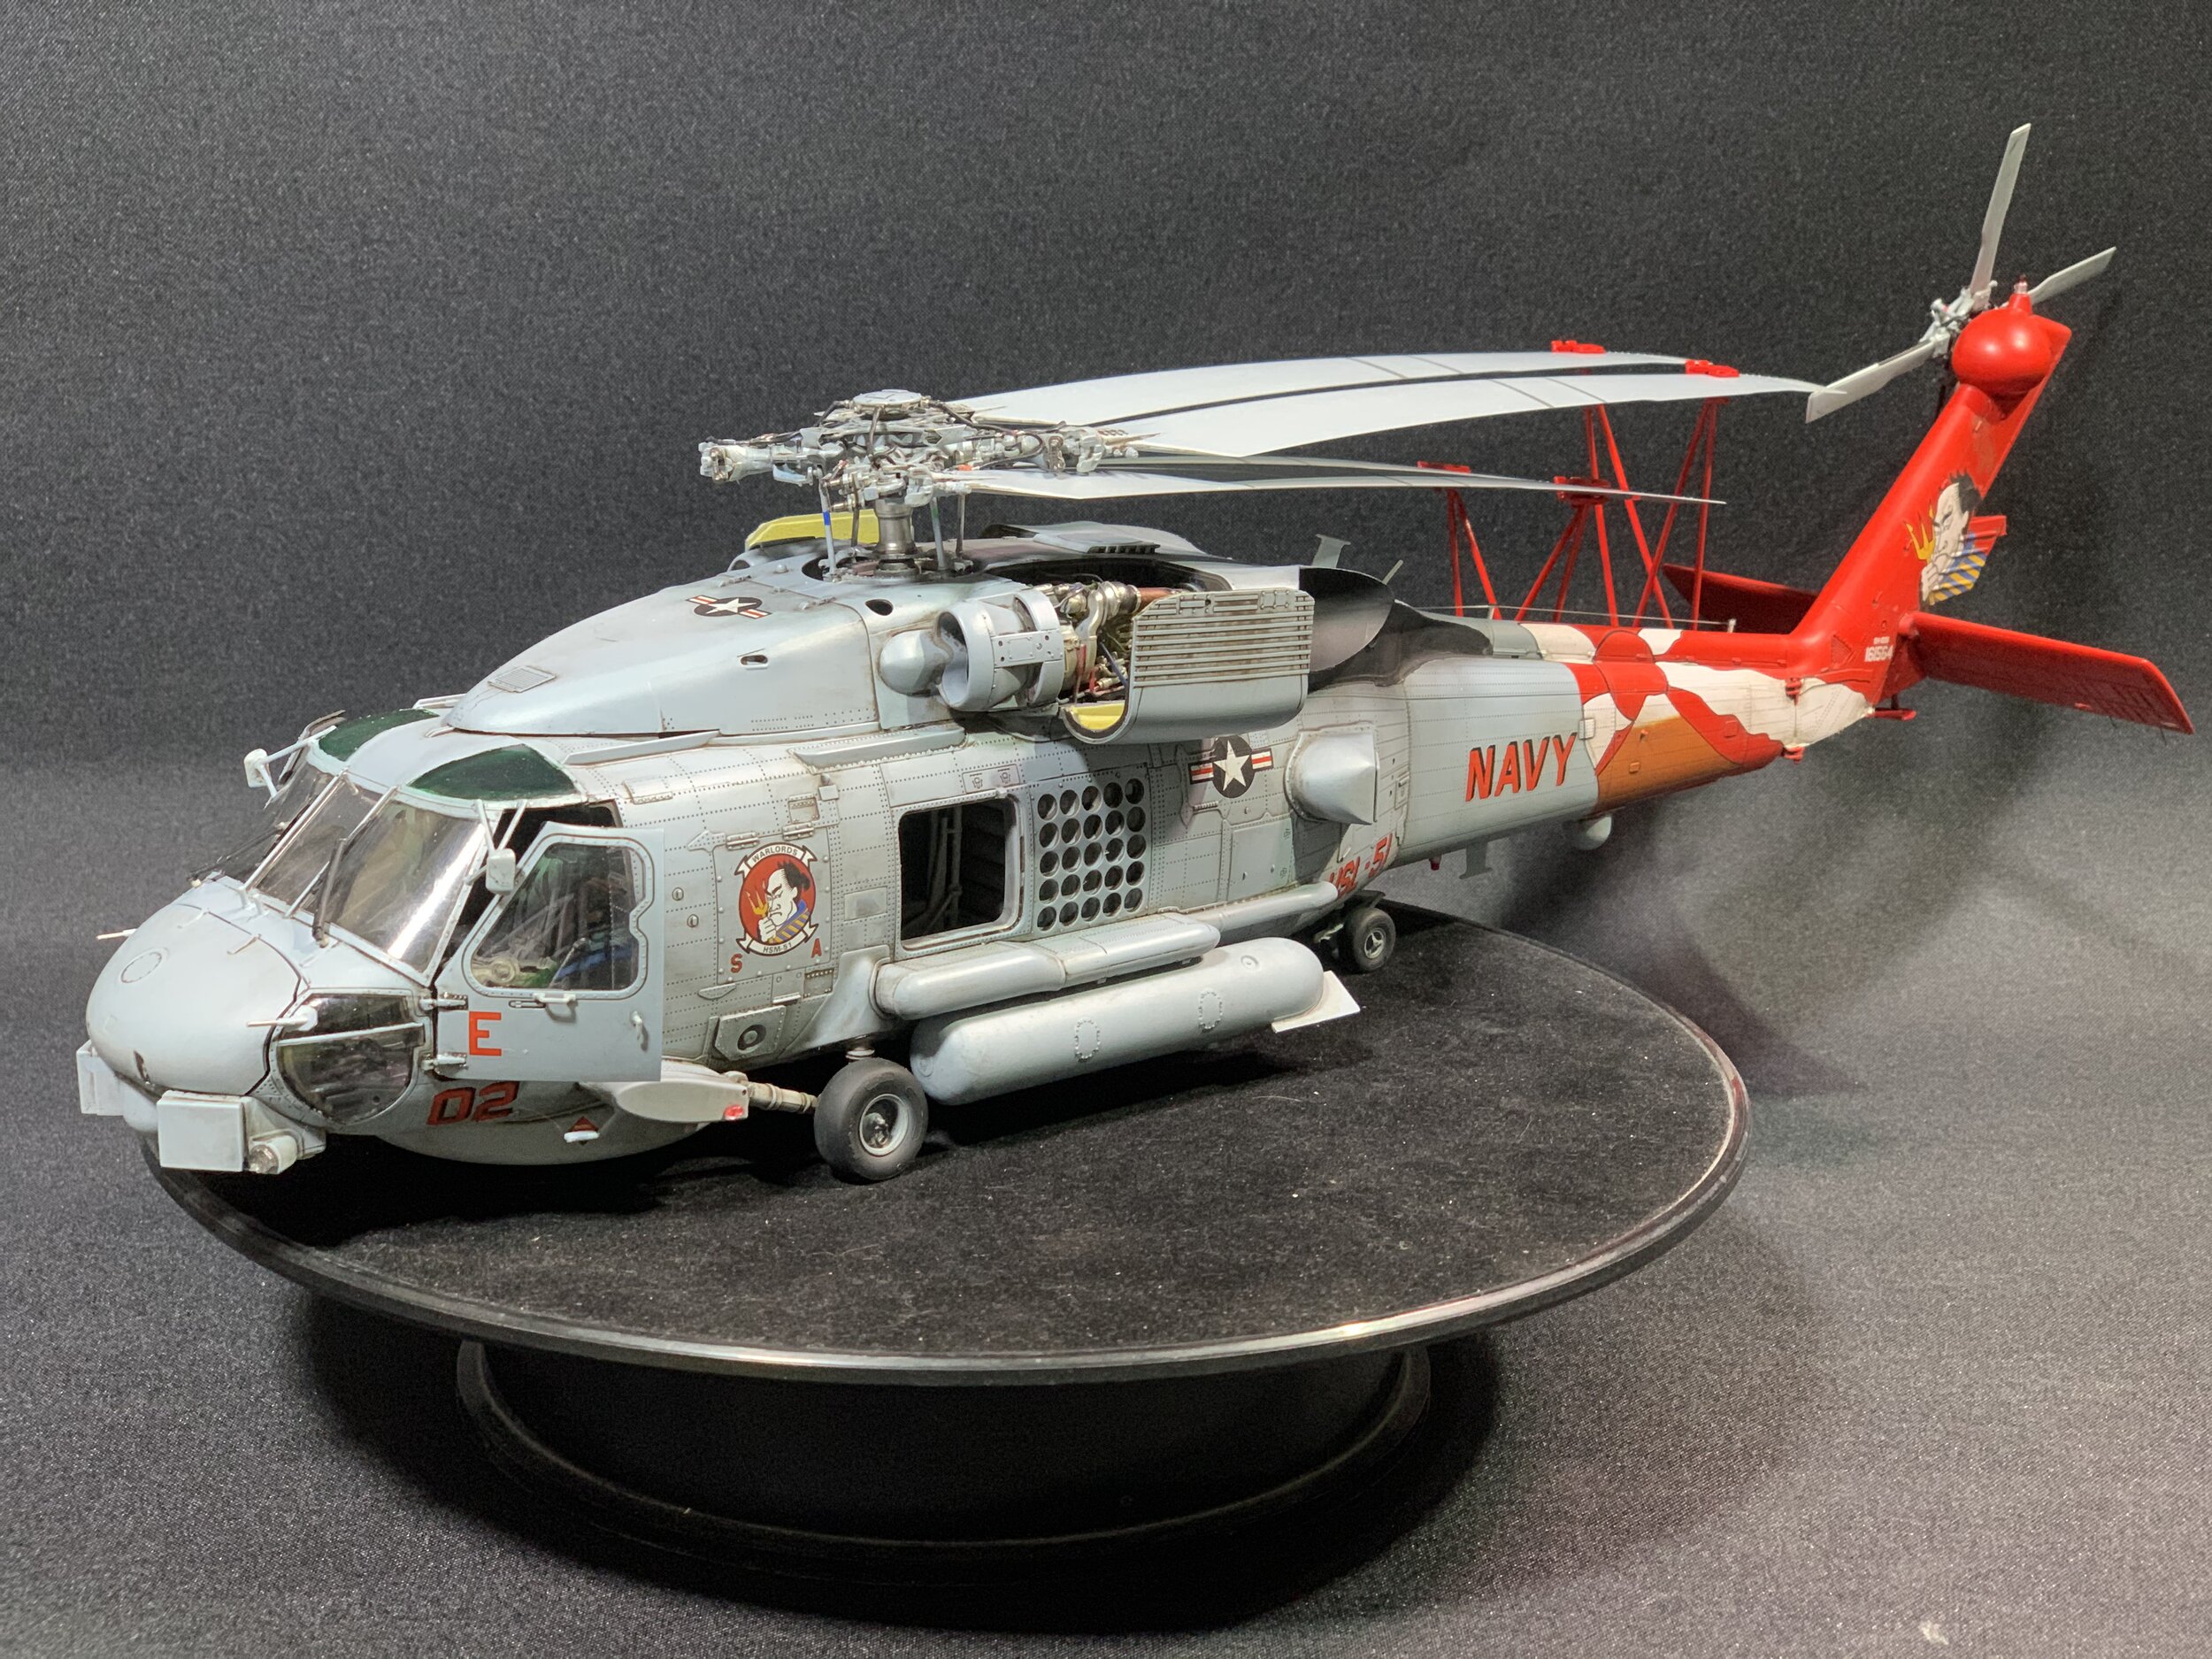
SH-60B Seahawk
Scale: 1/35
Manufacturer: Kitty Hawk
Parts used: Out Of The Box
Main paints used: Tamiya and Hataka
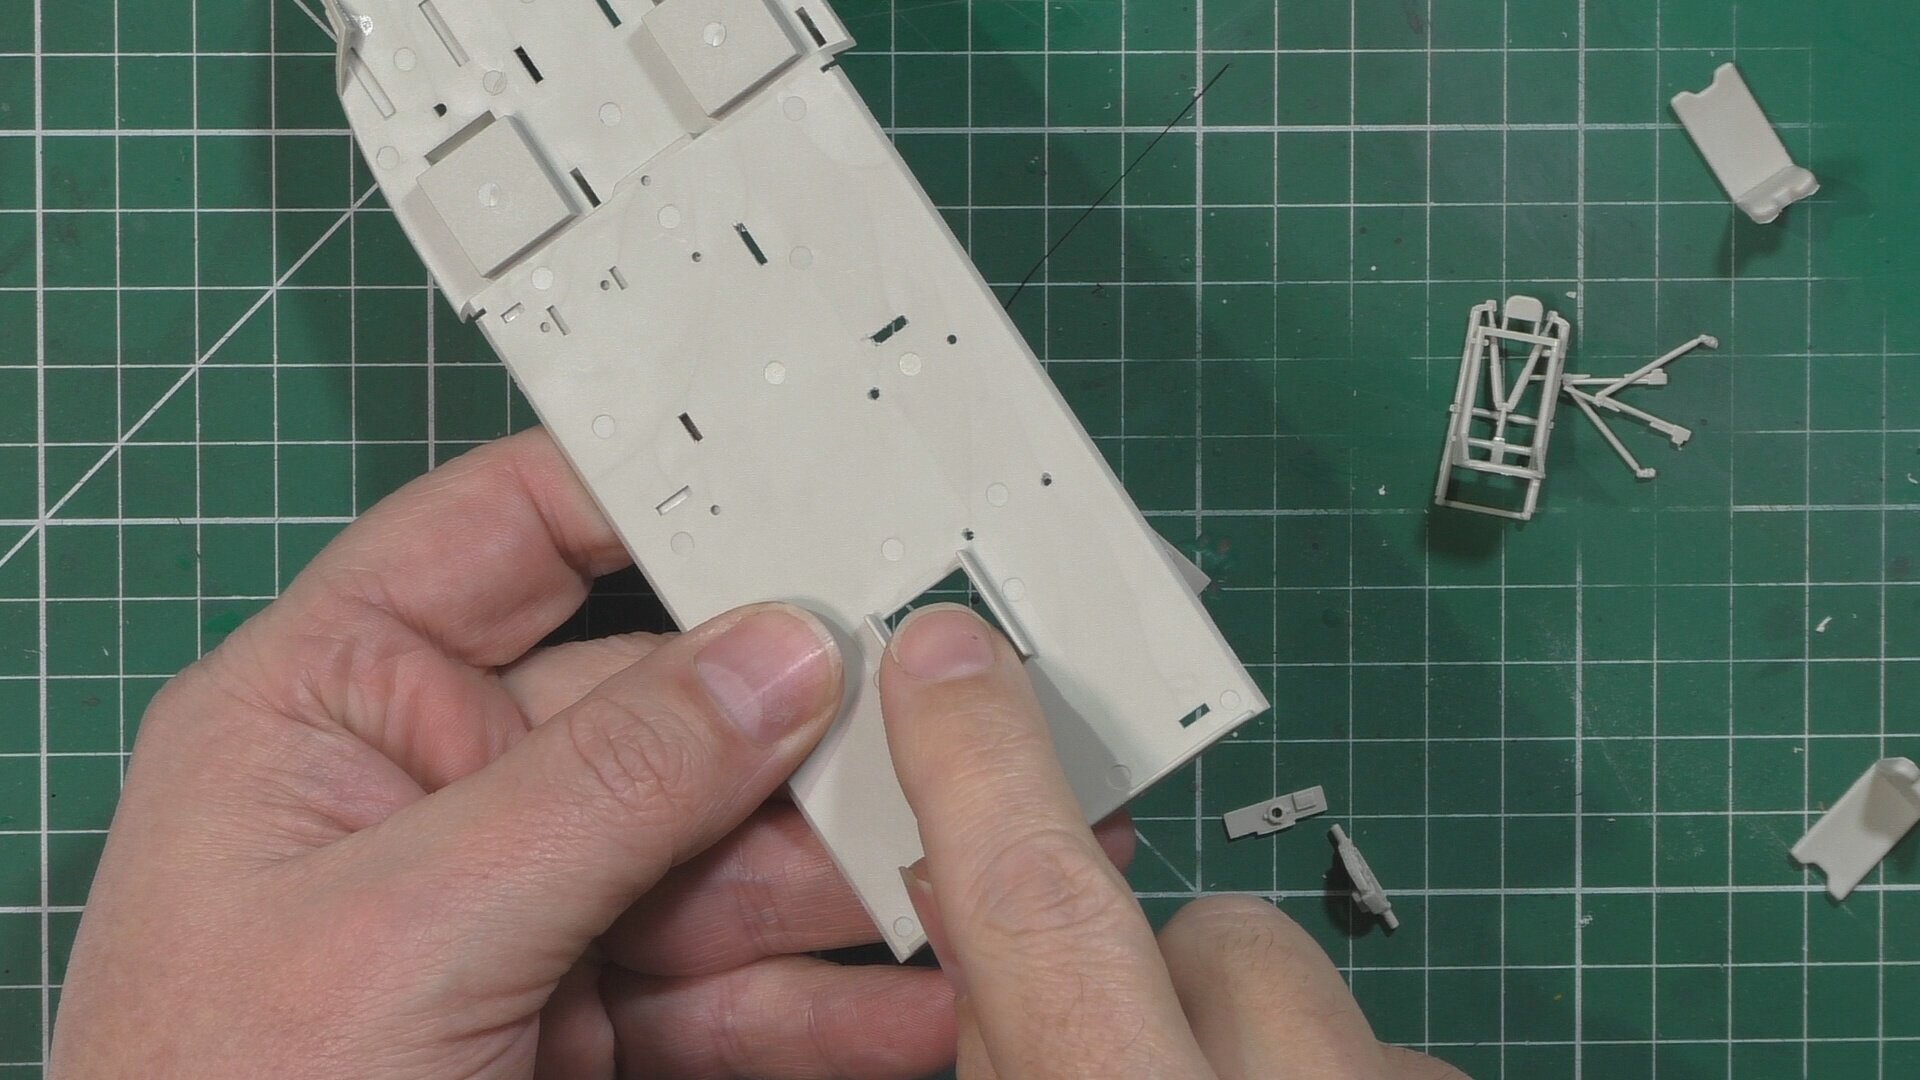
In Part One, we look at the build ahead and the options available. Then we start on removing and clean up all the parts for the cockpit and start the construction.
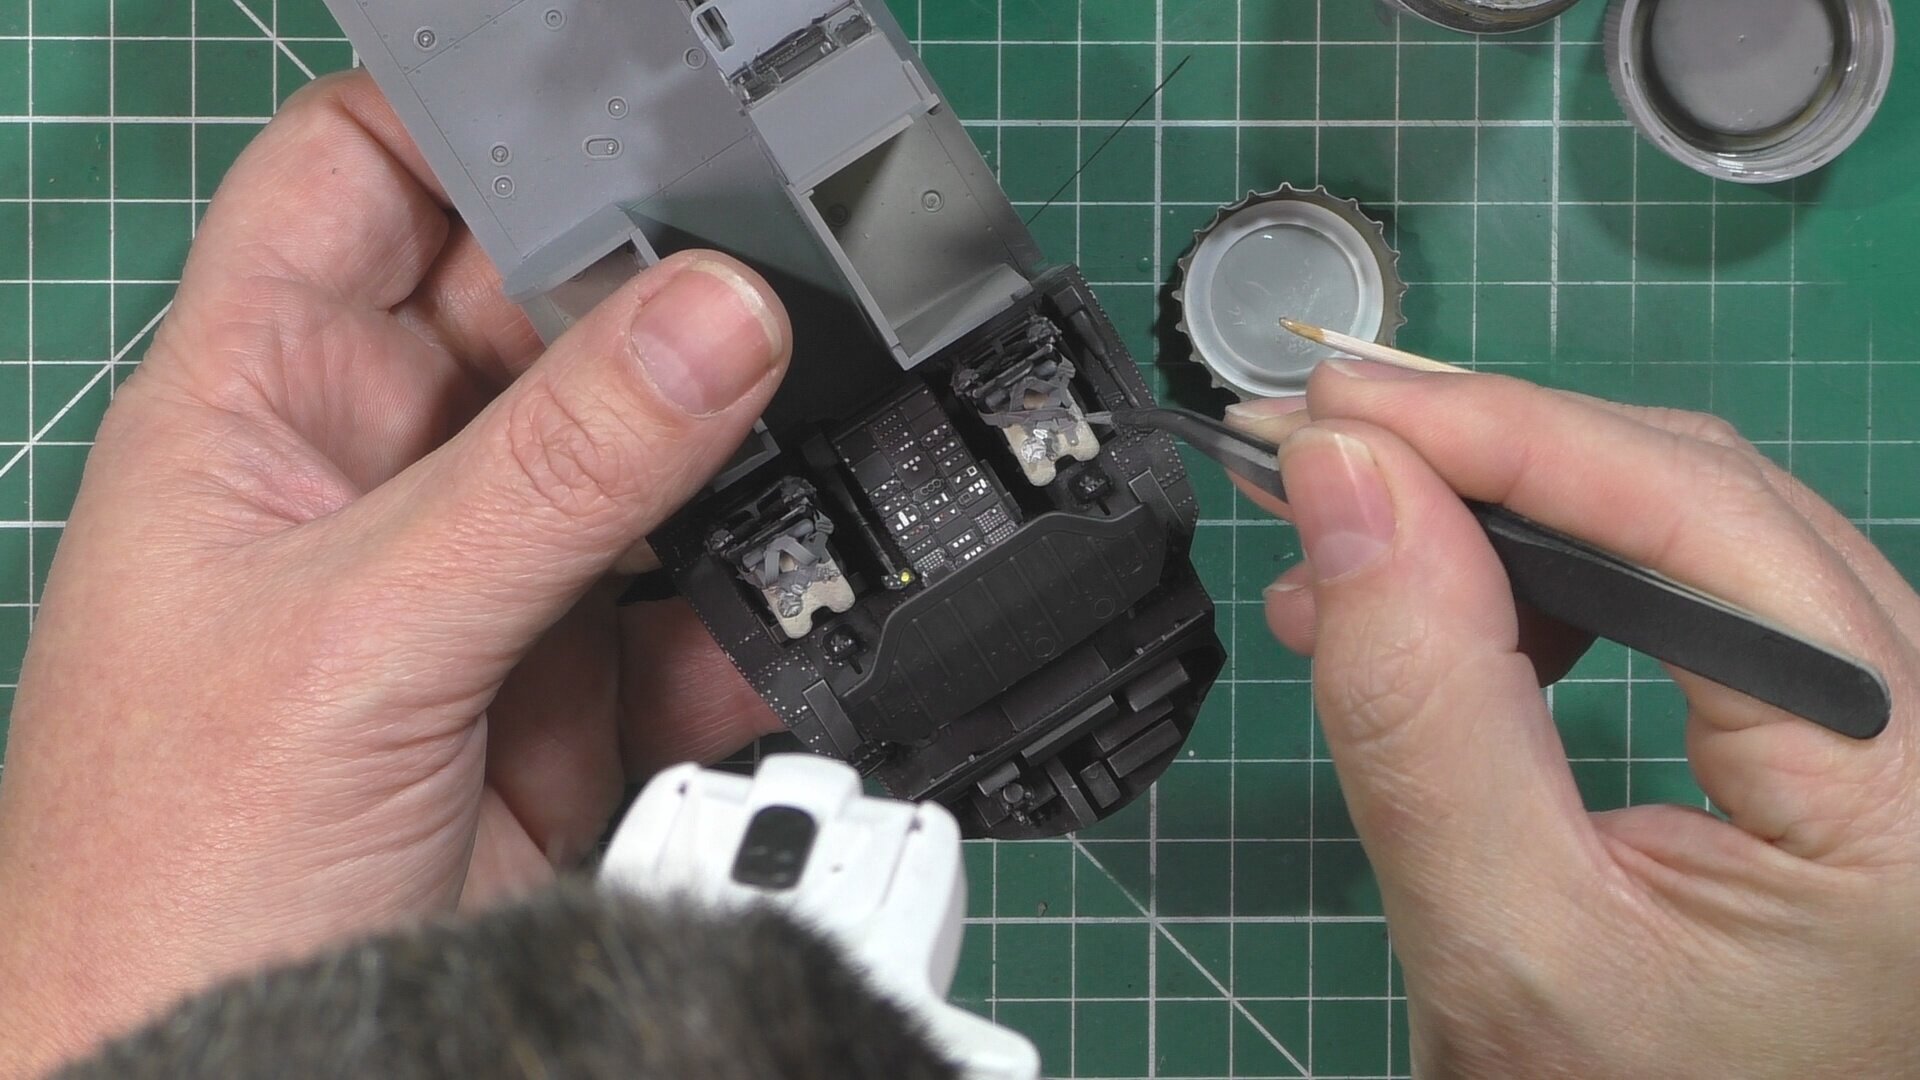
In part two, we paint the front cockpit satin black Tamiya LP-5 and the rear cabin grey Tamiya XF-54. Them the whole thing is given a drybrush with Mr. Metal color buffable aluminum and the cockpit is detail painted with Posca acrylic pens.
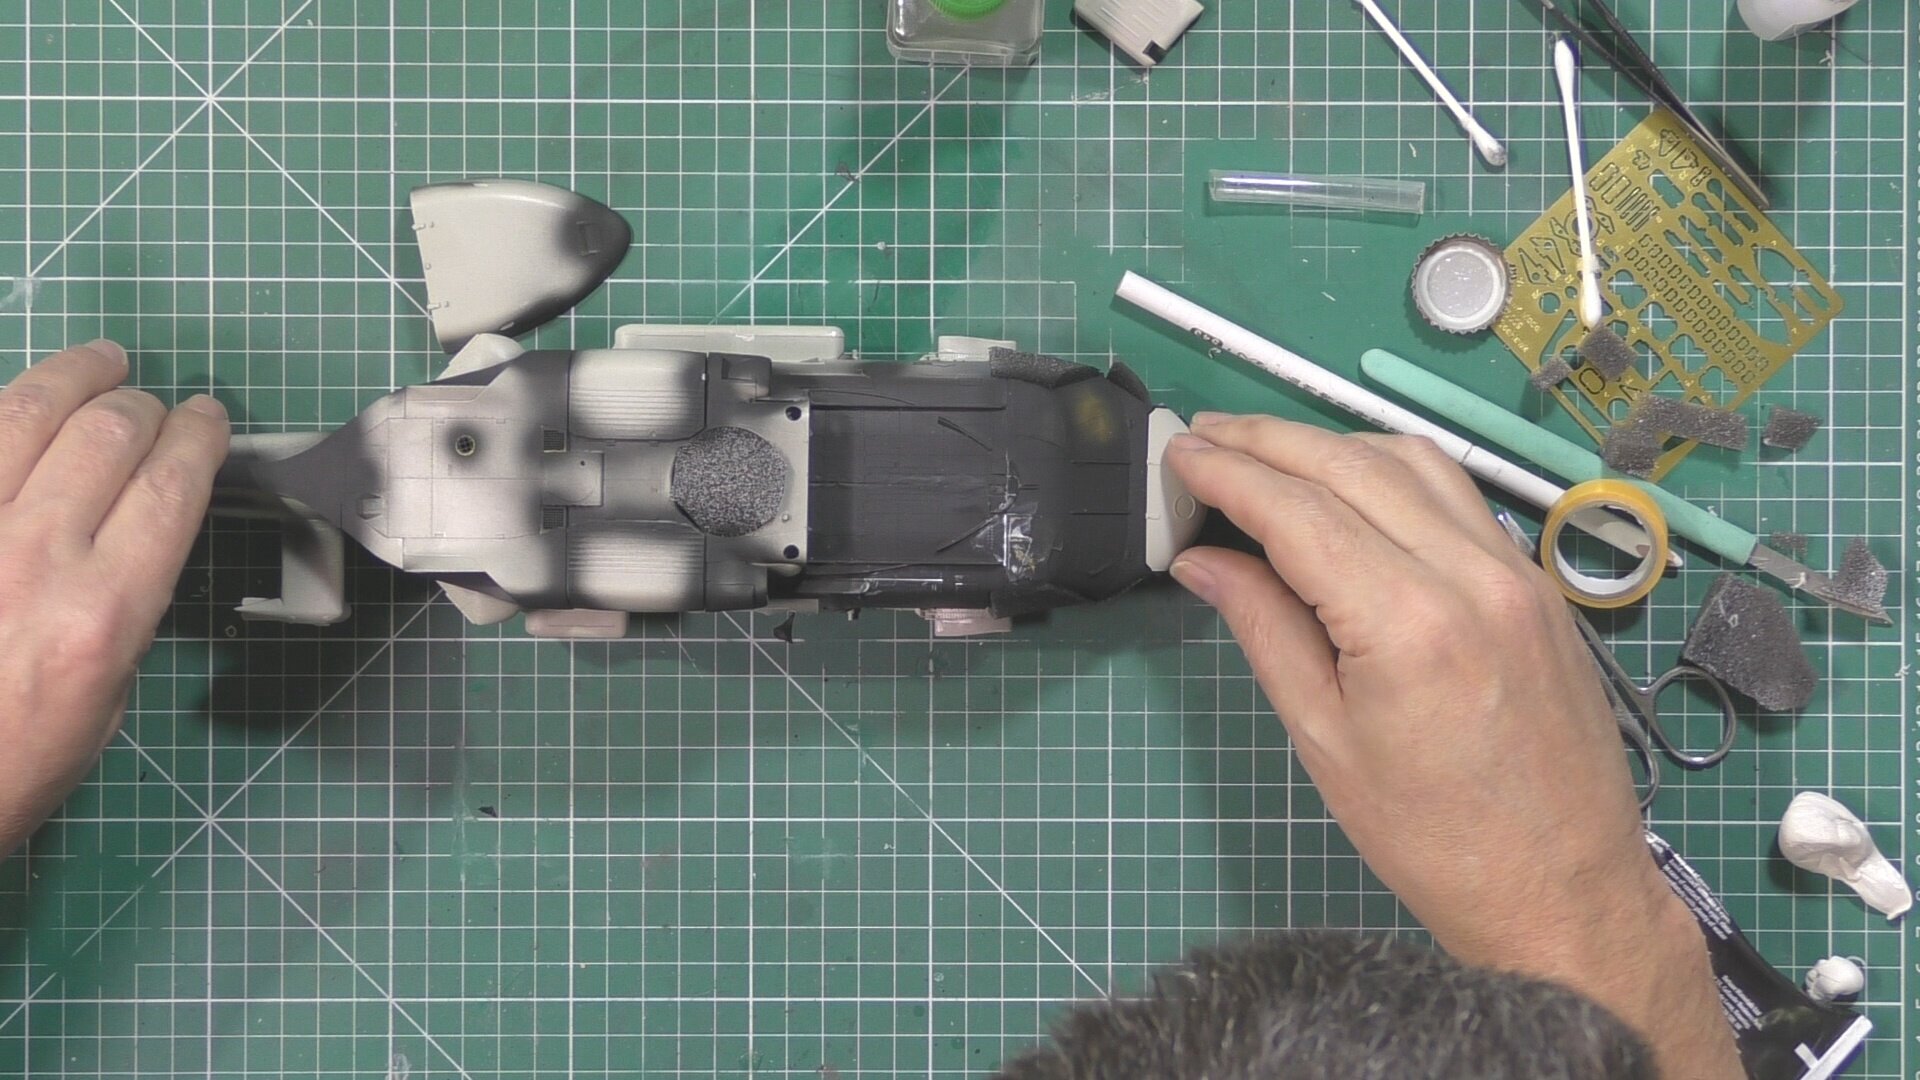
In Part Three, we anneal the PE harness and paint and make the sheepskin effect seat covers with thinned putty. Next, we use oils to weather the cabin area and the cockpit seats.
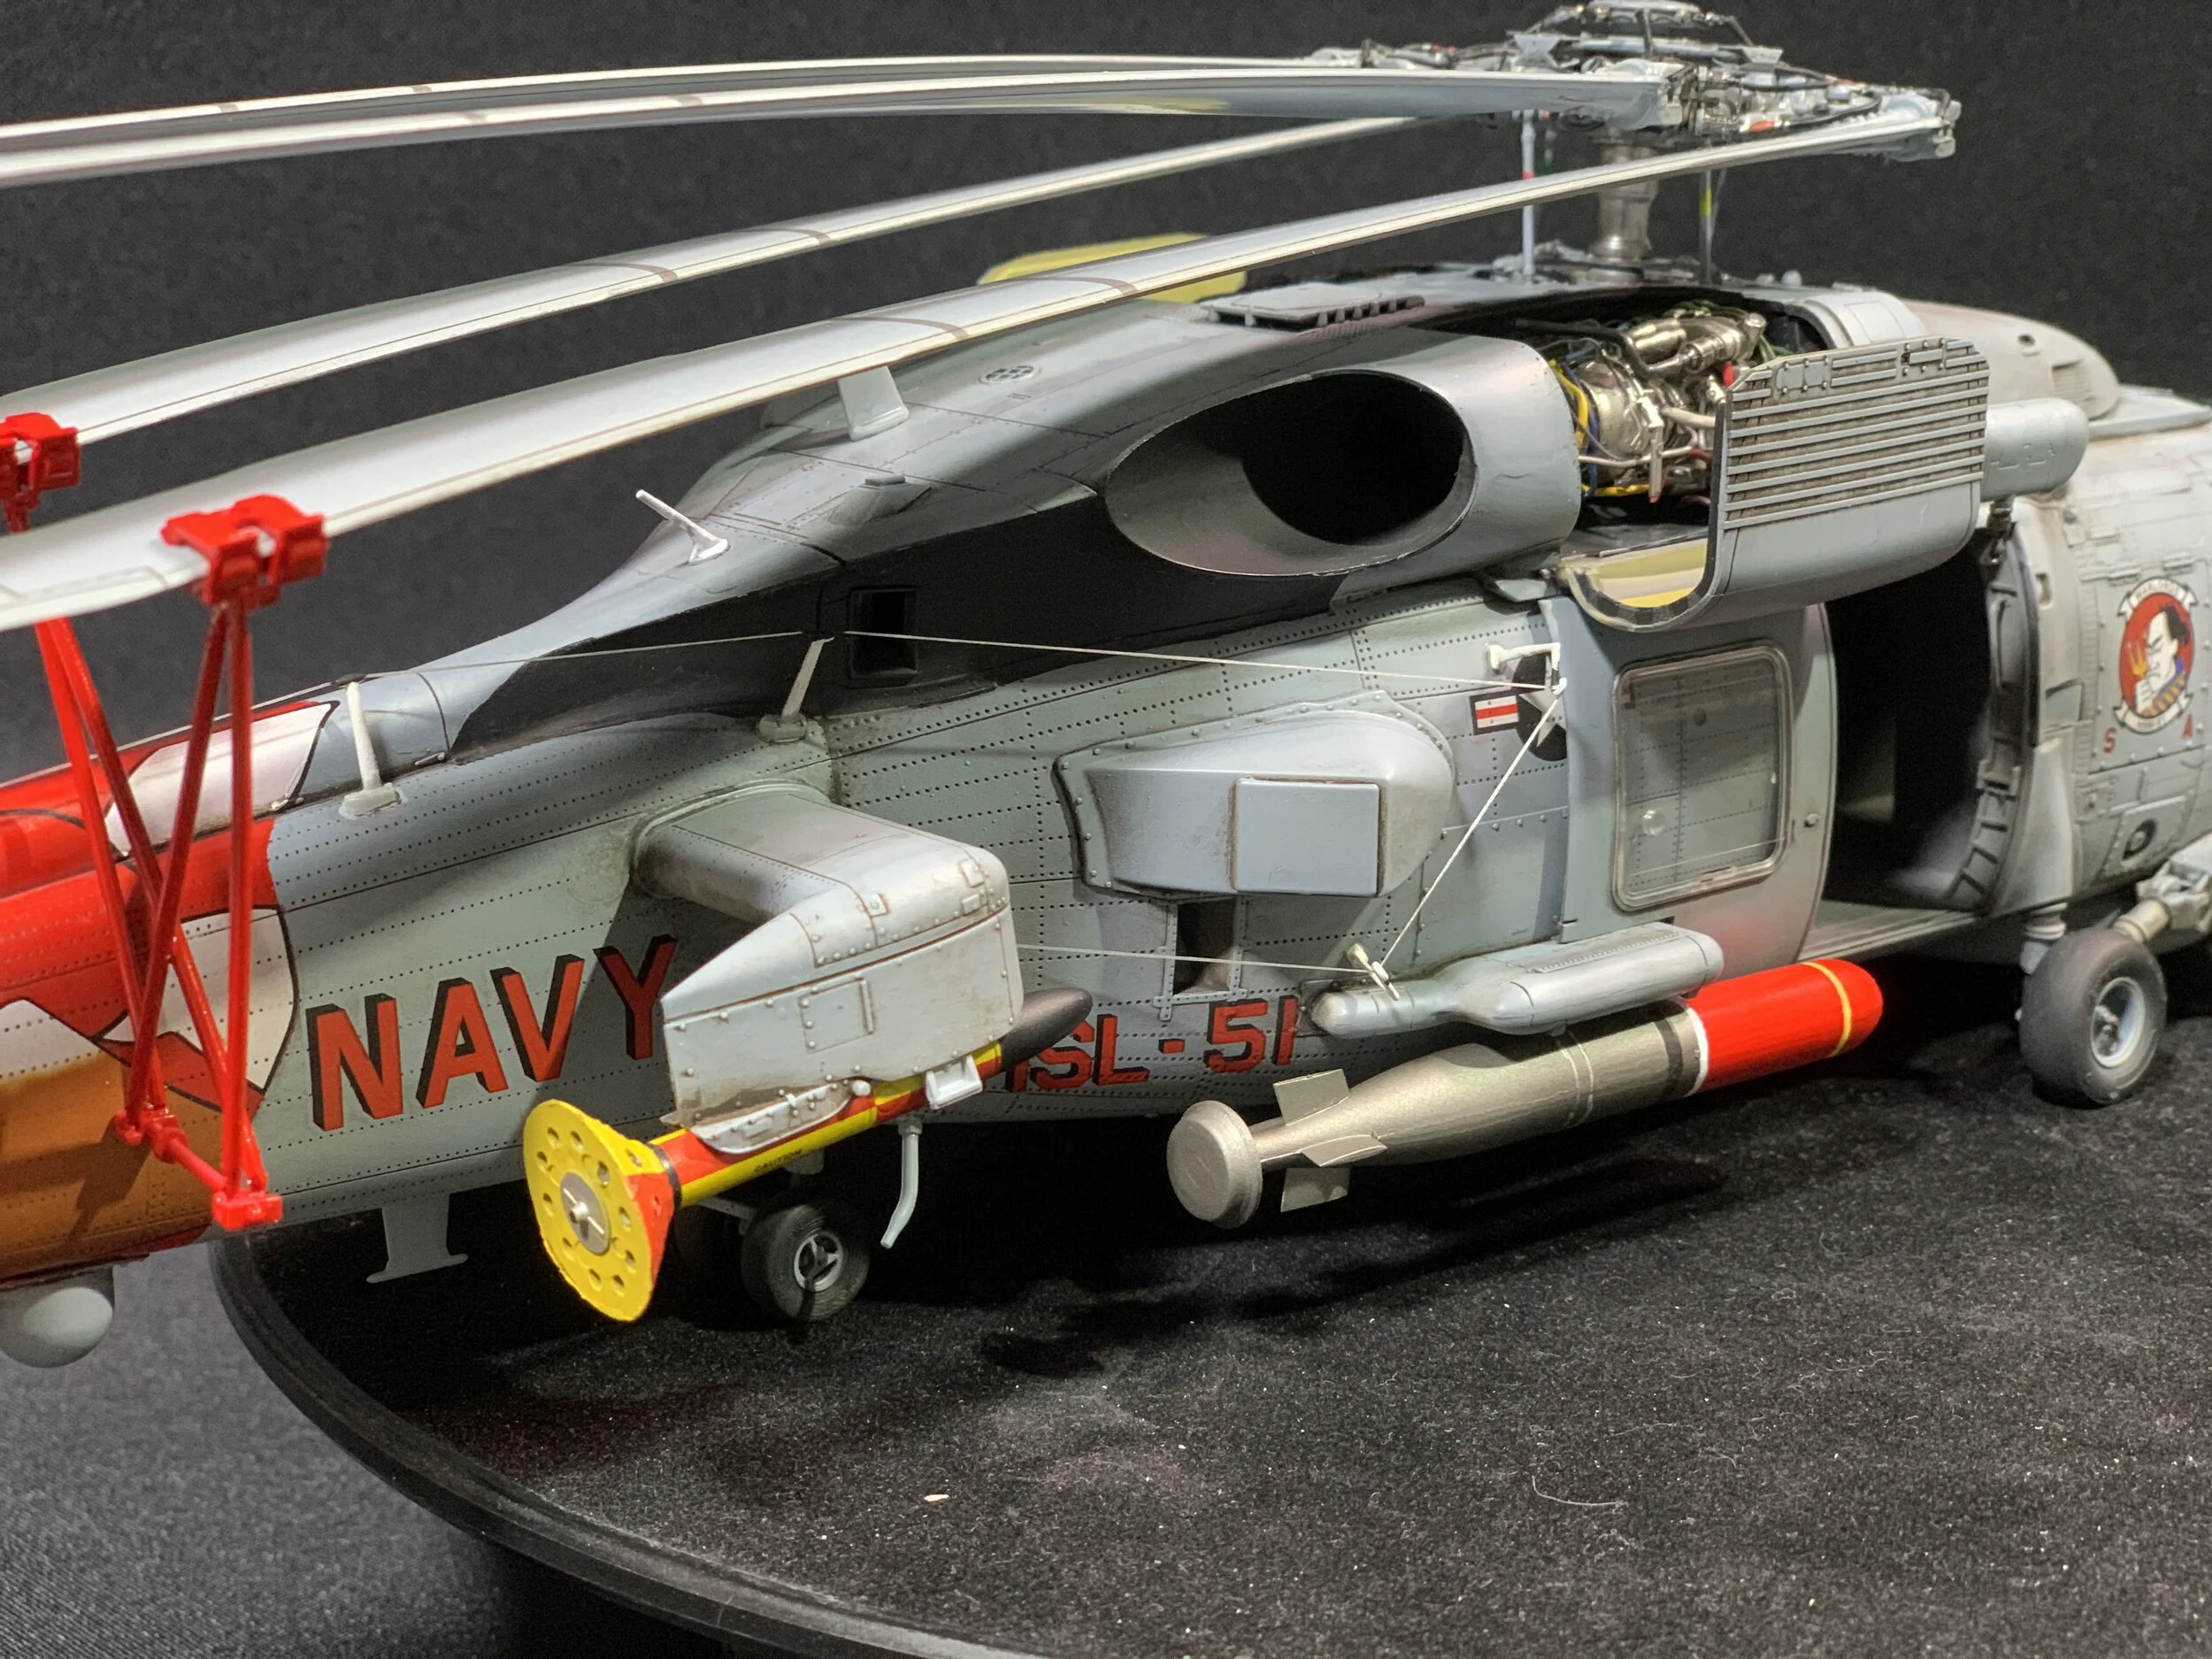
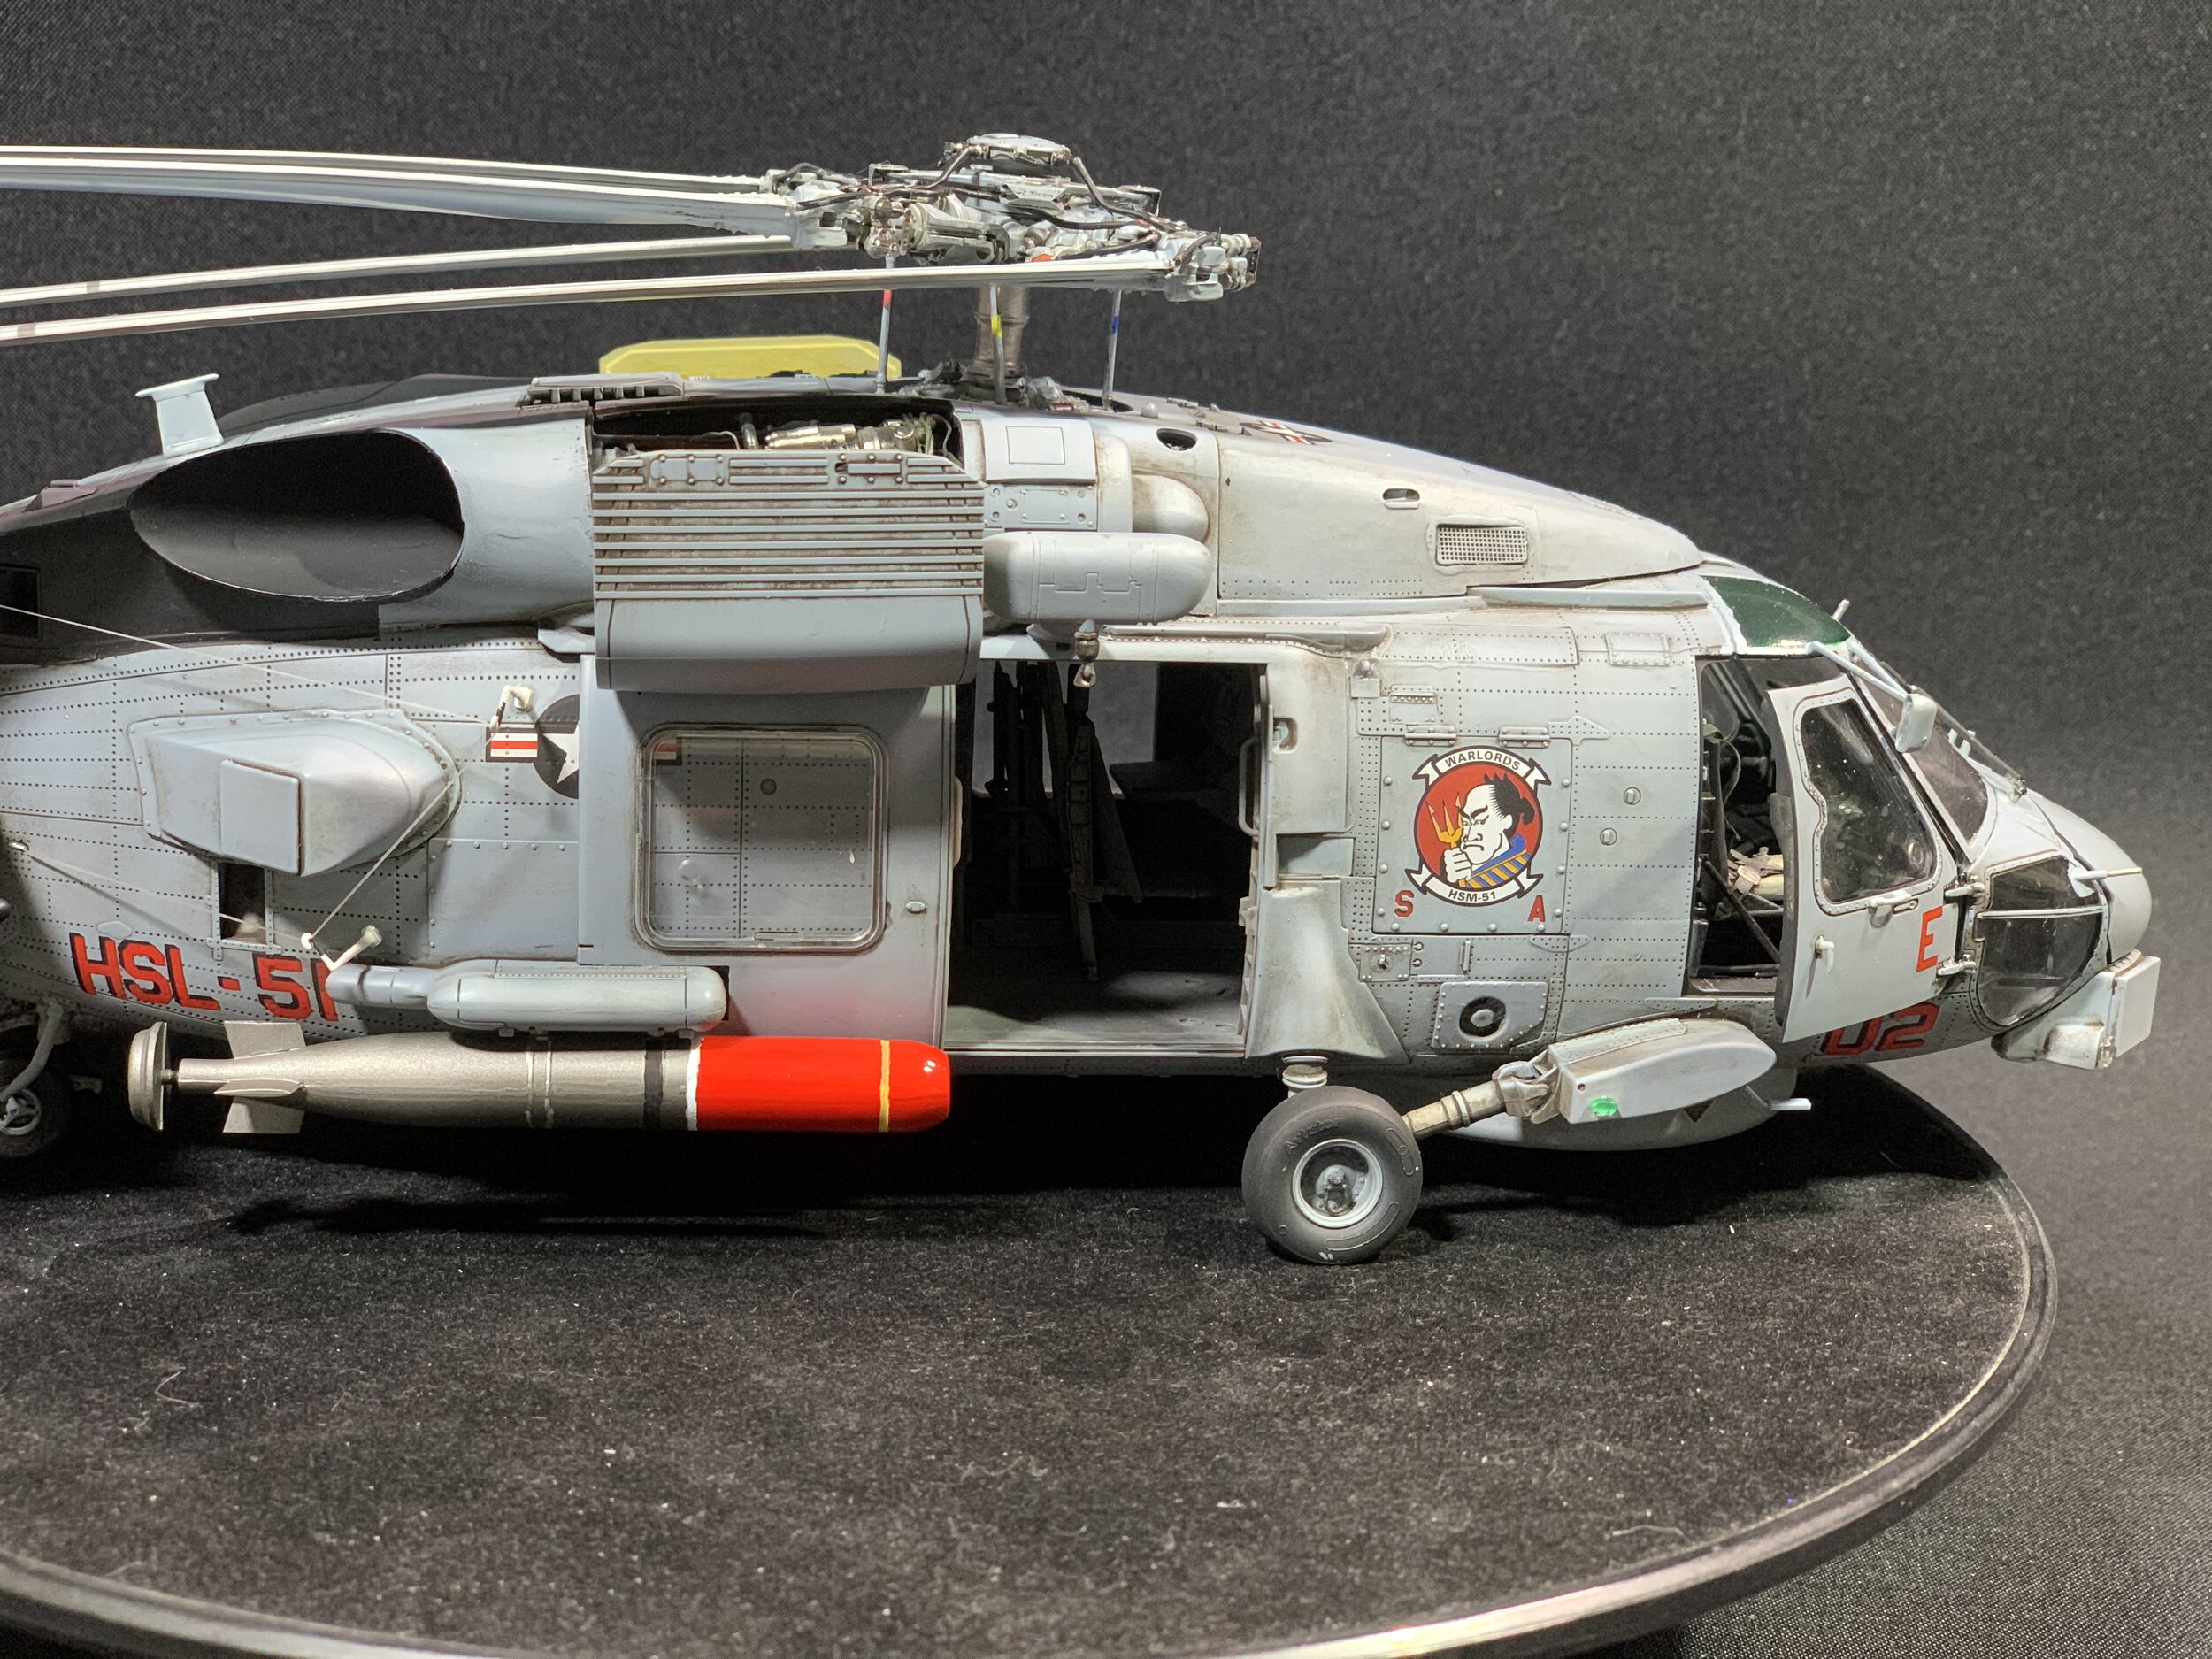
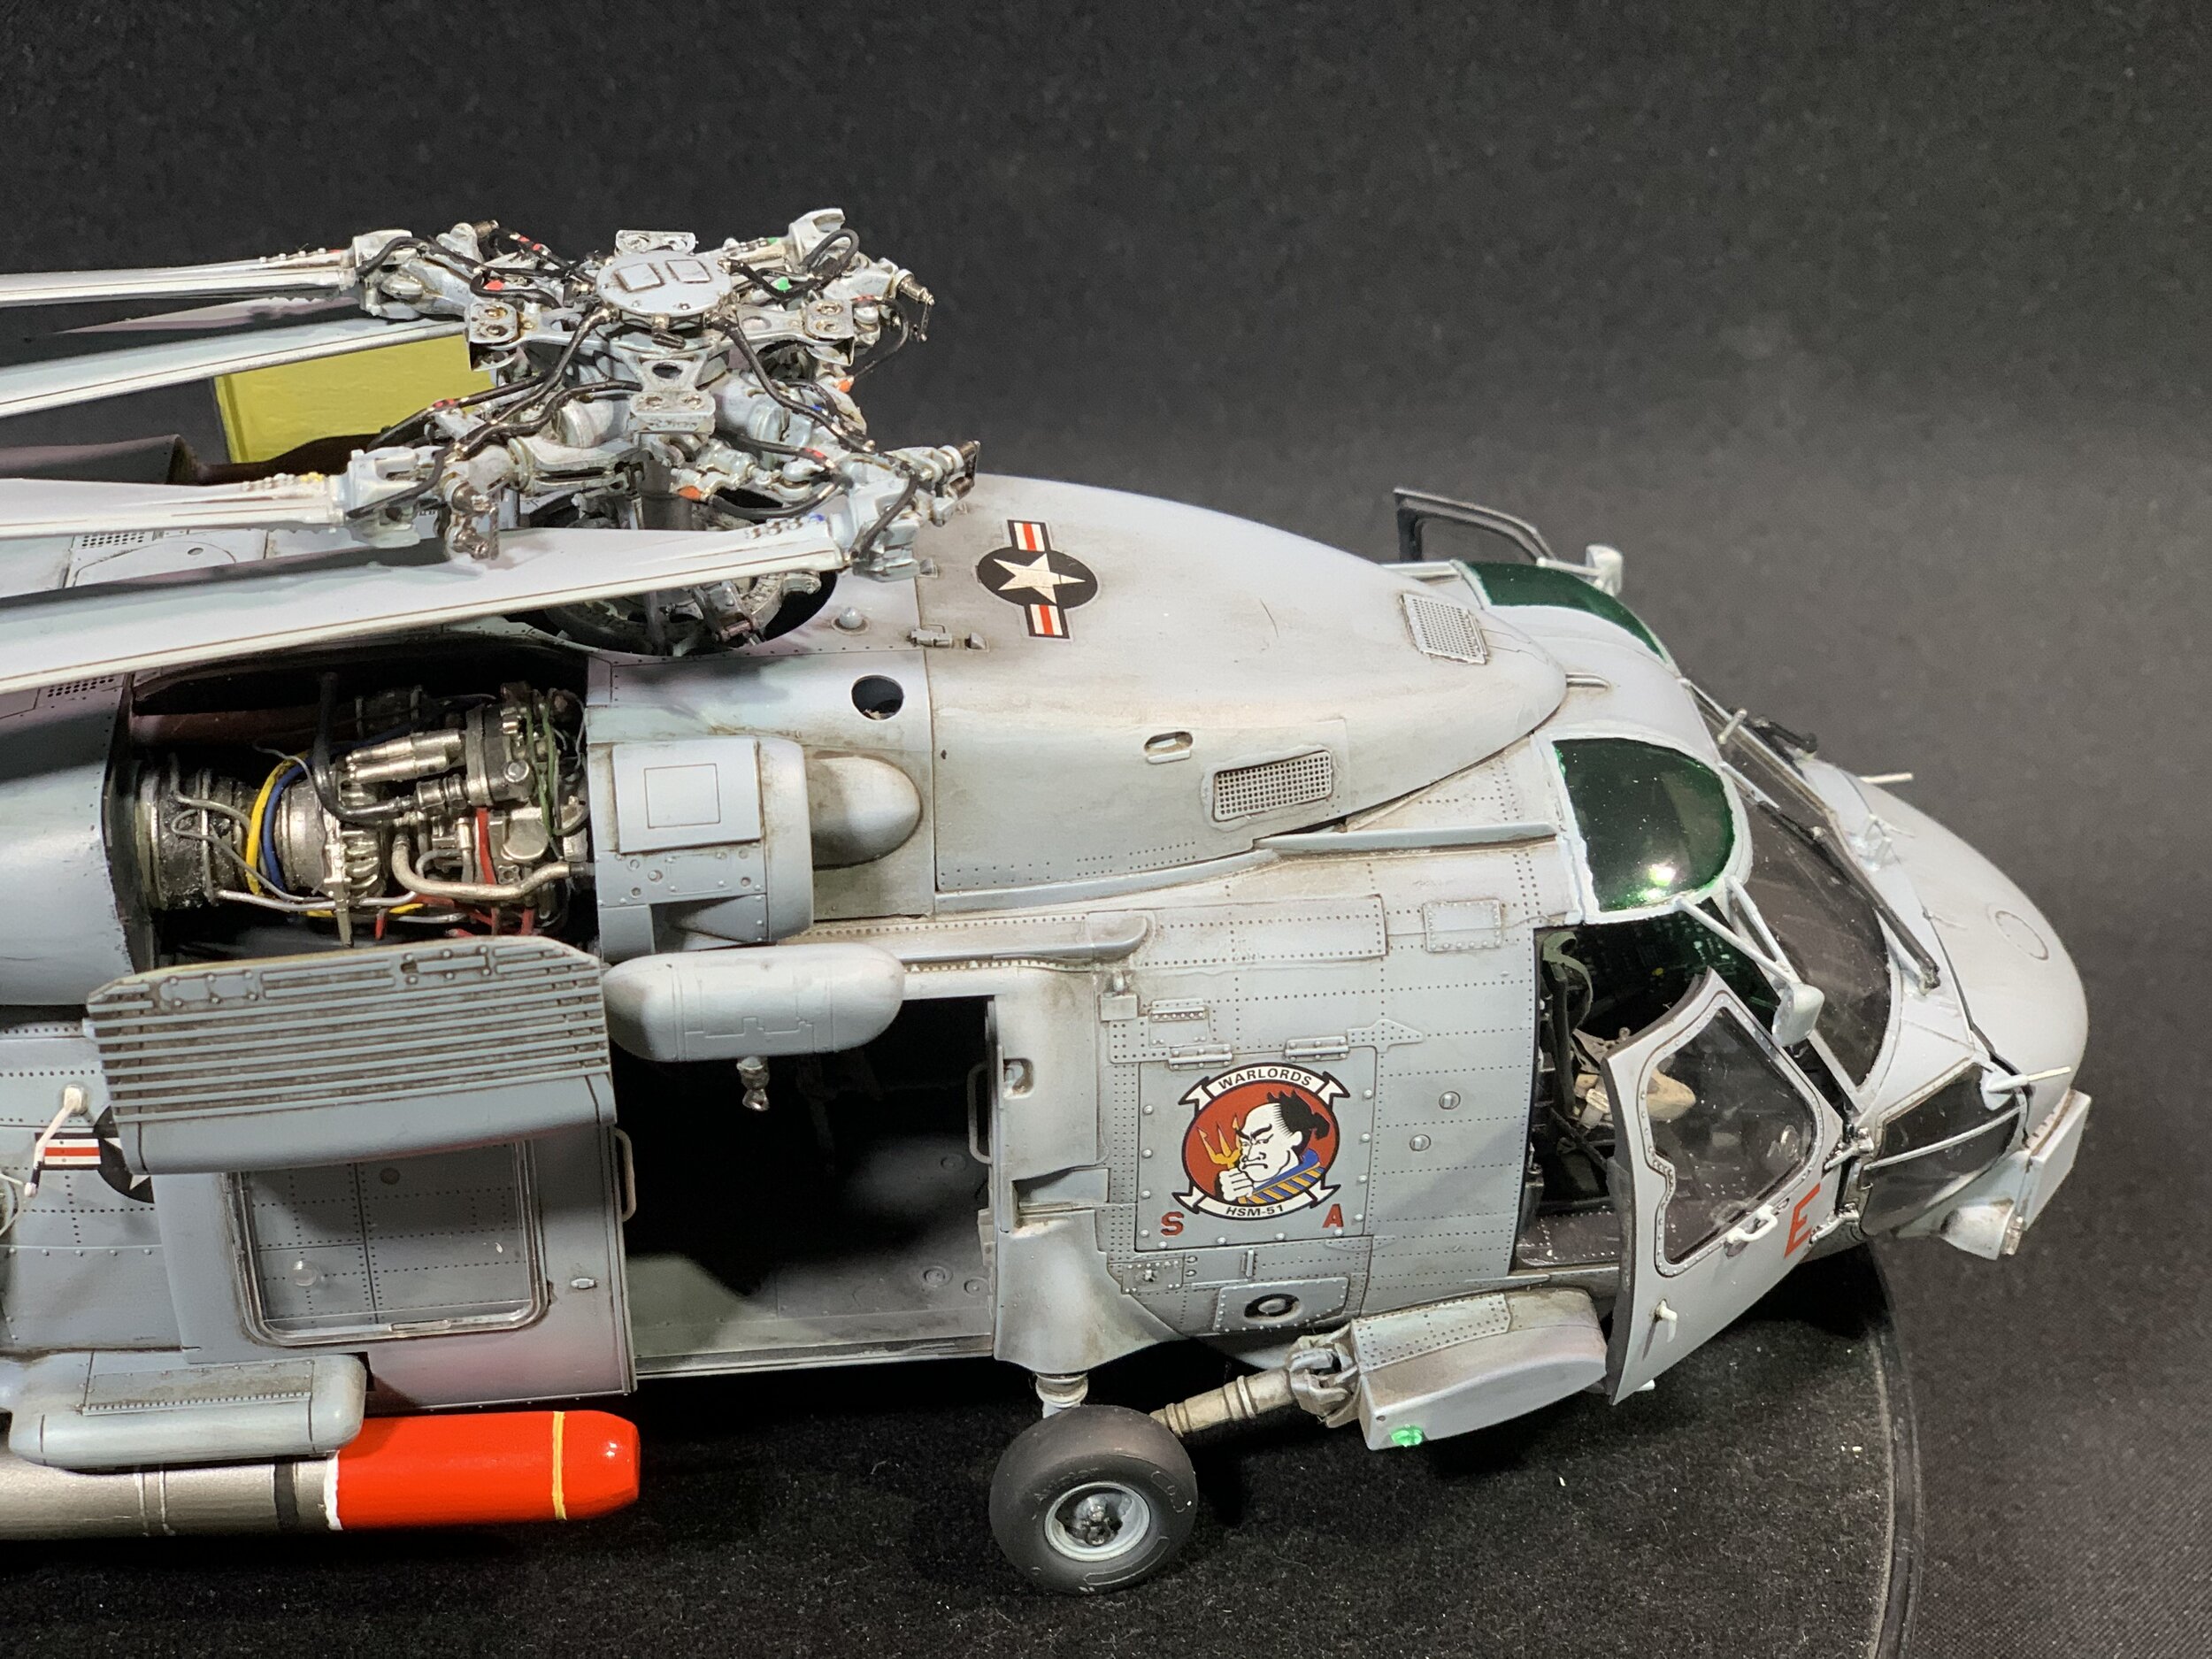
In part four, we move onto the engine and put it together the best we can with the very poor kit instructions, with the help of some great reference photos we get a better idea of how it goes together. We then paint detail and weather them up and install them into the engine bay.
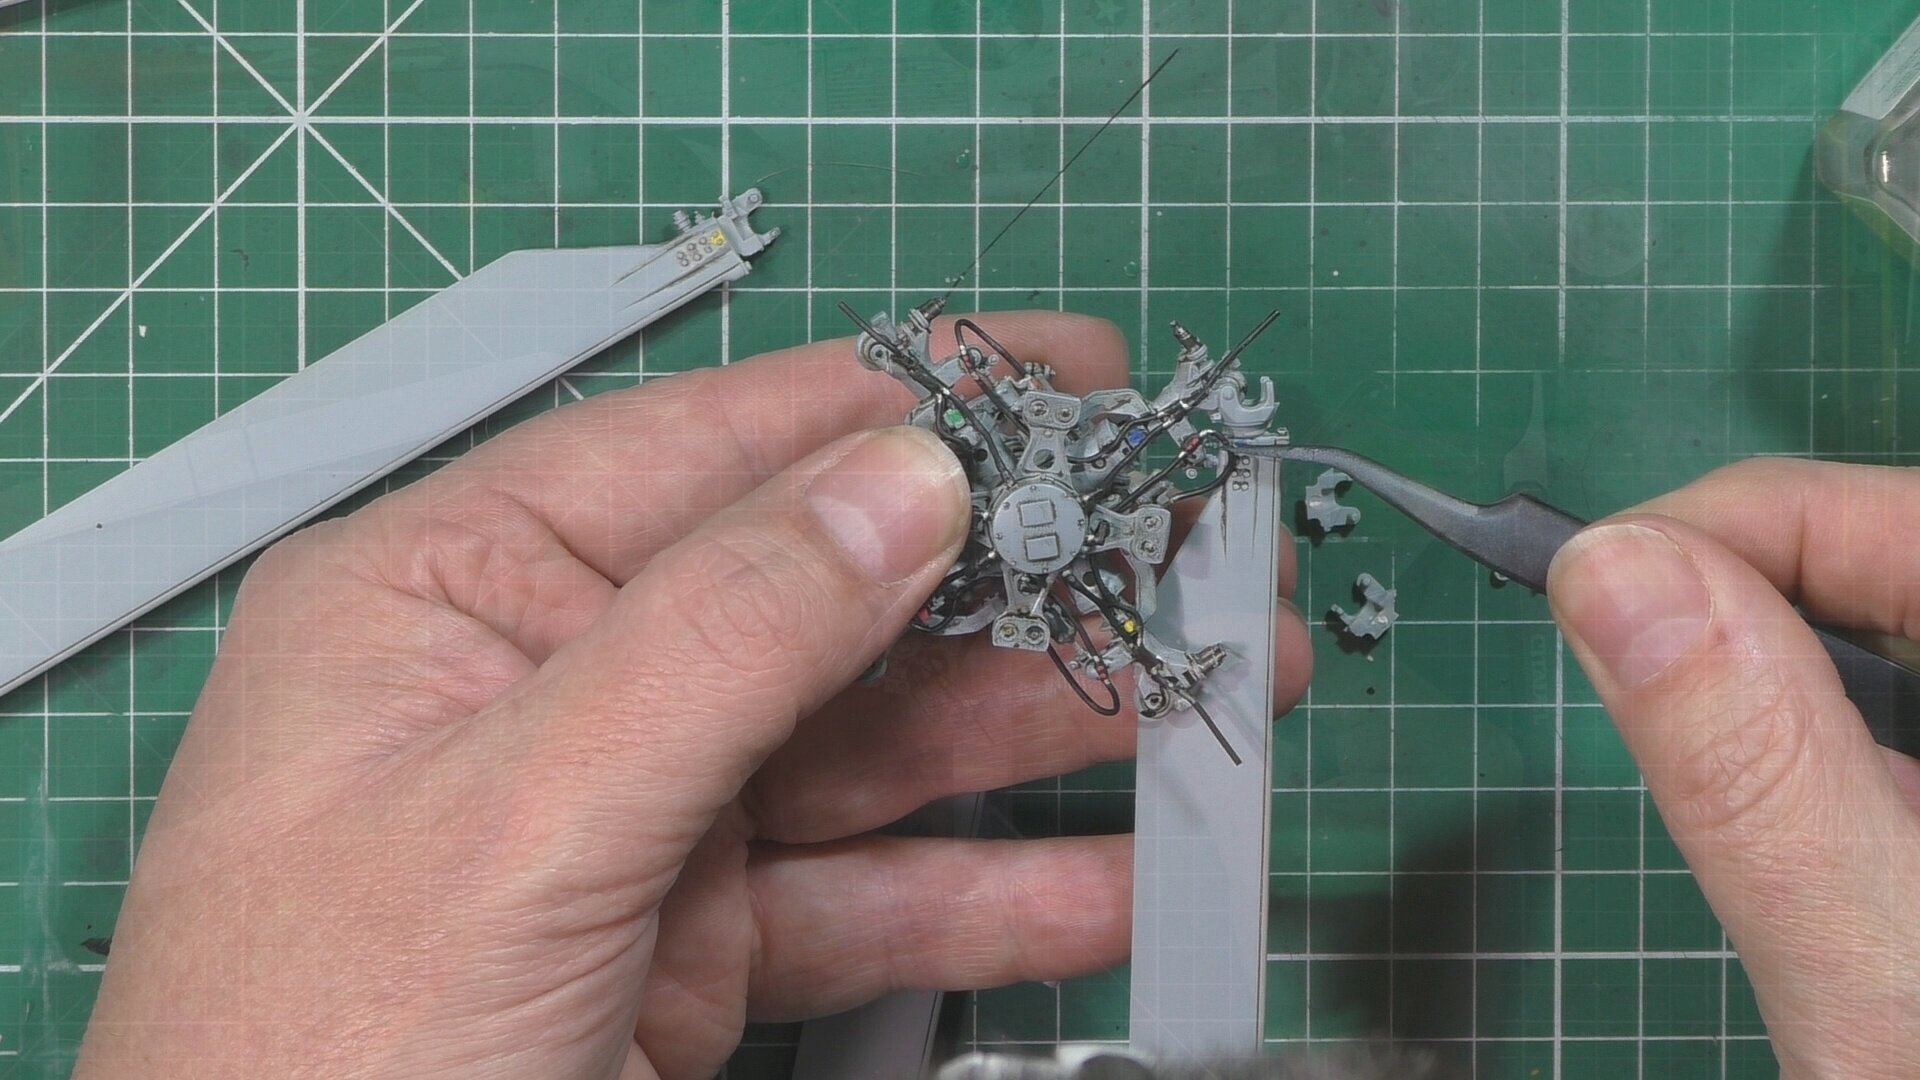
In part five, we turn our attention to the rotor head and the terrible instructions and parts molded back to front that make the rotor head totally unbuildable. But with a few simple modifications get the build back on track.
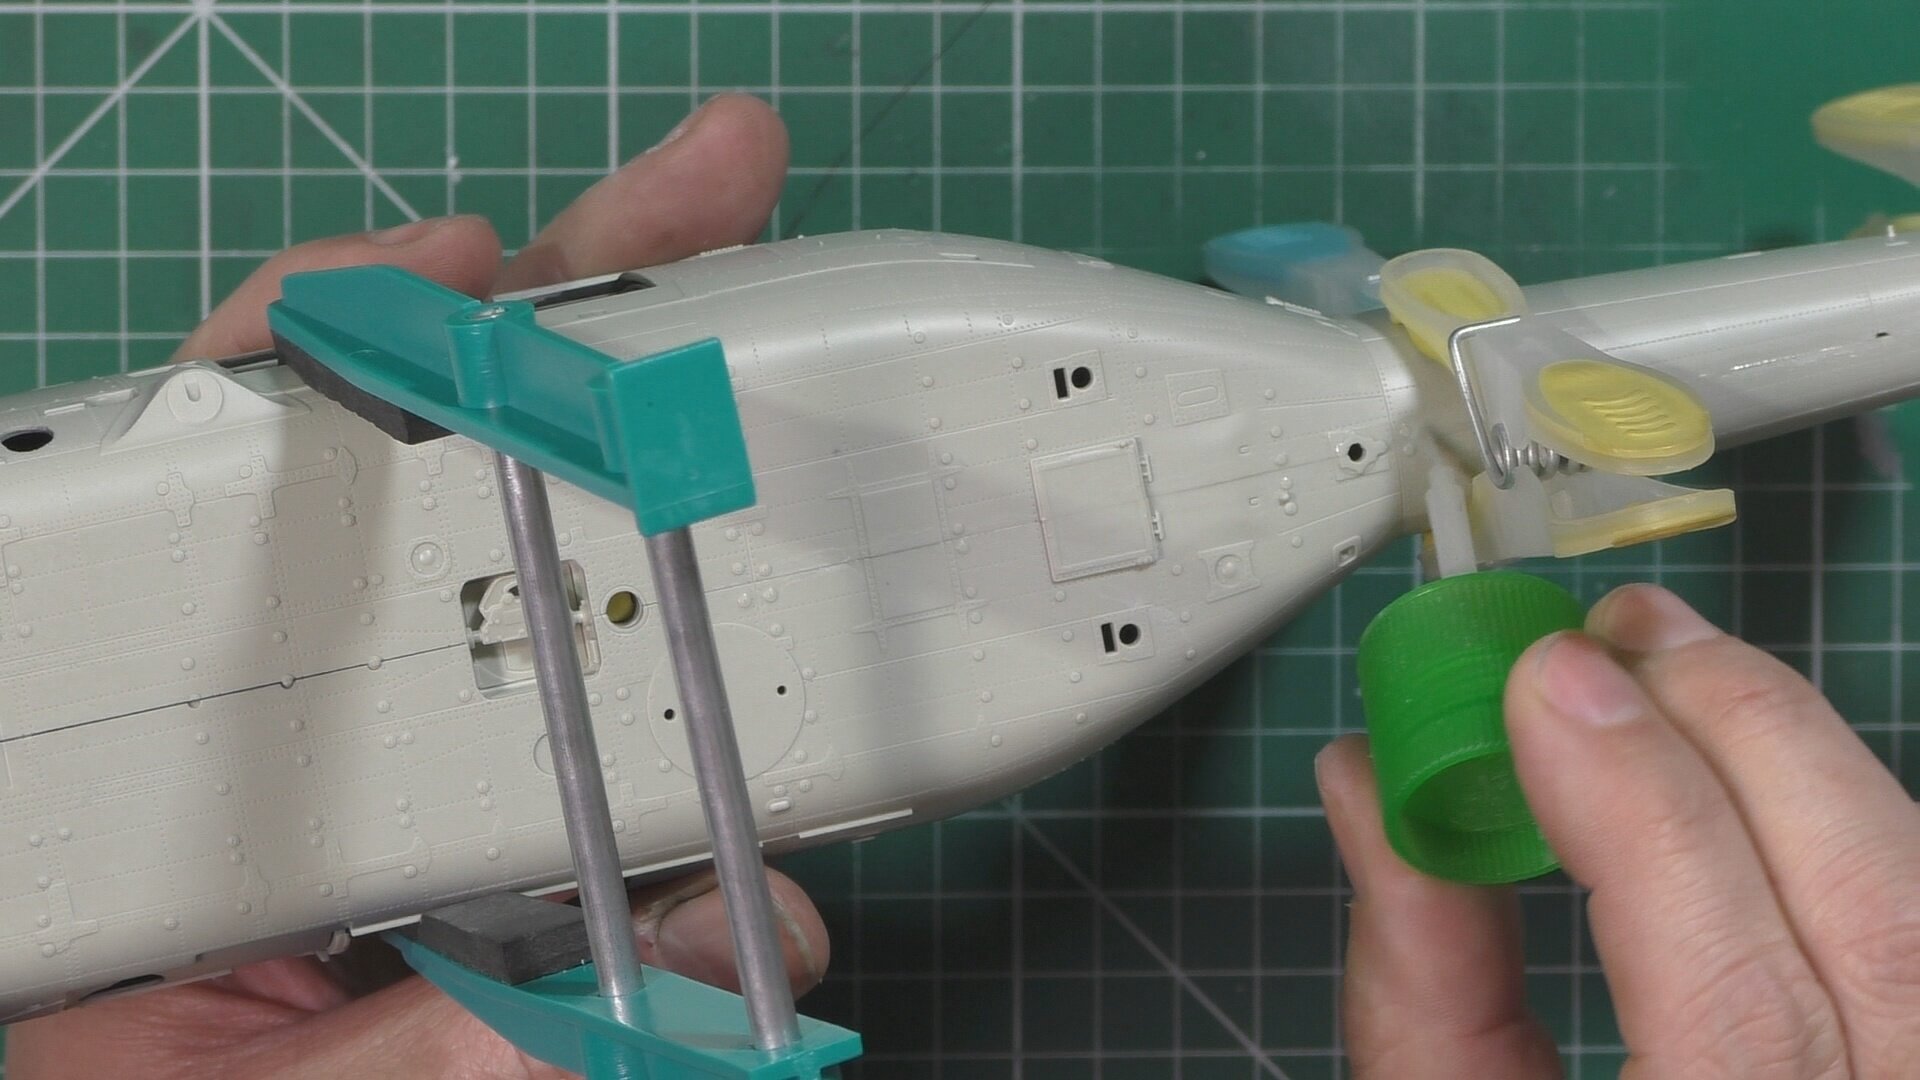
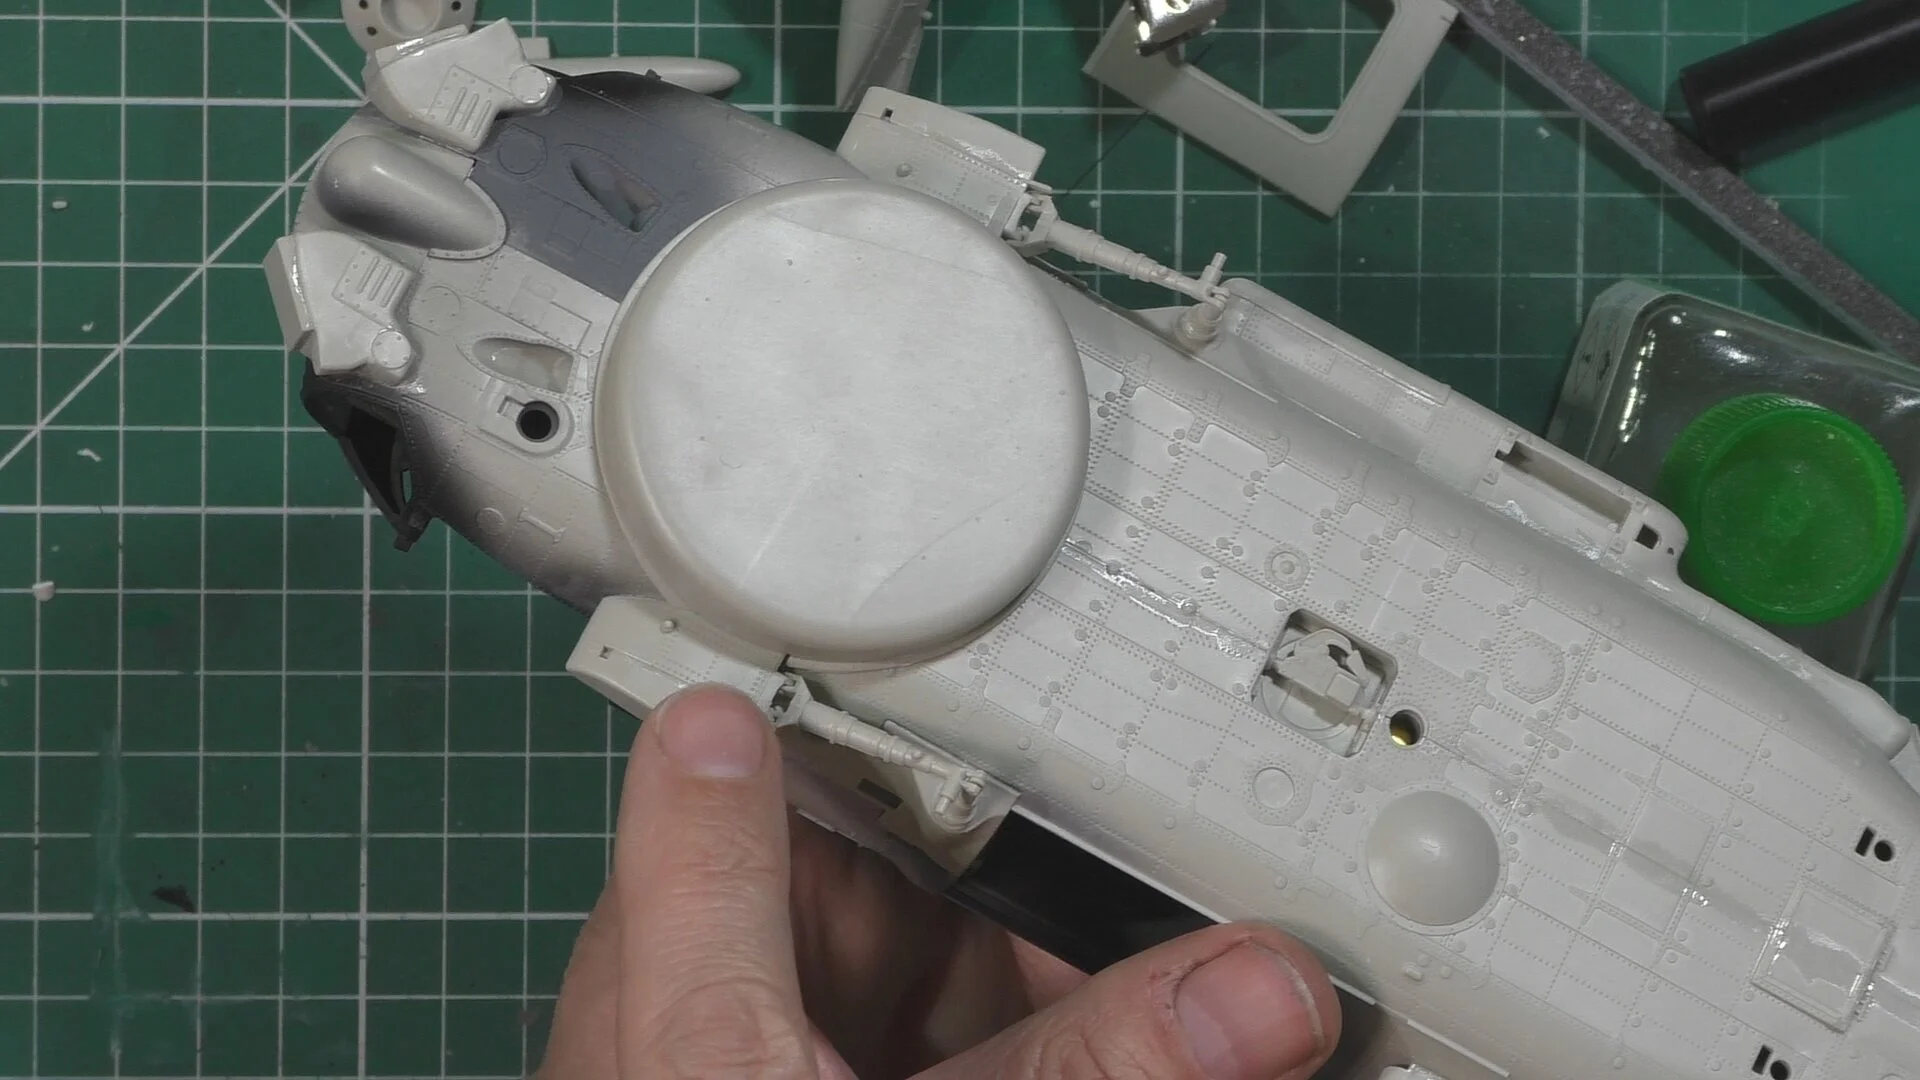
In part six, we use oils to weather up the rotor head and install the great boxes. Next, it’s time to install the cabin area to the fuselage and close up. once dry we go about adding all the lumps and bumps that make up the seahawk and get the ear installed.
In part seven, we work on the tail and fix that into the in-flight position so we can show off the full-color tail later on, mask up and fix into place the front glasswork. Next it’s over to the booth to light fast the clear parts with black to give a good solid look to all the frameworks. We then do some quick seam checks with the black and fill any gaps or problems we come across.
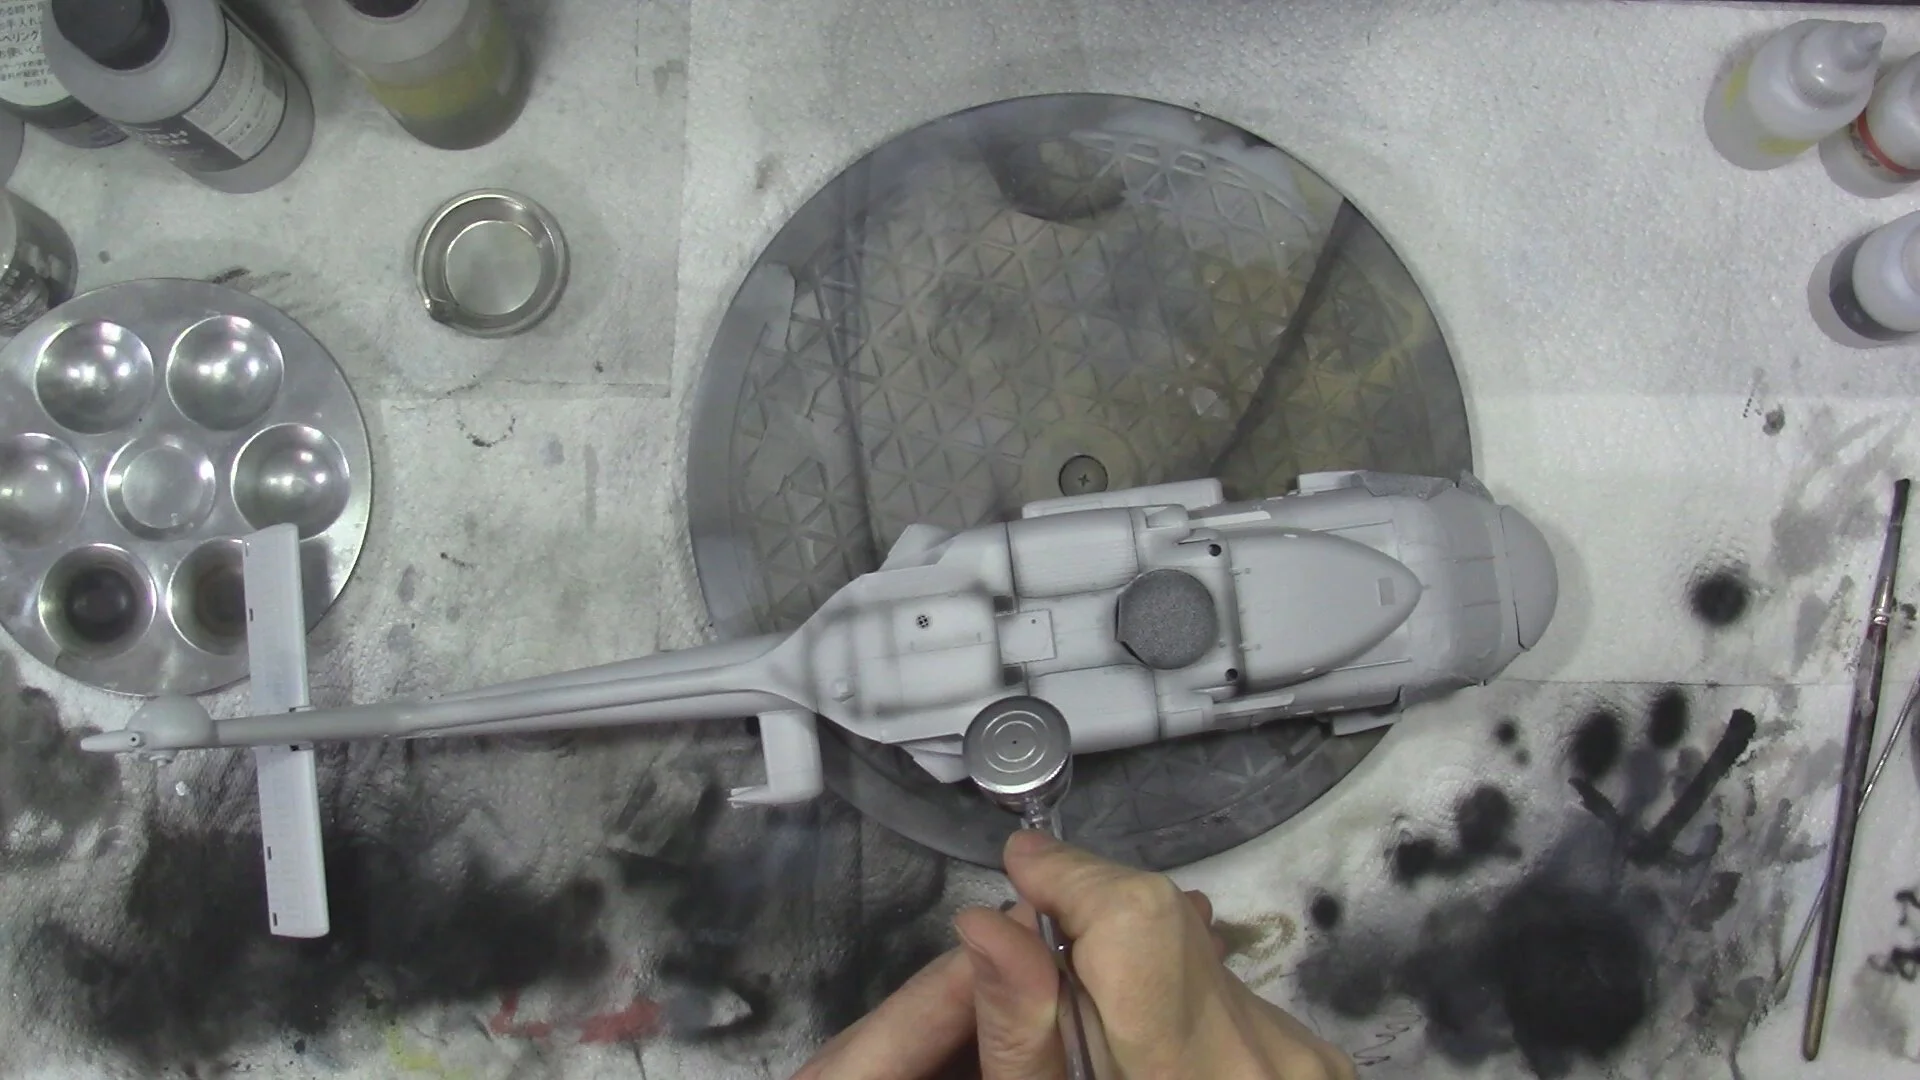
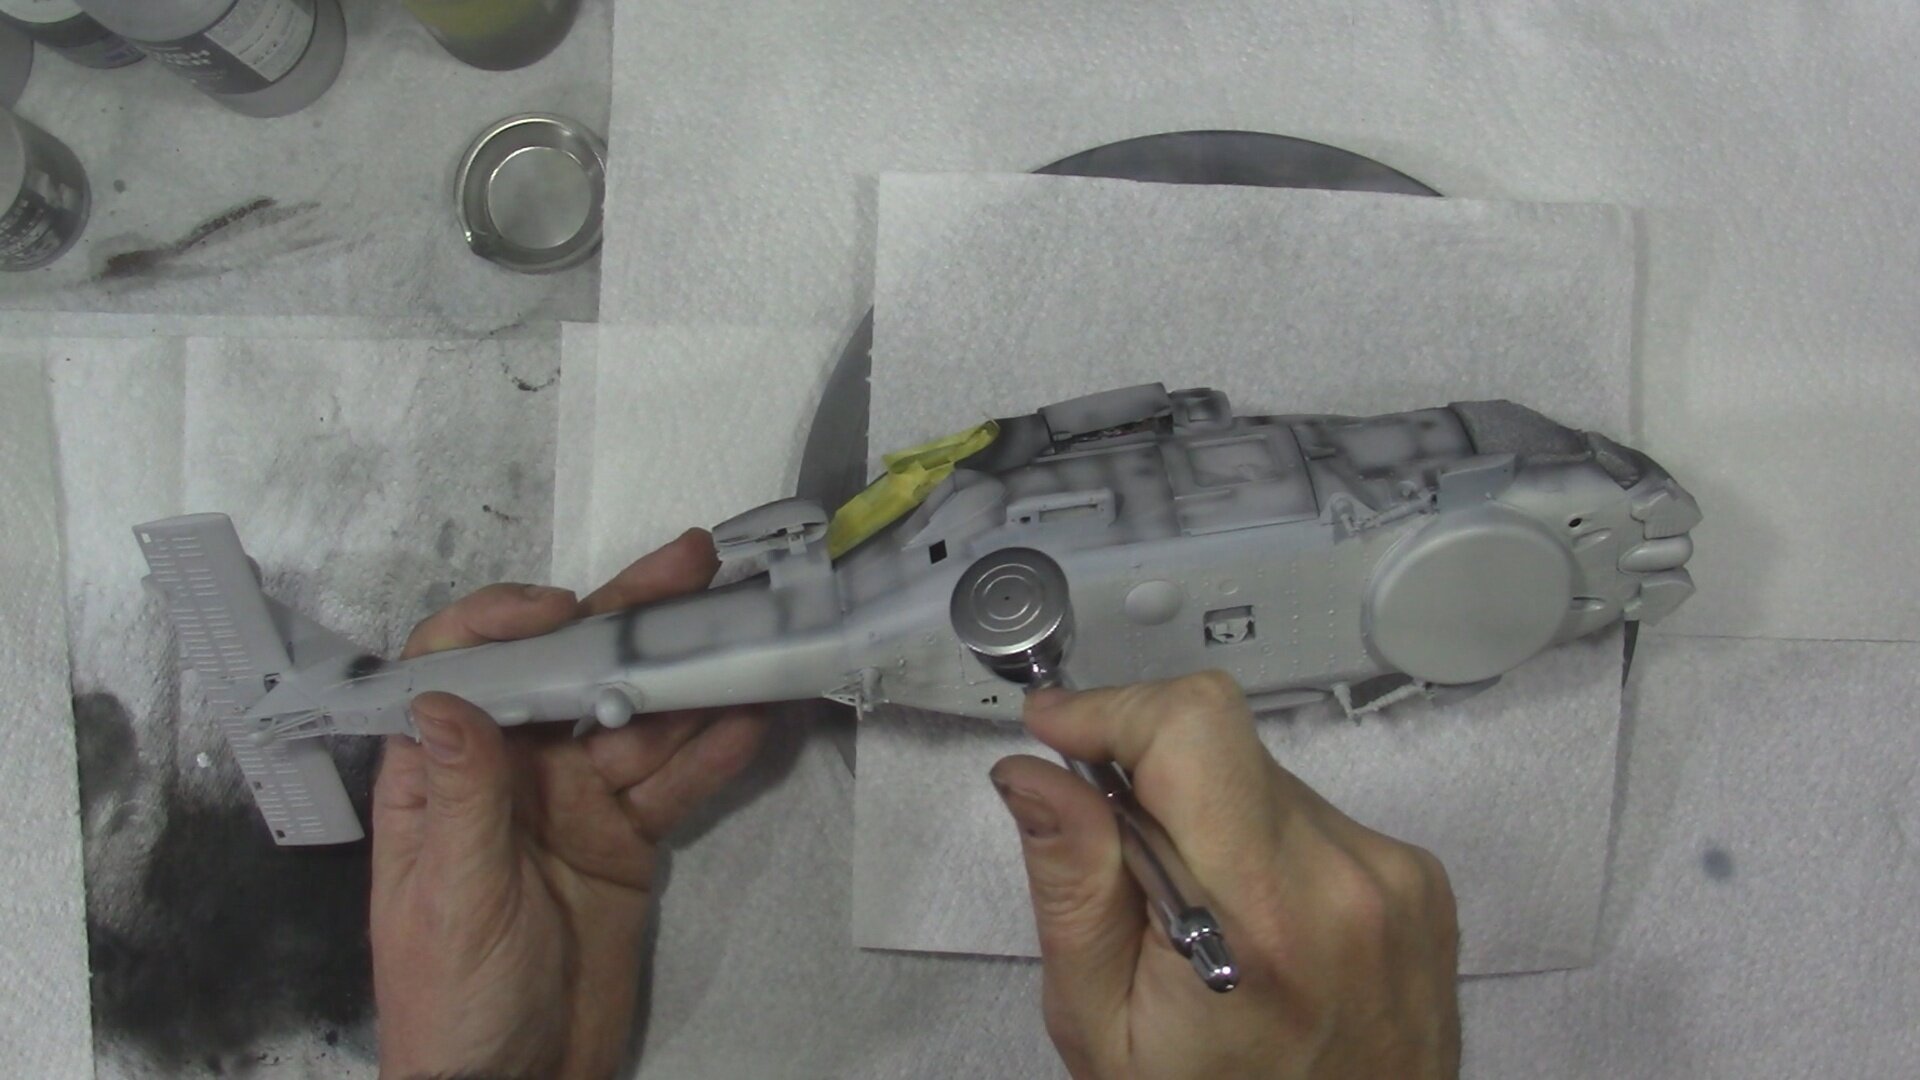
In part eight, it’s all about the painting, so we start with priming using Mr Primer Serfacer 1000 mixed 40/60 with Rapid drying thinners. Then we have a good look and the way we will tackle the full-color tale. Next we pre-shade and talk about the pros and cons to that or Black basing.
In part nine, we start work on the paintwork with the off white underside which was done with Hattaka C049 Insignia white and then the main upper color of Dark Ghost grey Tamiya LP-36
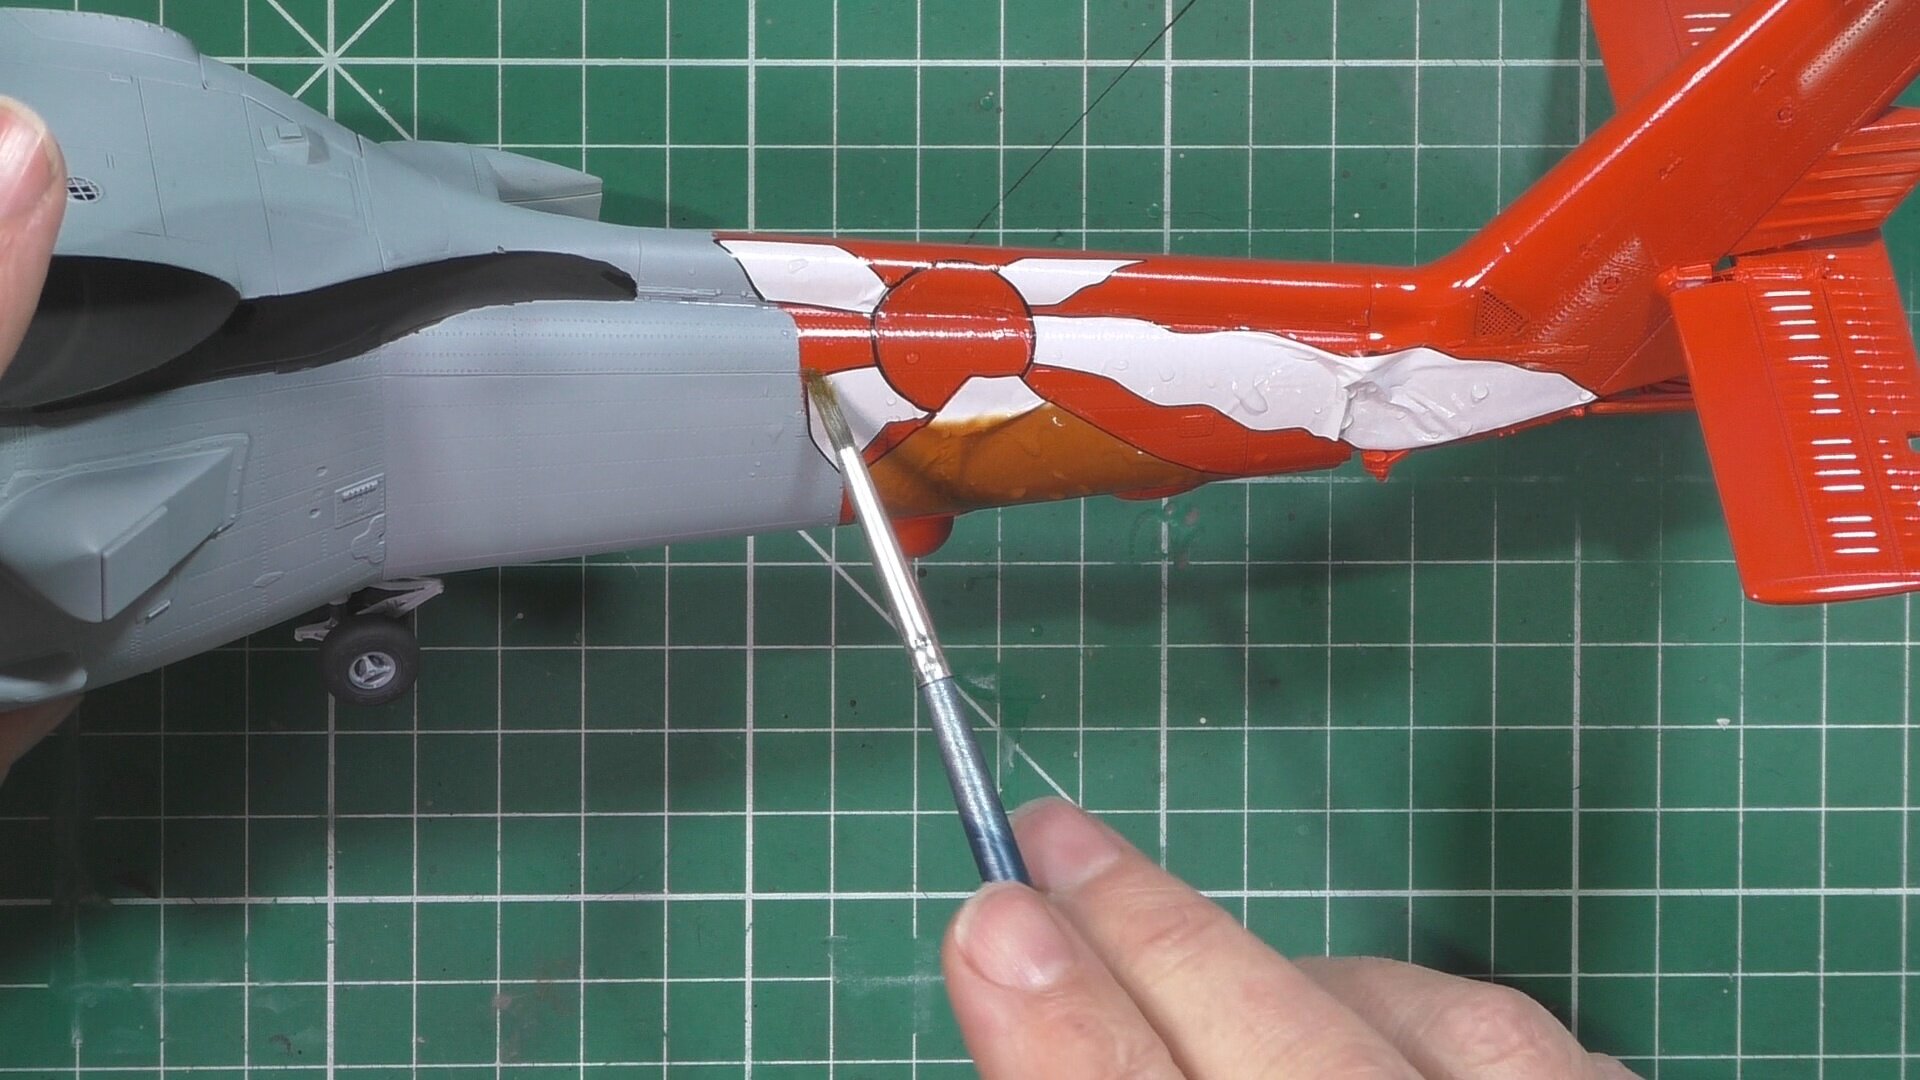
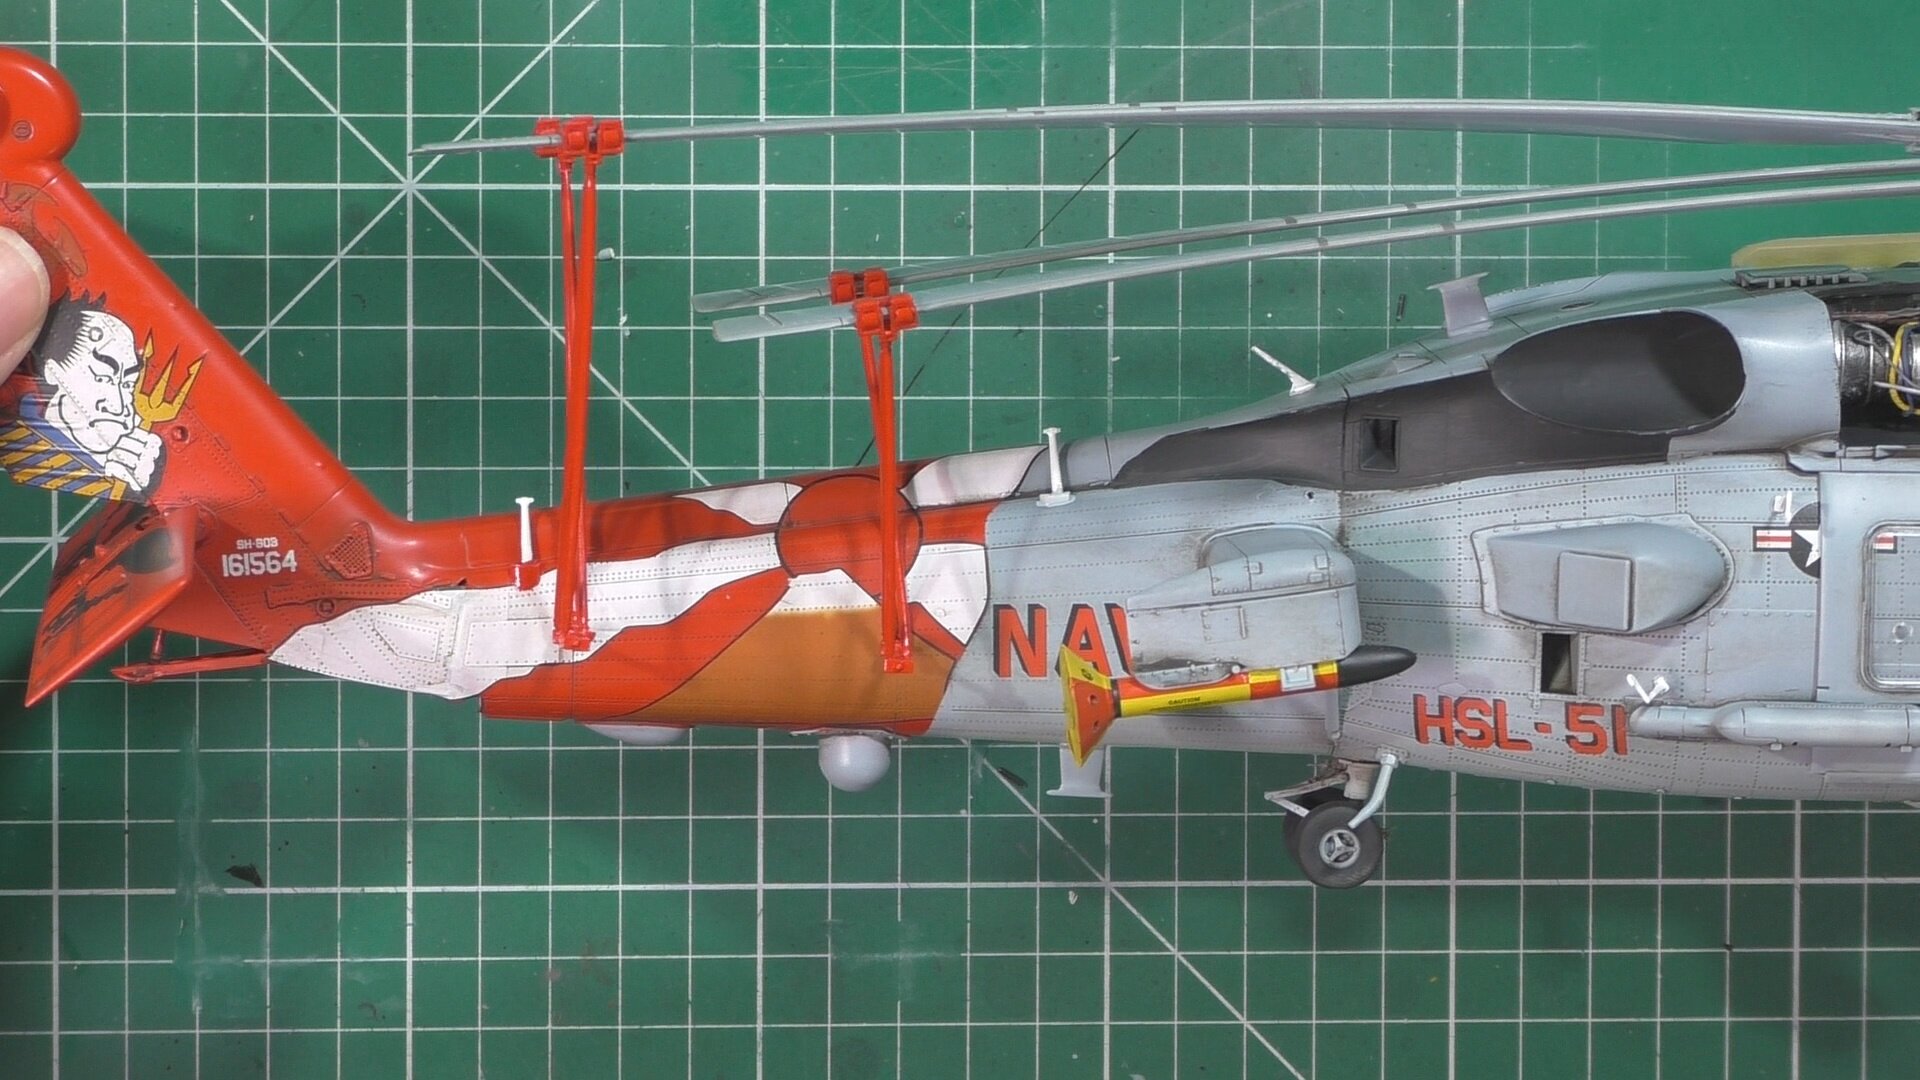
In part ten, we unmask the clear parts and paint on the tink the overhead windows and clean up the door seals with black POSCA pens. Next we work on the tail and paint it Tamiya LP-7 Red and then work out the decal position and get those lovely markings applied.
In Part eleven, we the decals all on and a satin coat over the whole model to give an even texture we are ready to un-mask and start on the weathering. First we give the Green tint to the overhead window with Tamiya Clear green with a drop of the clear blue mix. Next up a wash of Flory models Dark dirk right over everything. As always this is left to totally day and rubbed off.
In part 12, will the wash off we turn our attention to the rotor fold system. we fix the blades in place and build the rotor fold holders paint and place them and install the rotors. We then finish off the wiring and install the clear parts, the MAD array getting ready for the final reveal in part 13!!
In the final part, we add the small antennas and the long areal wire to the tail, before the final detail weathering with oils ready for the final revel