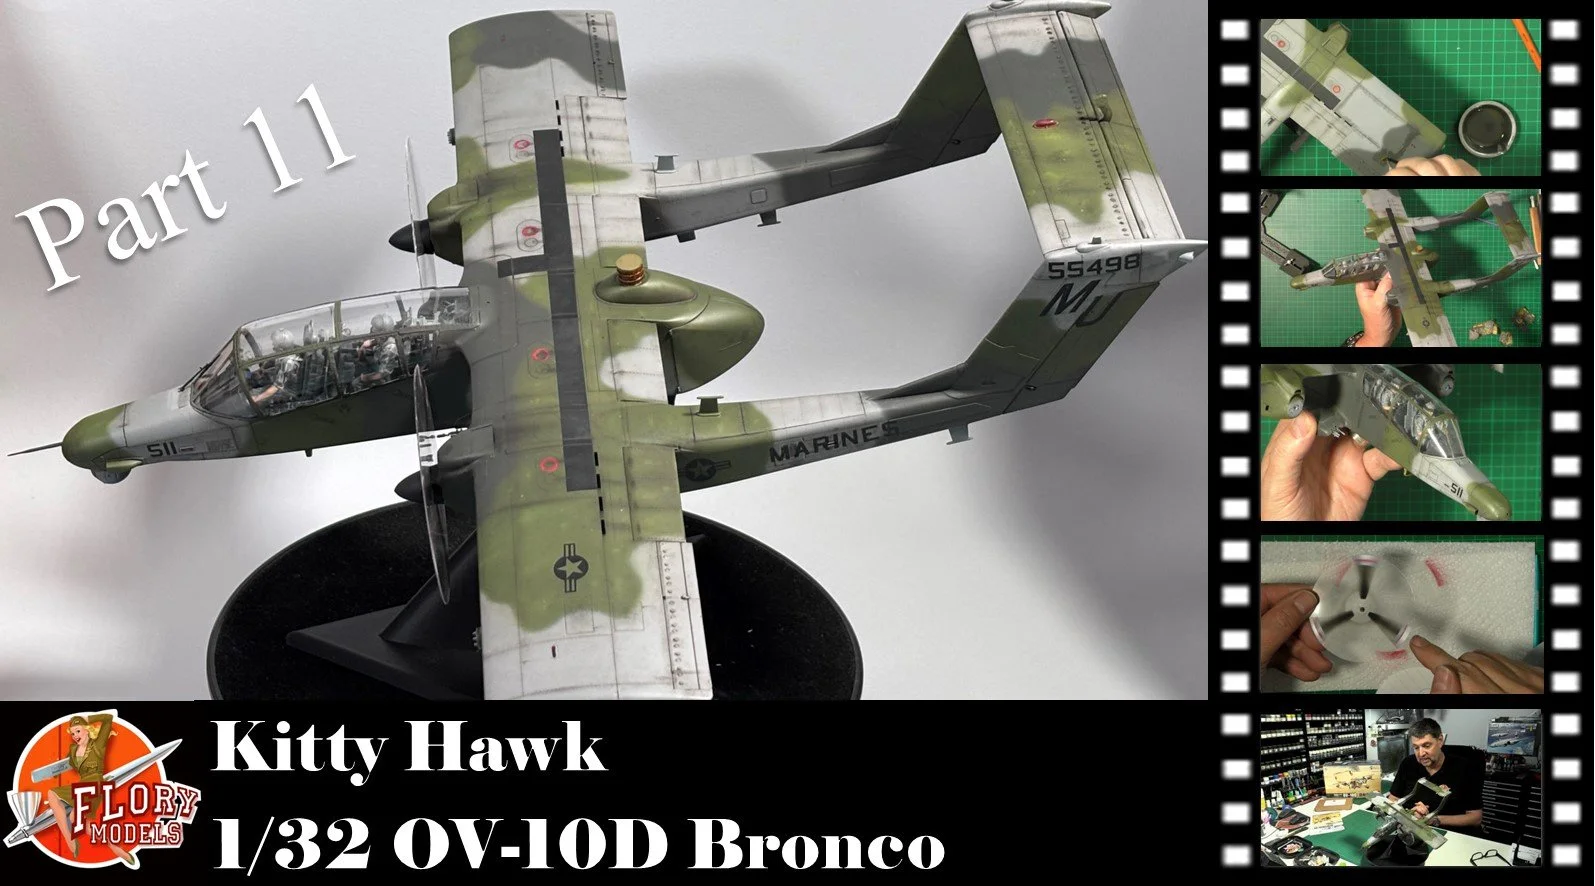
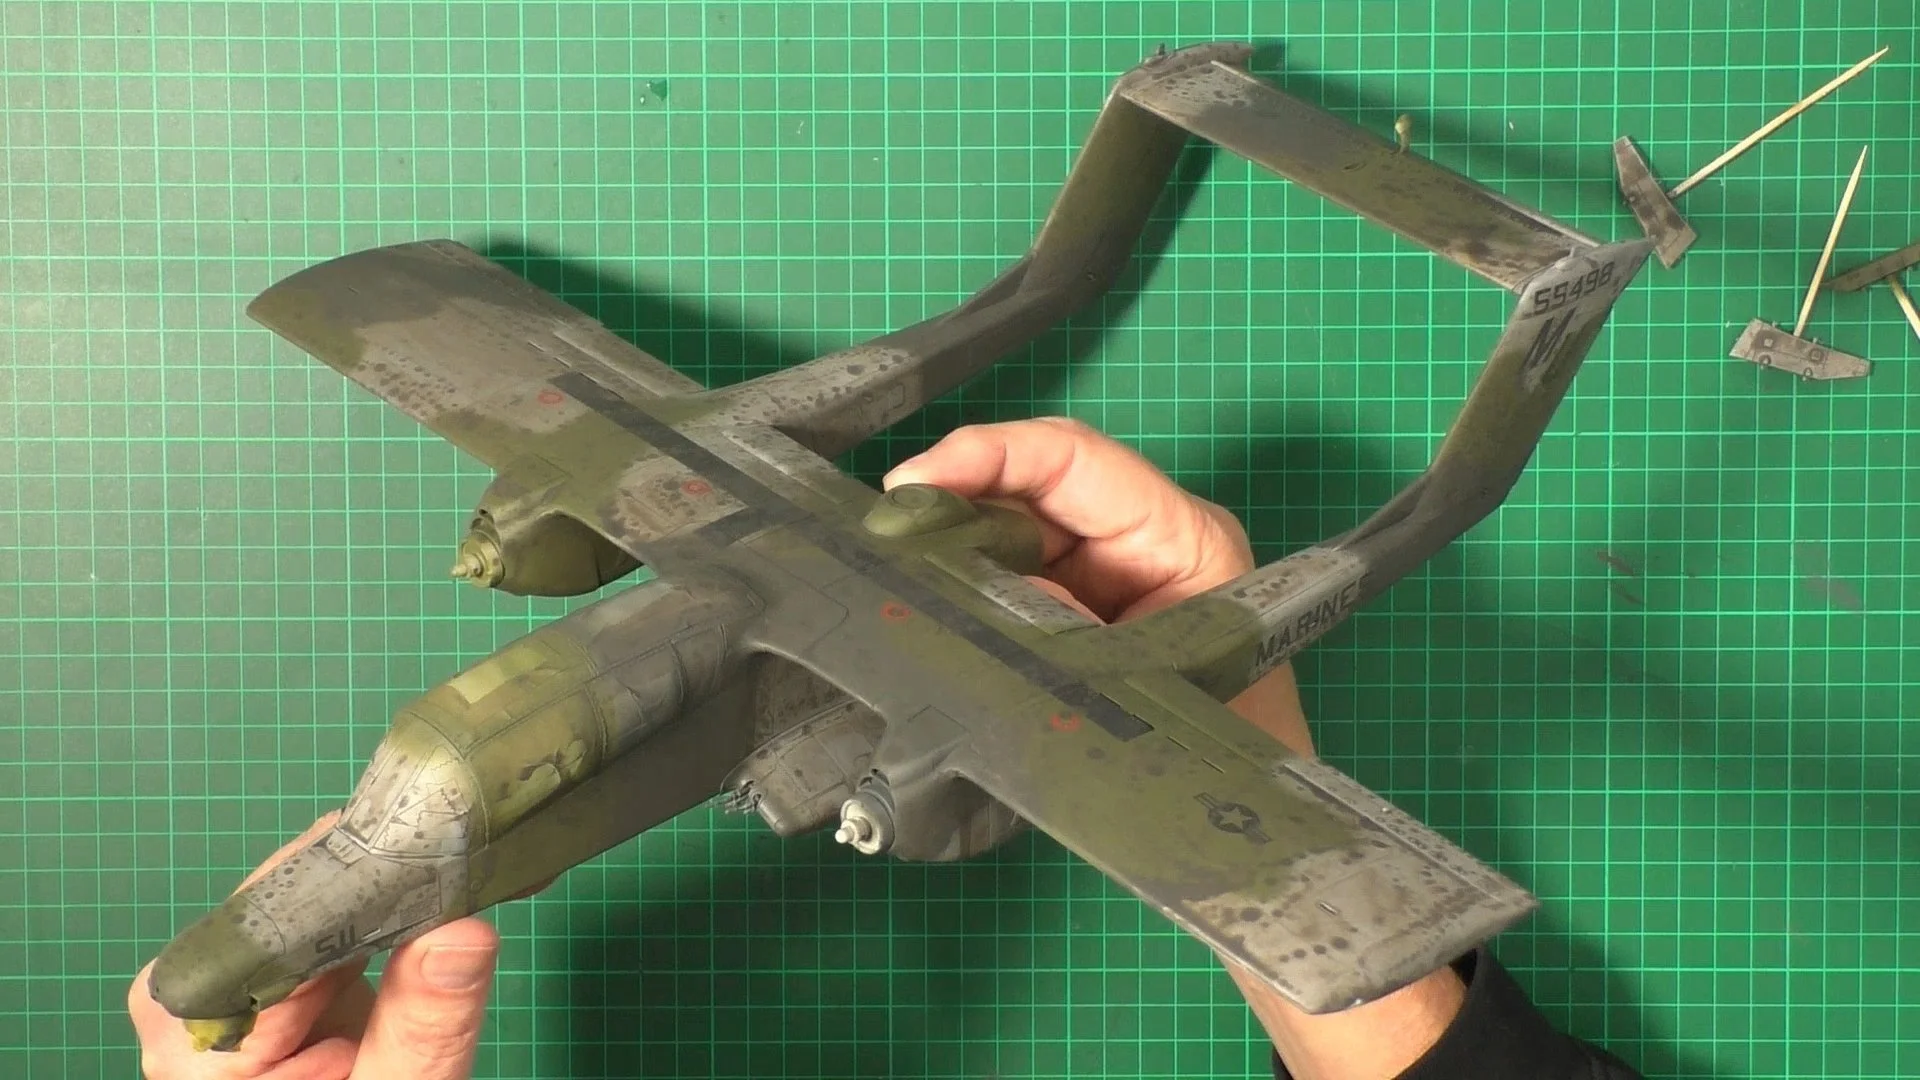
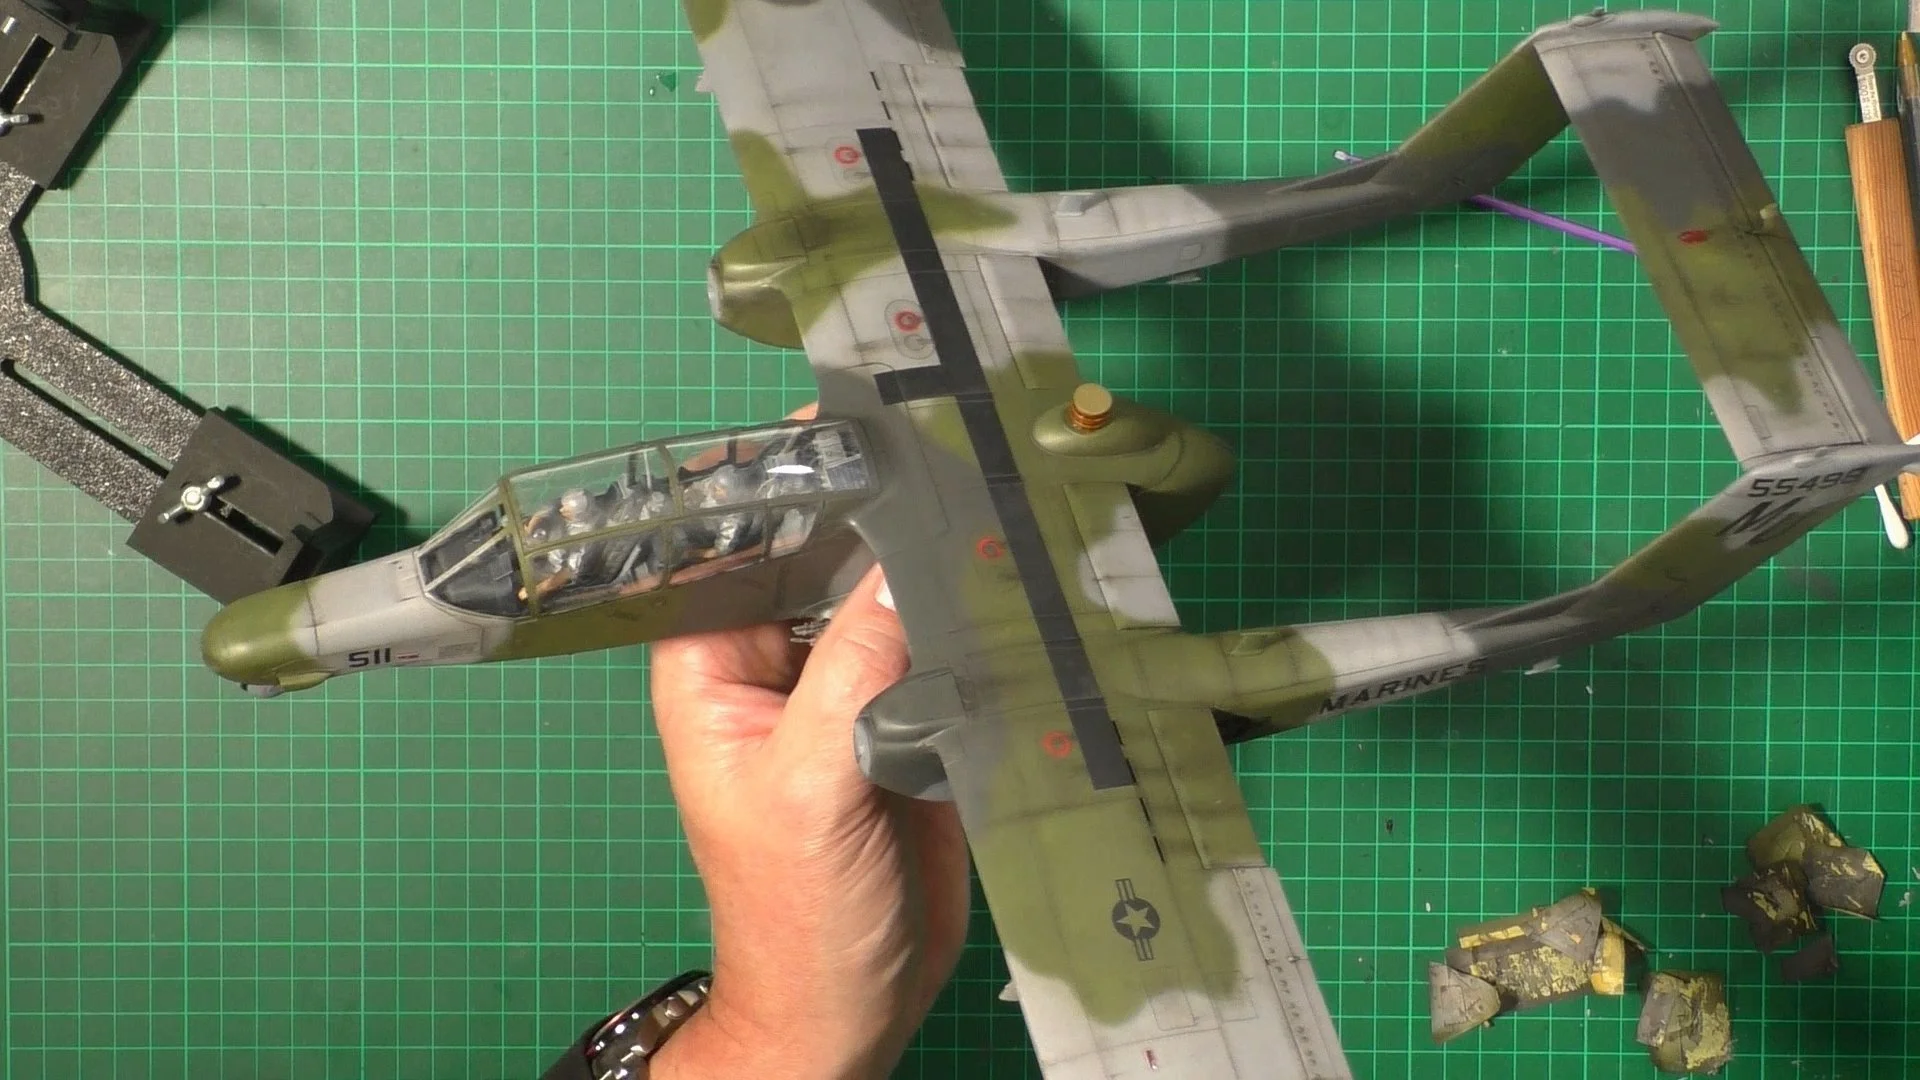
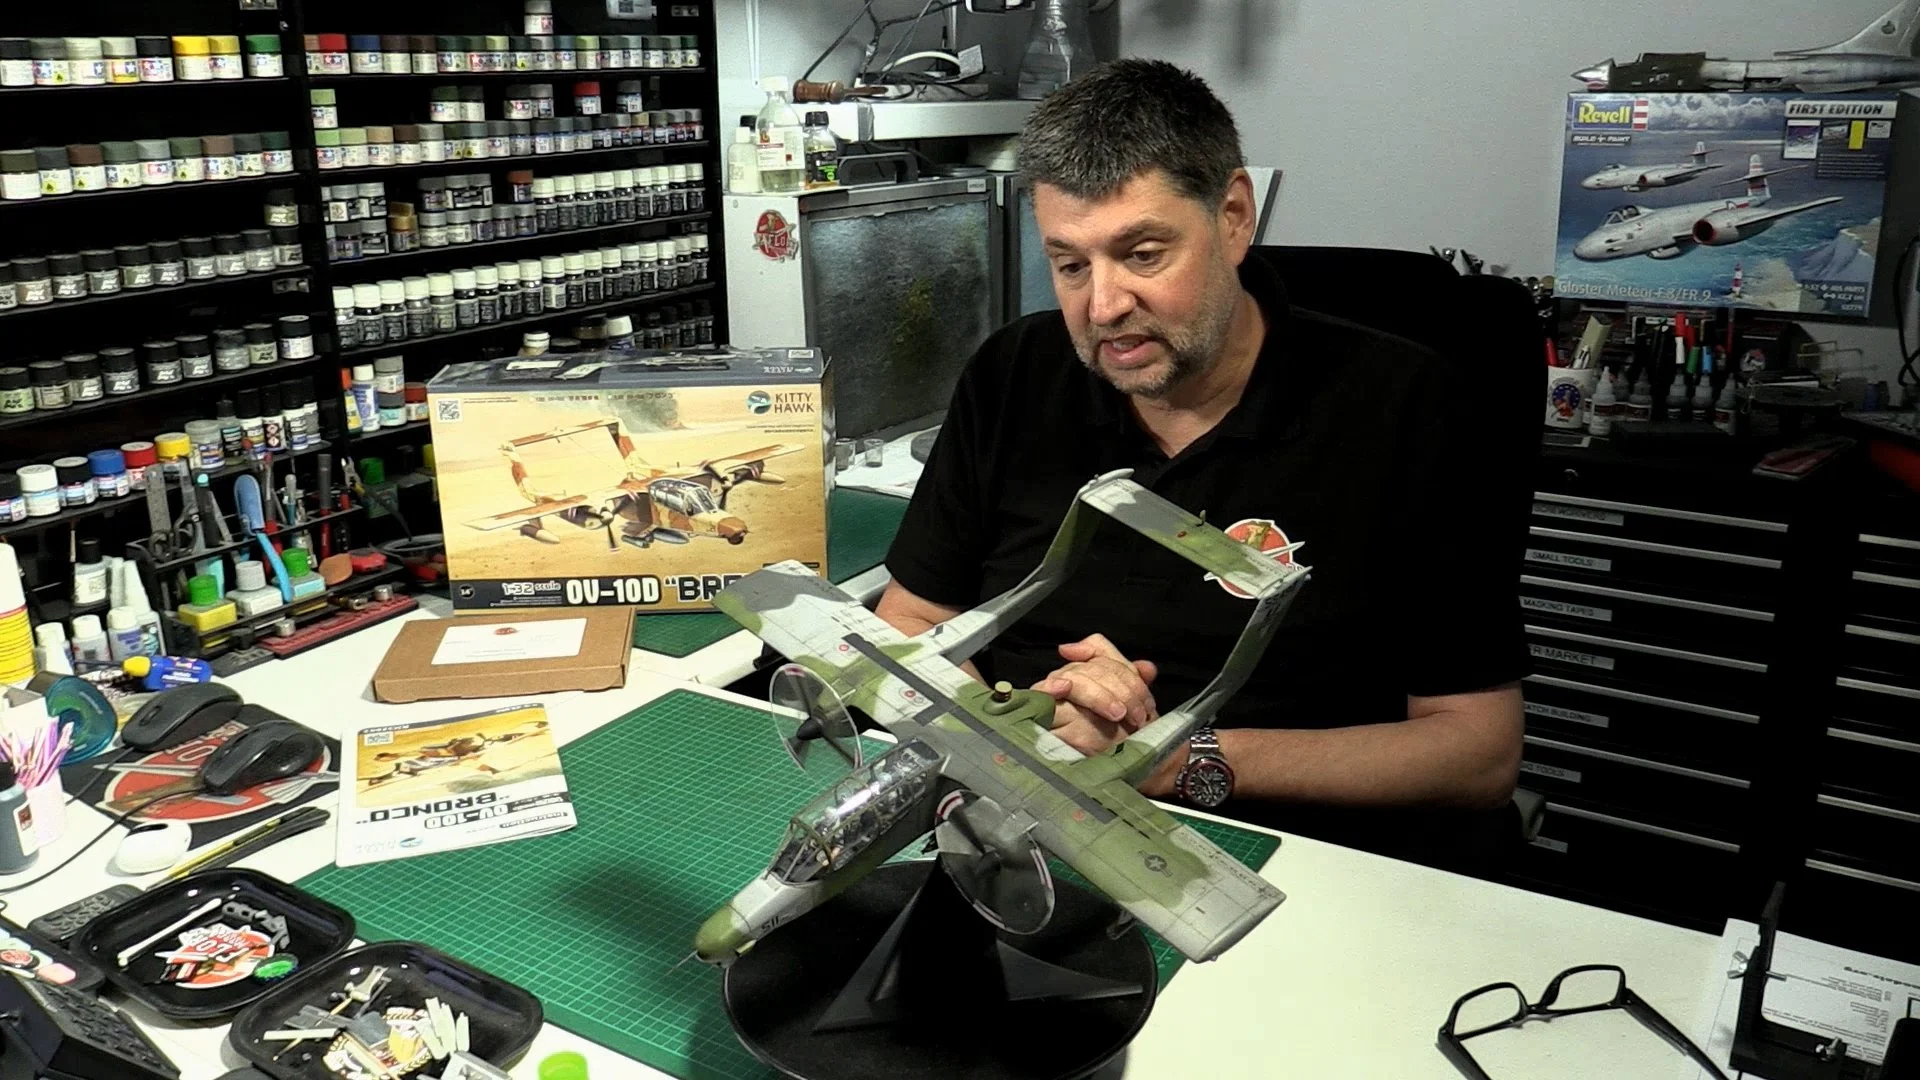
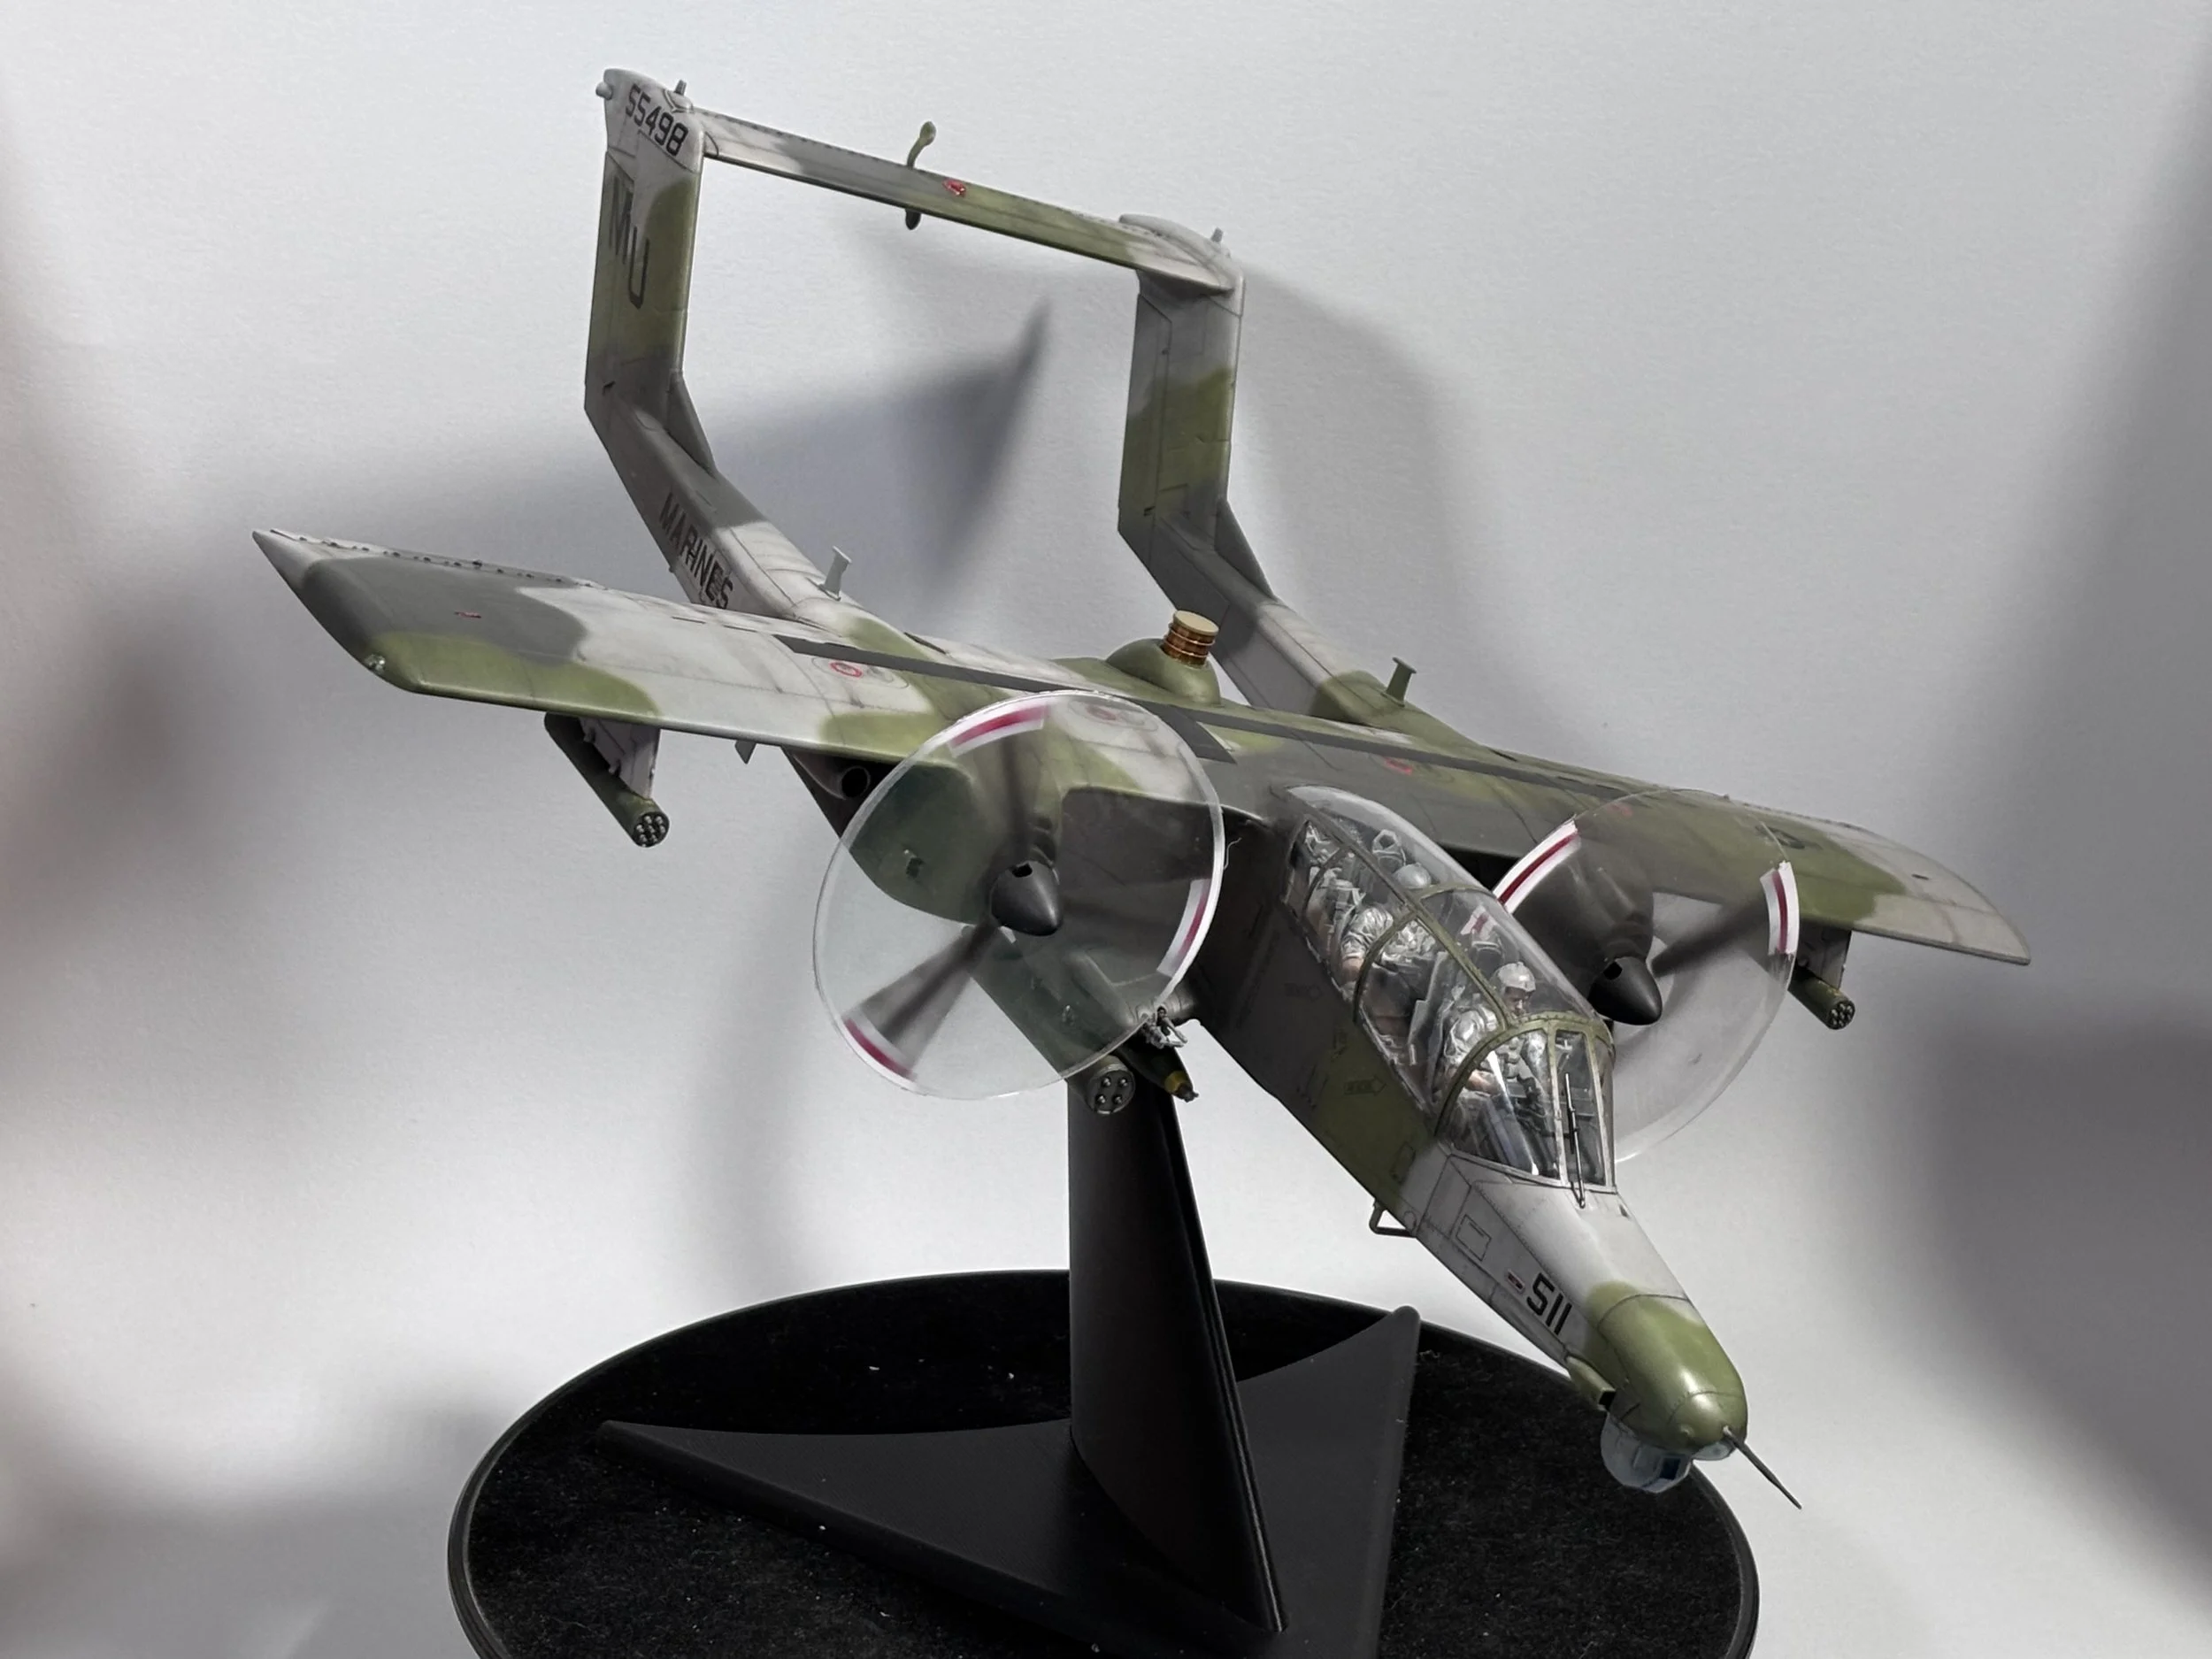
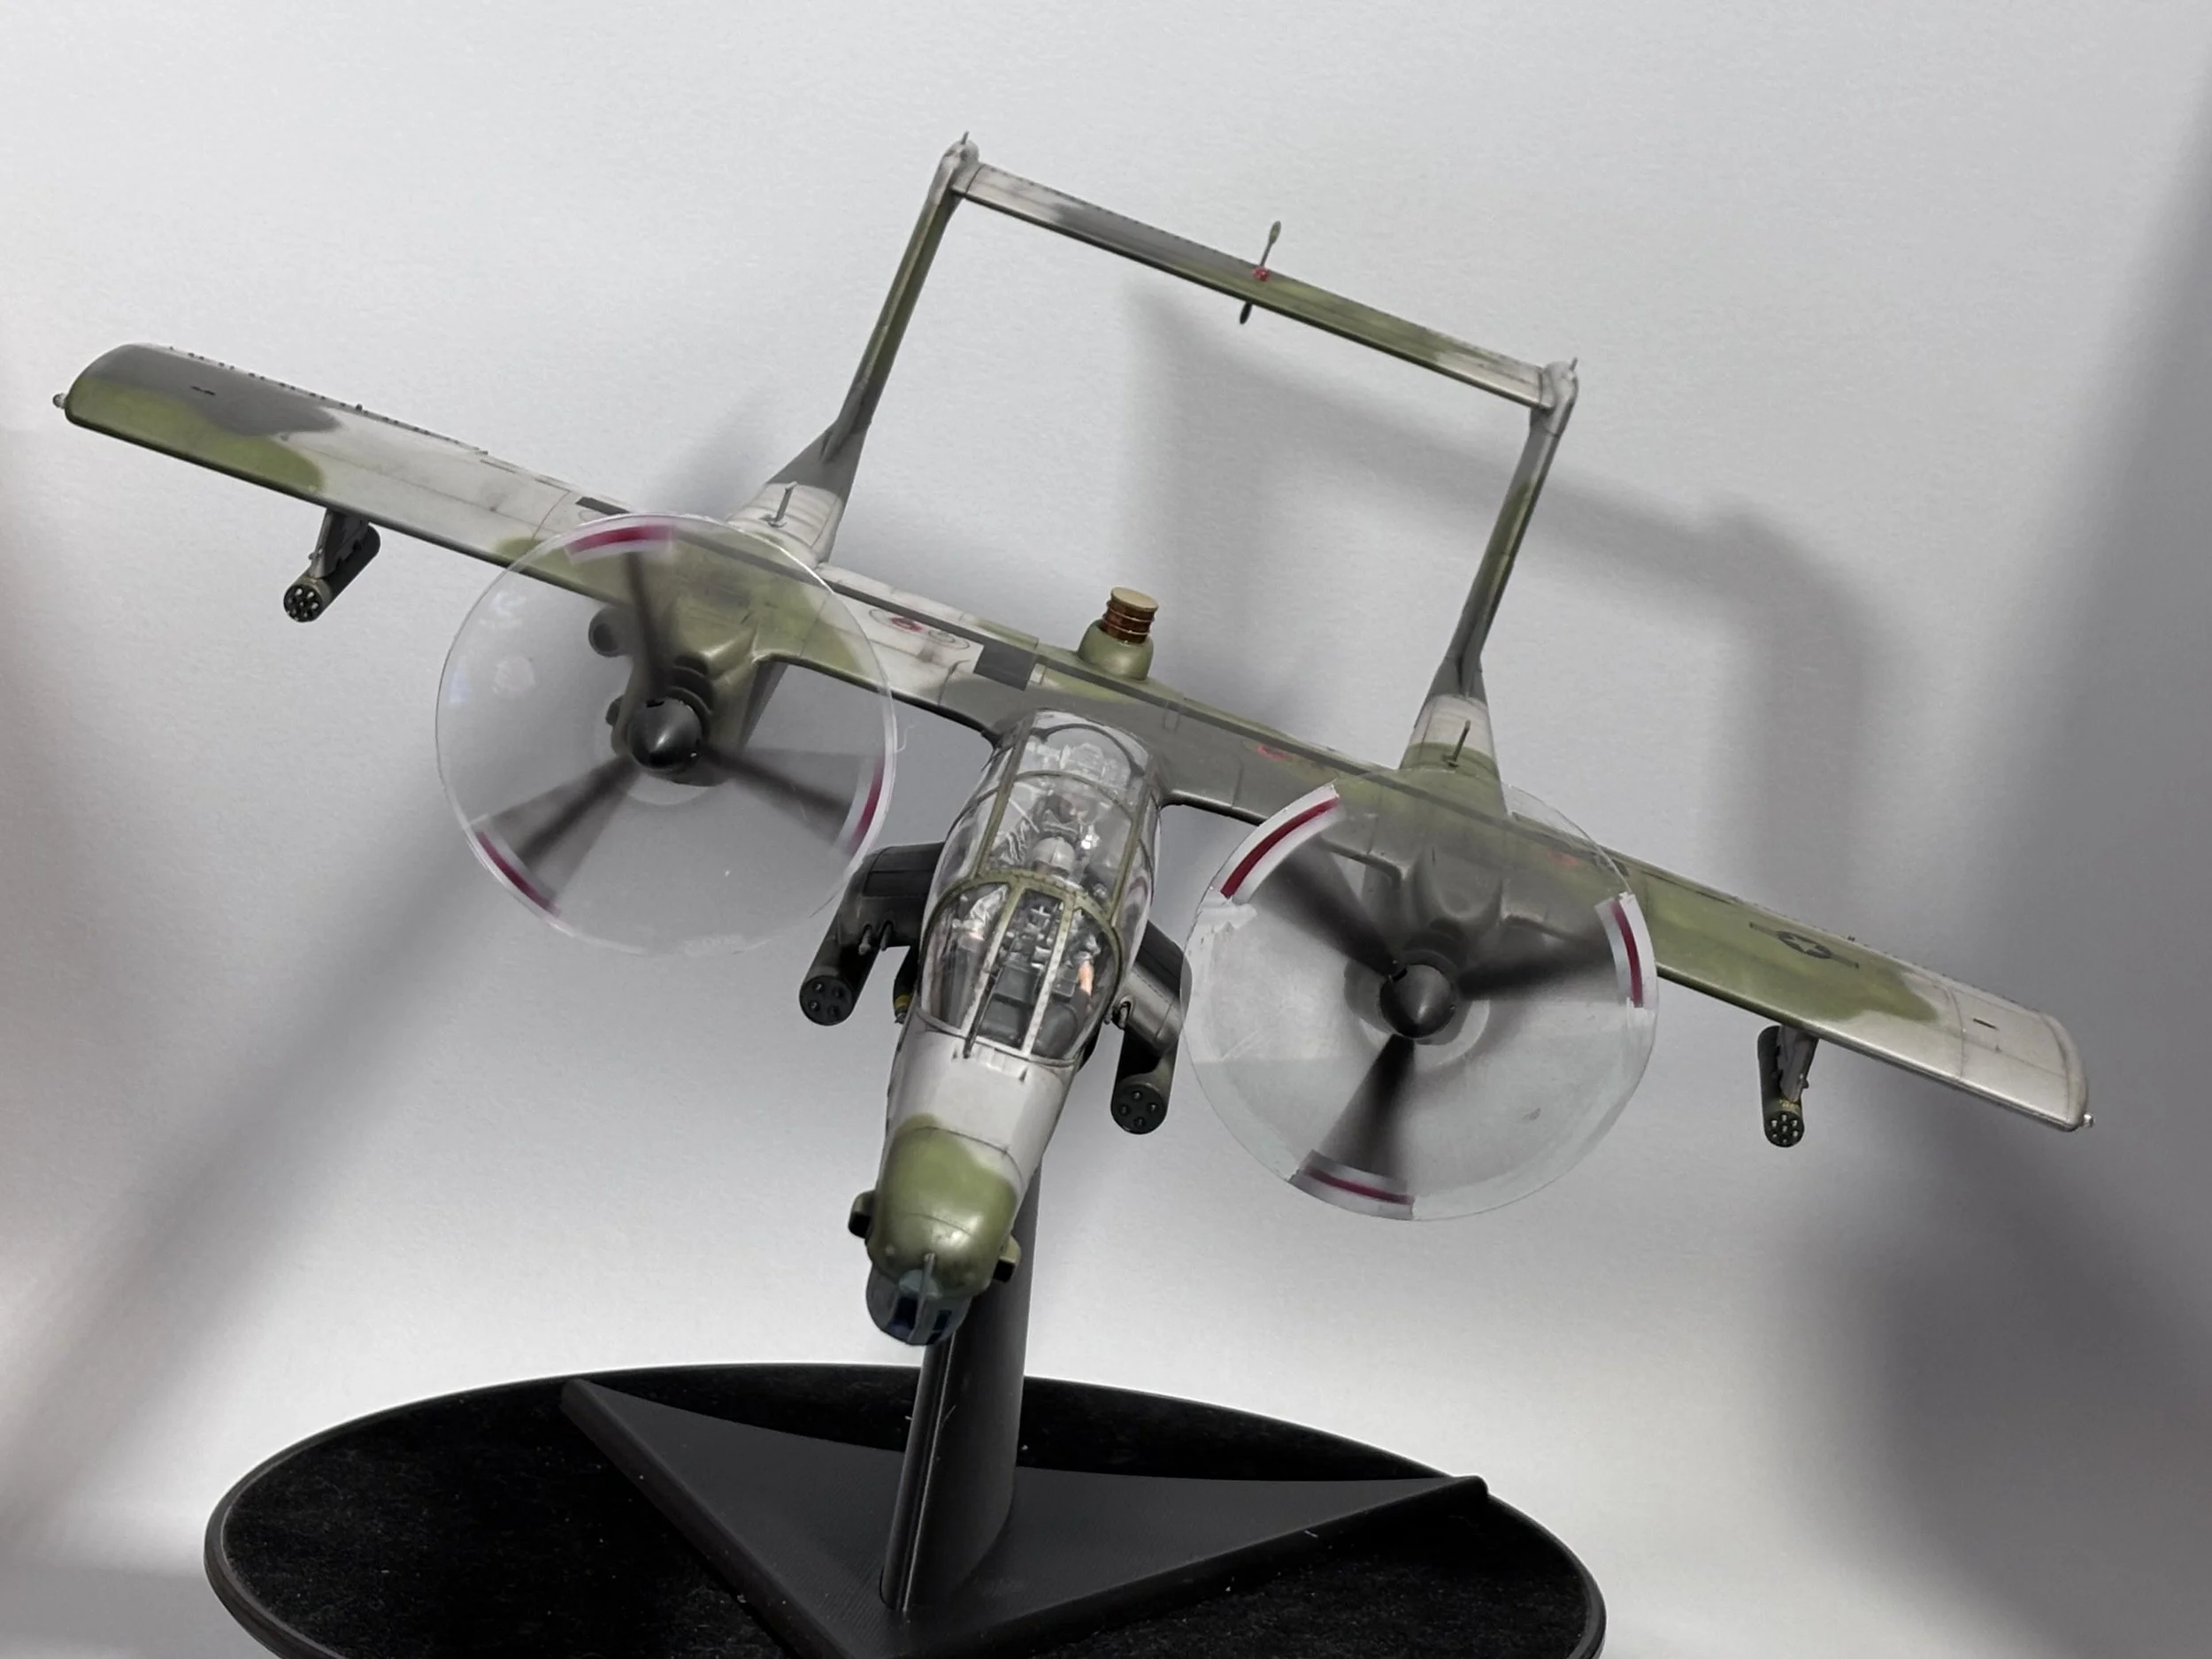
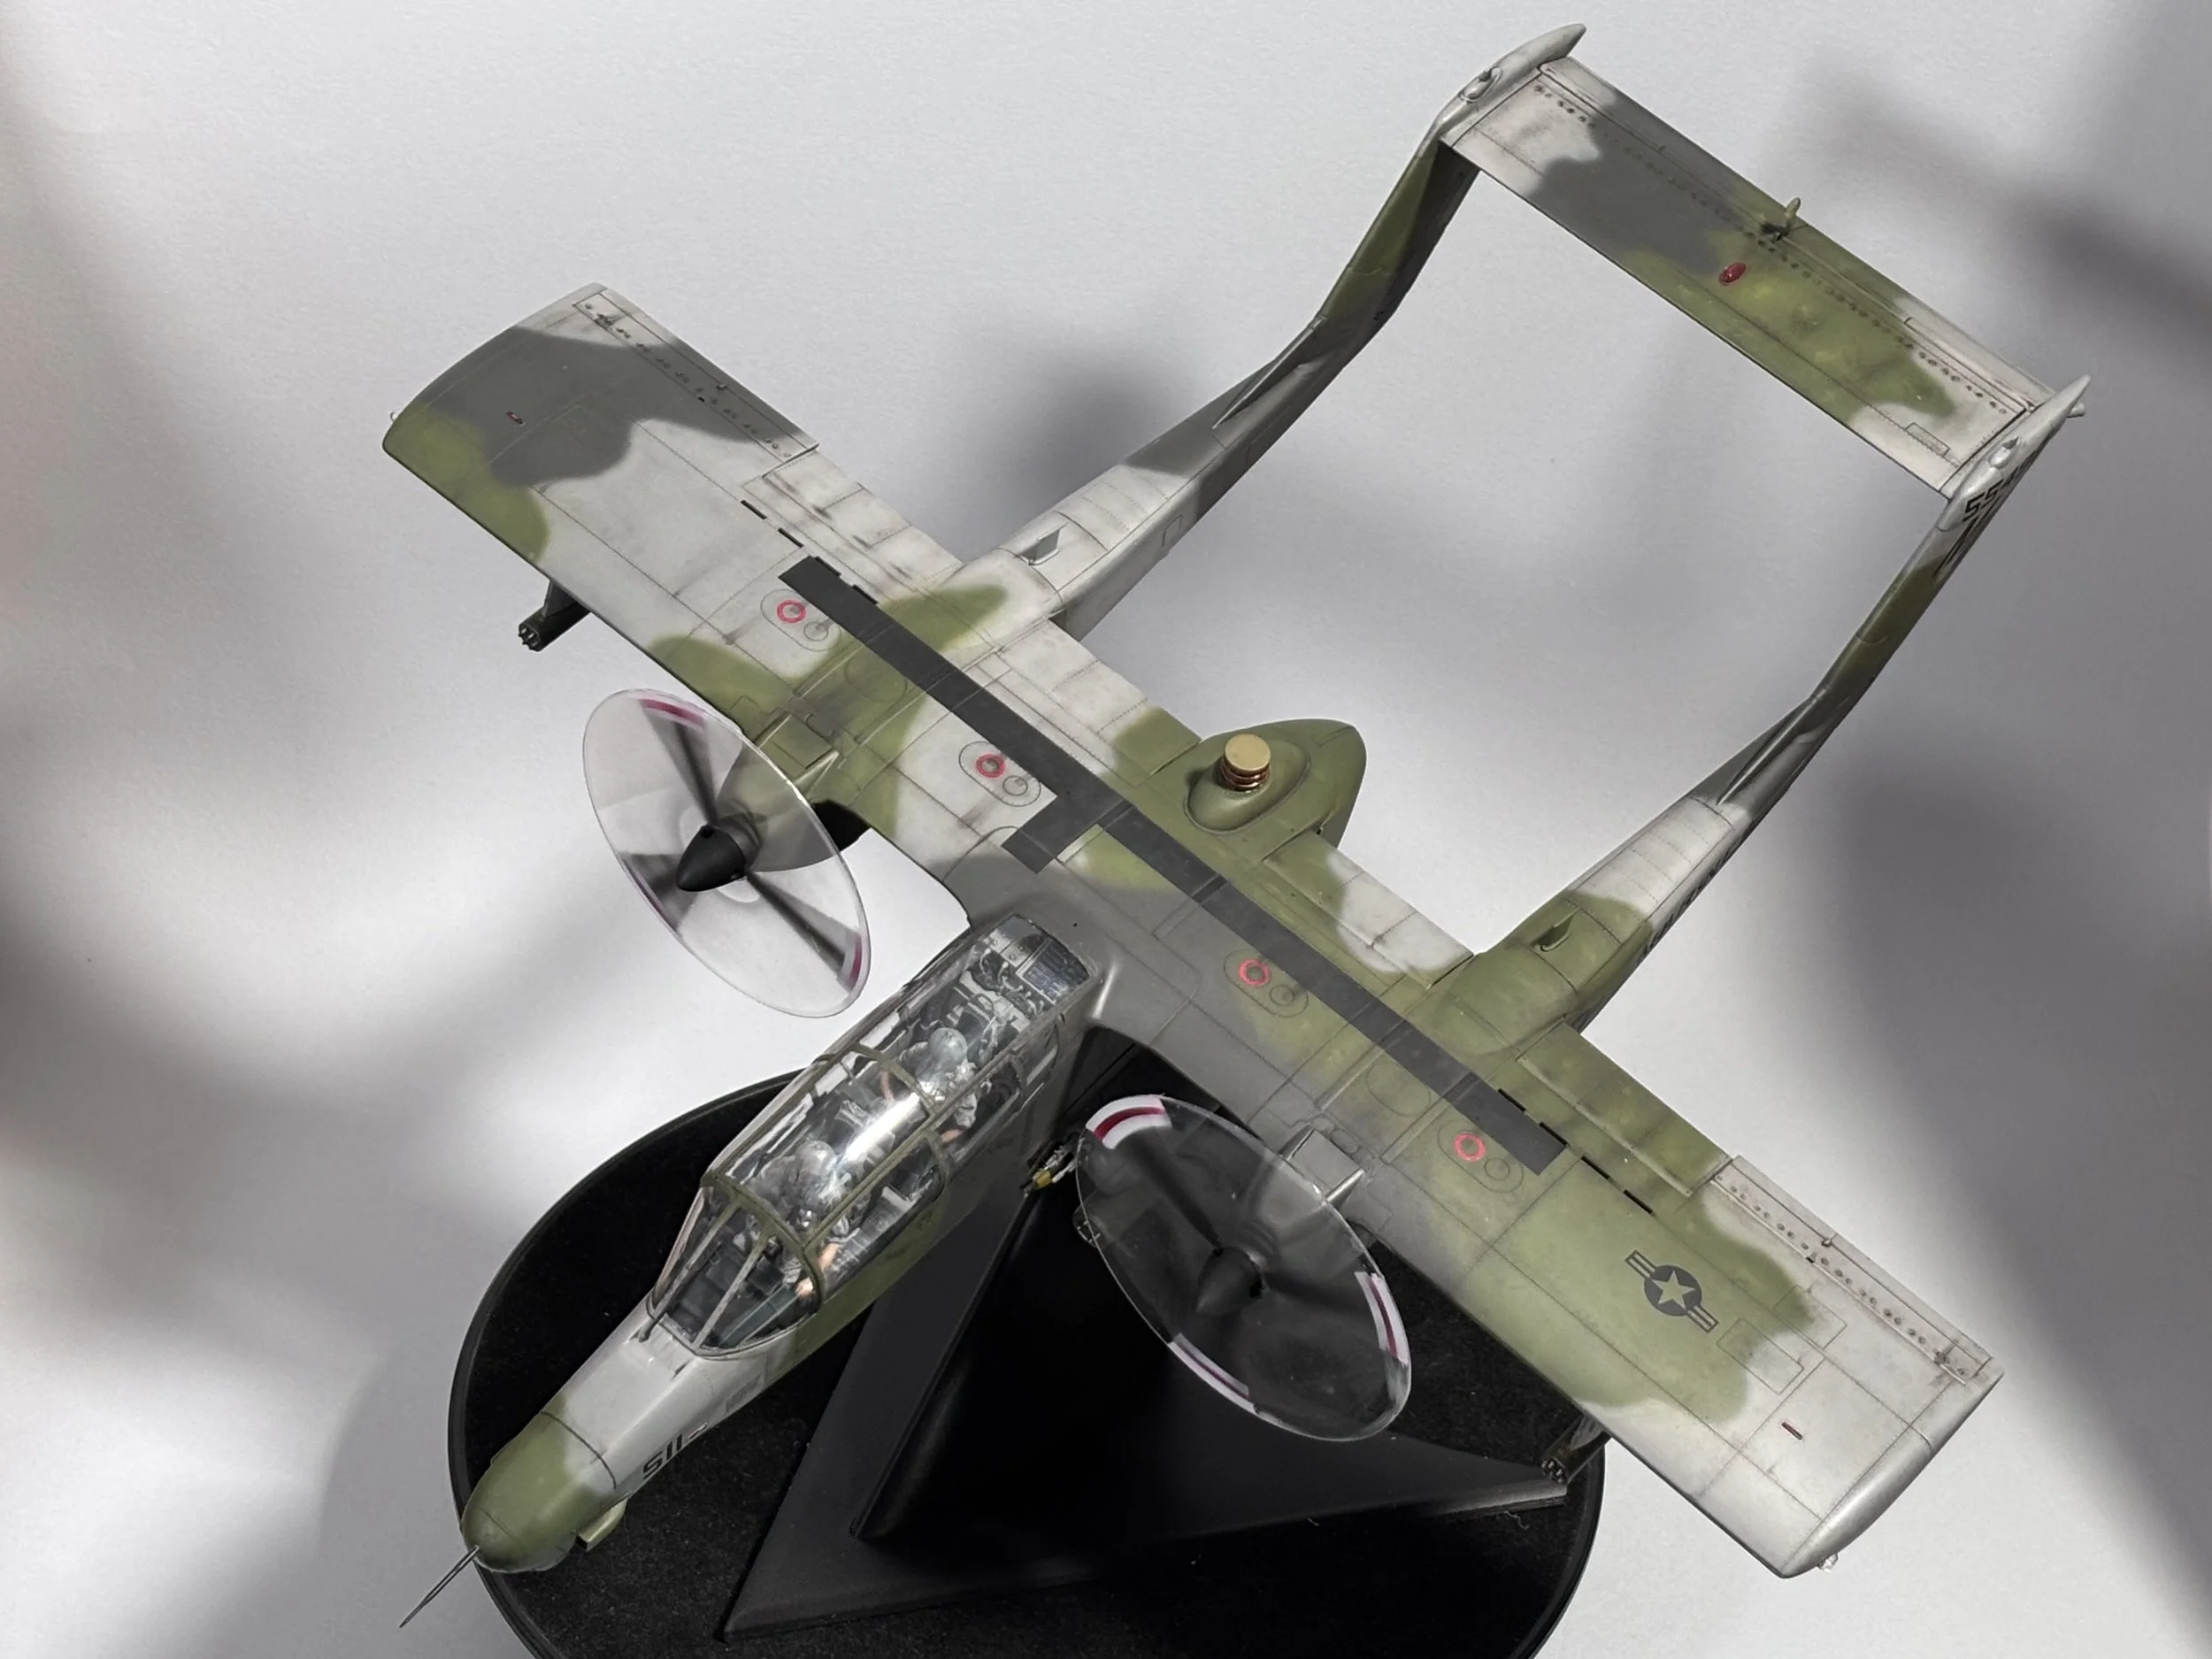
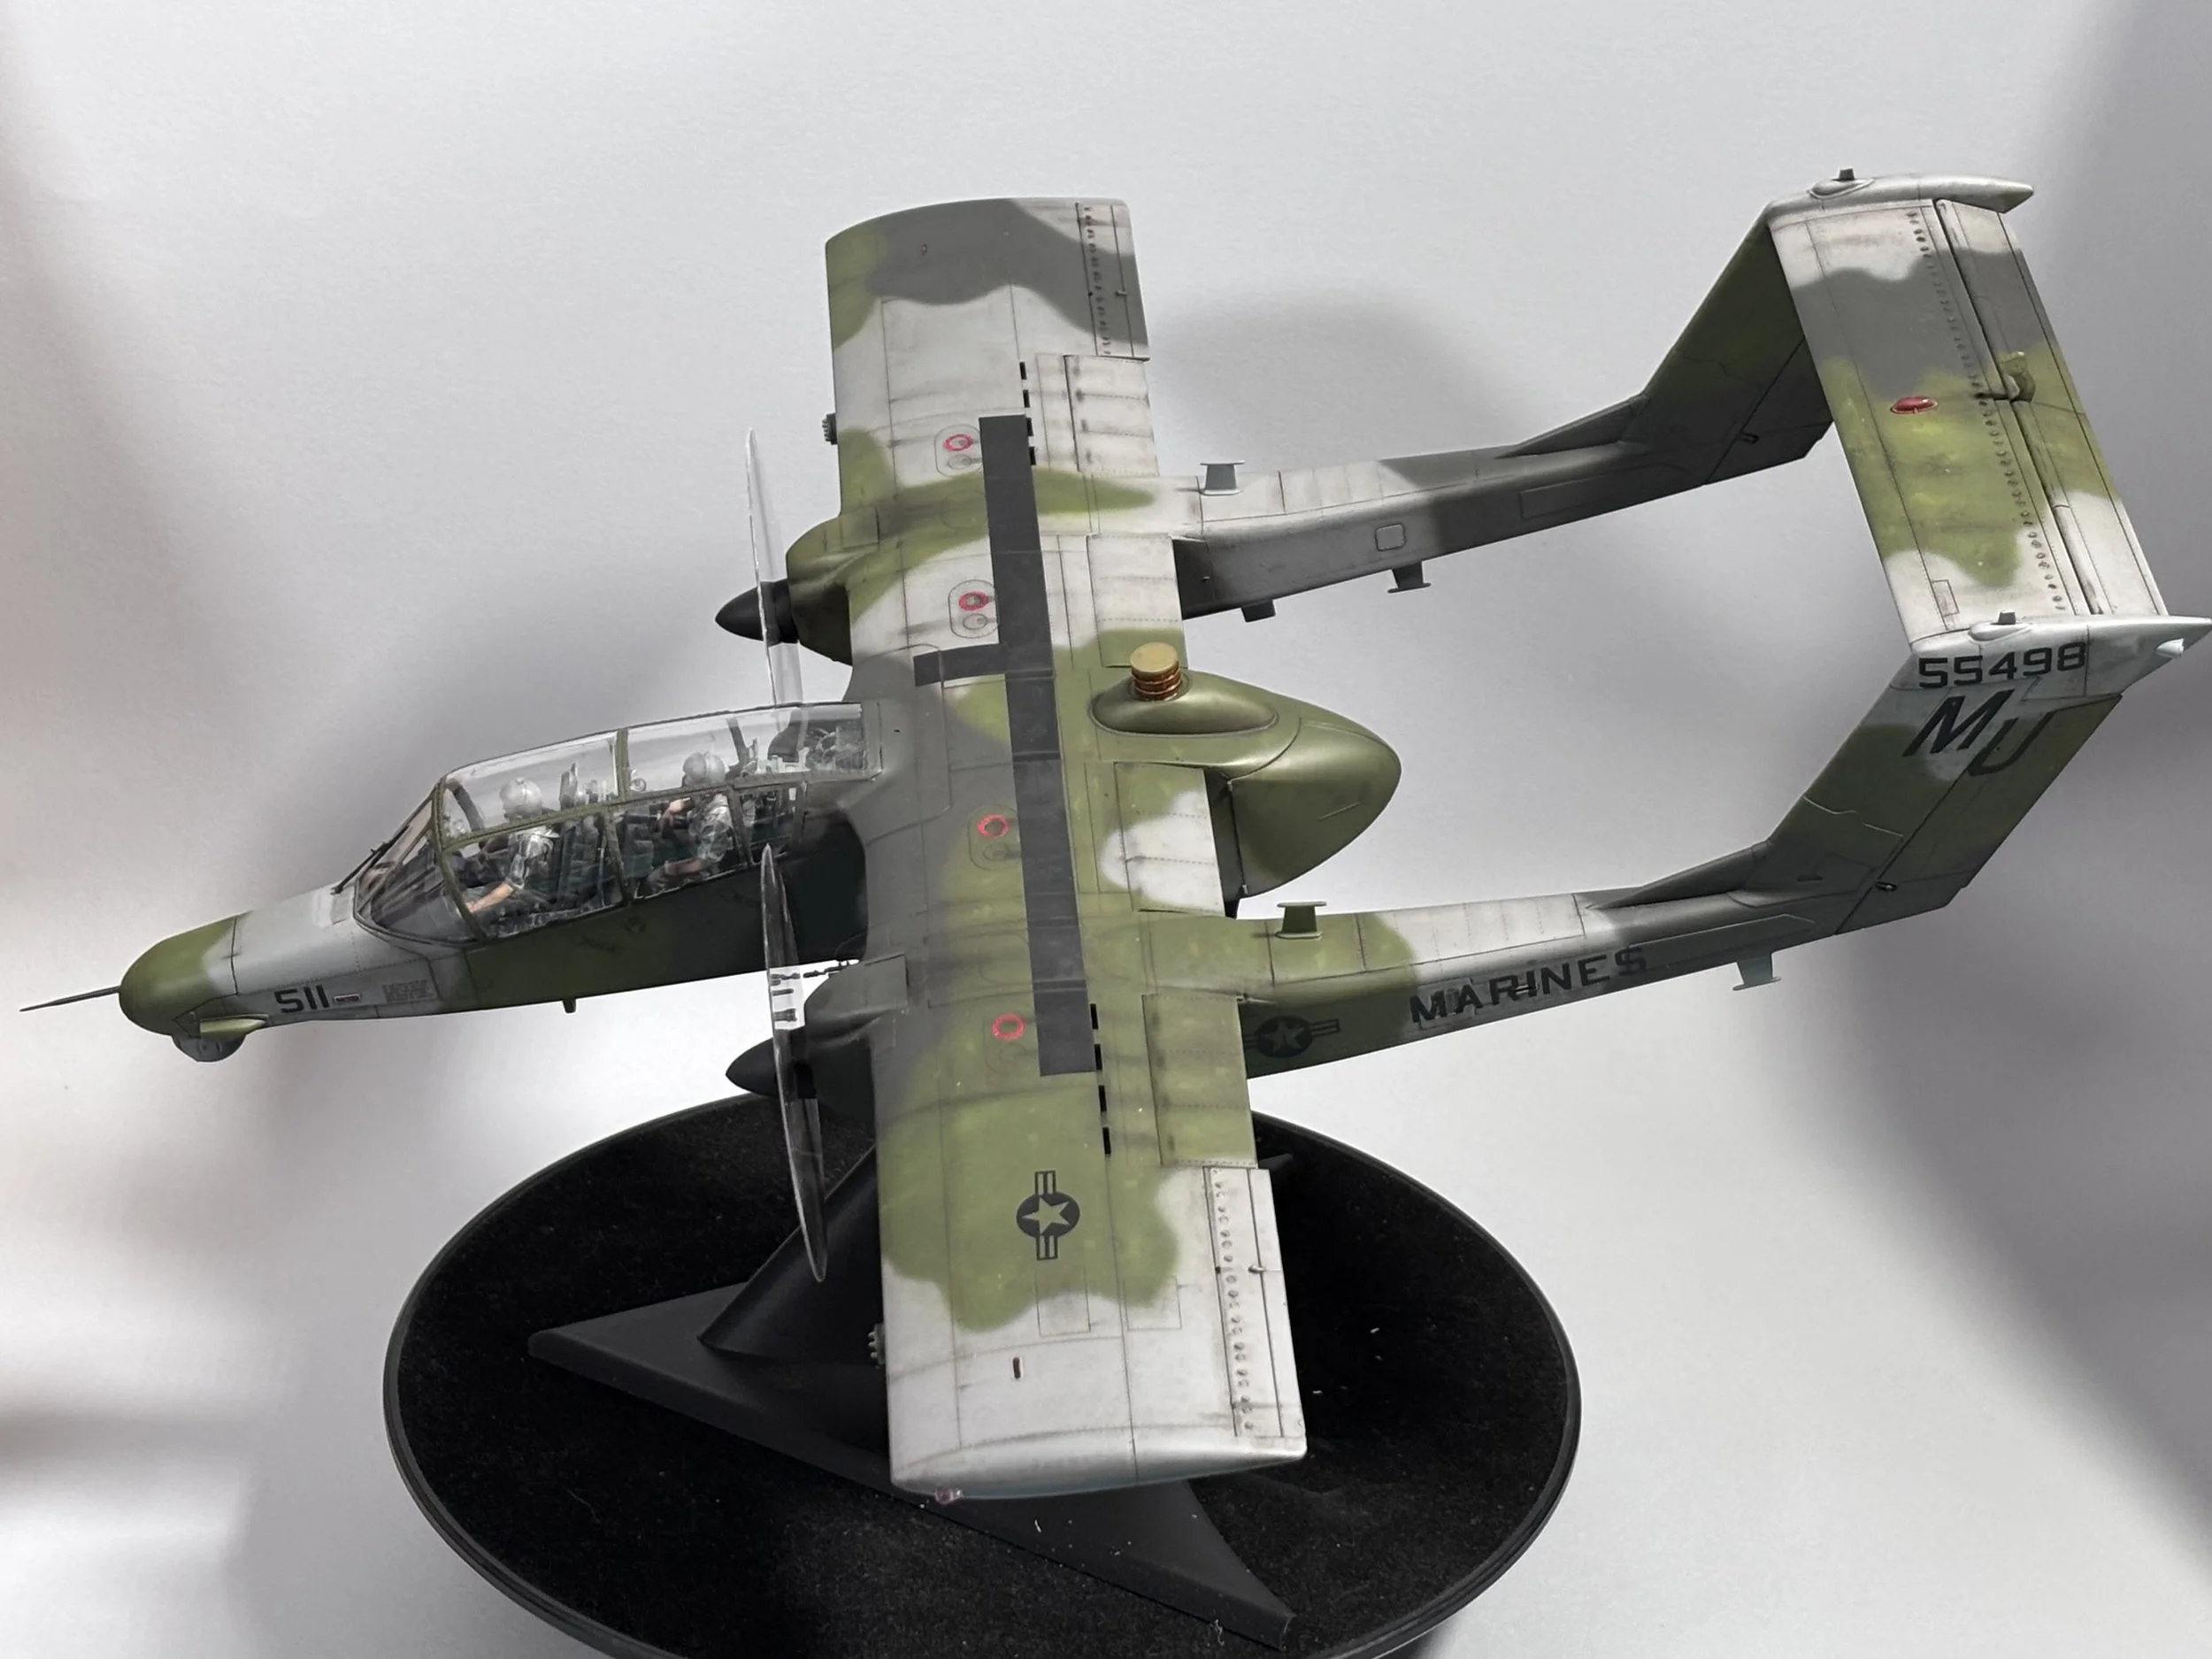
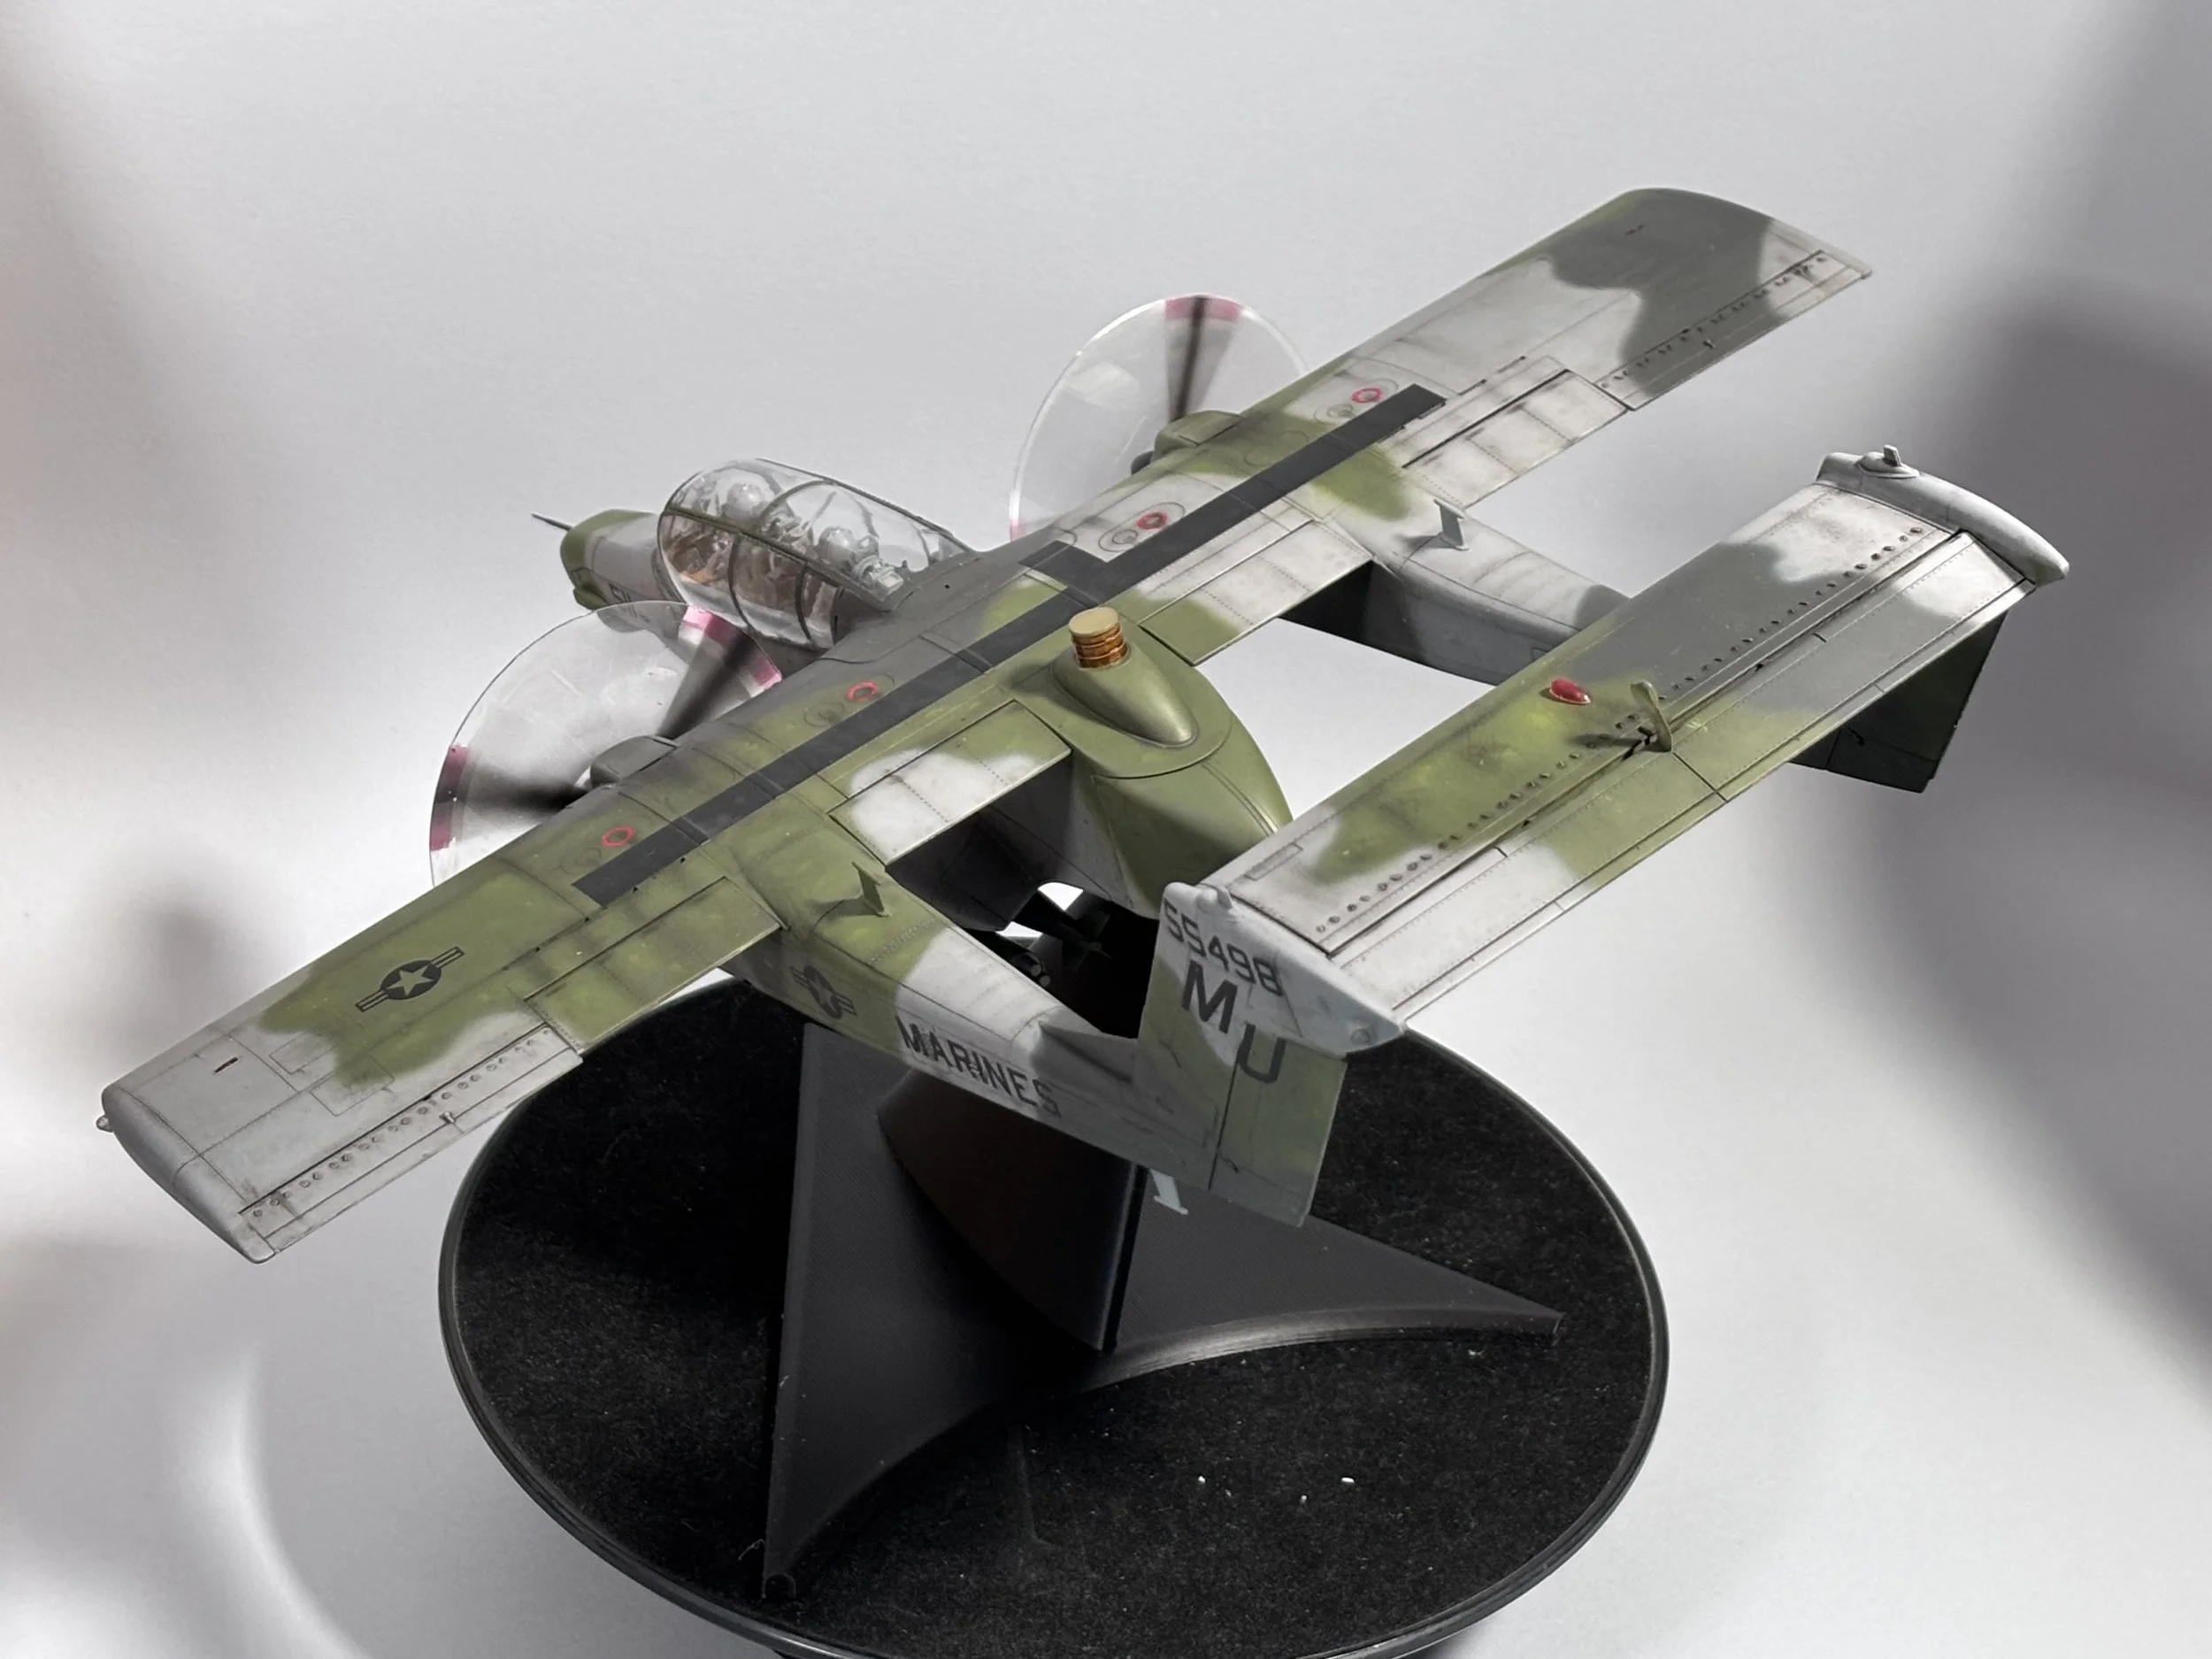
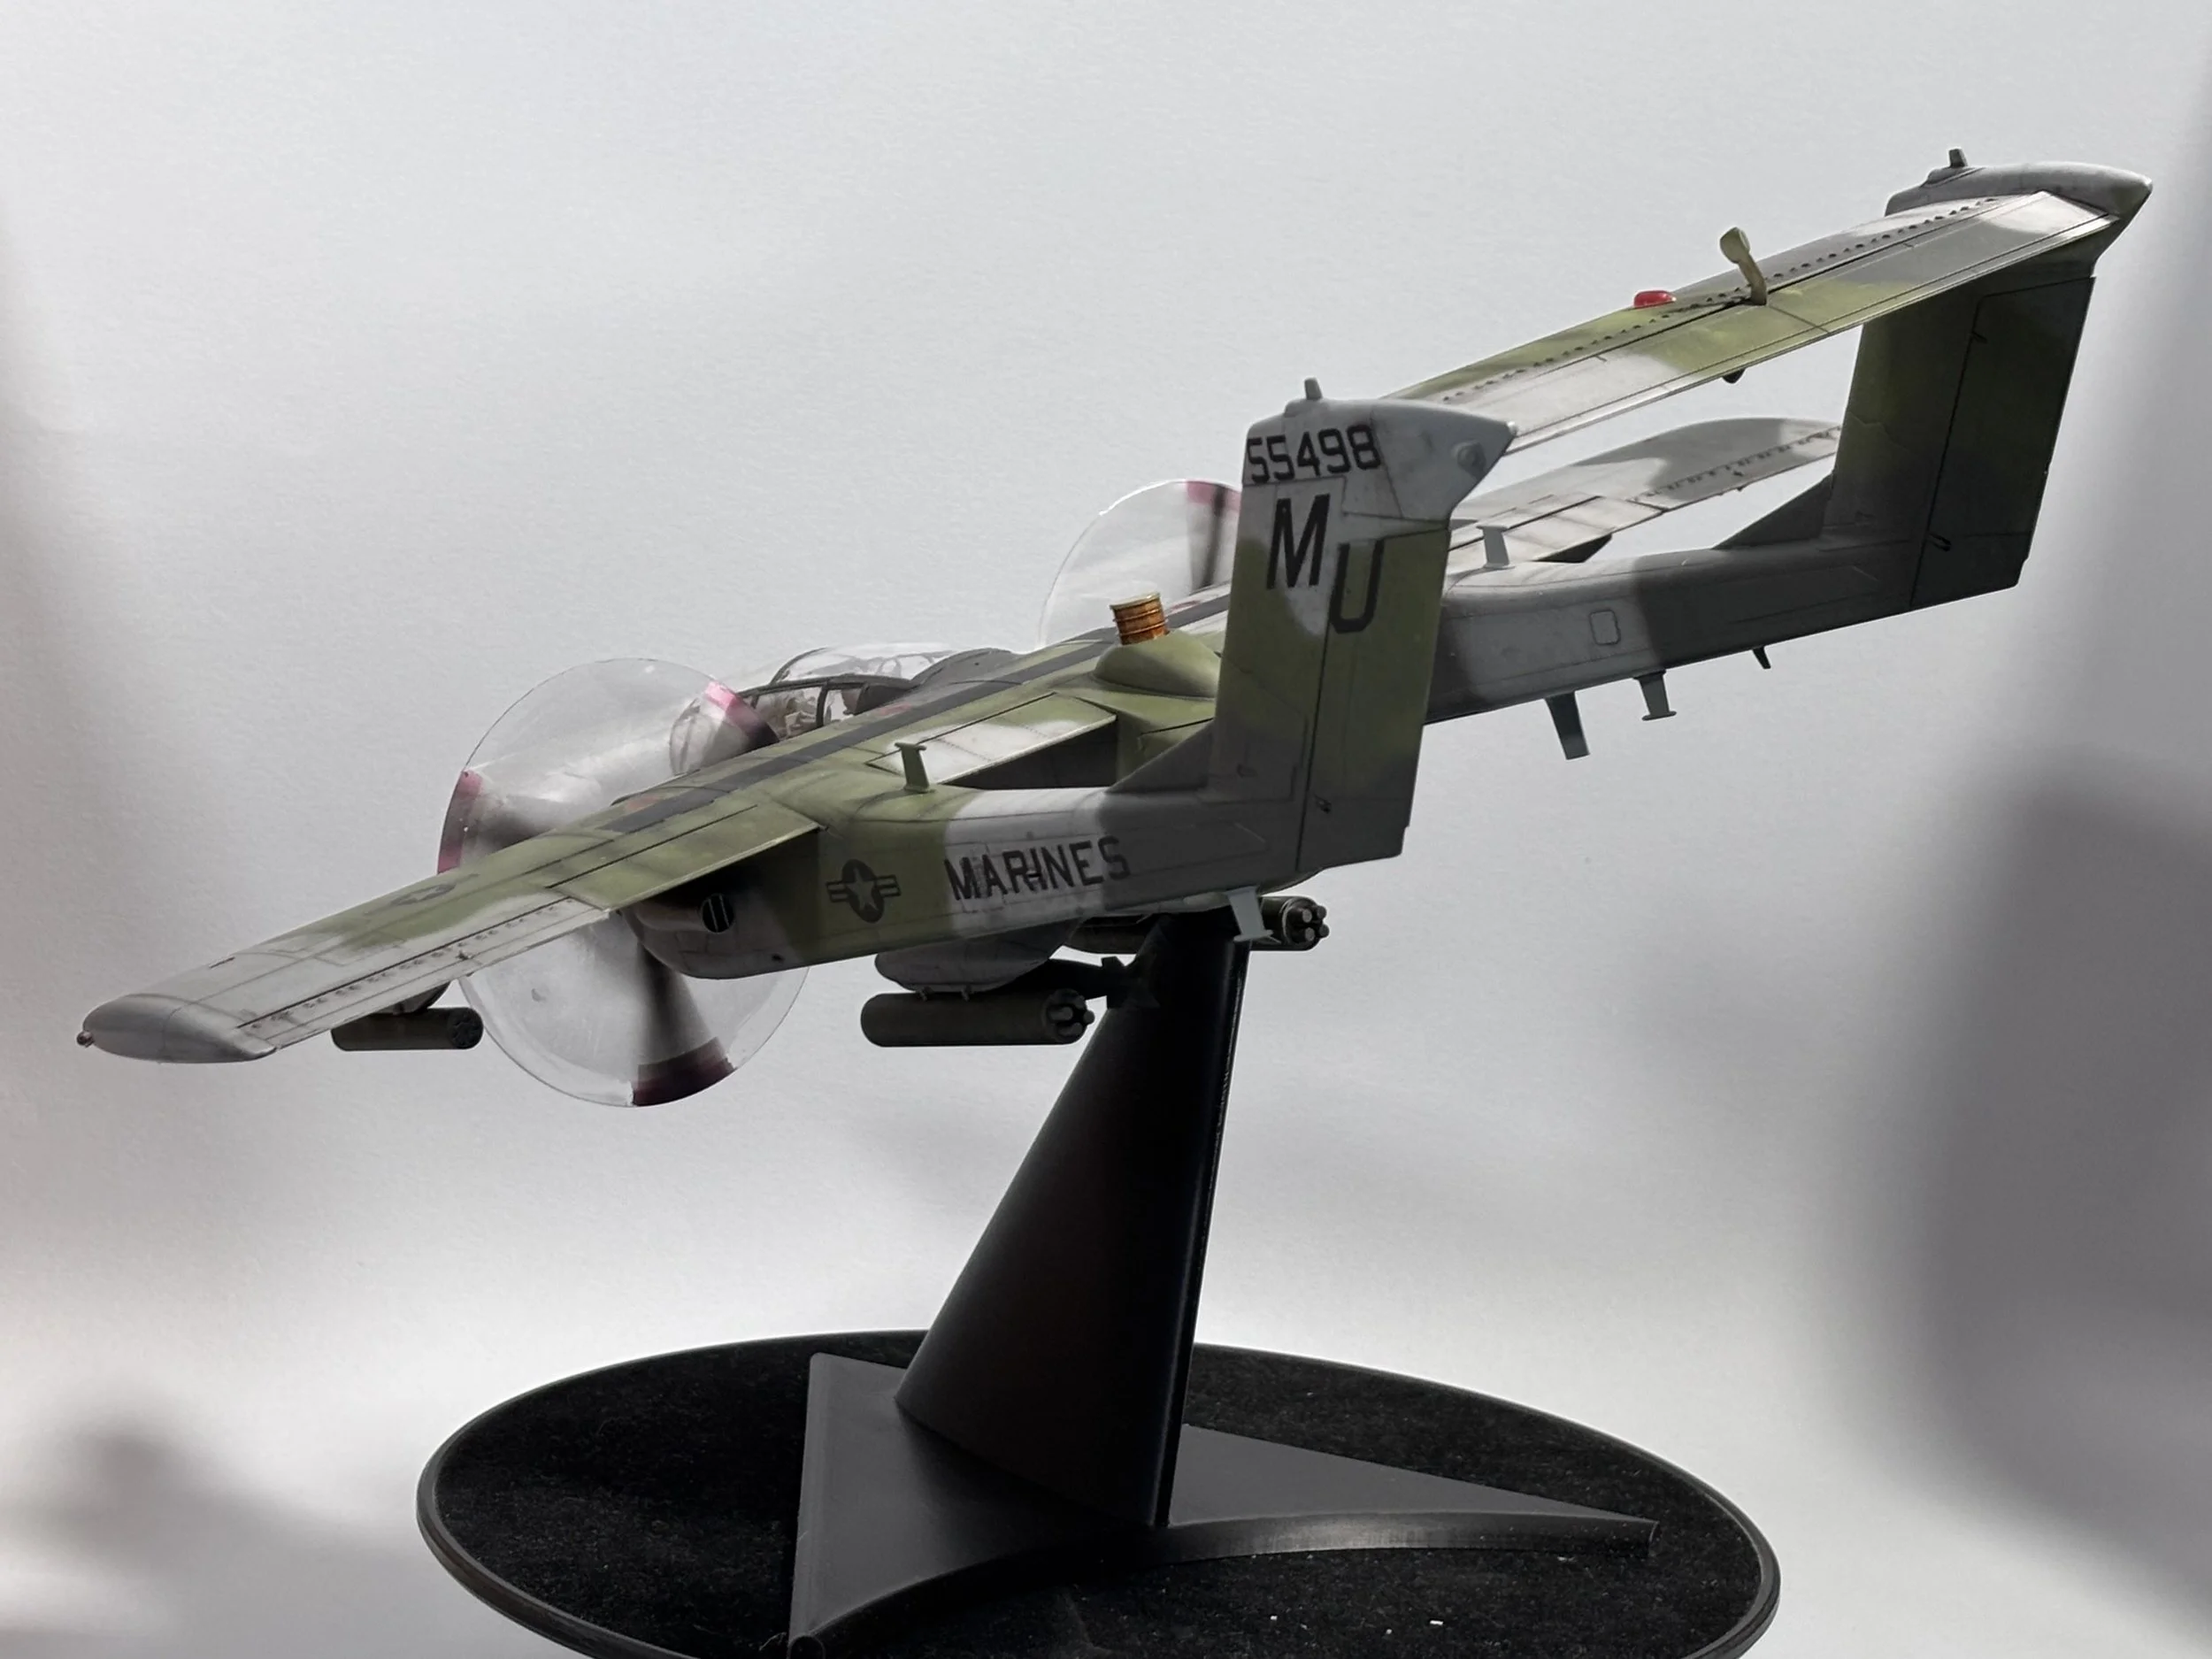
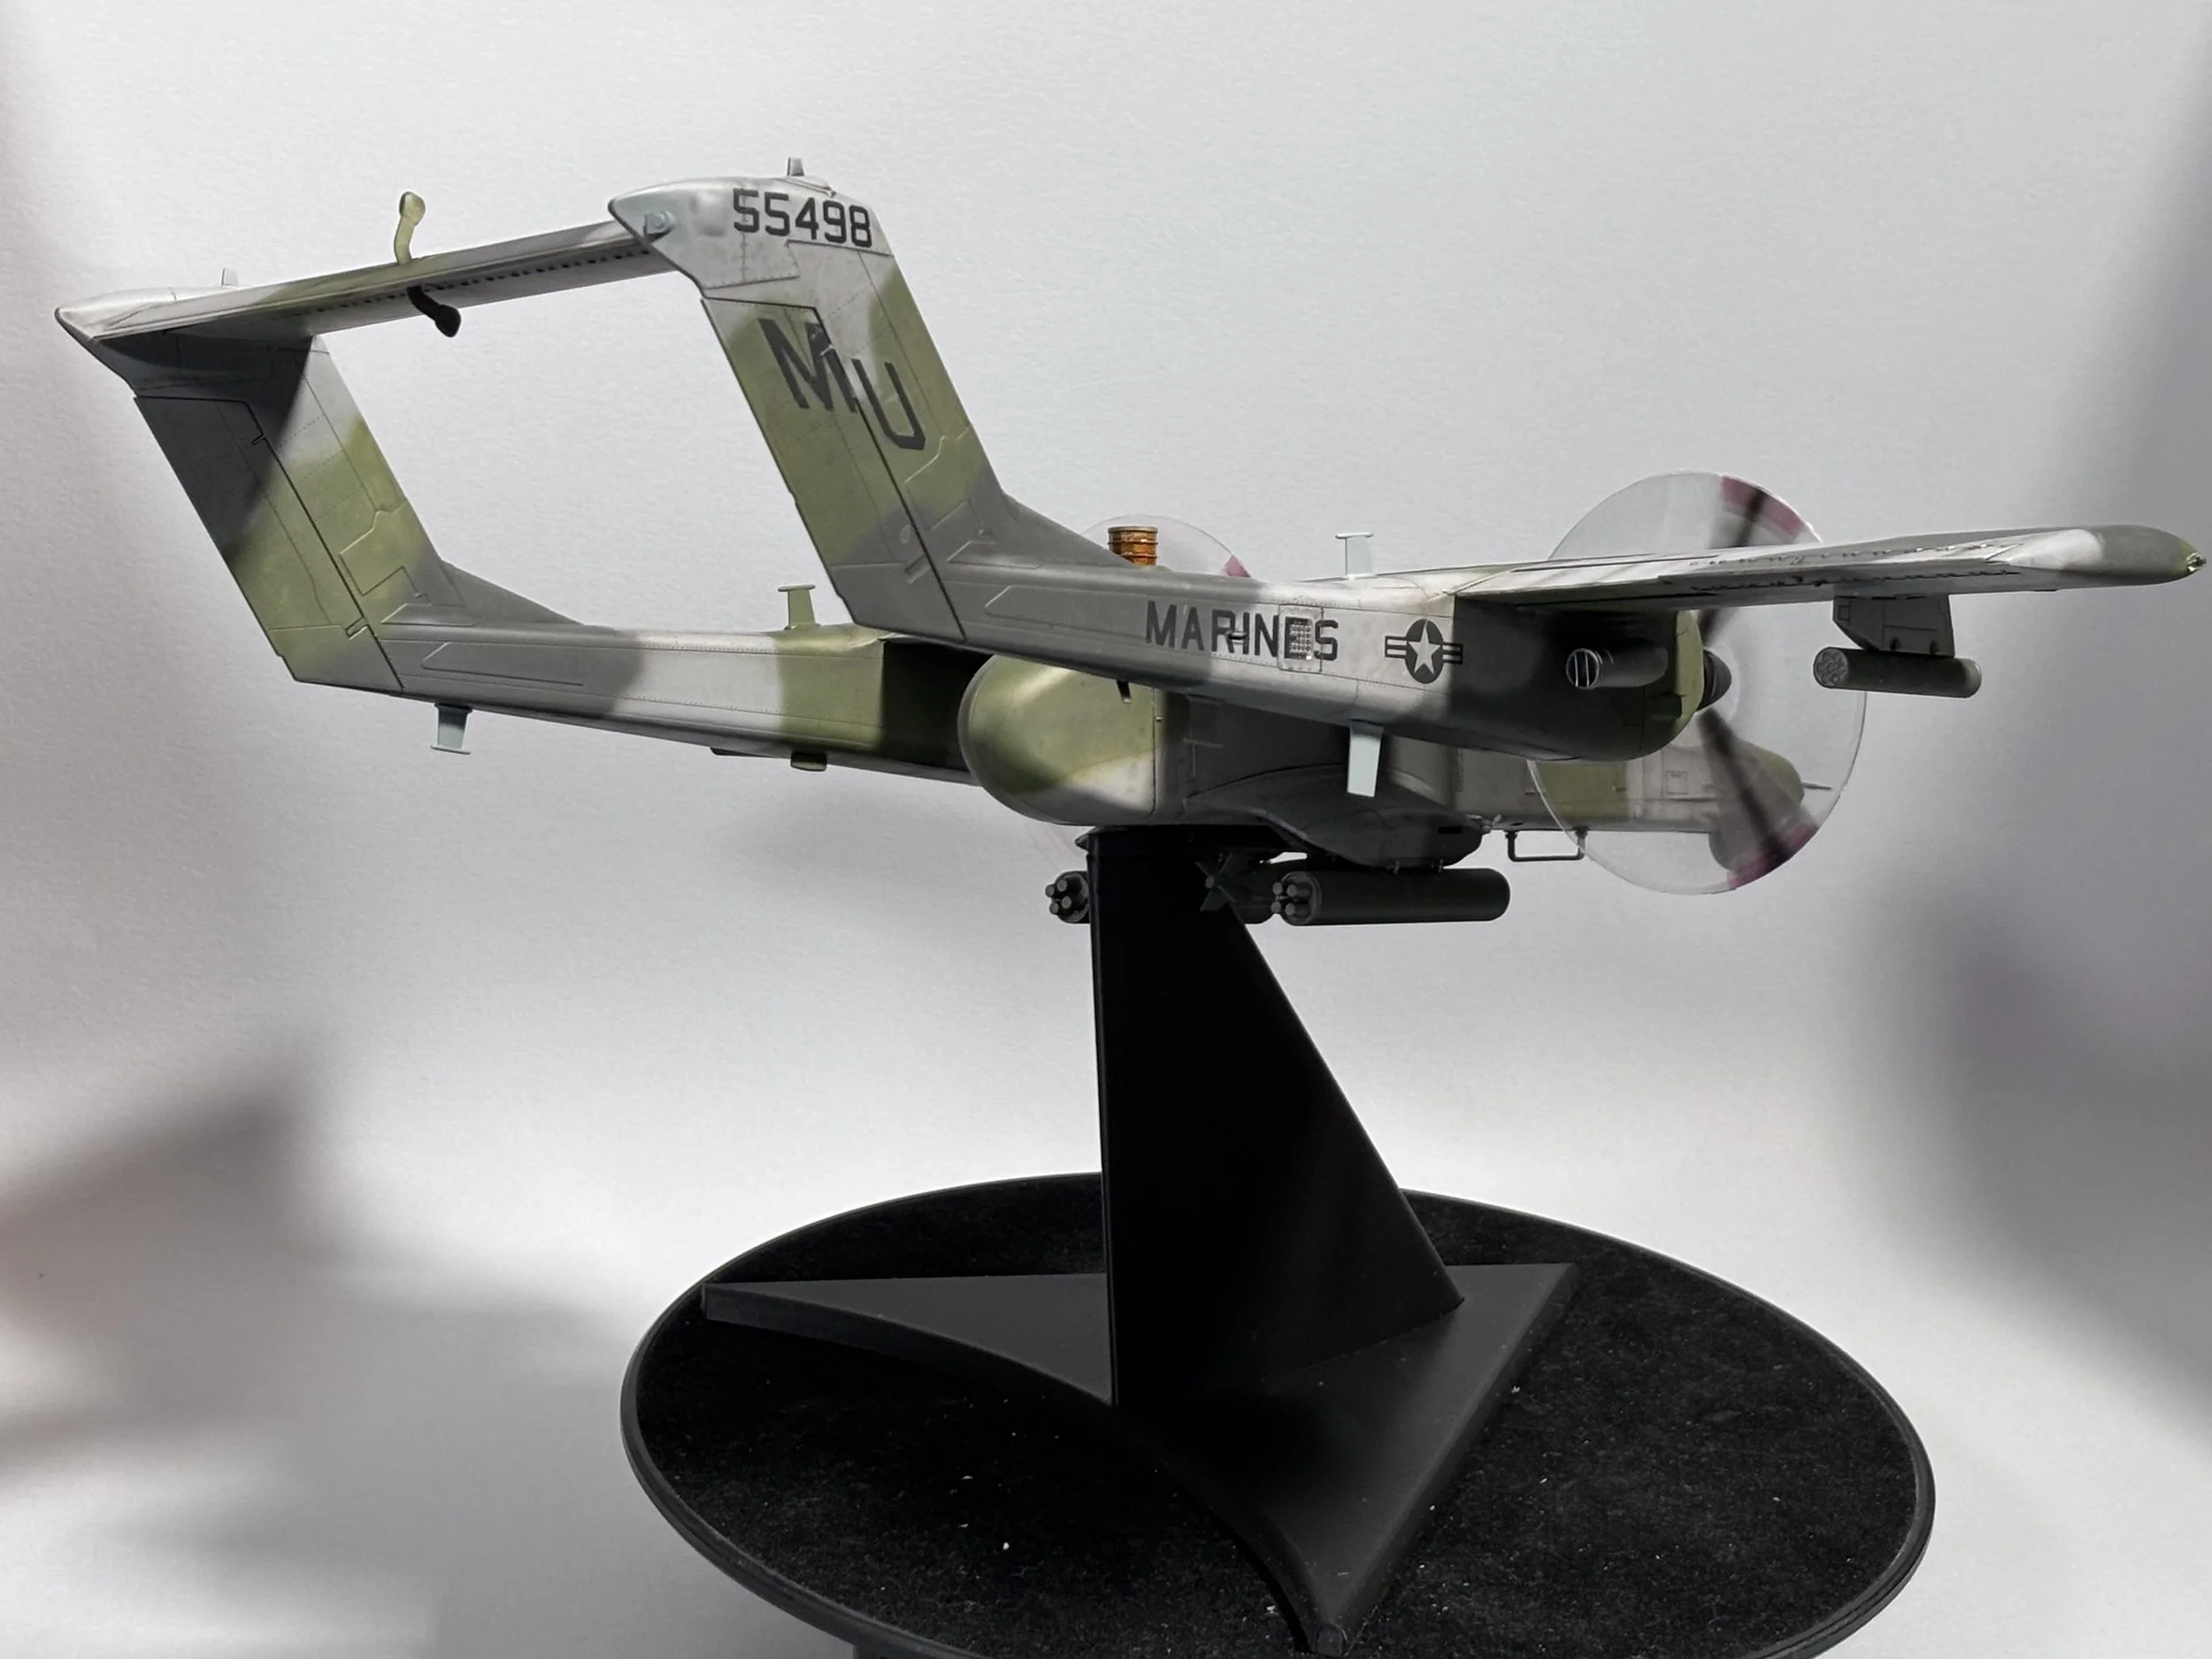
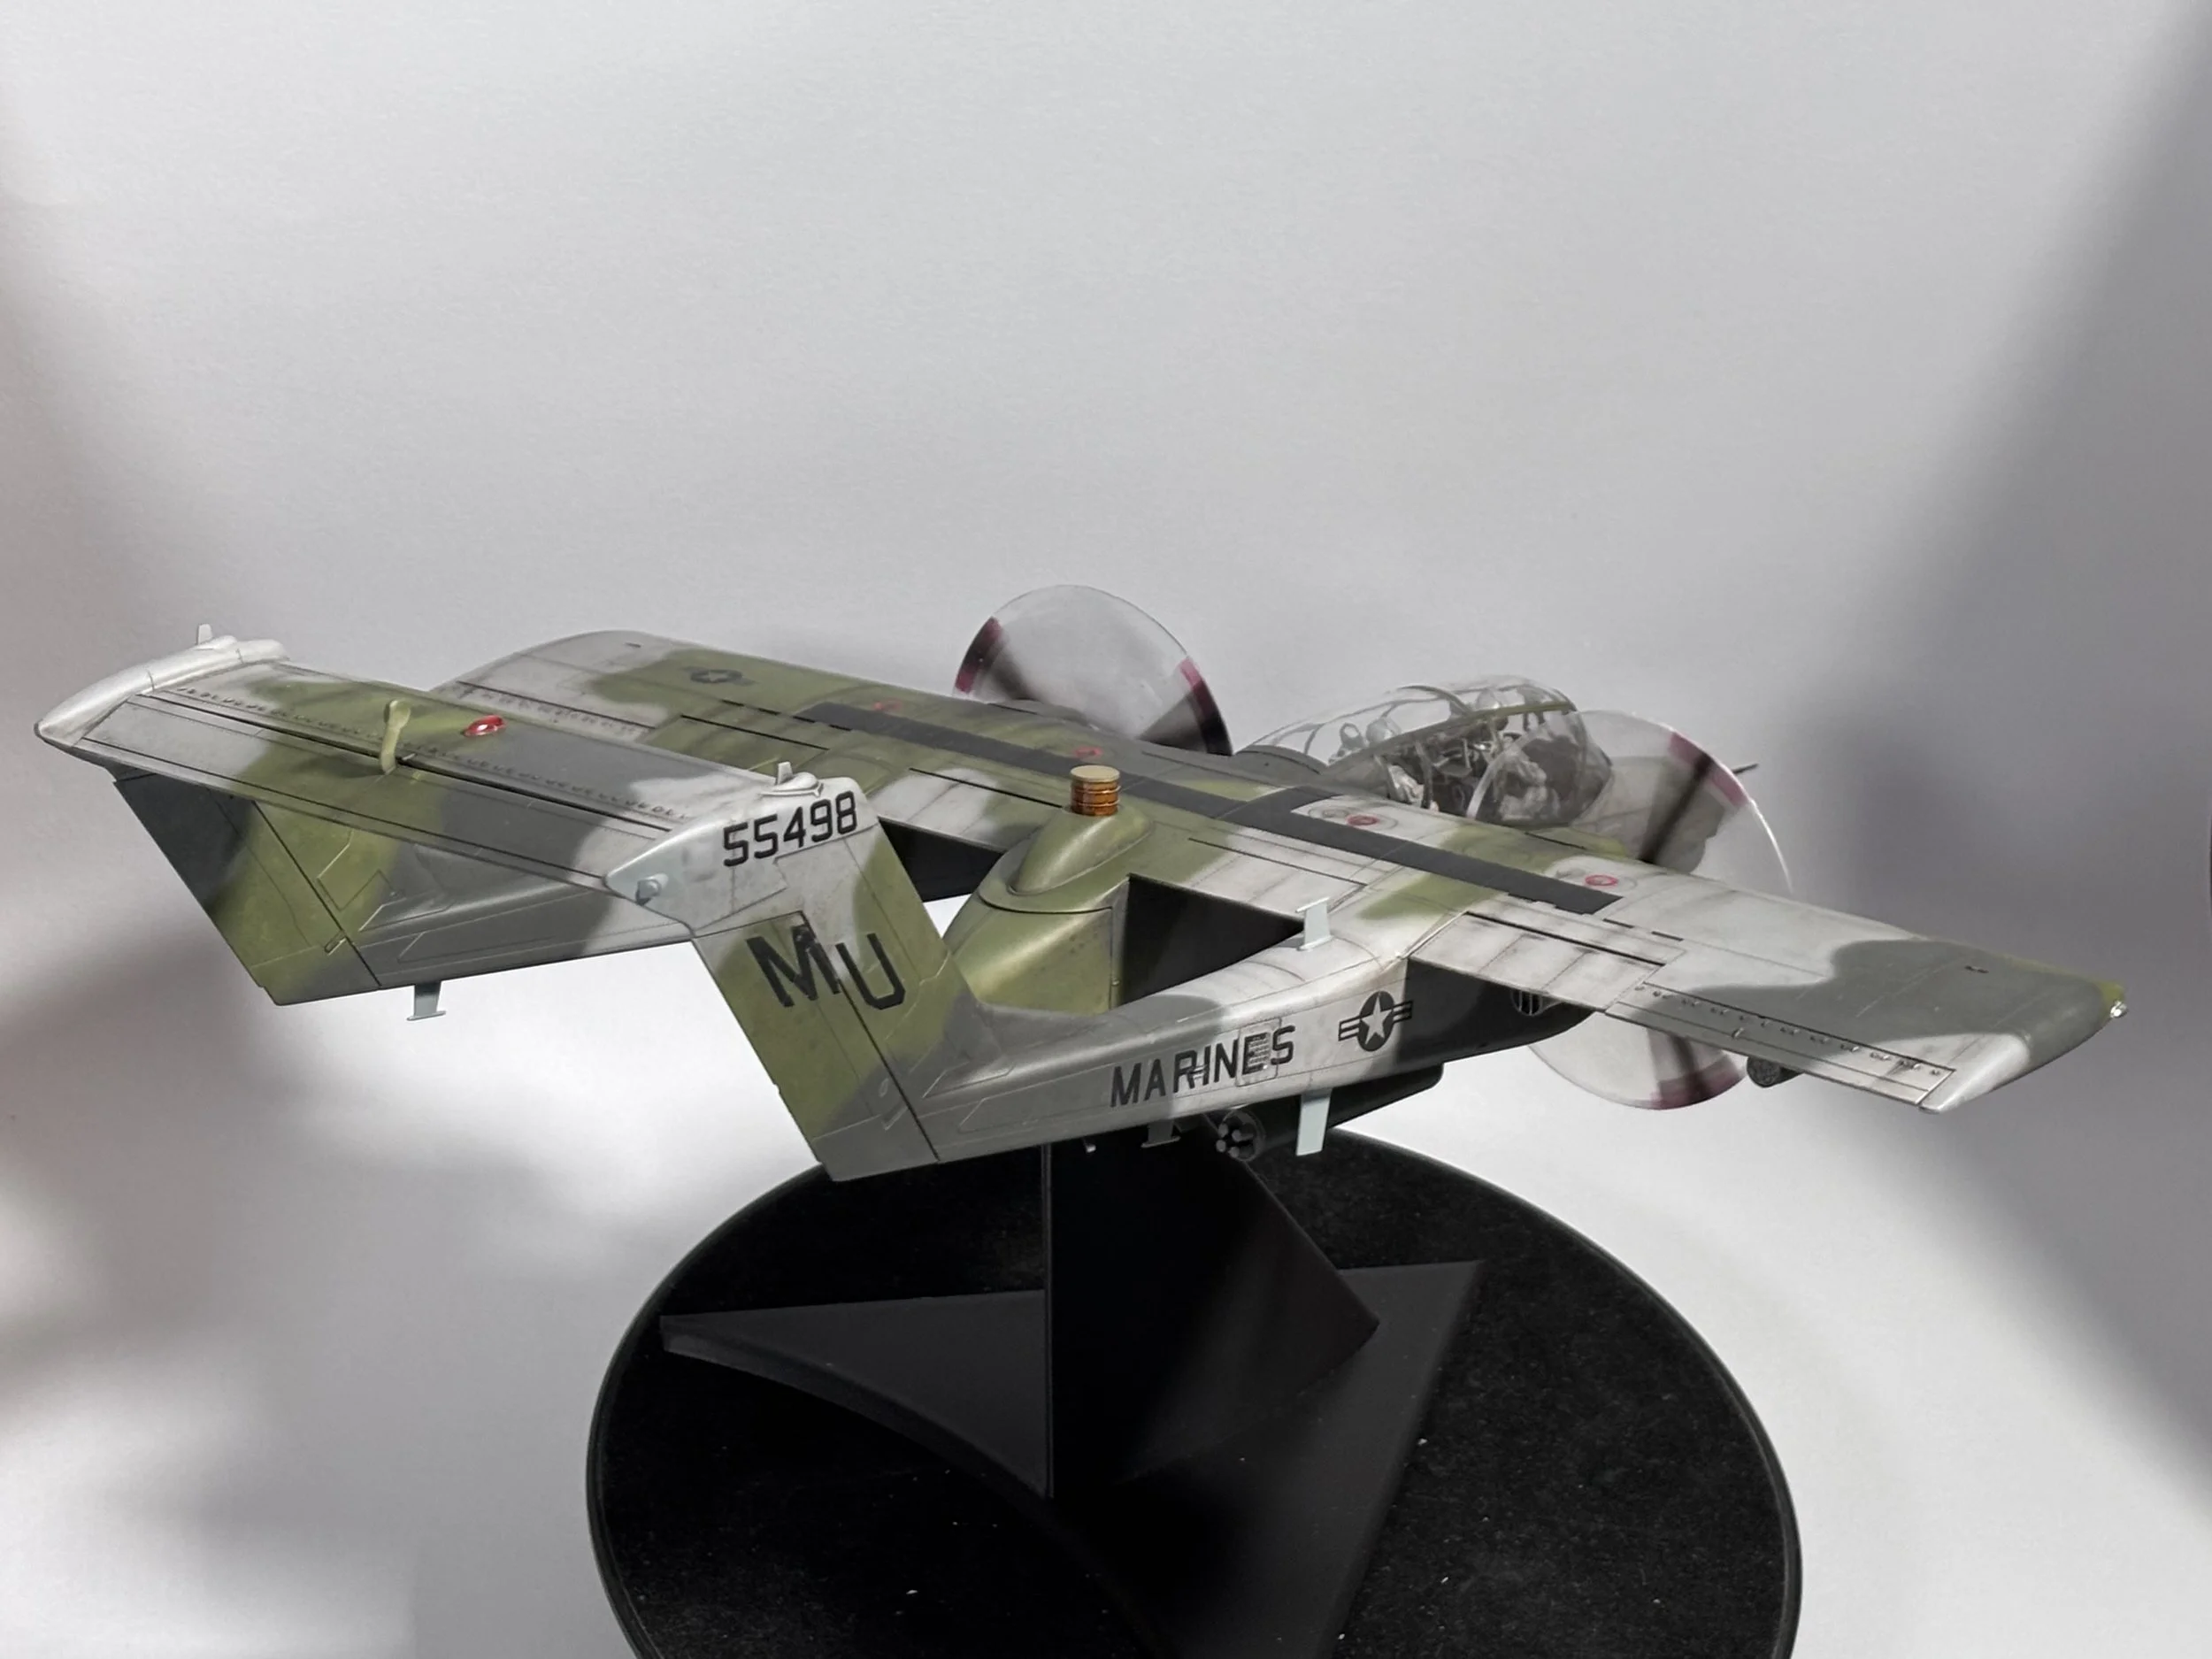
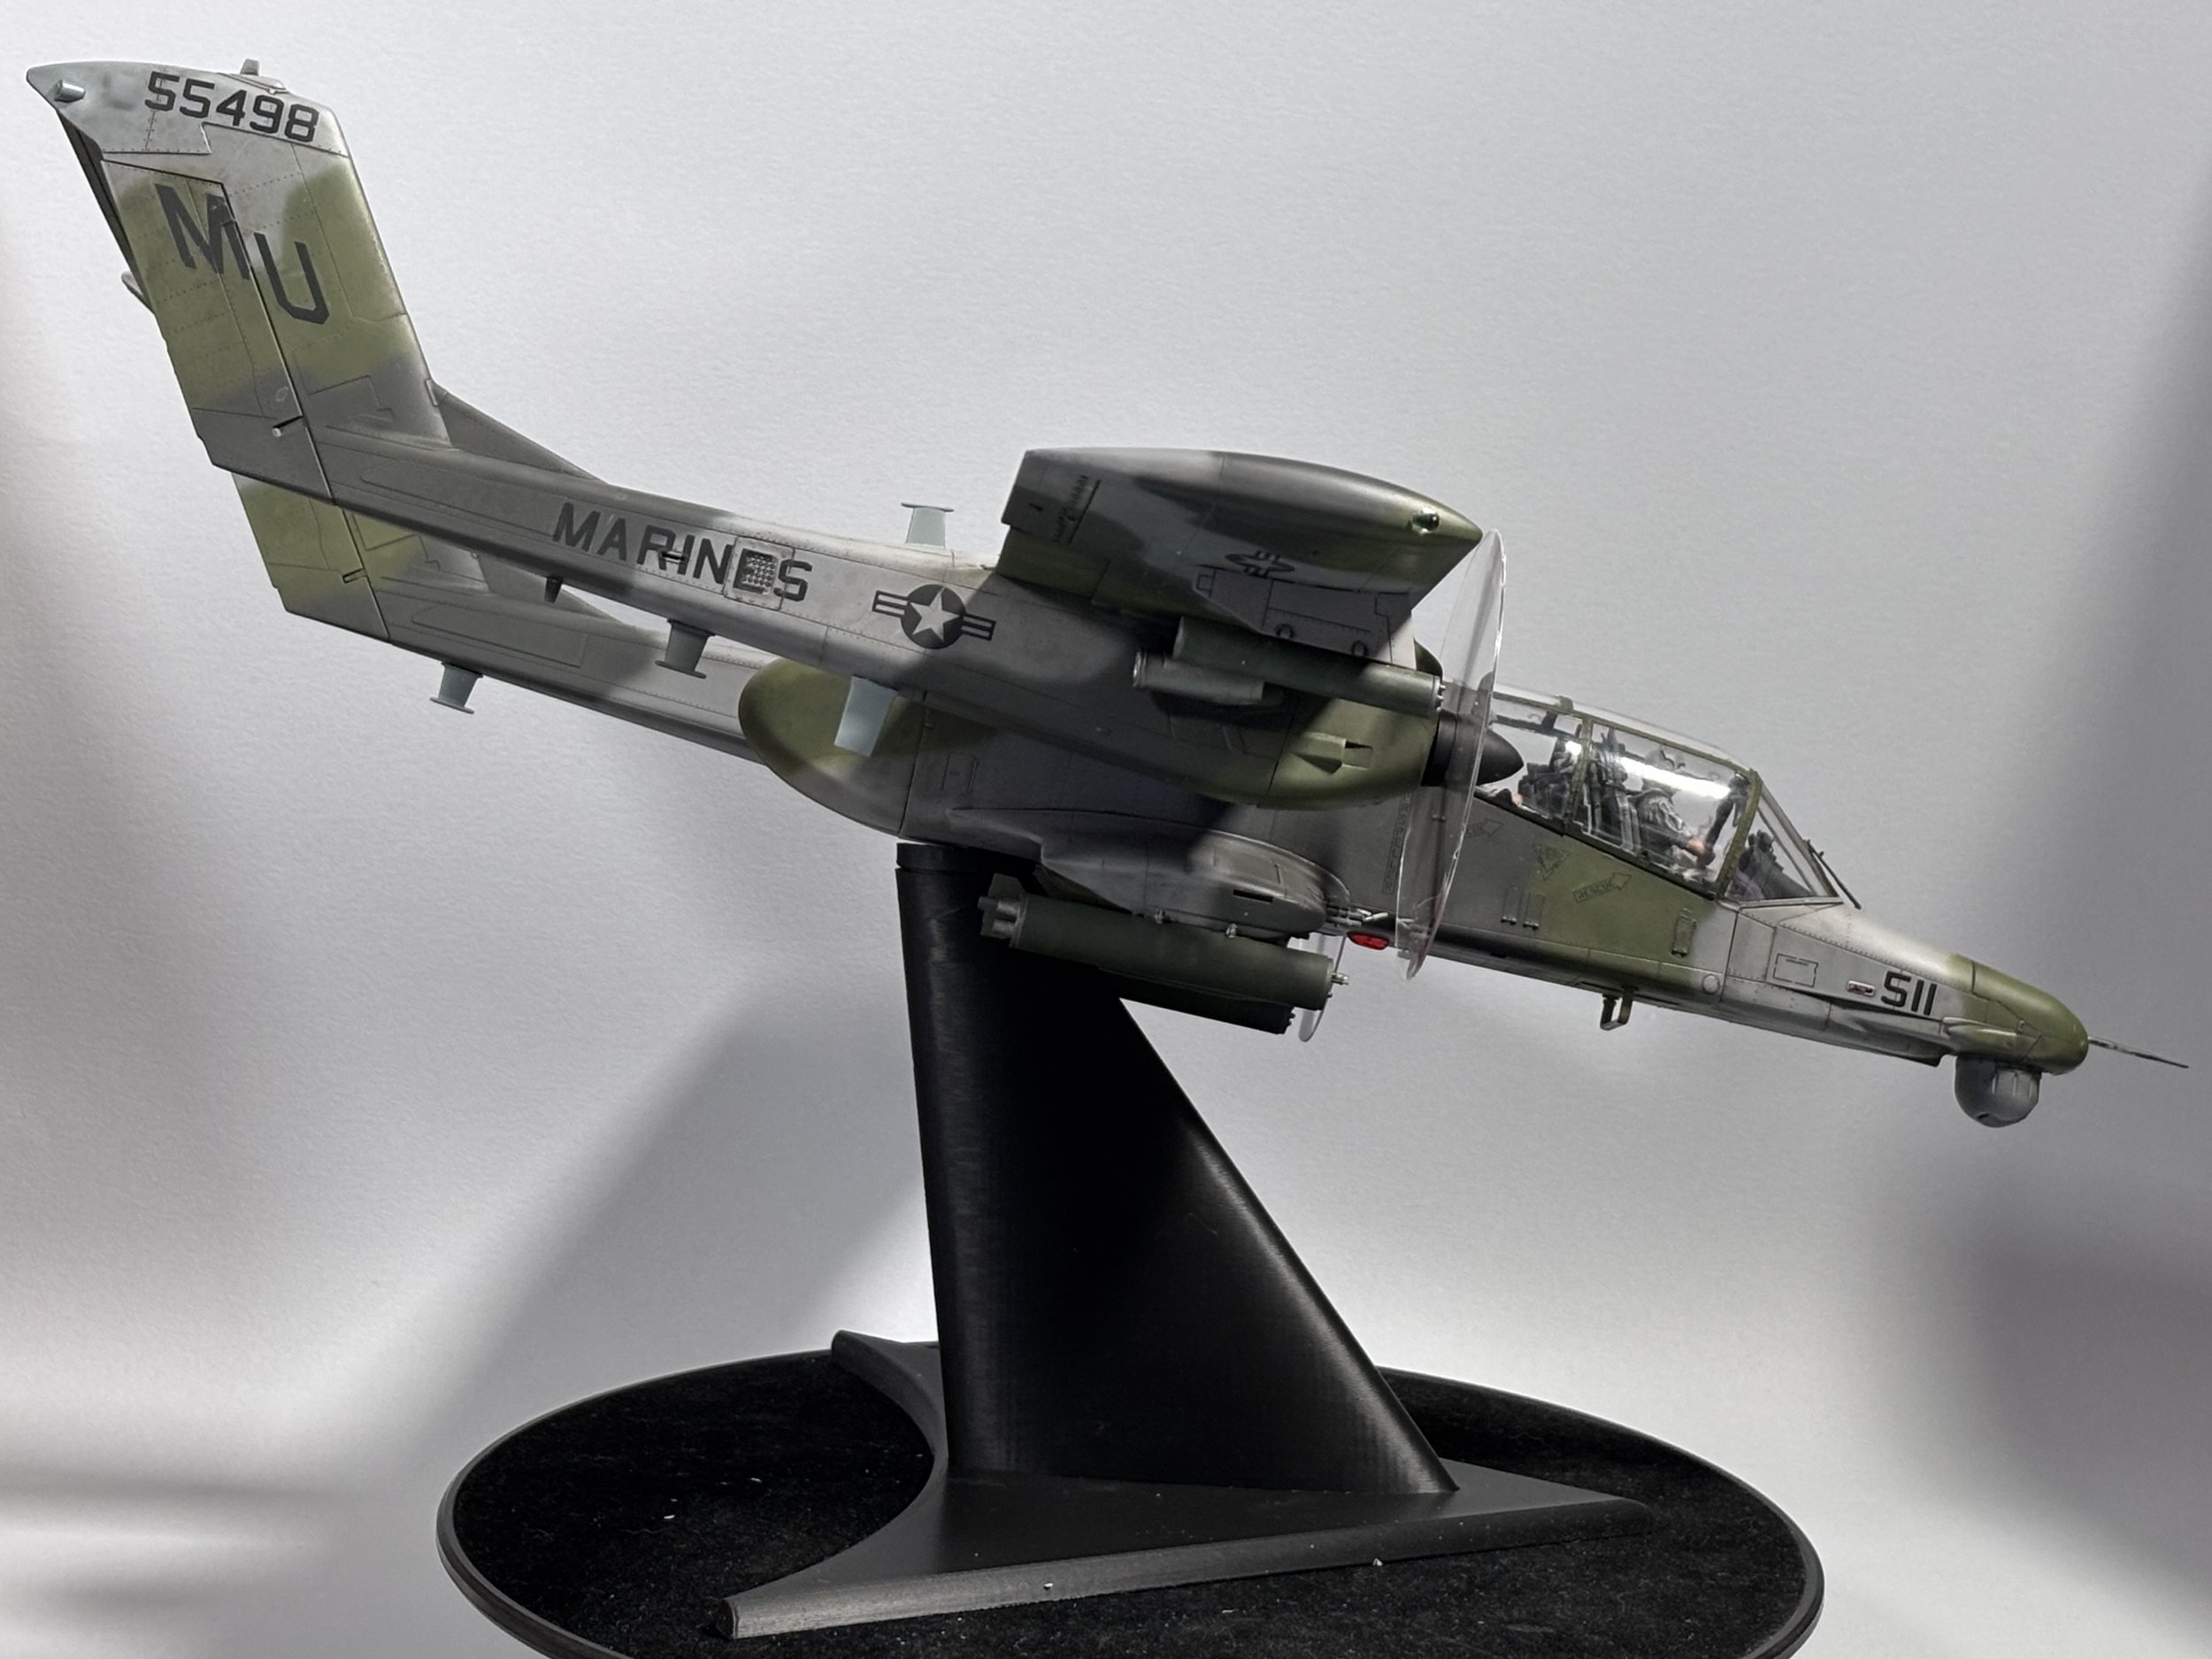
Ov-10D Bronco
Scale: 1/32
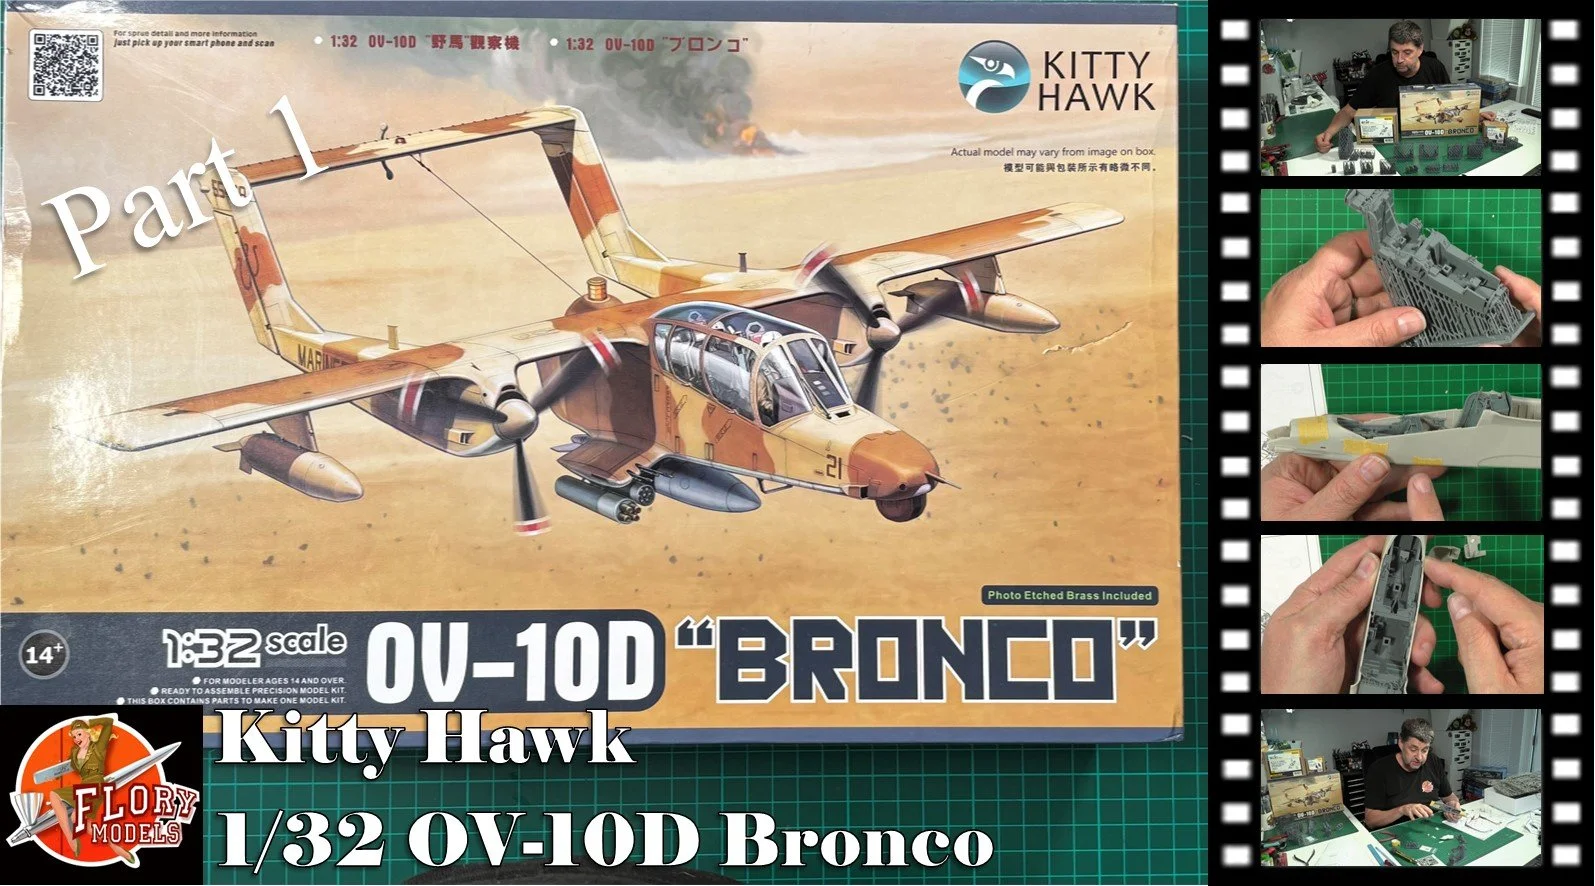
Manufacturer: Kitty Hawk
Parts used: Reskit, Flory model flight stand
Main paints used: Tamiya and Hataka
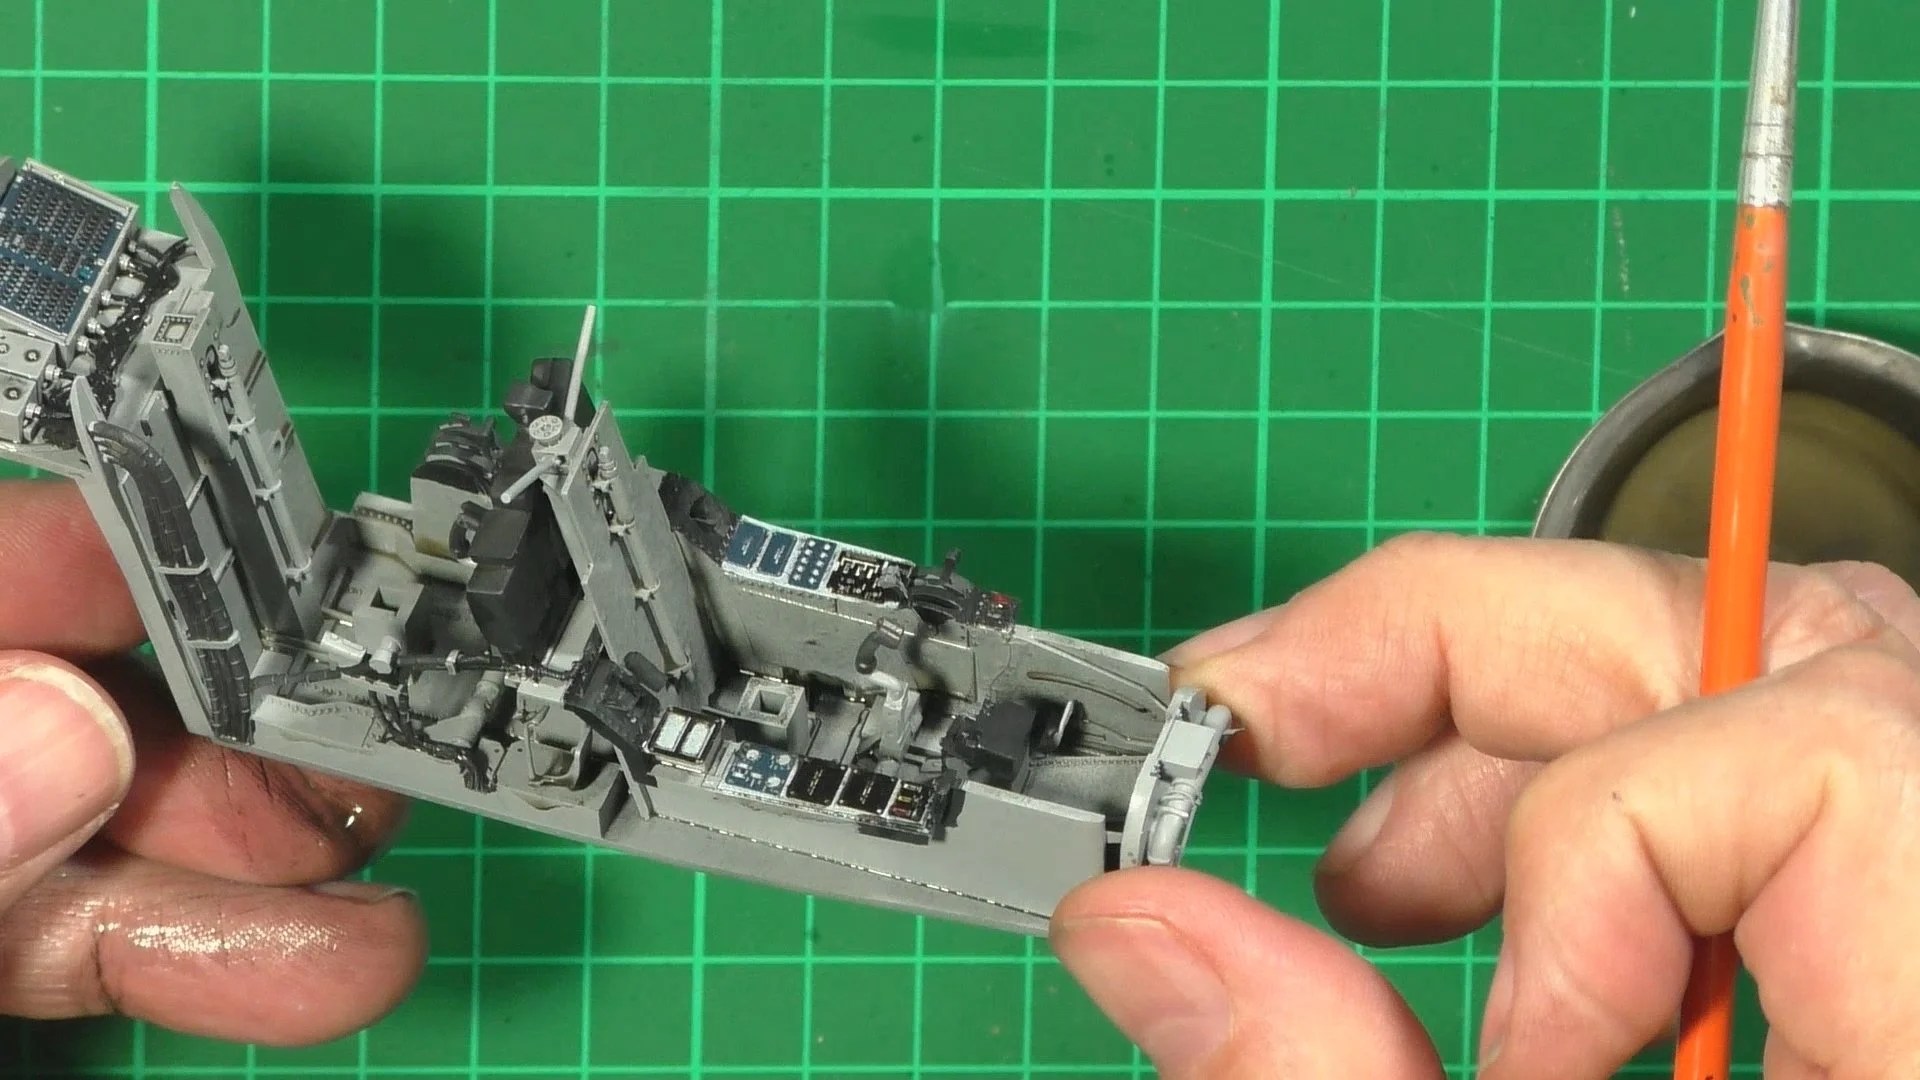
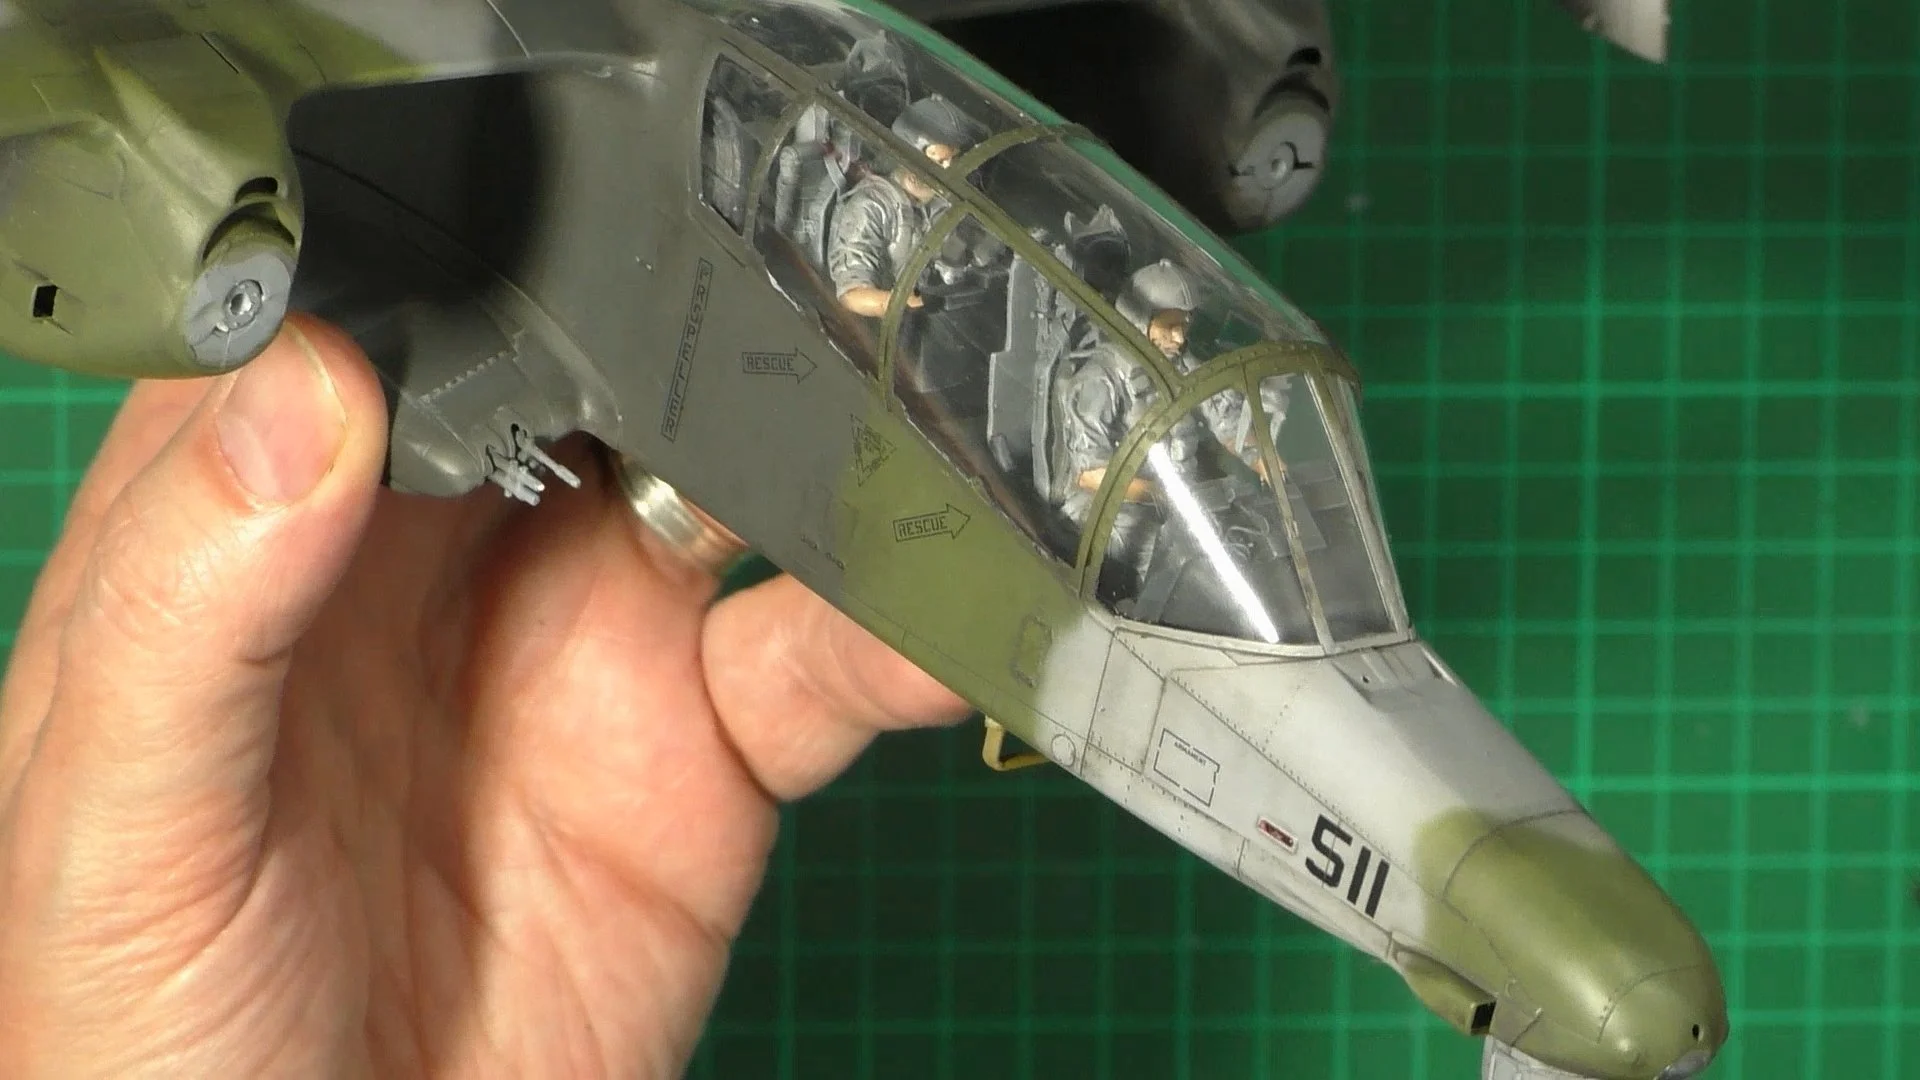
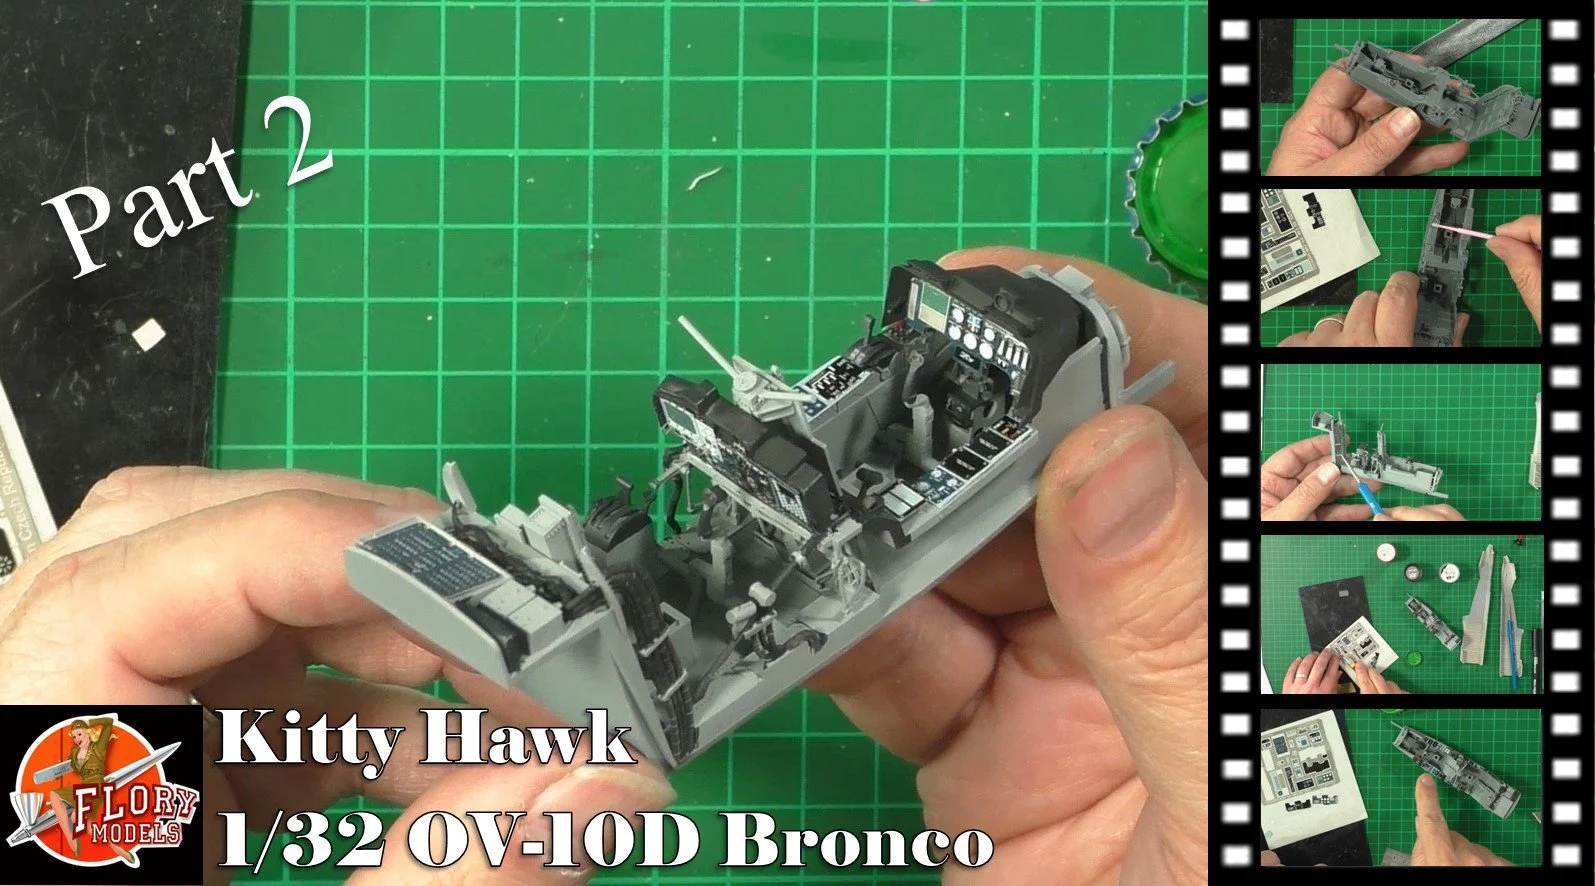
In part one, we look at the build ahead and look at converting the Reskit OV-10A resin cockpit into the newer OV-10D type.
0:00 First up, we start on the cockpit and remove some of the details to make way for the color phot-etch. 17:37 Next, we remove the ejector pins for the kit's fuselage and test fit. 20:37 Now we move into the spray booth and paint the cockpit with FS36231 Dark Gull Grey. 24:53 Here we move back to the bench and hand paint all the details with AK markers and then install the Eduard color Photo-etch. 34:35 Last up, we use PVA glue to install the instrument panel.
0:00 To start, we make an oil wash with ABT005 Smoke and enamel thinners. This is brushed over the whole model, including the color PE. 7:15 Next up we glue and fix the main wing together, and then put together the gun packs that attach to the fuselage's large sides. 22:13 with the oil wash dry, we now drybrush the whole cockpit area with a light grey to add more weathering and highlight details.

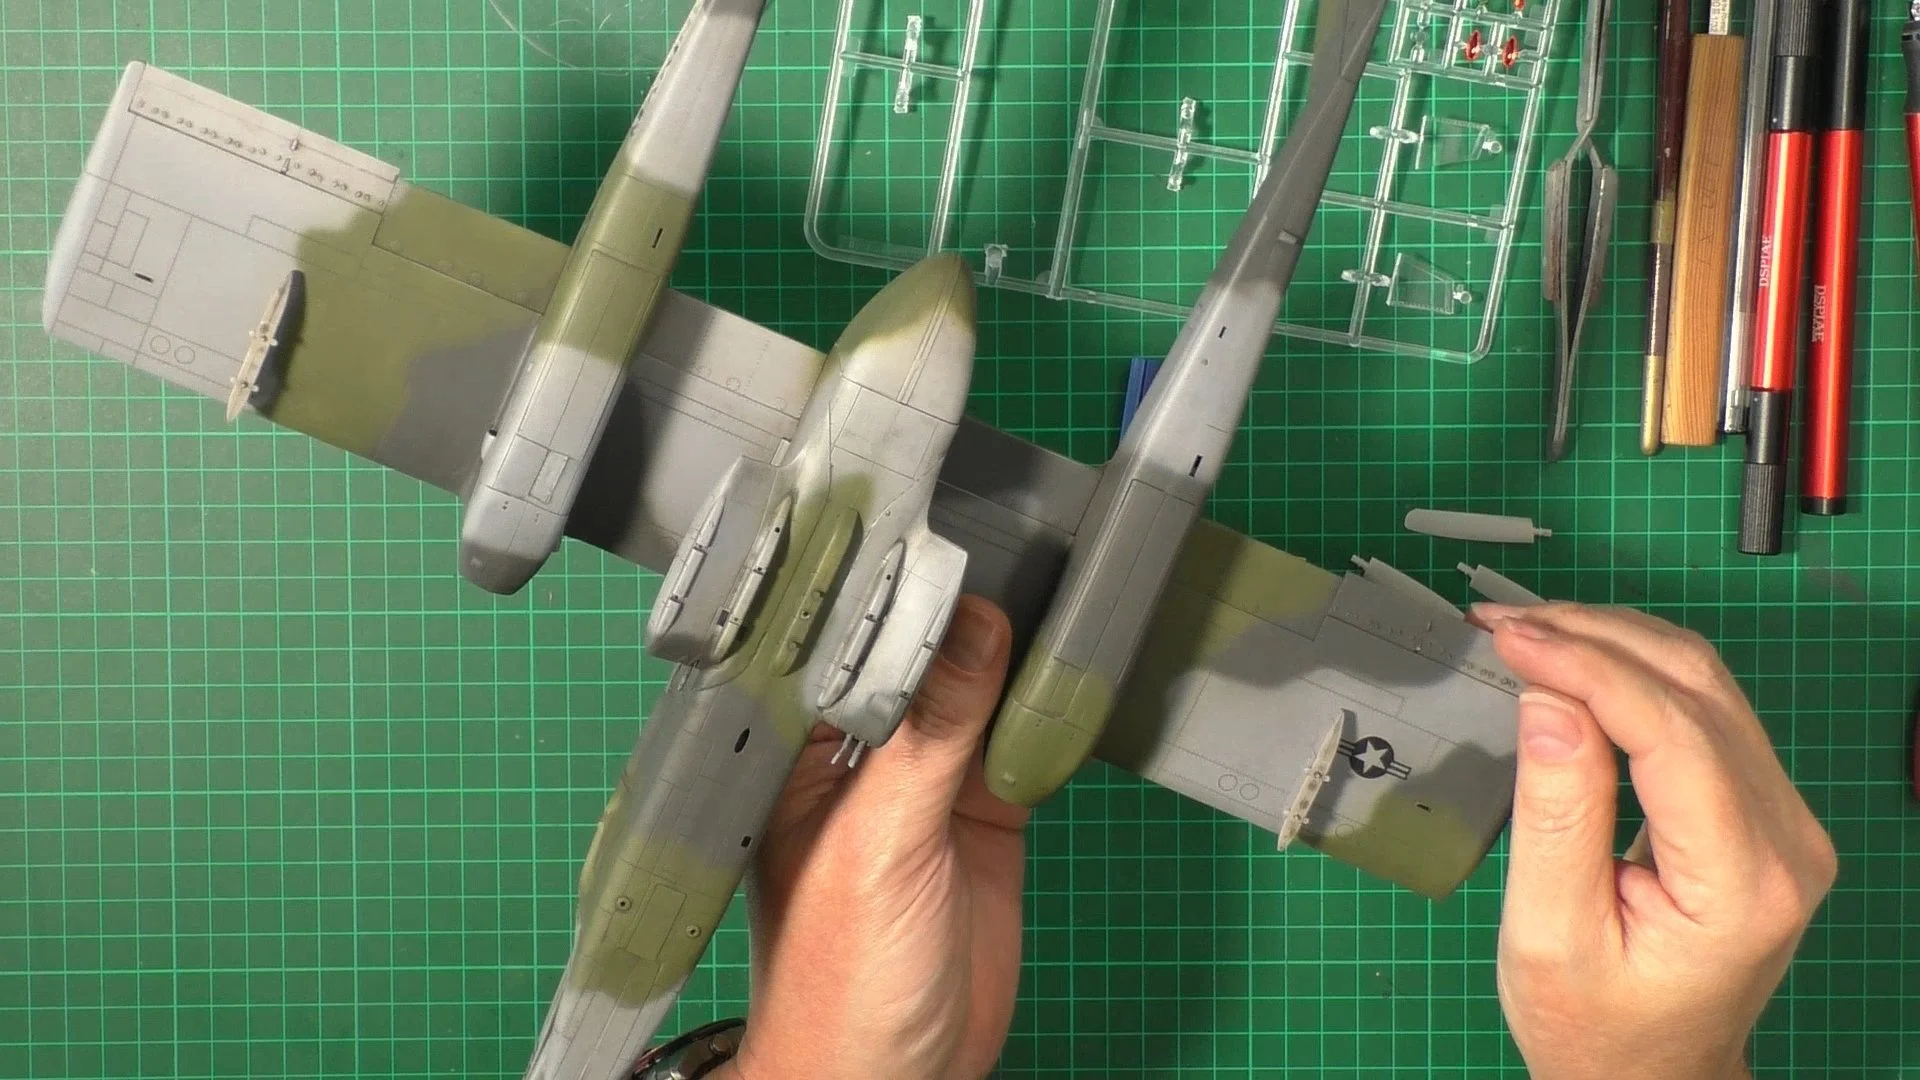
0:00 To start, we work on the engines and the wheel wells. Then install them to the tail booms. 6:34 Next up, we add a brass rod to the main wing to make a wingspar. This will straighten and fix the three-part main wing. 16:26 With the wing-spar fixed in place, fix the wings together and the top engine cowlings. Then we glue together the main fuselage. 28:02 Last up, we fit the ill-fitting engine cowls and close them up for un-flight.

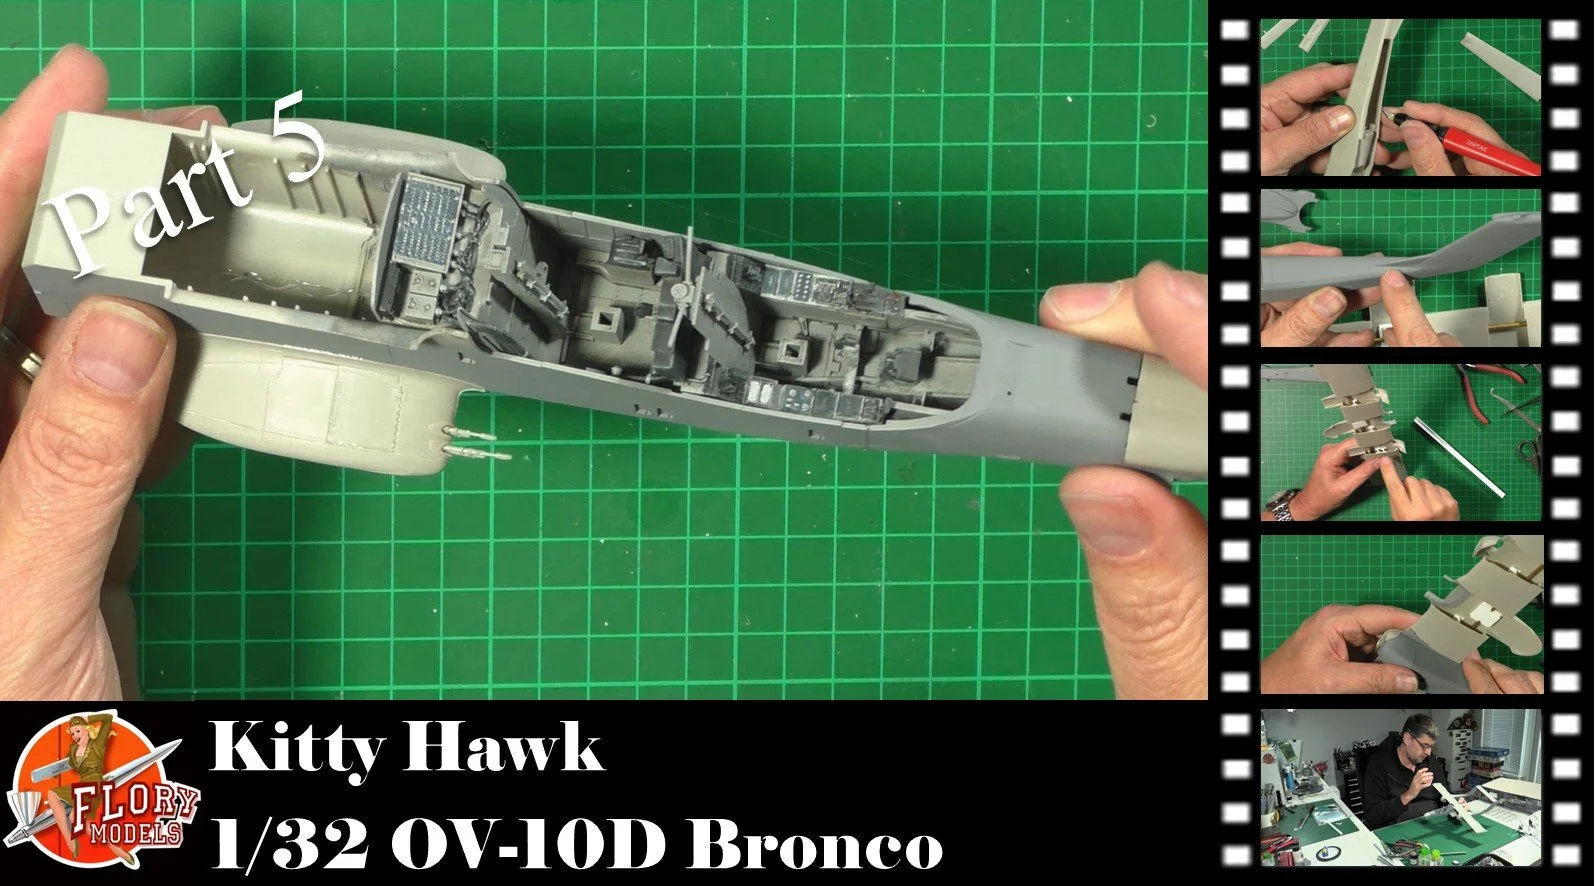
0:00 First, we build up the tail booms and install the gear doors. And the sand in the filler used around the engine covers. 13:16 Next, it's time to fit the booms to the wings, and this isn't a great fit, so with some sanding and cutting, we get them to fit. 24:55 Last up, we test fit it all together and then add the nose and the gun pods to the main fuselage.
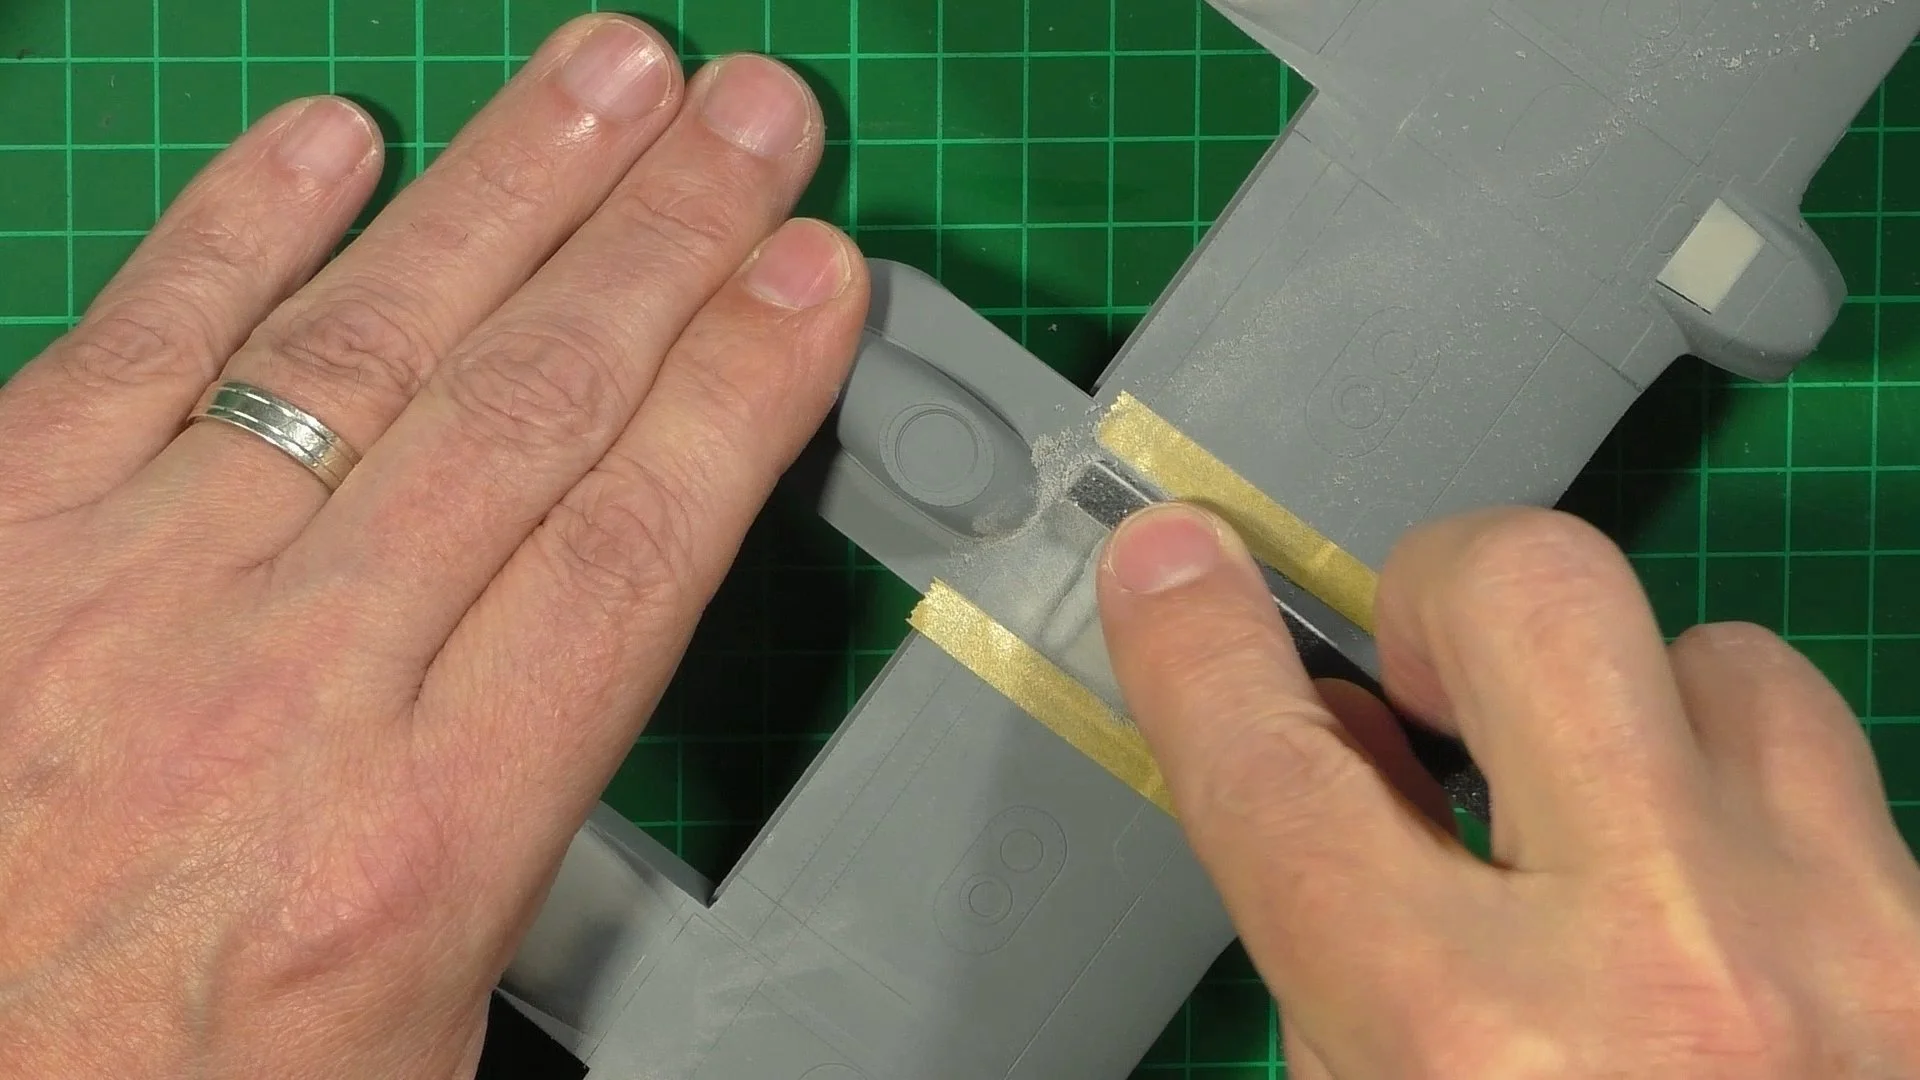
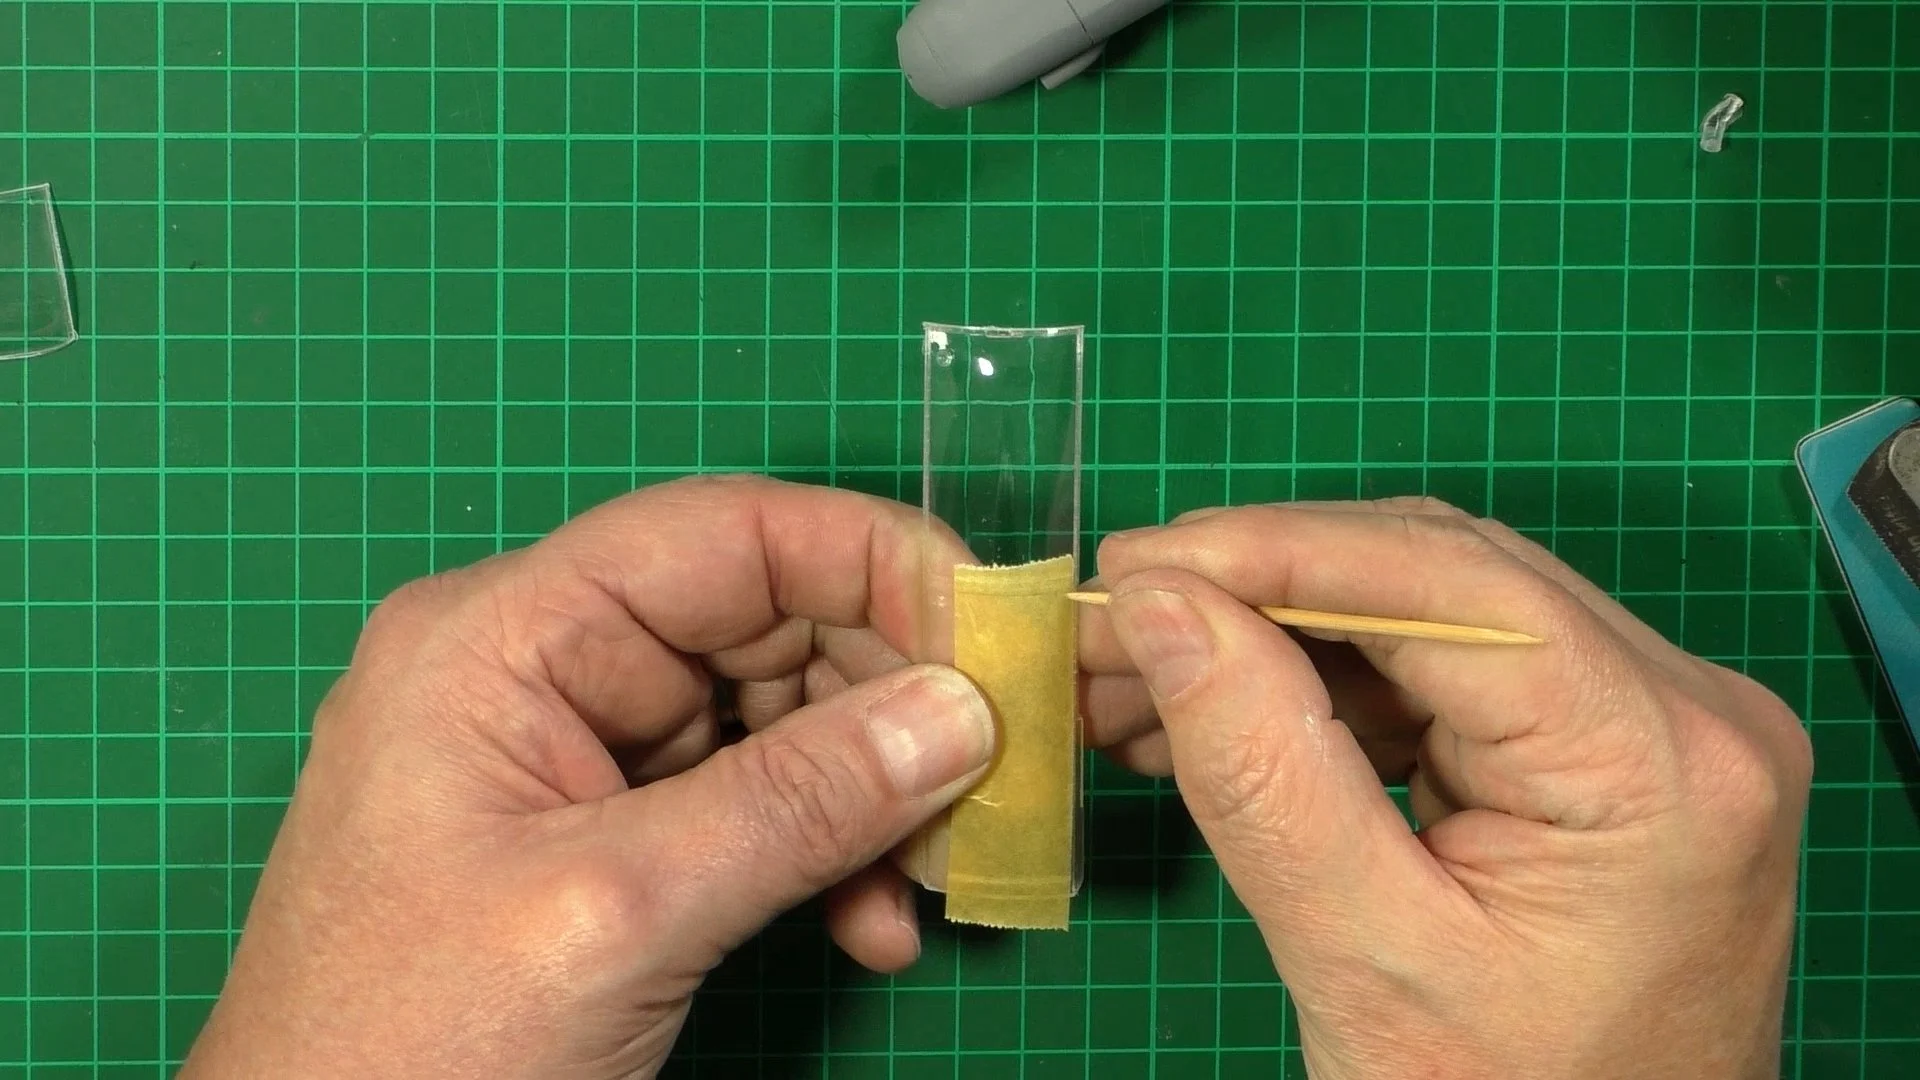
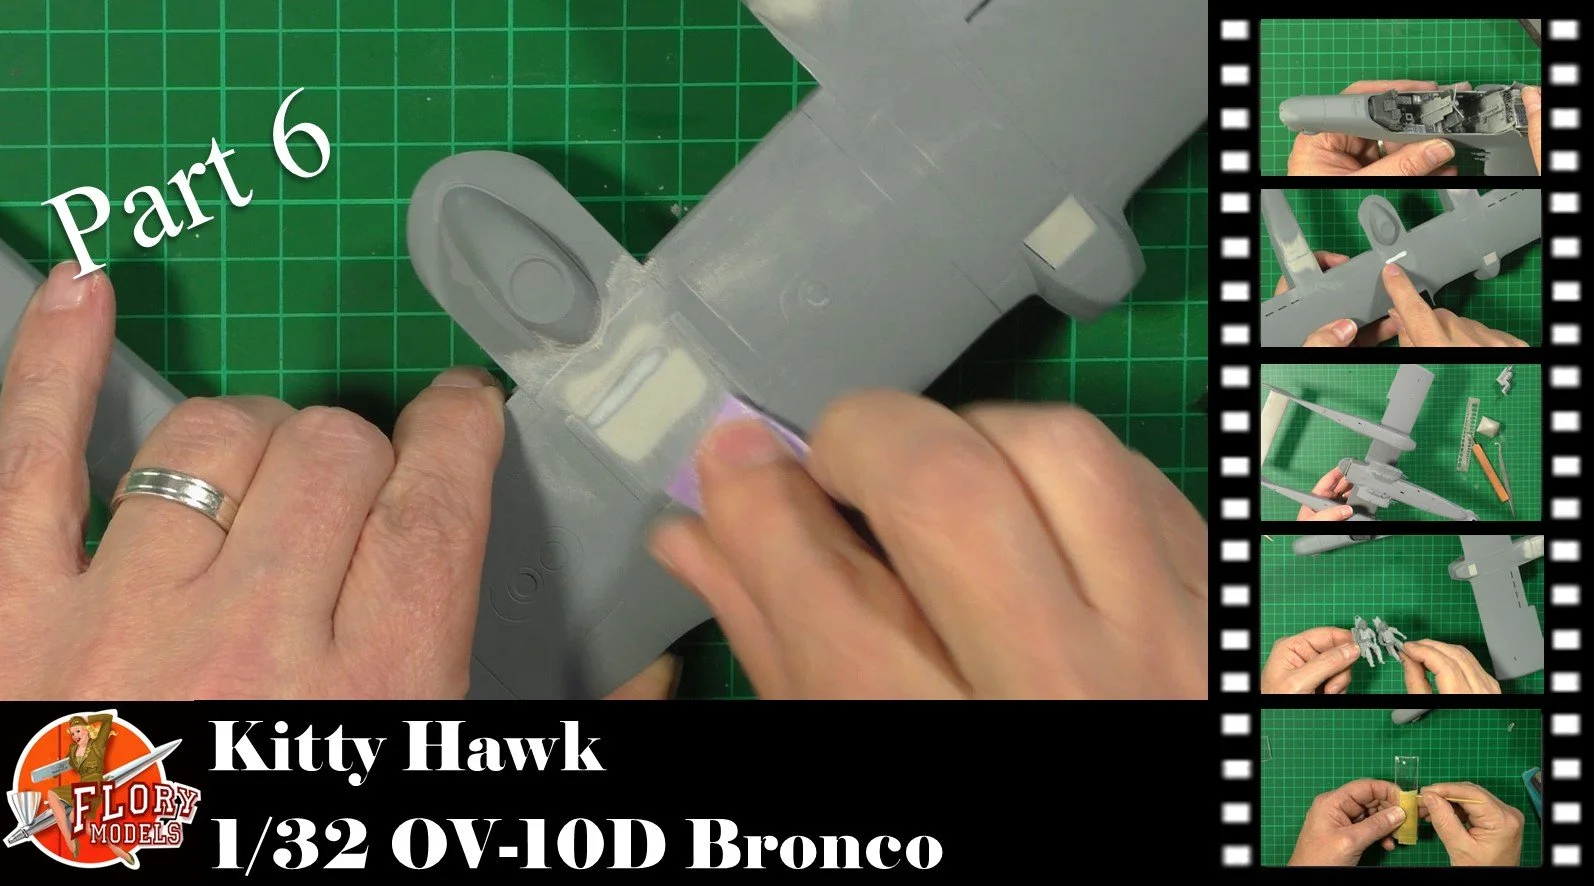
0:00 To start off, we add 3mm of plasticard to add strength for the in-flight stand. 5:42 Next, we take care of a sink mark caused be the glue we used when adding the brass rod wing spare. This is a Styrene filler that dried for a few days, and then was sanded flush. 19.51 Last up, we mask all the clear parts ready for fitting.
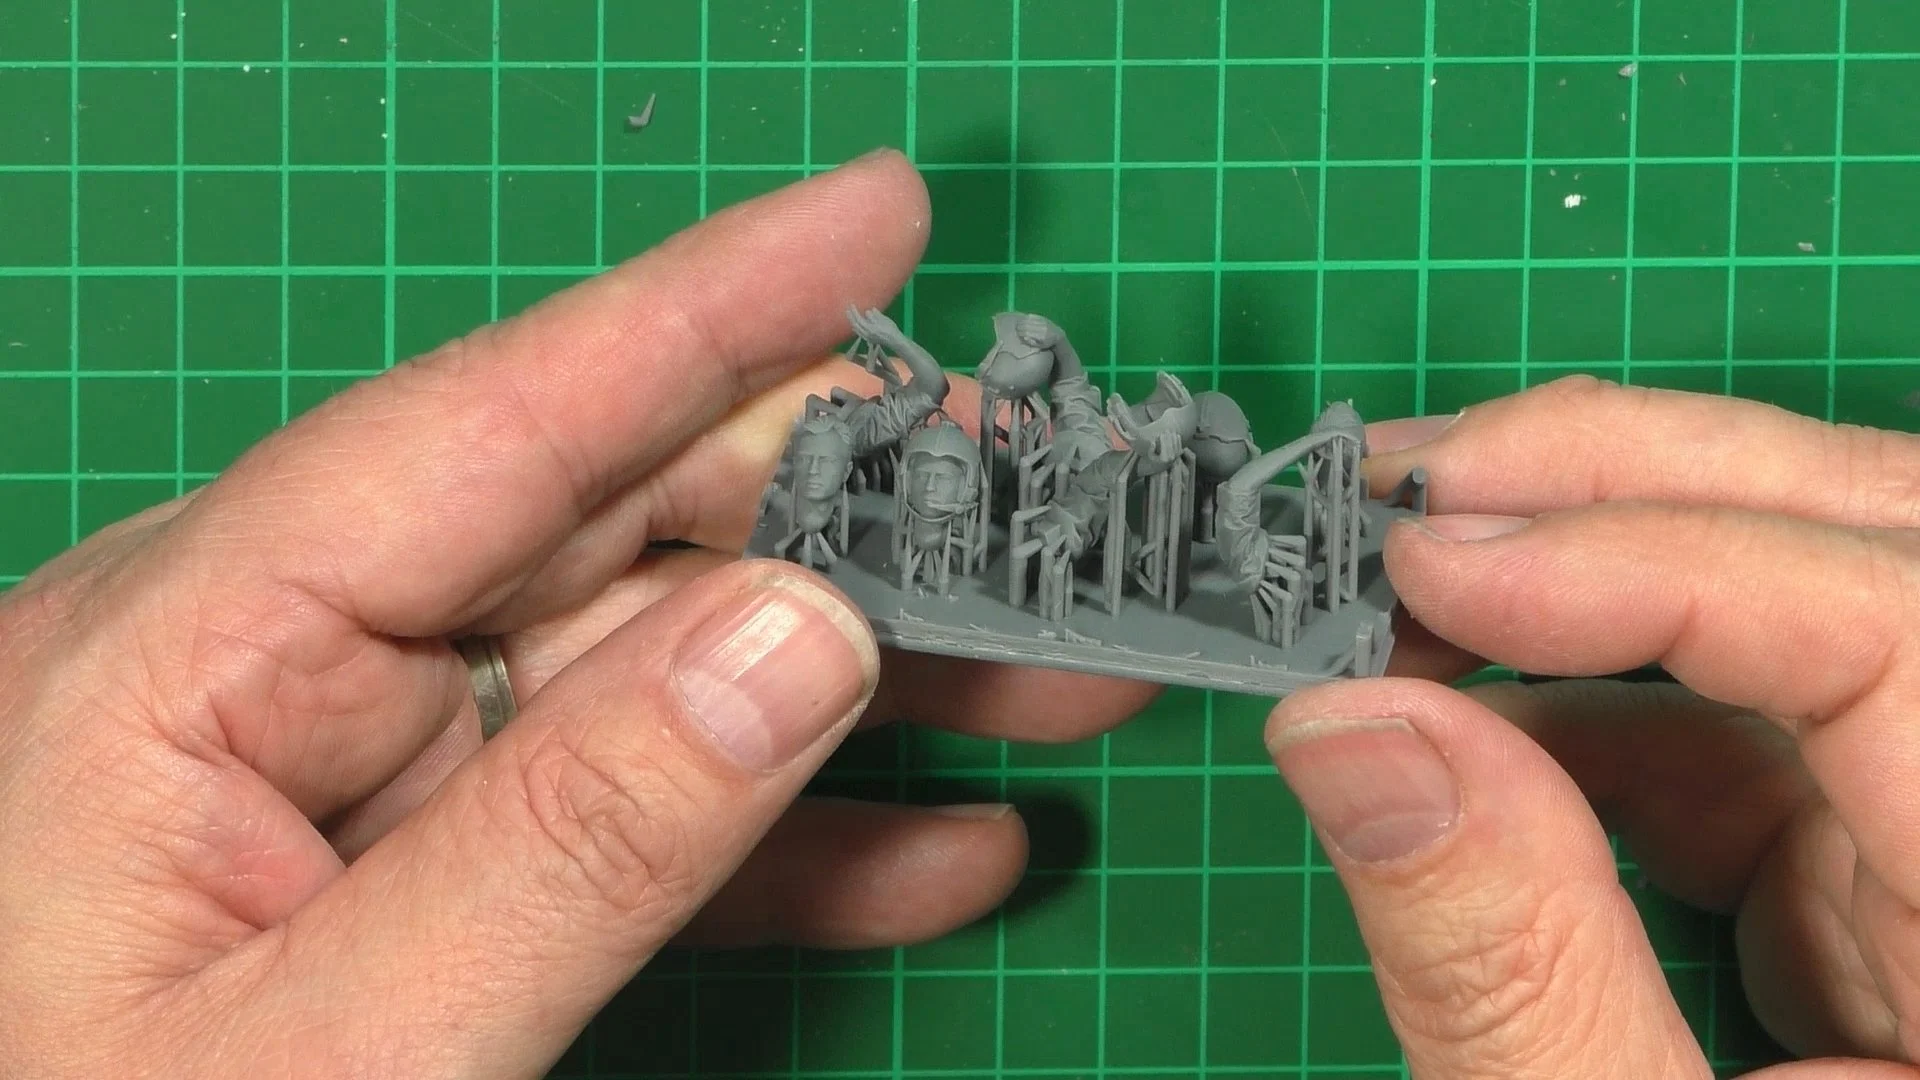
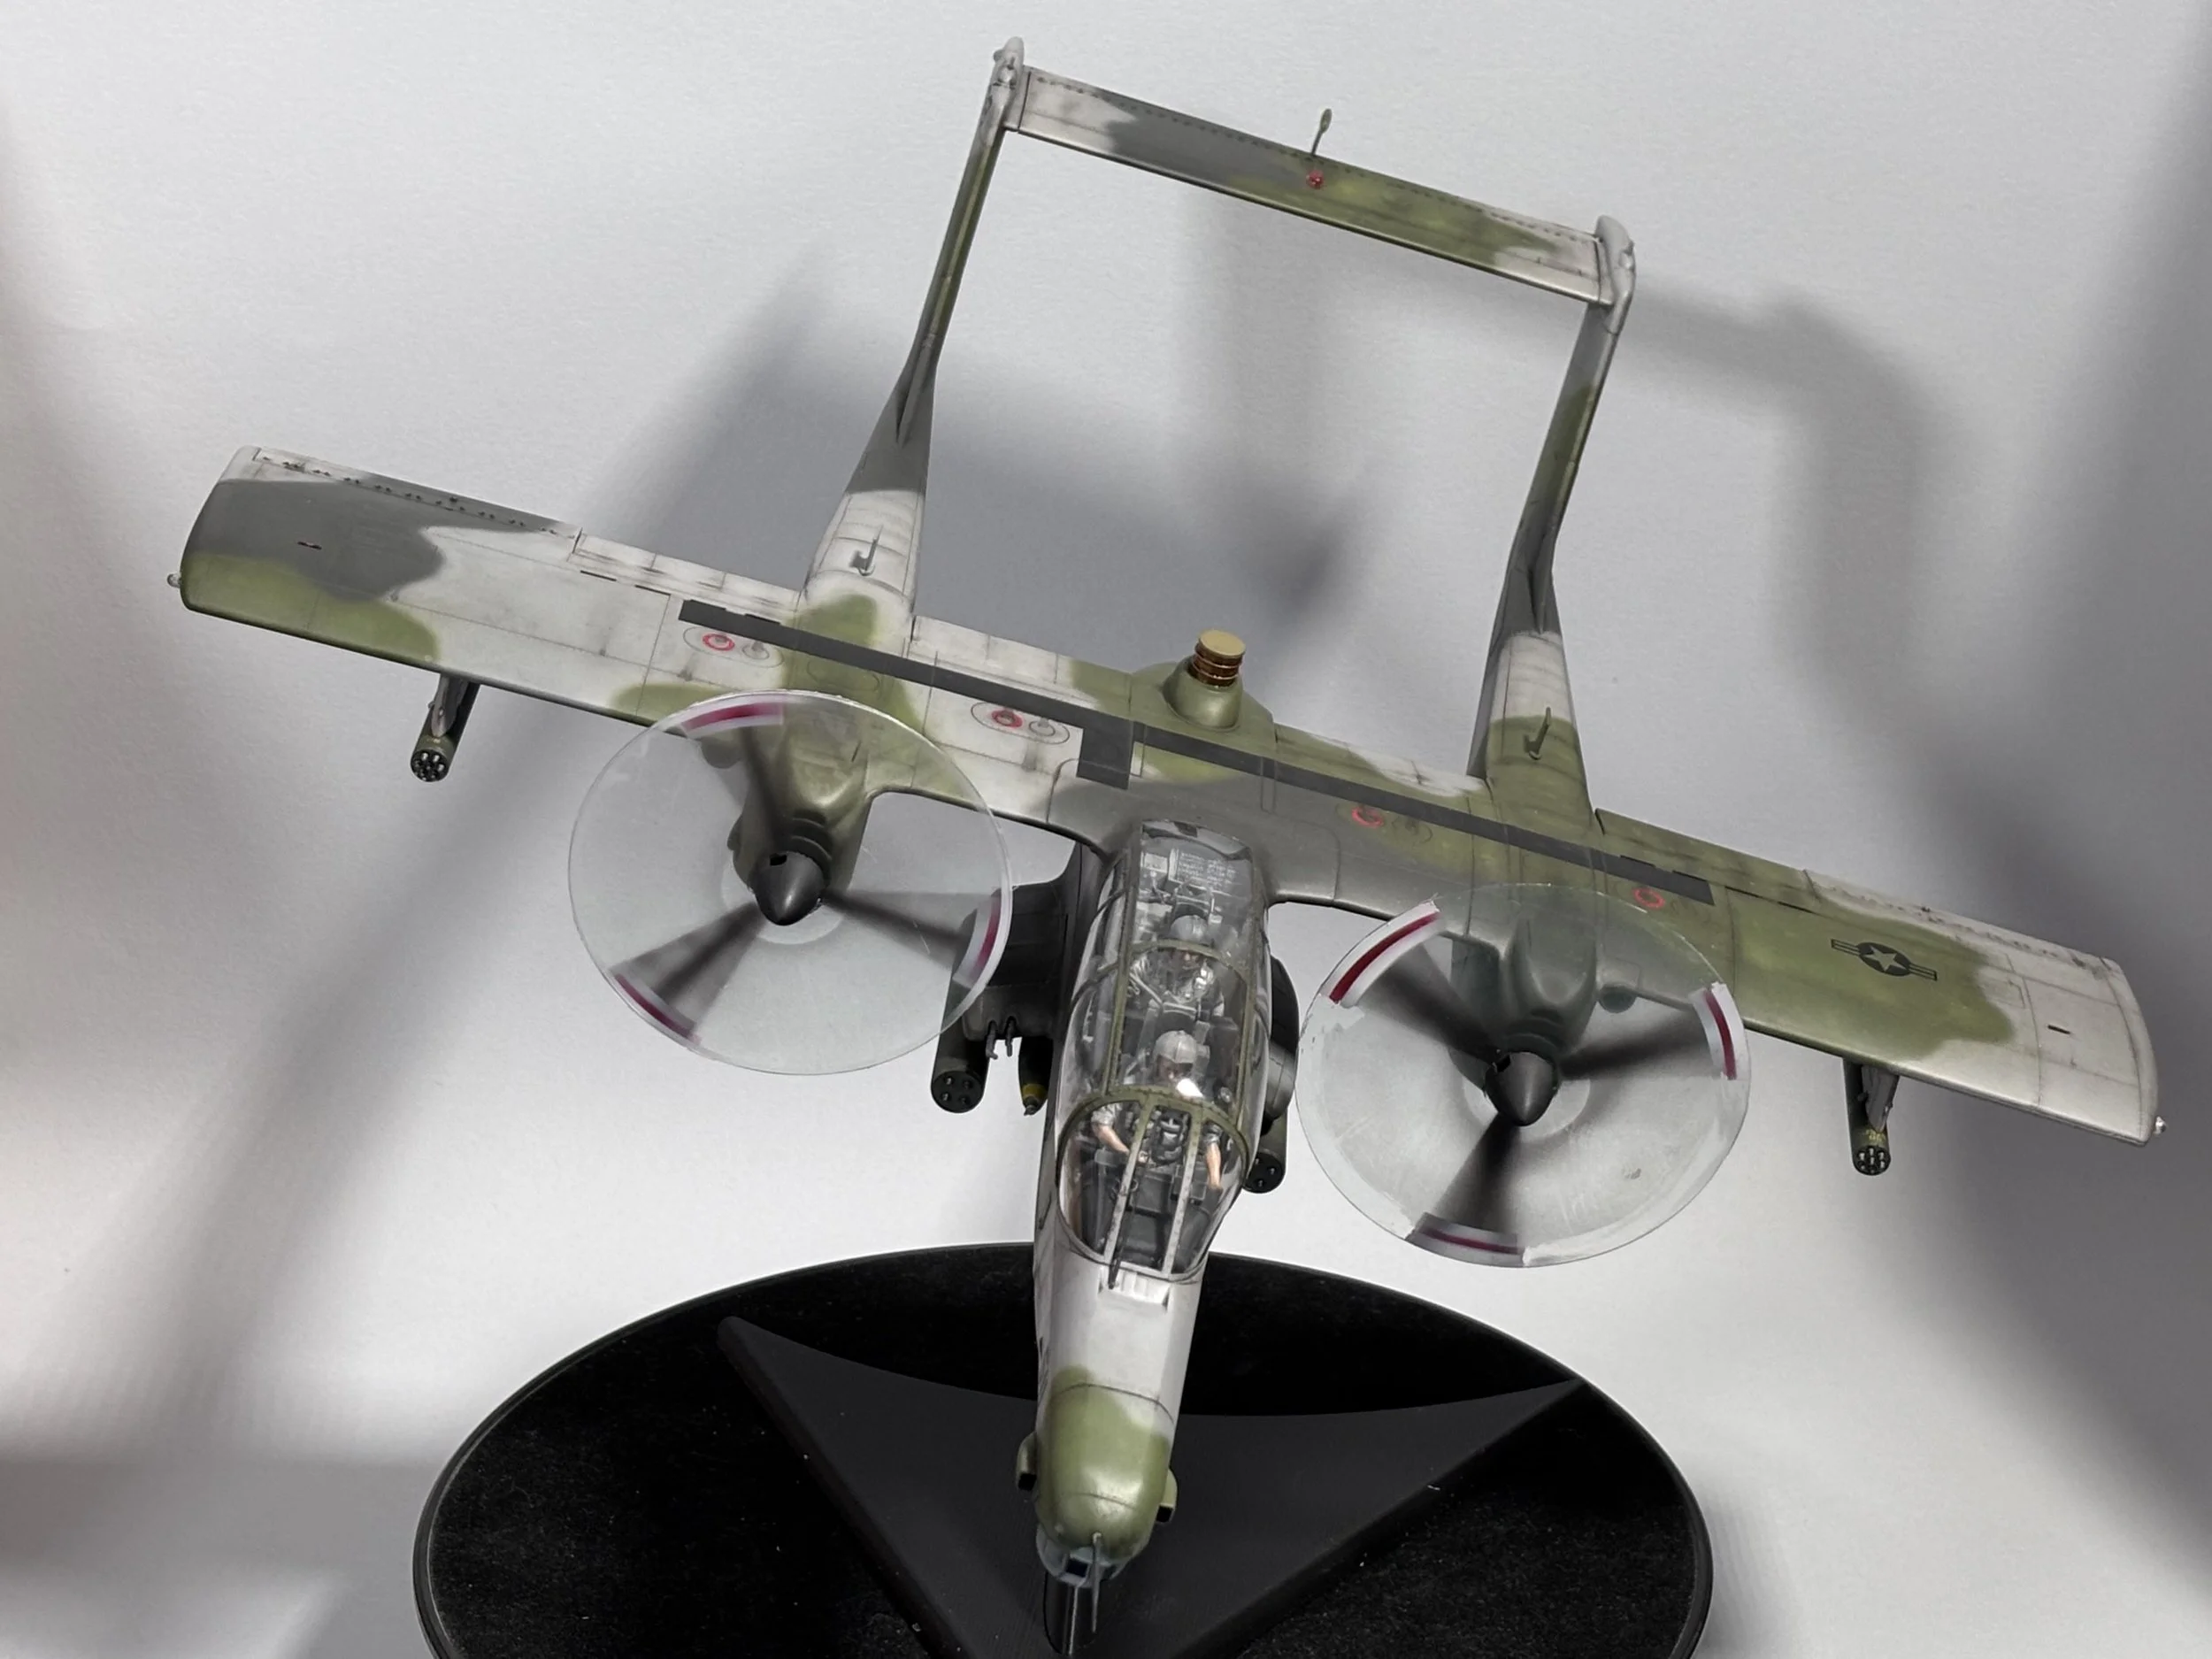
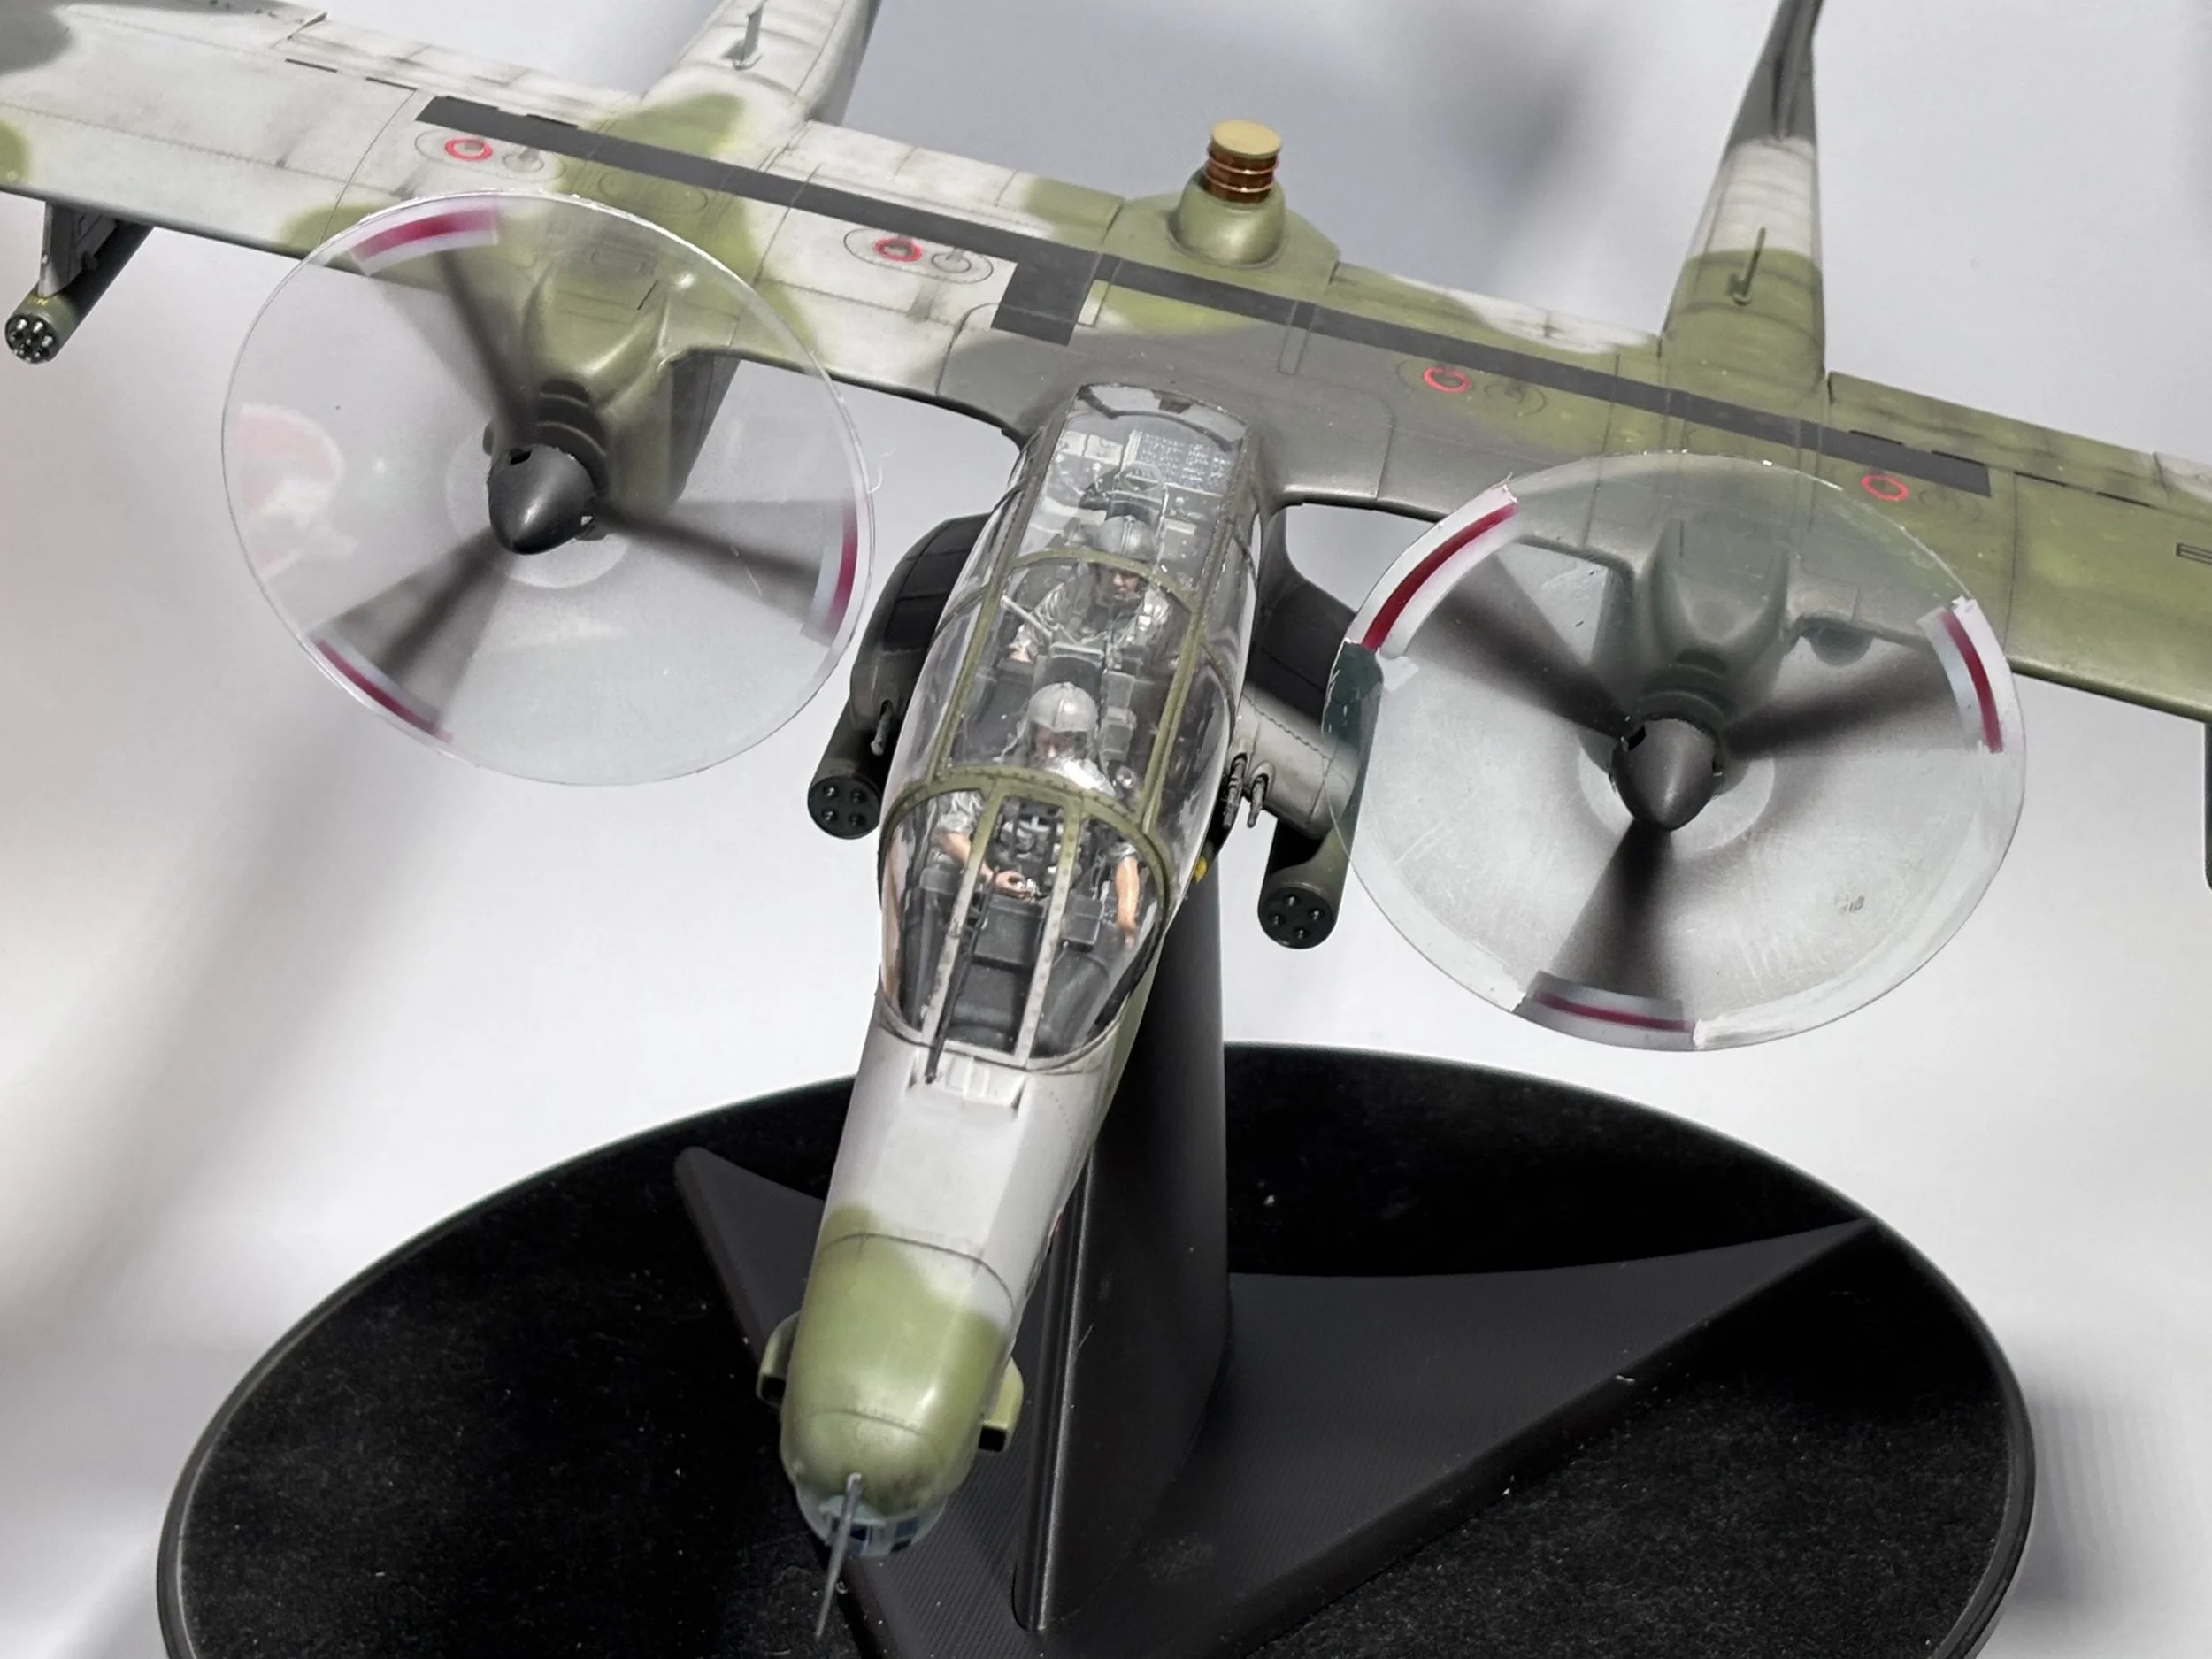
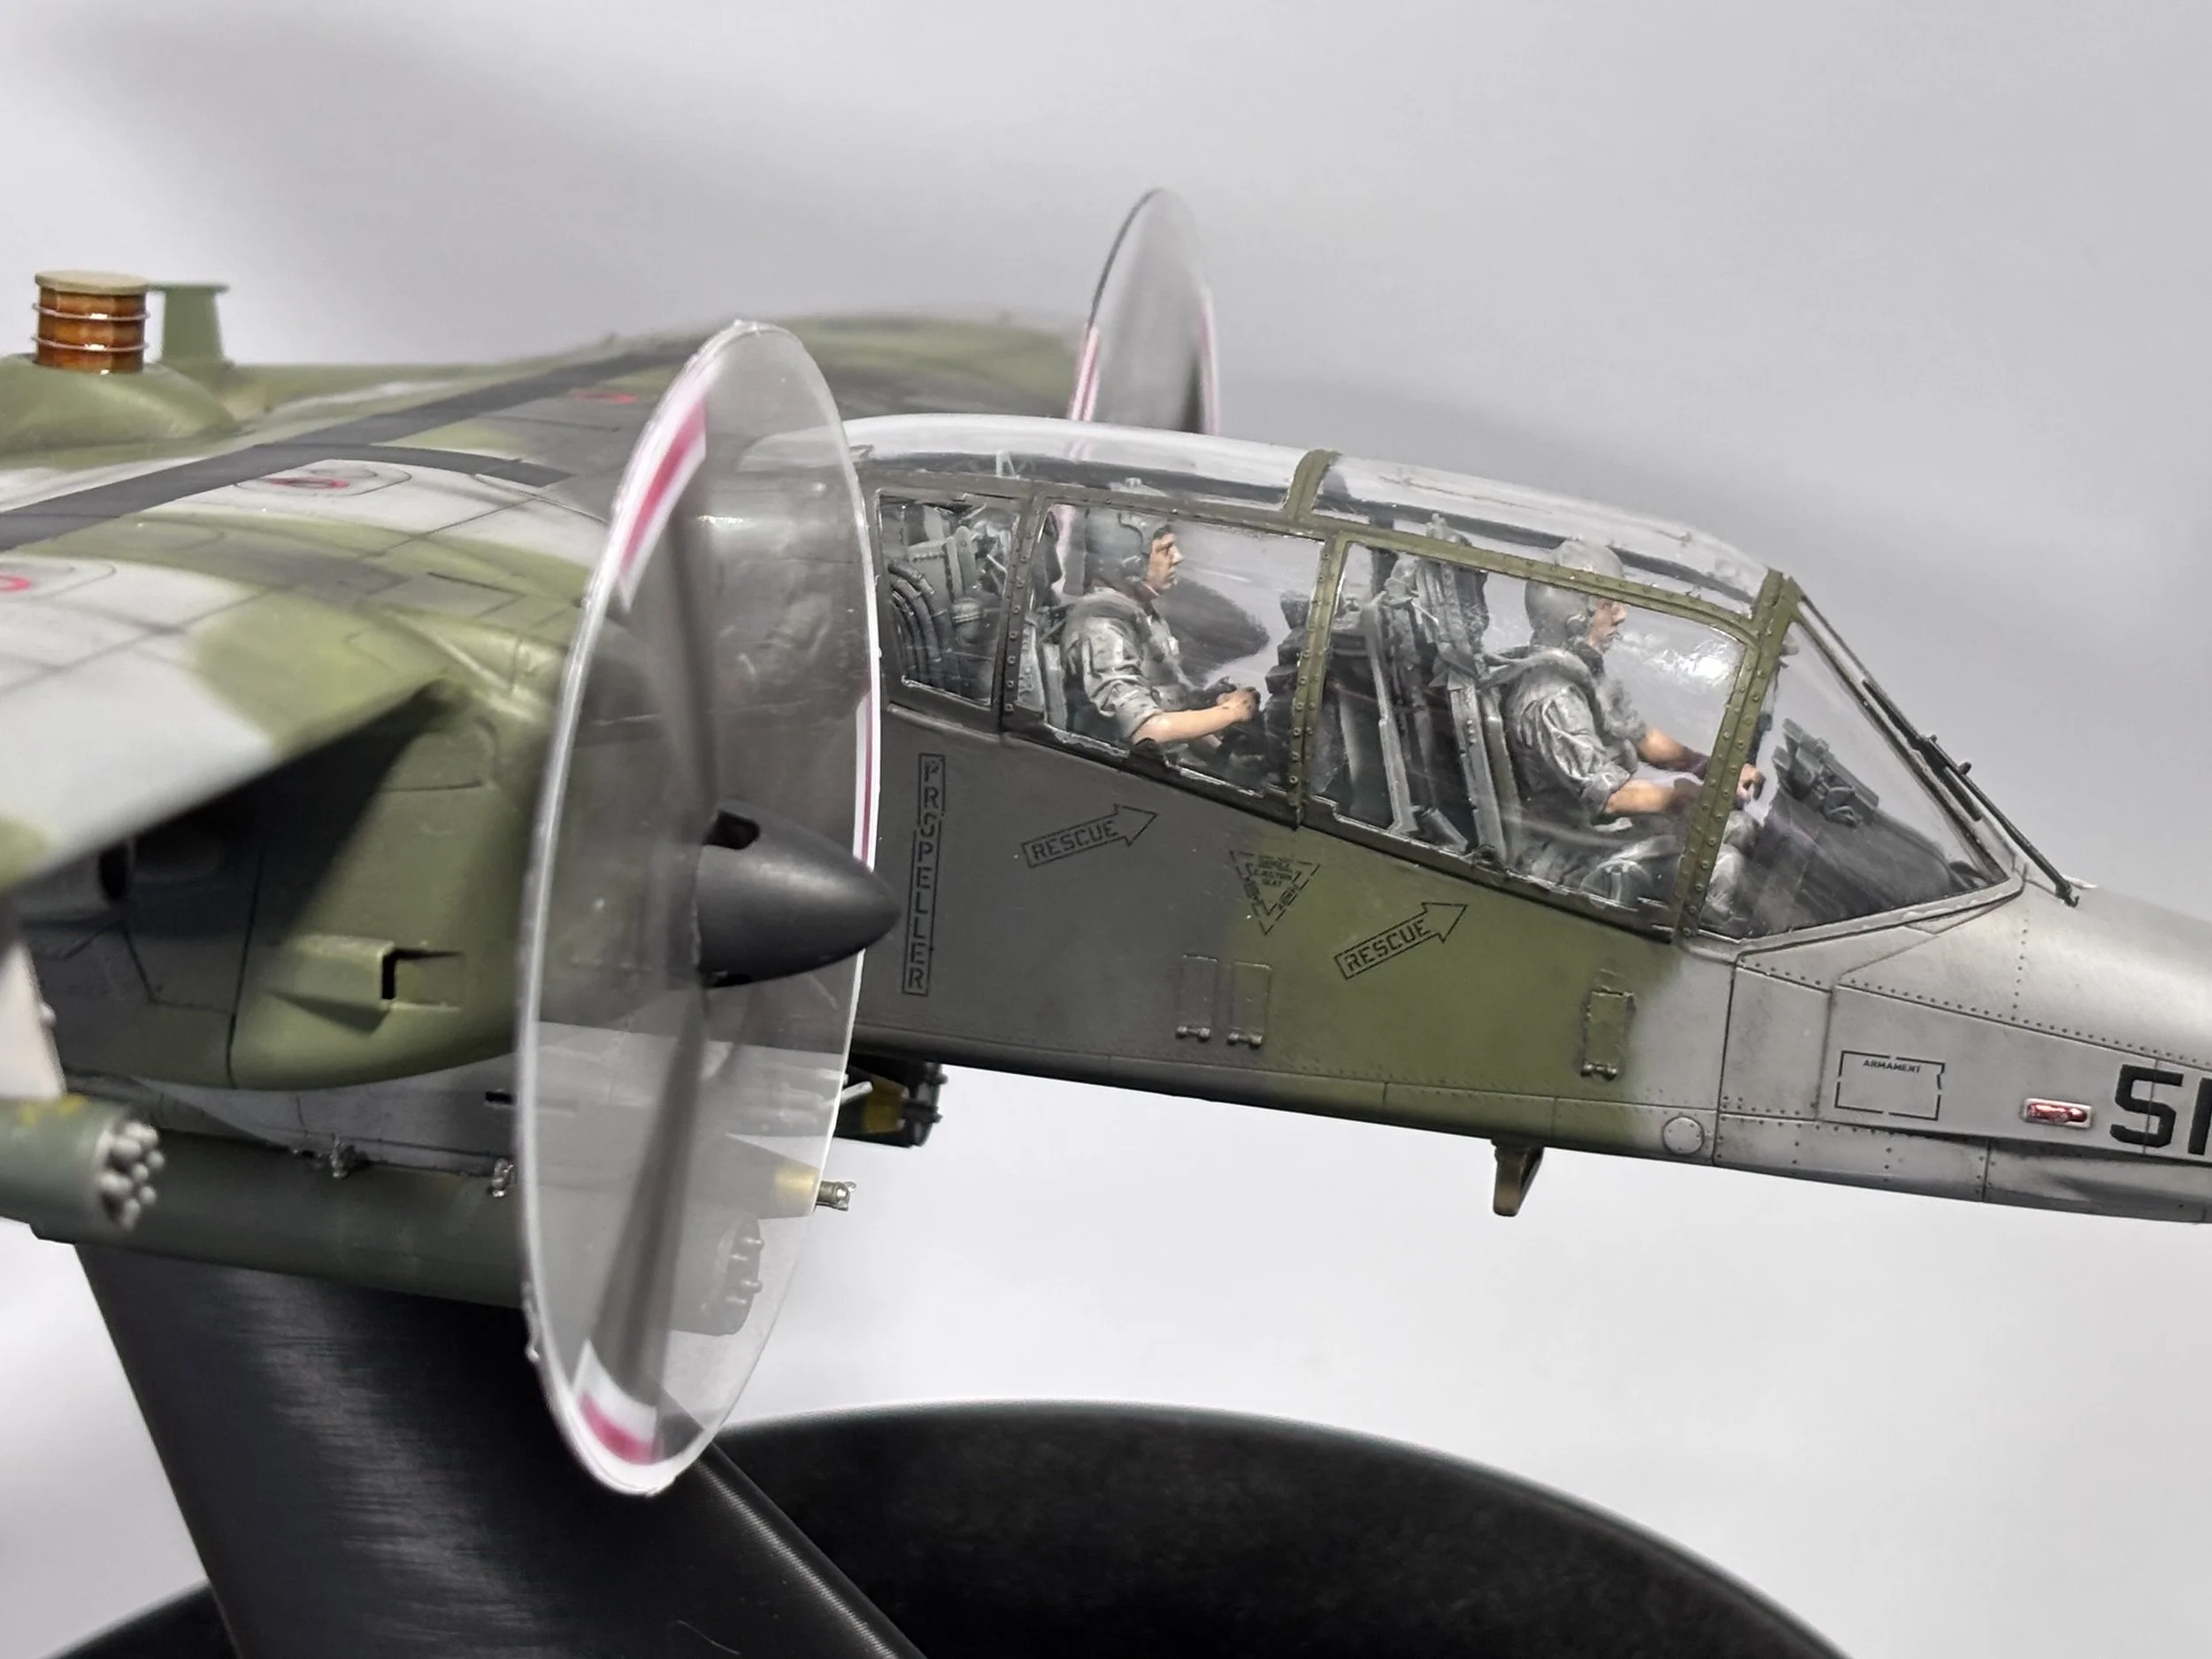
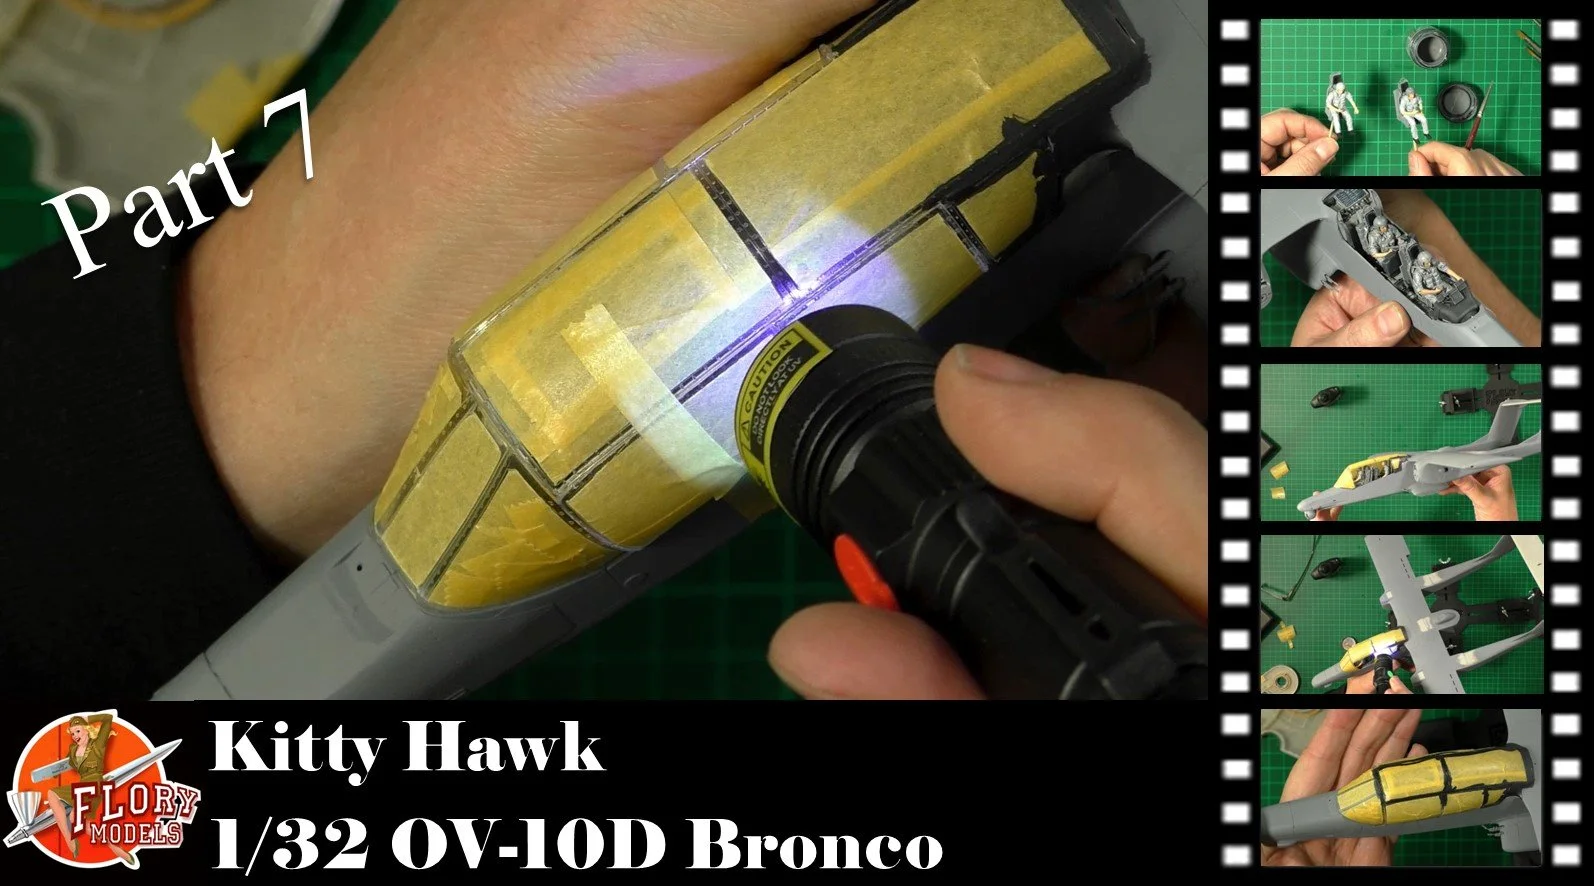
0:00 To start off, we paint the aircrew with a mix of Takiya XF and AK Paints. 7:47 Once dry, we put a coat of VMS XXL Satin over the figures and allow to dry fully. 10:43 Next, we give an oil wash to add some detail and grime to the seat and figures. 15:01 Now we blend the oils and paint the harnesses and dry brush. 19:37 With the crew dry, we can install them in the cockpit. 21:30 We use UV glue to attach the canopy and clear parts, setting them in place with a UV light.
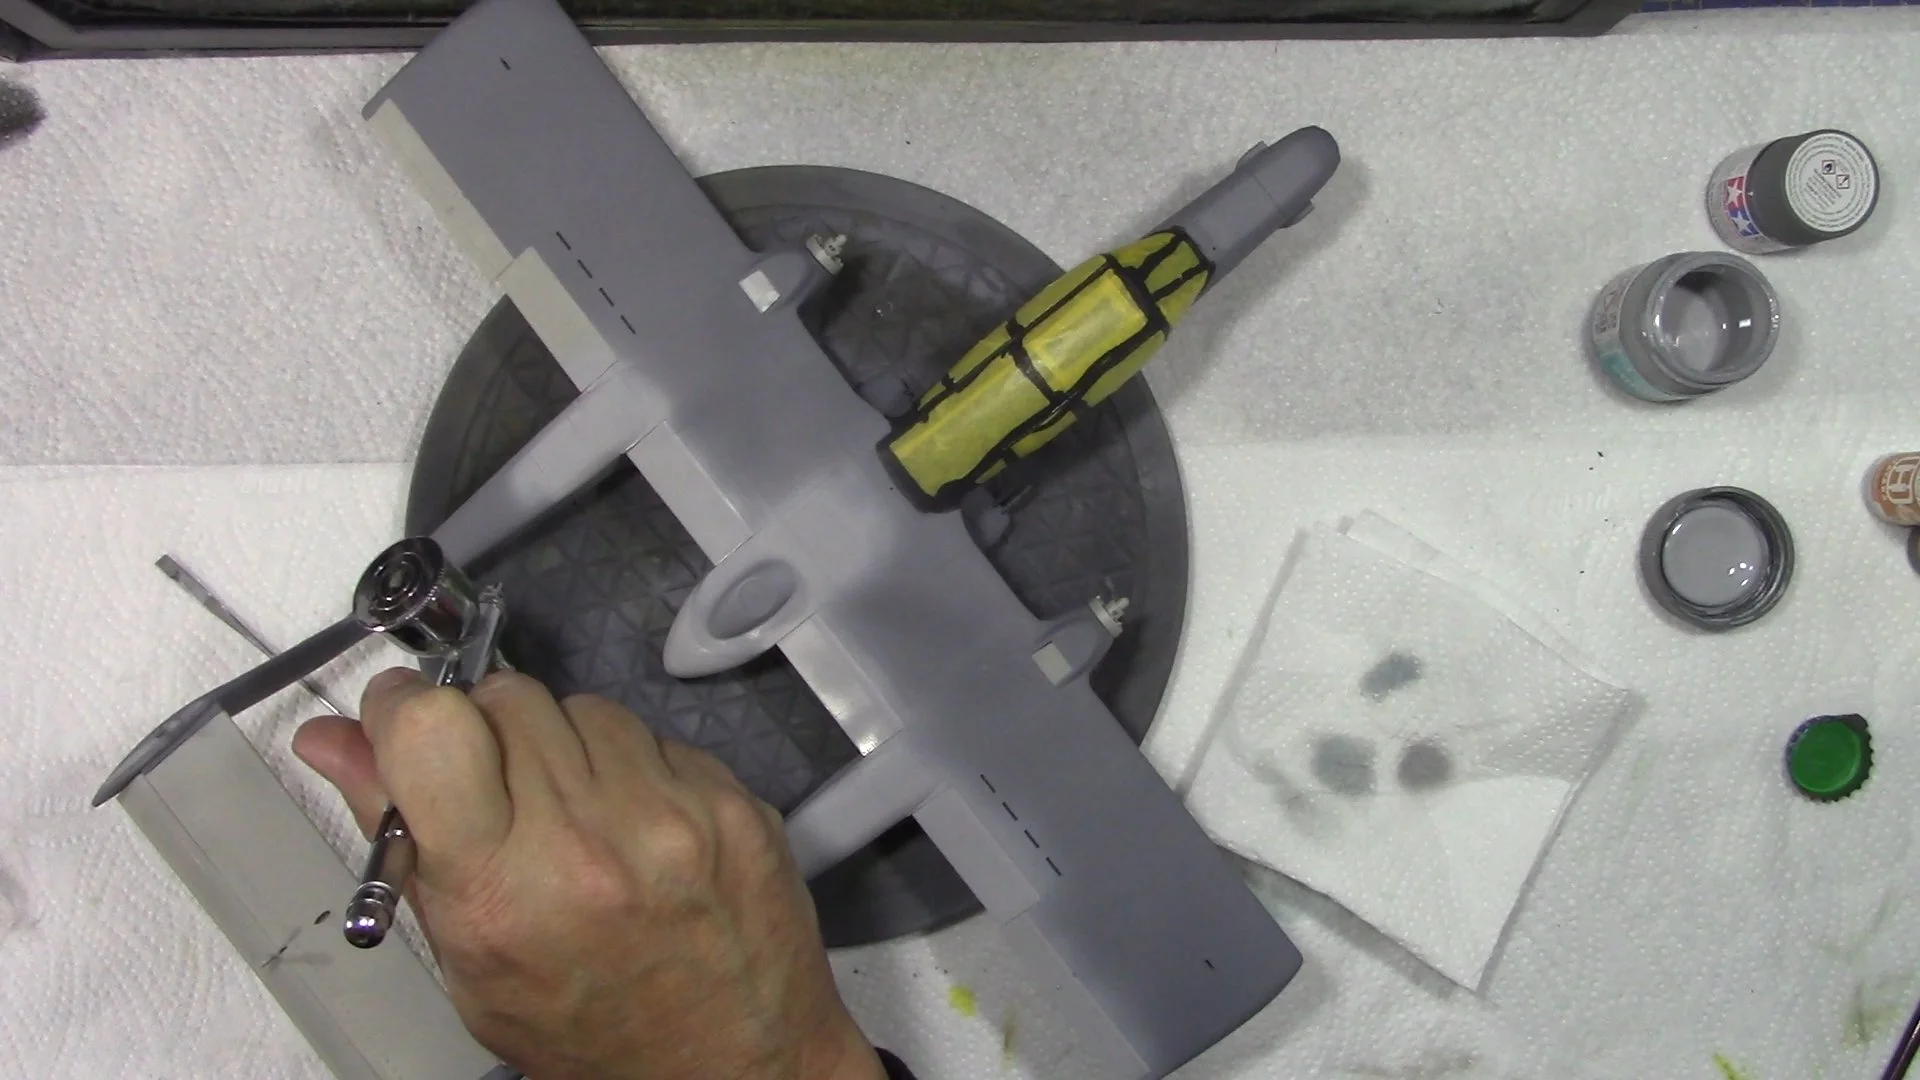
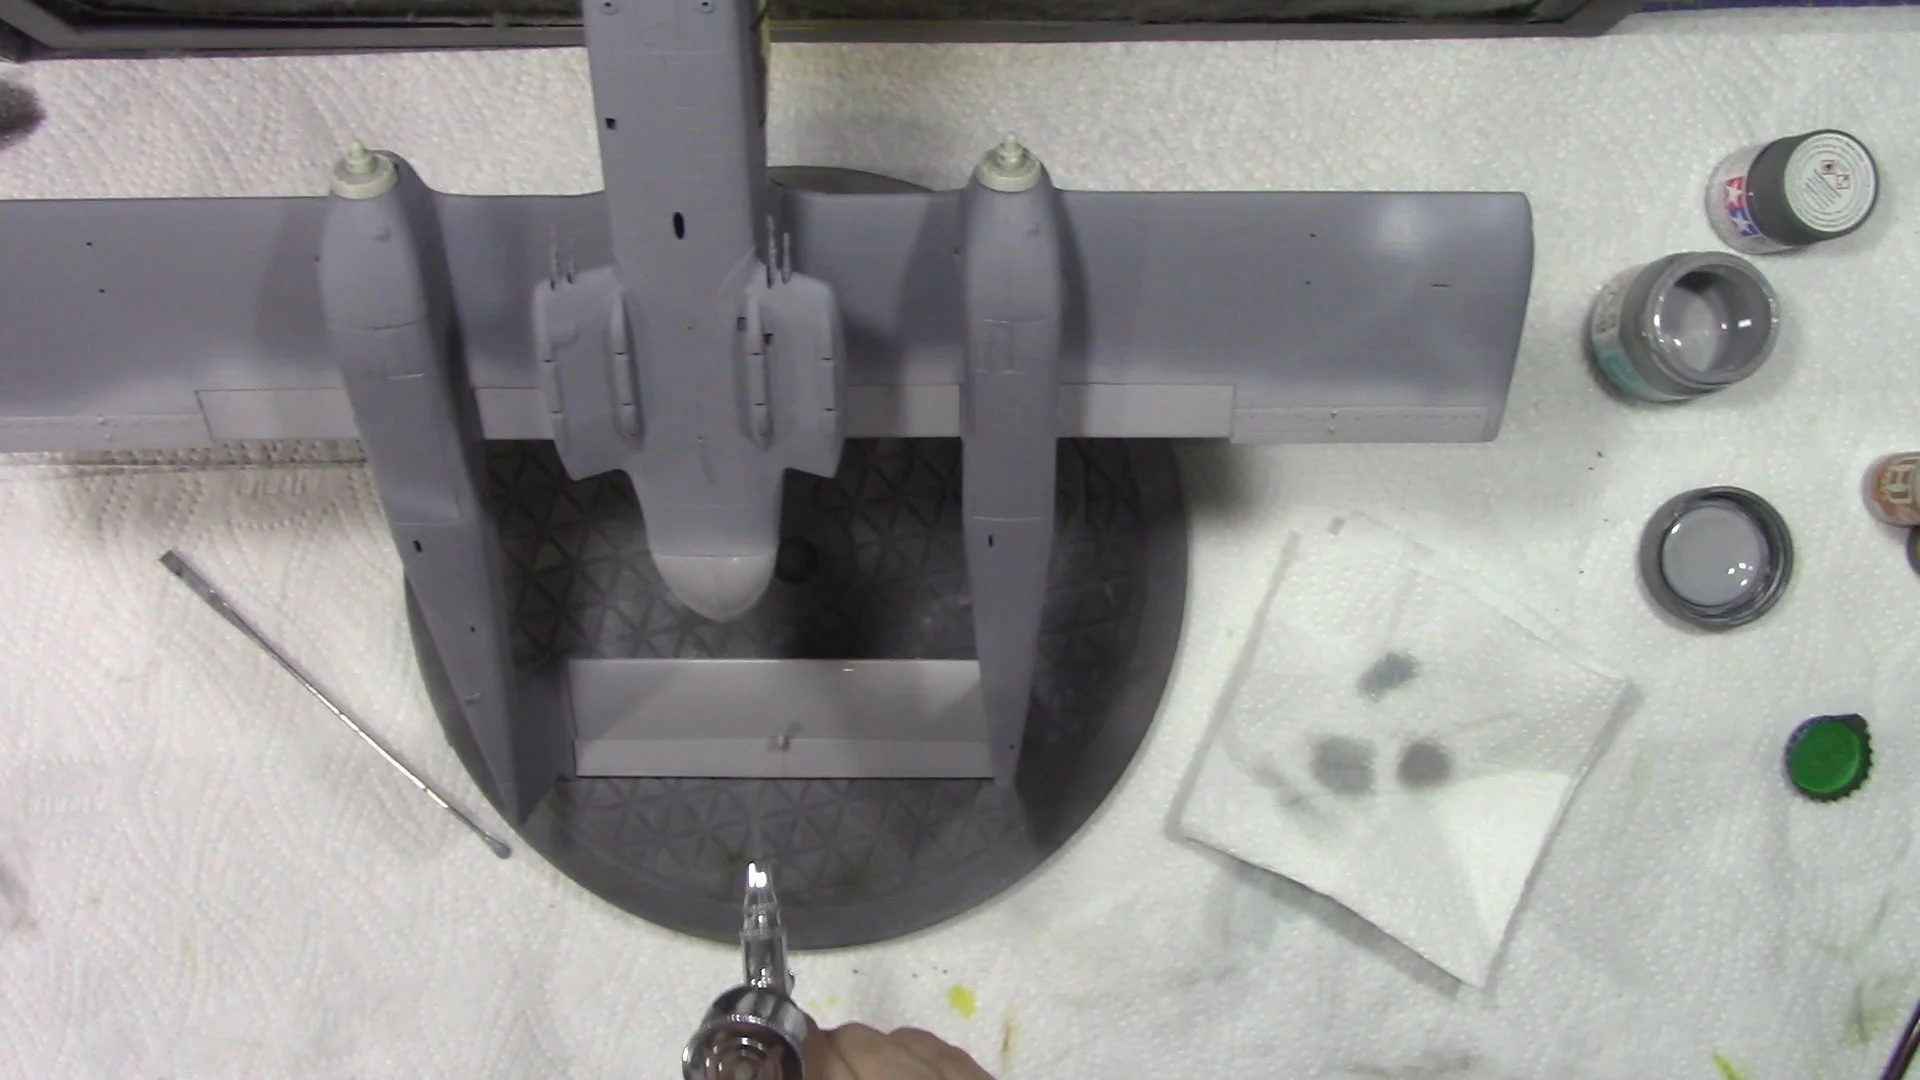
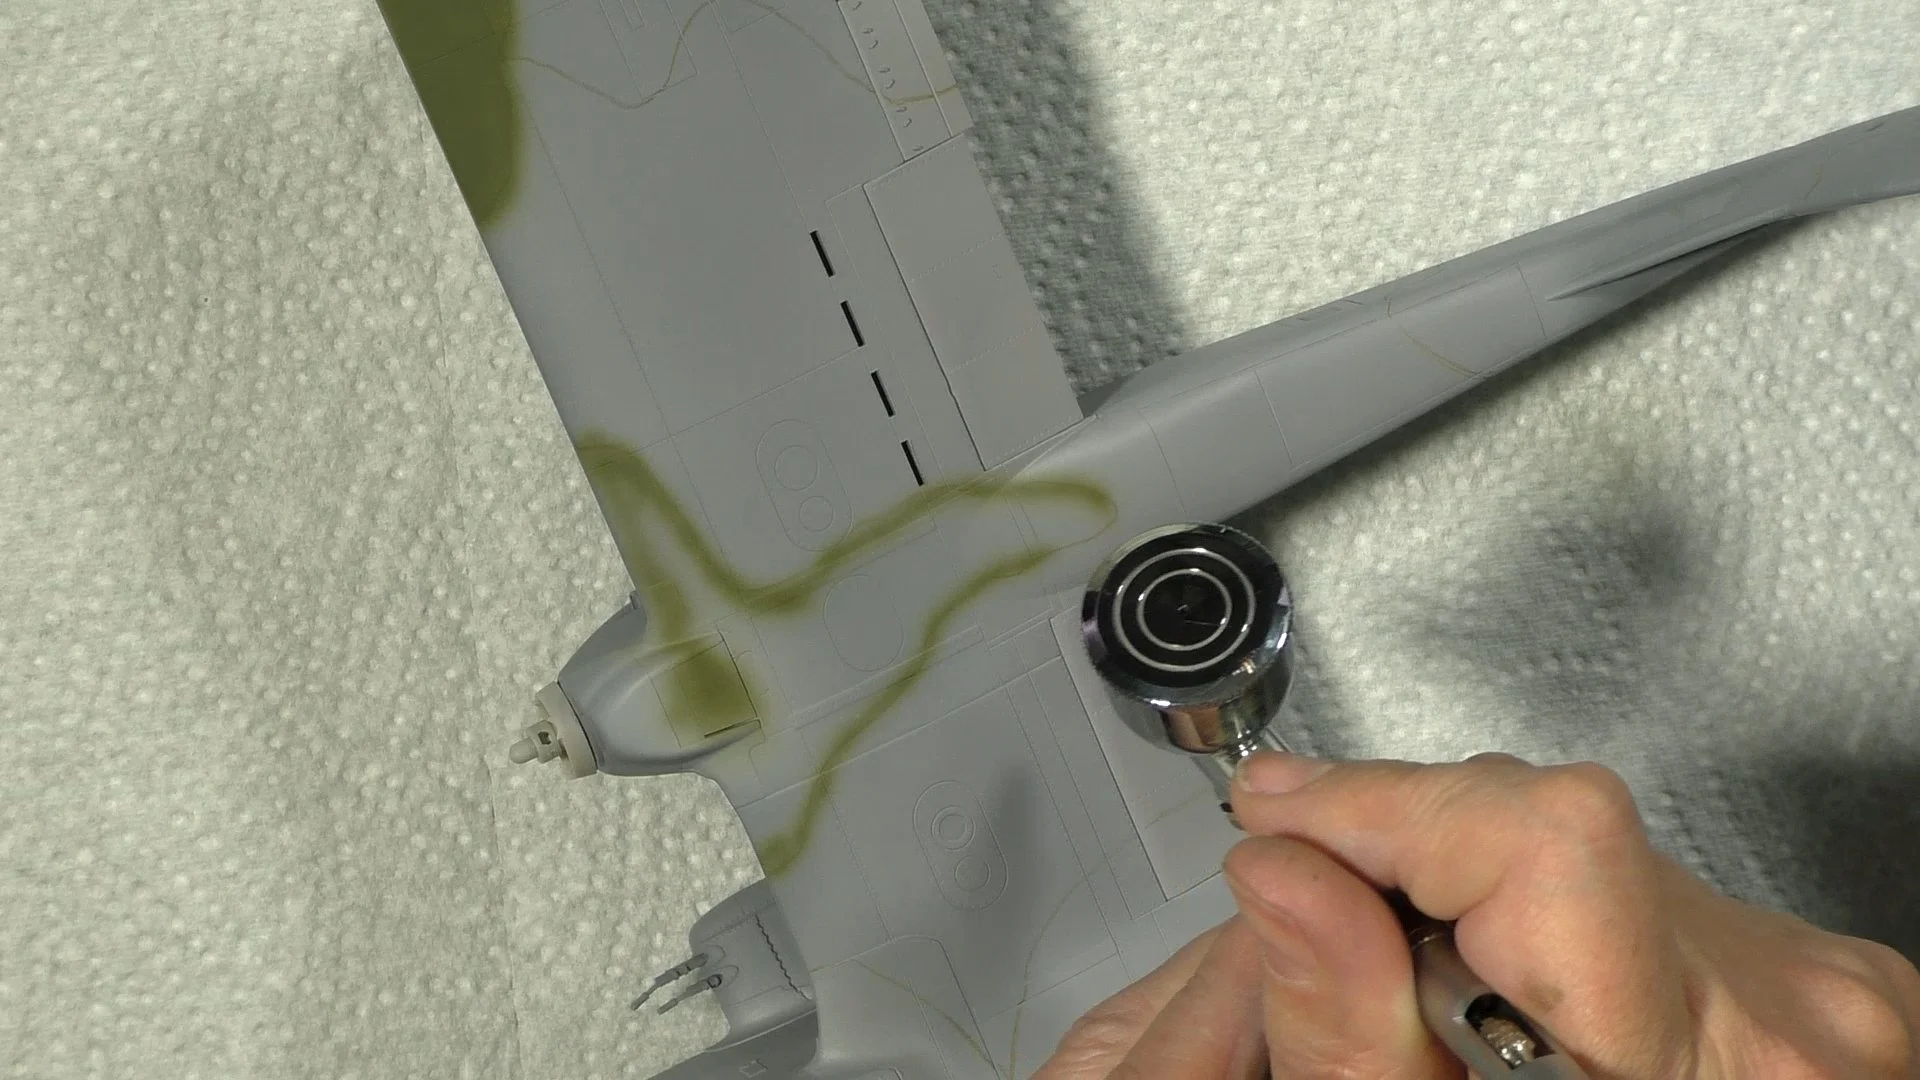
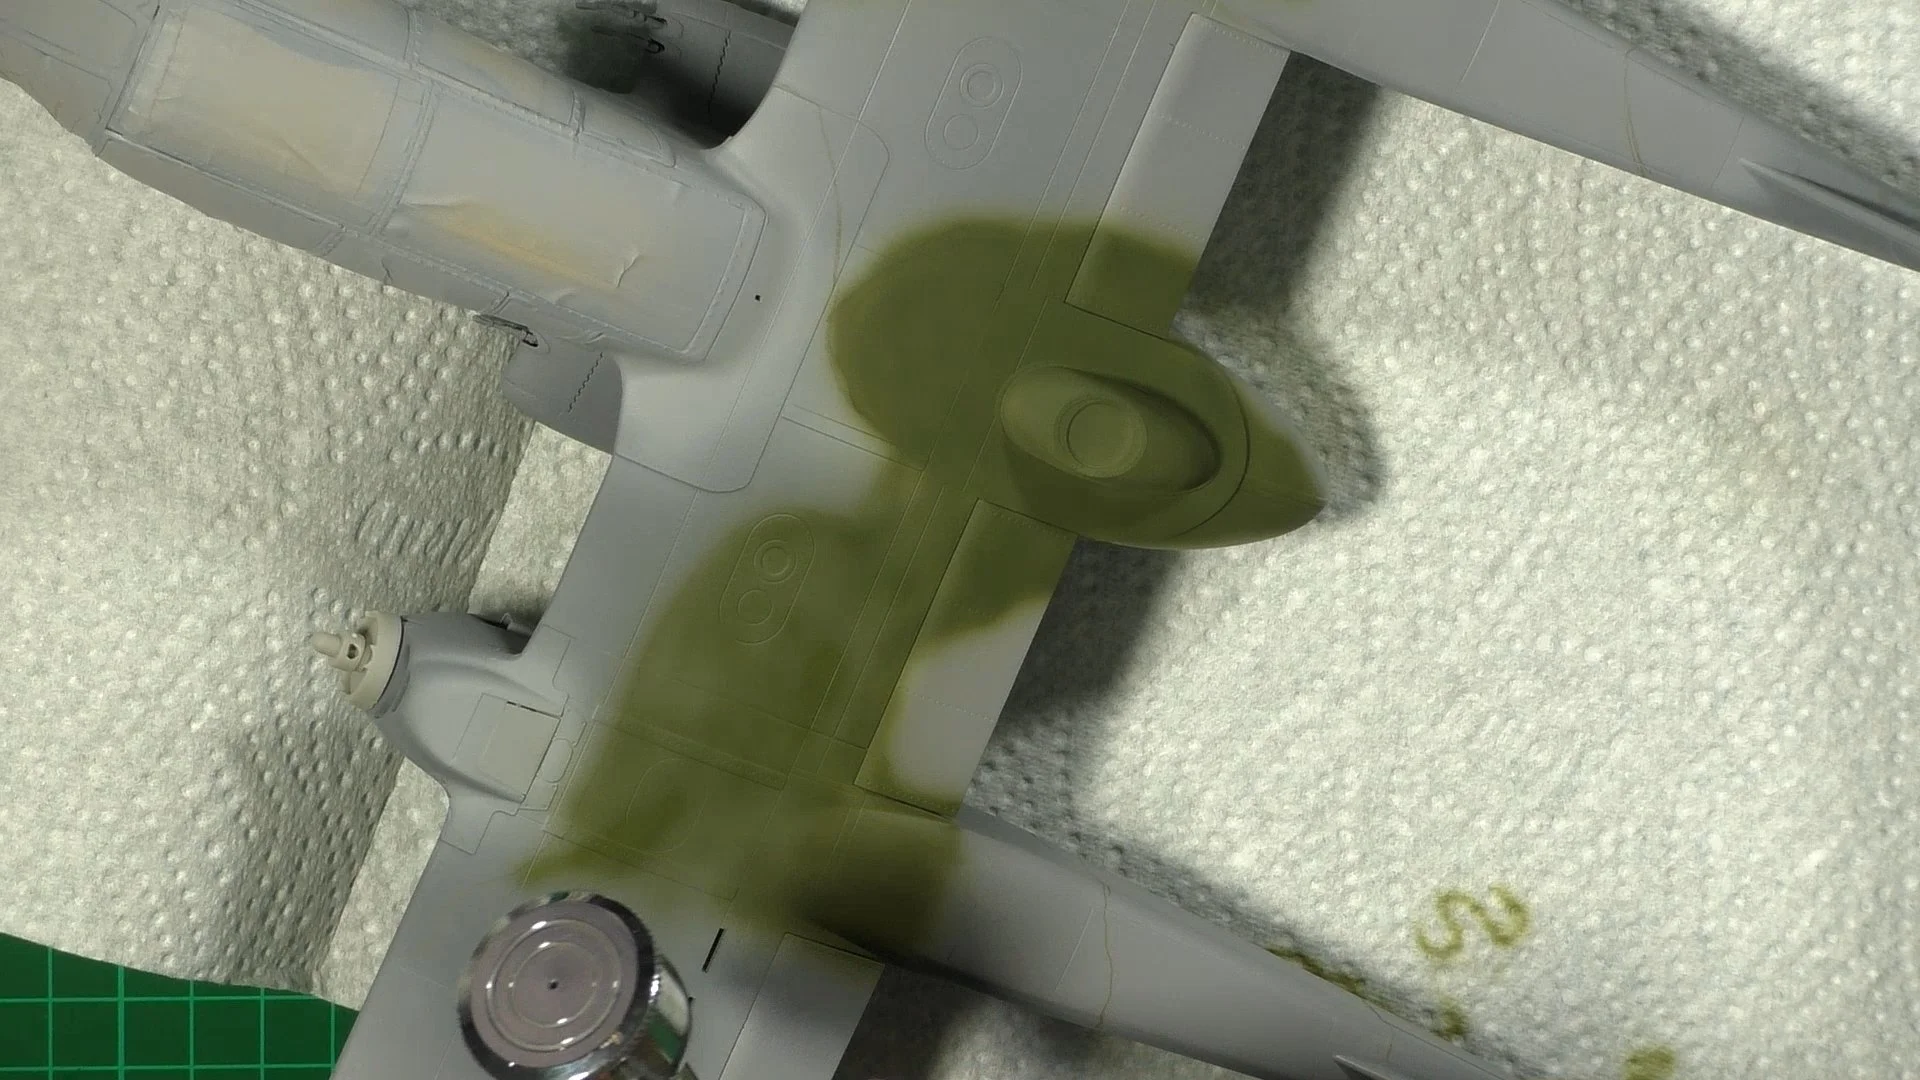
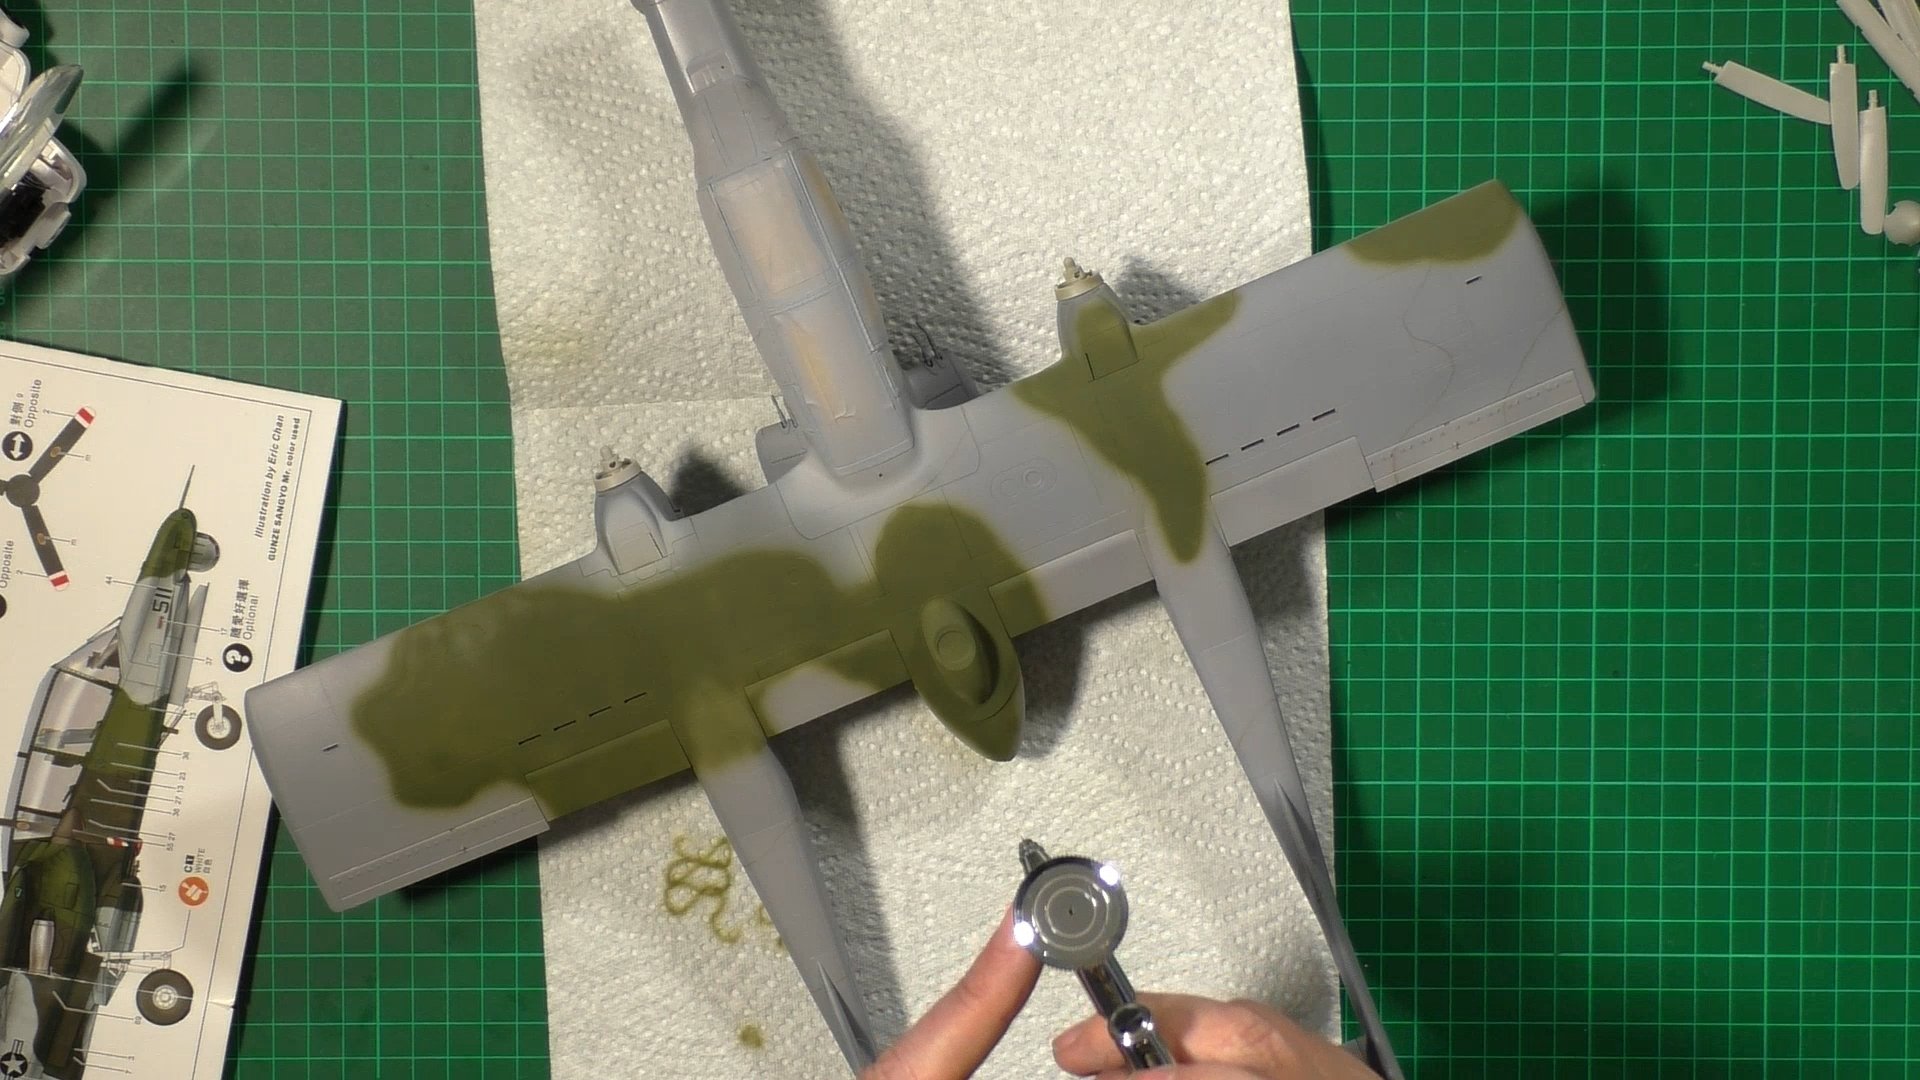
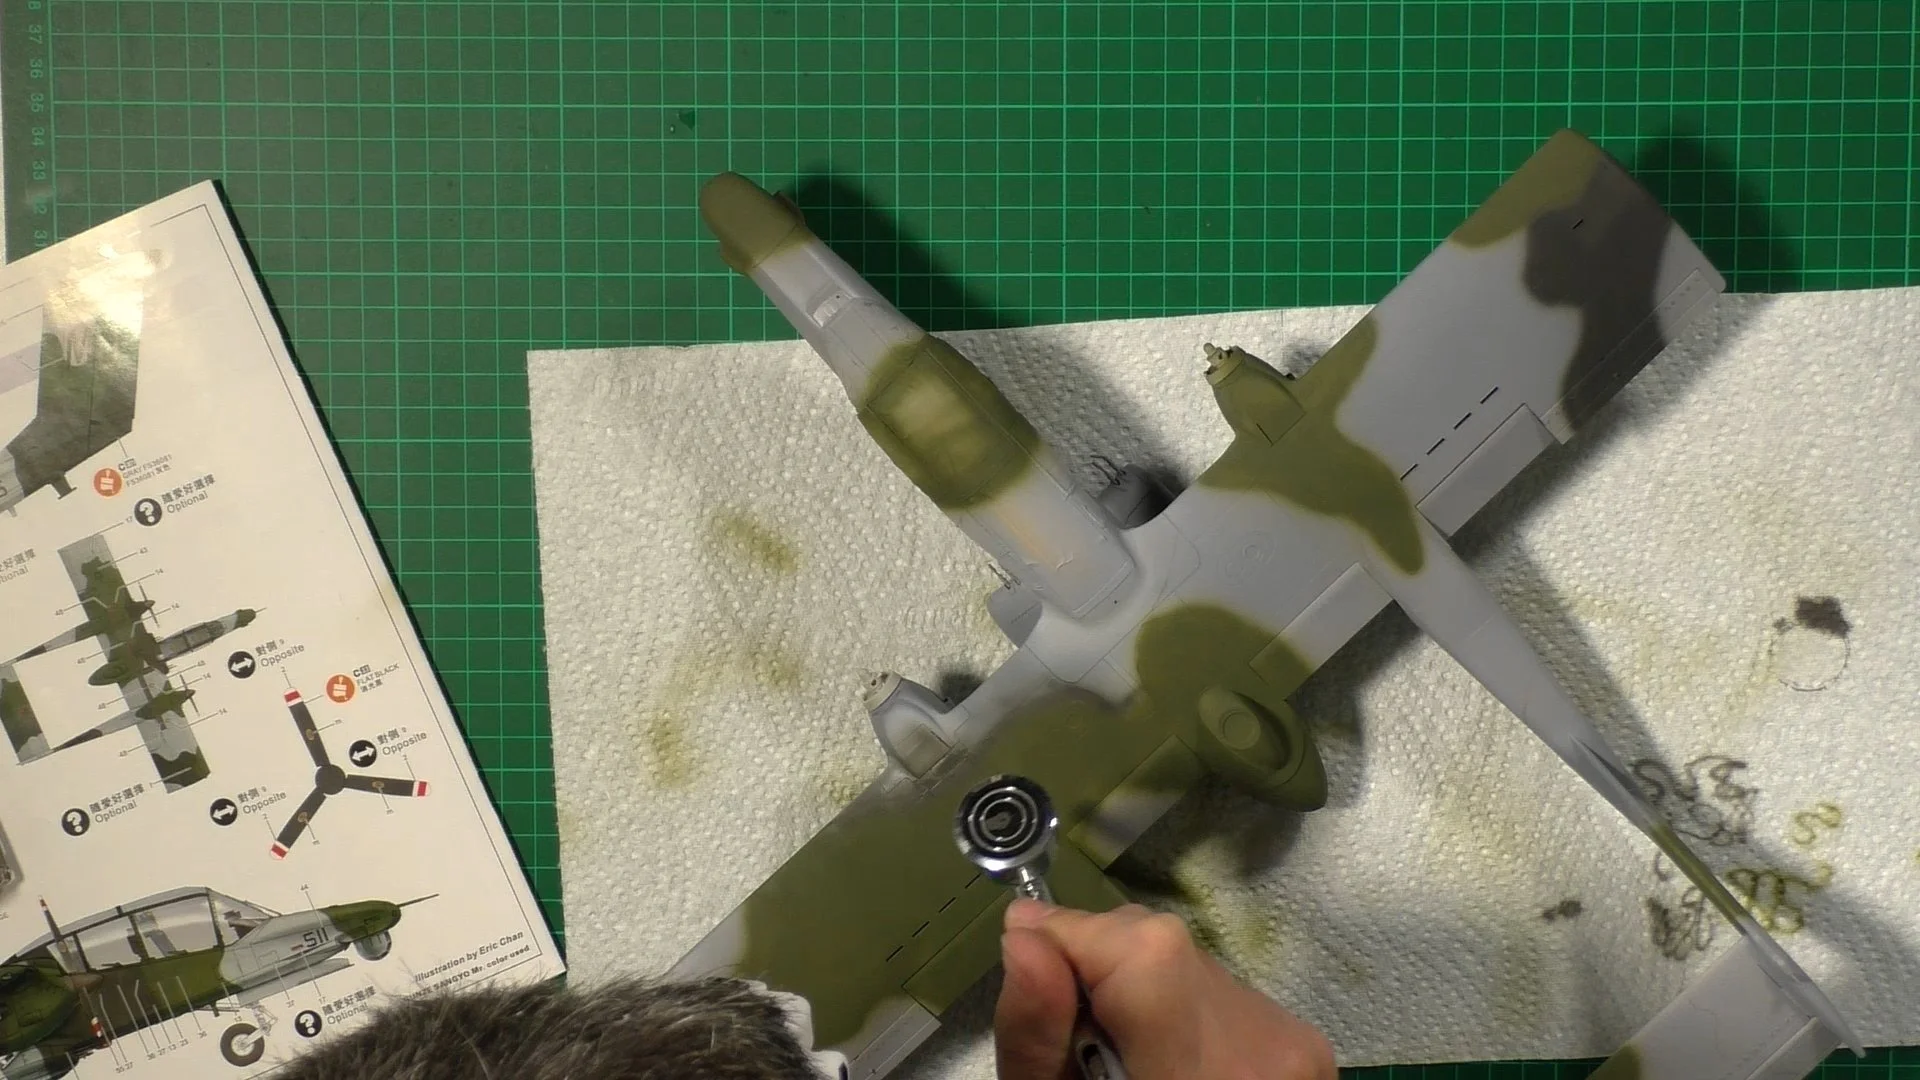
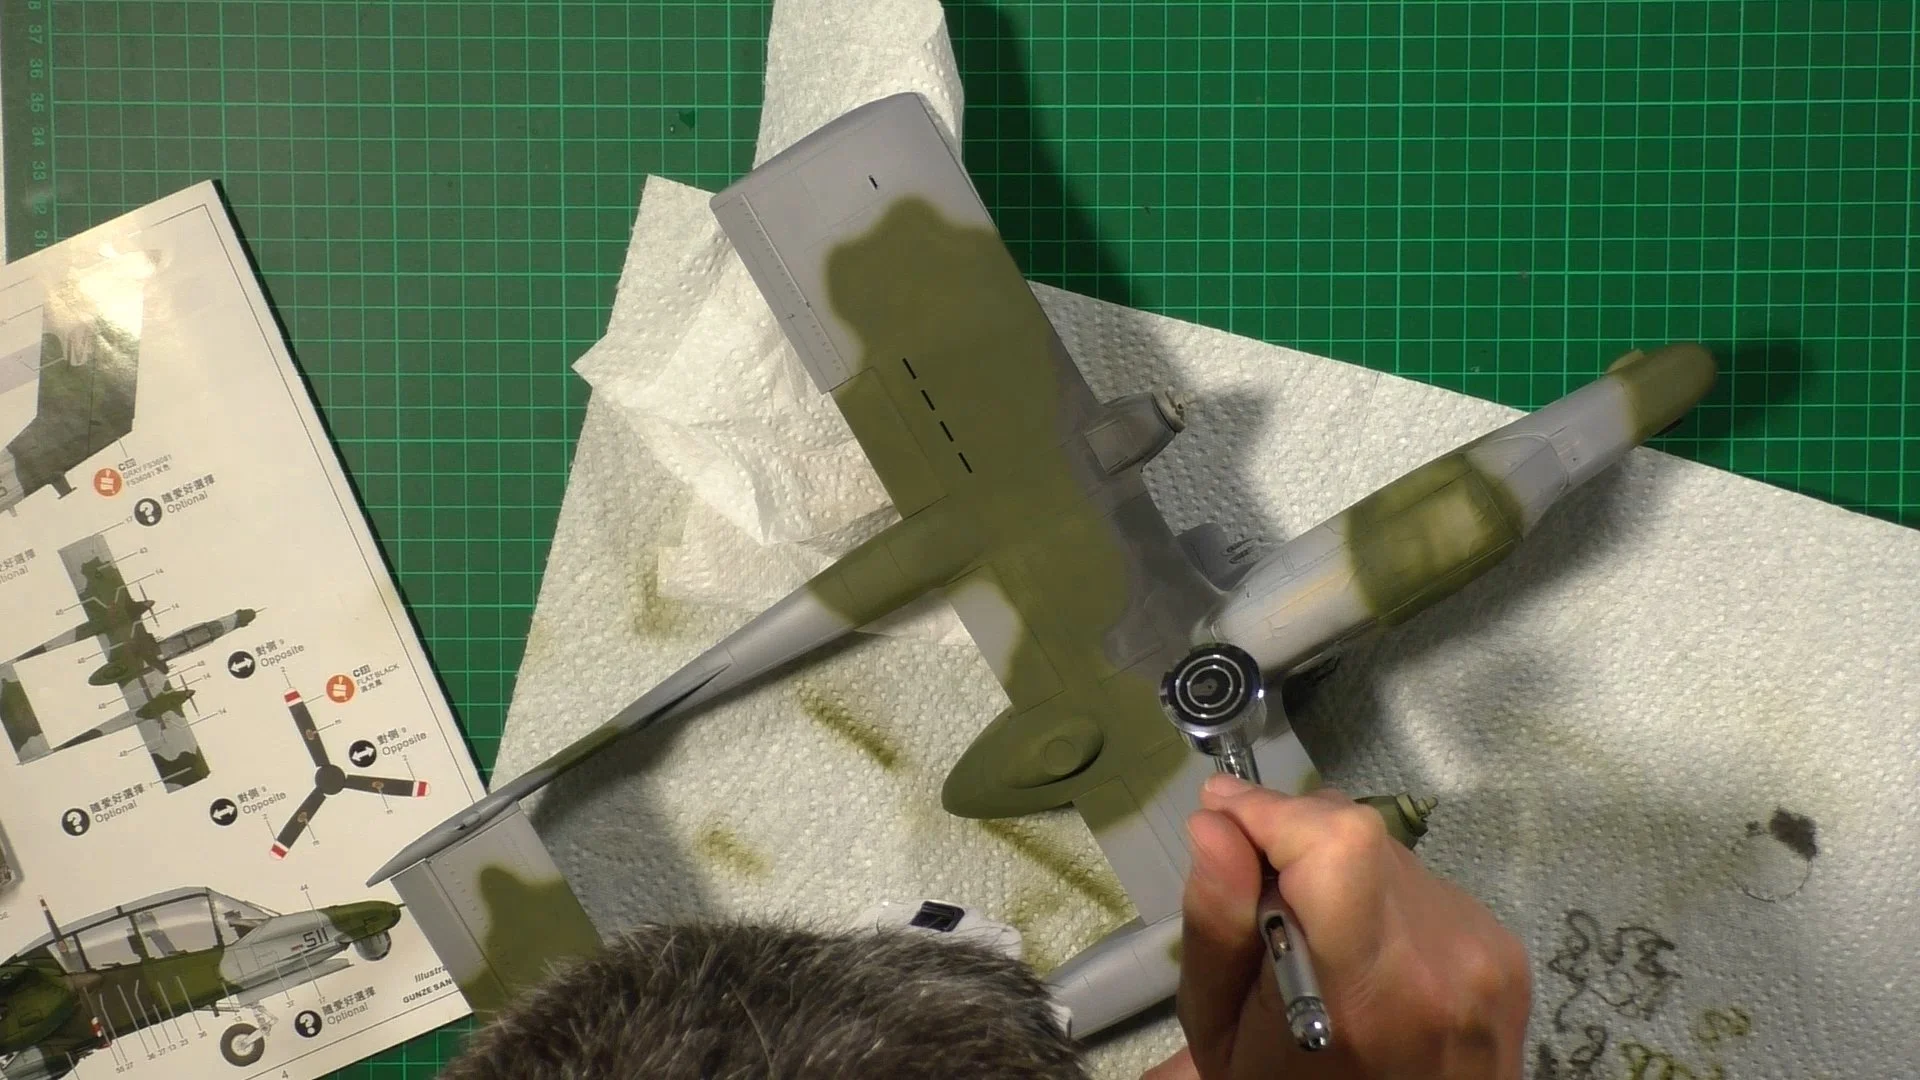
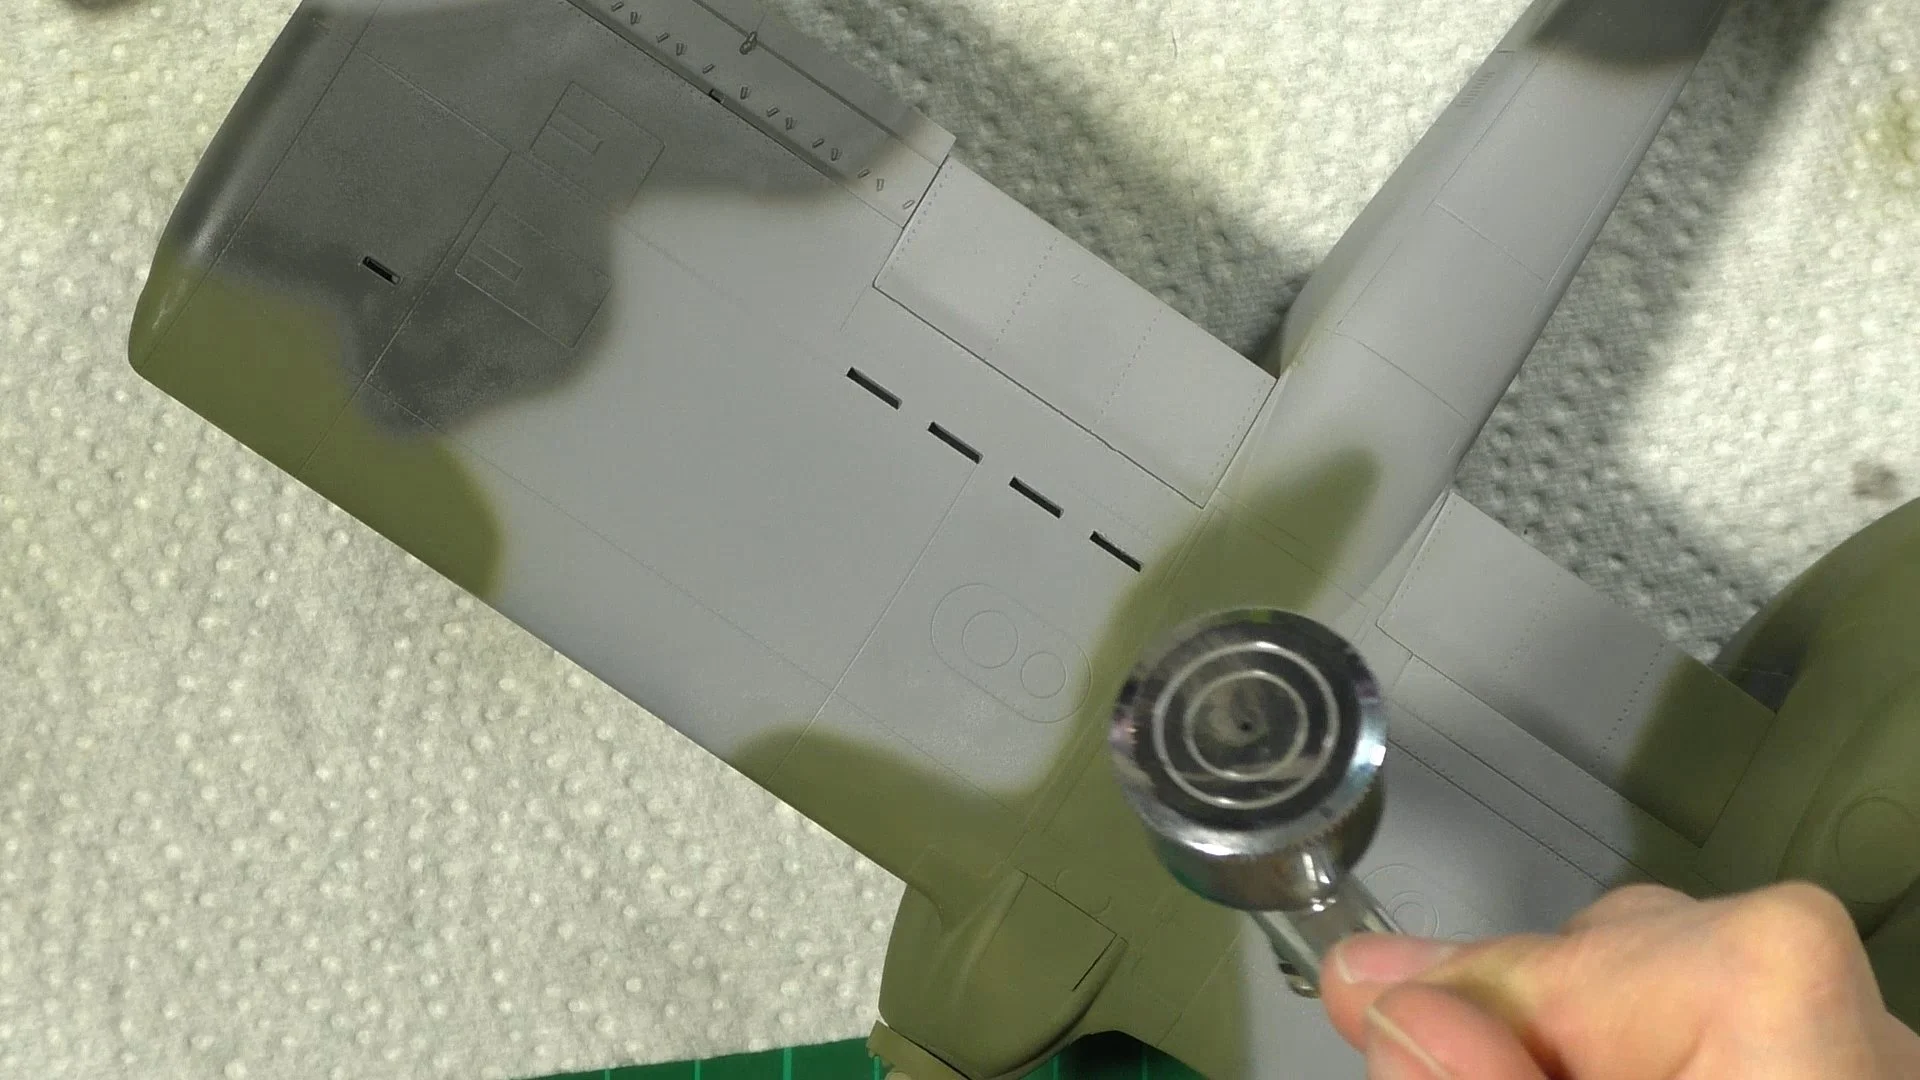
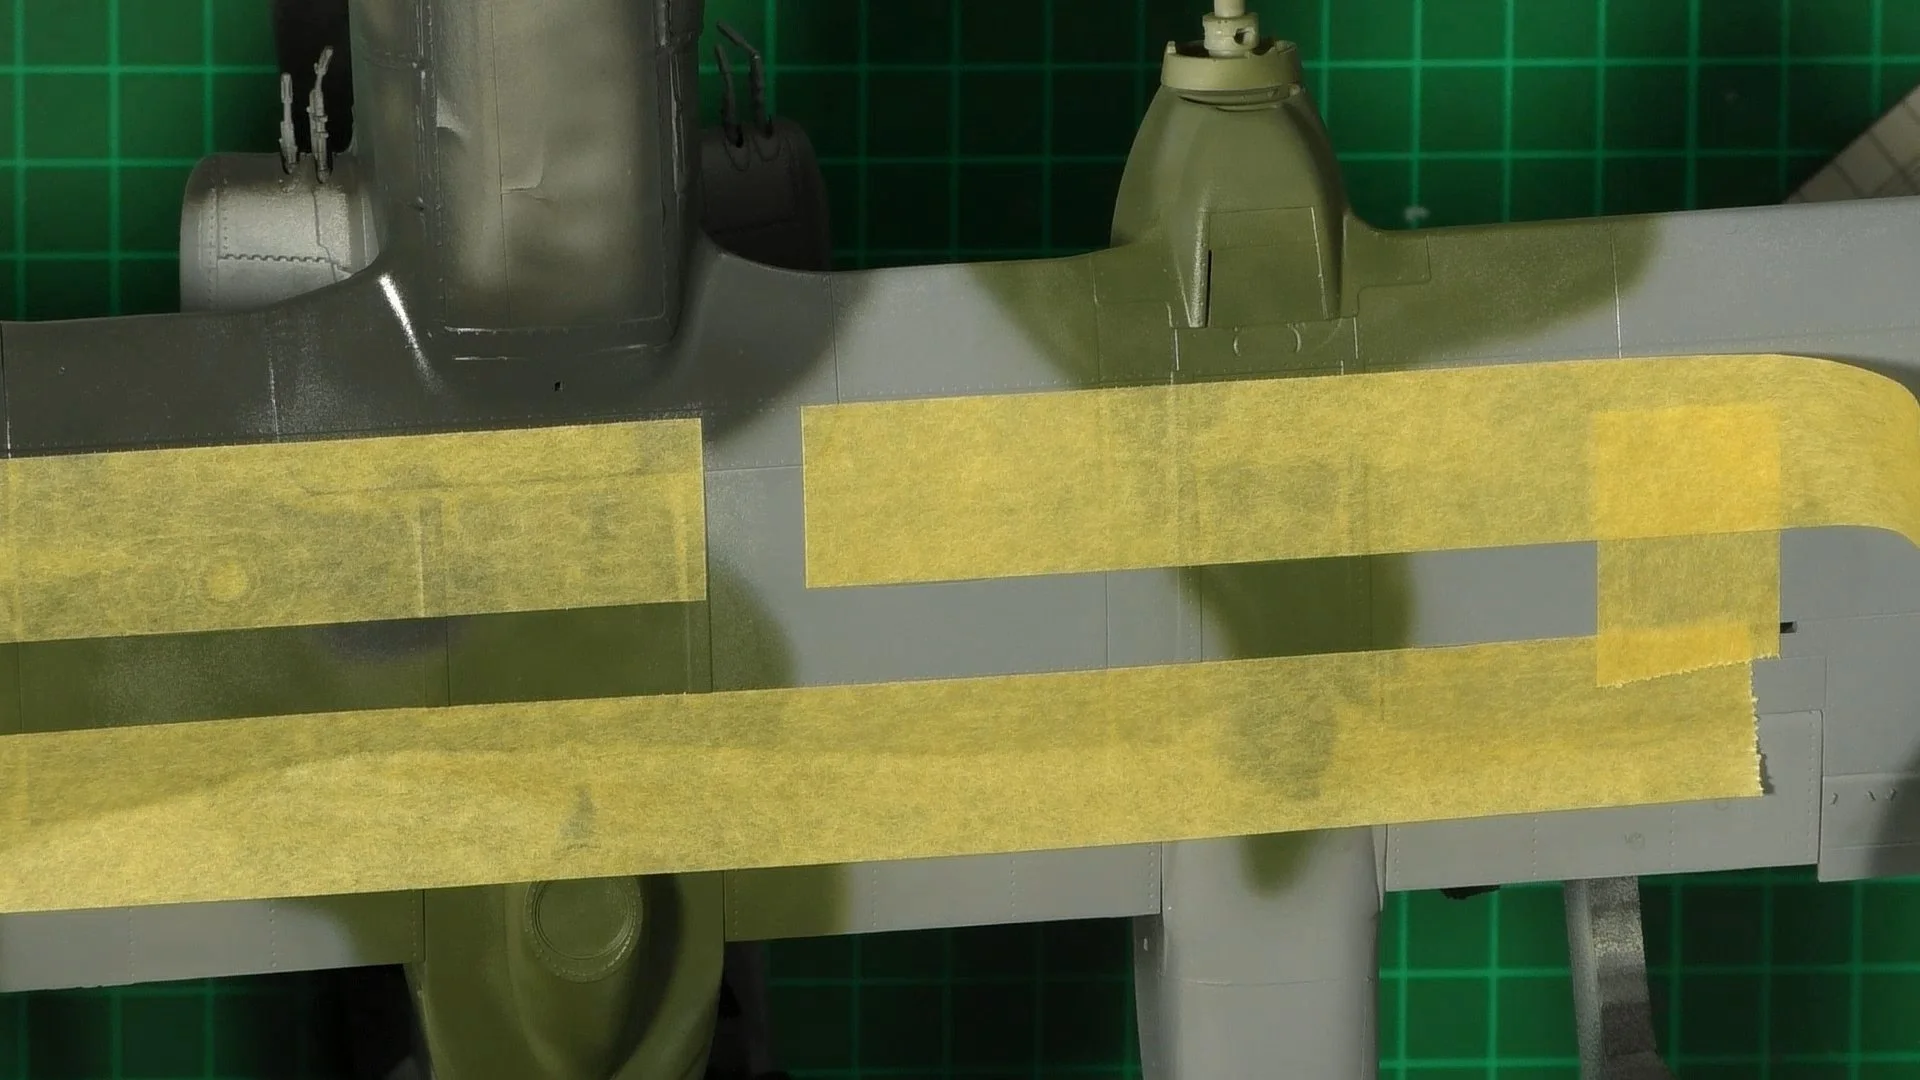
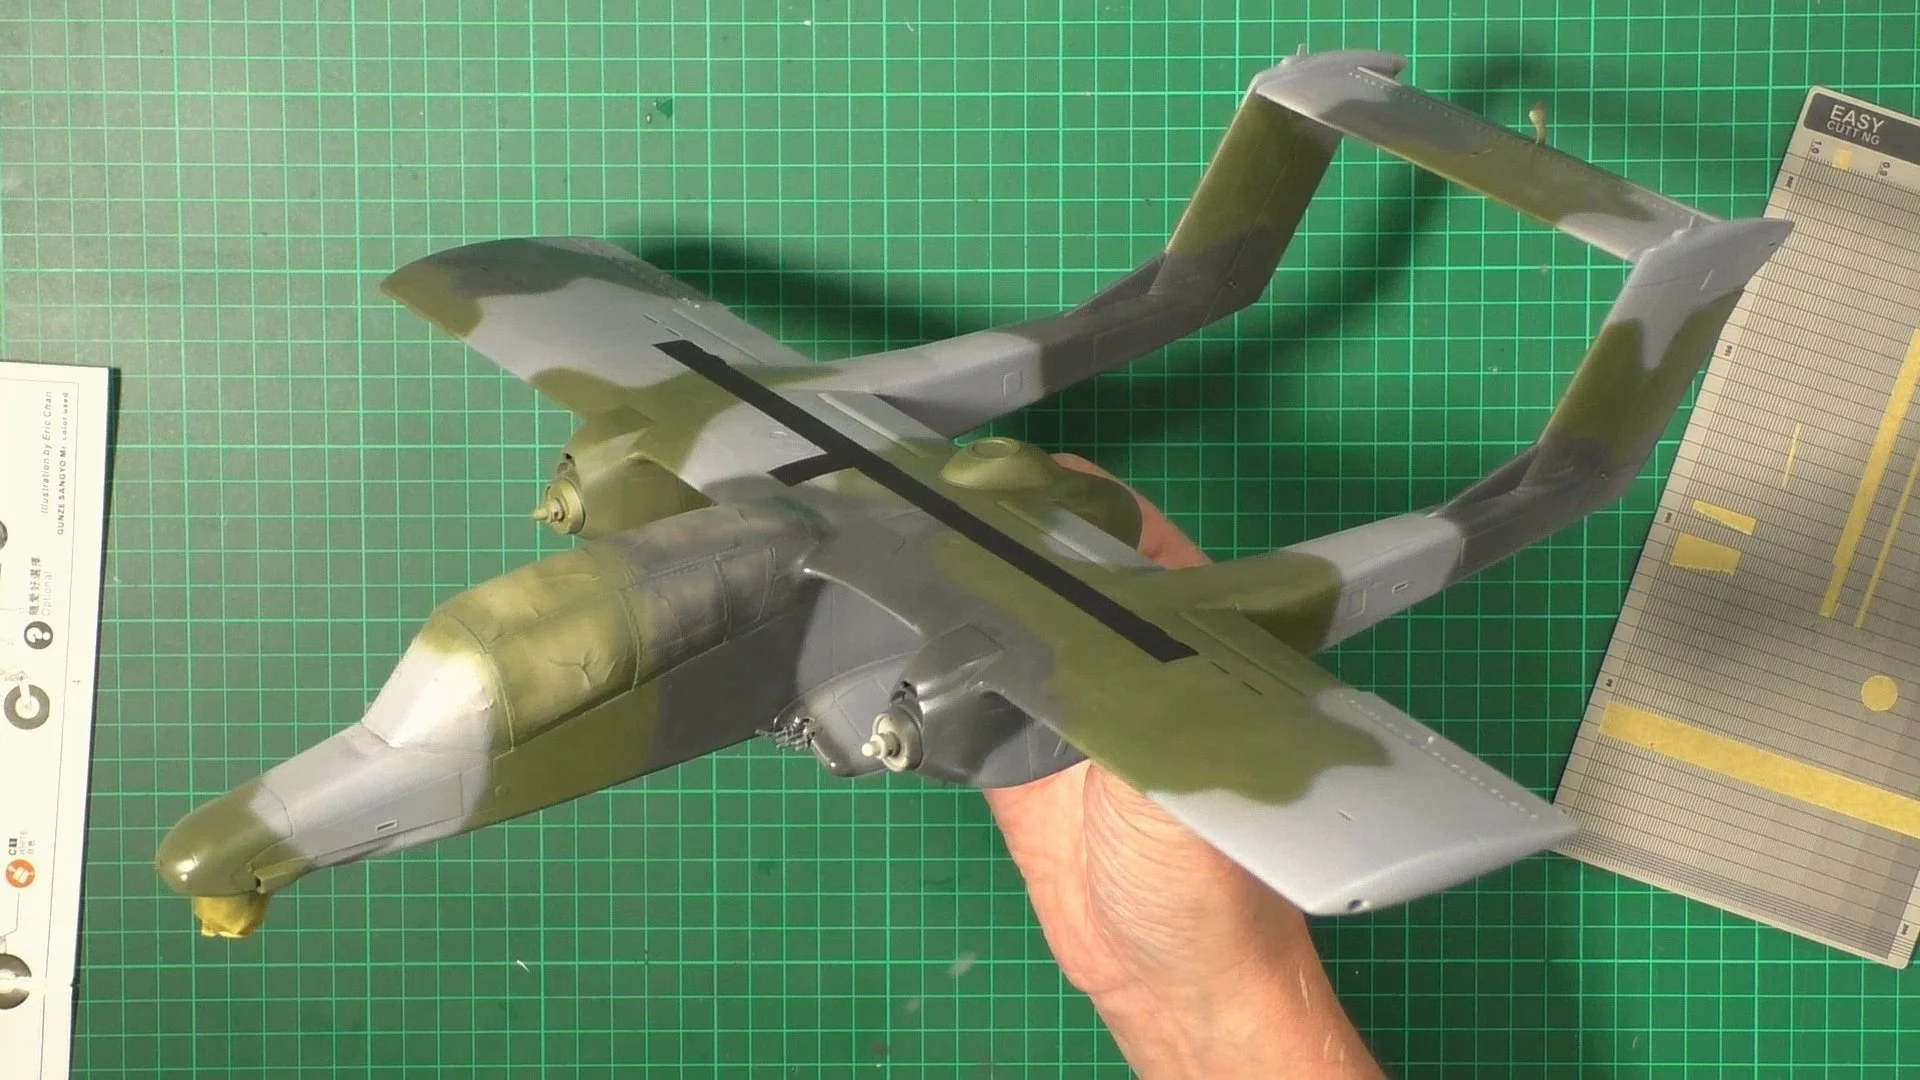
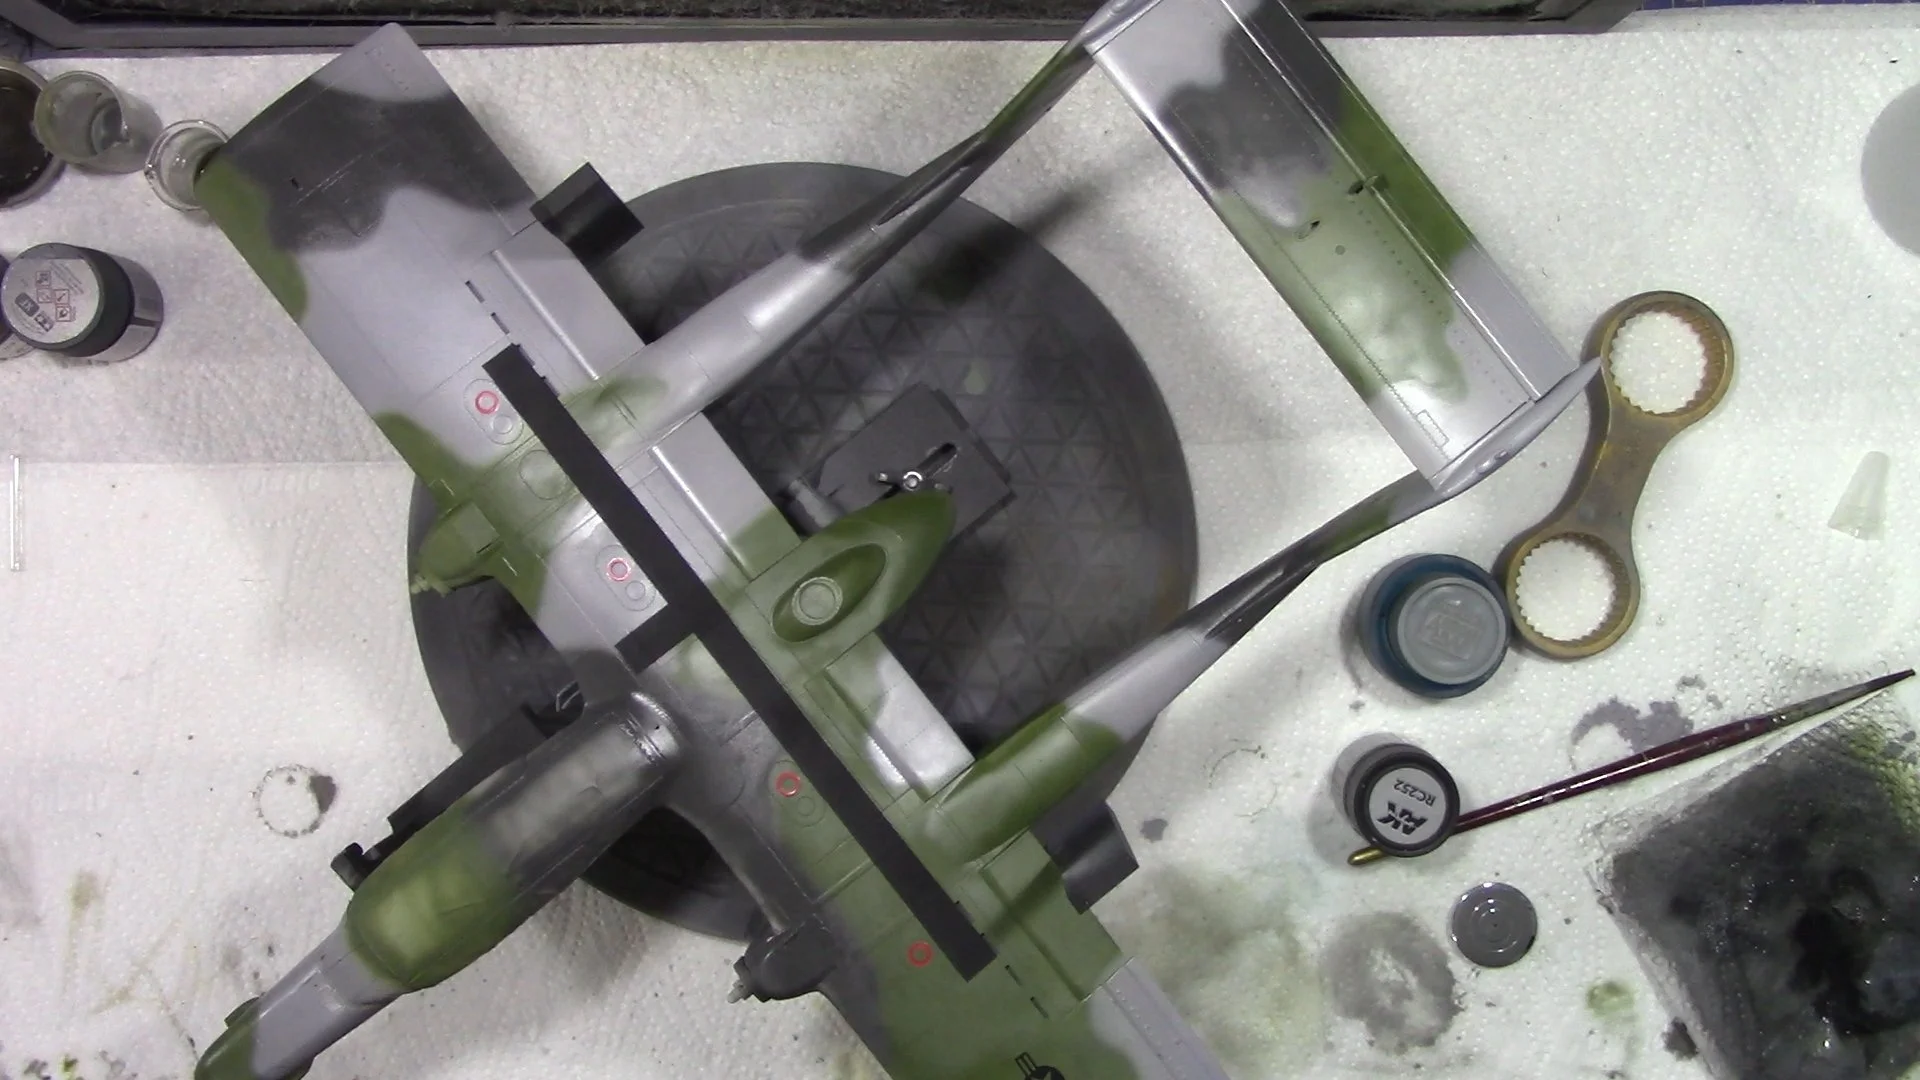
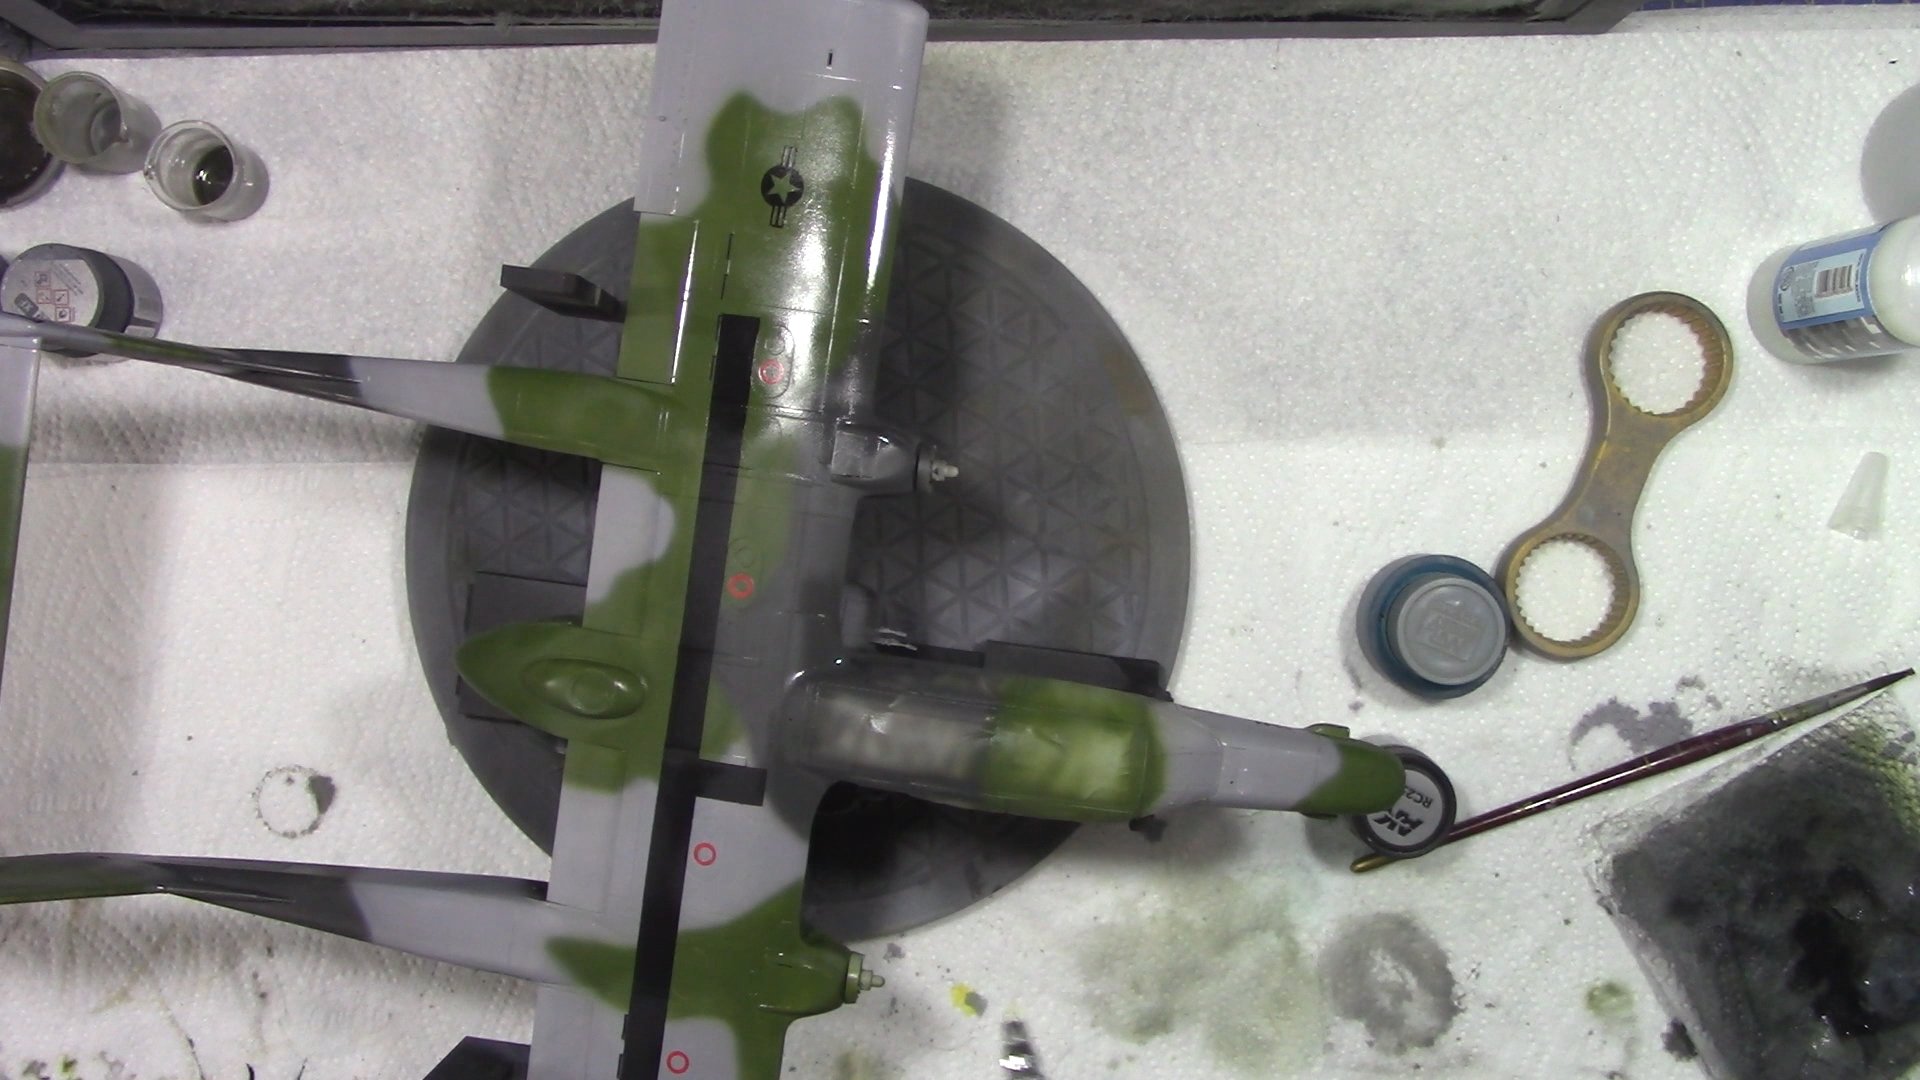
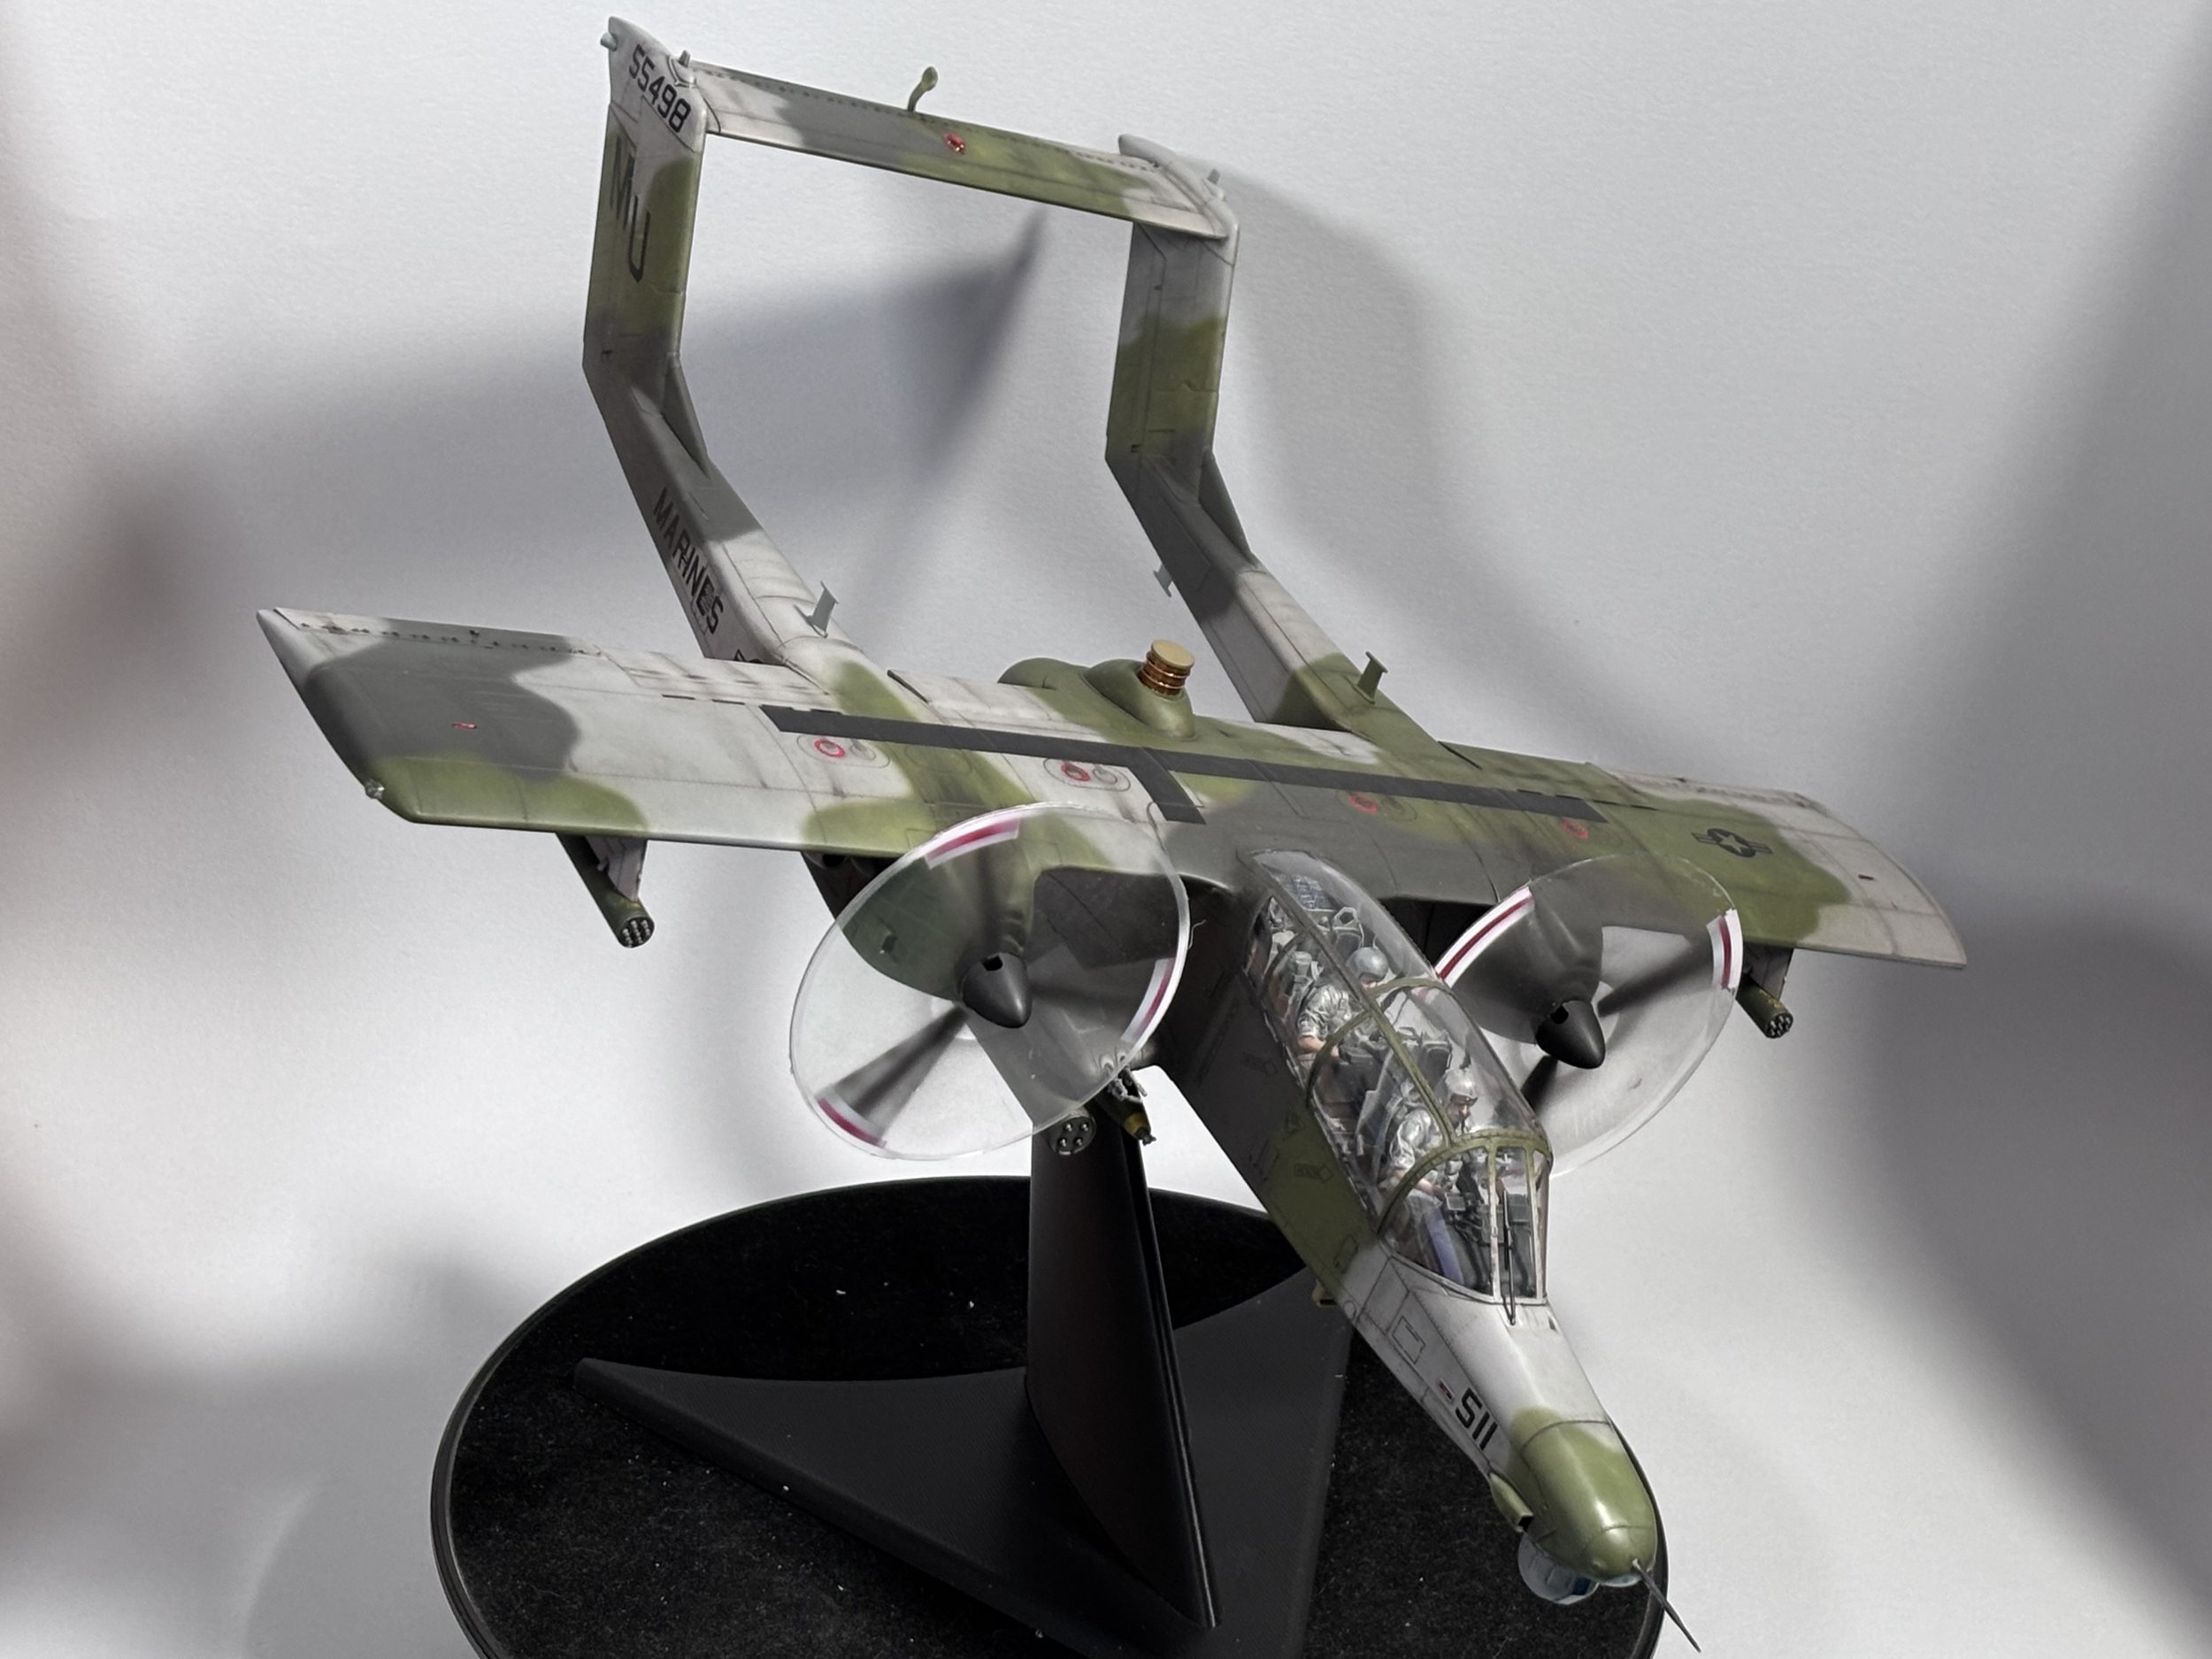
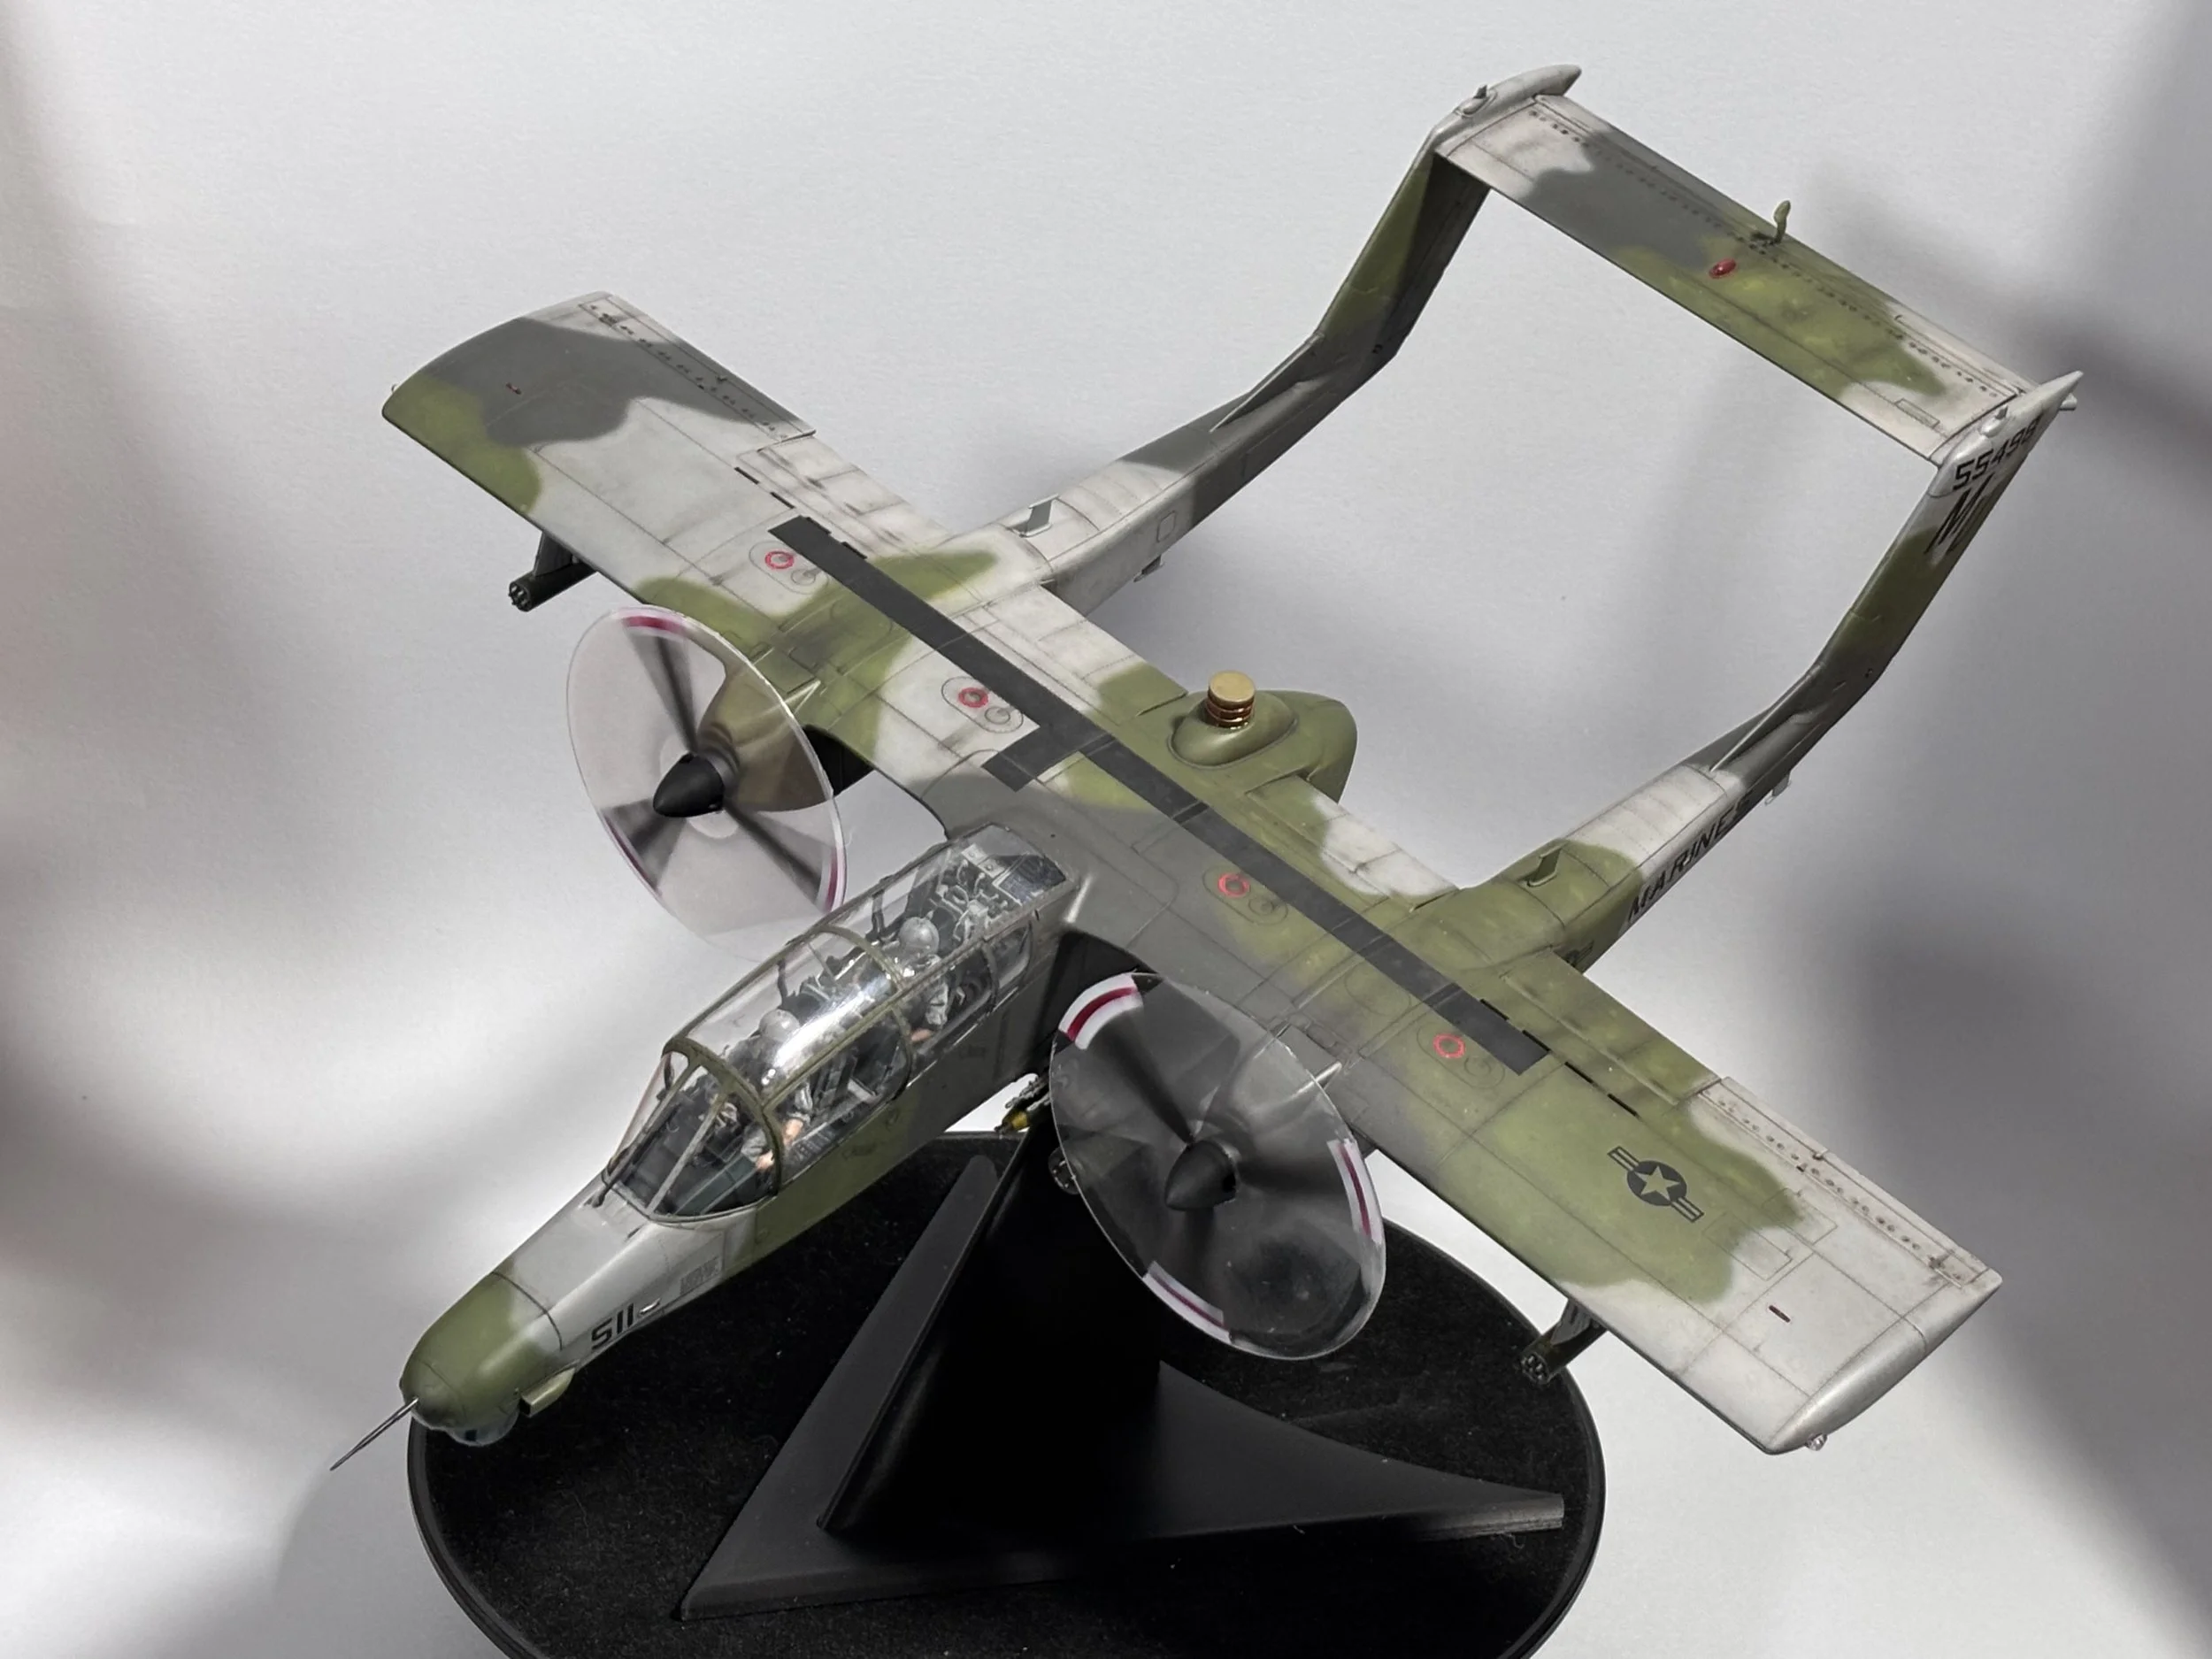
0:00 Now it's time to move into the spray booth and get the primer on. For this, we use Aqueous Serfacer. 4:25With the primer dry, we look over the model and the colors we will be using for the camo work. 7:55 First on is the grey, Hataka C046 FS35237 12:47 Next, we put down the Green Gunze H303 FS34102. We will be doing a freehand camo, so use pencil lines to park out the camo. 24:01 Next up is the Brown/Black color, For this we use Gunze H301 FS36081 32:28 We have a look at the completed camo.
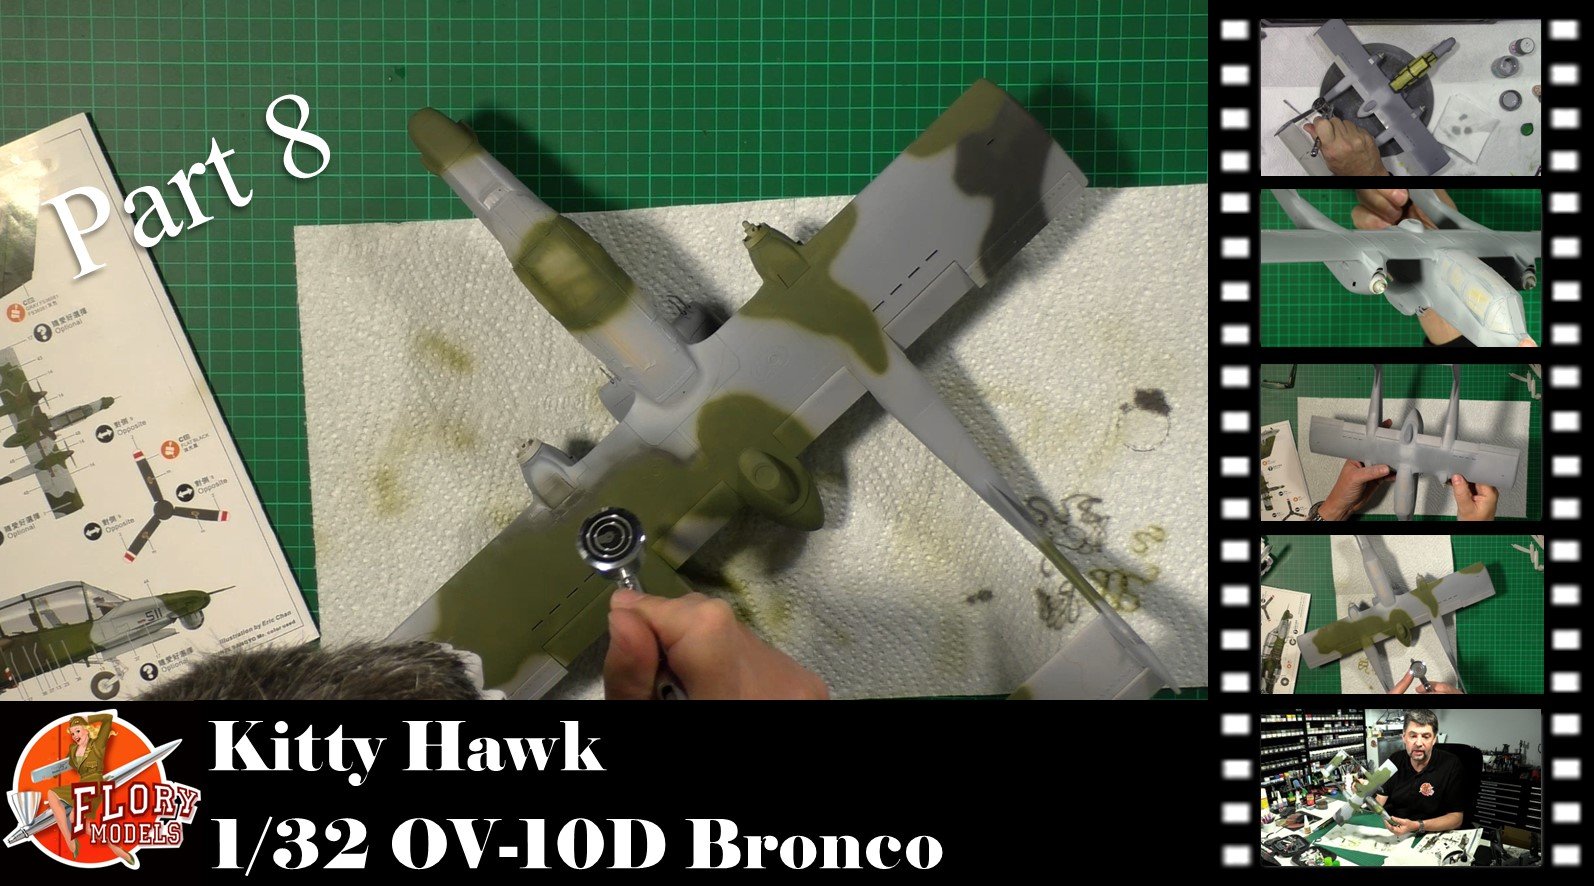
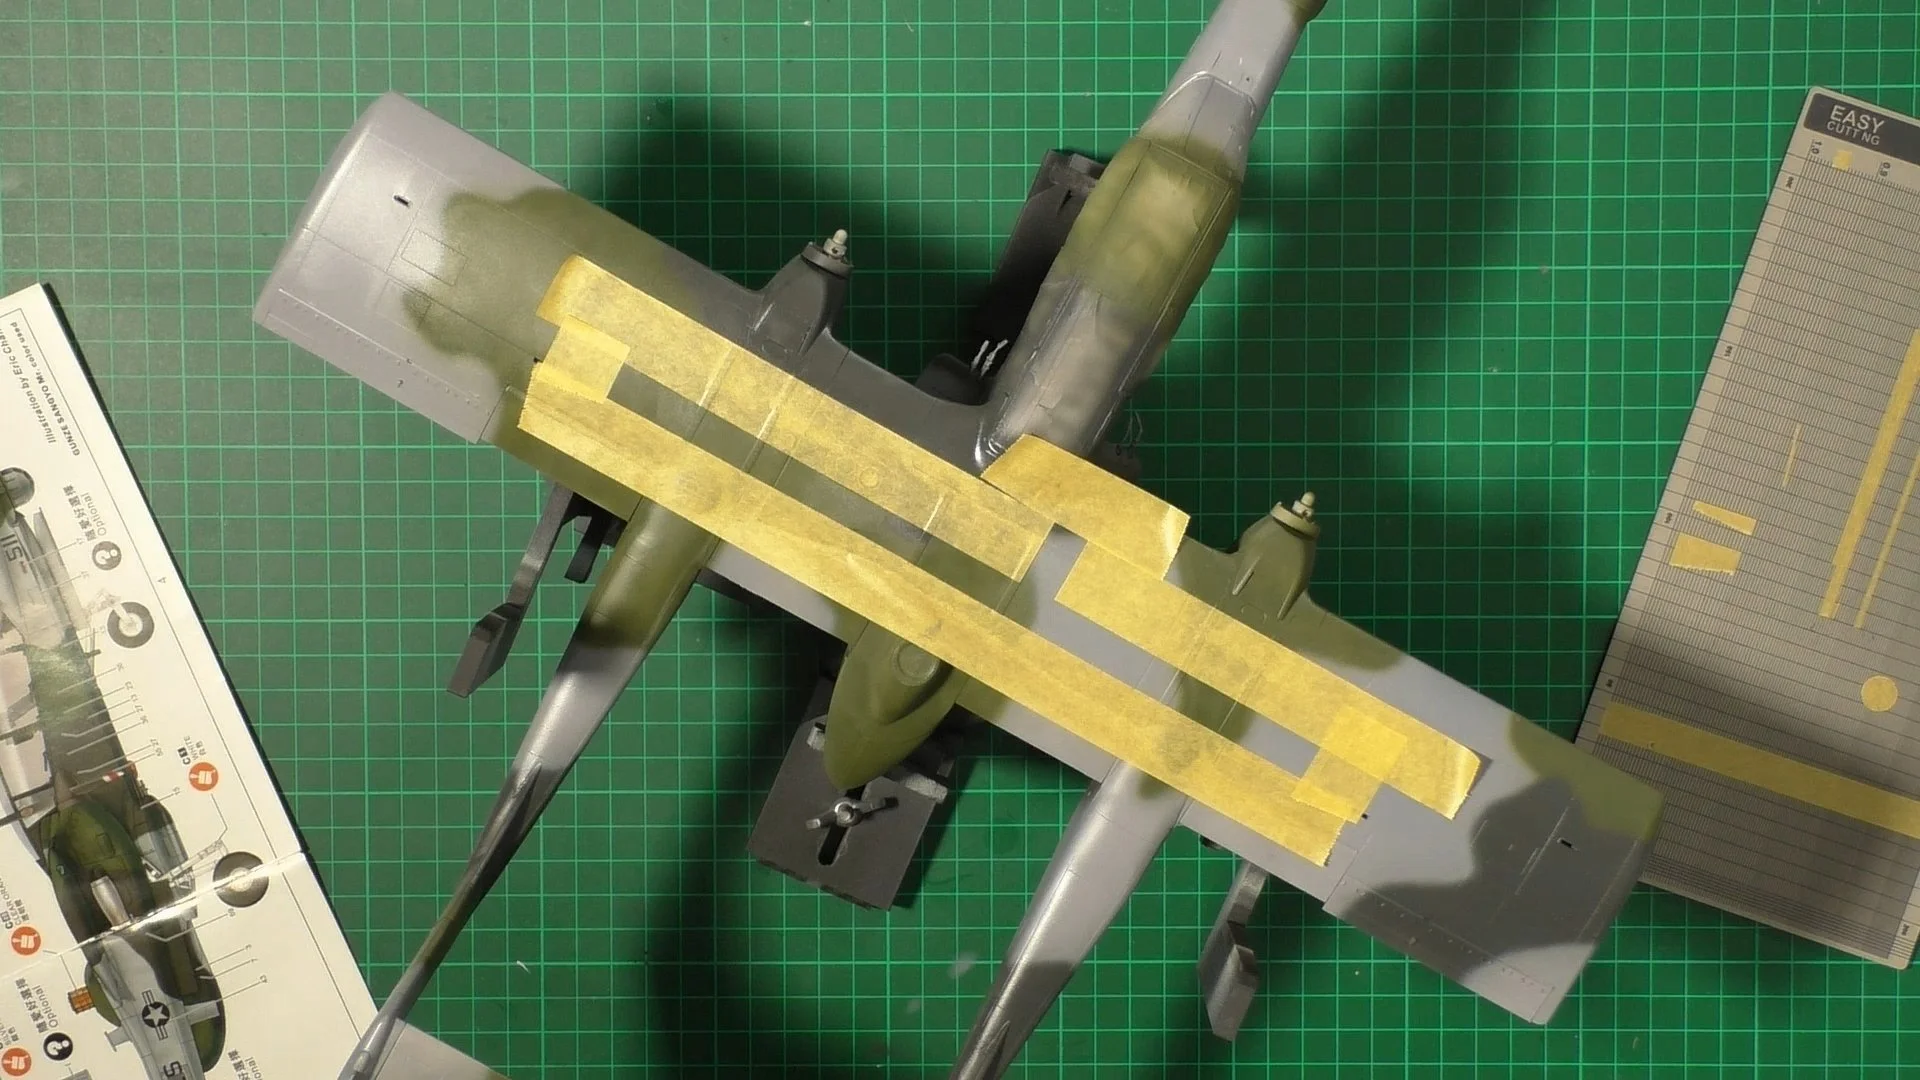
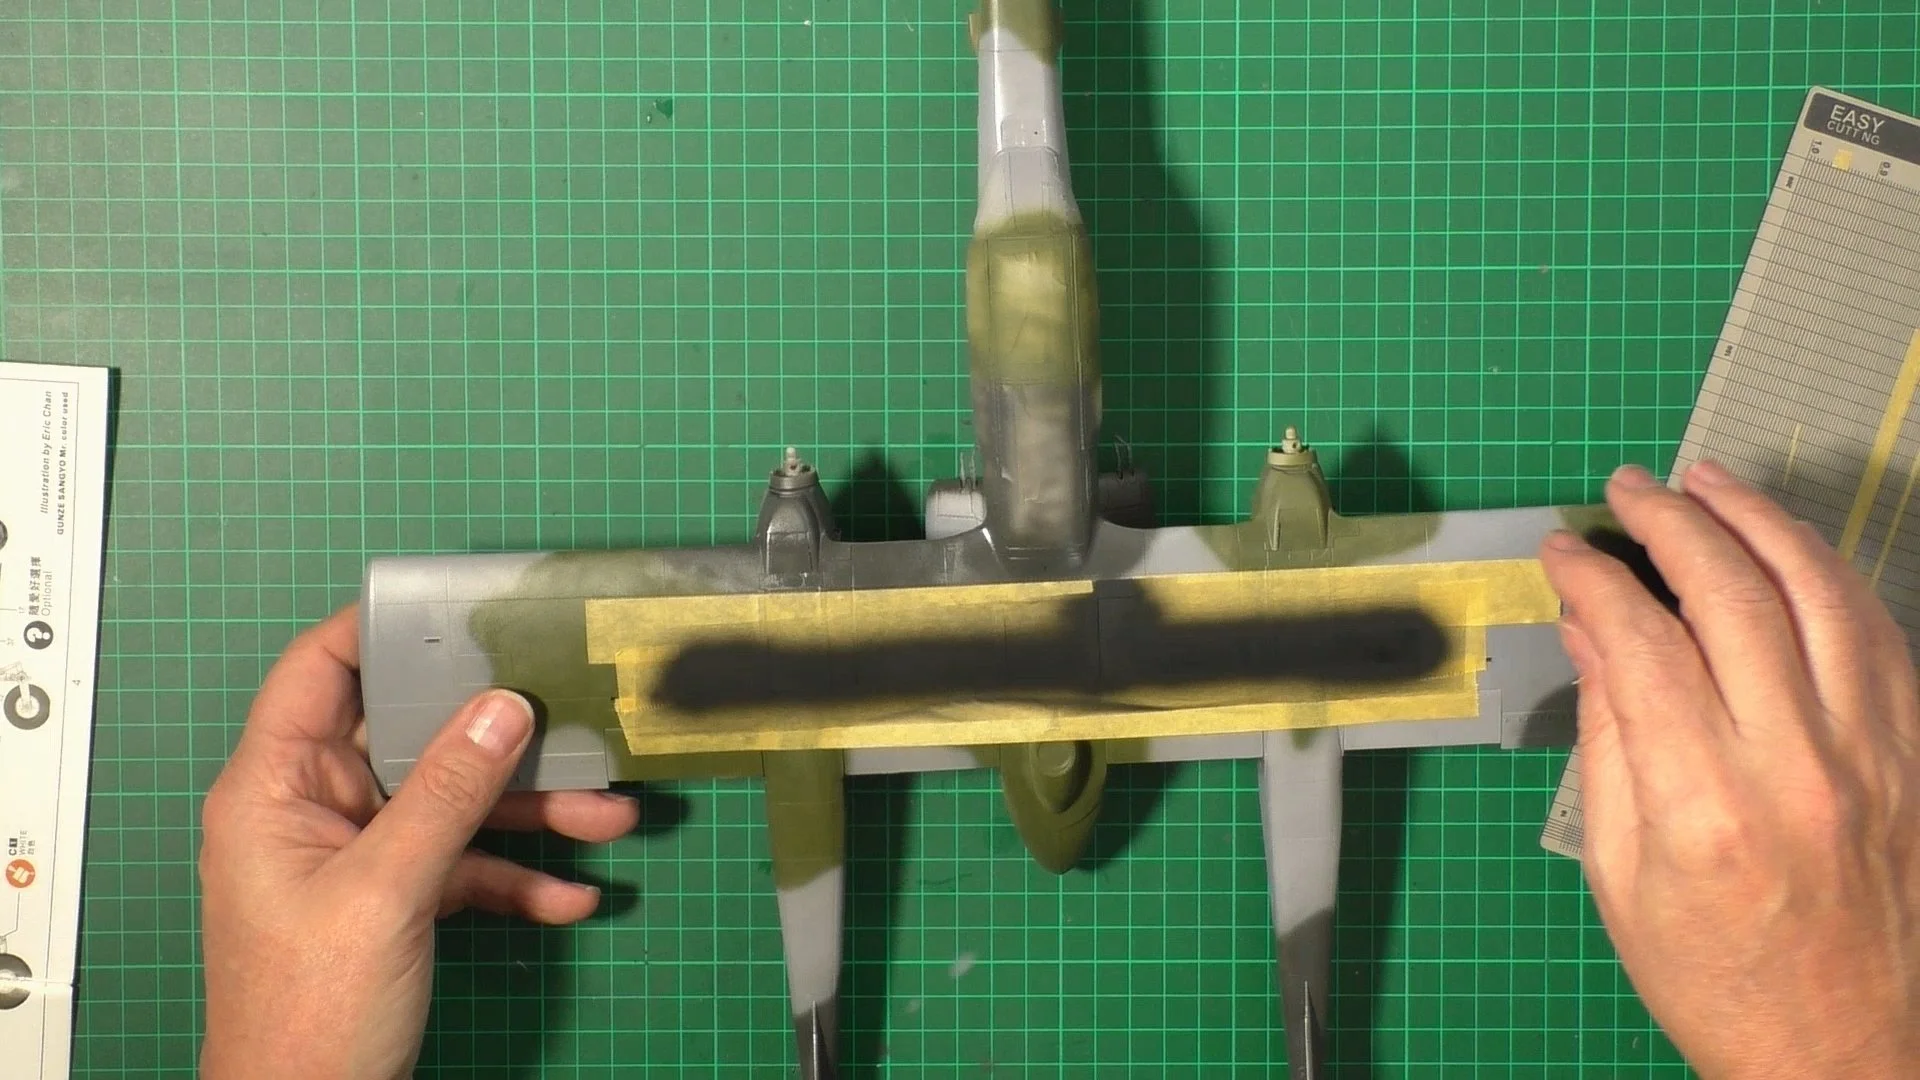
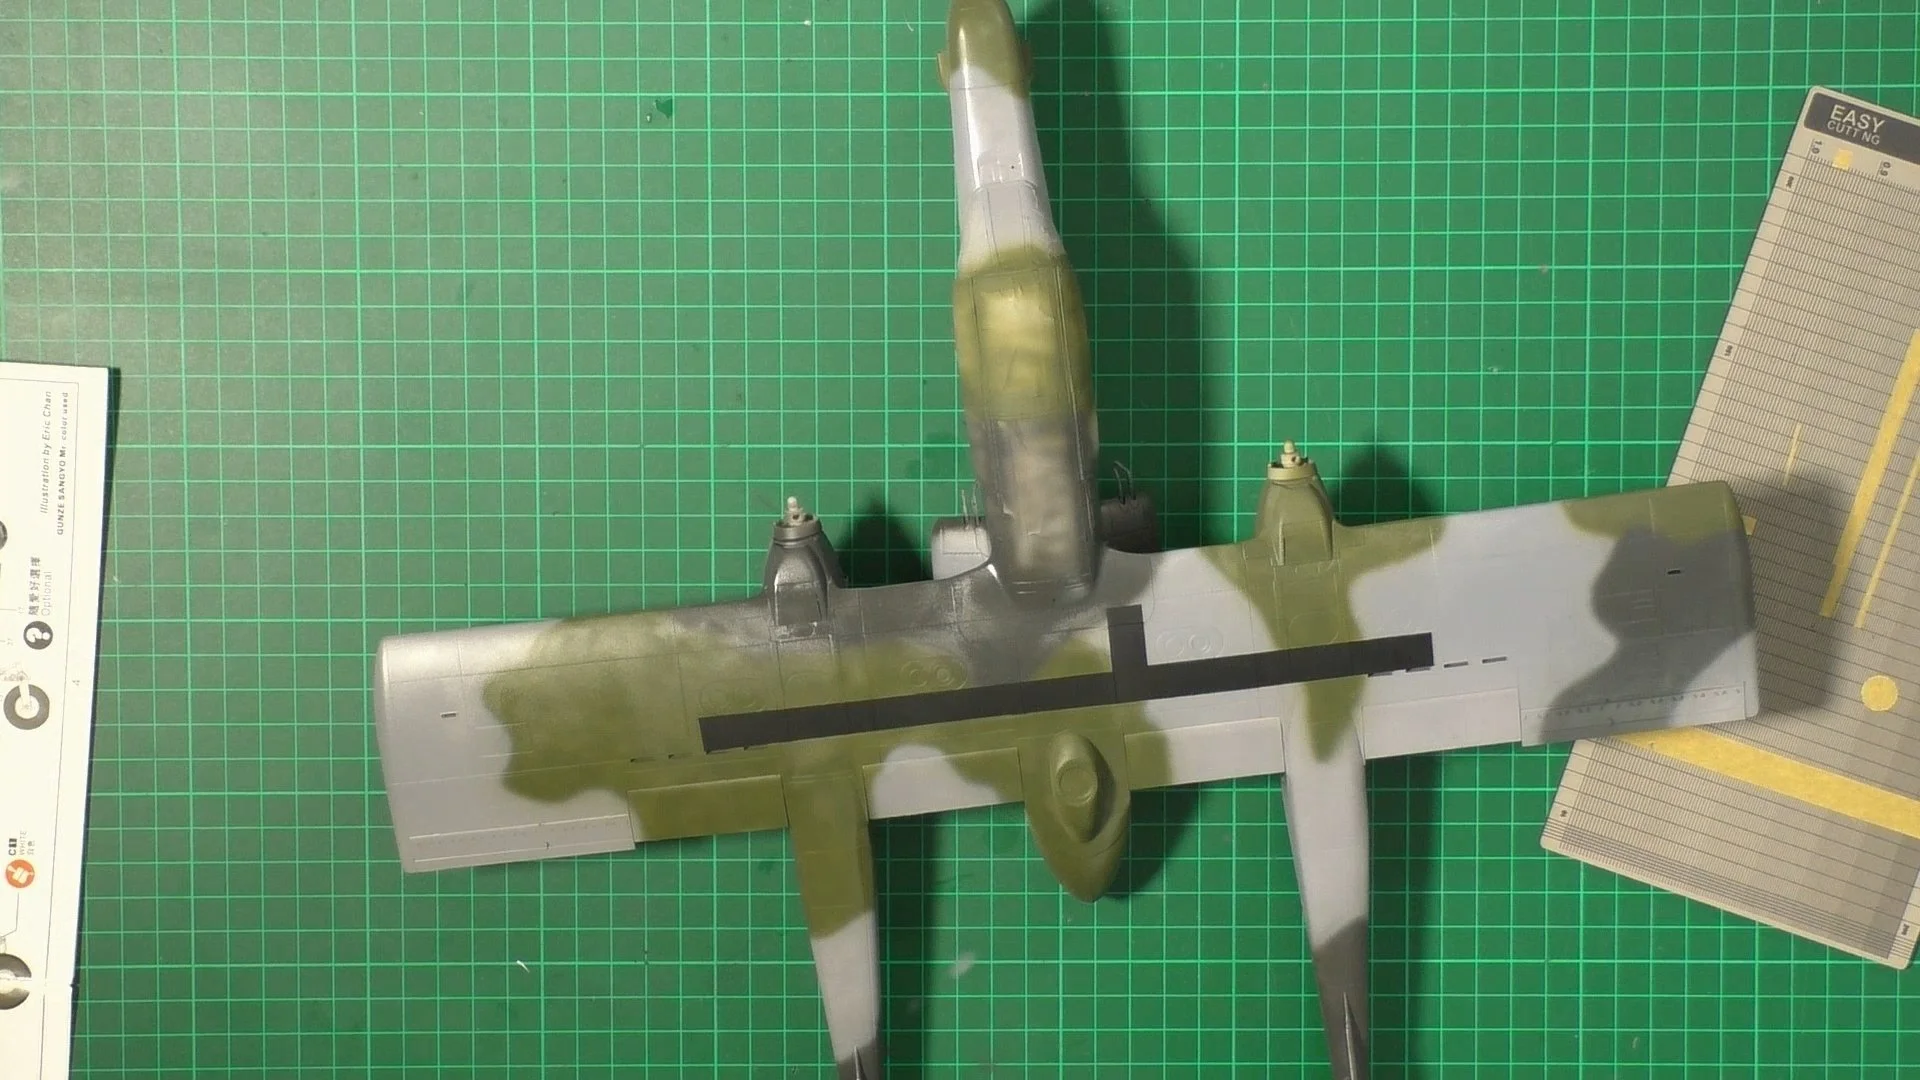
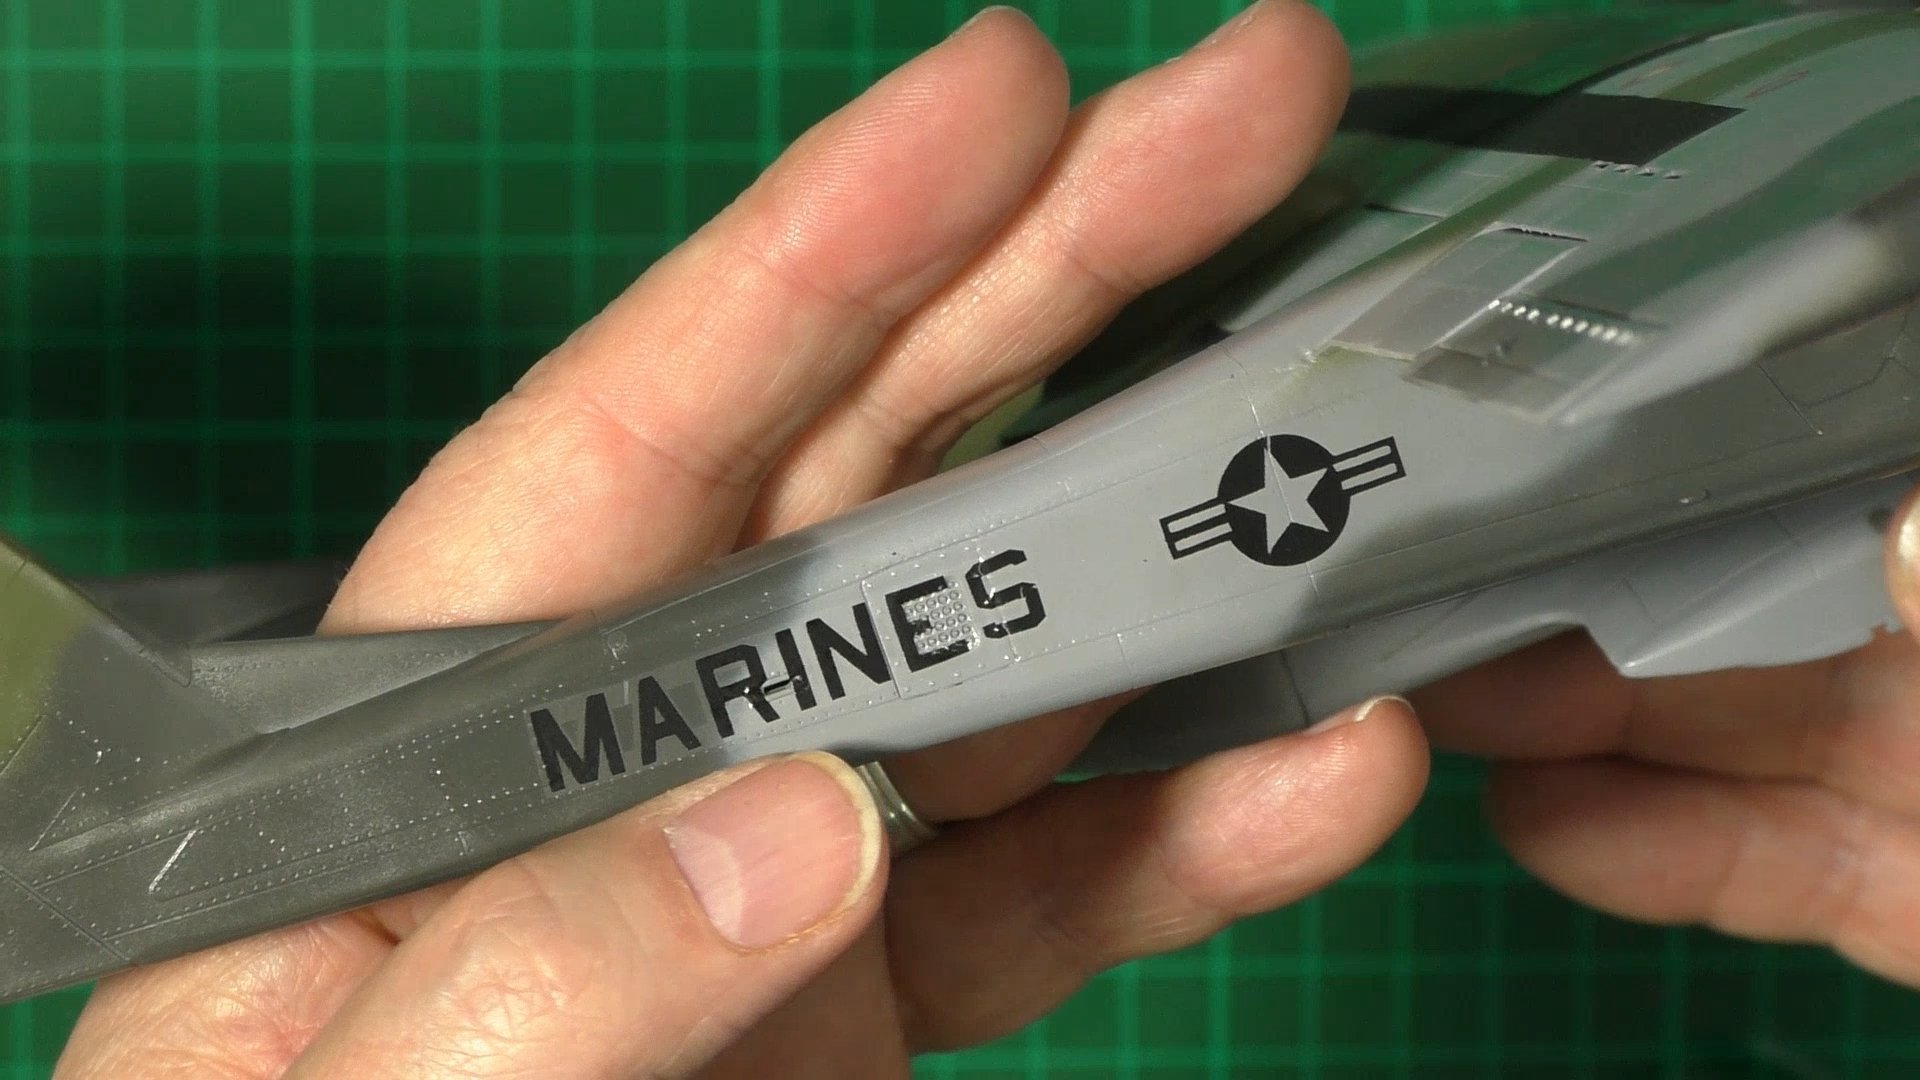
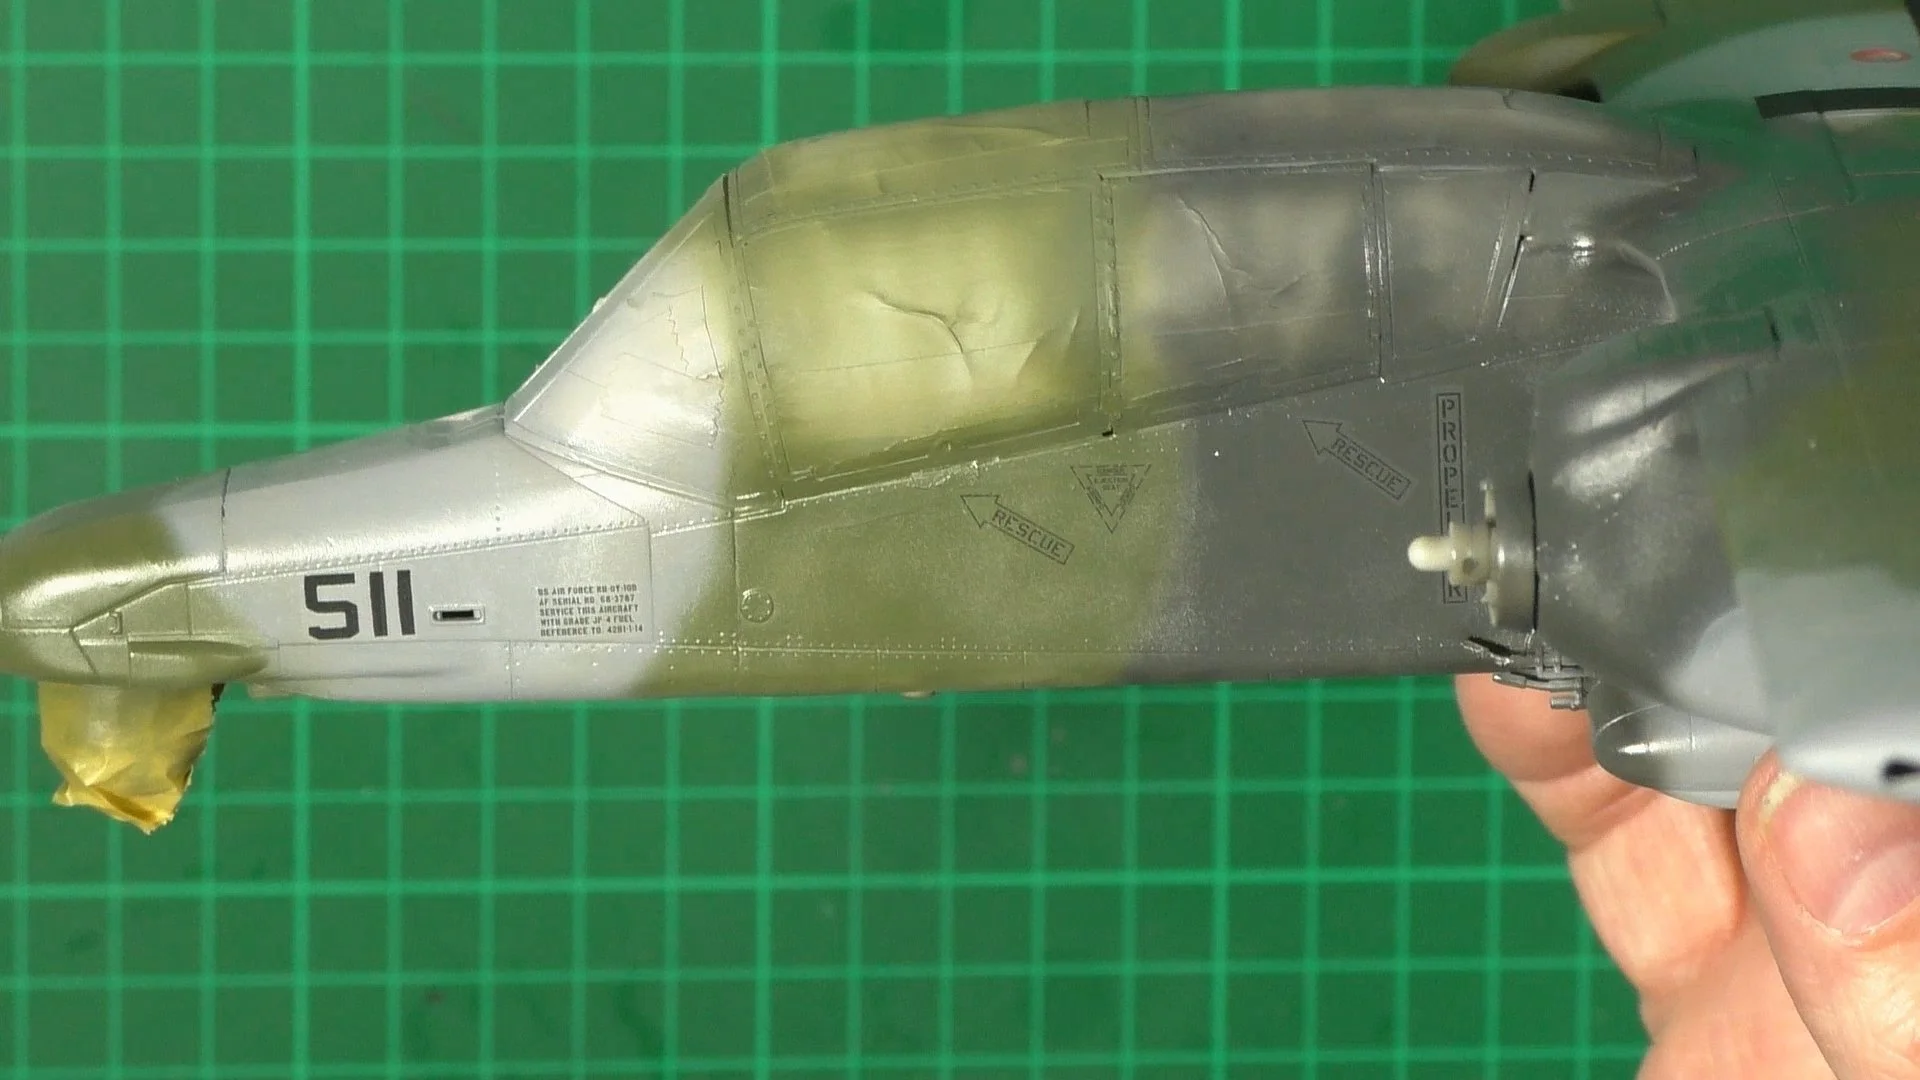
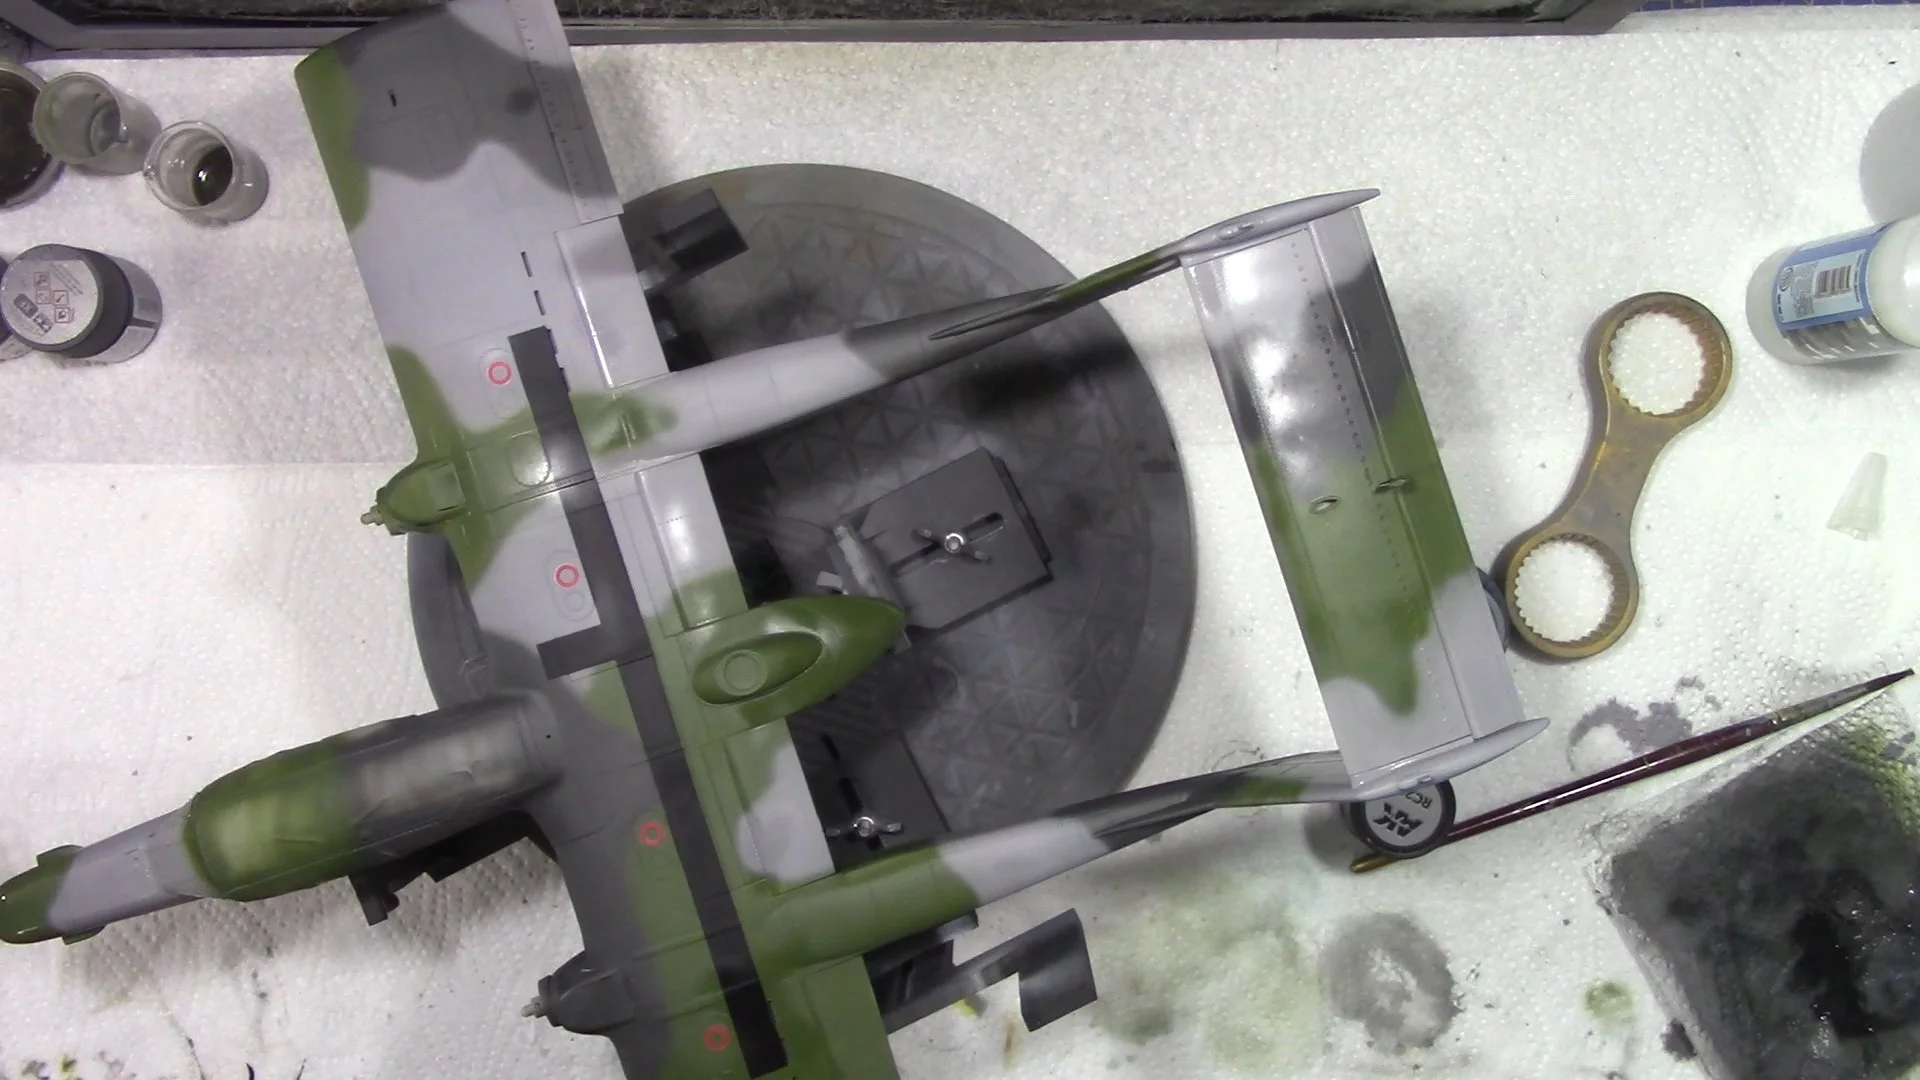
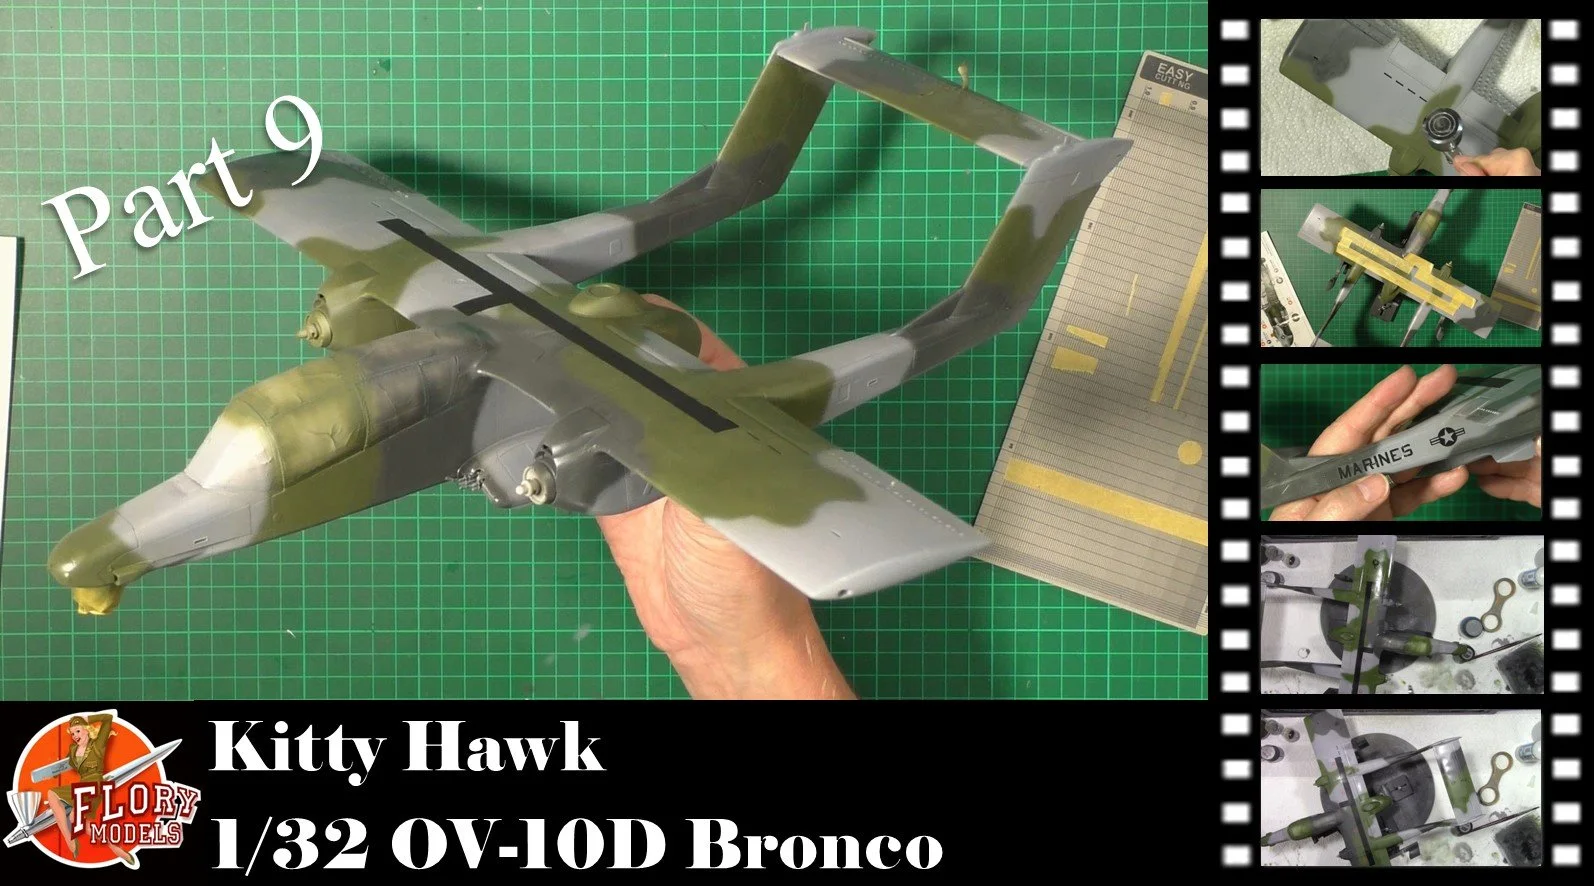
0:00 To start off, we sharpen up the camo. We thin down the paint and turn down the air pressure, which lets us get closer to the model and make a tighter camo pattern. 11:13 We mask up the walkway and paint with Tamiya XF-85 Rubber black. 16:48 Now it's time to decal, we use Micri Set and Sol to get the decals down nicely. 24:07 Last up, we put on a coat of VMS XXL Satin.
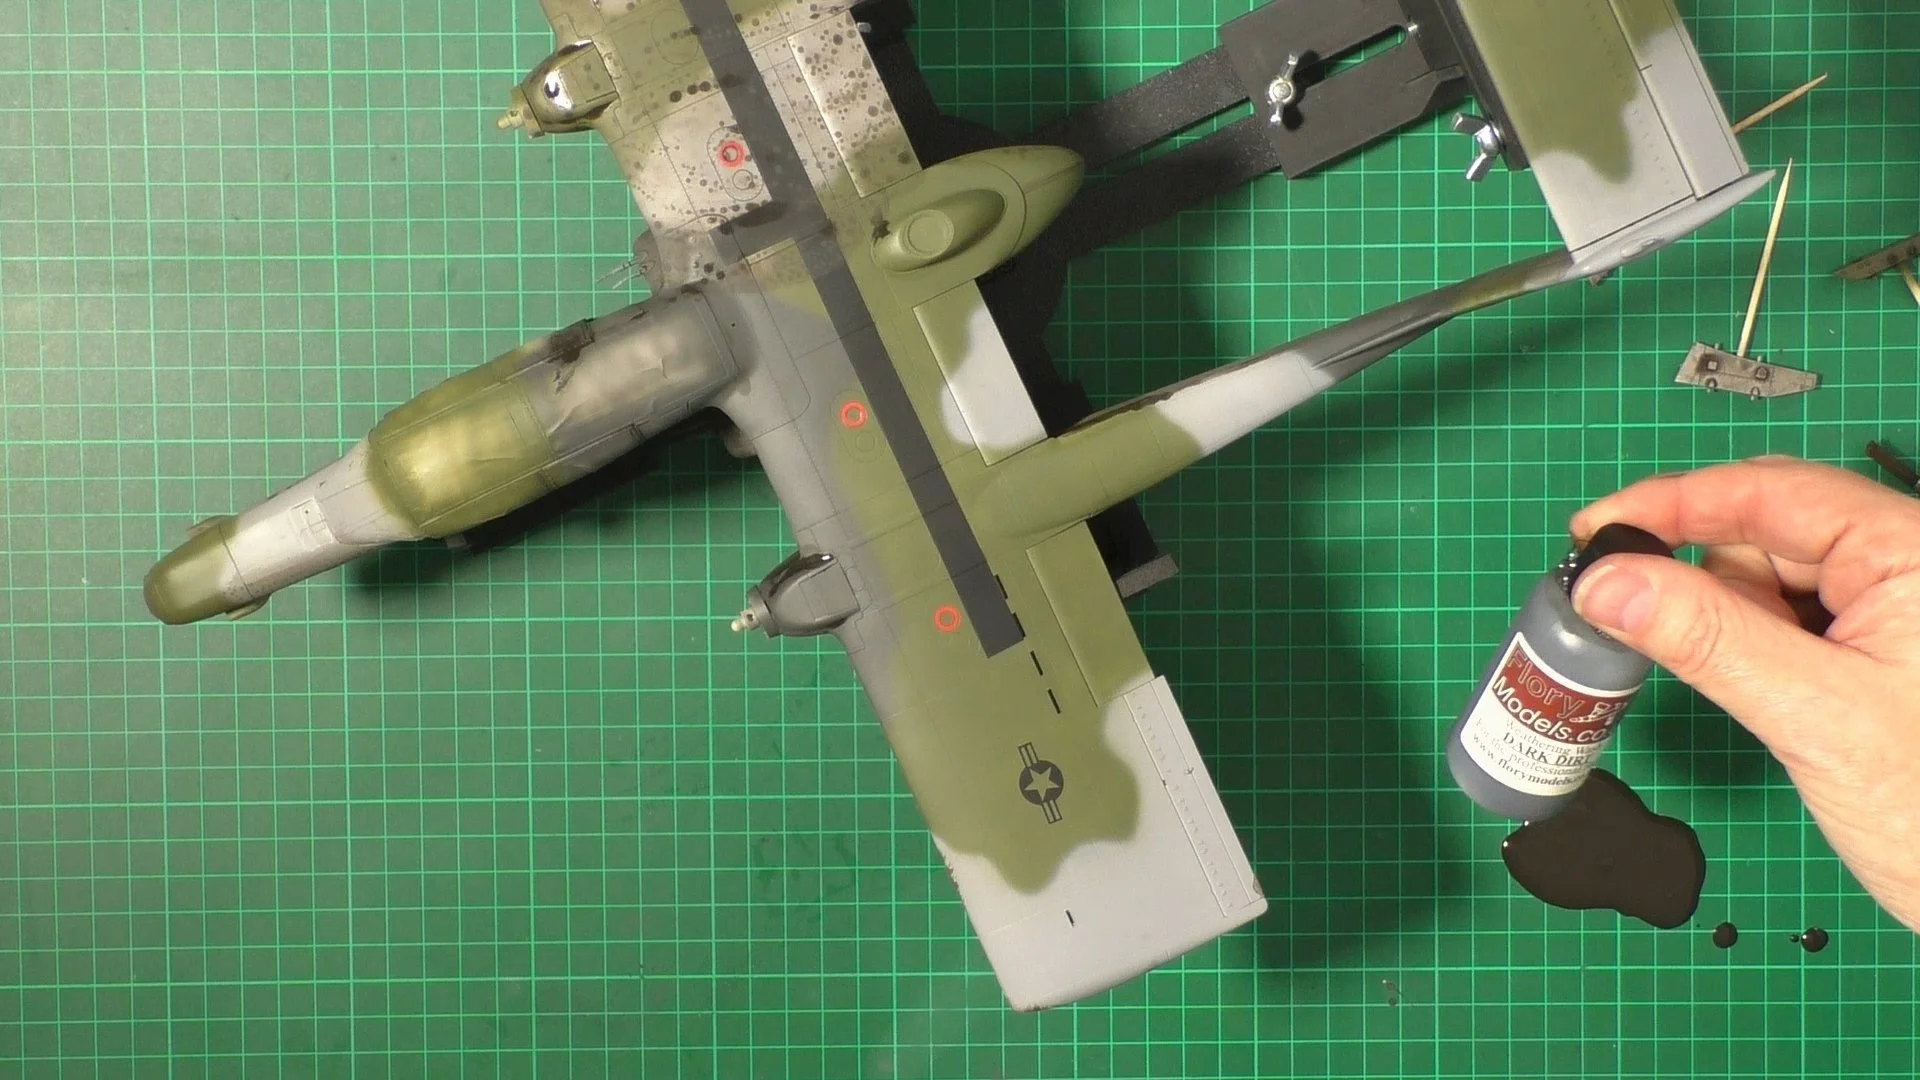
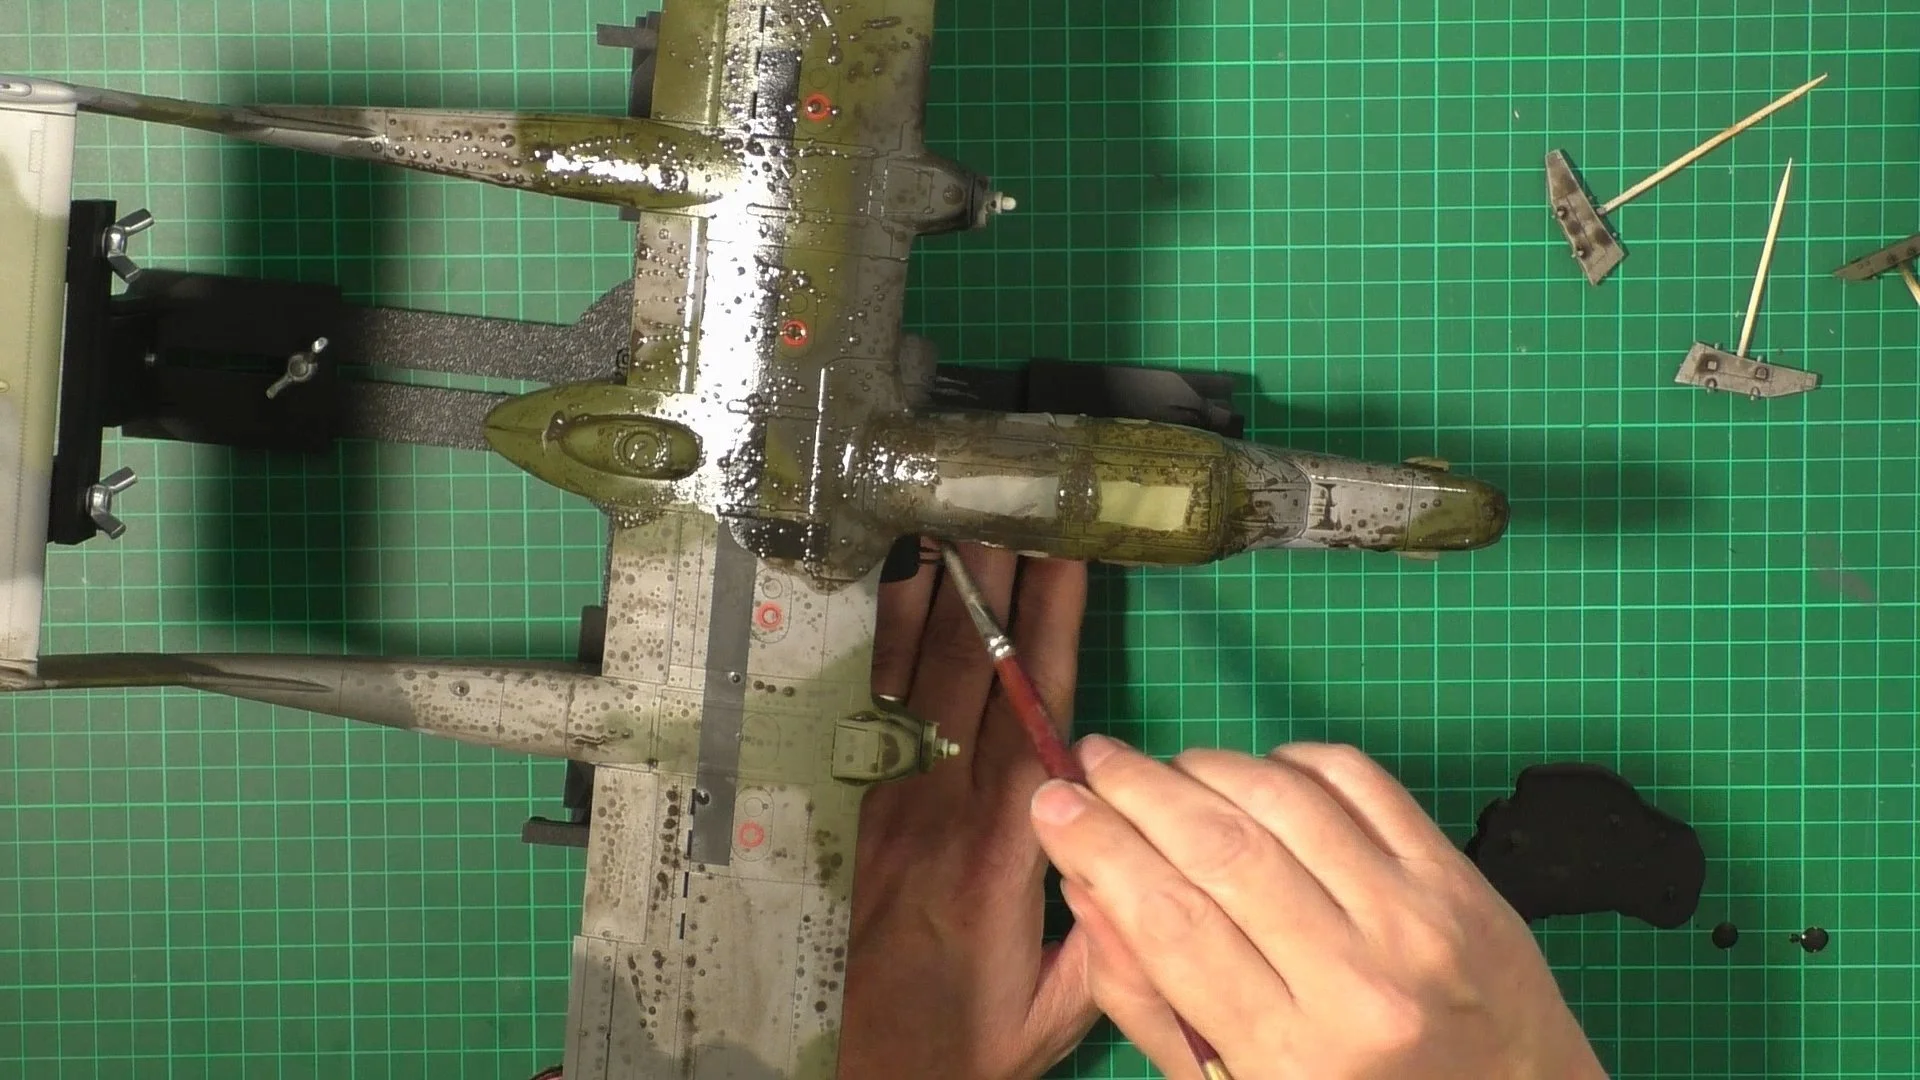
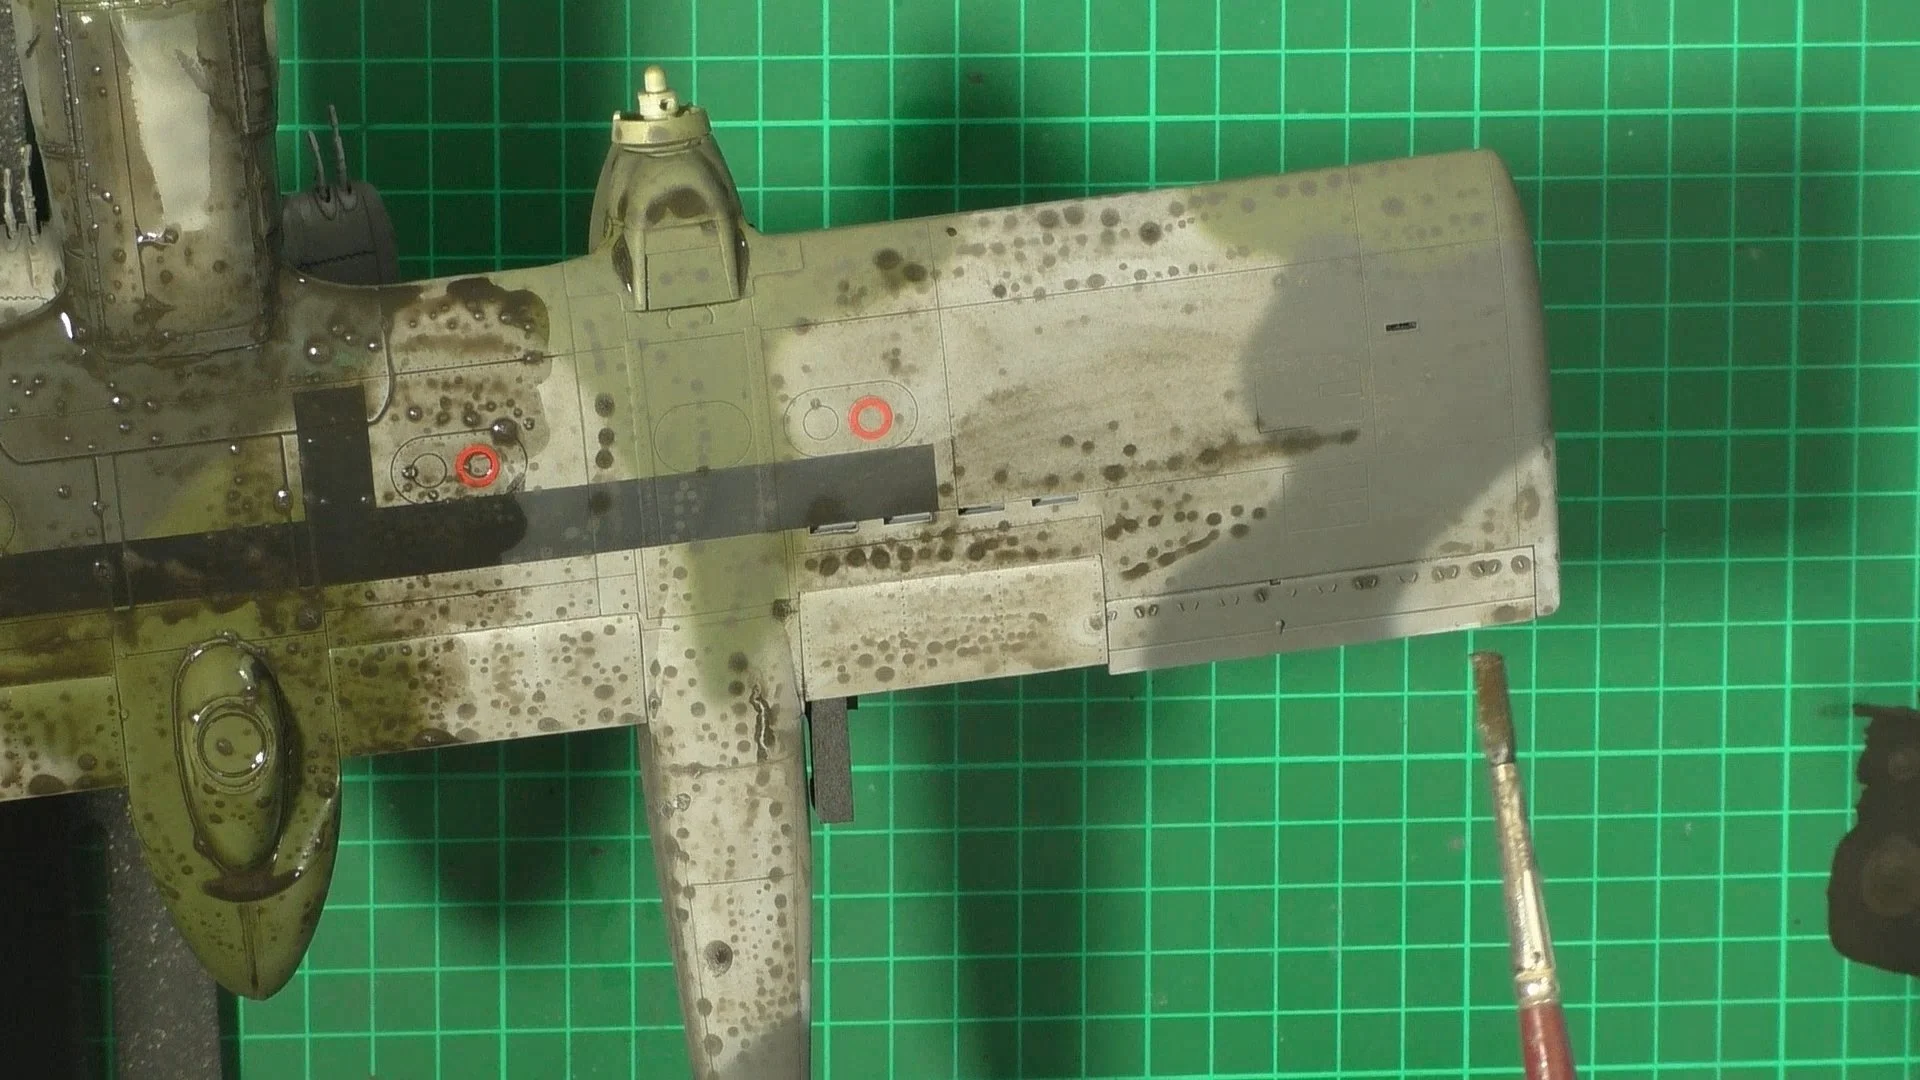
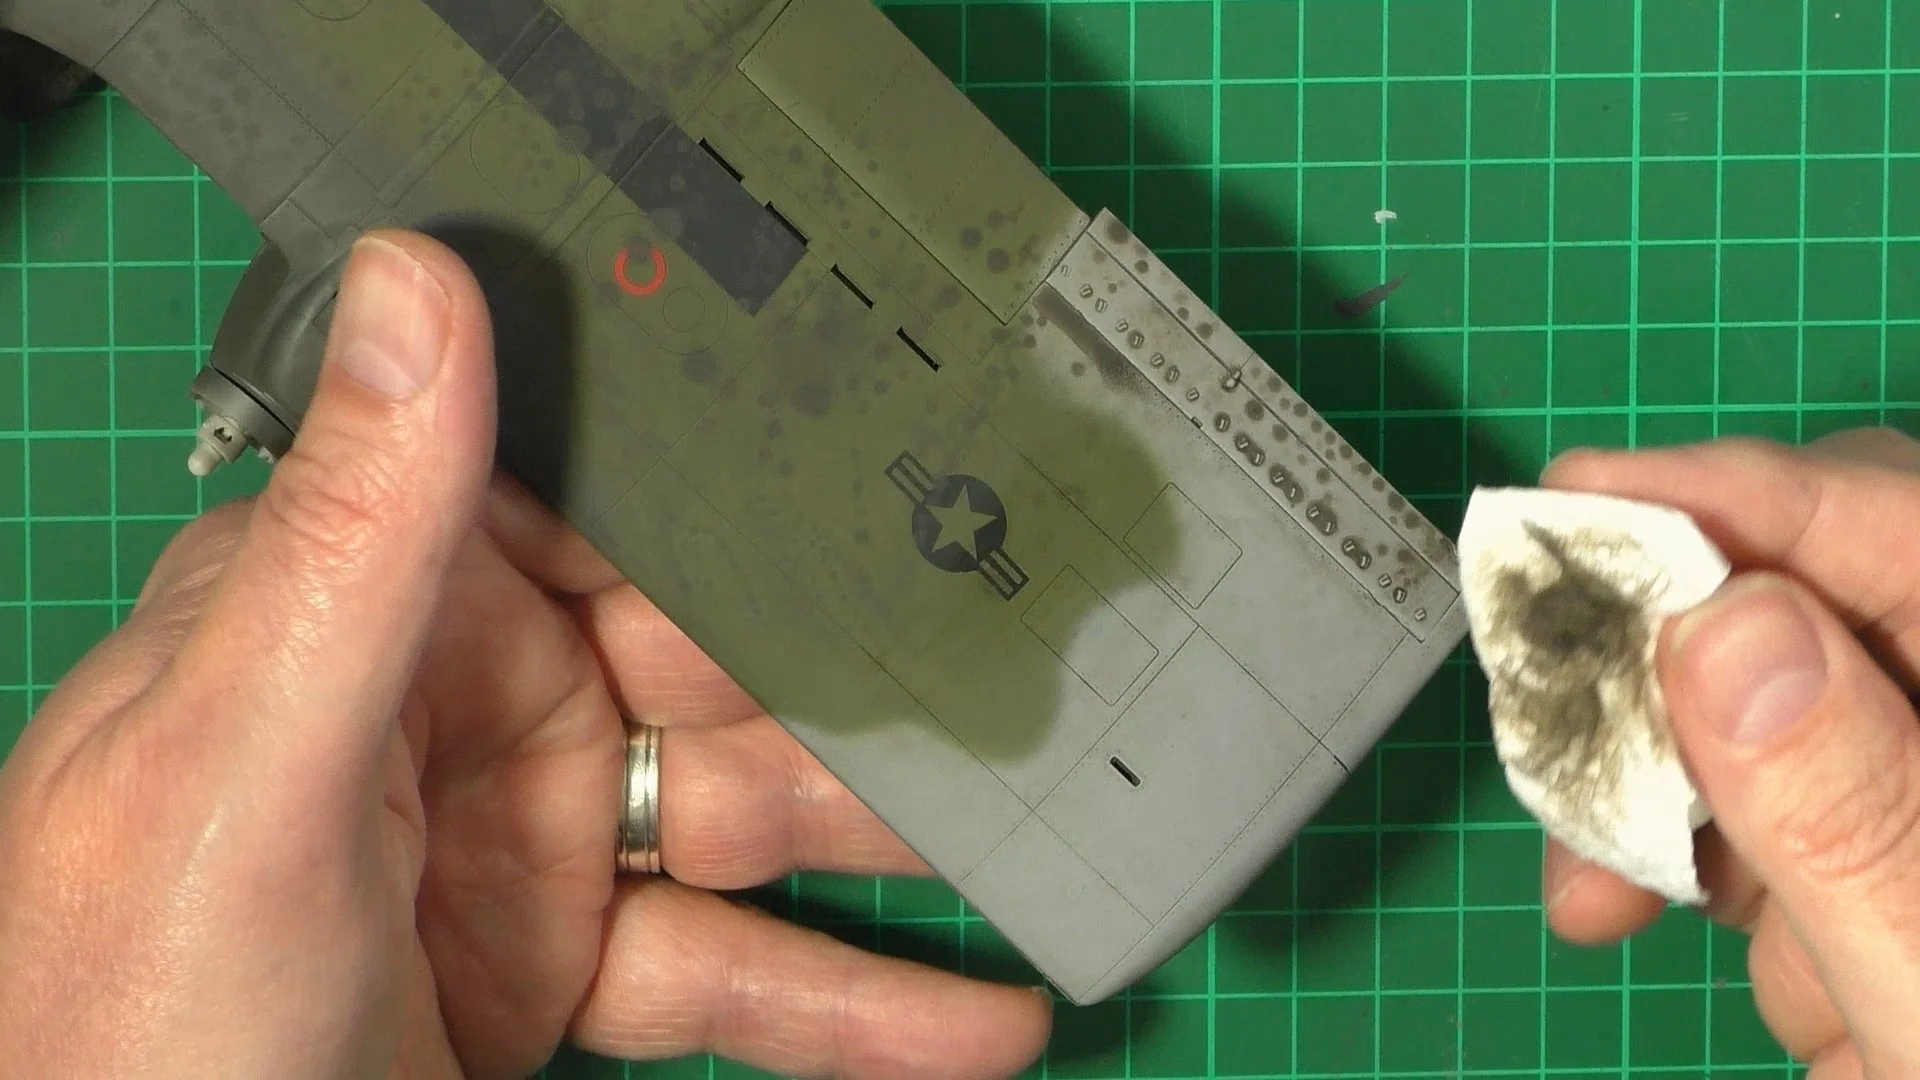
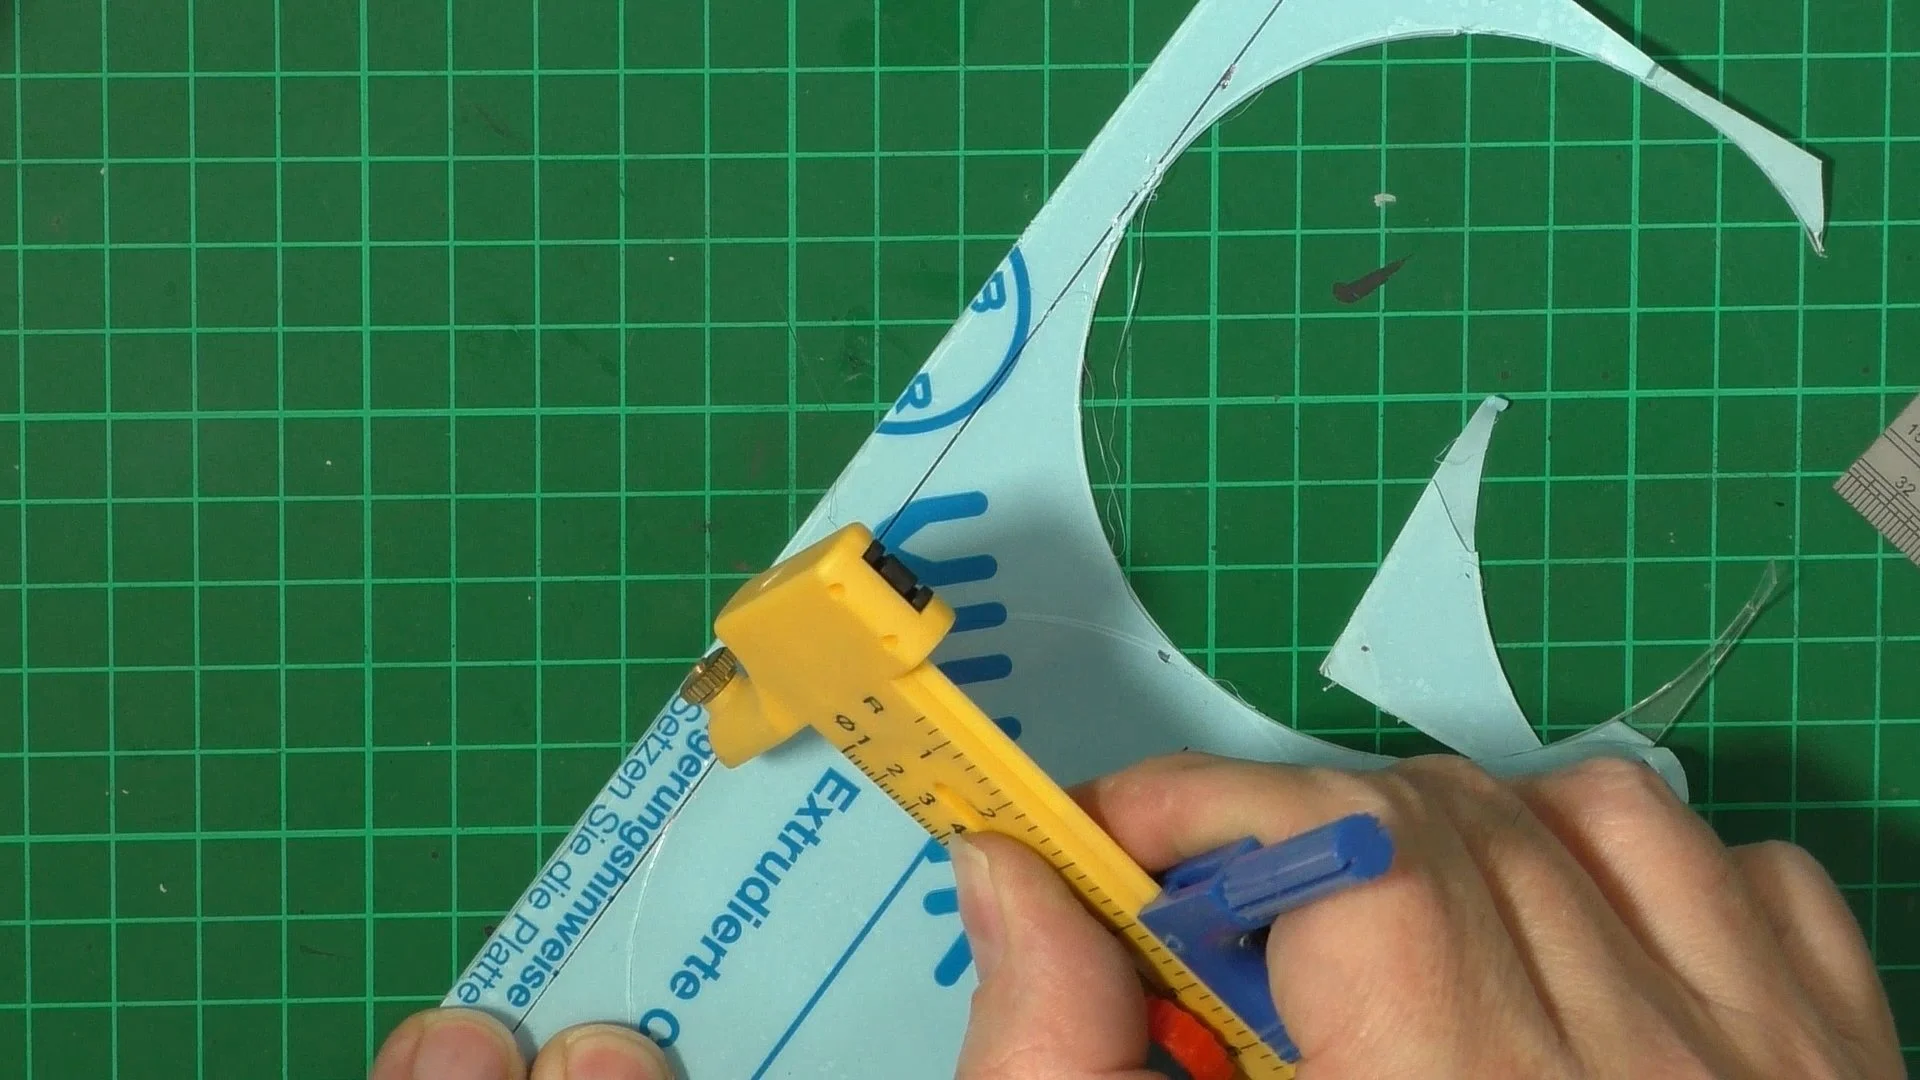
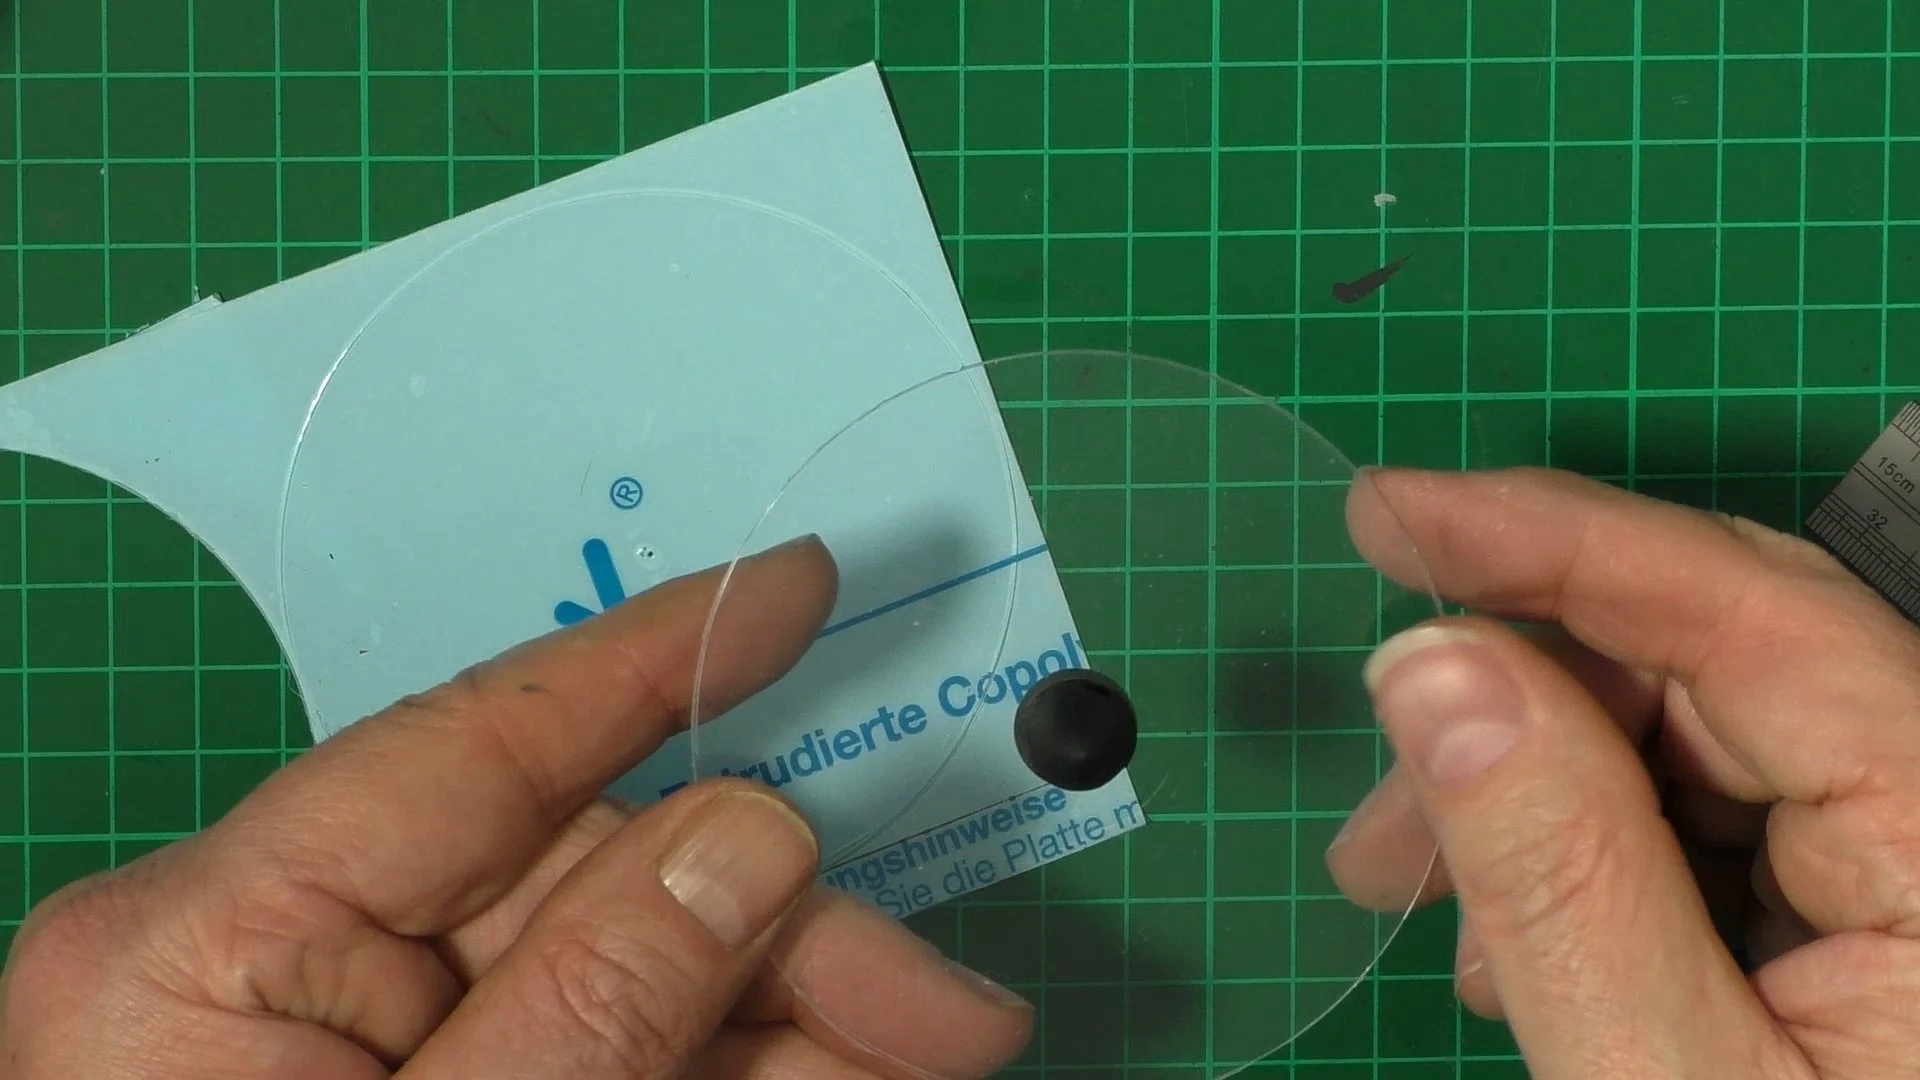
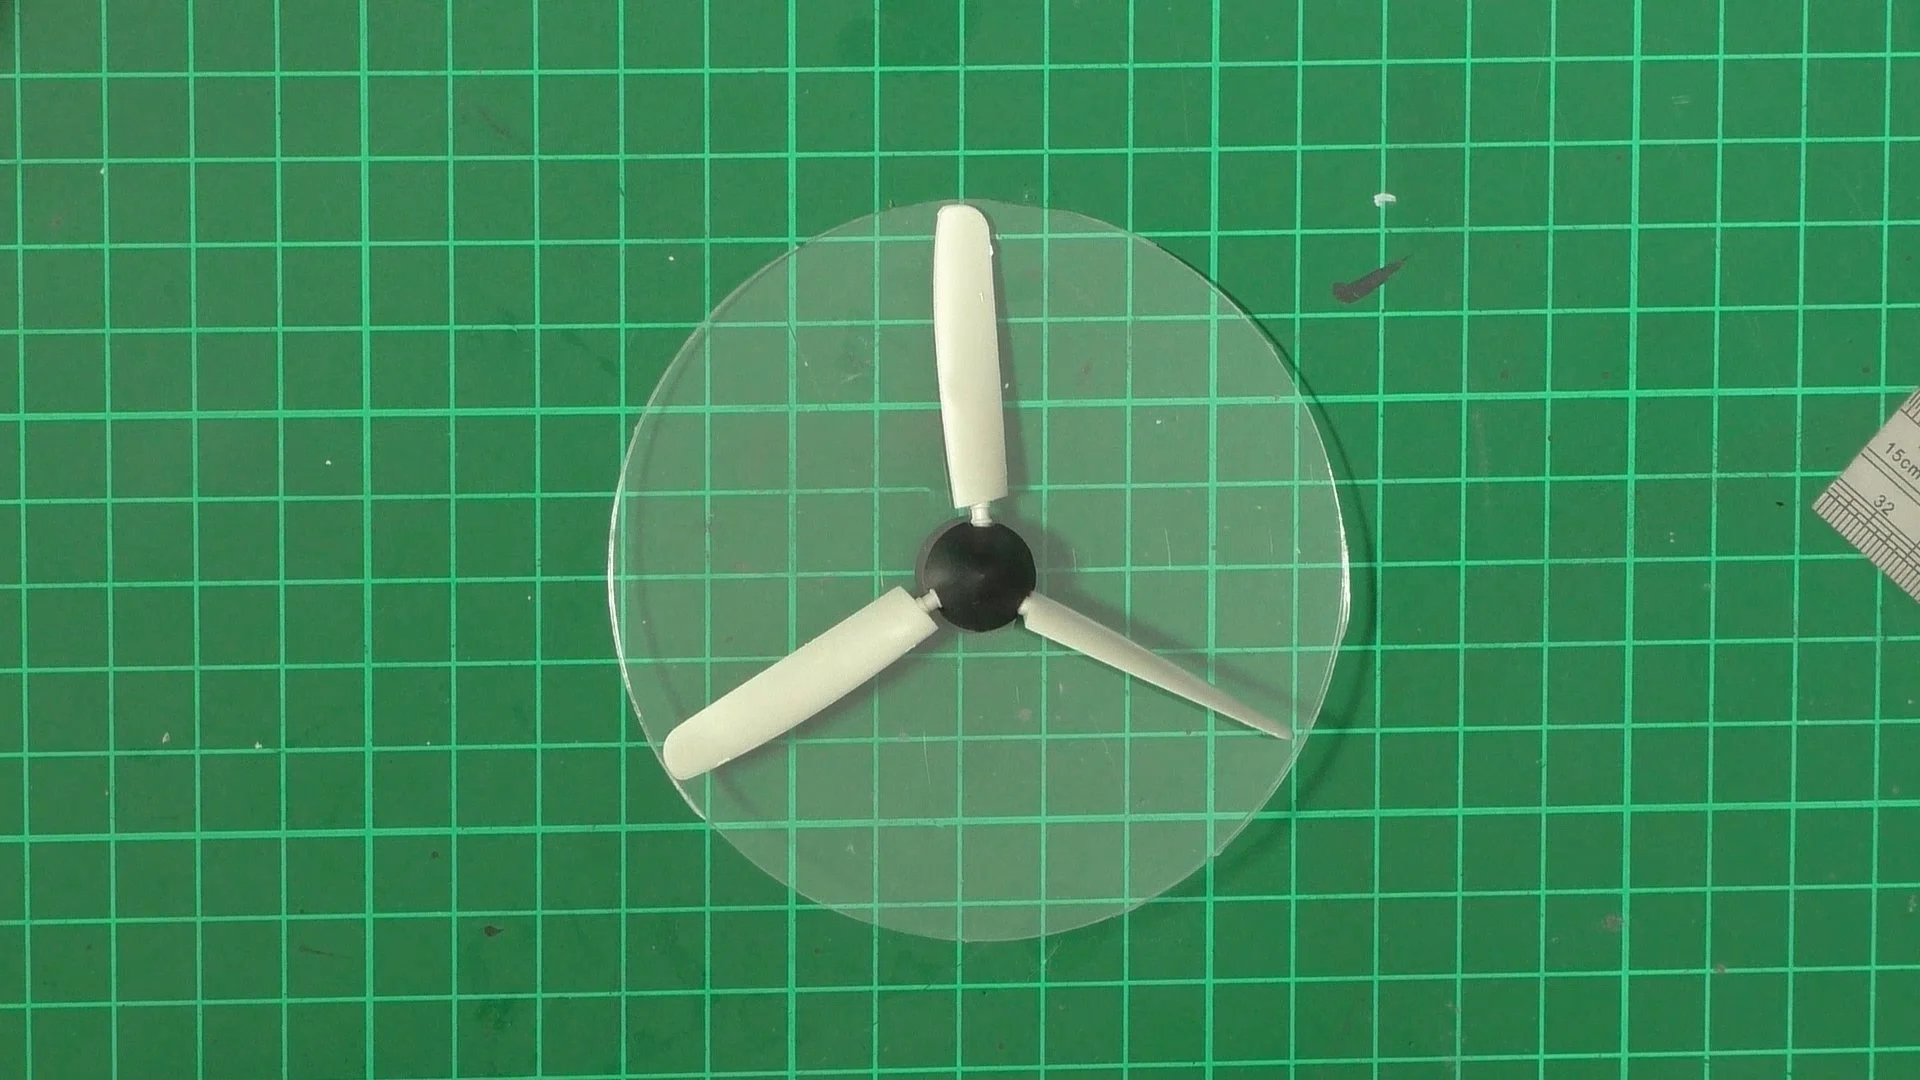
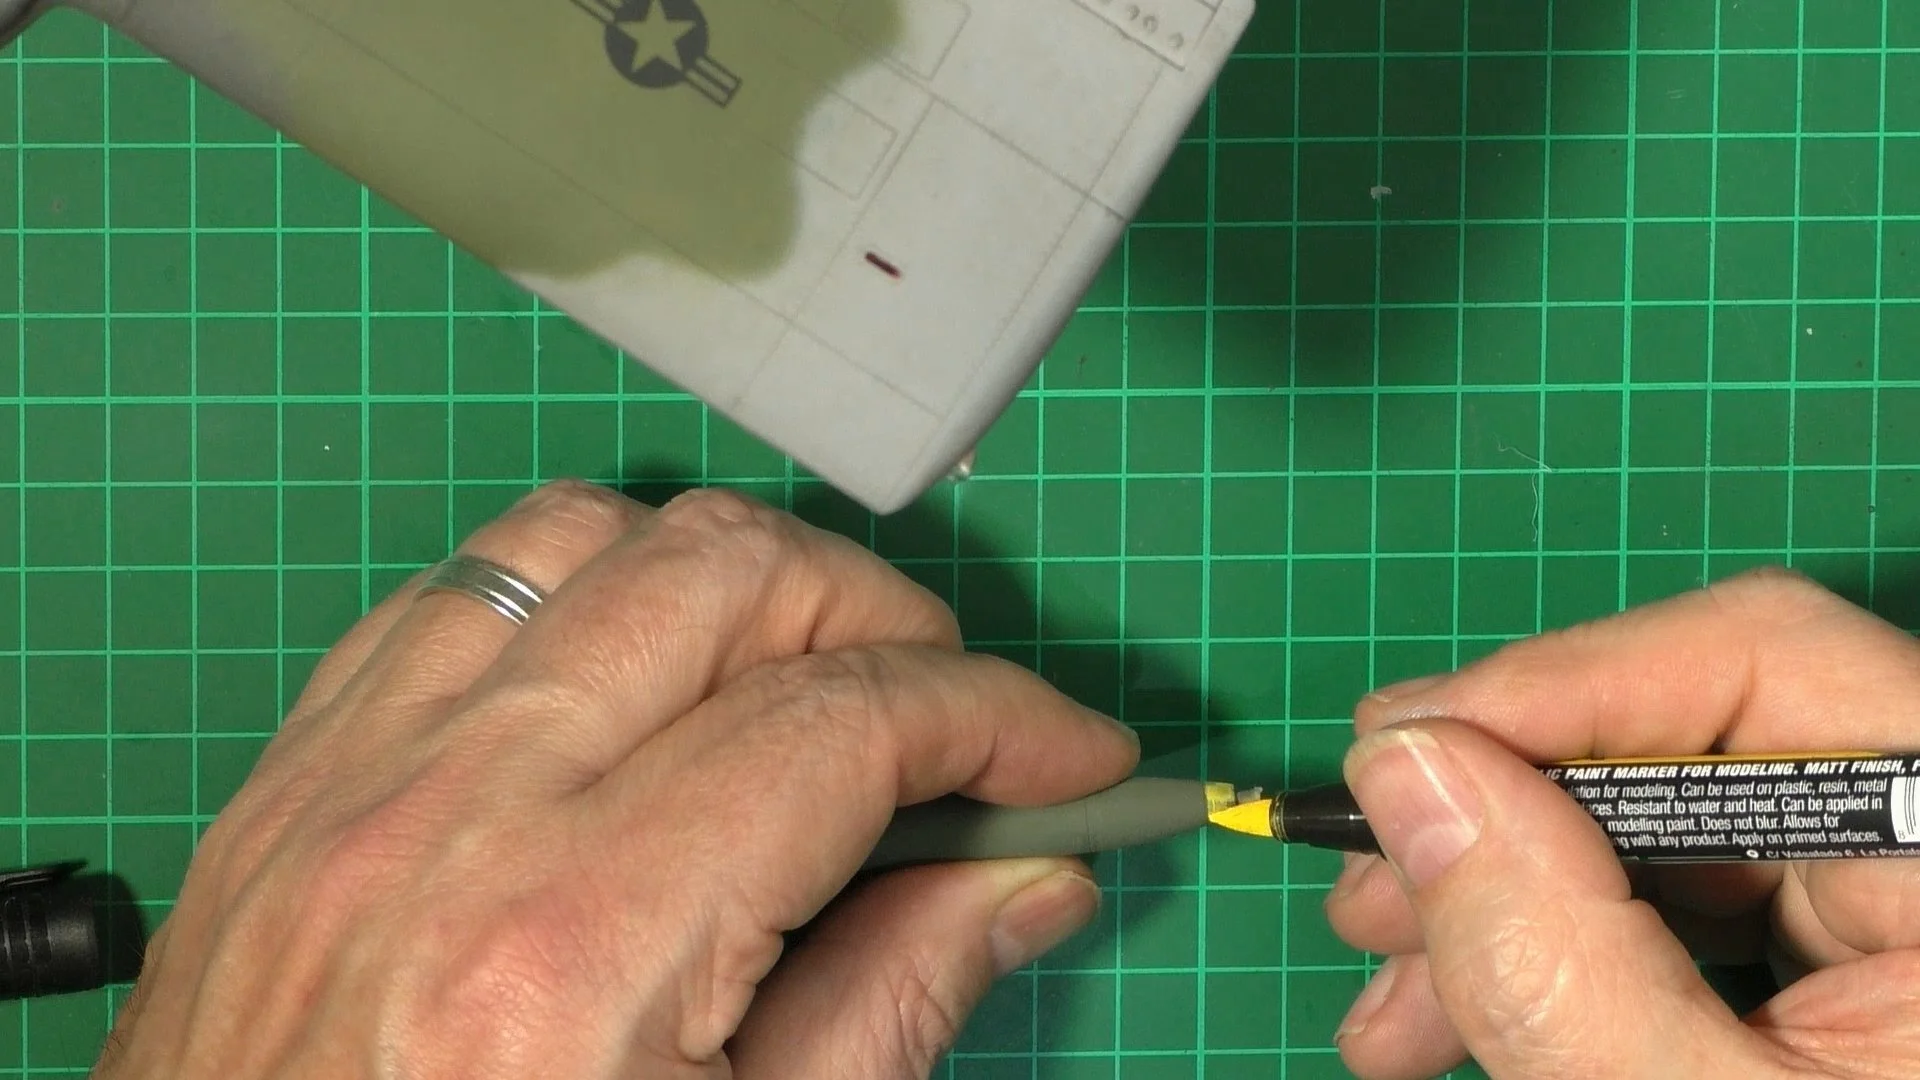
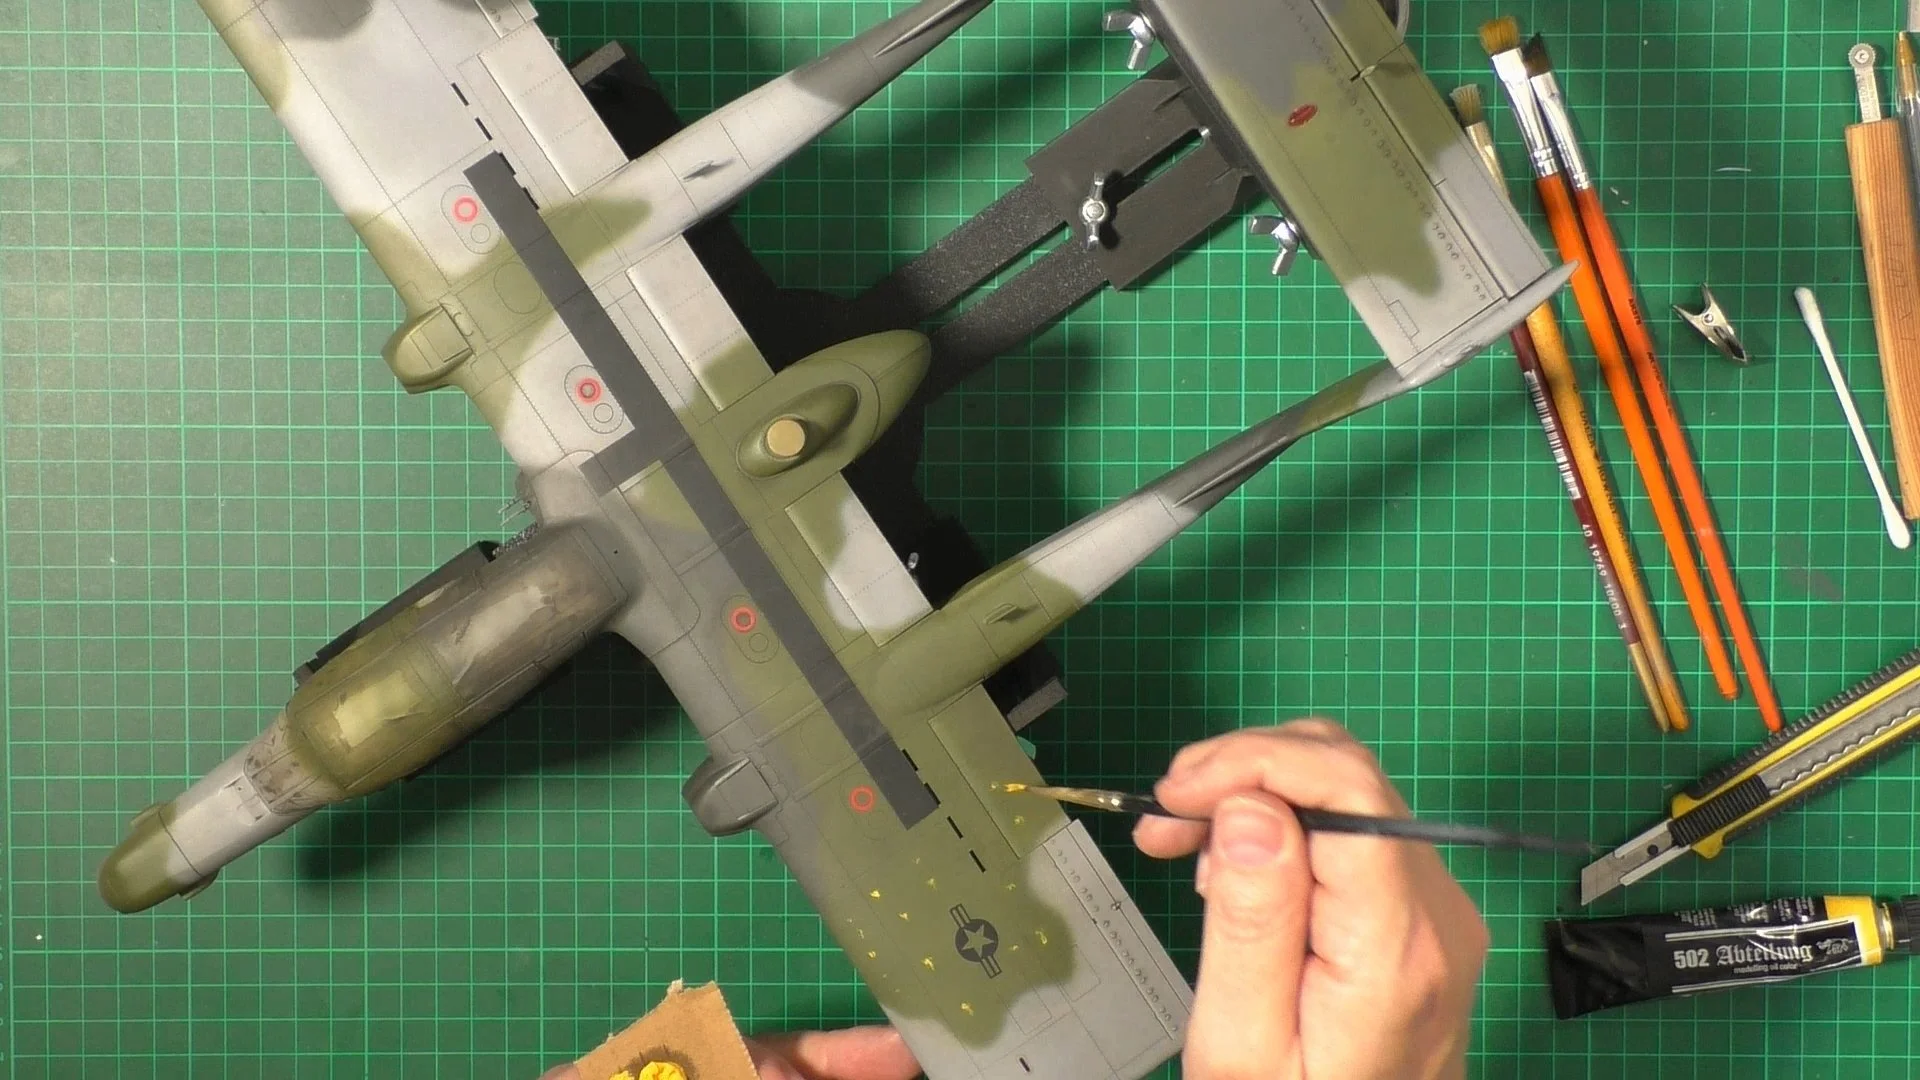
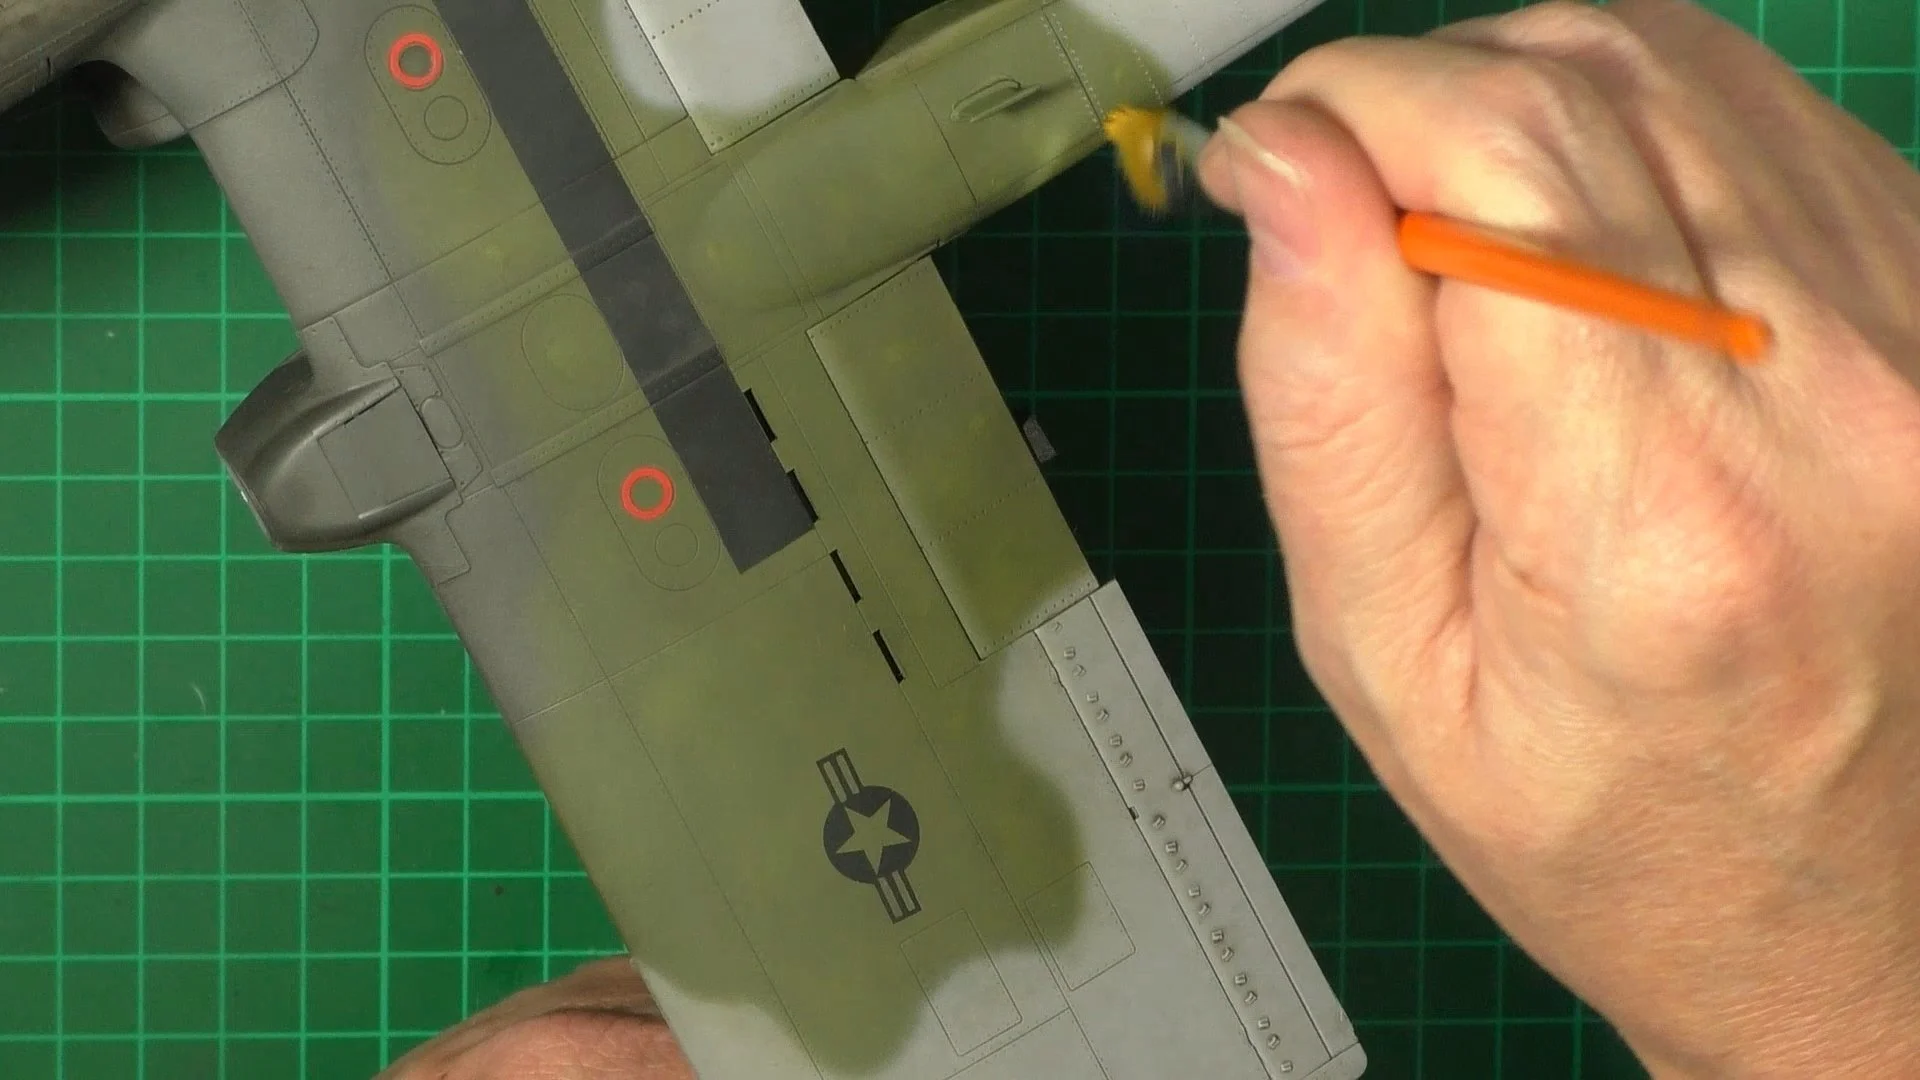
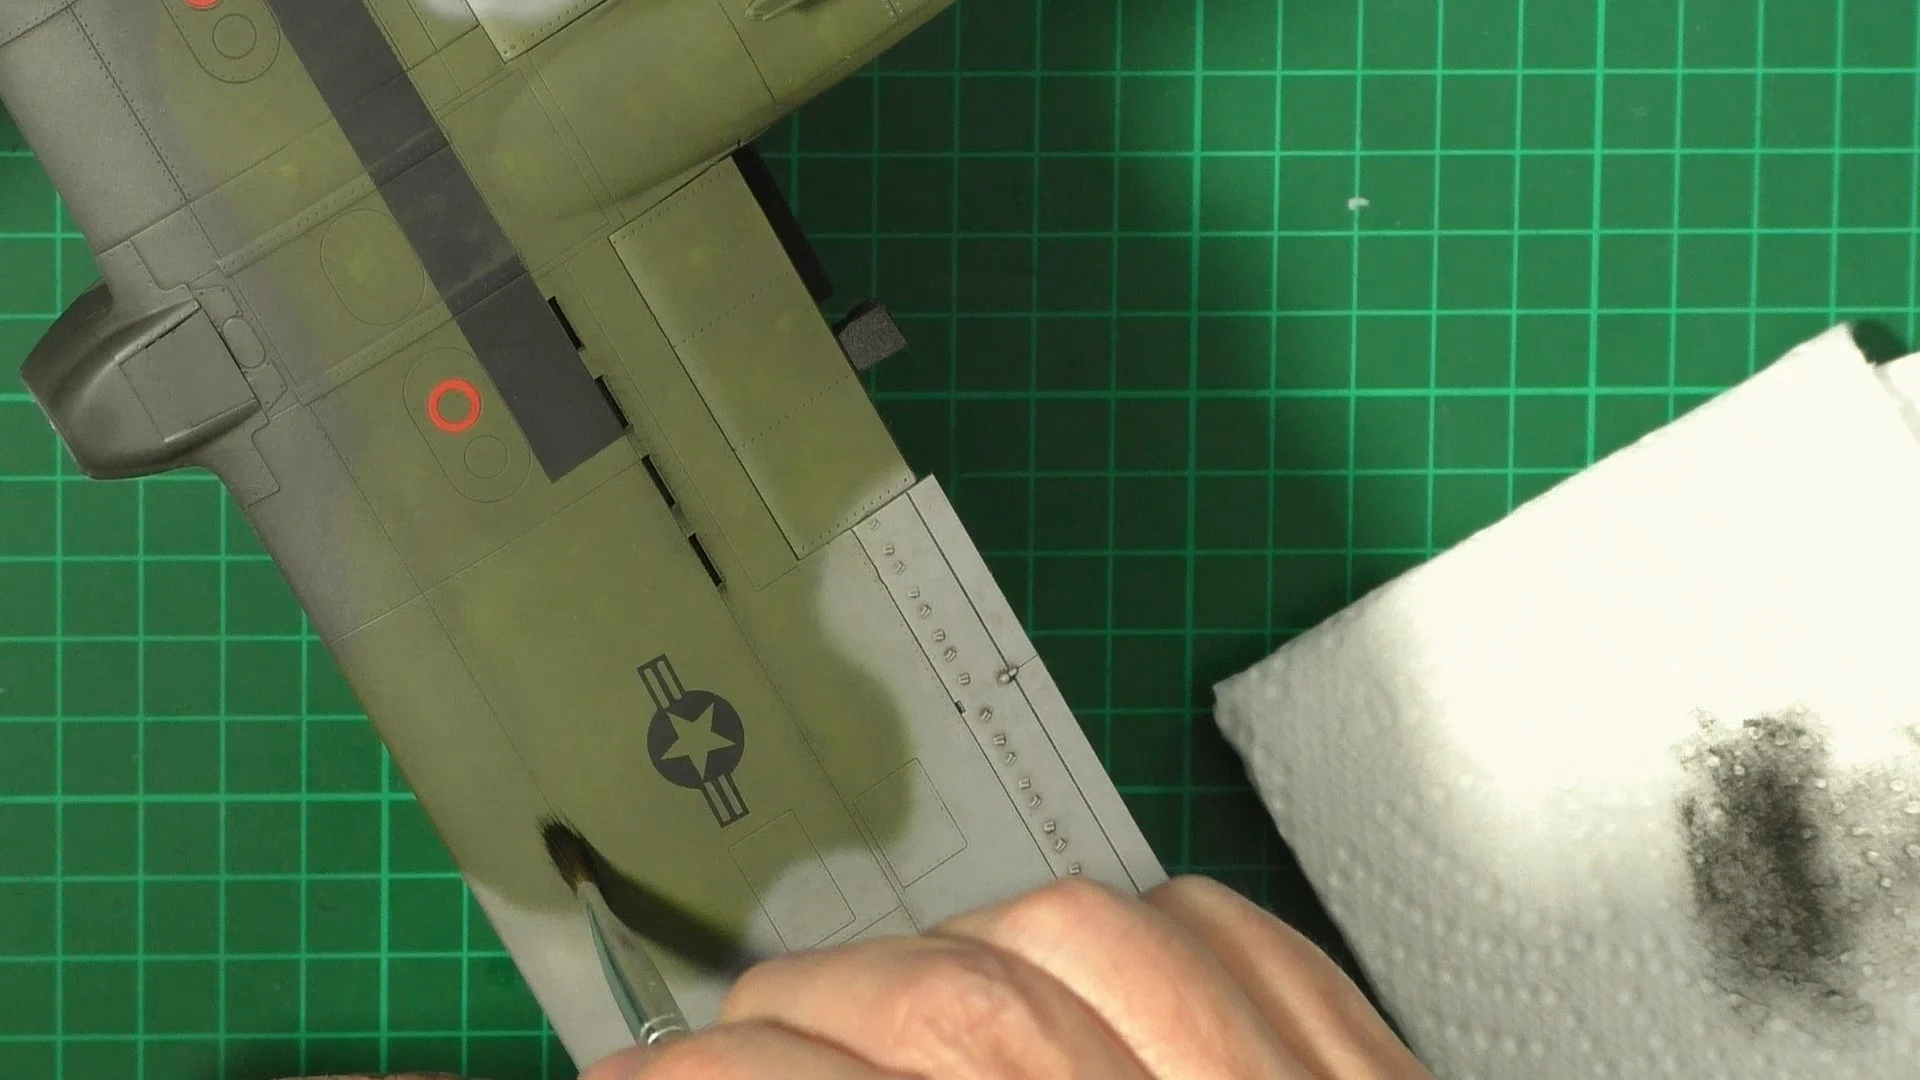
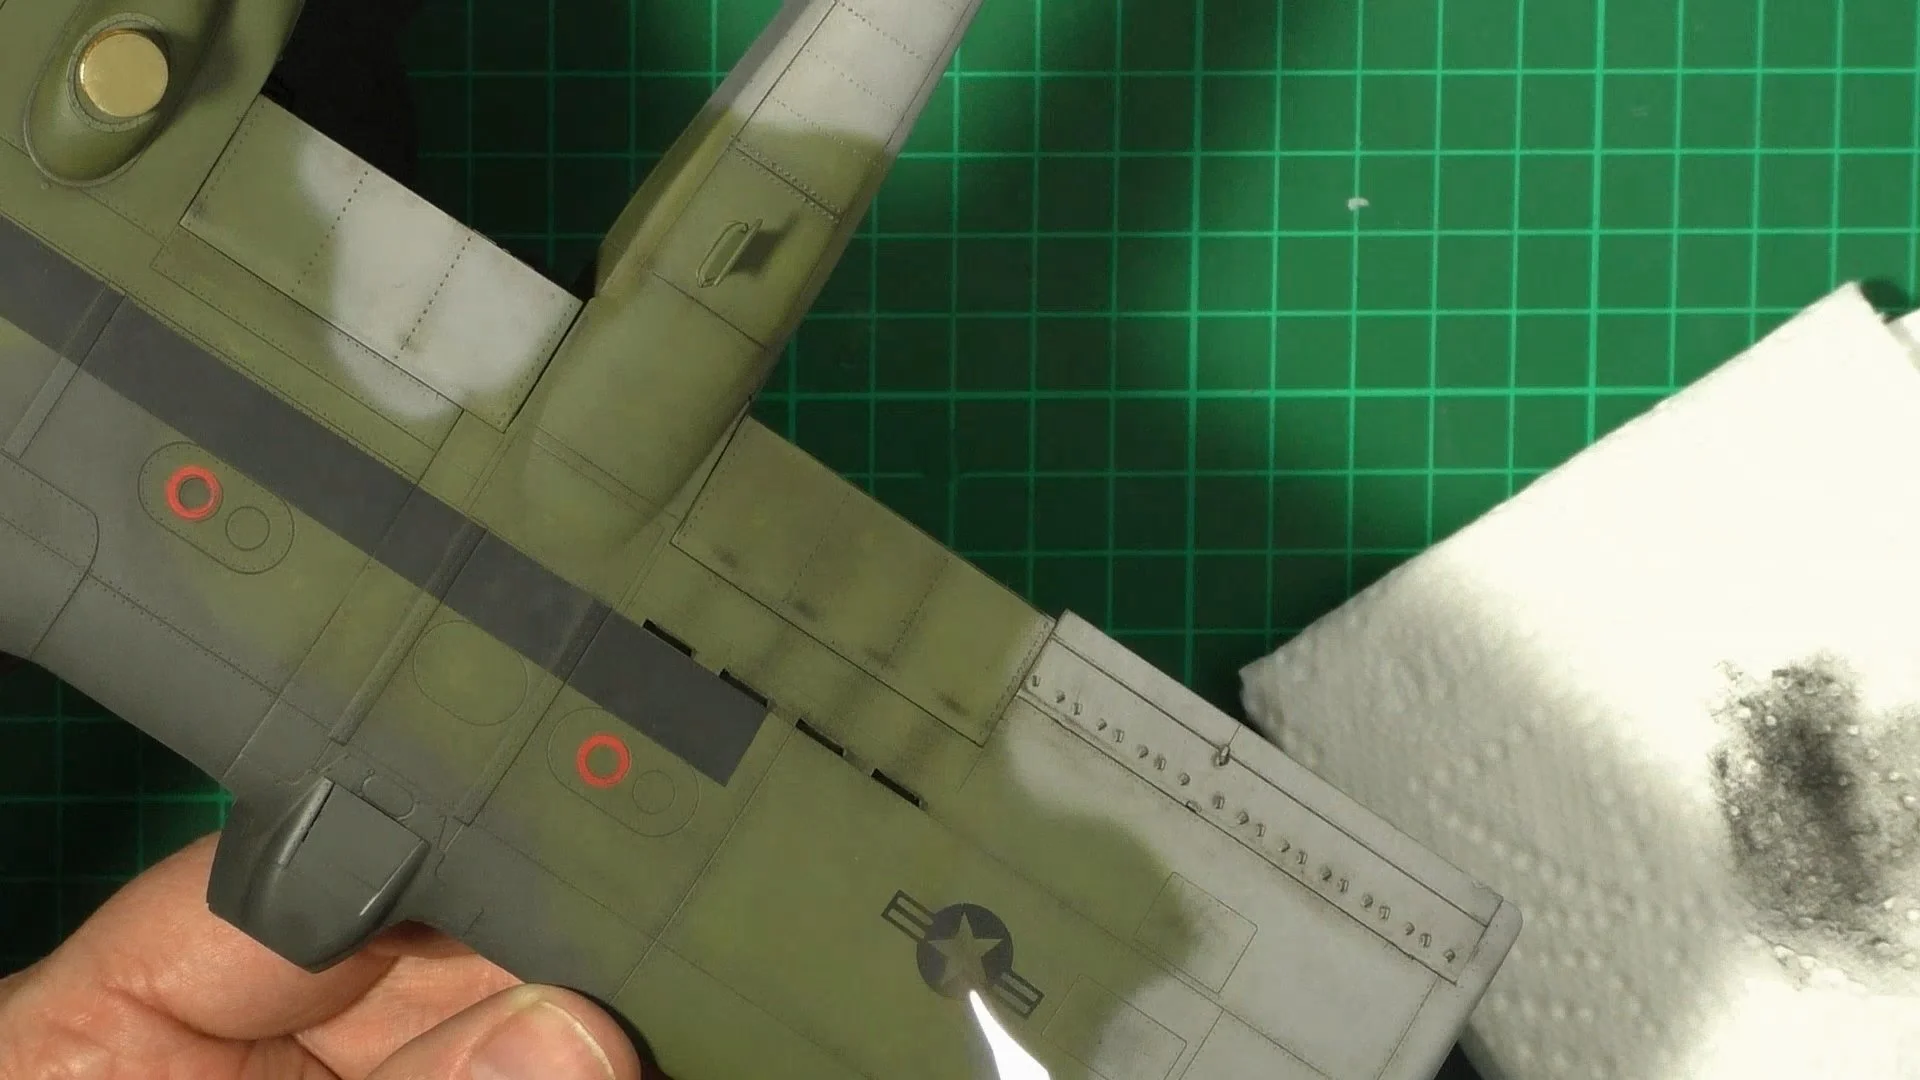
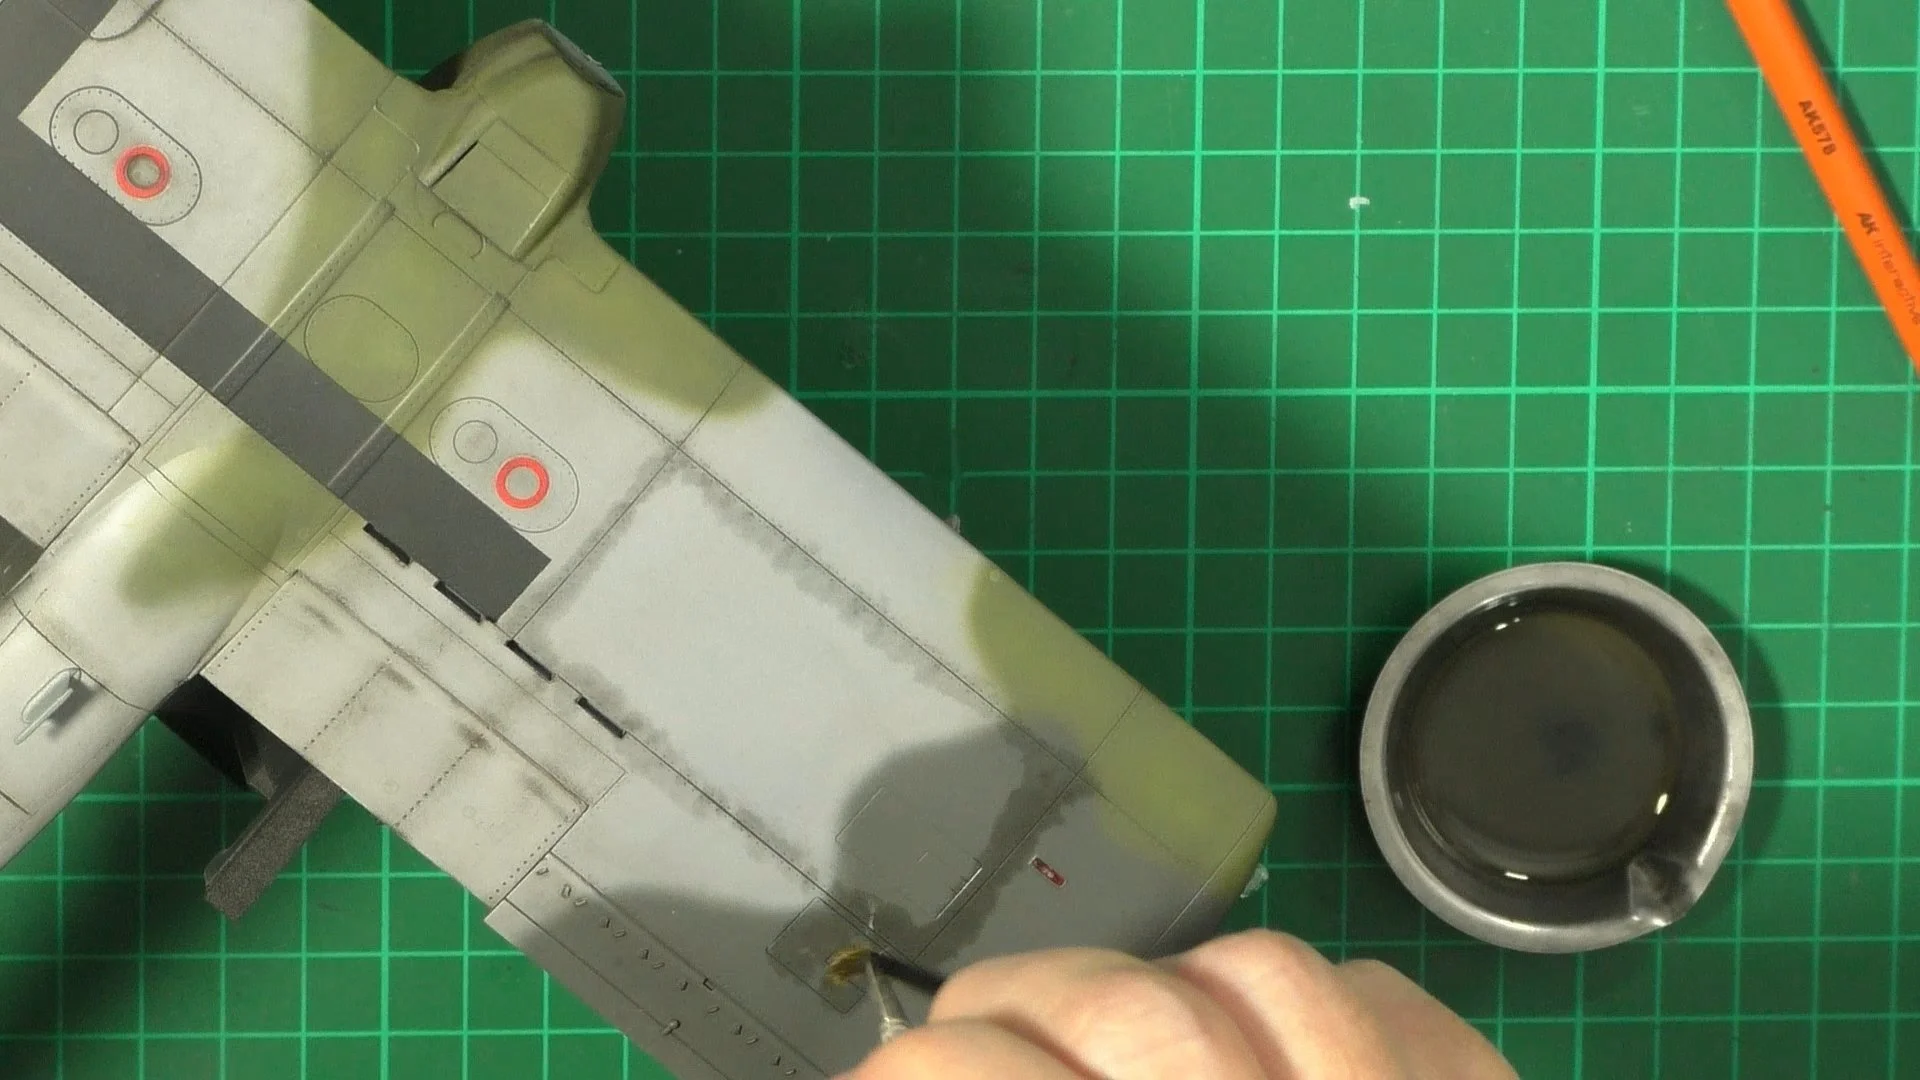
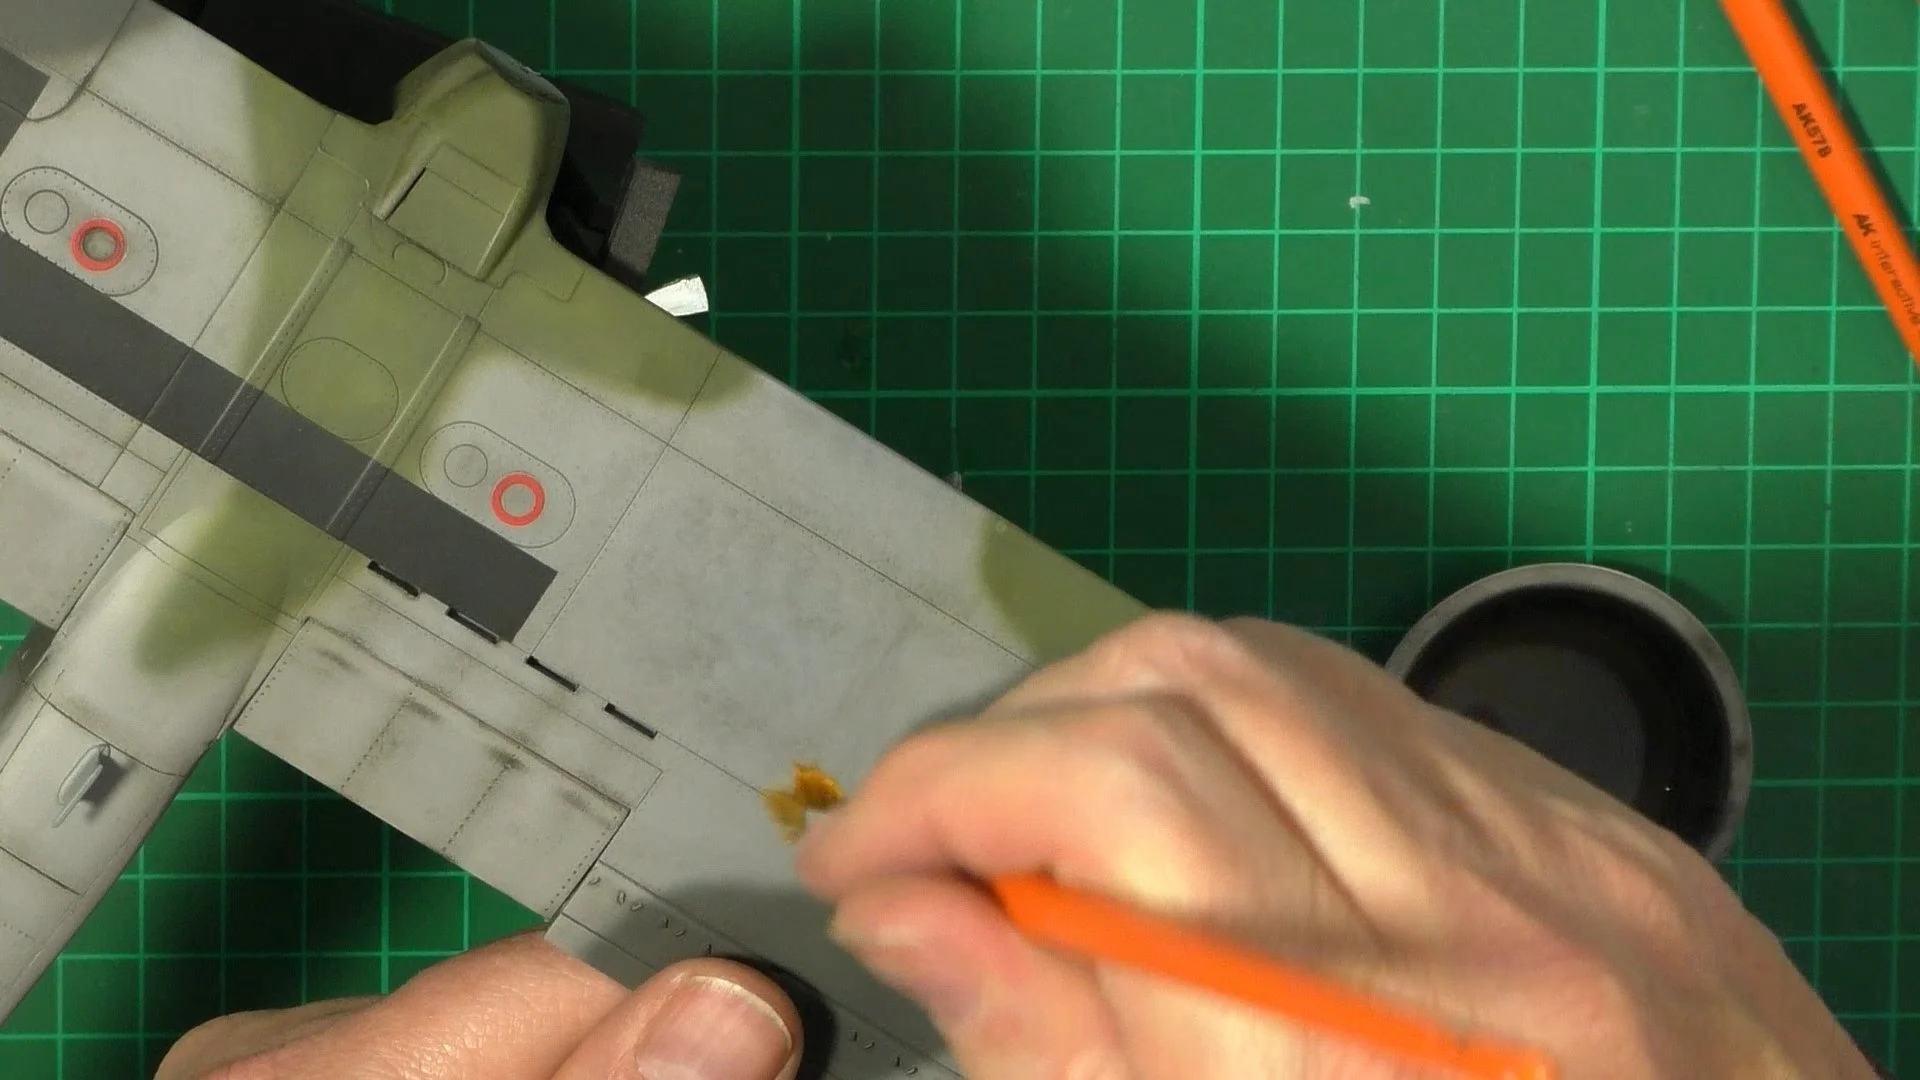
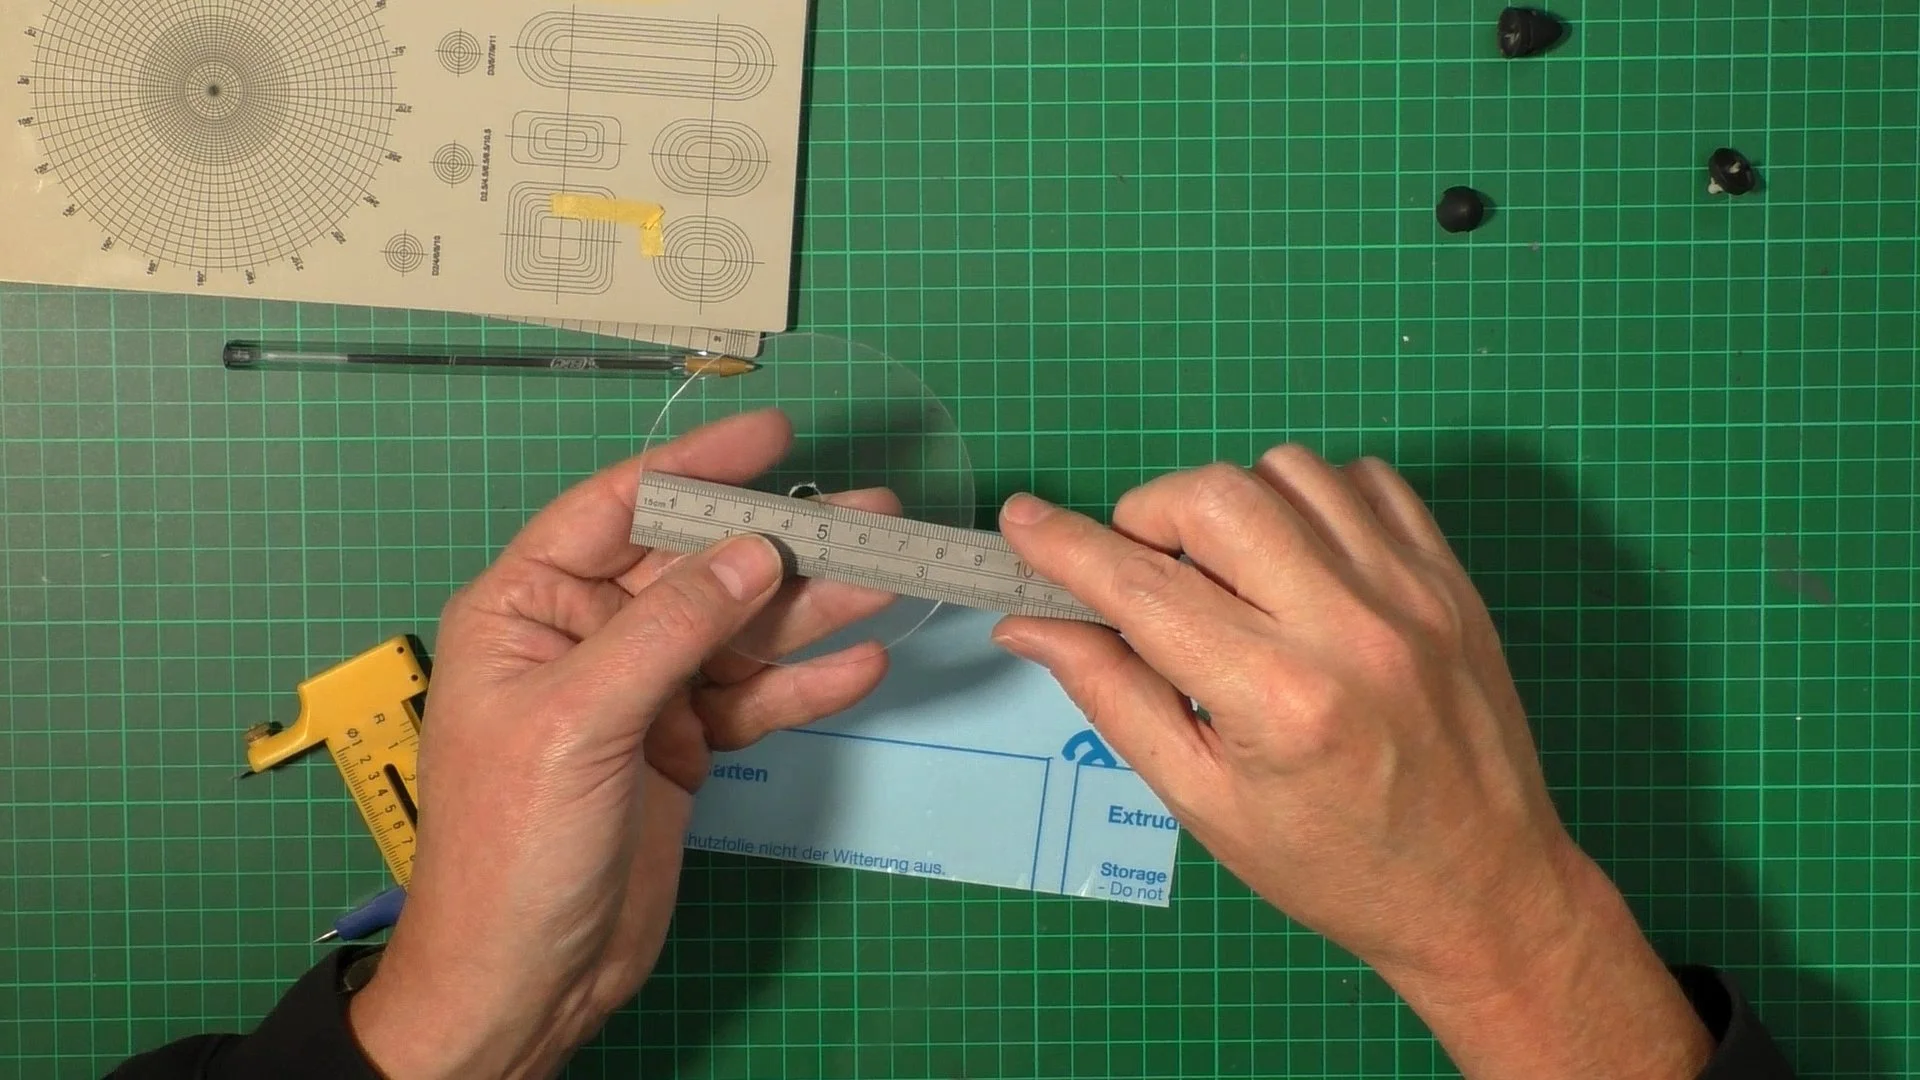
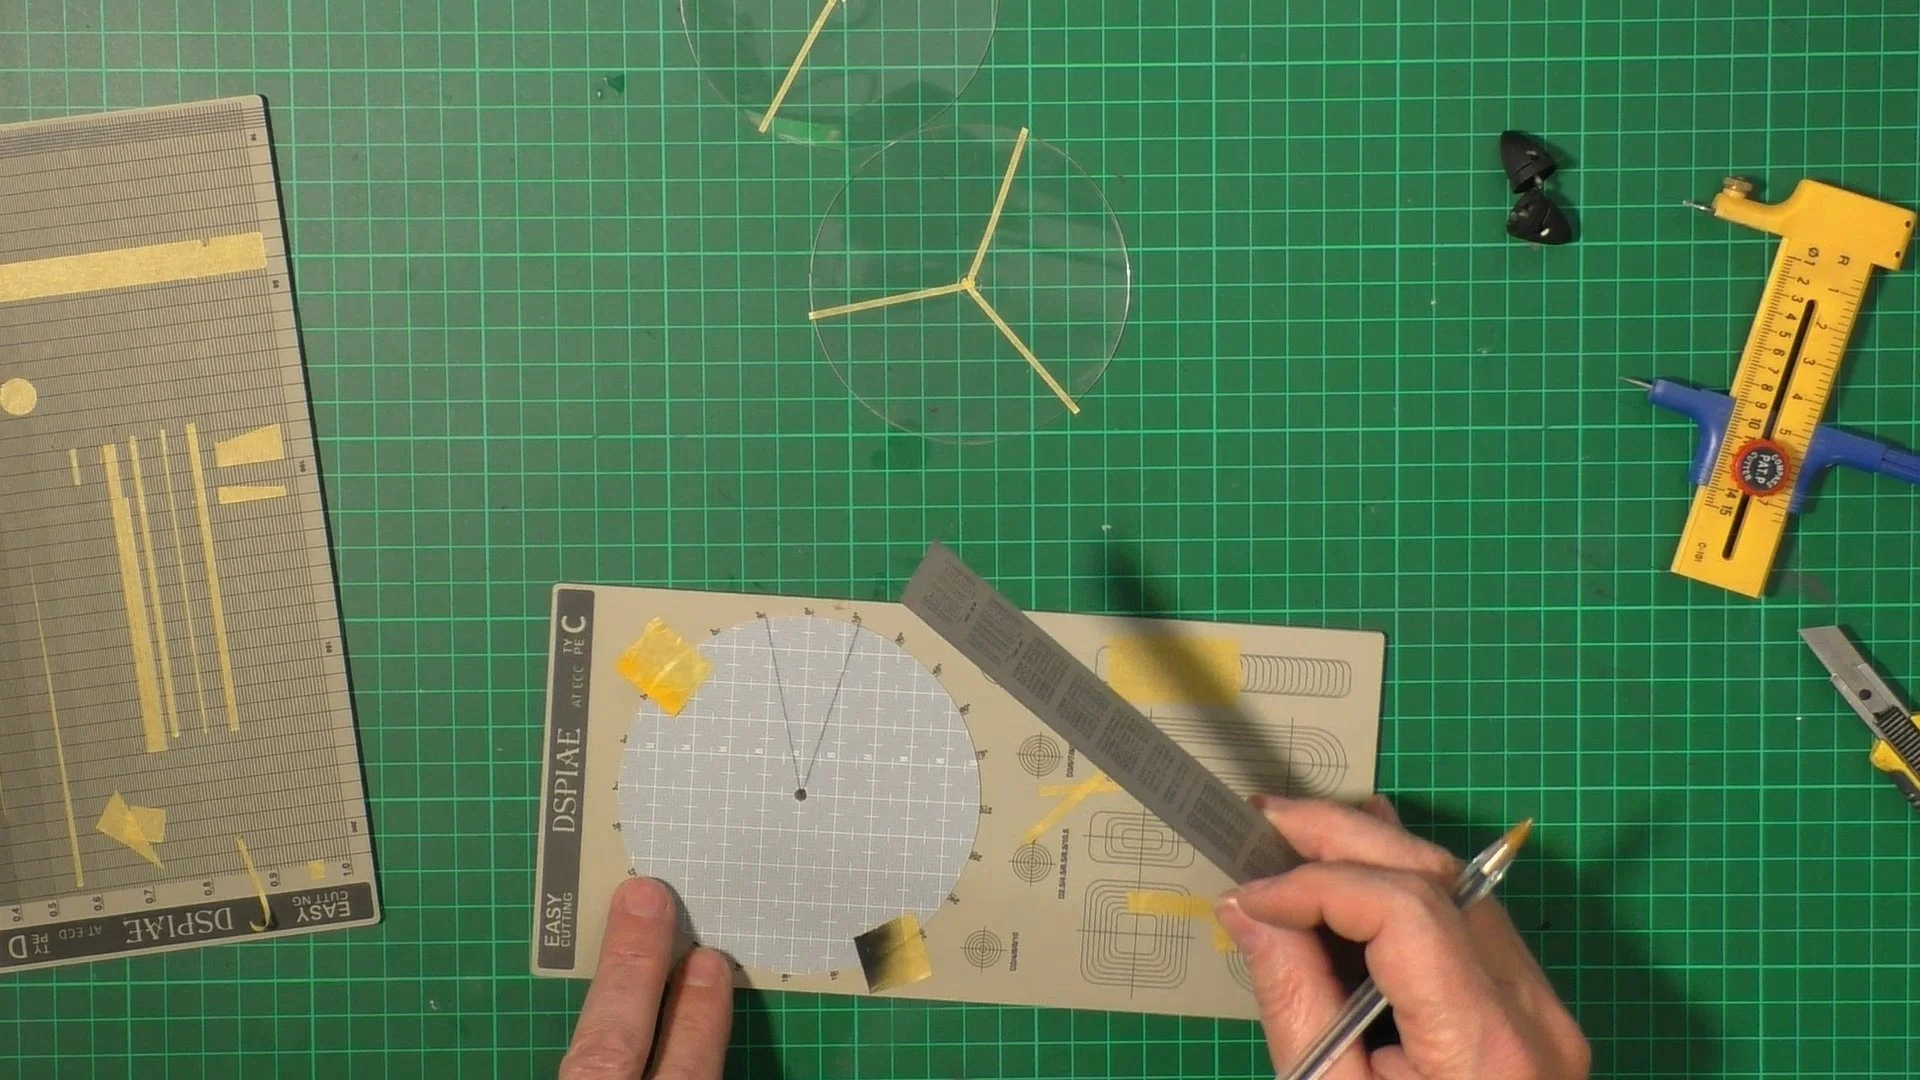
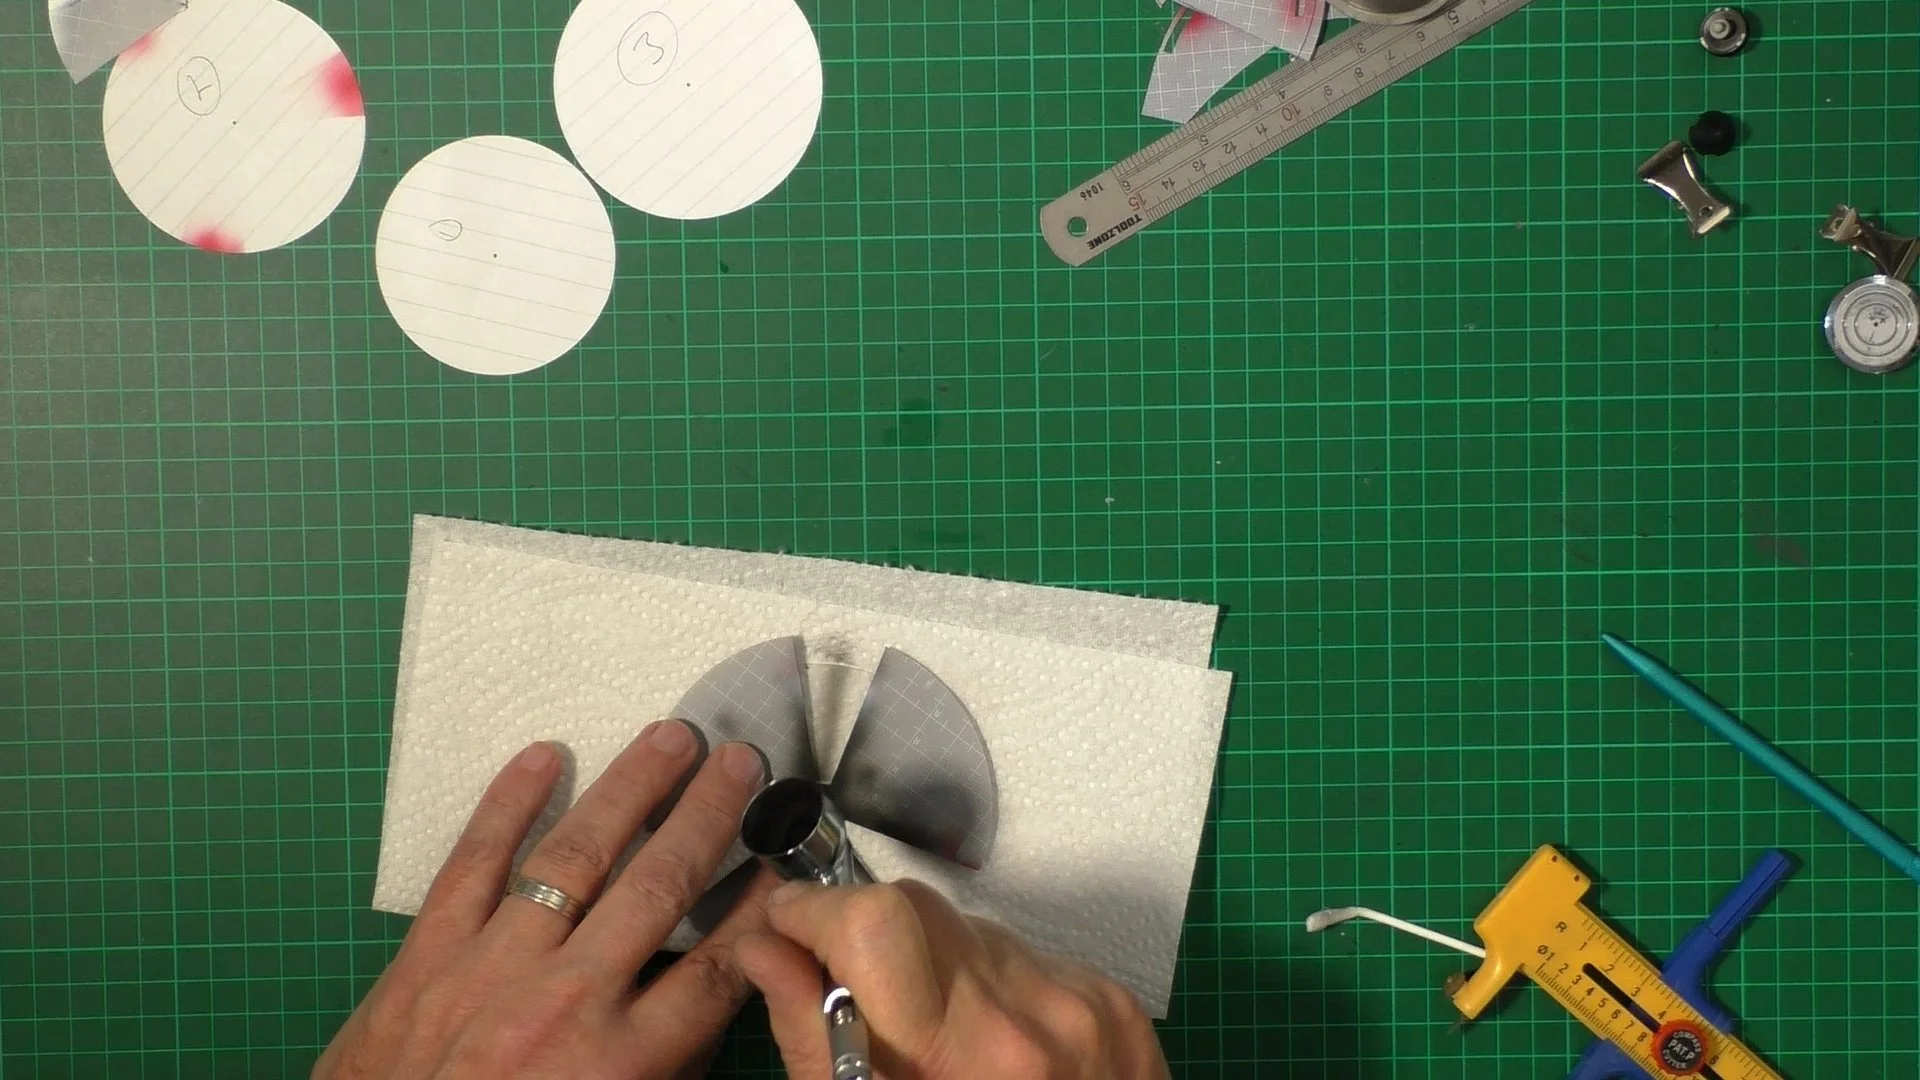
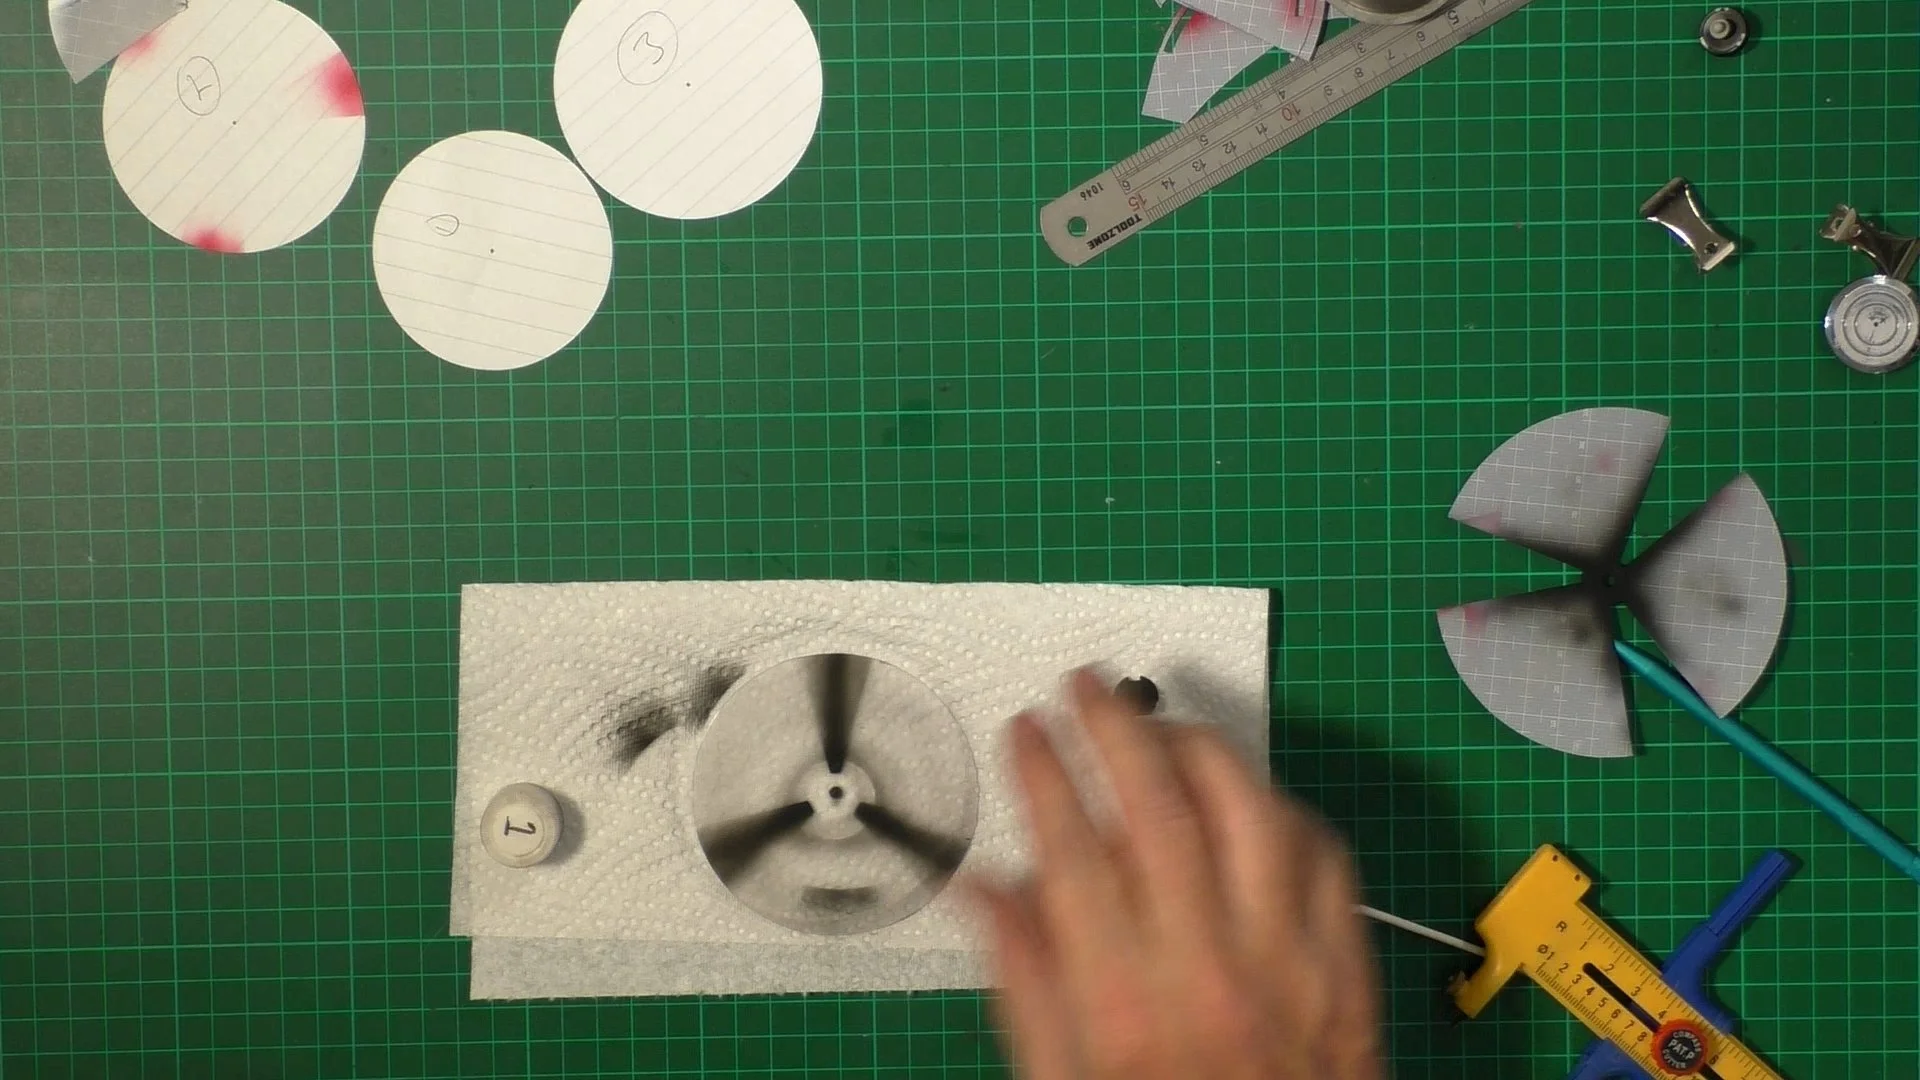
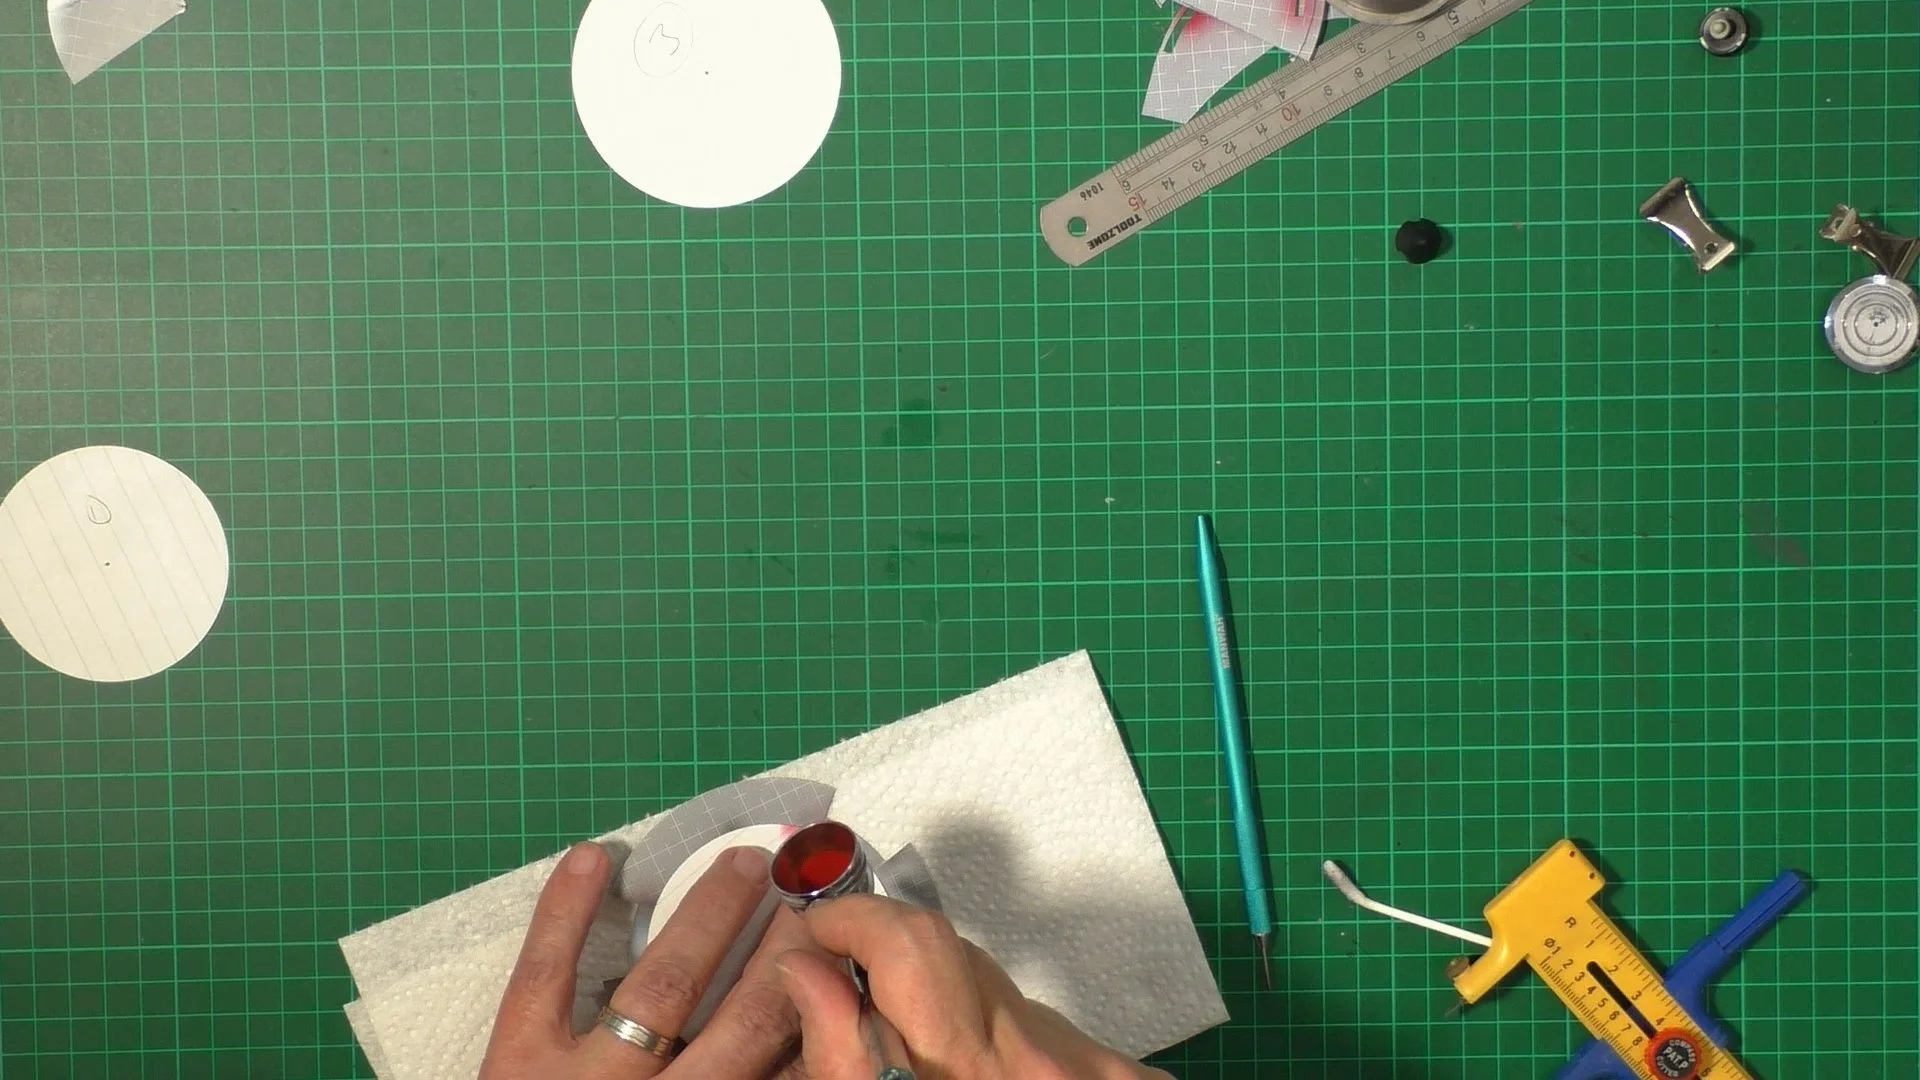
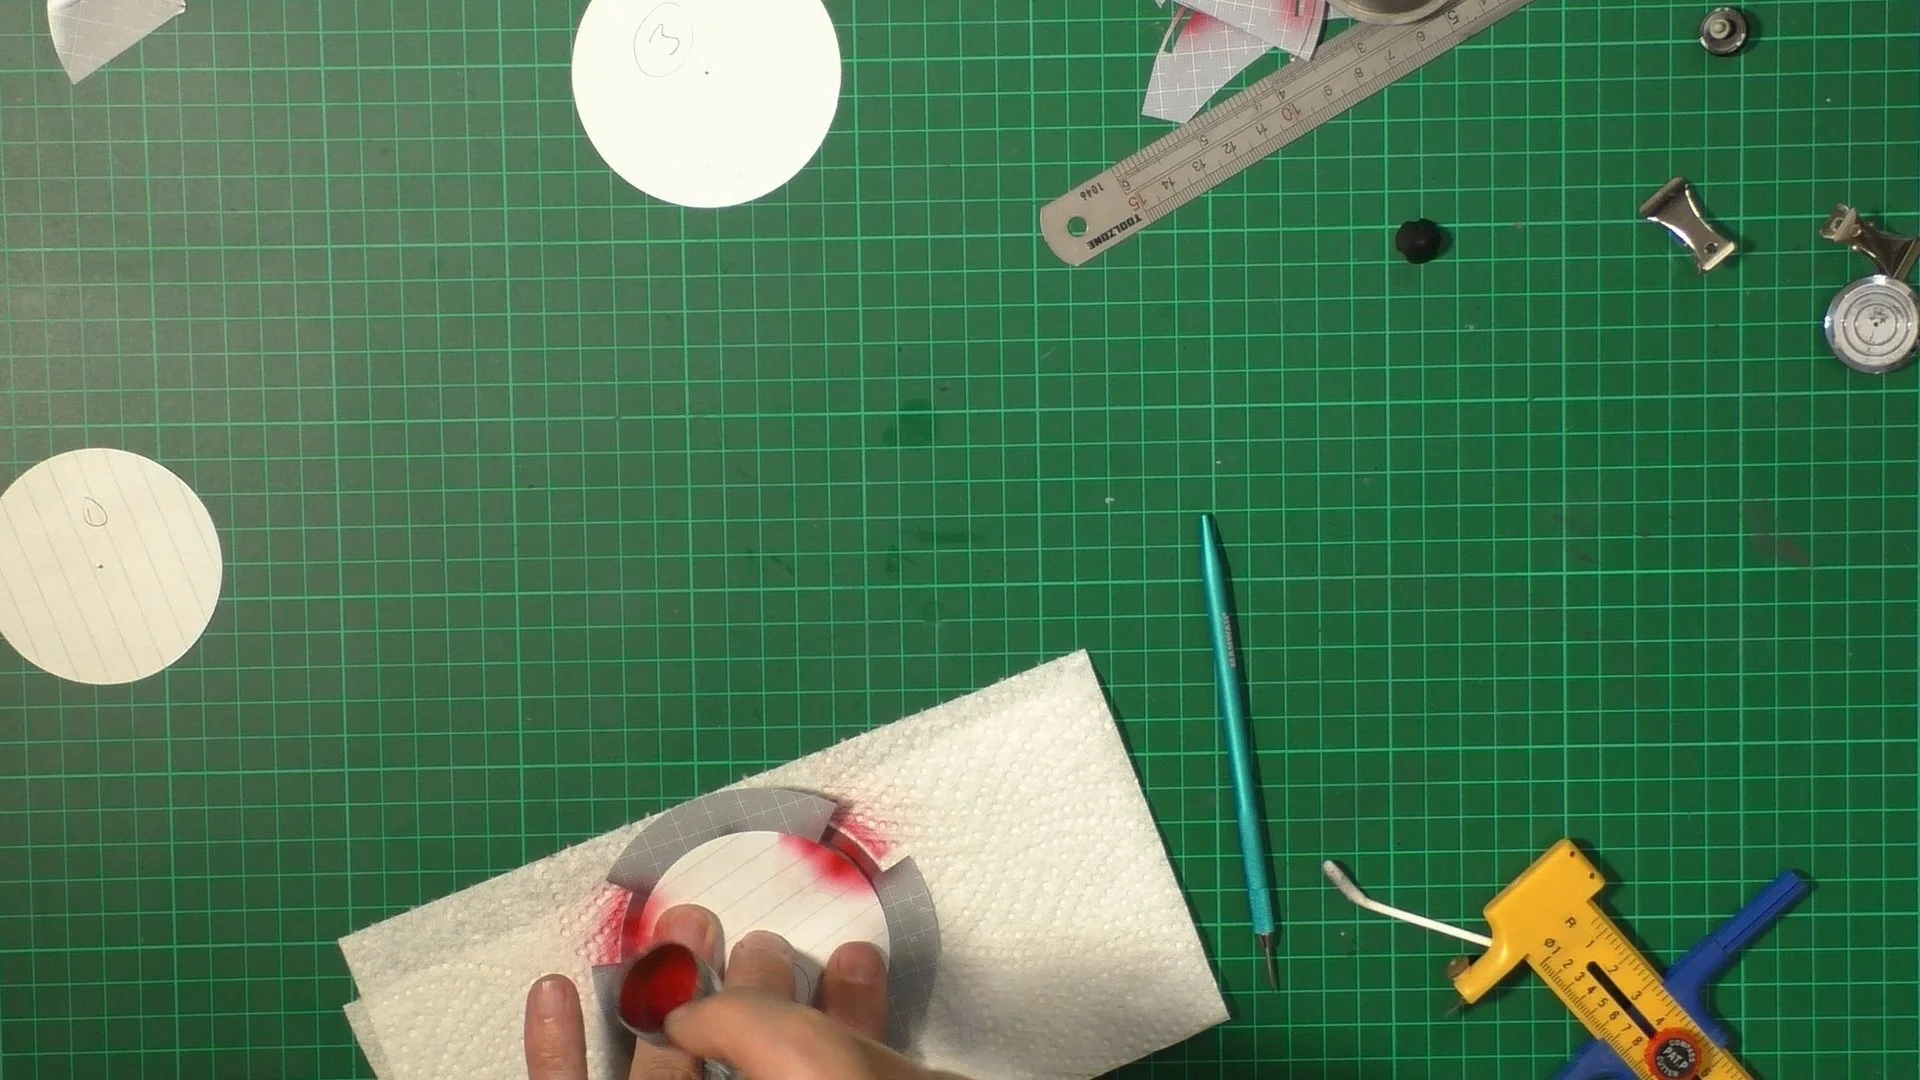
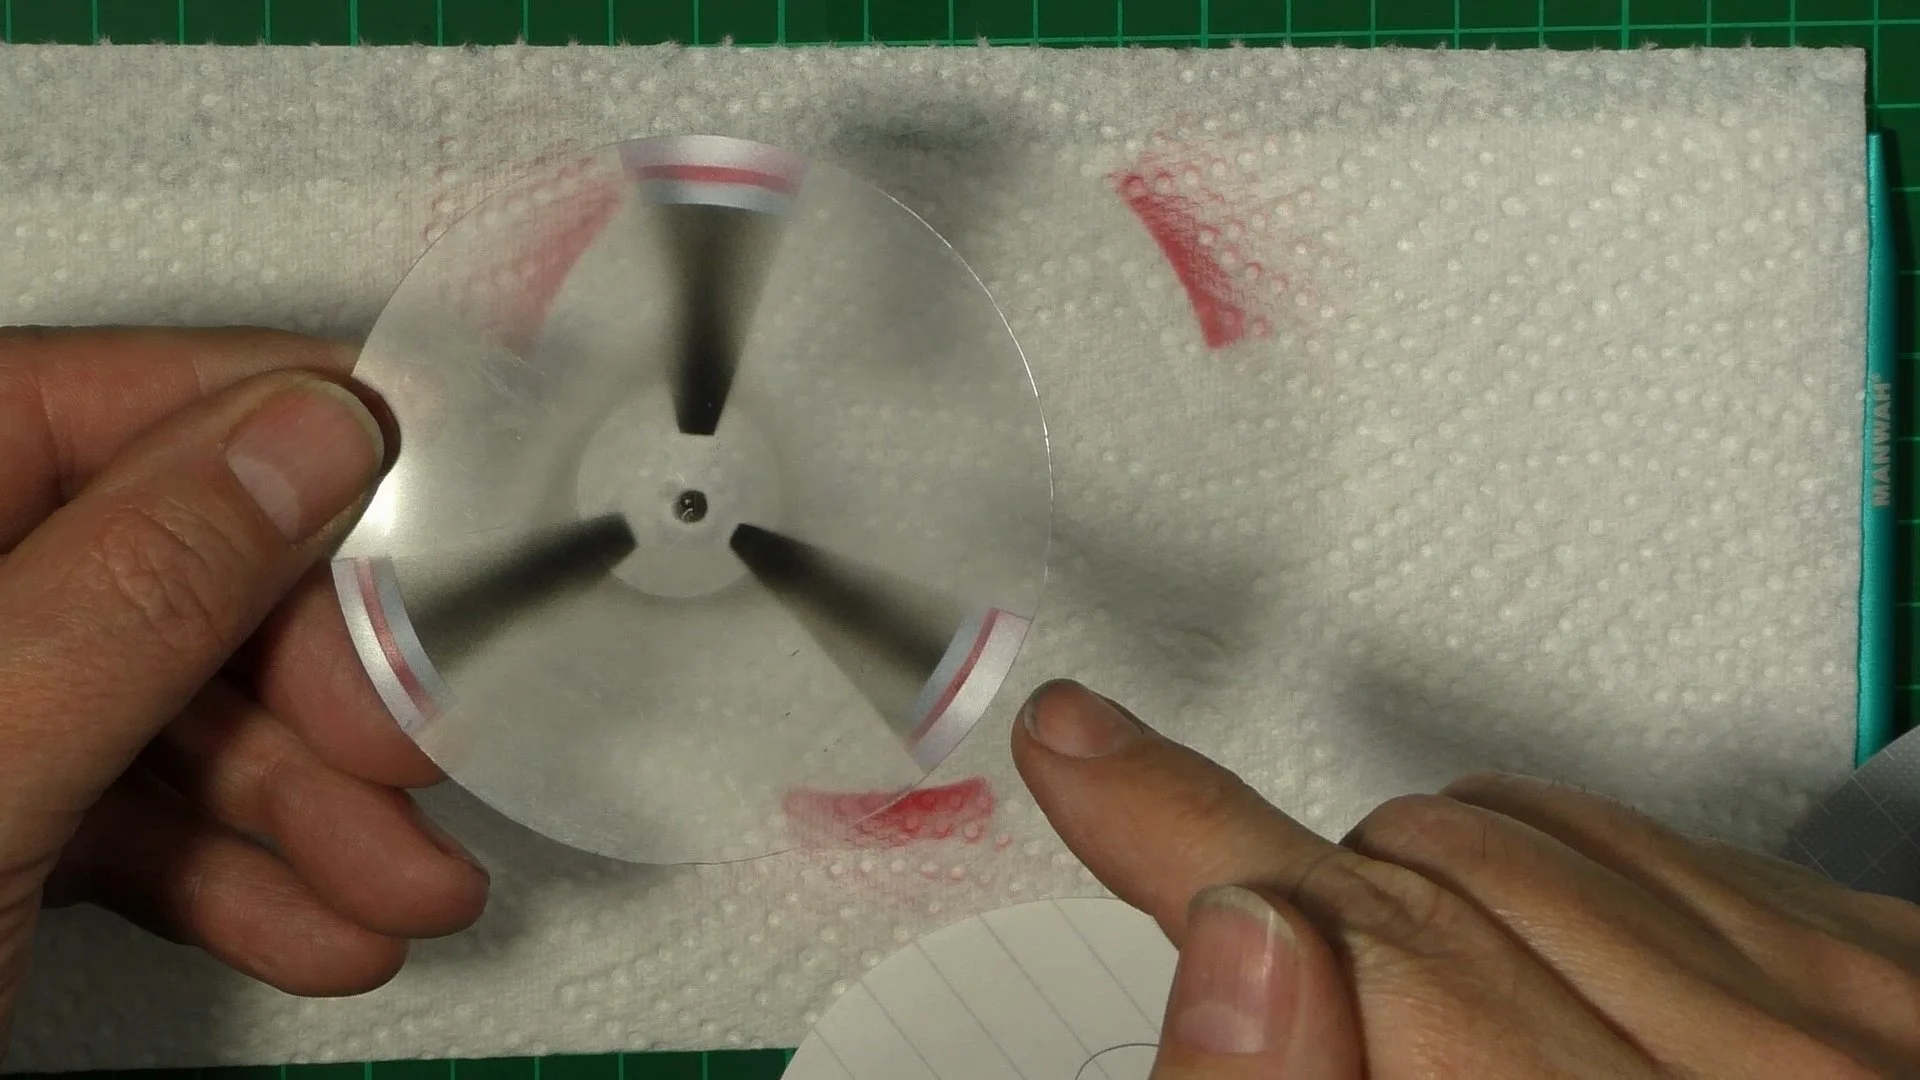
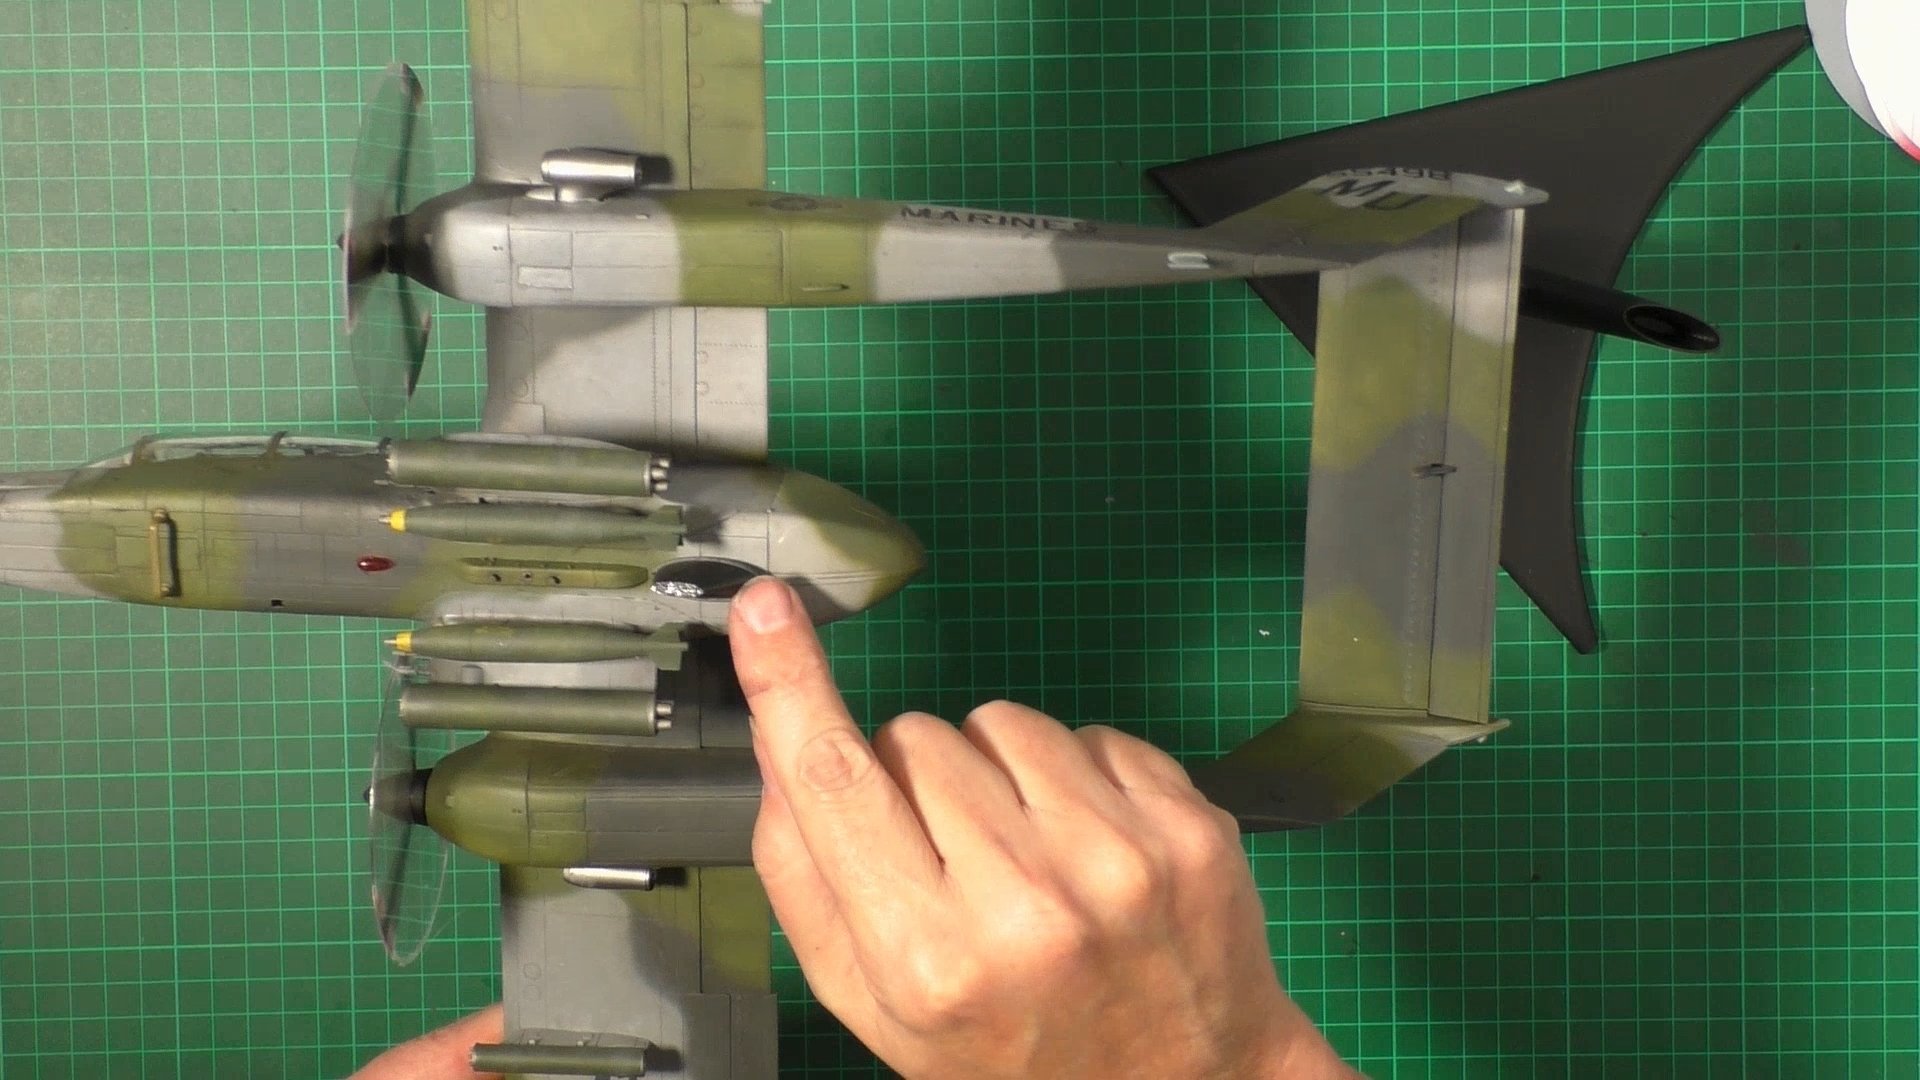
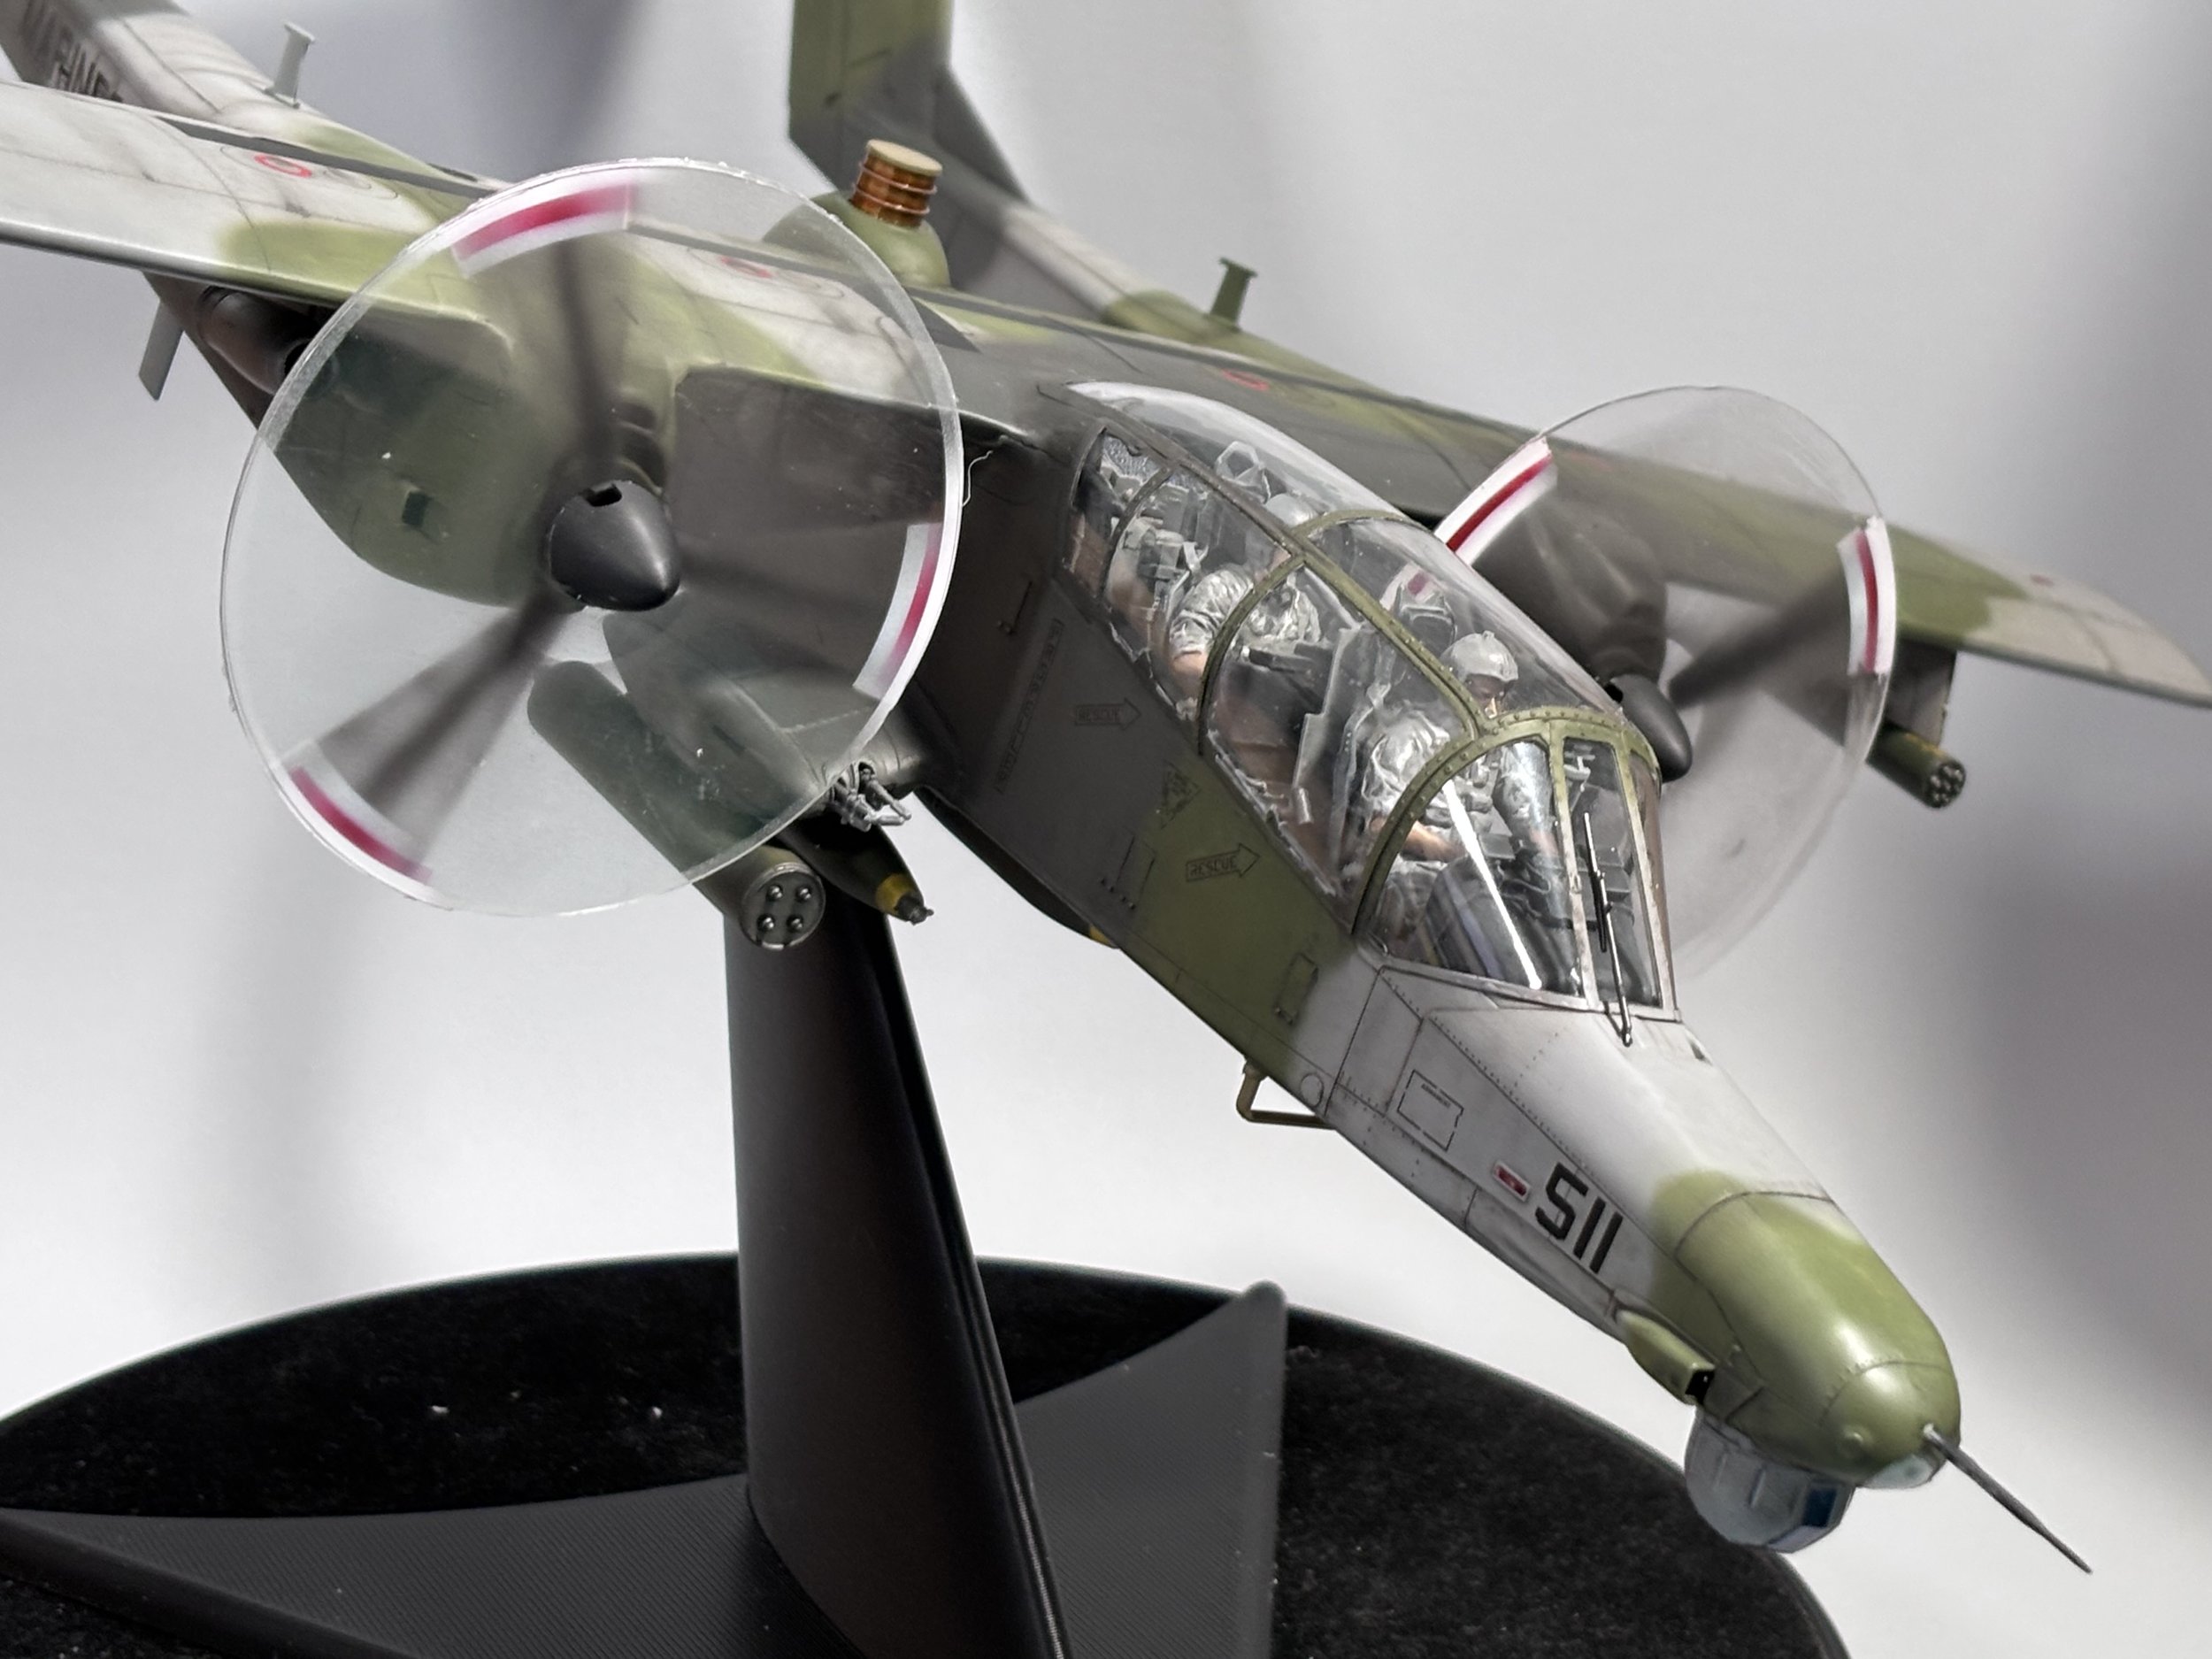
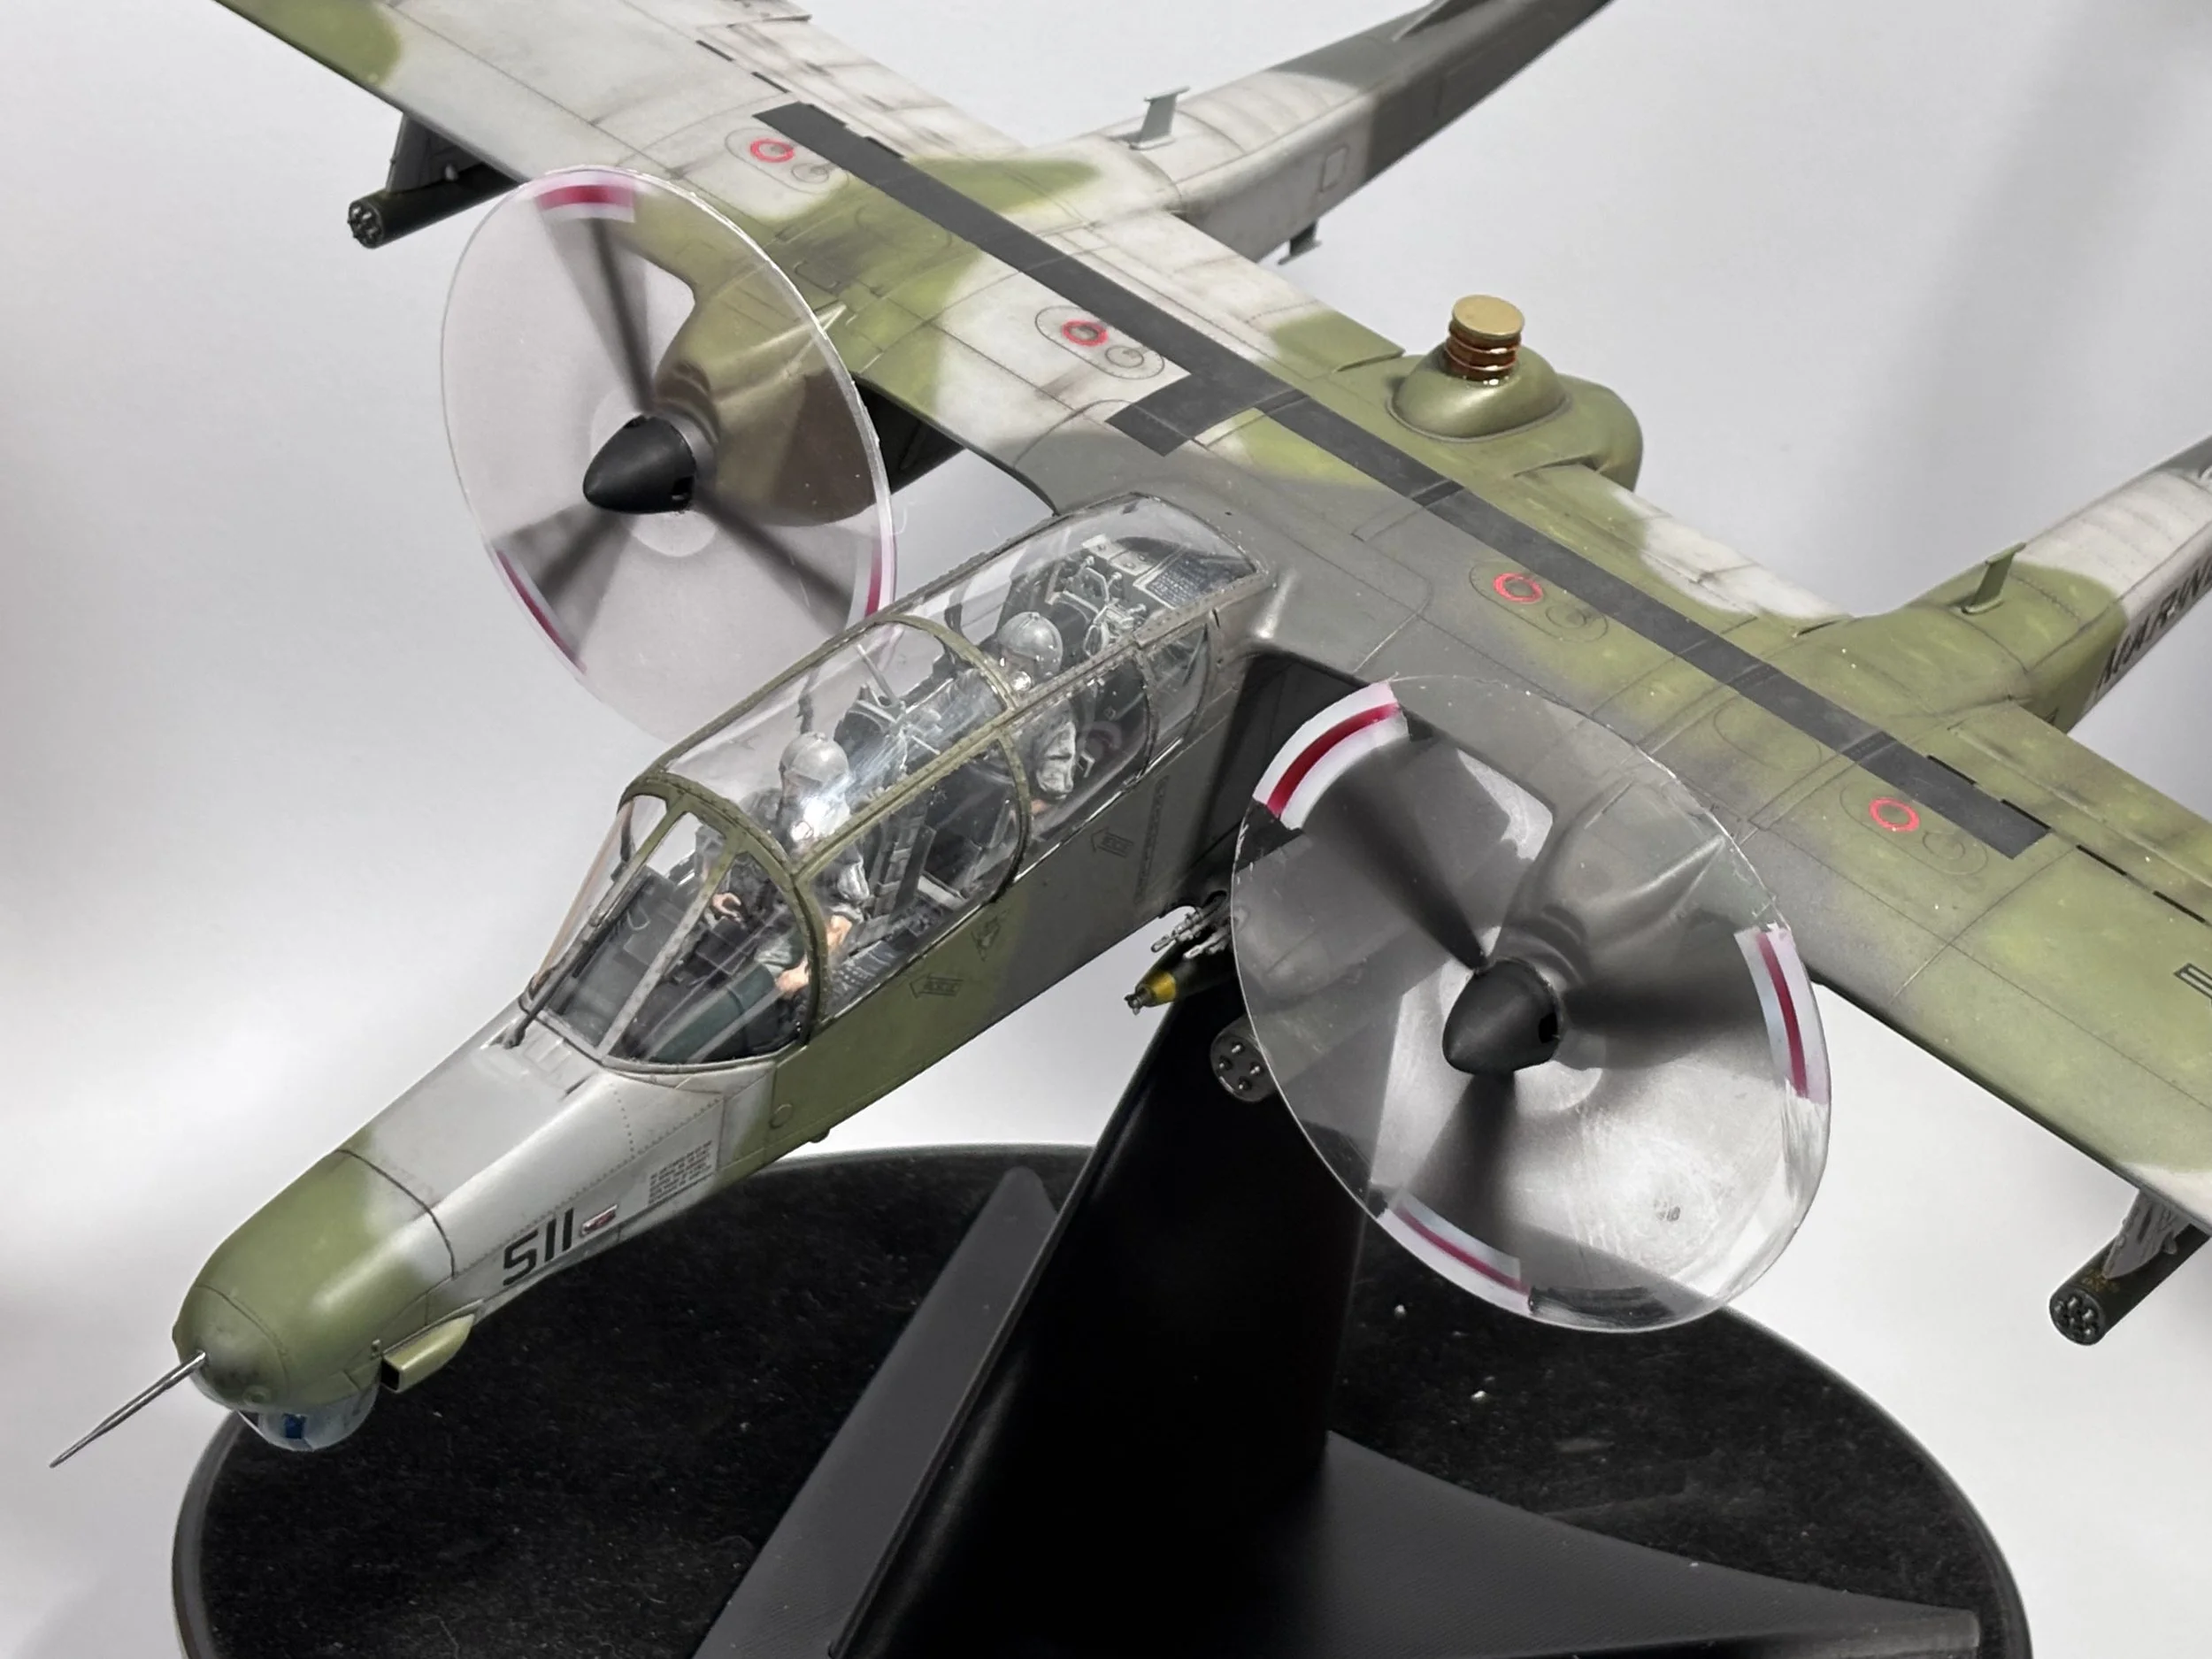
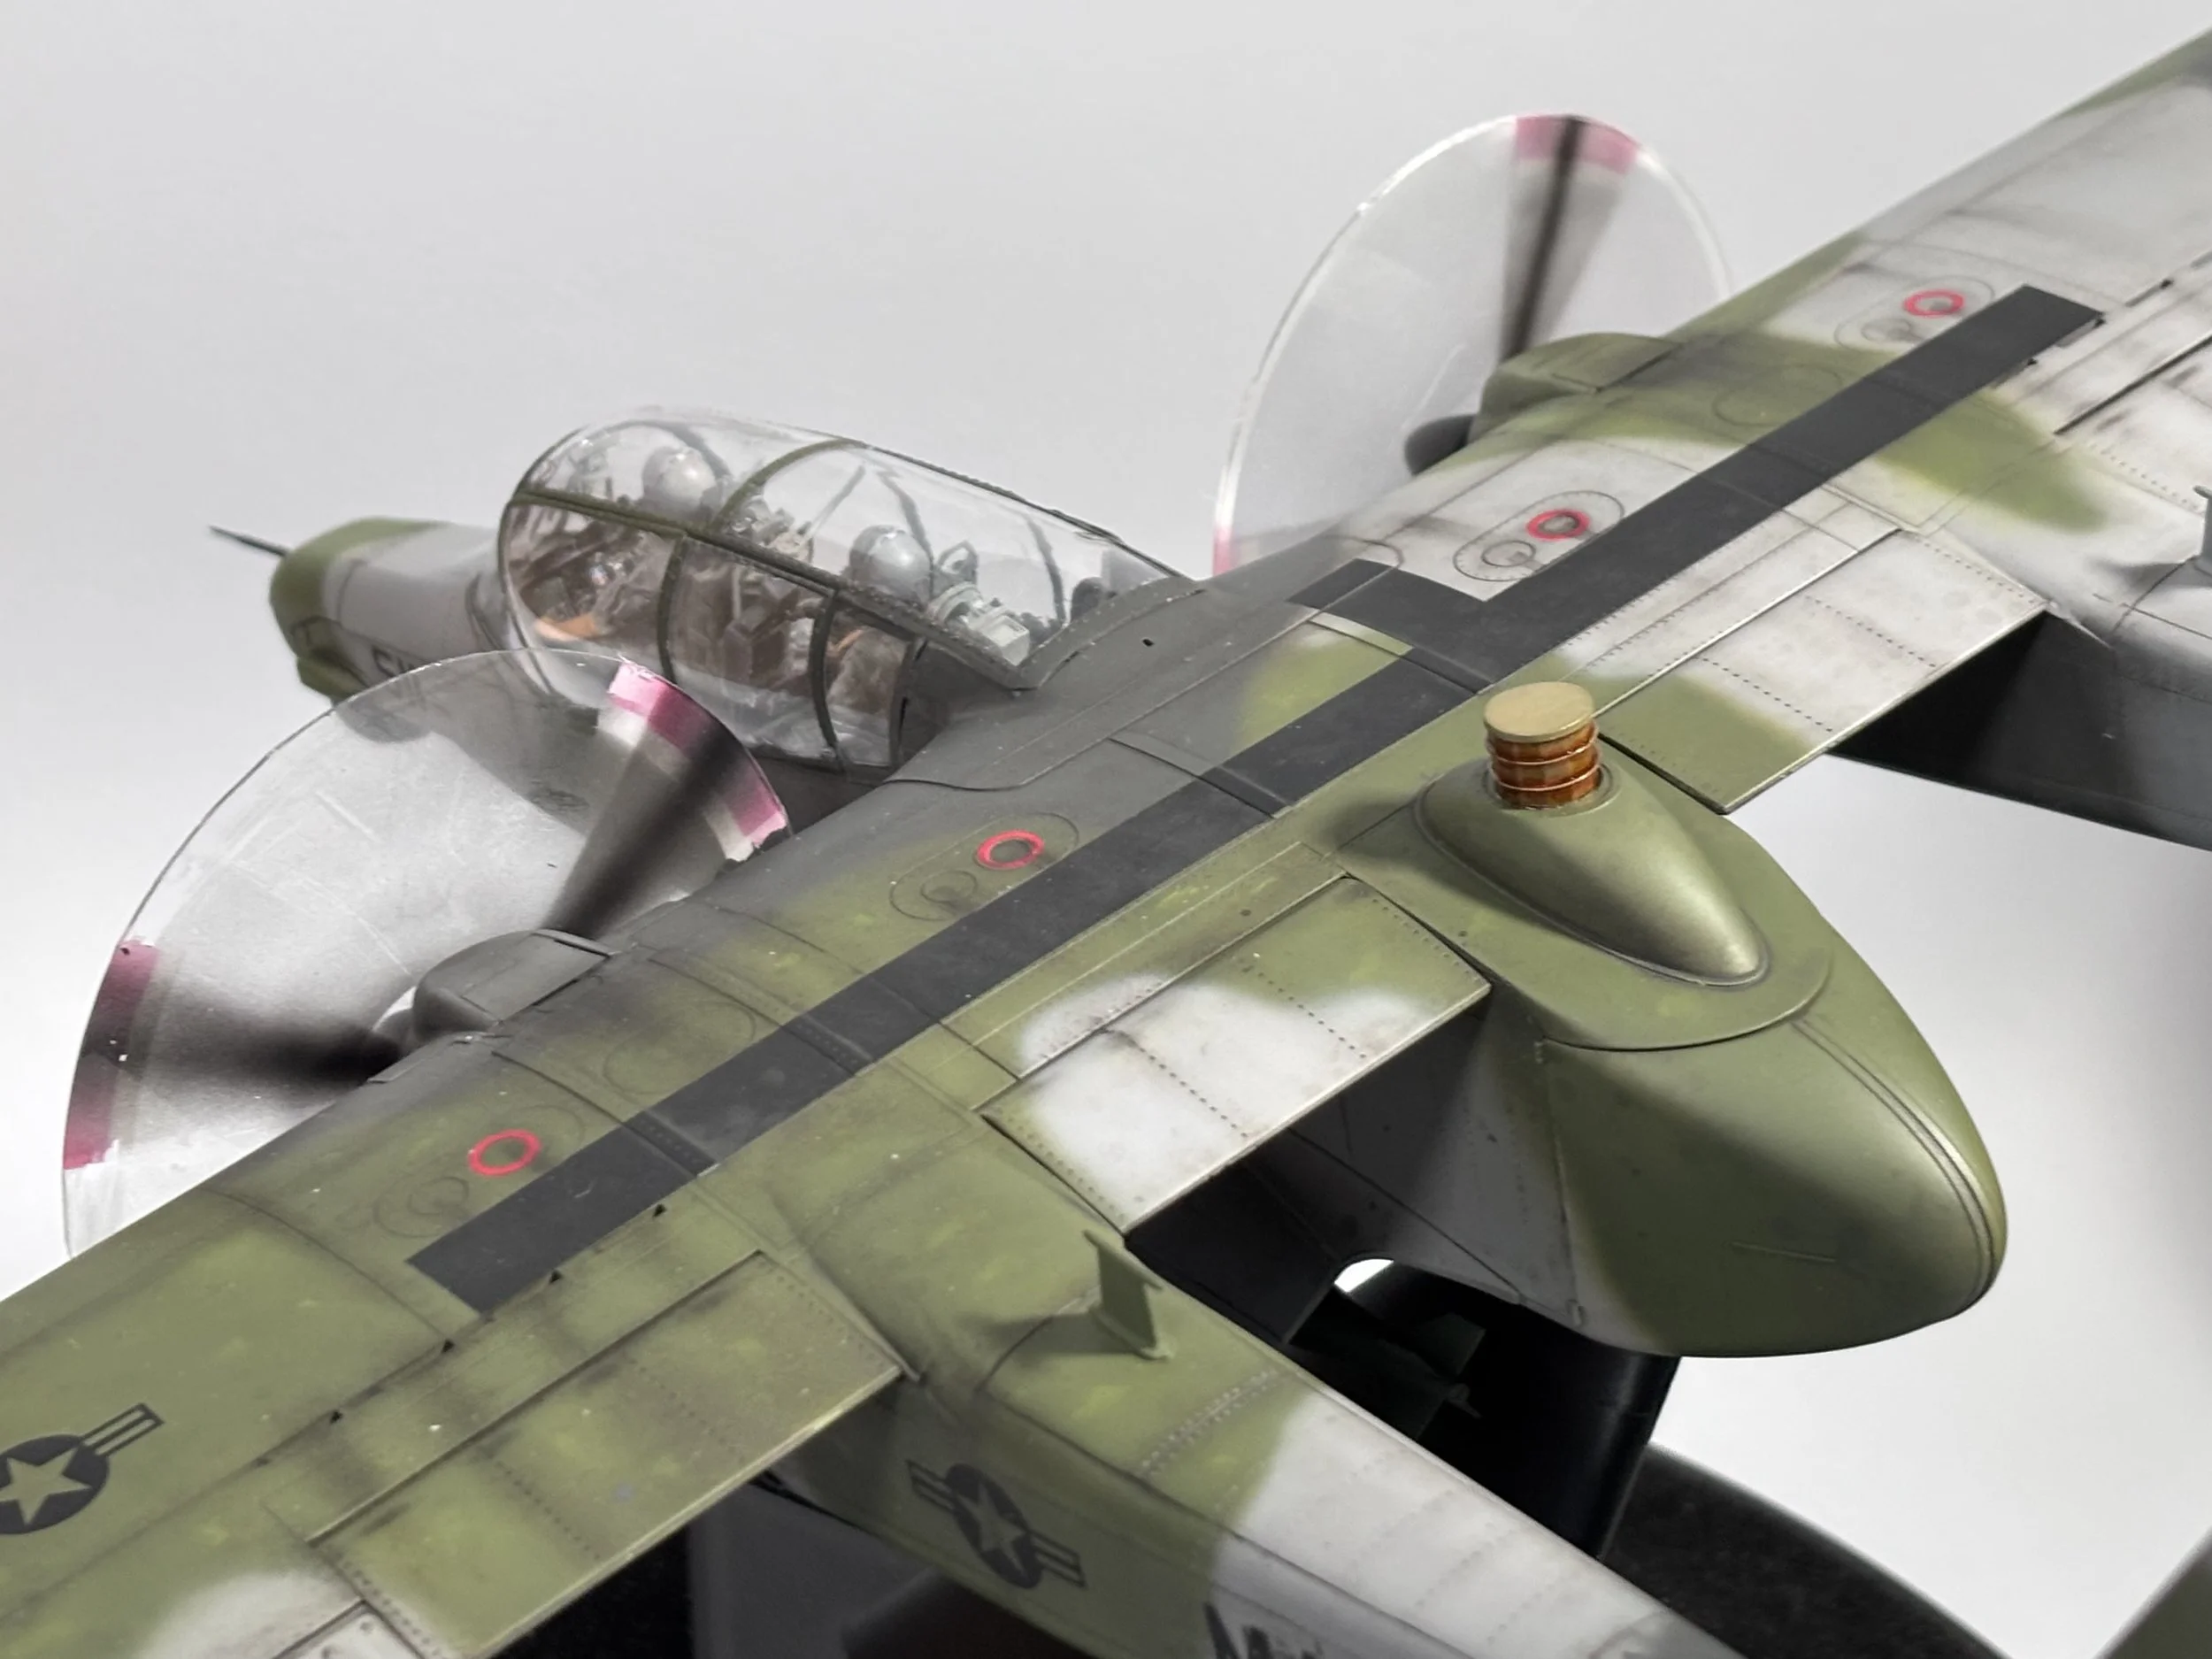
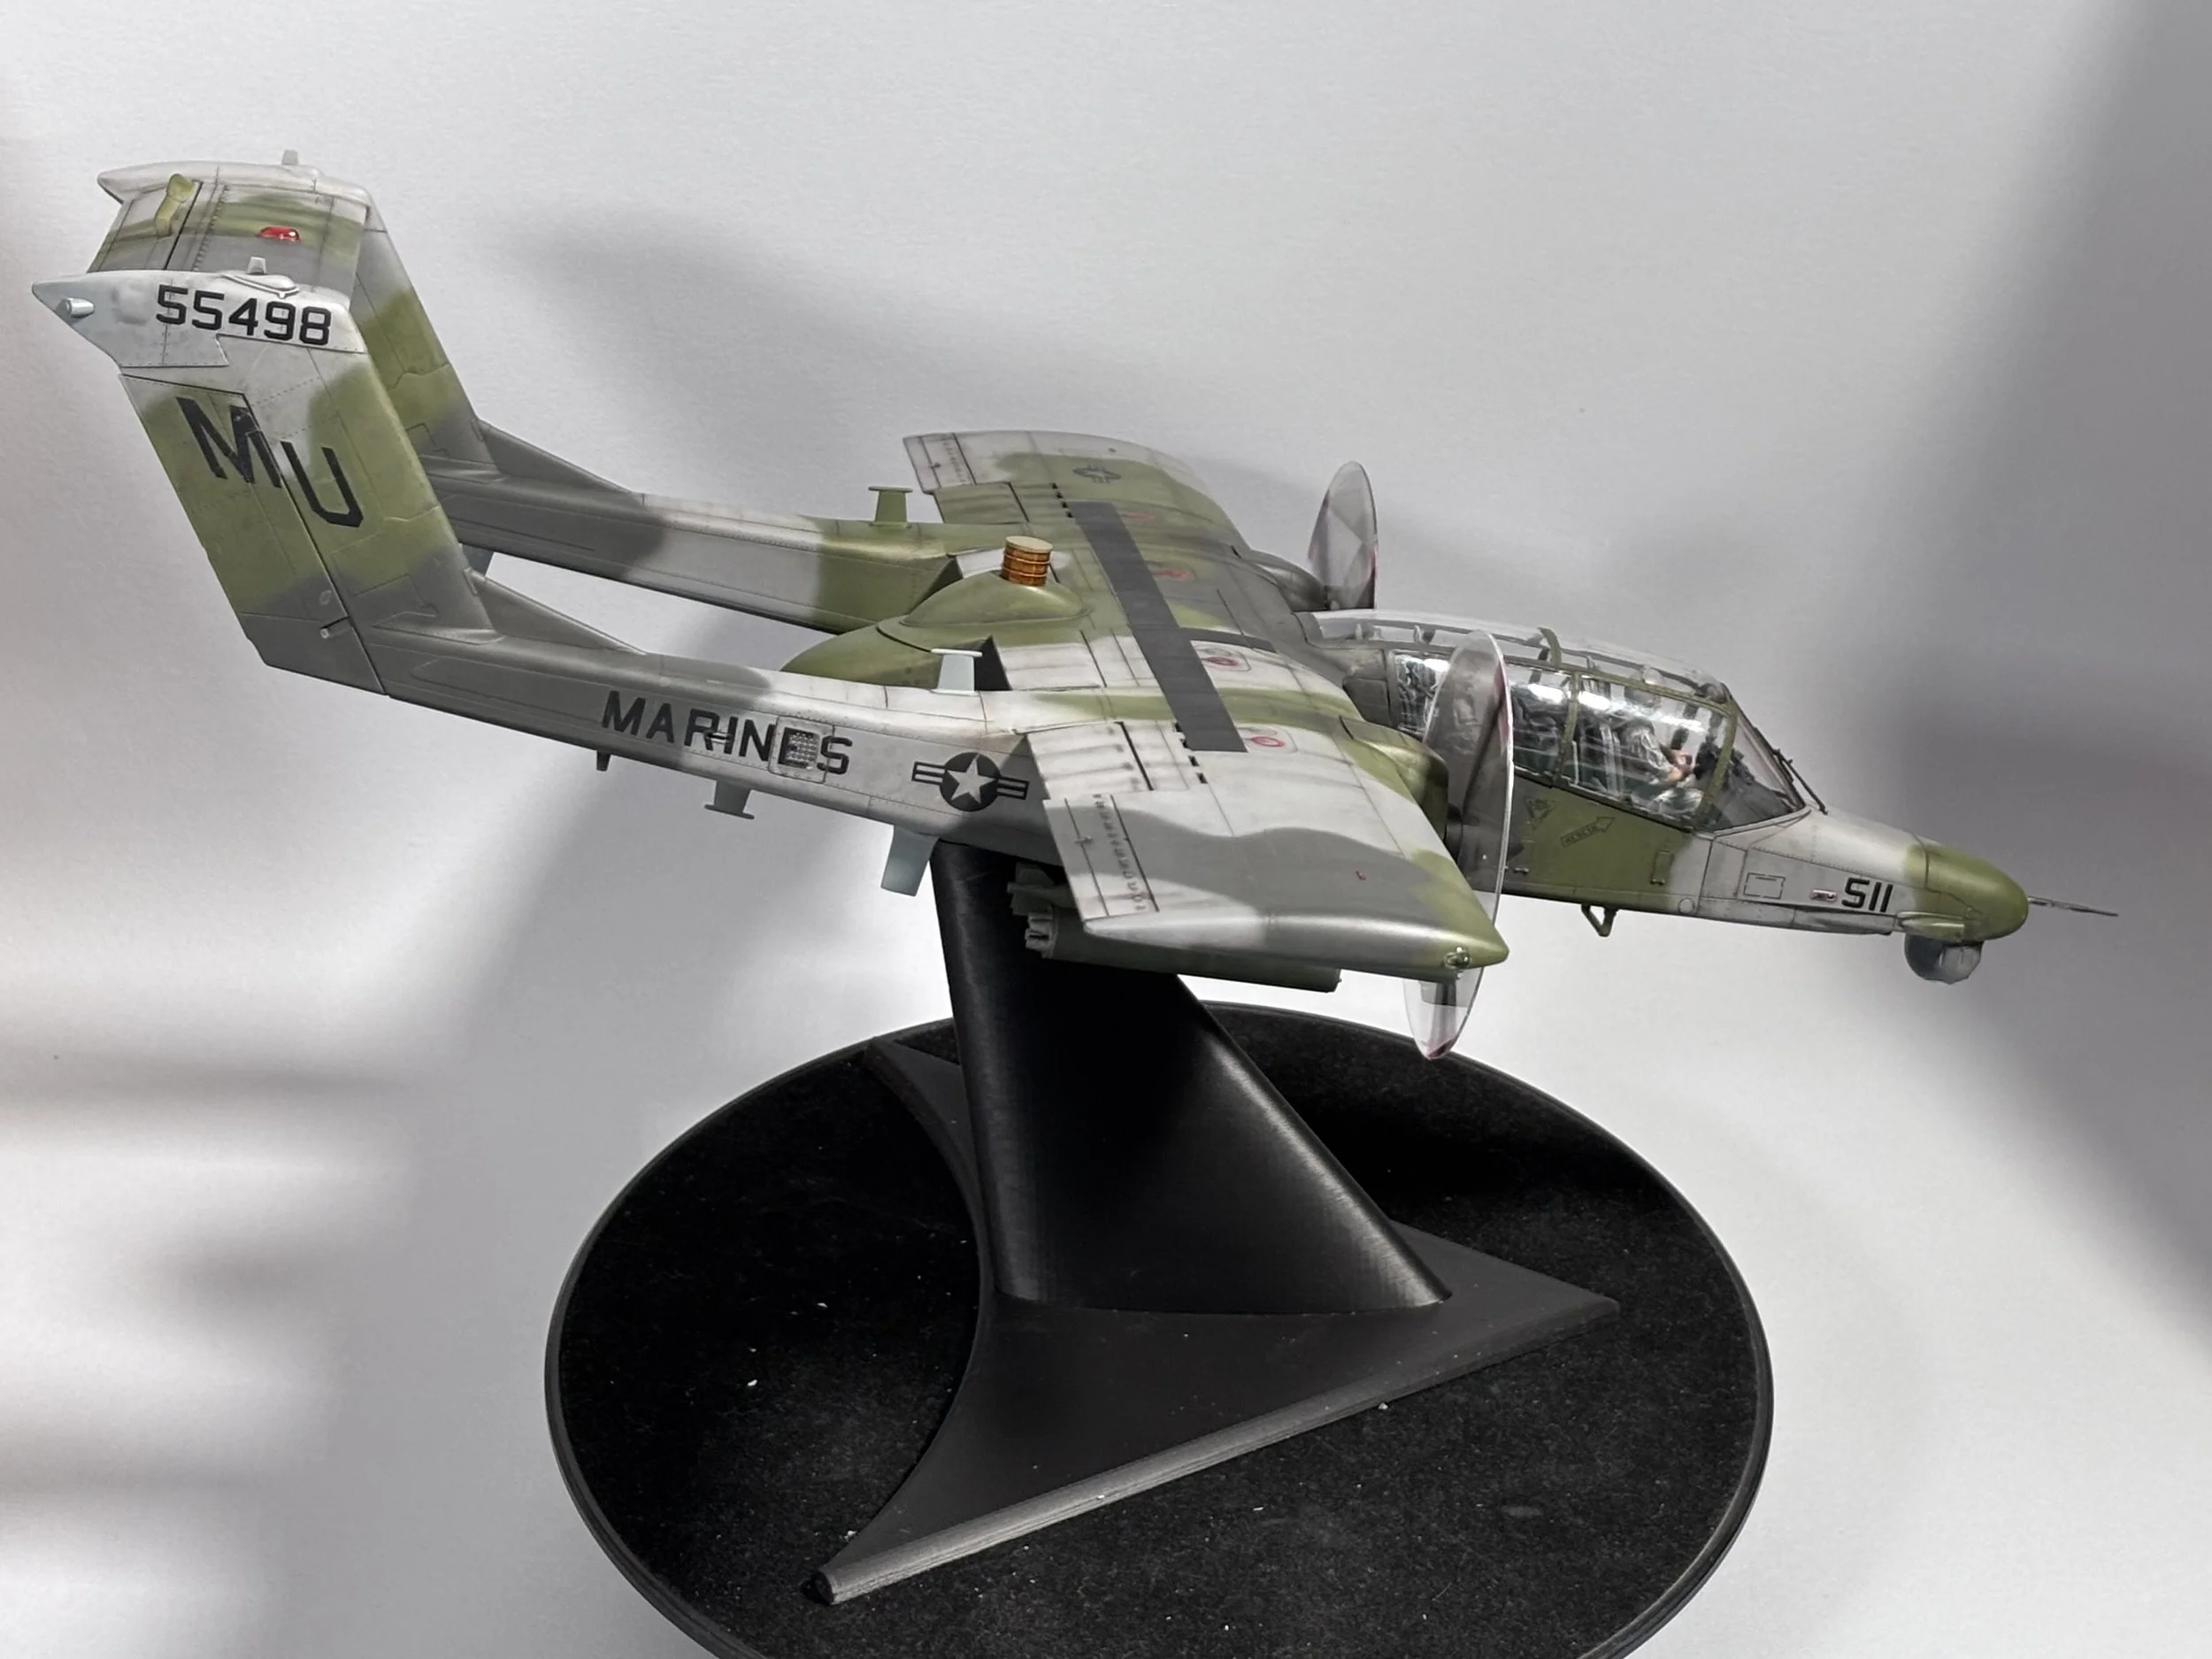
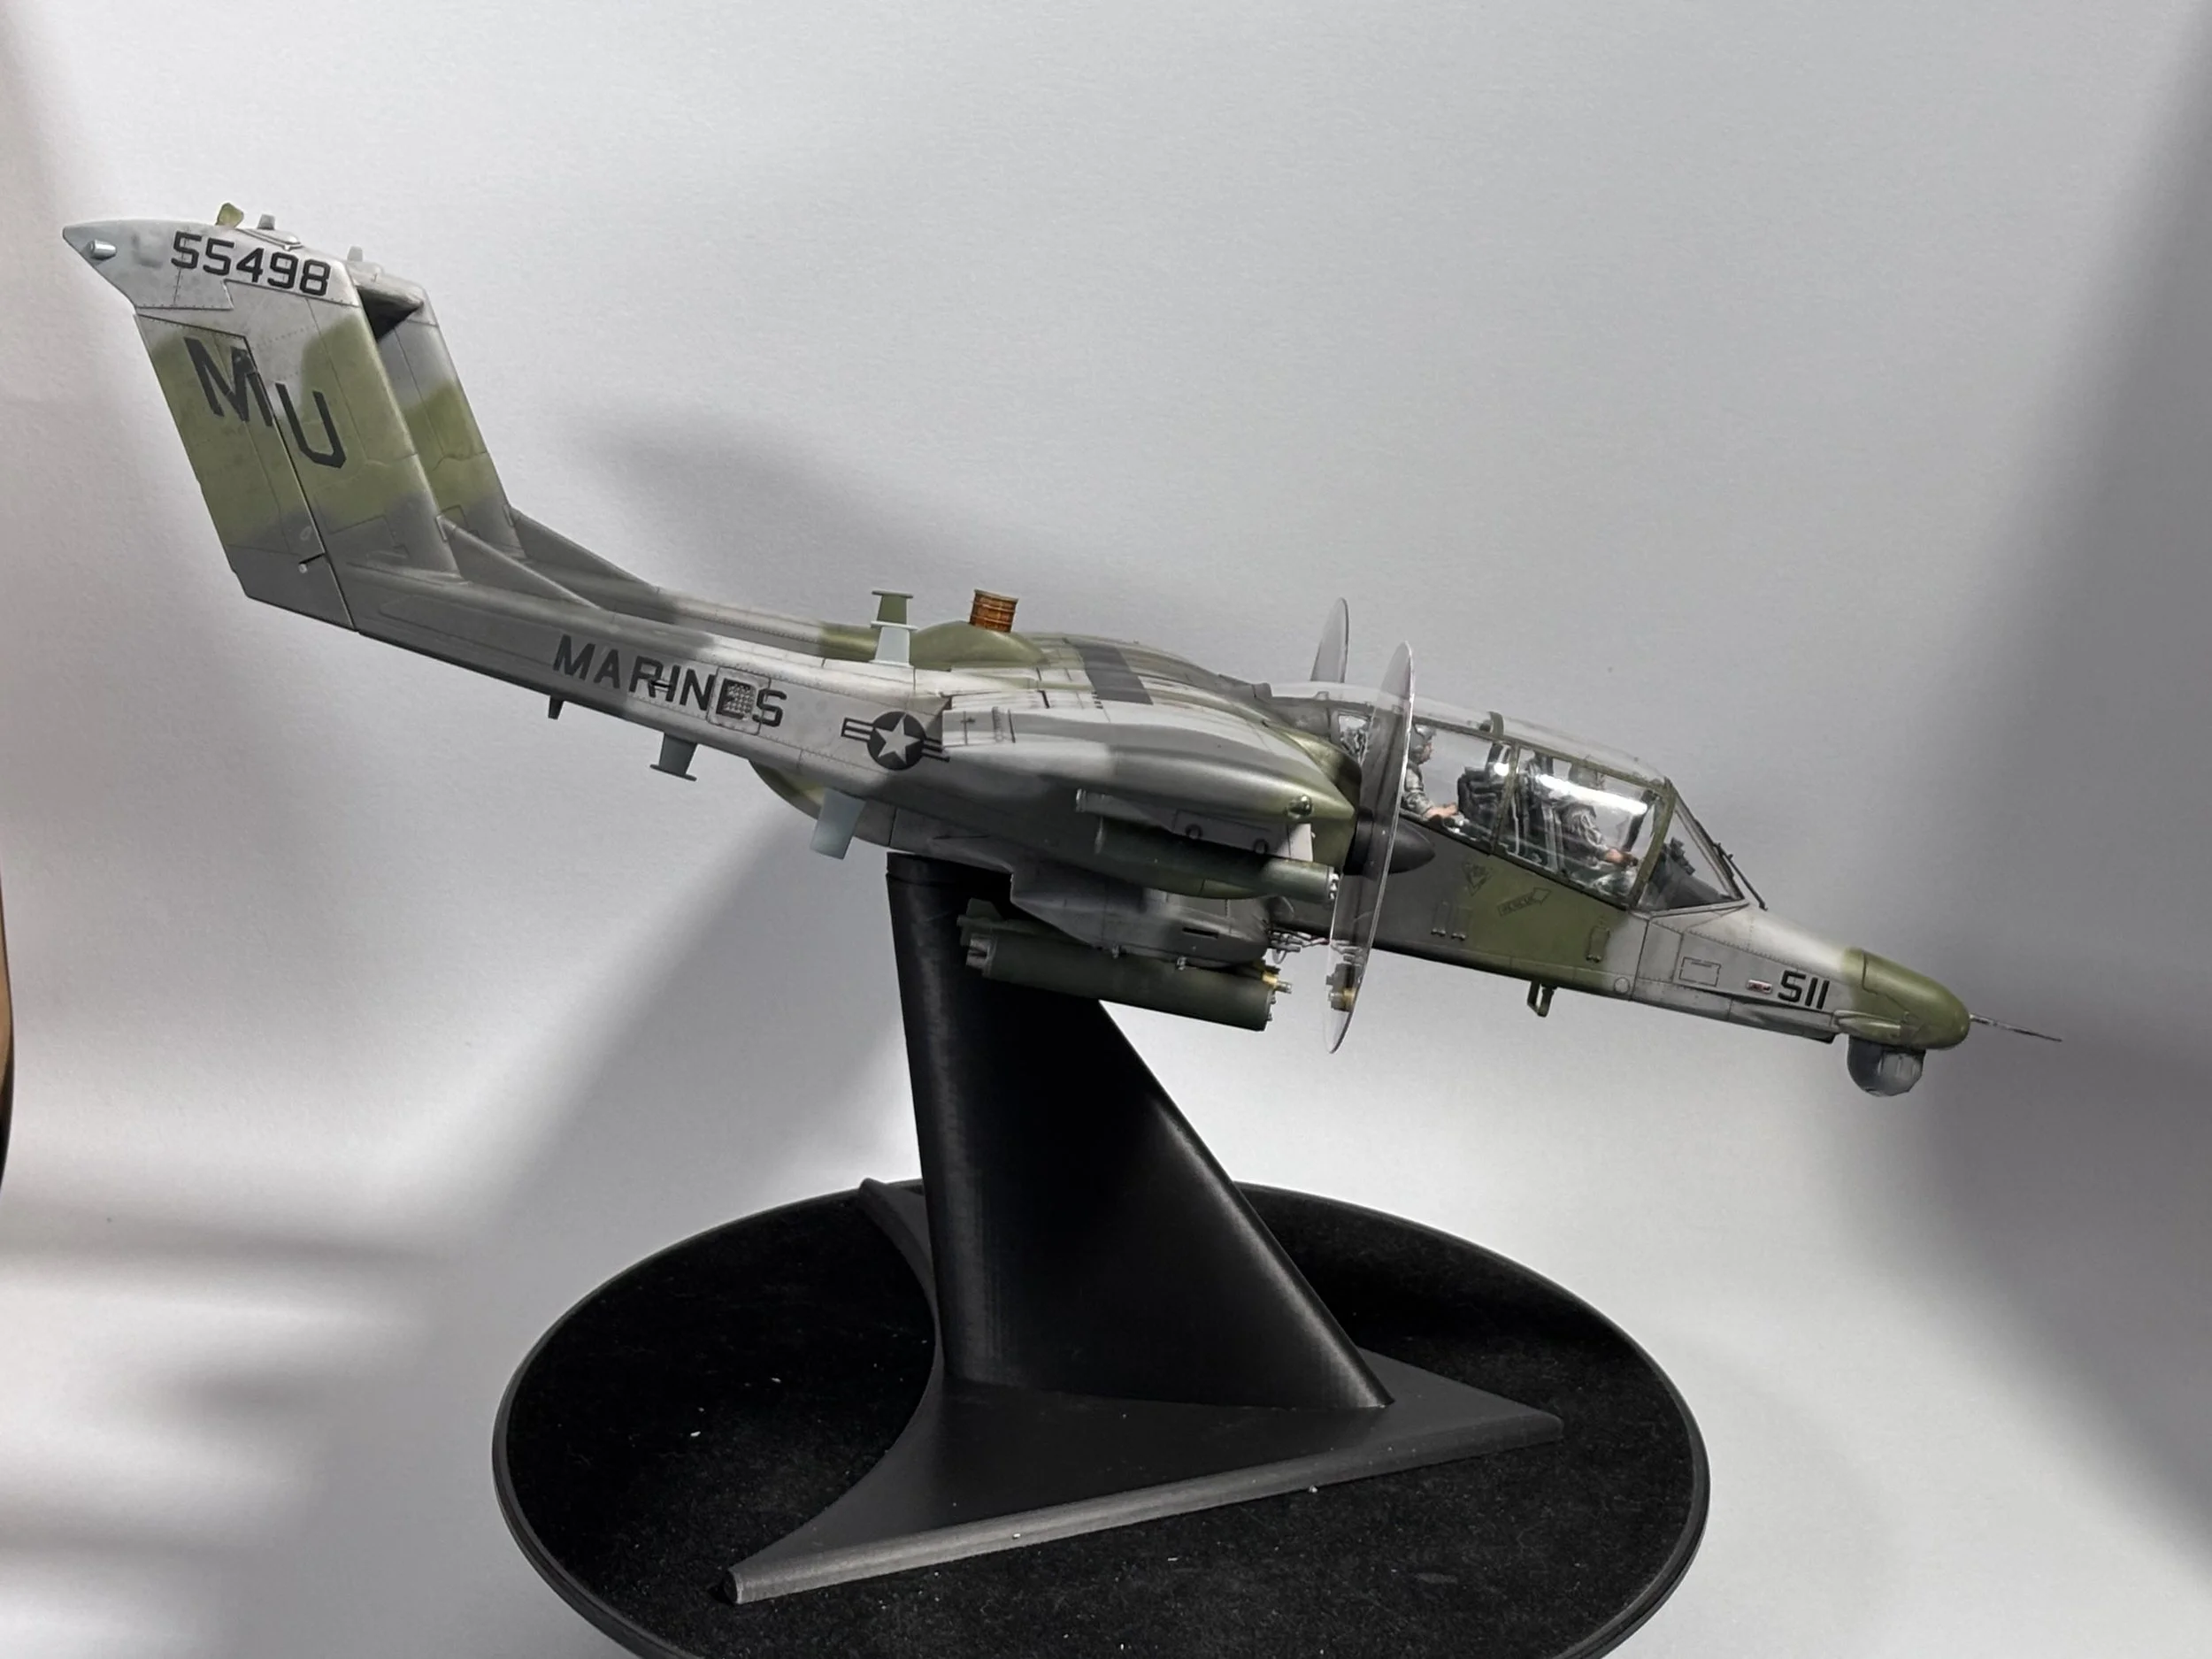
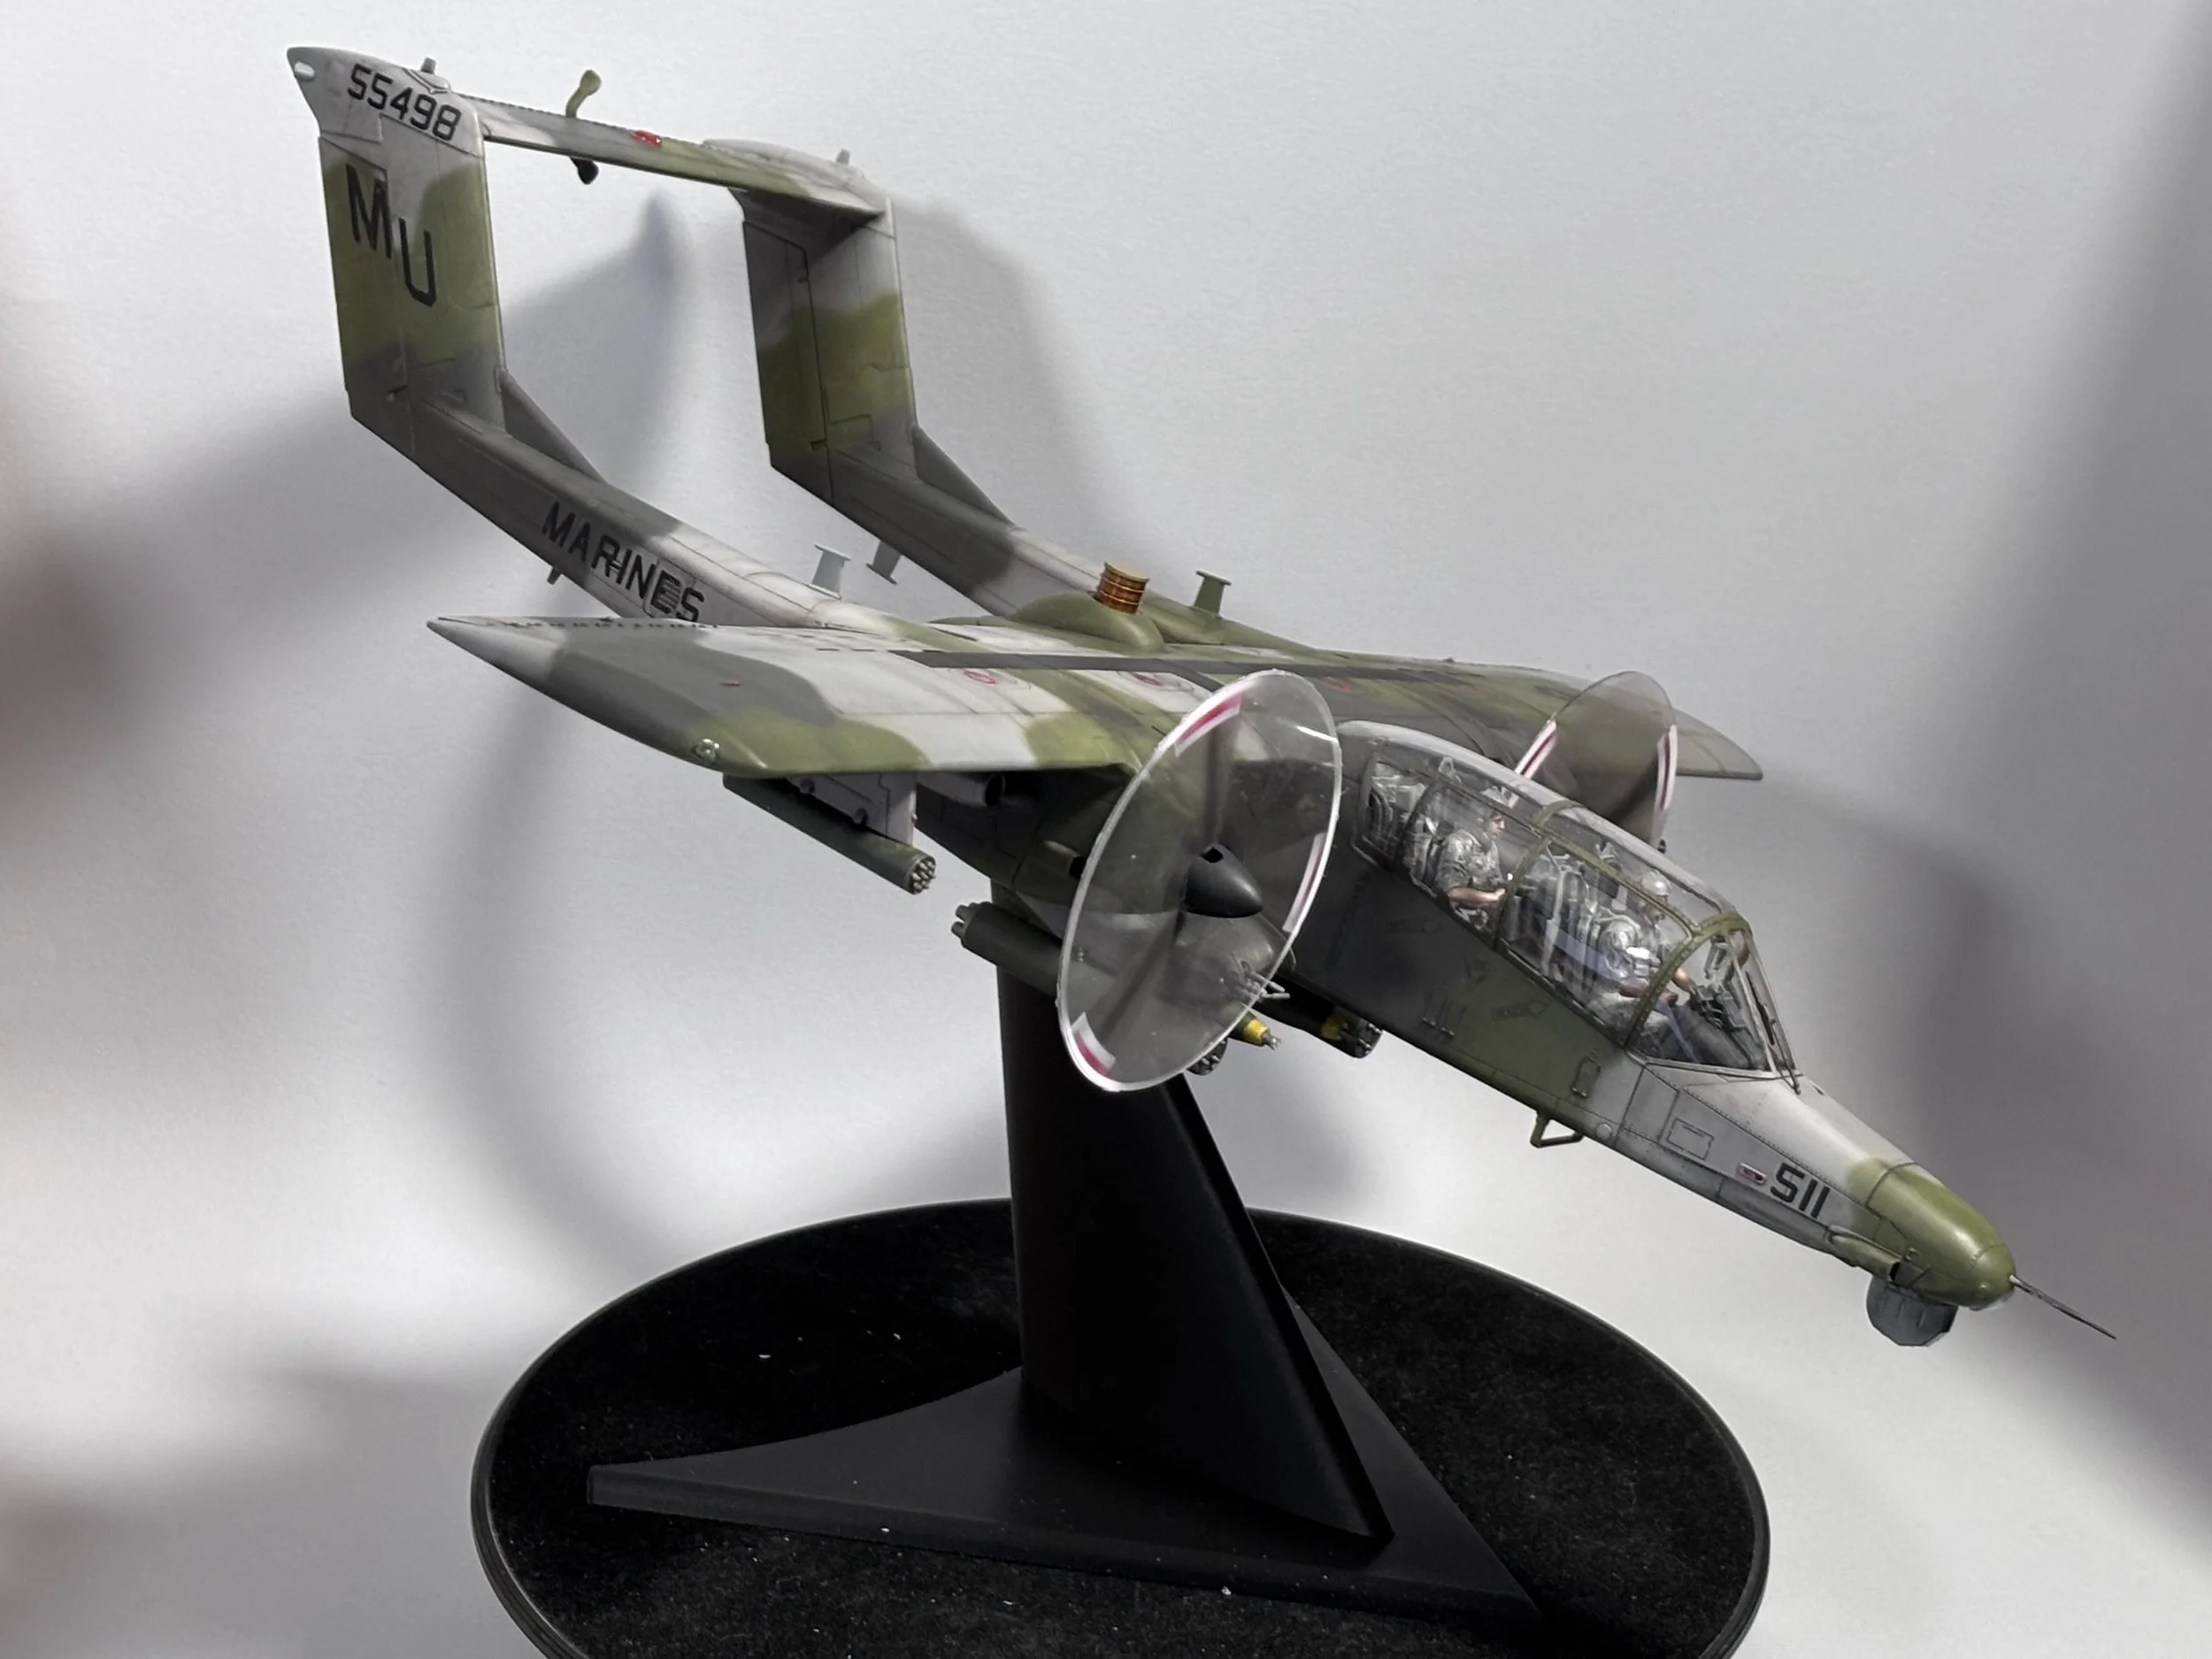
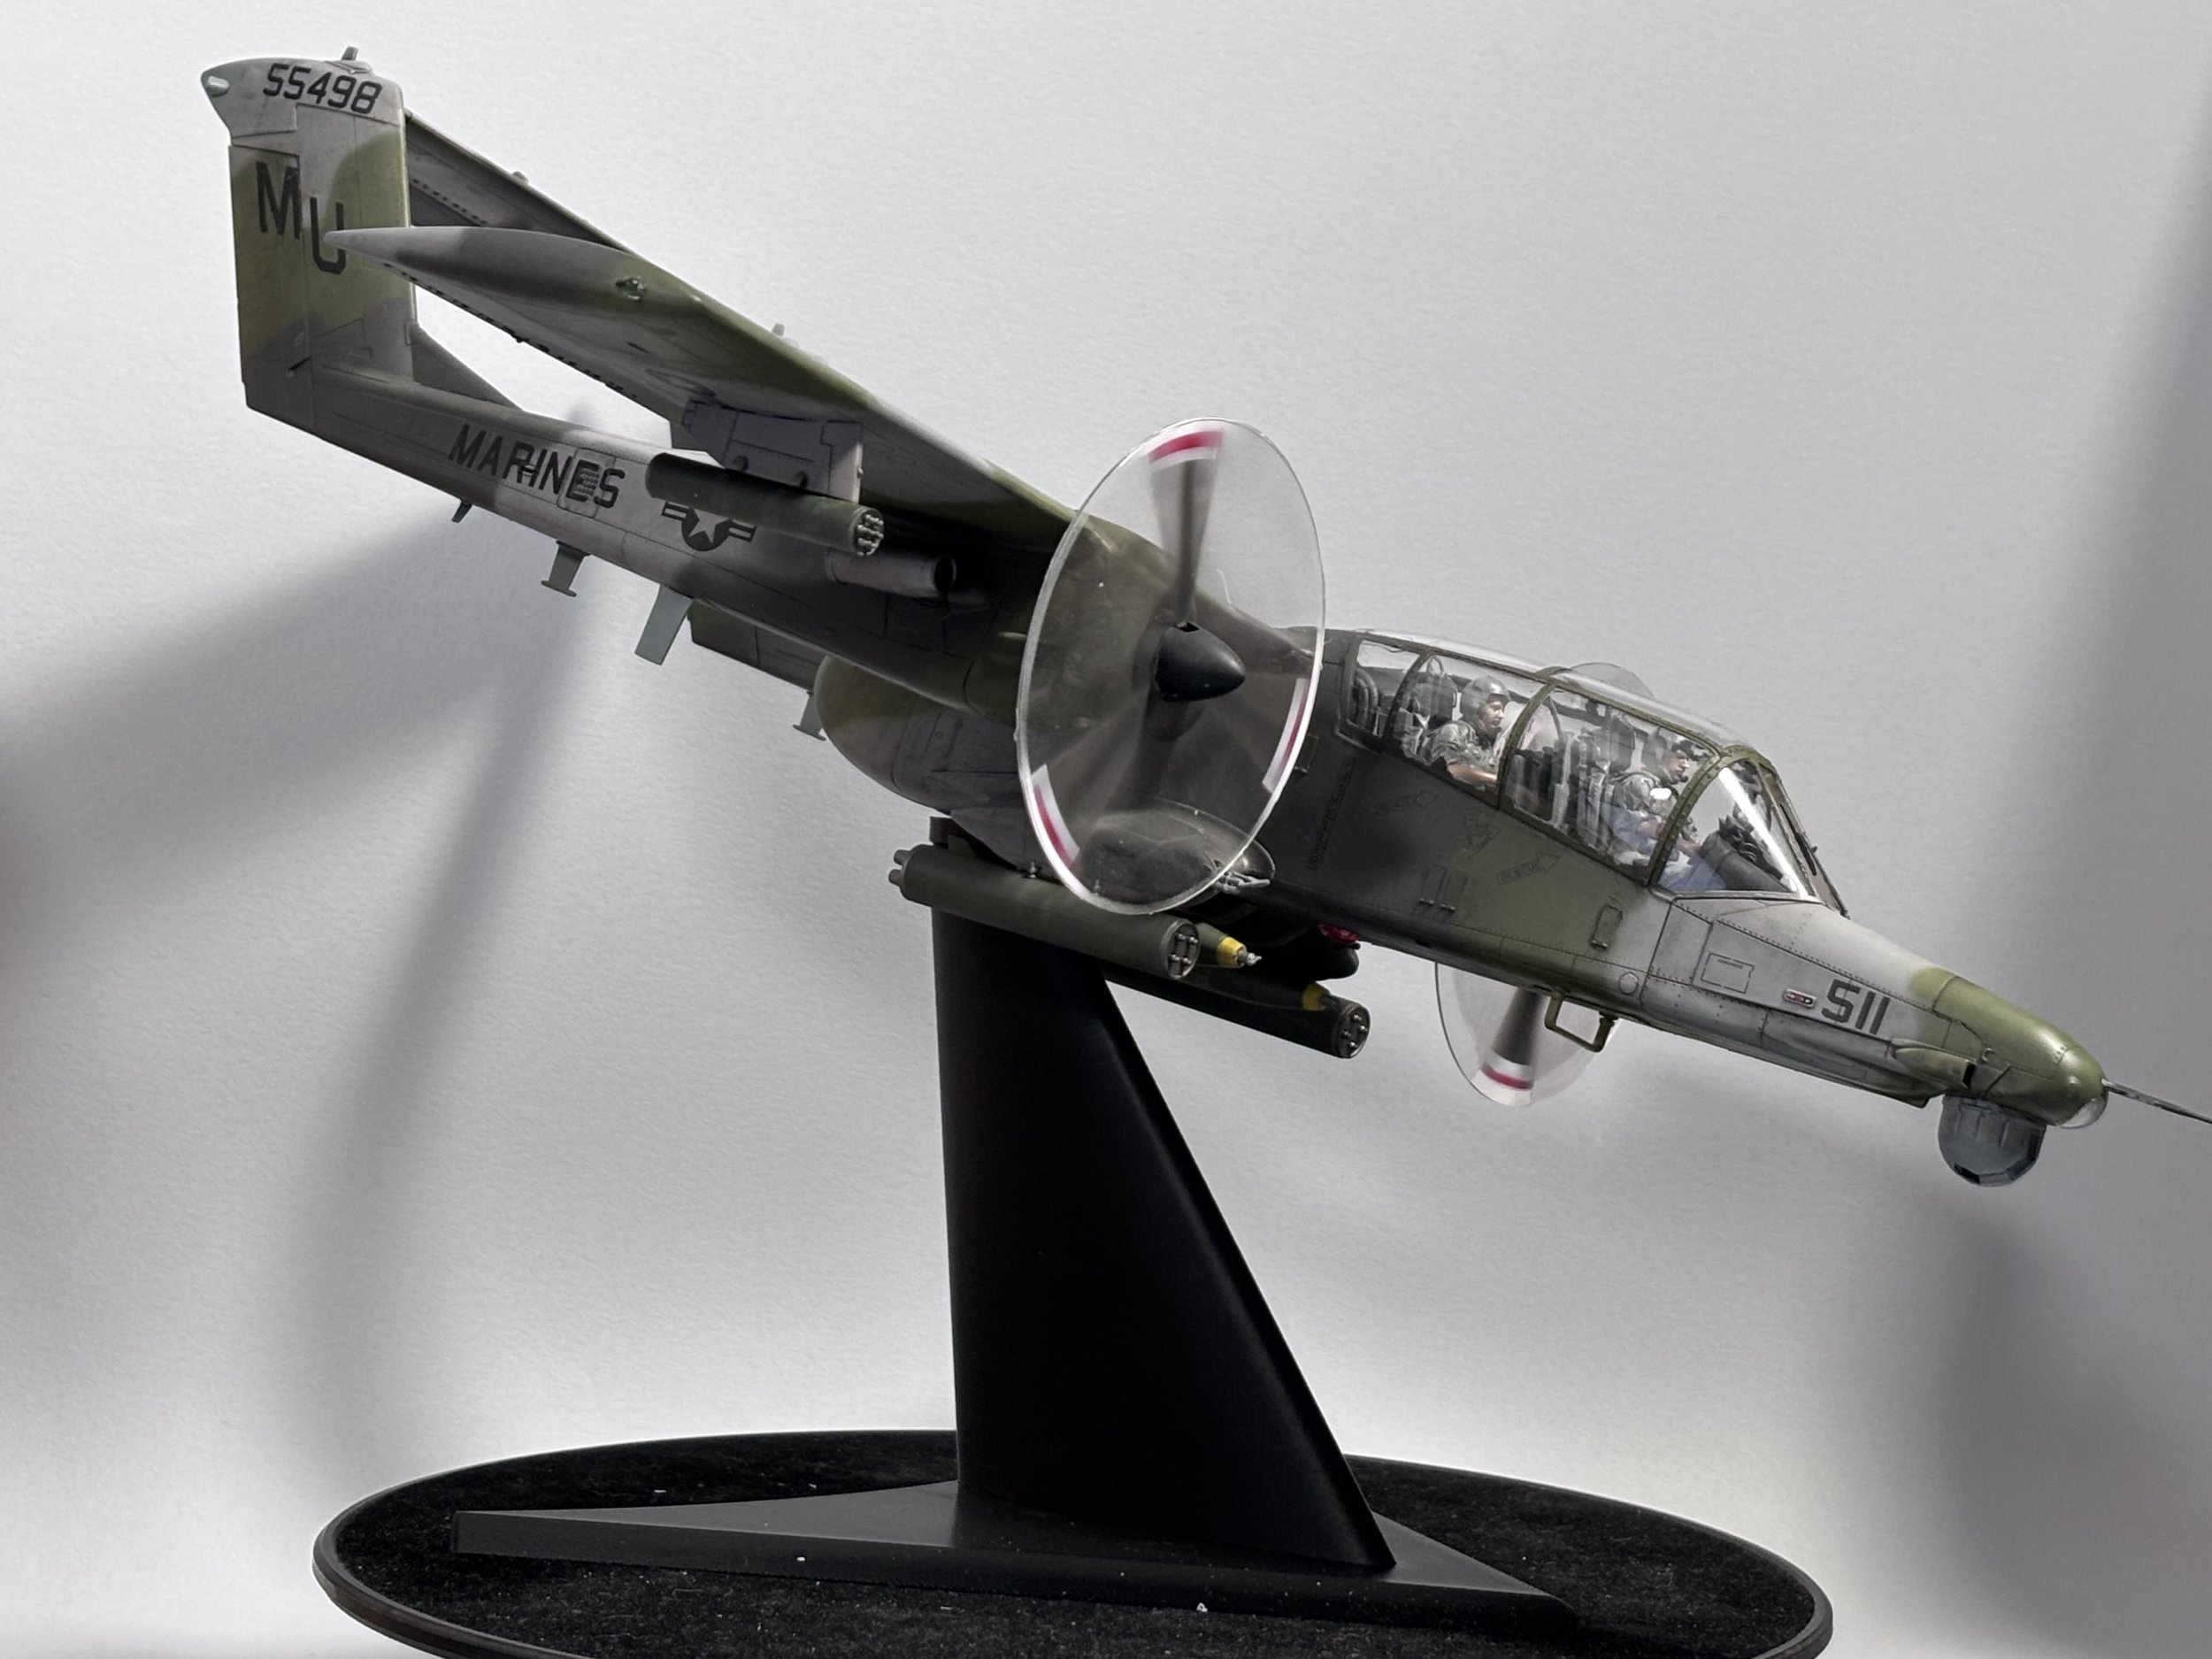
0:00 To start off the weathering, we go in with our normal dark dirt wash all over and left to dry. 4:53 With the day completely dry, we remove with a damp cloth, leaving a marbled, grimy look. 10:36 Next, we take a 0.5mm clear acrylic sheet and cut out two circles for our blurred props 19:02 Here we install the nav lights and use markers for the yellow bands on the MK82s 23:31 Last up, we use neat oils to weather the camo.
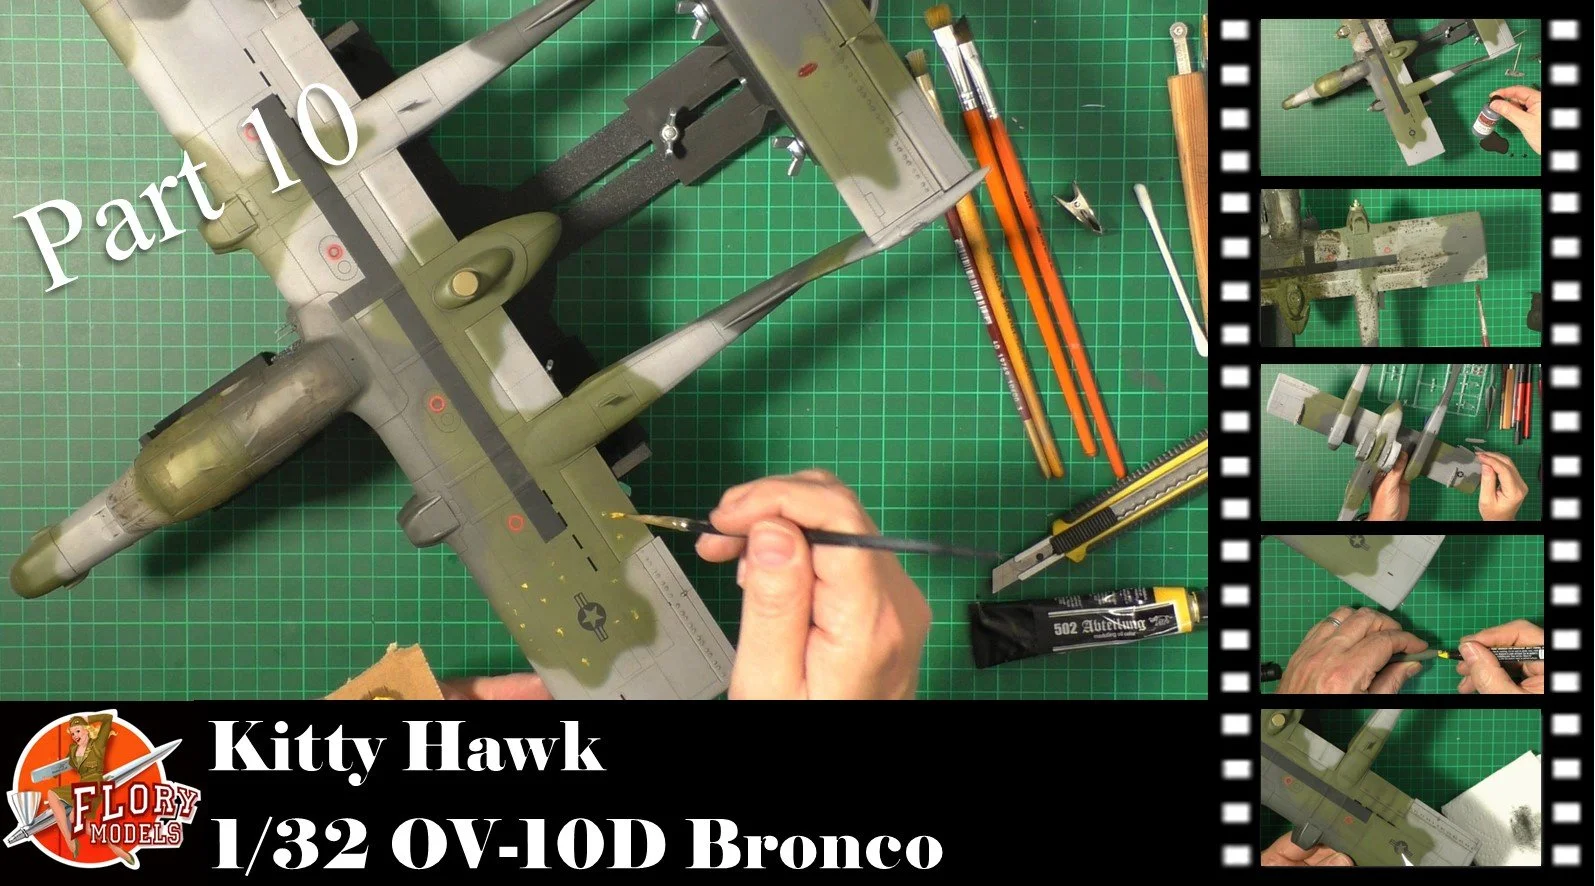
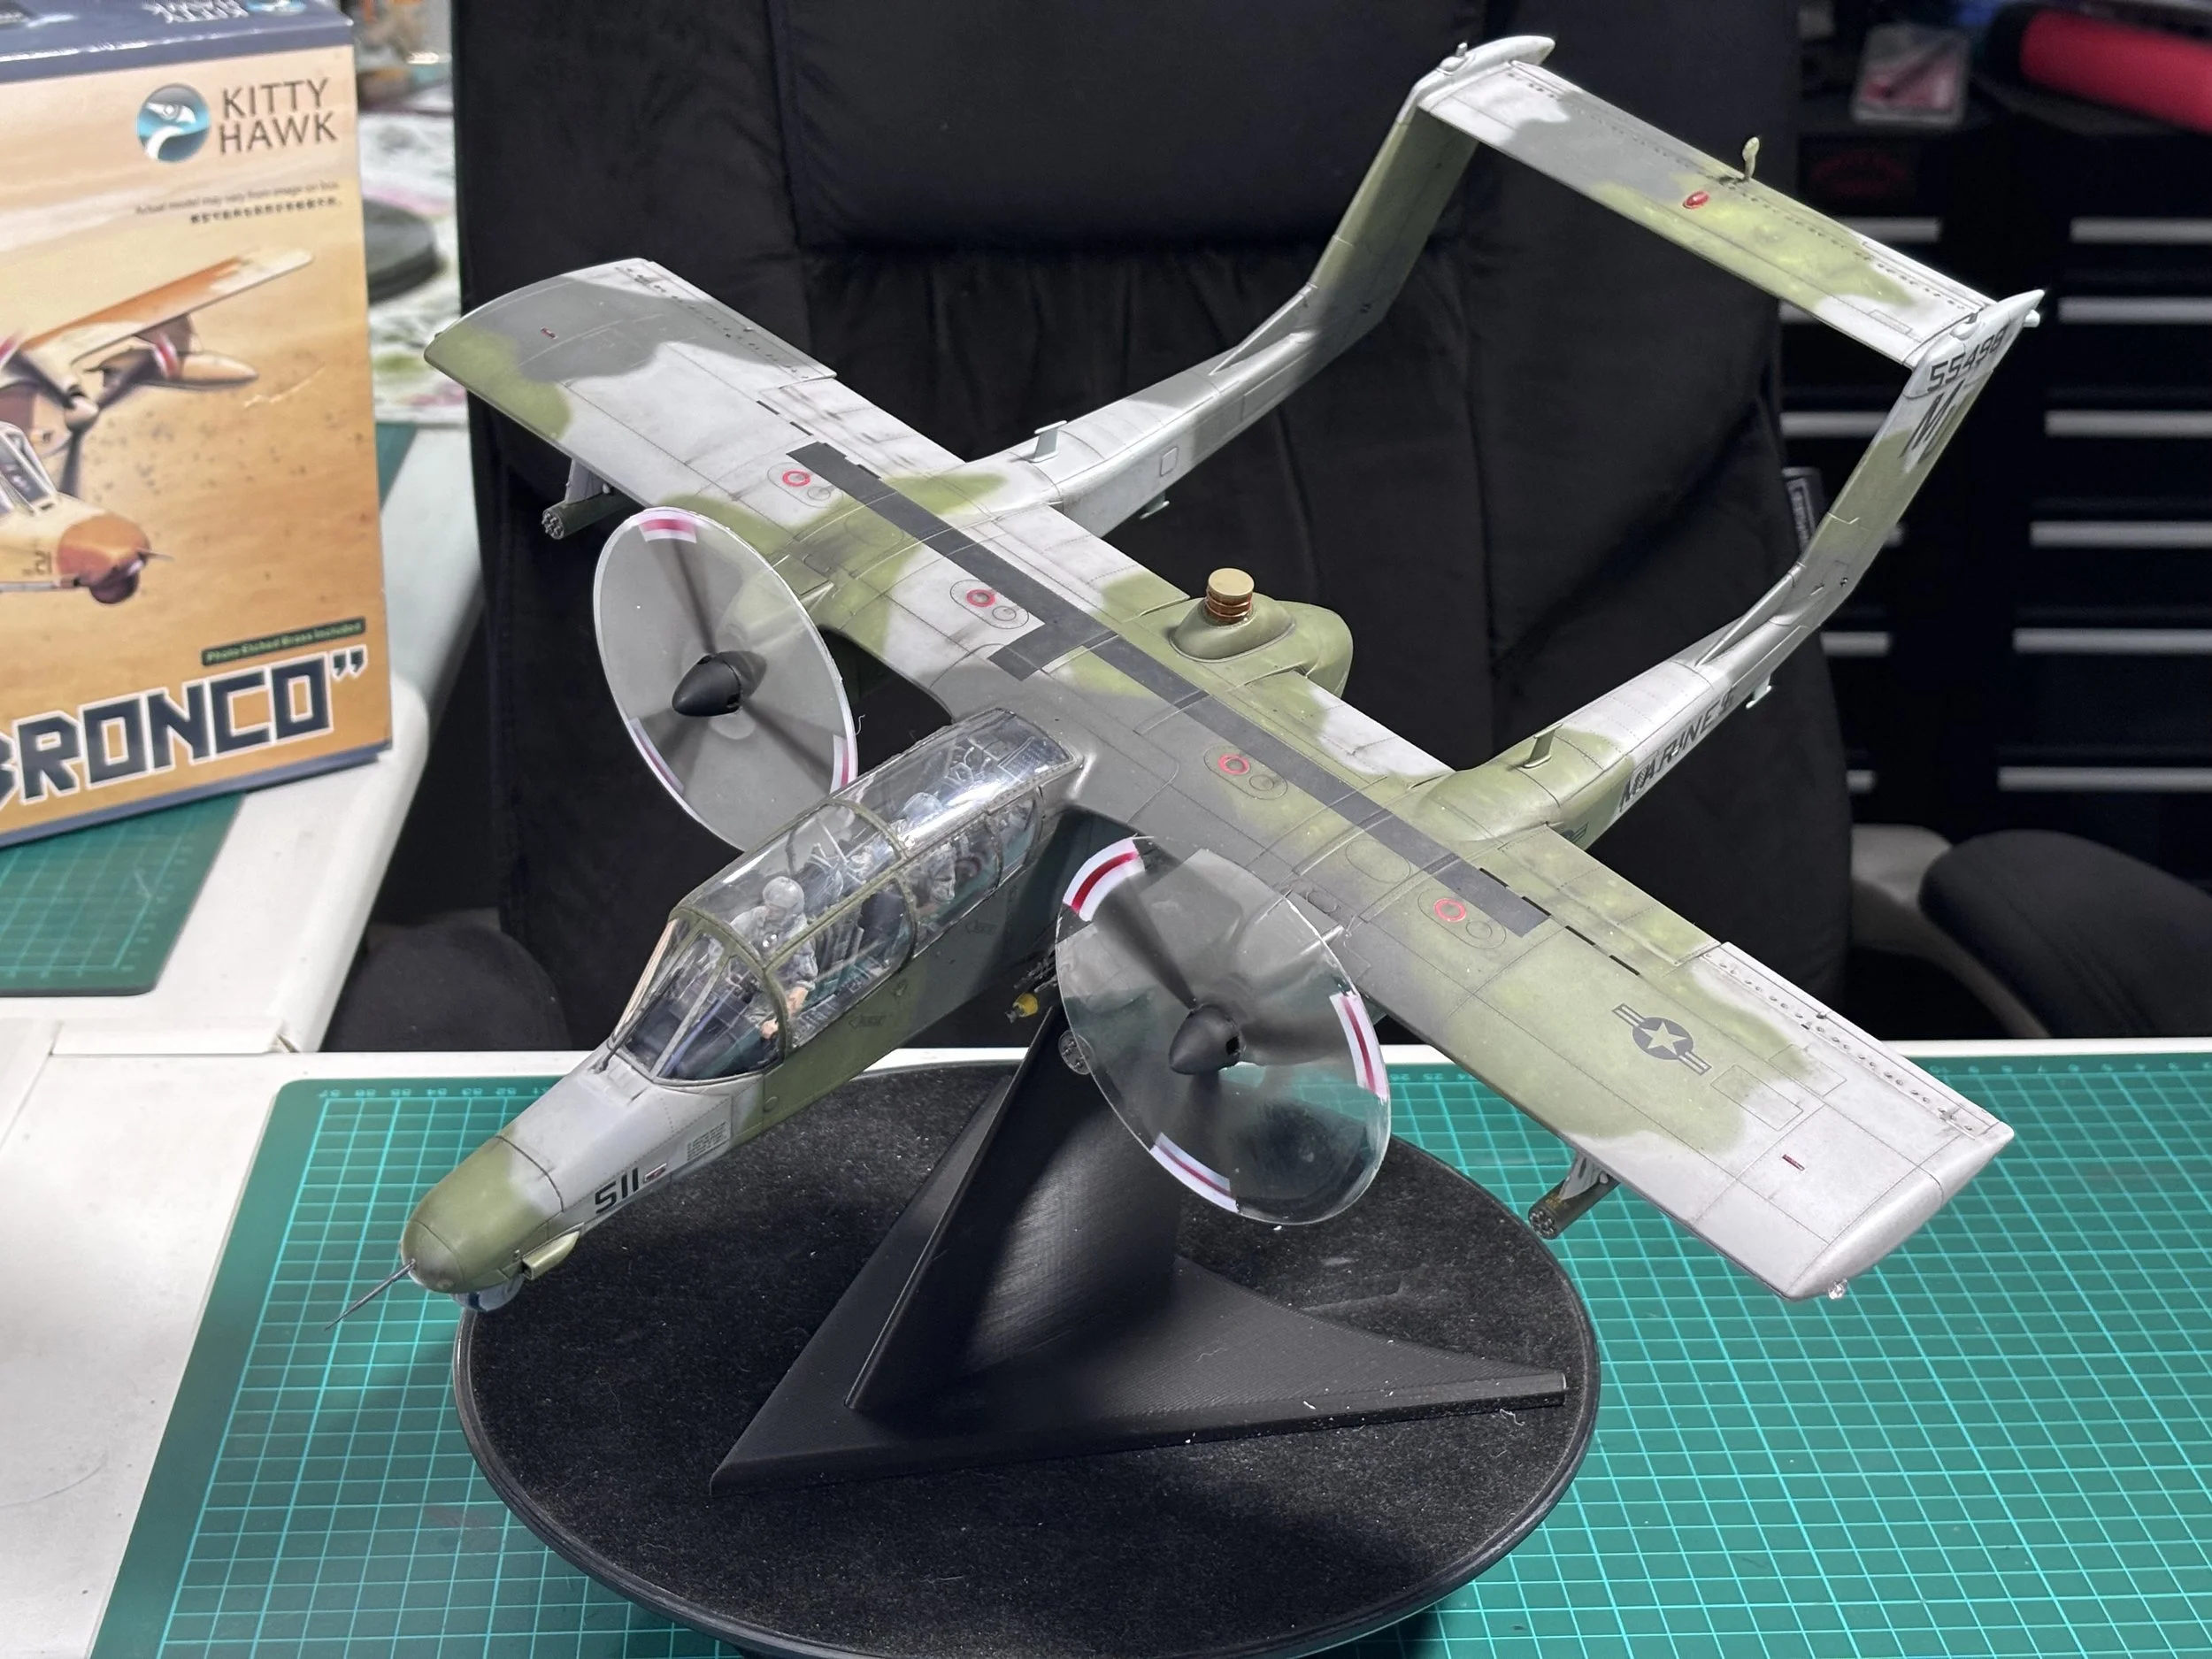
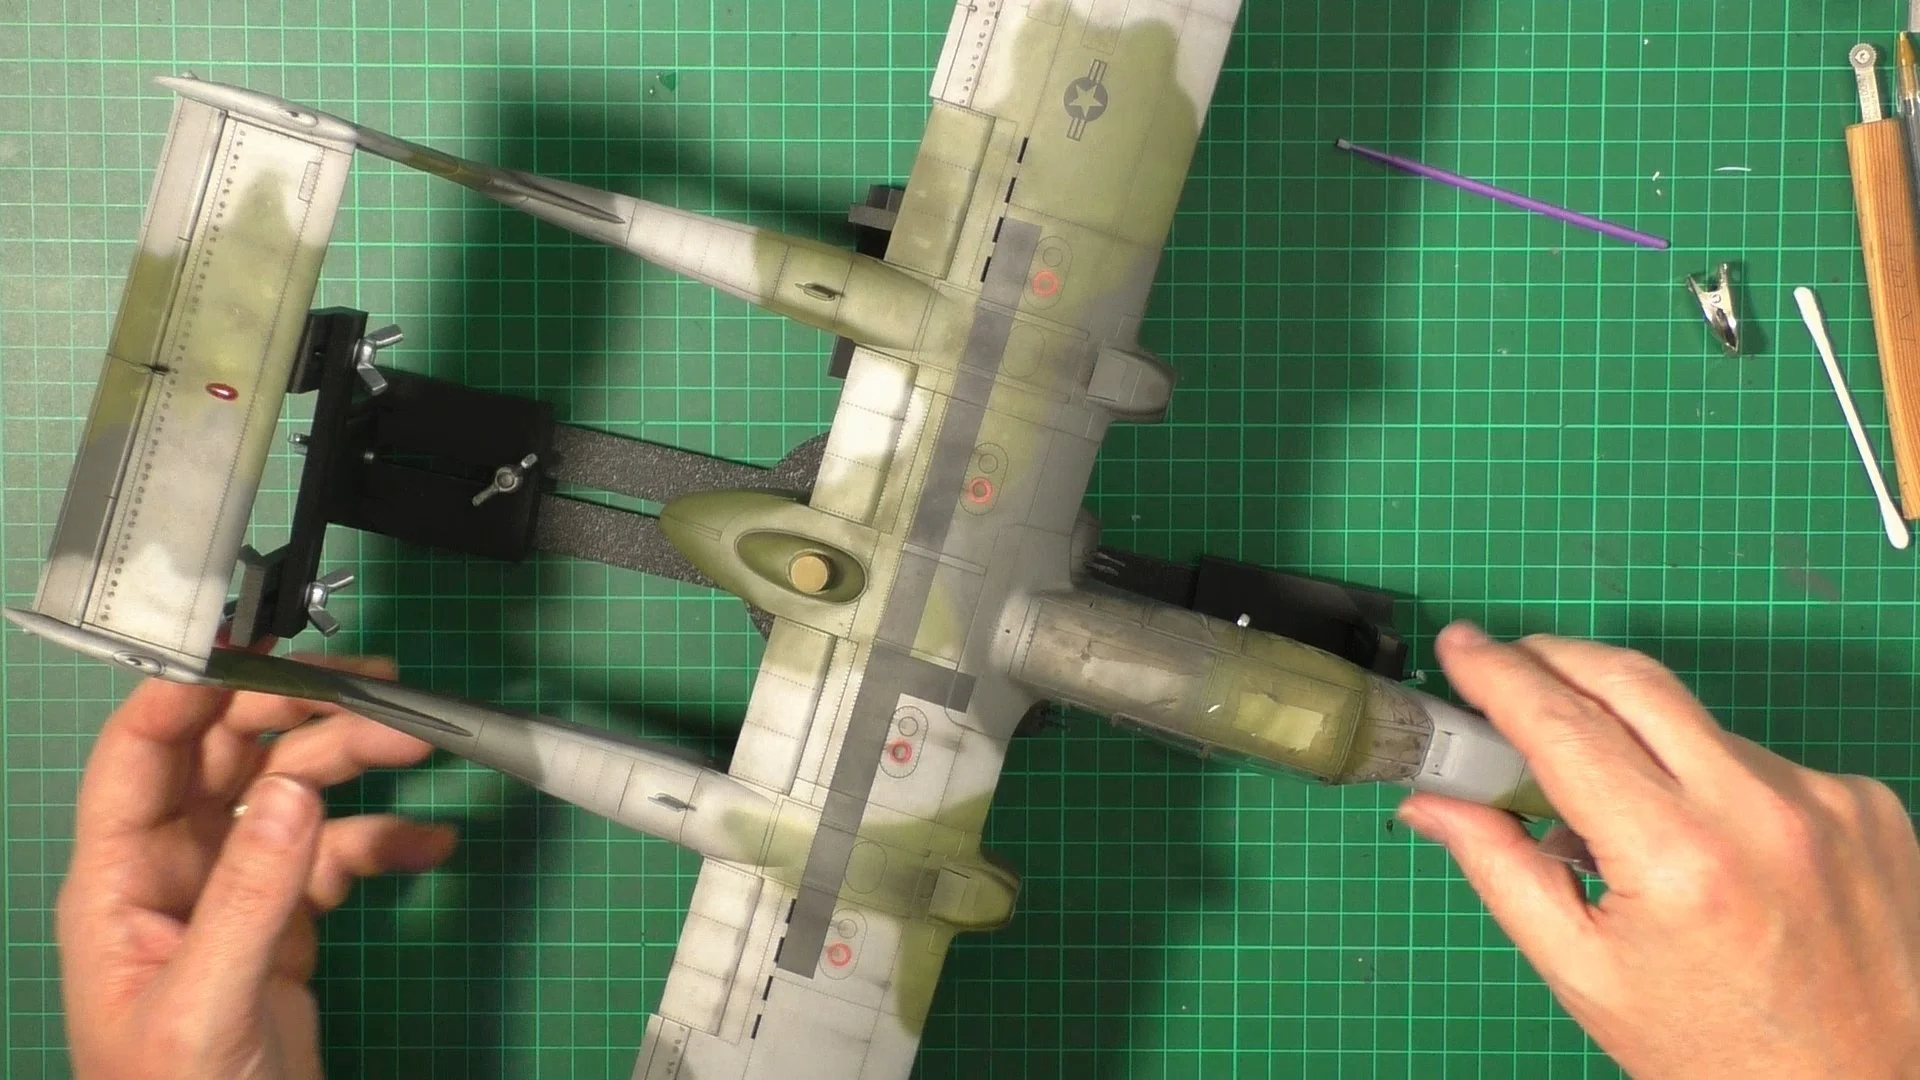
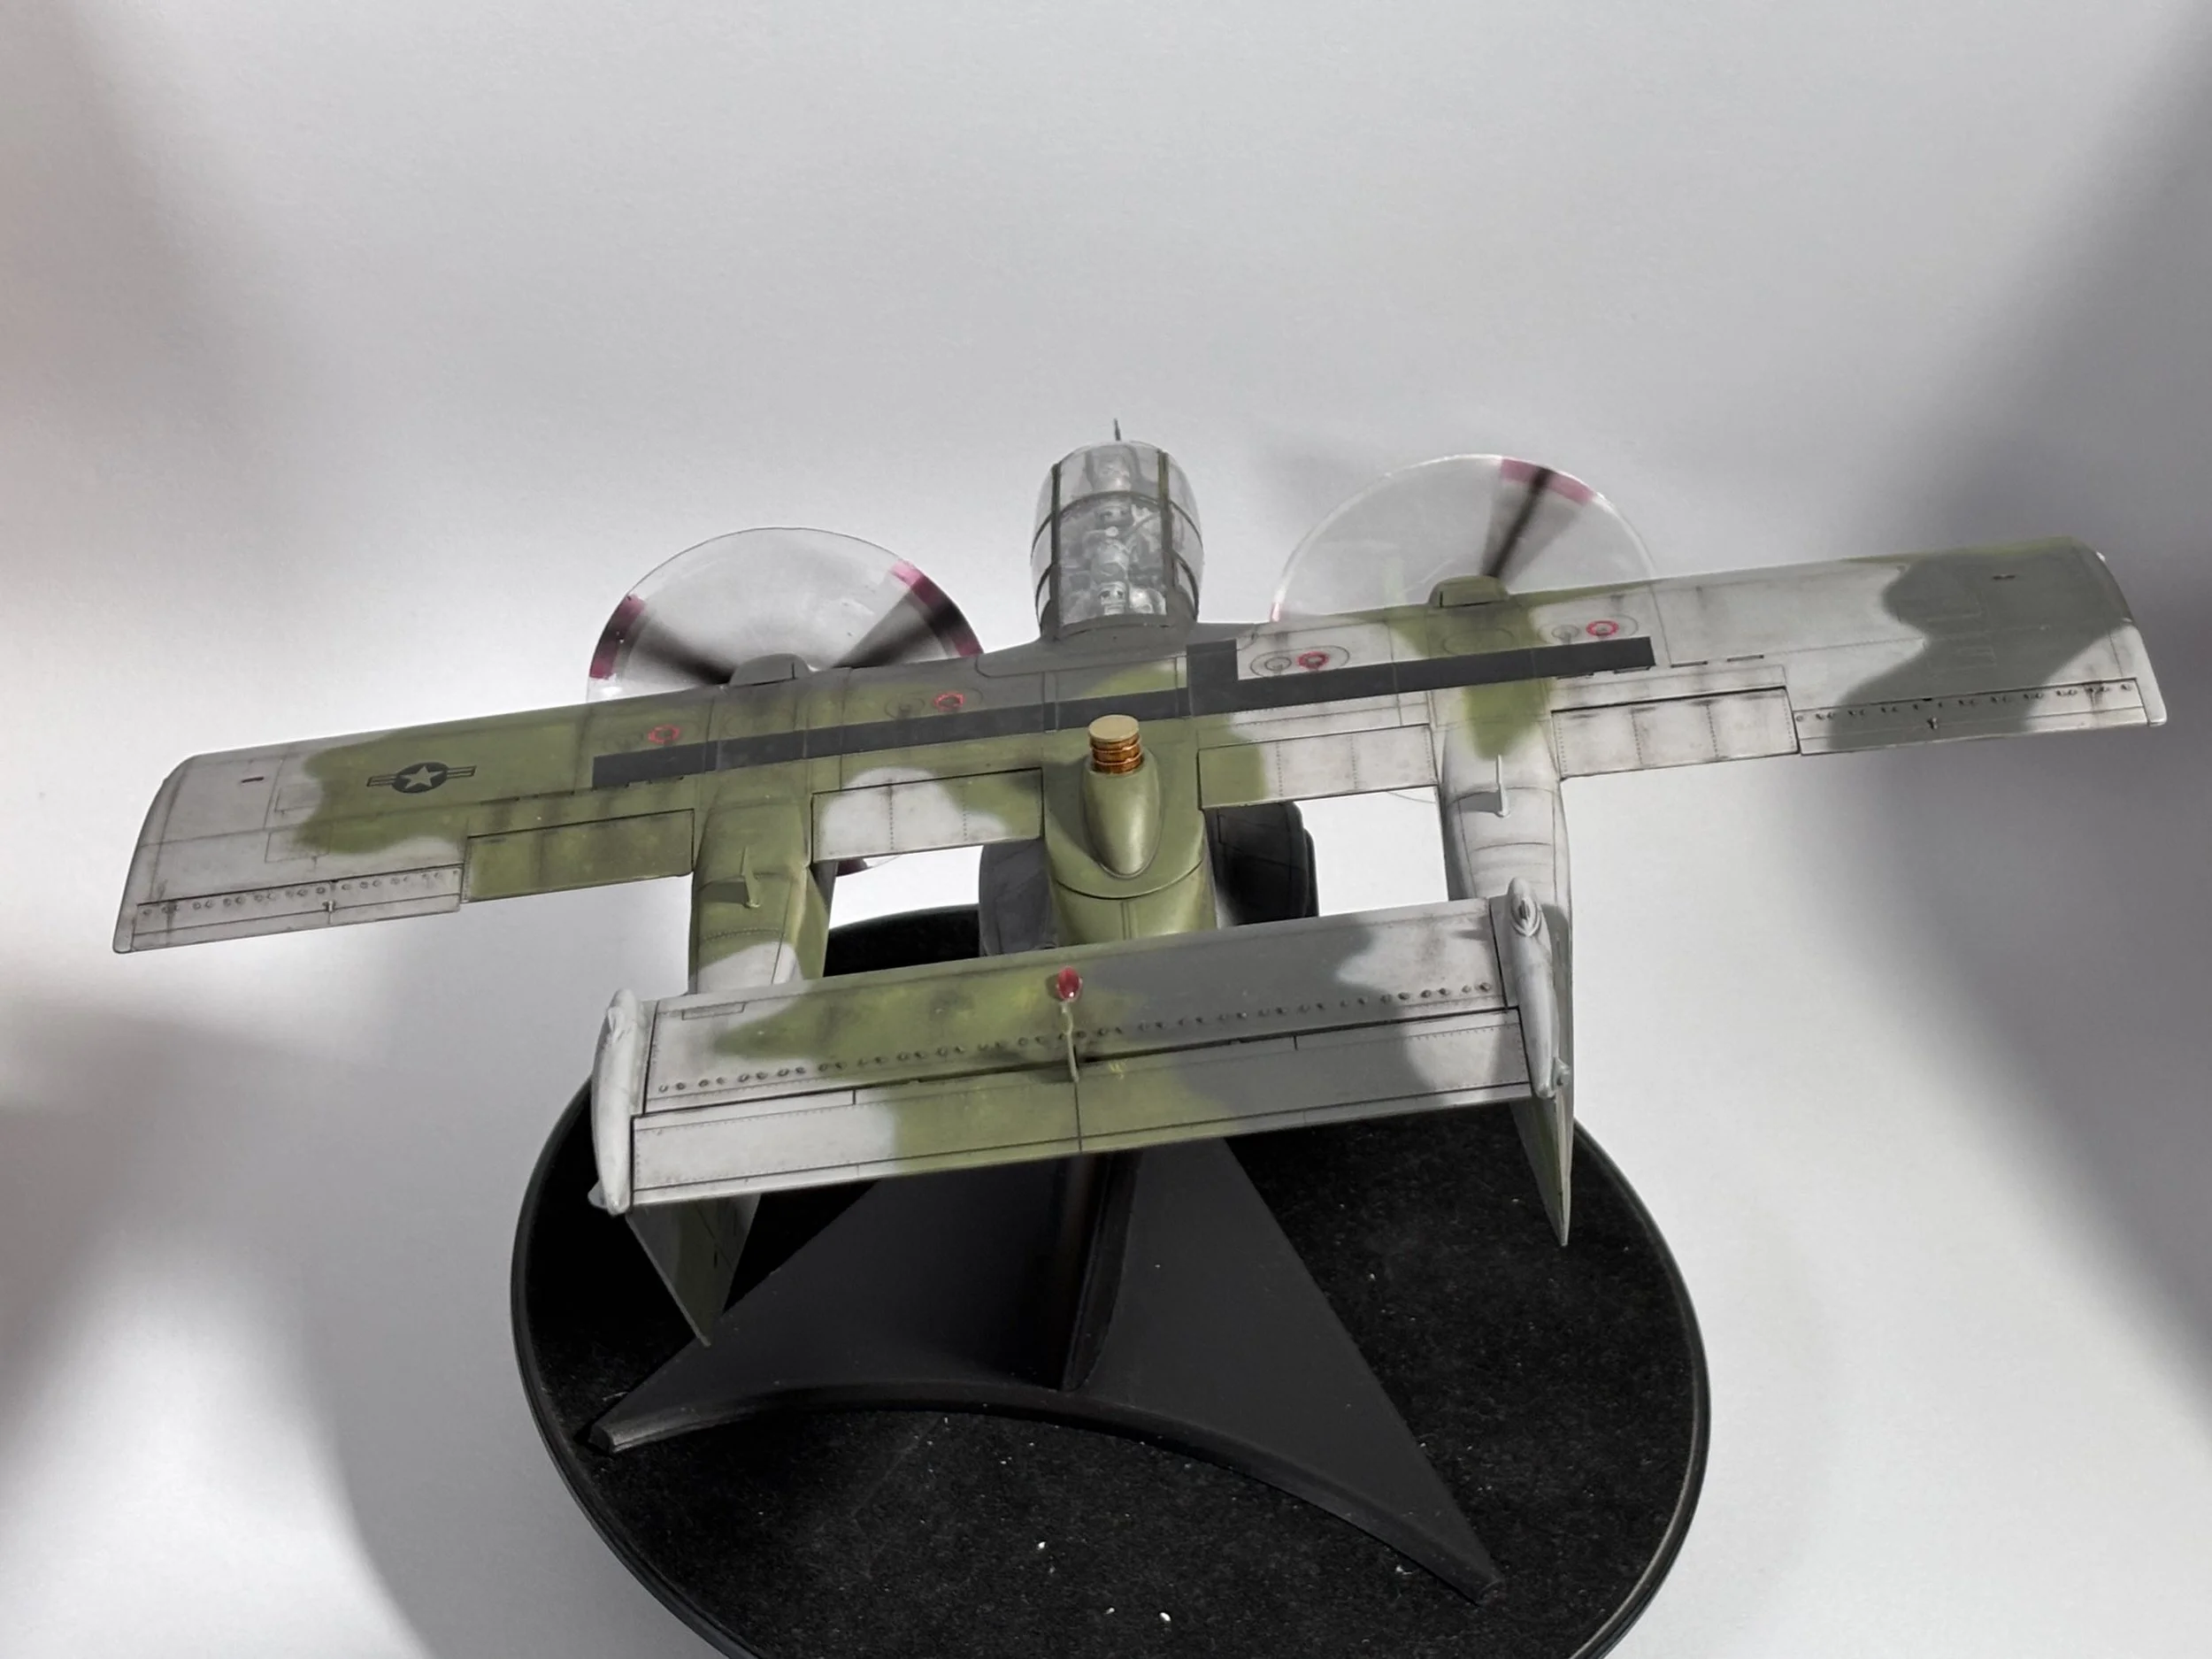
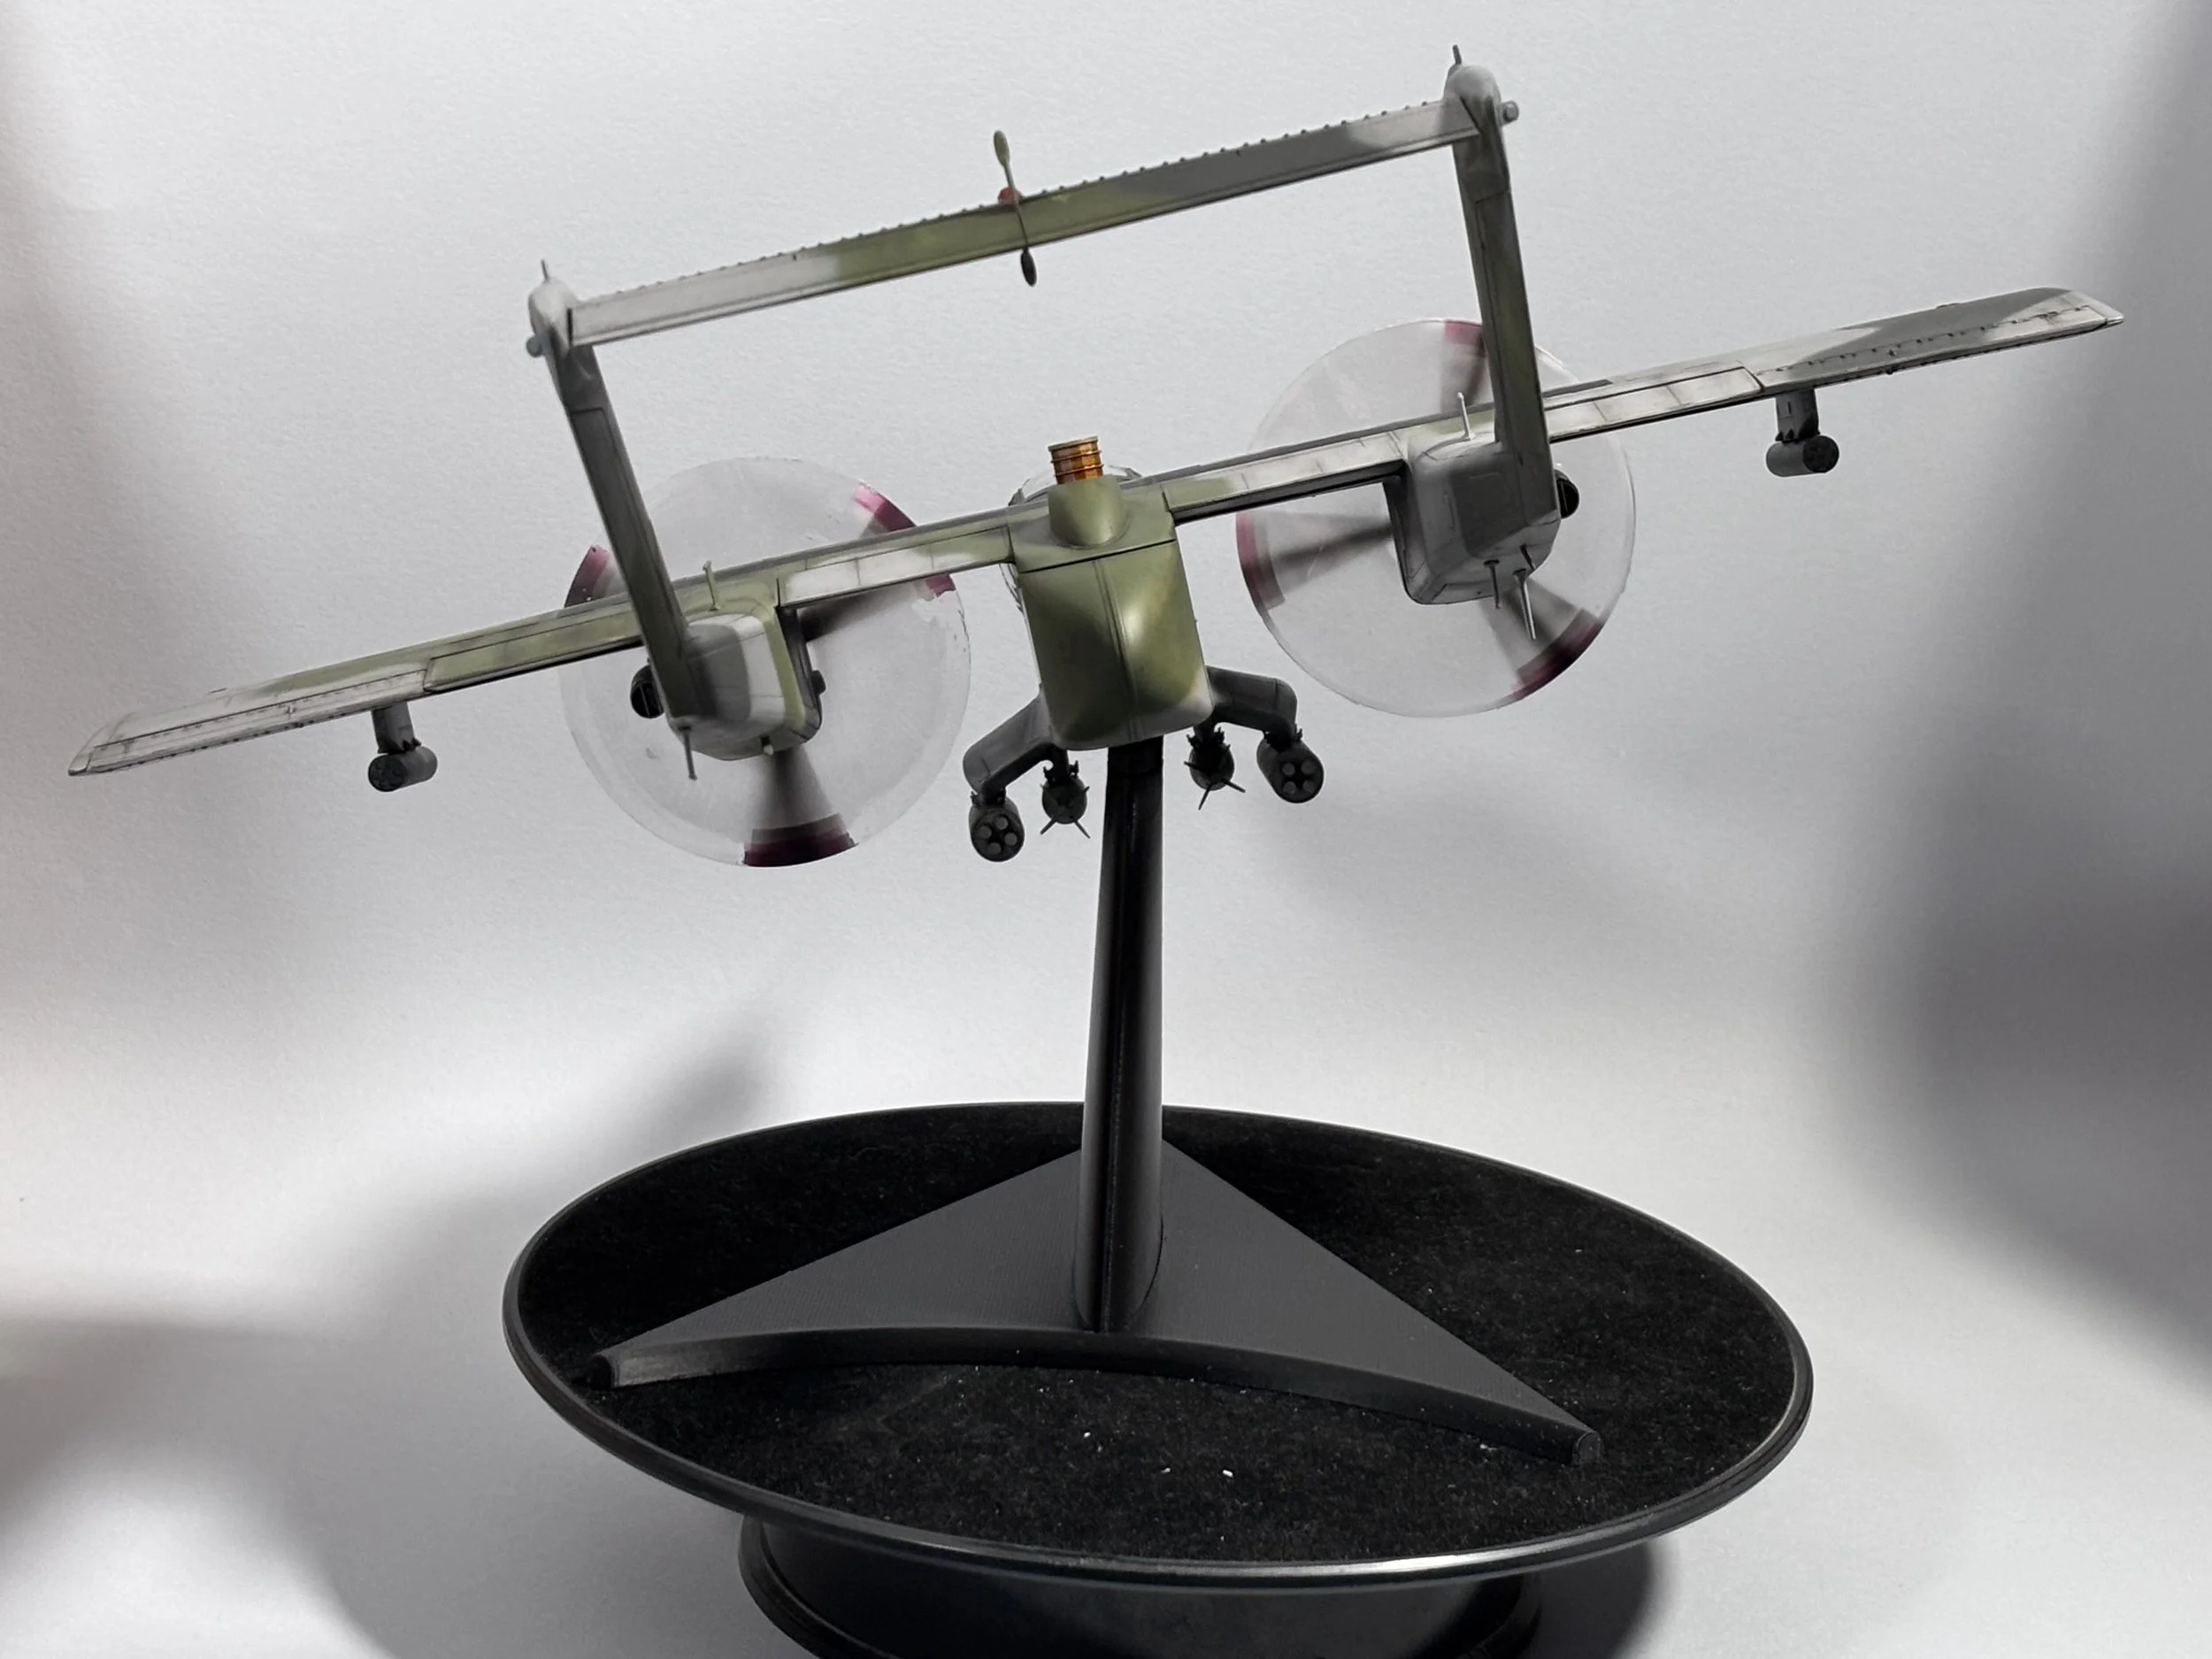
0:00 First up, we start with an oil wash to create a weathered paintwork effect and age the paintwork. 6:43 Here, it's the moment of truth, and we unmask the canopy. 15:47 Now it's time to make the blurred props. We use 0.5mm clear acrylic sheet and an airbrush for the effect. 41:49 with the props on, it's time to put the model in-flight with a Flory models IFS001 Large in filght stand using the 15o port angle. 51:04 With the Bronco mounted, it's ready for the final reveal
This one's for you Allan R.I.P x