DH Tiger Moth
Scale: 1/32
Manufacturer: ICM
Parts used: Eduard space set 3DL32 022.
Main paints used: Tamiya and Xtream Metals
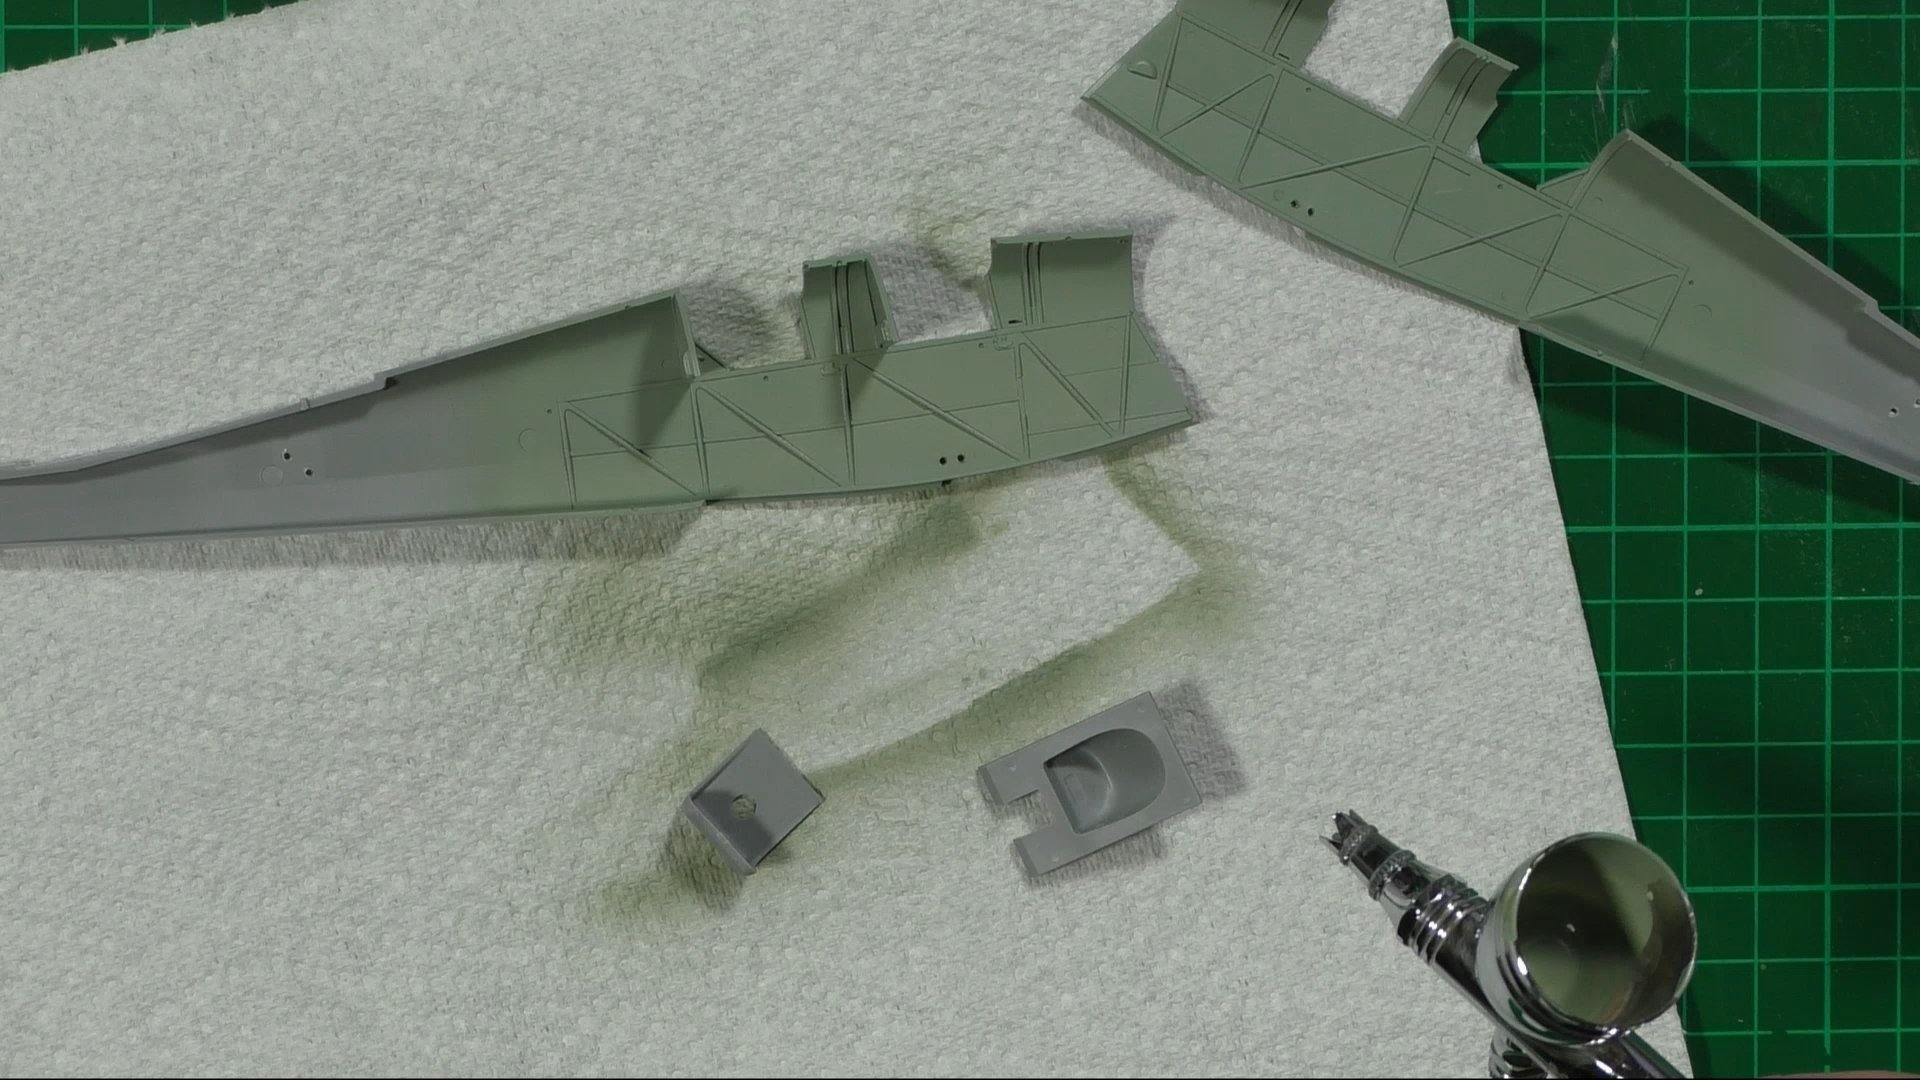
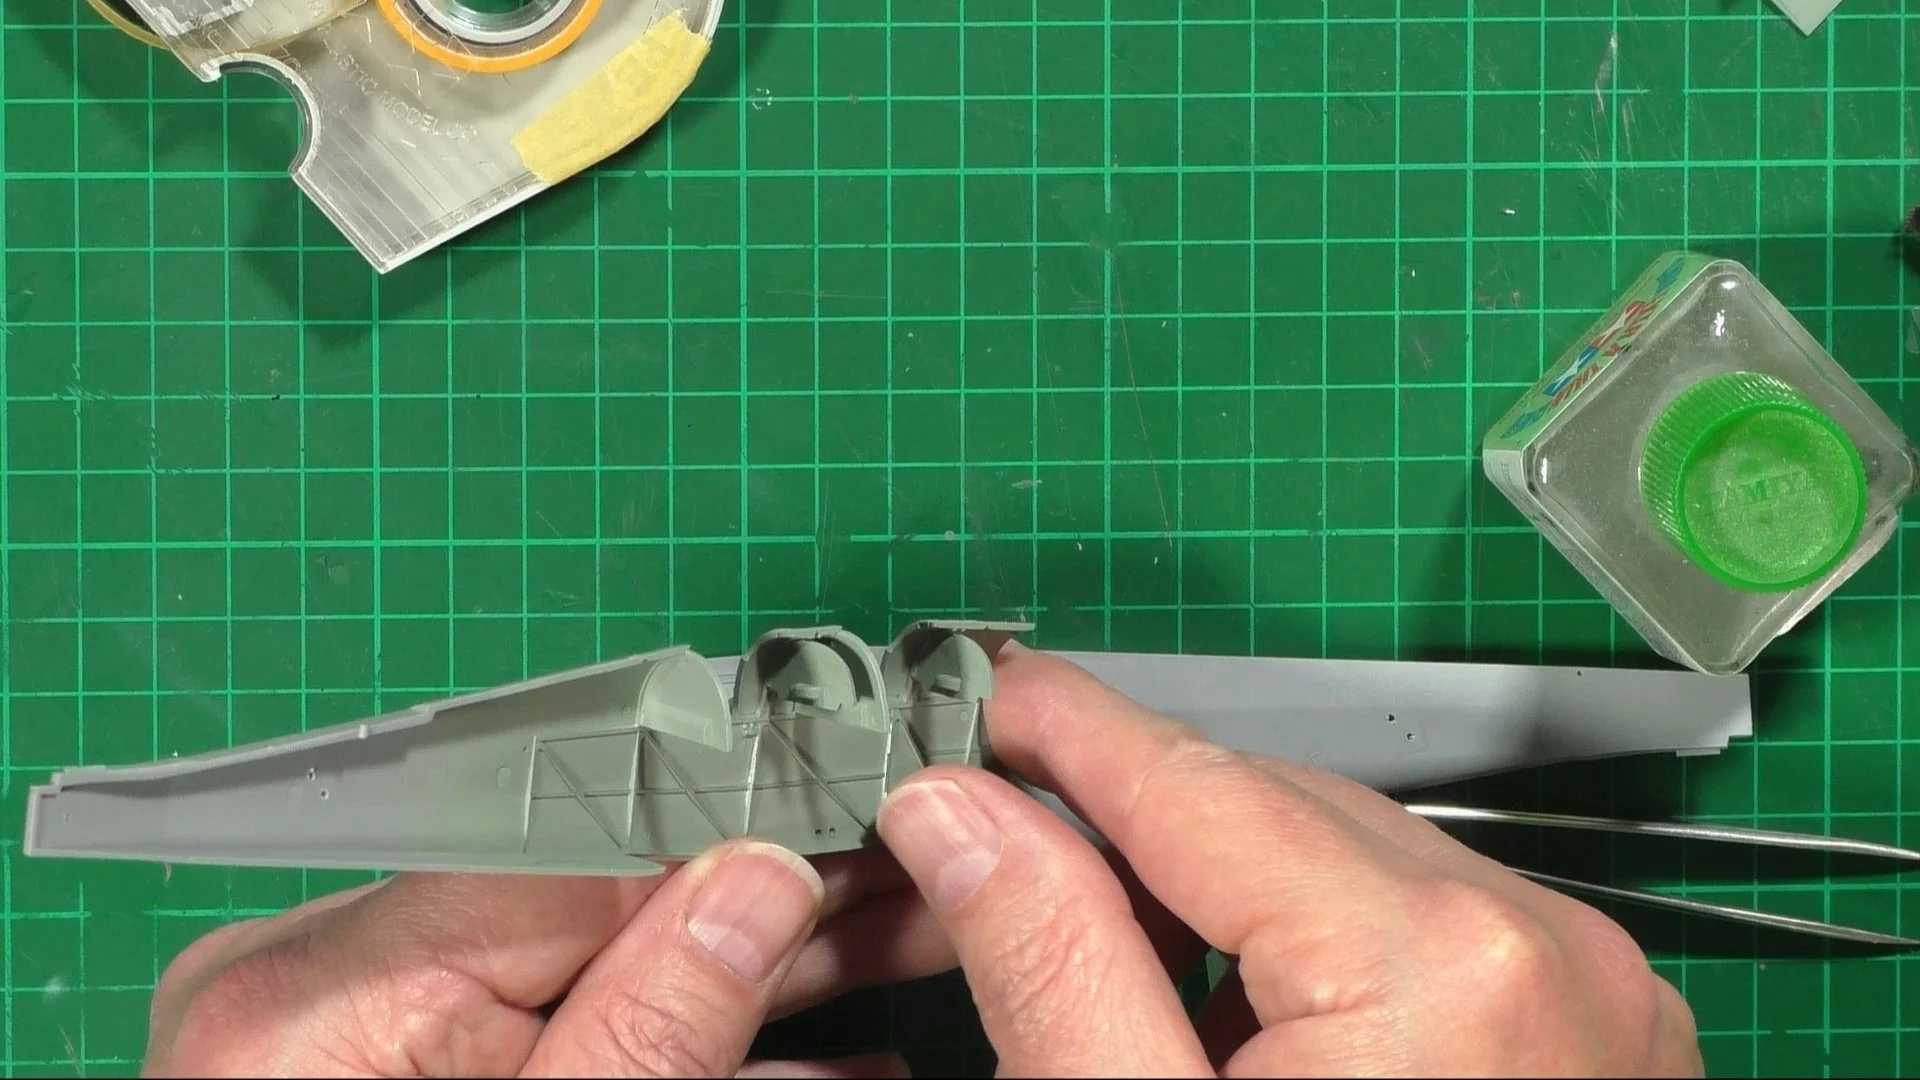
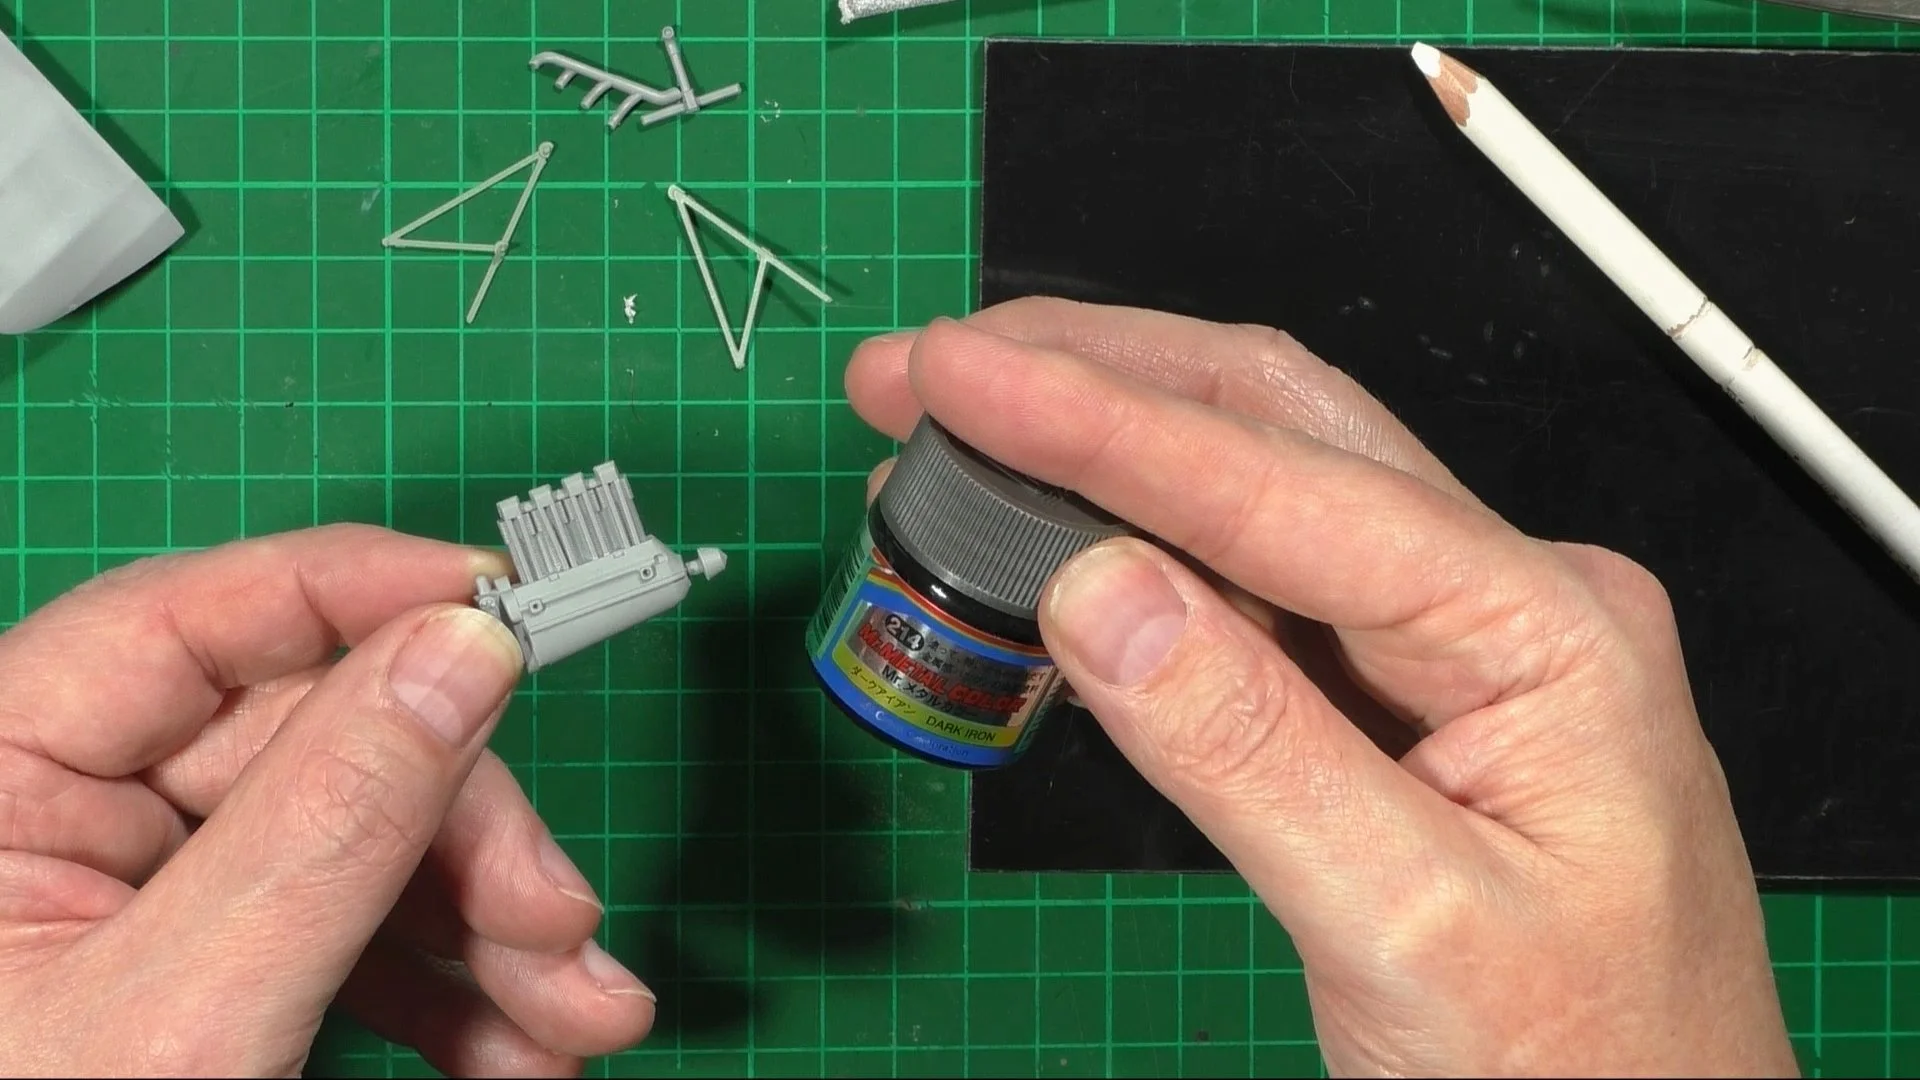
In part one, 0:00 Intro into the build ahead. 2:34 We open up the holes for the rigging later on. 4:25 removing the surface detail for the 3D color printed Eduard space set 3DL32 022. 7:34 We paint the interior color AK RC293 RAF Cockpit Grey Green. 9:17 Drybrushing Mr. Metal Color MC214 Dark Iron. 10:25 Next, we install the bulkheads and instrument panels. 17:31 We give an oil wash with 502 ABT005 smoke thinned with Tamiya X-20 enamel thinners. 19:37 We install all the Photo etched and color 3D printed parts using the 3D color printed Eduard space set 3DL32 022. 25:02 We open up the holes for the rigging and use Prym knitting in elastic for the rigging. 30:49 Bringing the two fuselage halves together.

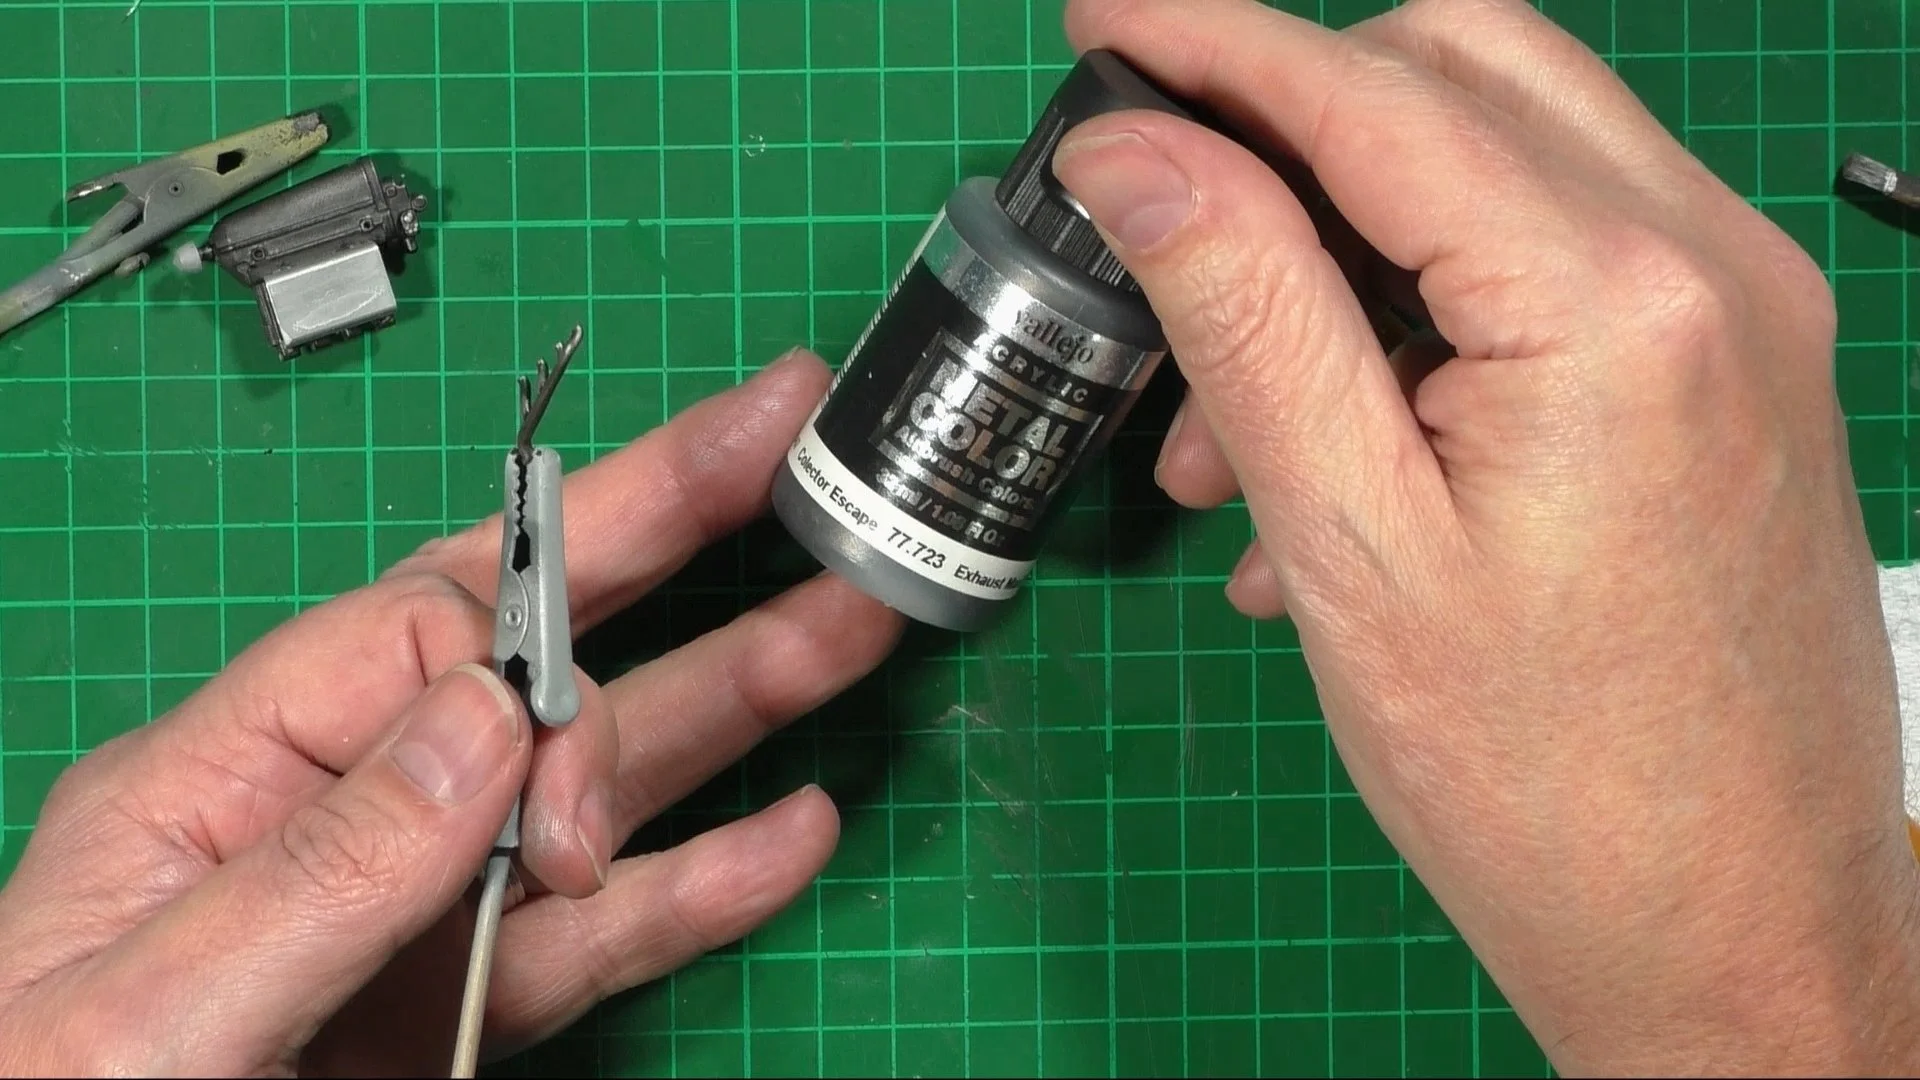
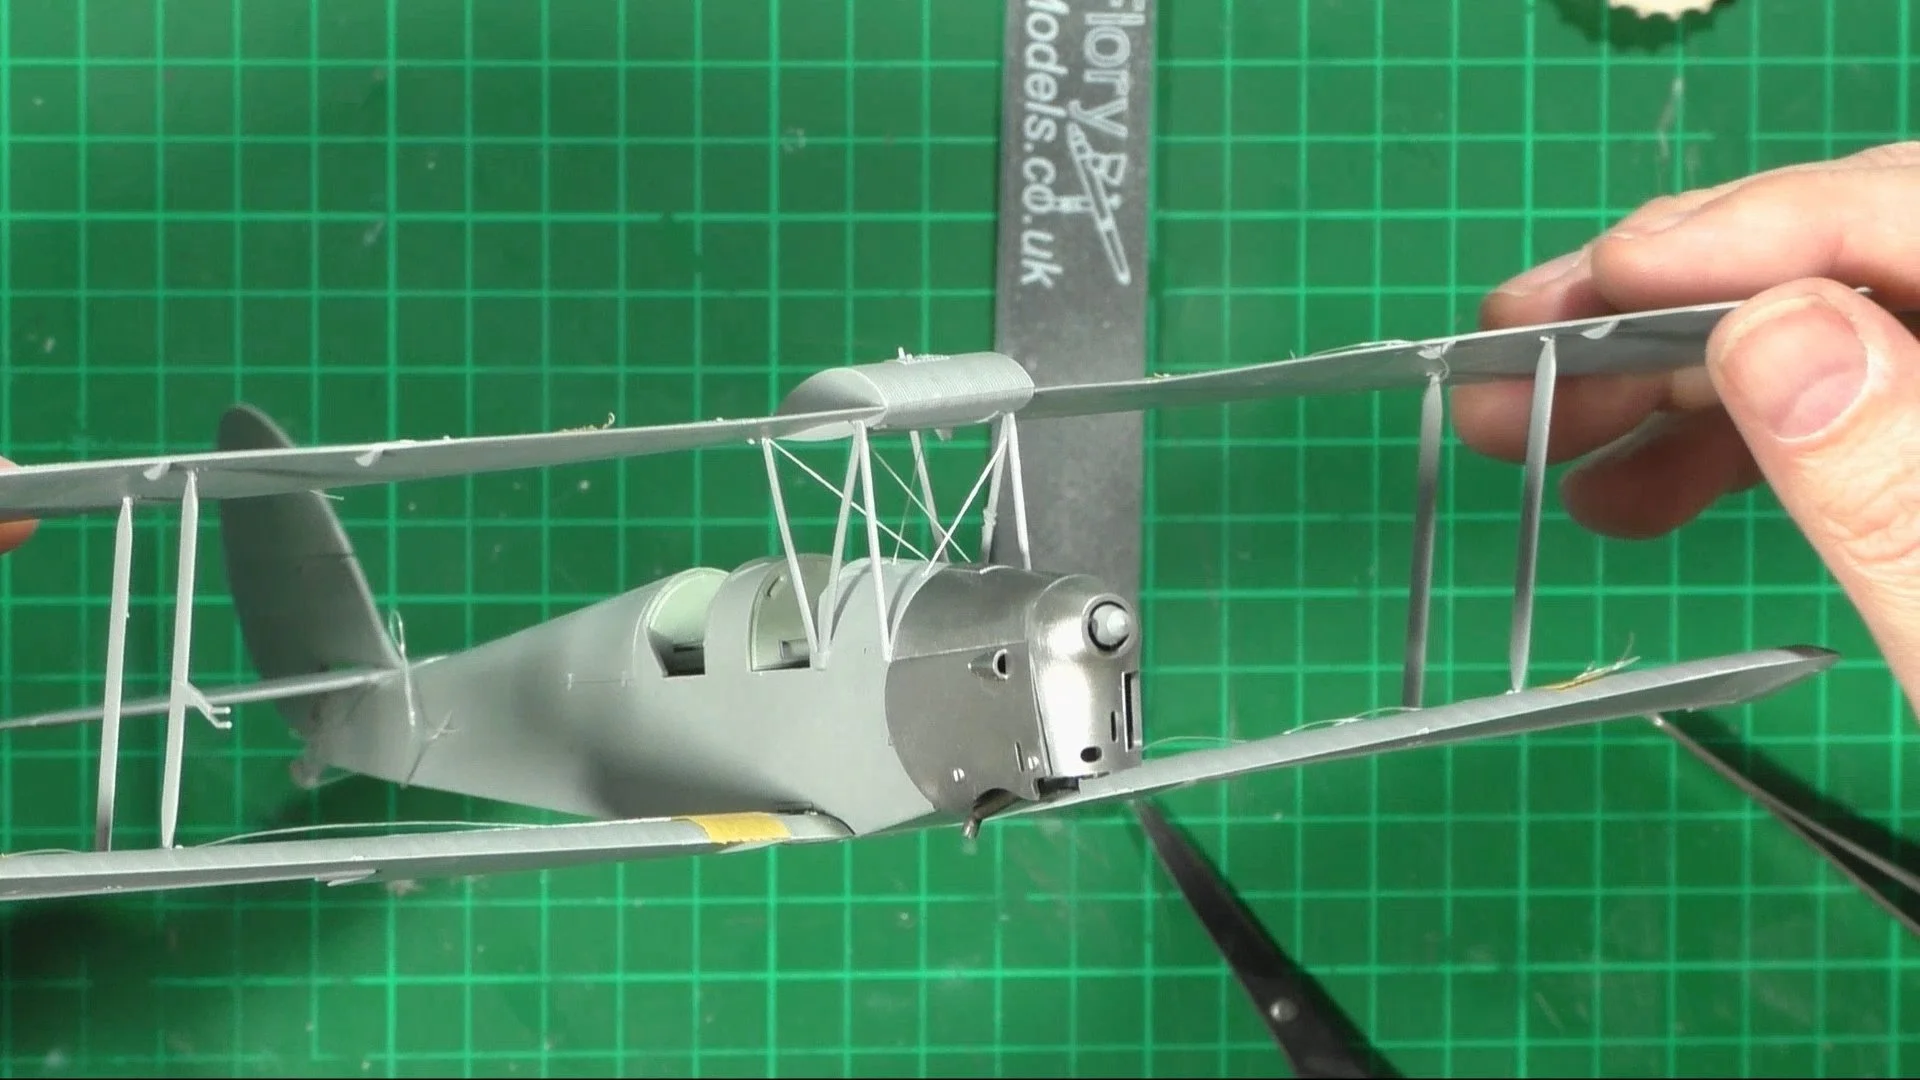
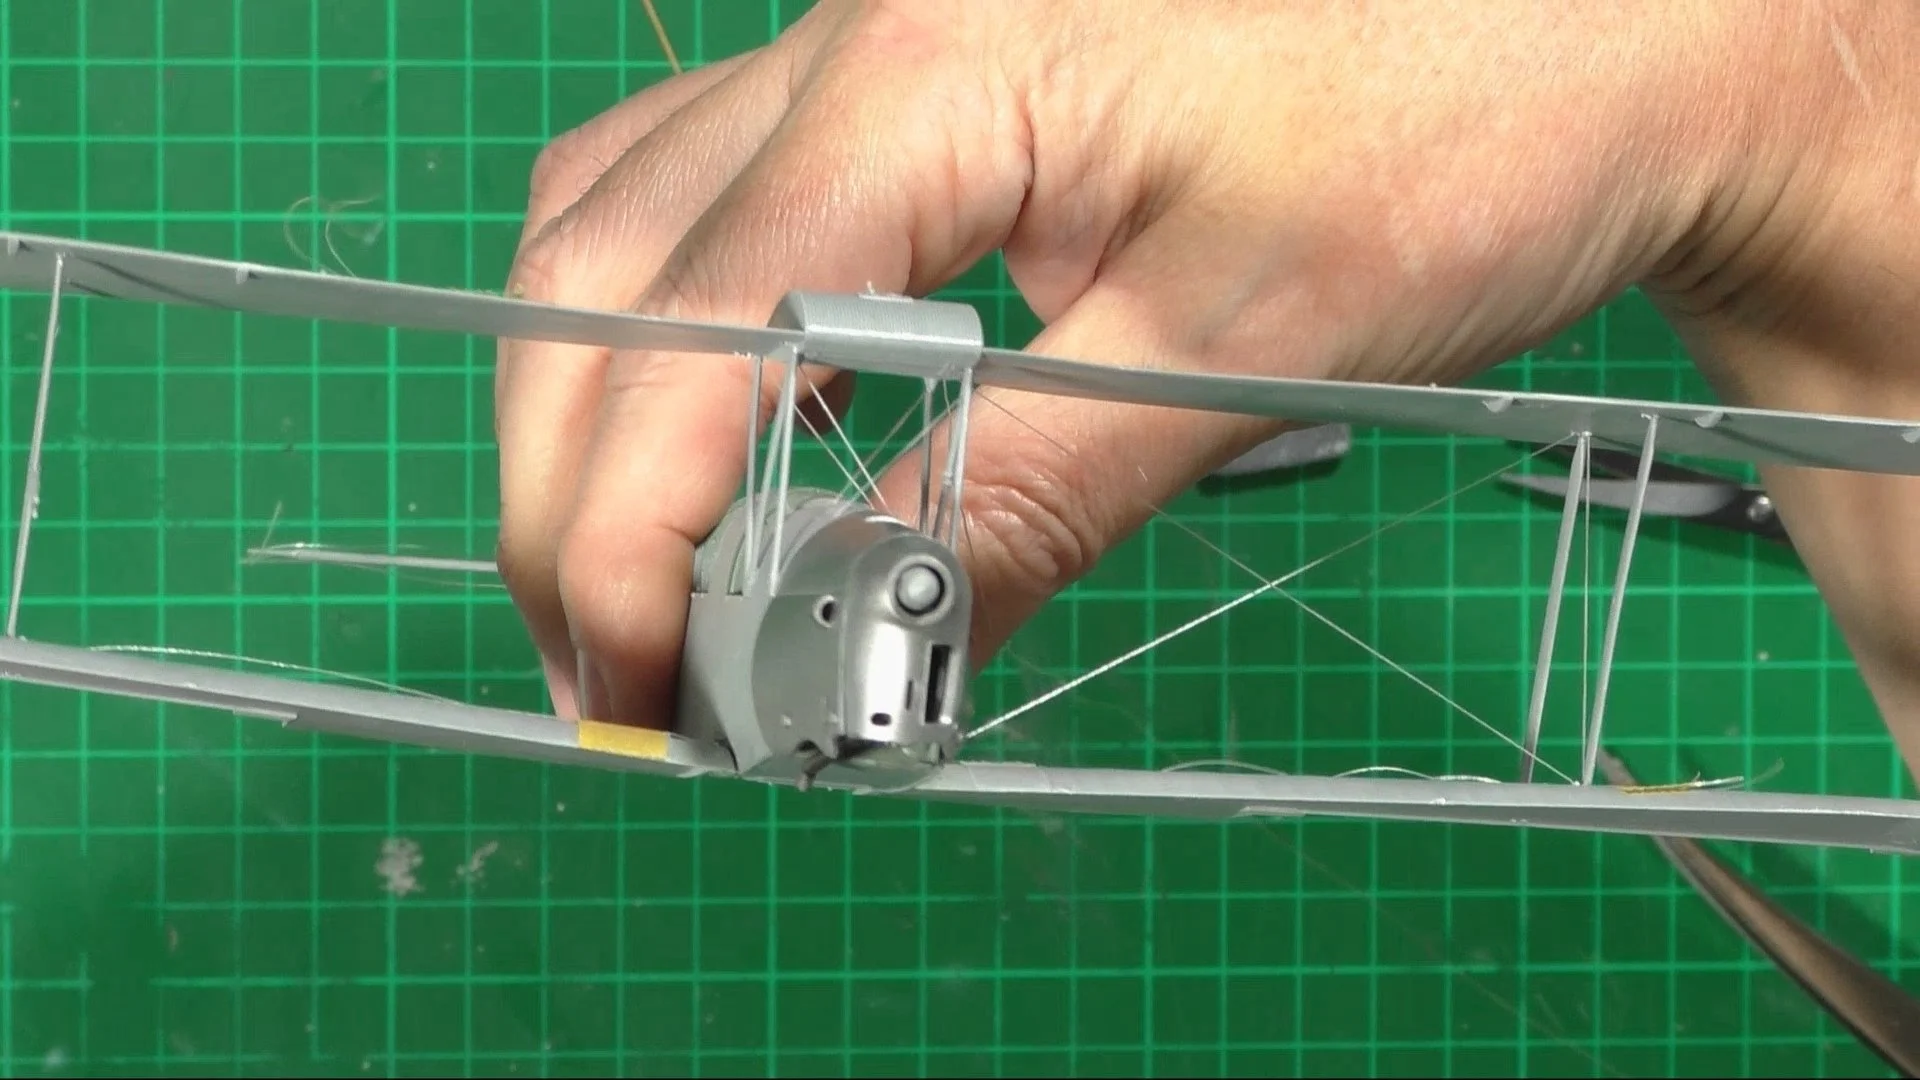
0:00 We install the harness and fit the lower wing and cockpit floor. 4:45 Next we build and paint the engine and paint it with Mr. Metals 214 and 218 and duff, then install the engine mounts for the engine. 17:48 Install the engine with CA glue. 22:09 We use Super Metallics 203 for the engine cover and install them into place. 26:37 Next it's time to install the struts for the top wing and let that dry.

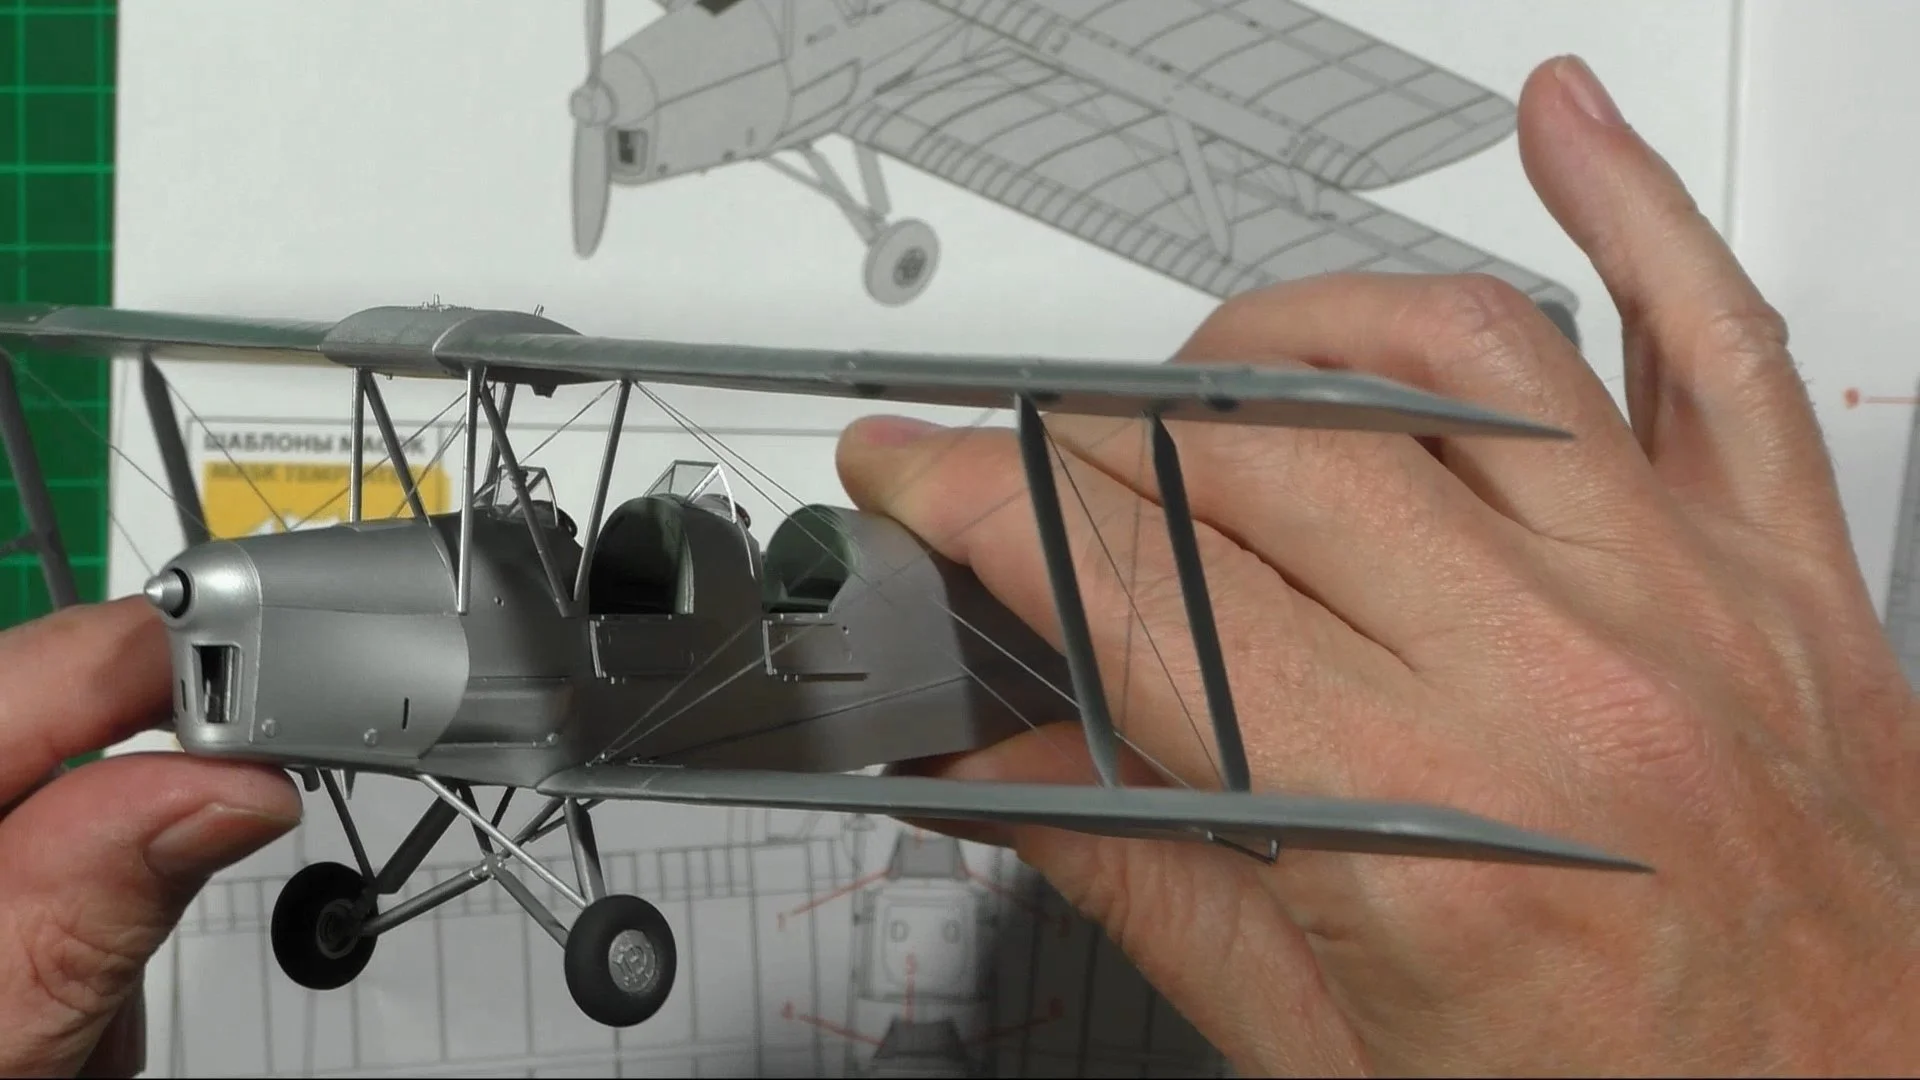
0:00 Rigging the Tiger moth with Prym knitting in elastic thread. 26:58 Adding the control lines to the tail planes and rudder. 34:42 Adding the main gear.

0:00 We mask the cockpit area and then move the rudder horns as they are in the wrong place. We cut them off and cleaned up the area and moved them down to the next rib to the right place. 7:36 Next we move into the spay booth and put on a coat of primer (AK Prima & Microfiller AK758). 14:27 With the primer dry, we put on a coat of Silver for the Dopped linen effect (Tamiya LP-11). 23:58 We move on and add some of the parts with a different color of silver (Tamiya LP-70) for a slight contrast in color. We masked up the windscreens and added the wheels and added the leather bumpers in the cockpit, painted Hull Red (Tamiya XF-9).

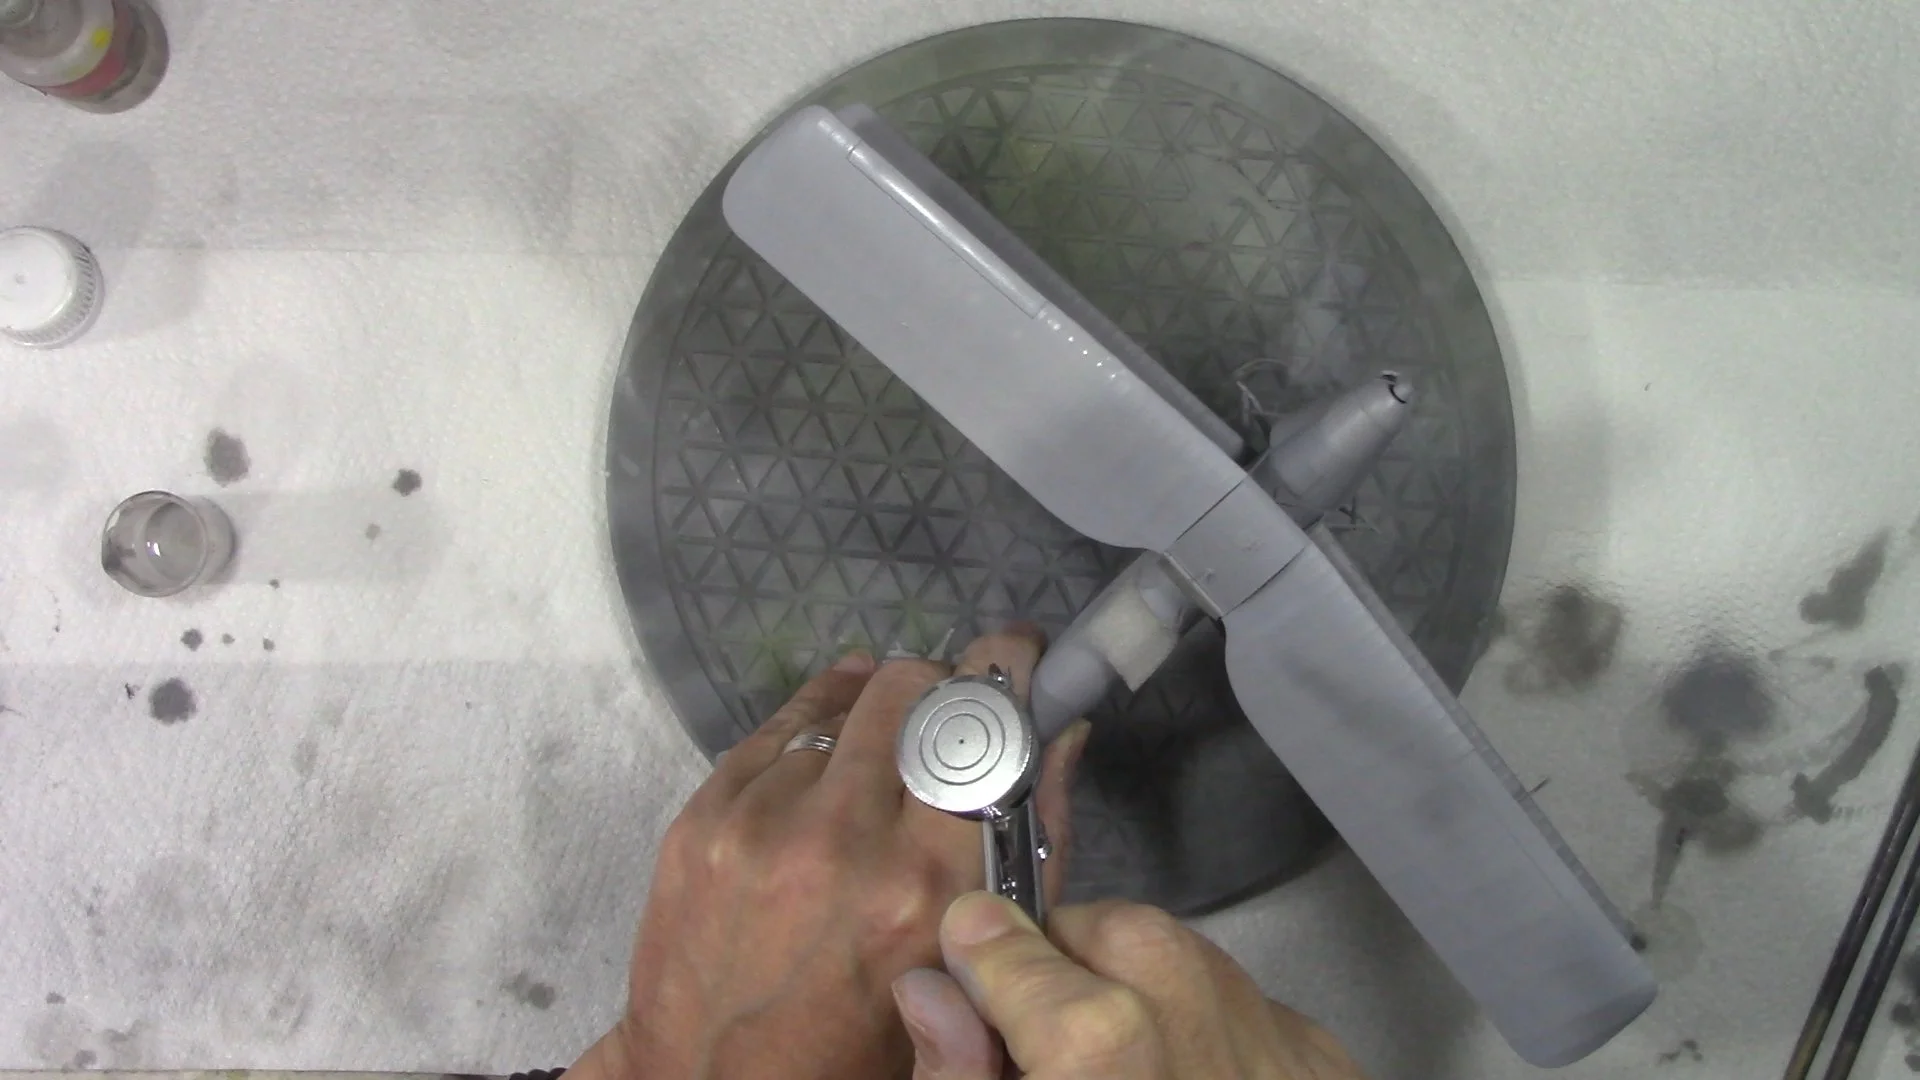
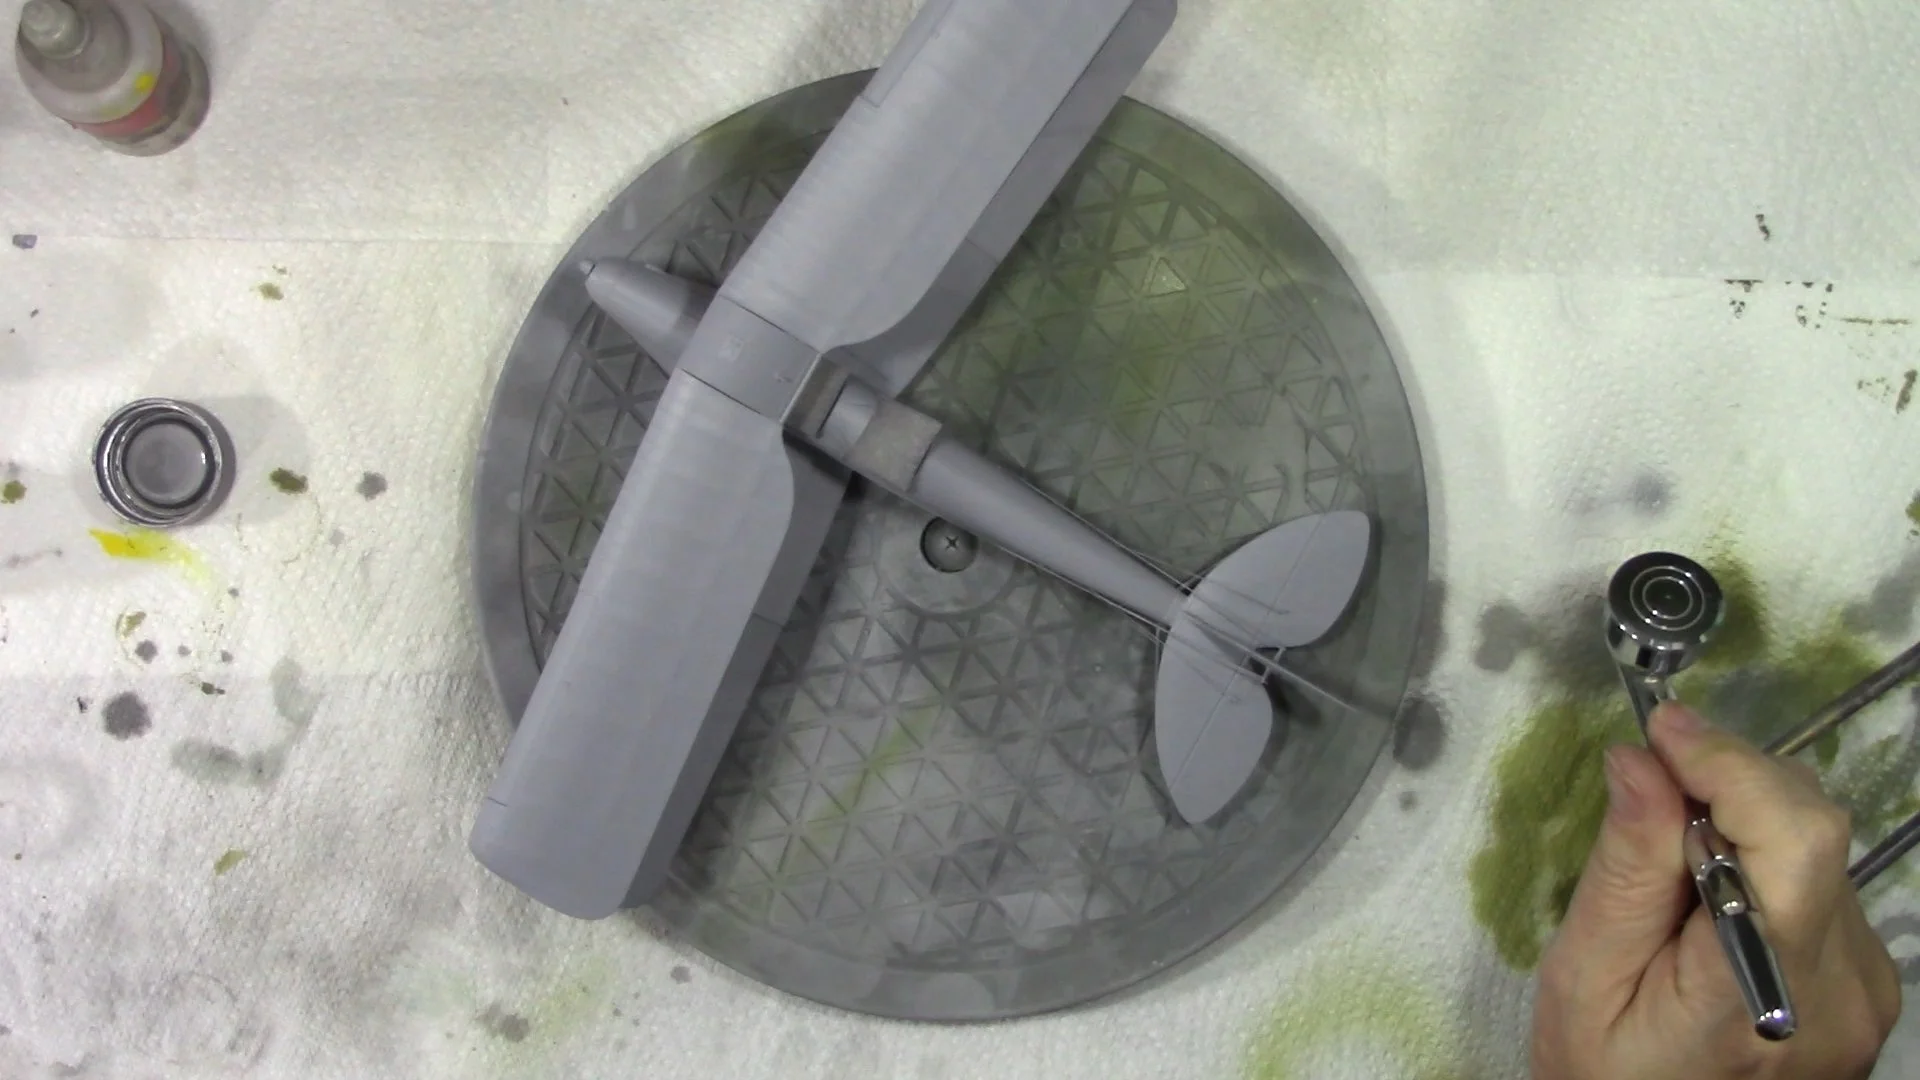
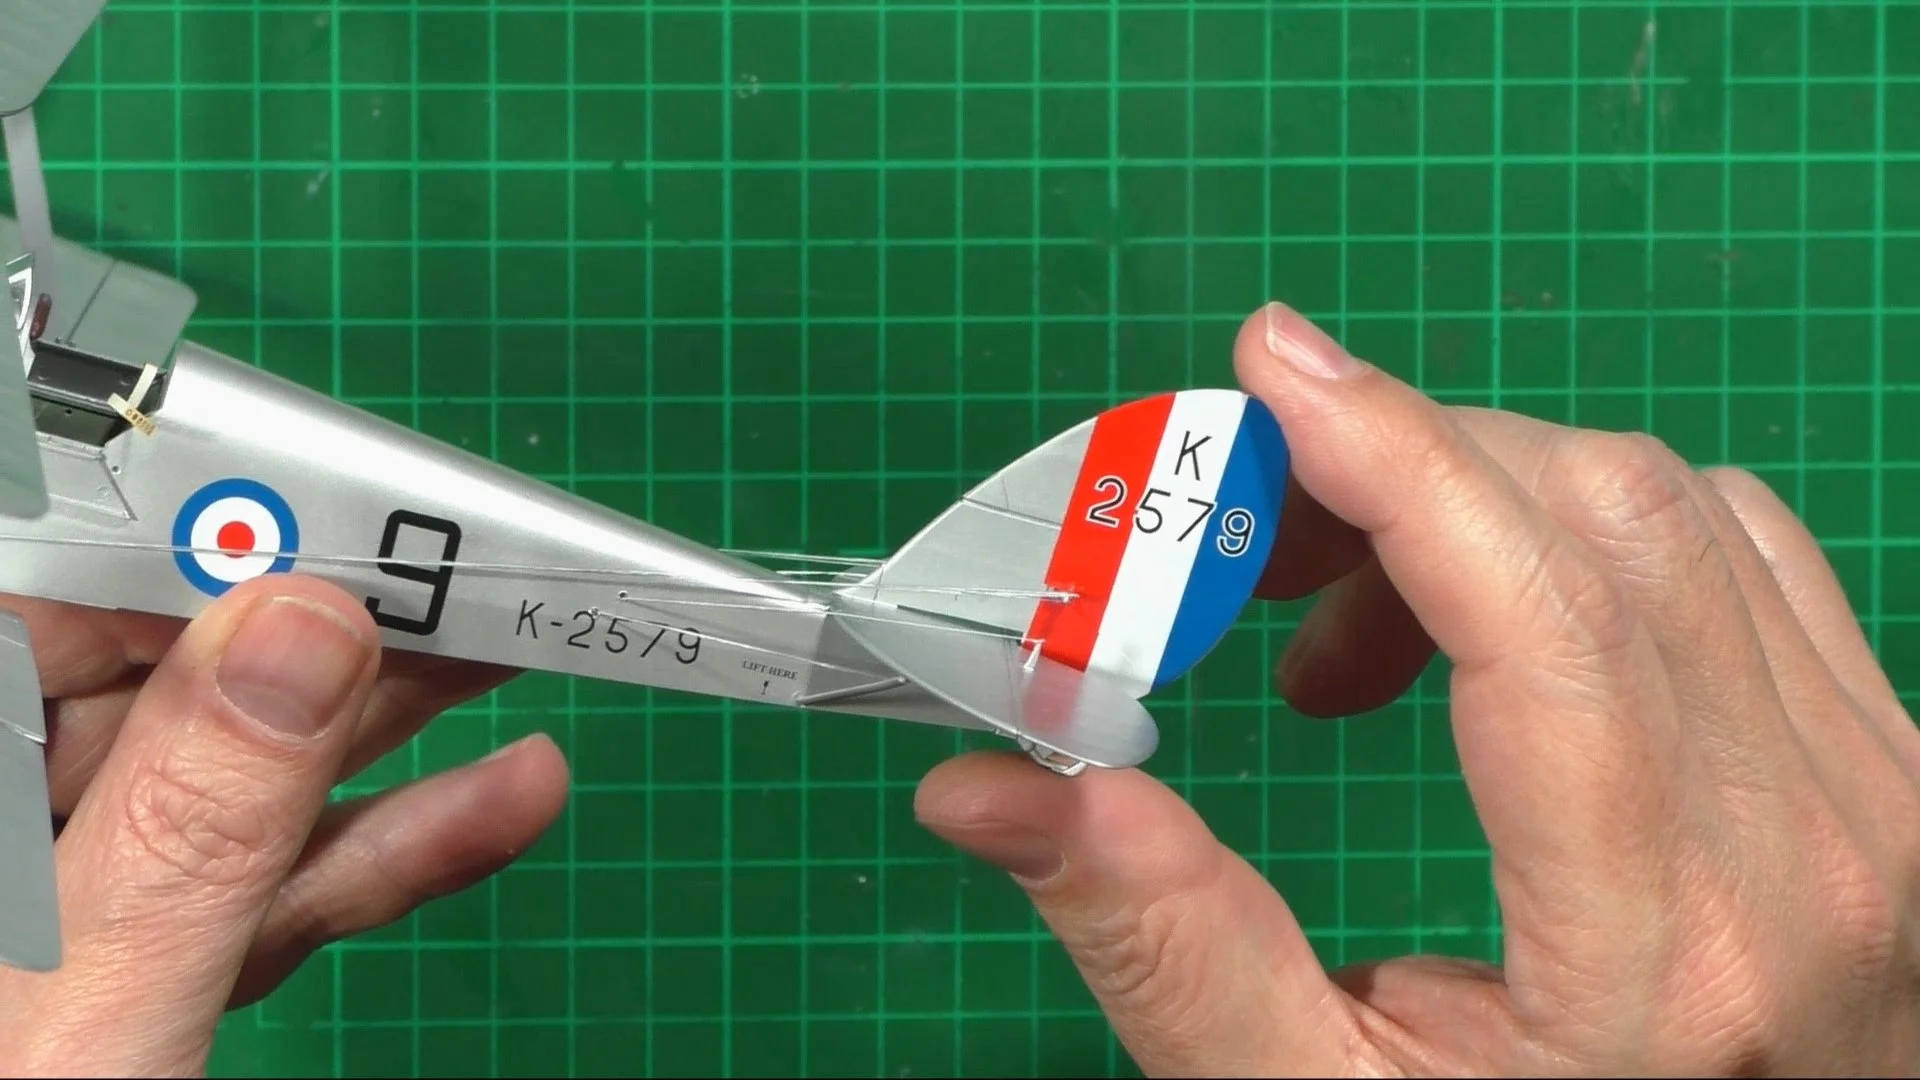
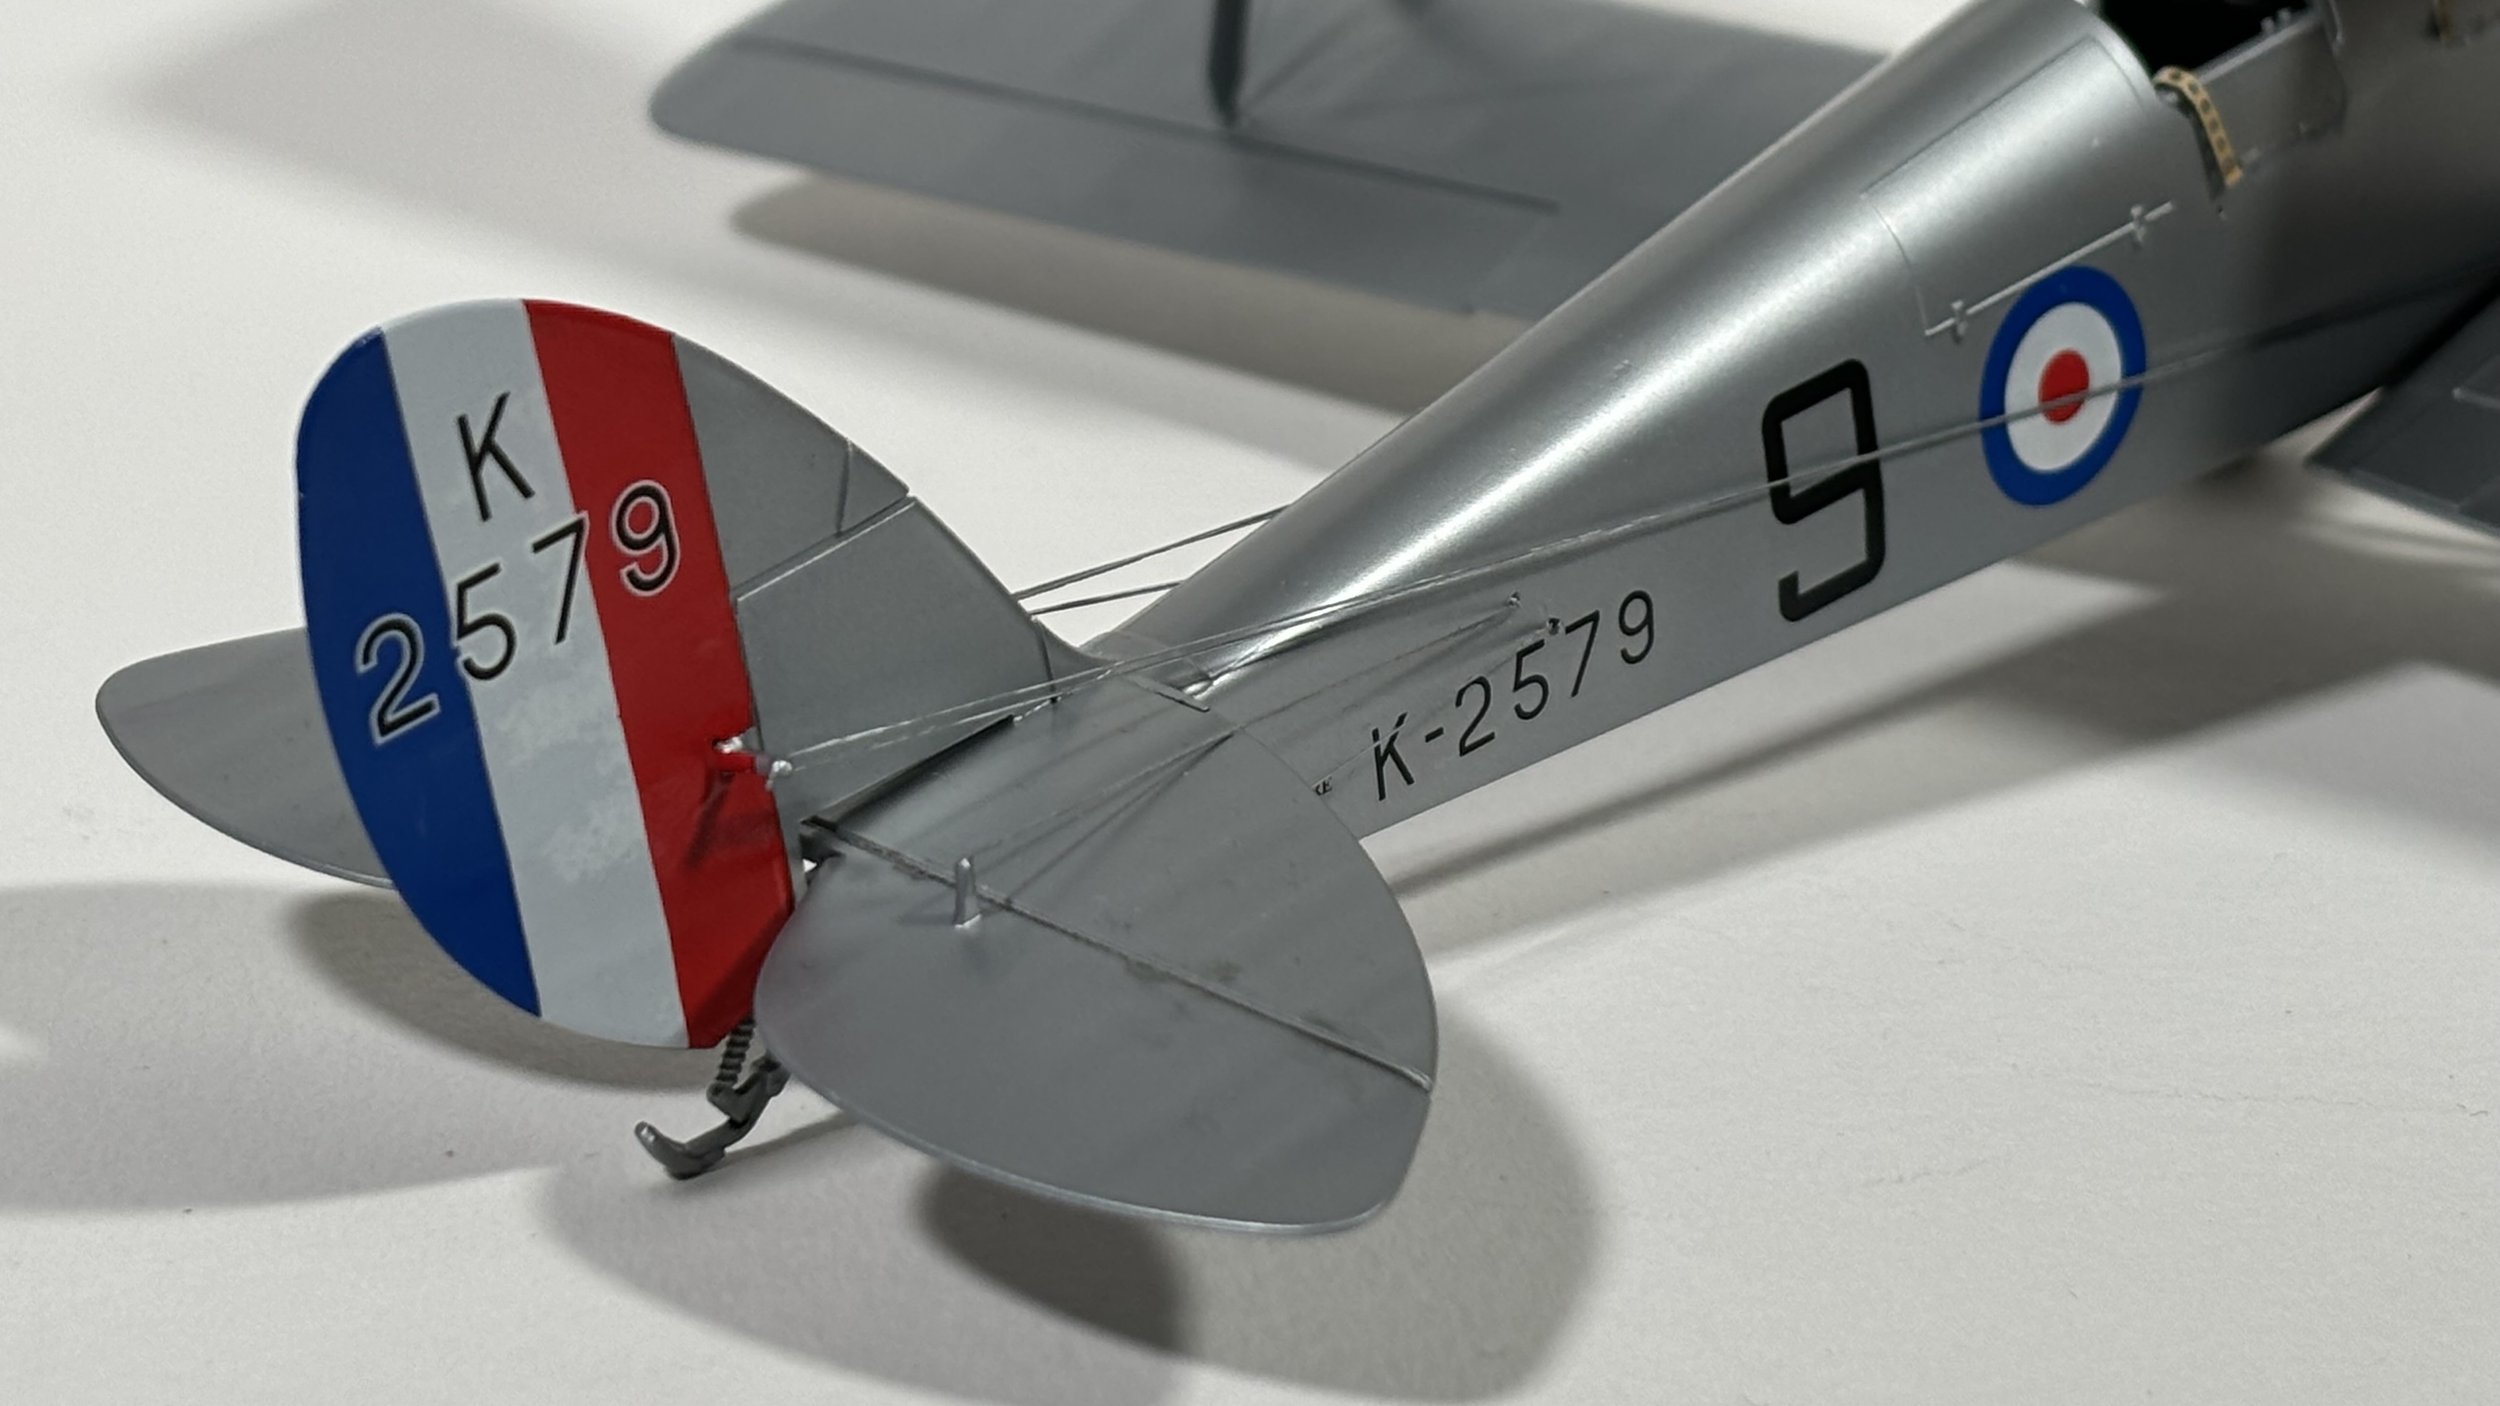
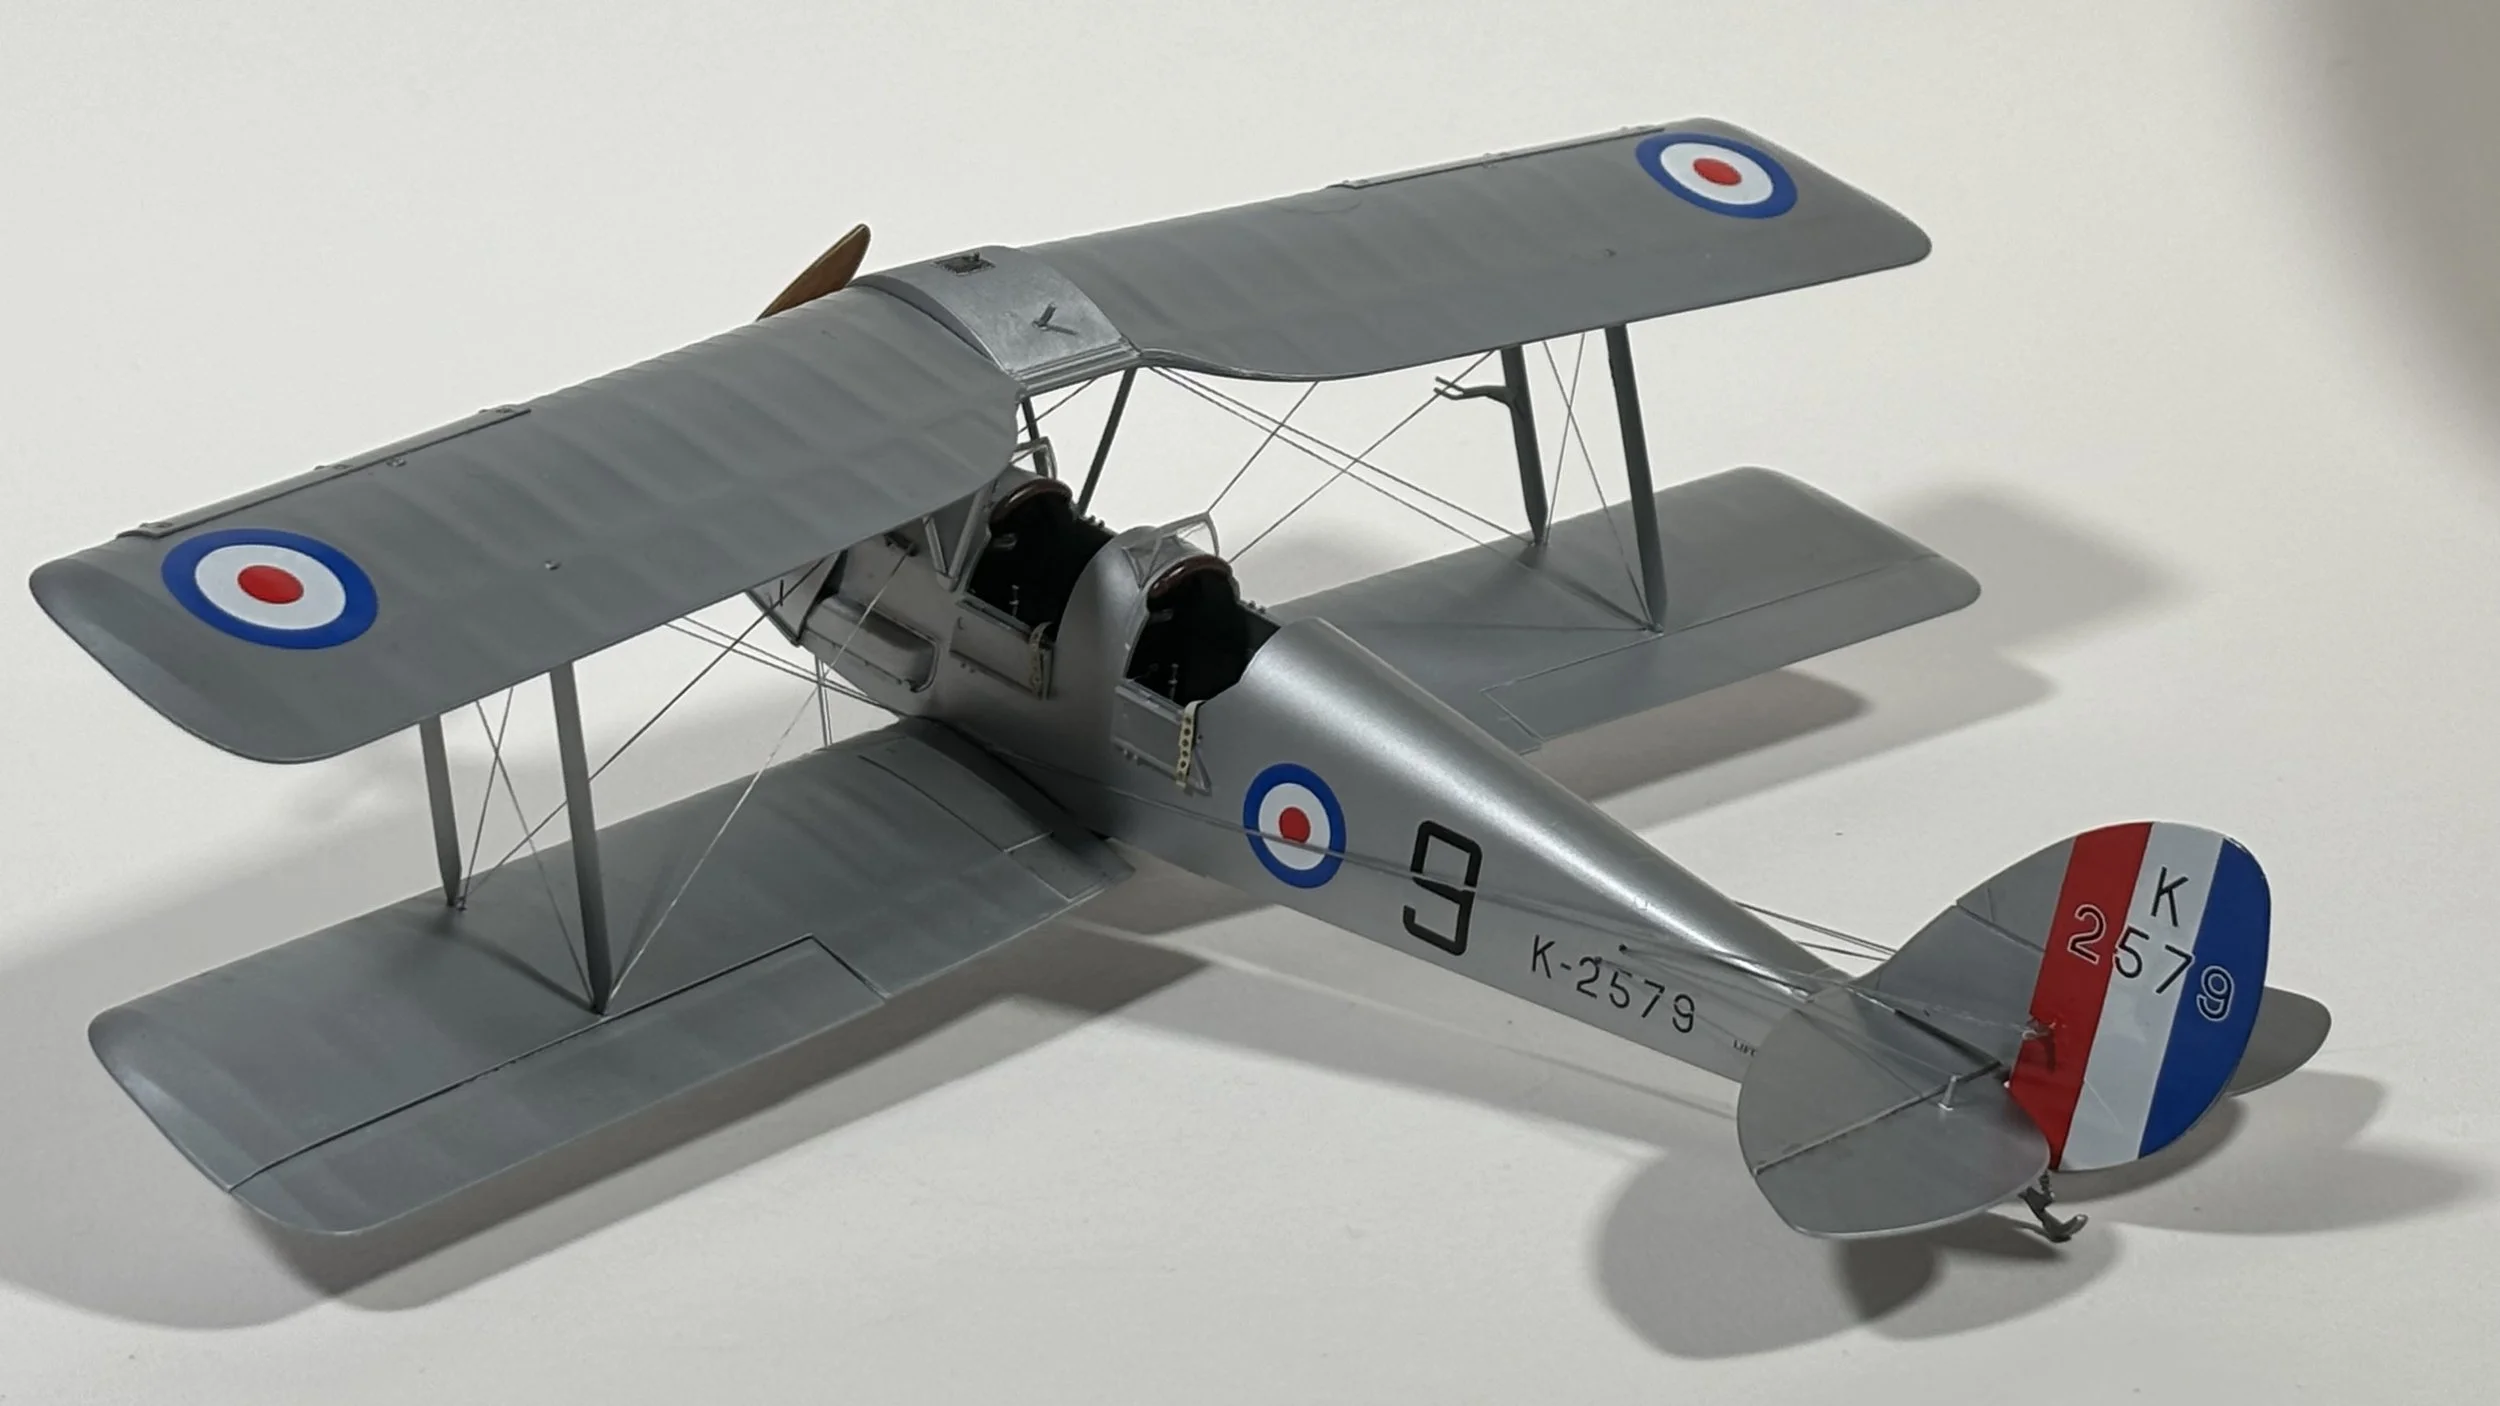
0:00 With the decals going down, we add the rudder decal and bend the decal around to give it a painted-on look. 12:52 Installing the PE harnesses. 14:48 We work on the propeller, First a coat of (Tamiya XF-78 Deck tan) and then we use a sponge and oil paint (Abteilung 501 ABT015 Shadow Brown) to give a wood grain effect. 21:26 We gloss the prop with (AK Gauzt Agent AK894) gloss coat. 22:54 Last up we use a thin oil wash (Abteilung 501 ABT005 Smoke) for some light weathering. 32:52 Final reveal and thought about the build.