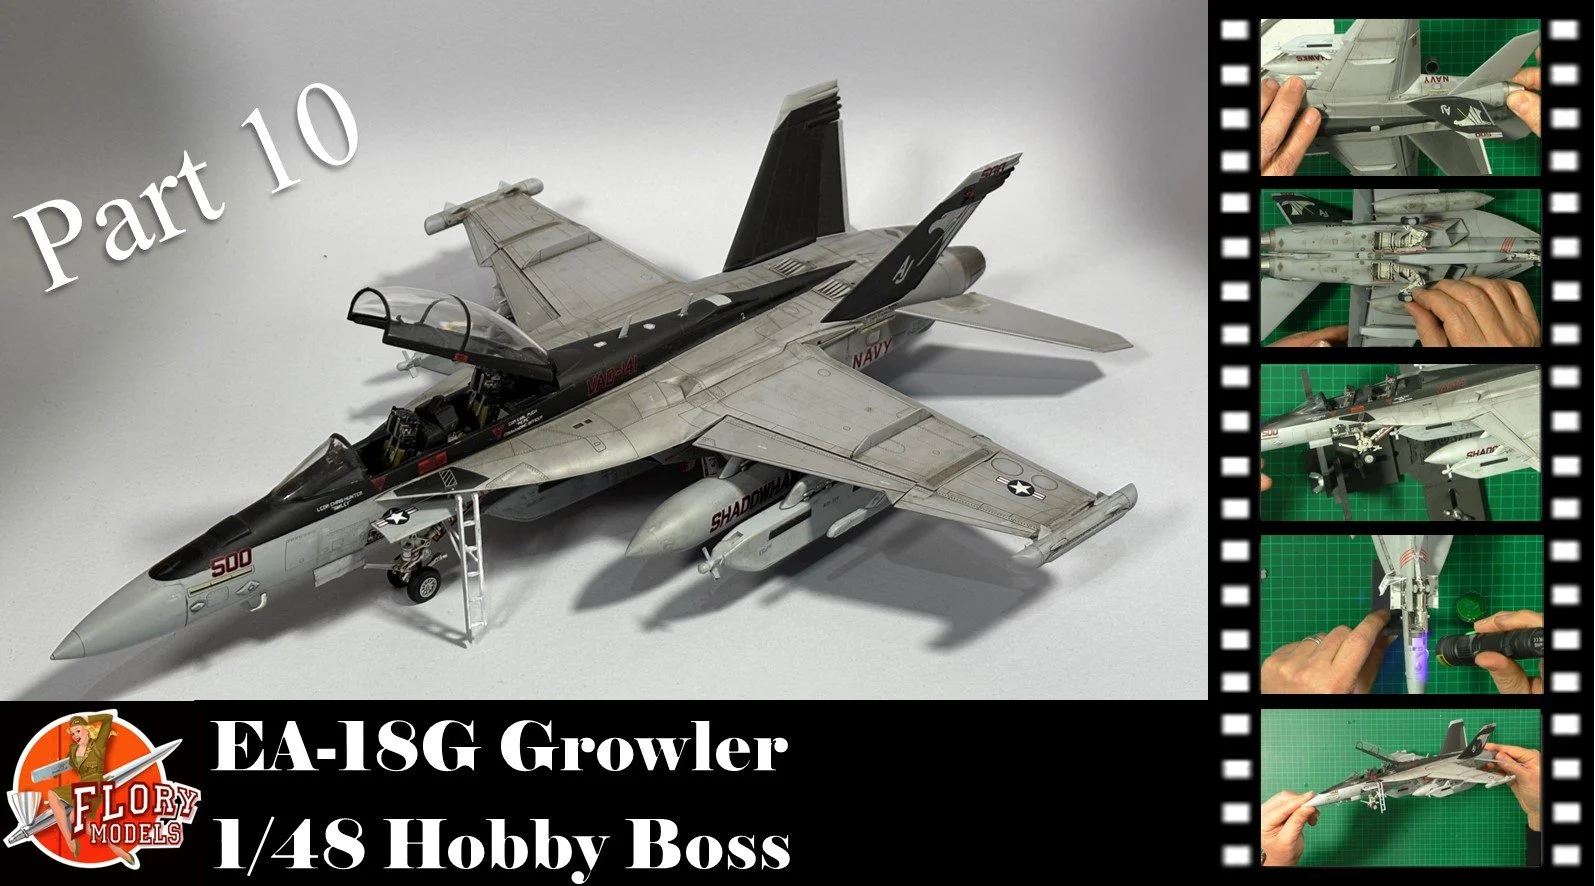
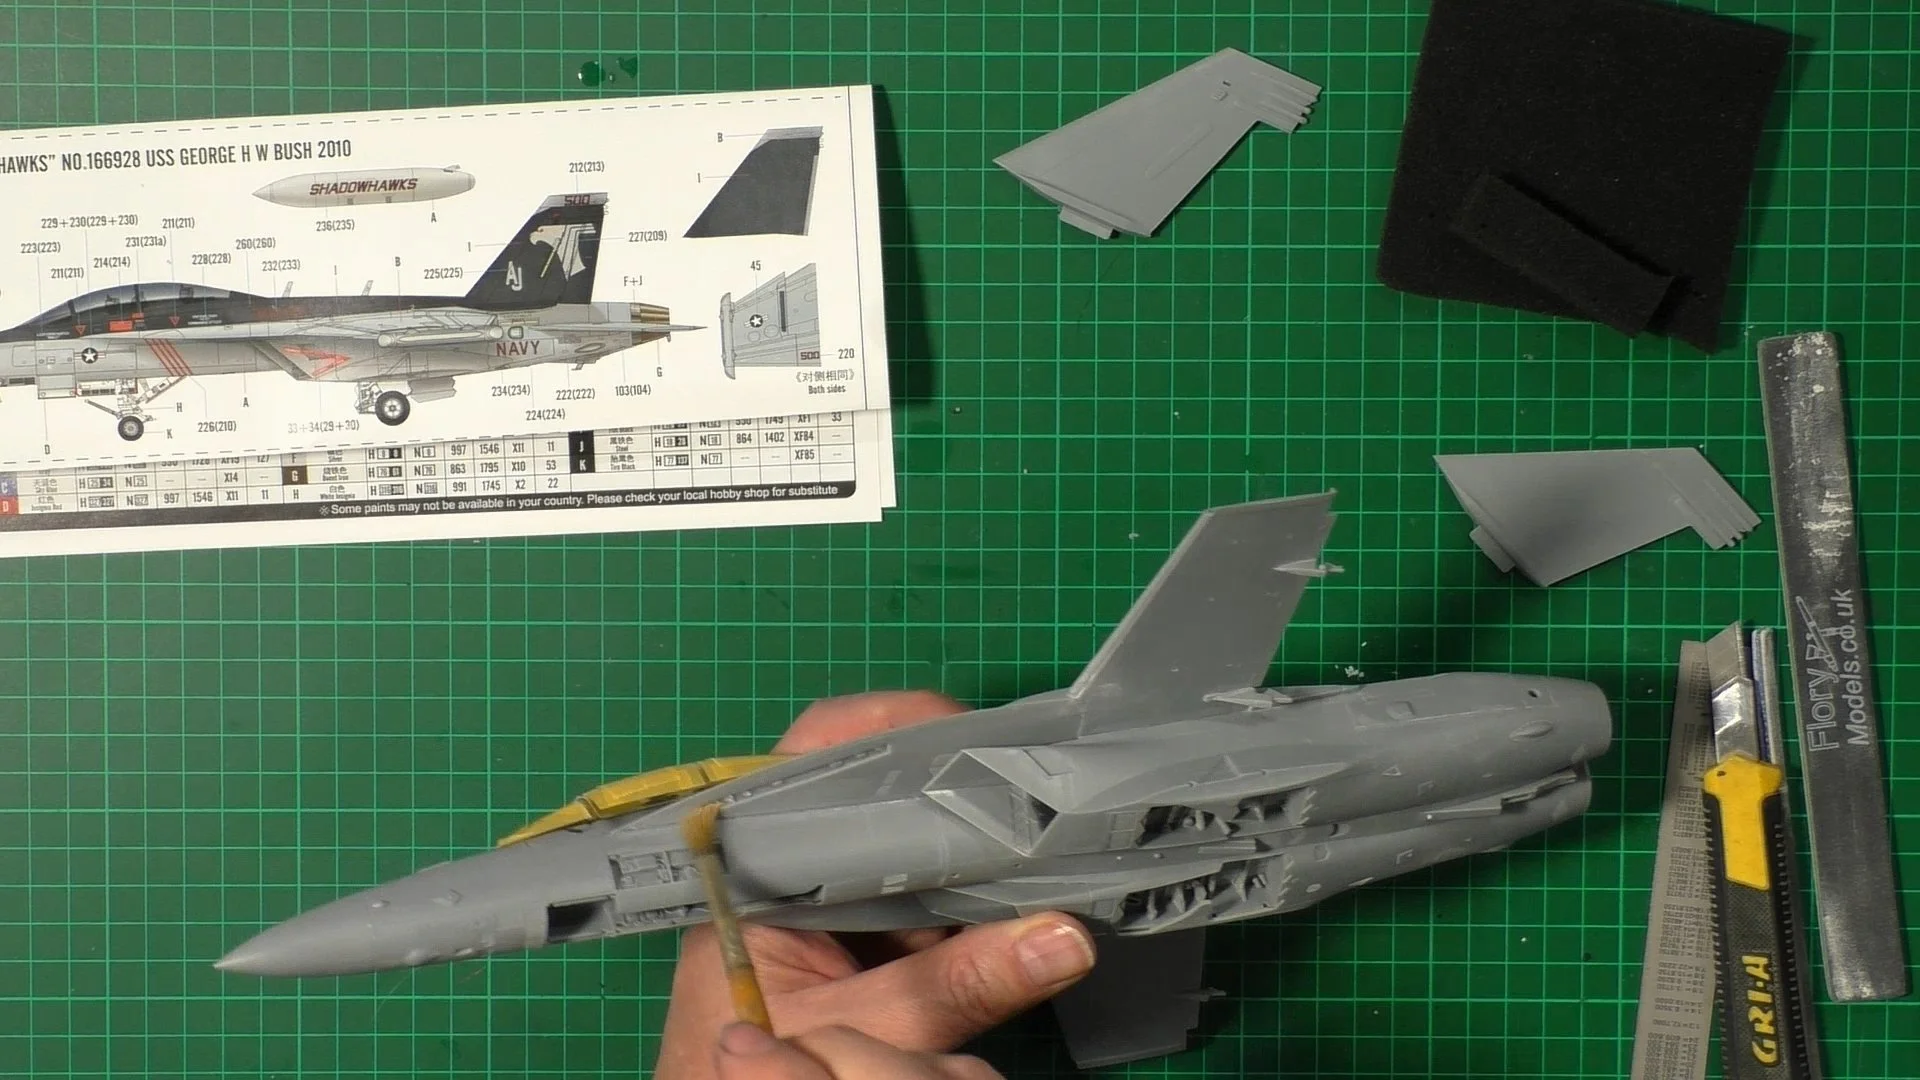
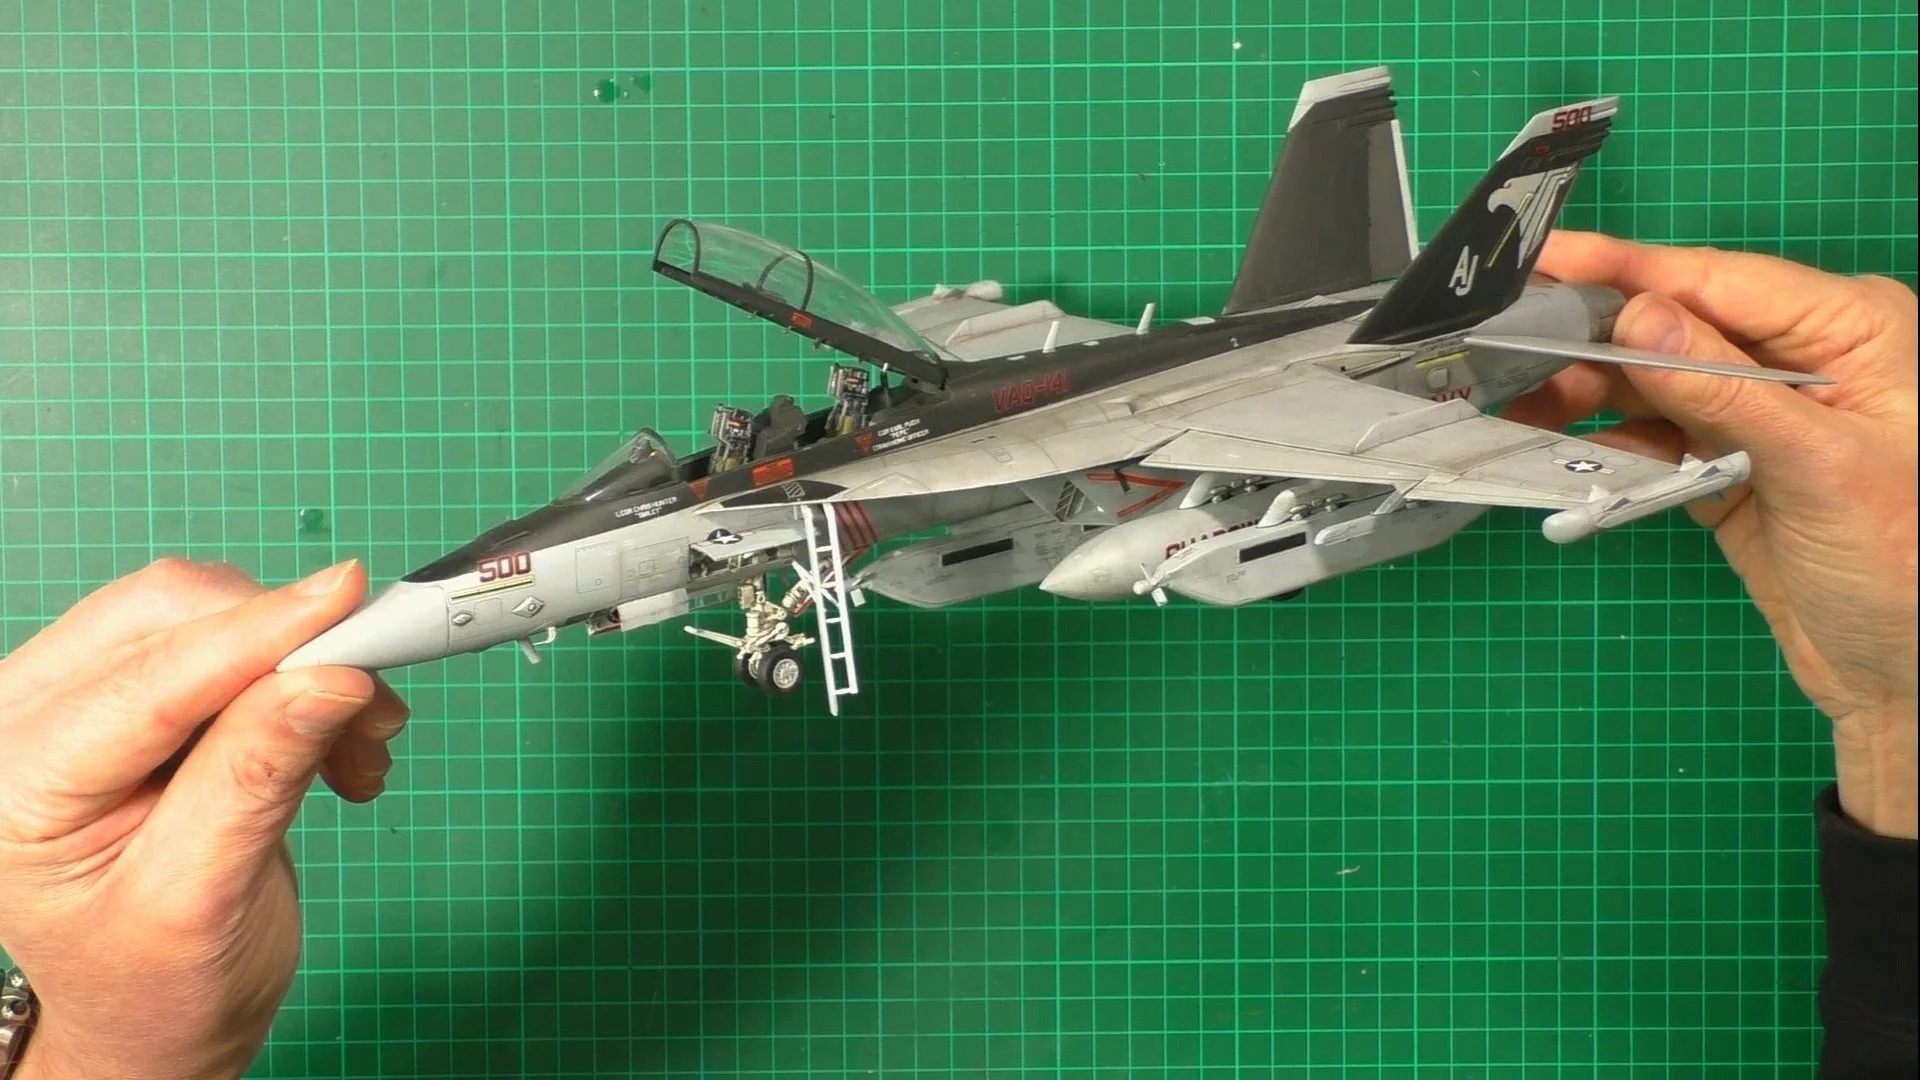
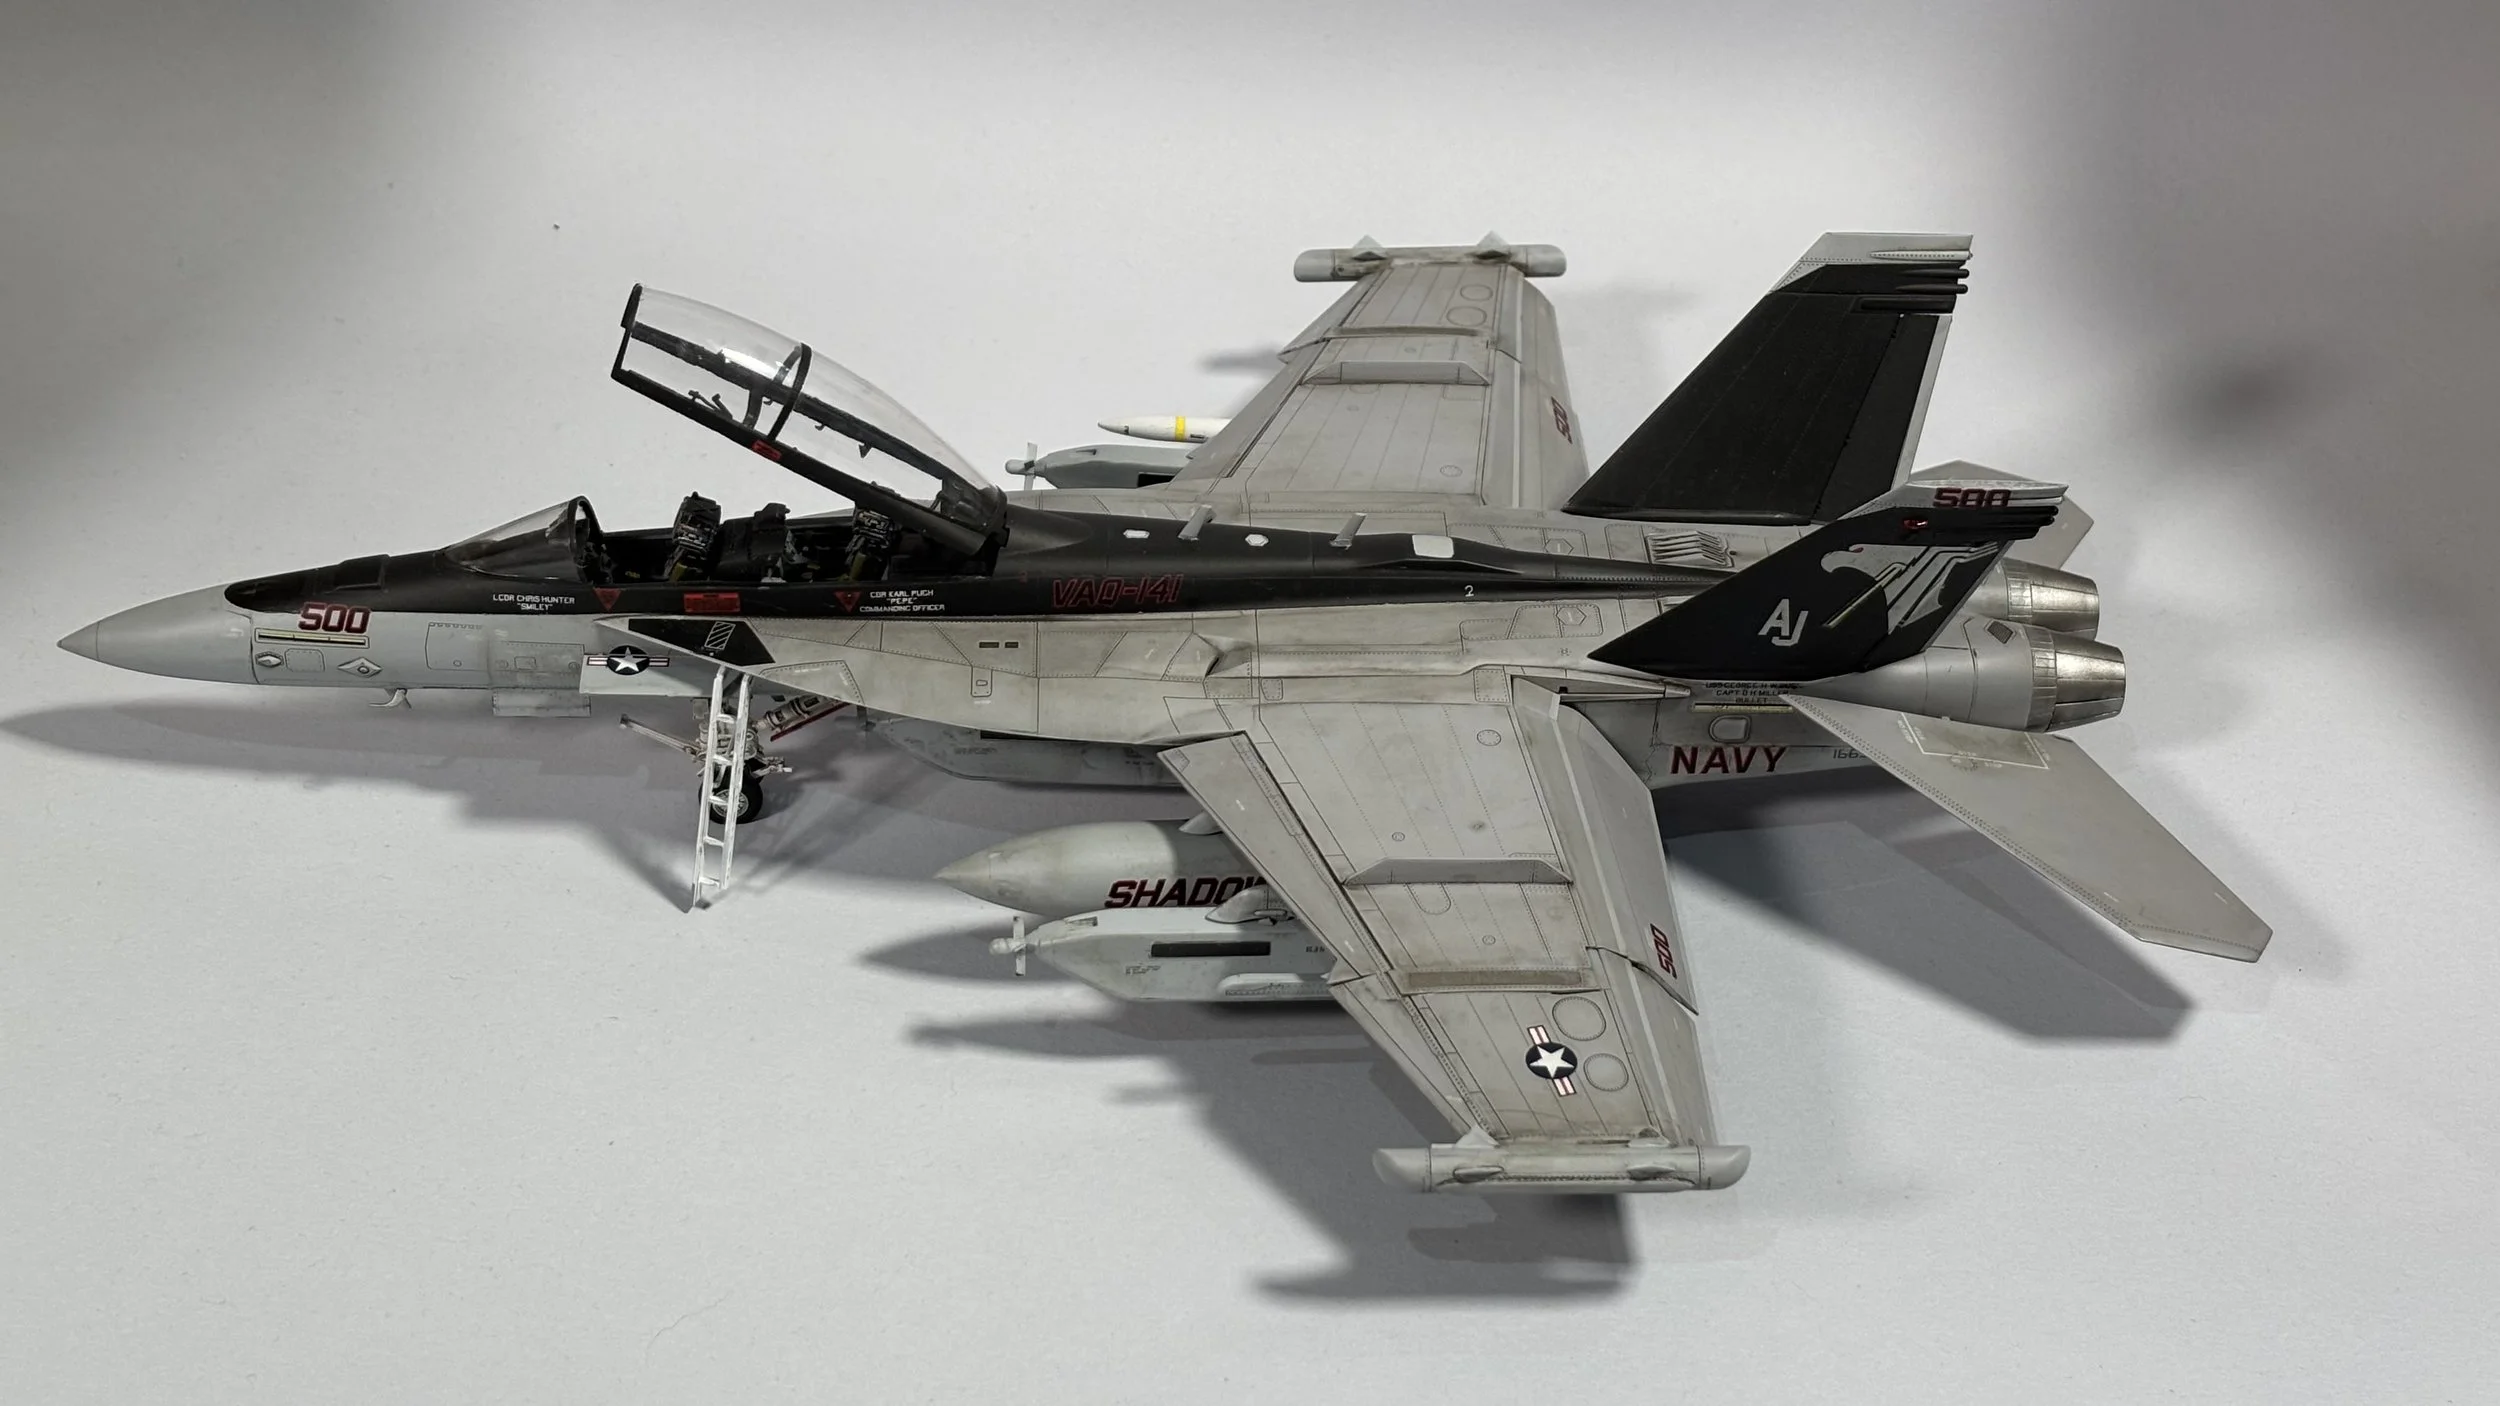
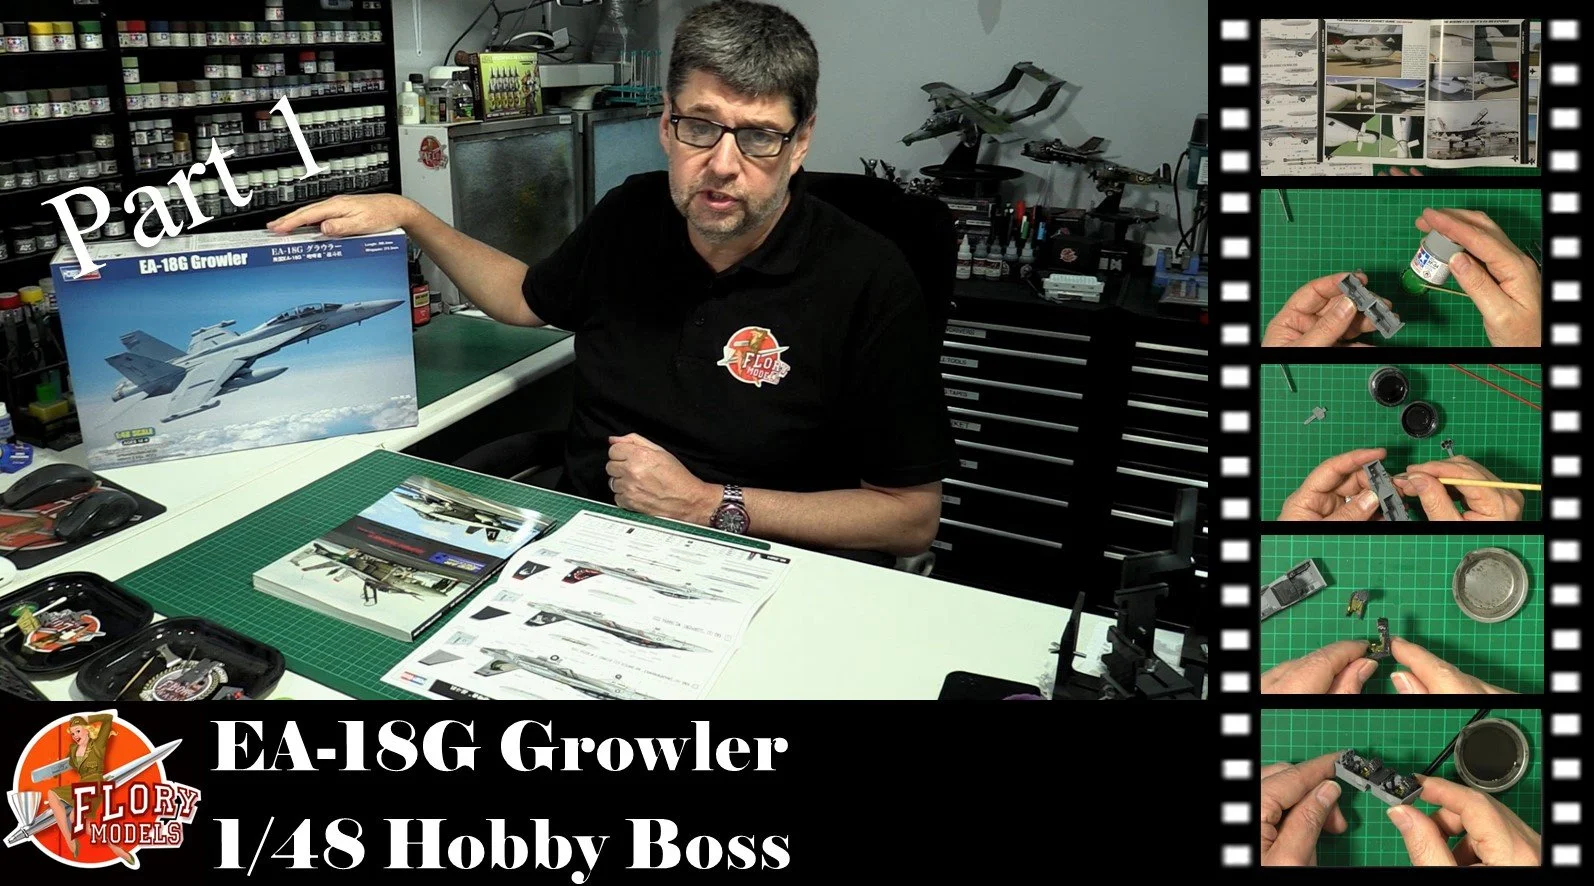
EA/18G Growler
Scale: 1/48
Manufacturer: Hobby Boss
Parts used: Out Of The Box
Main paints used: AK Real Colors
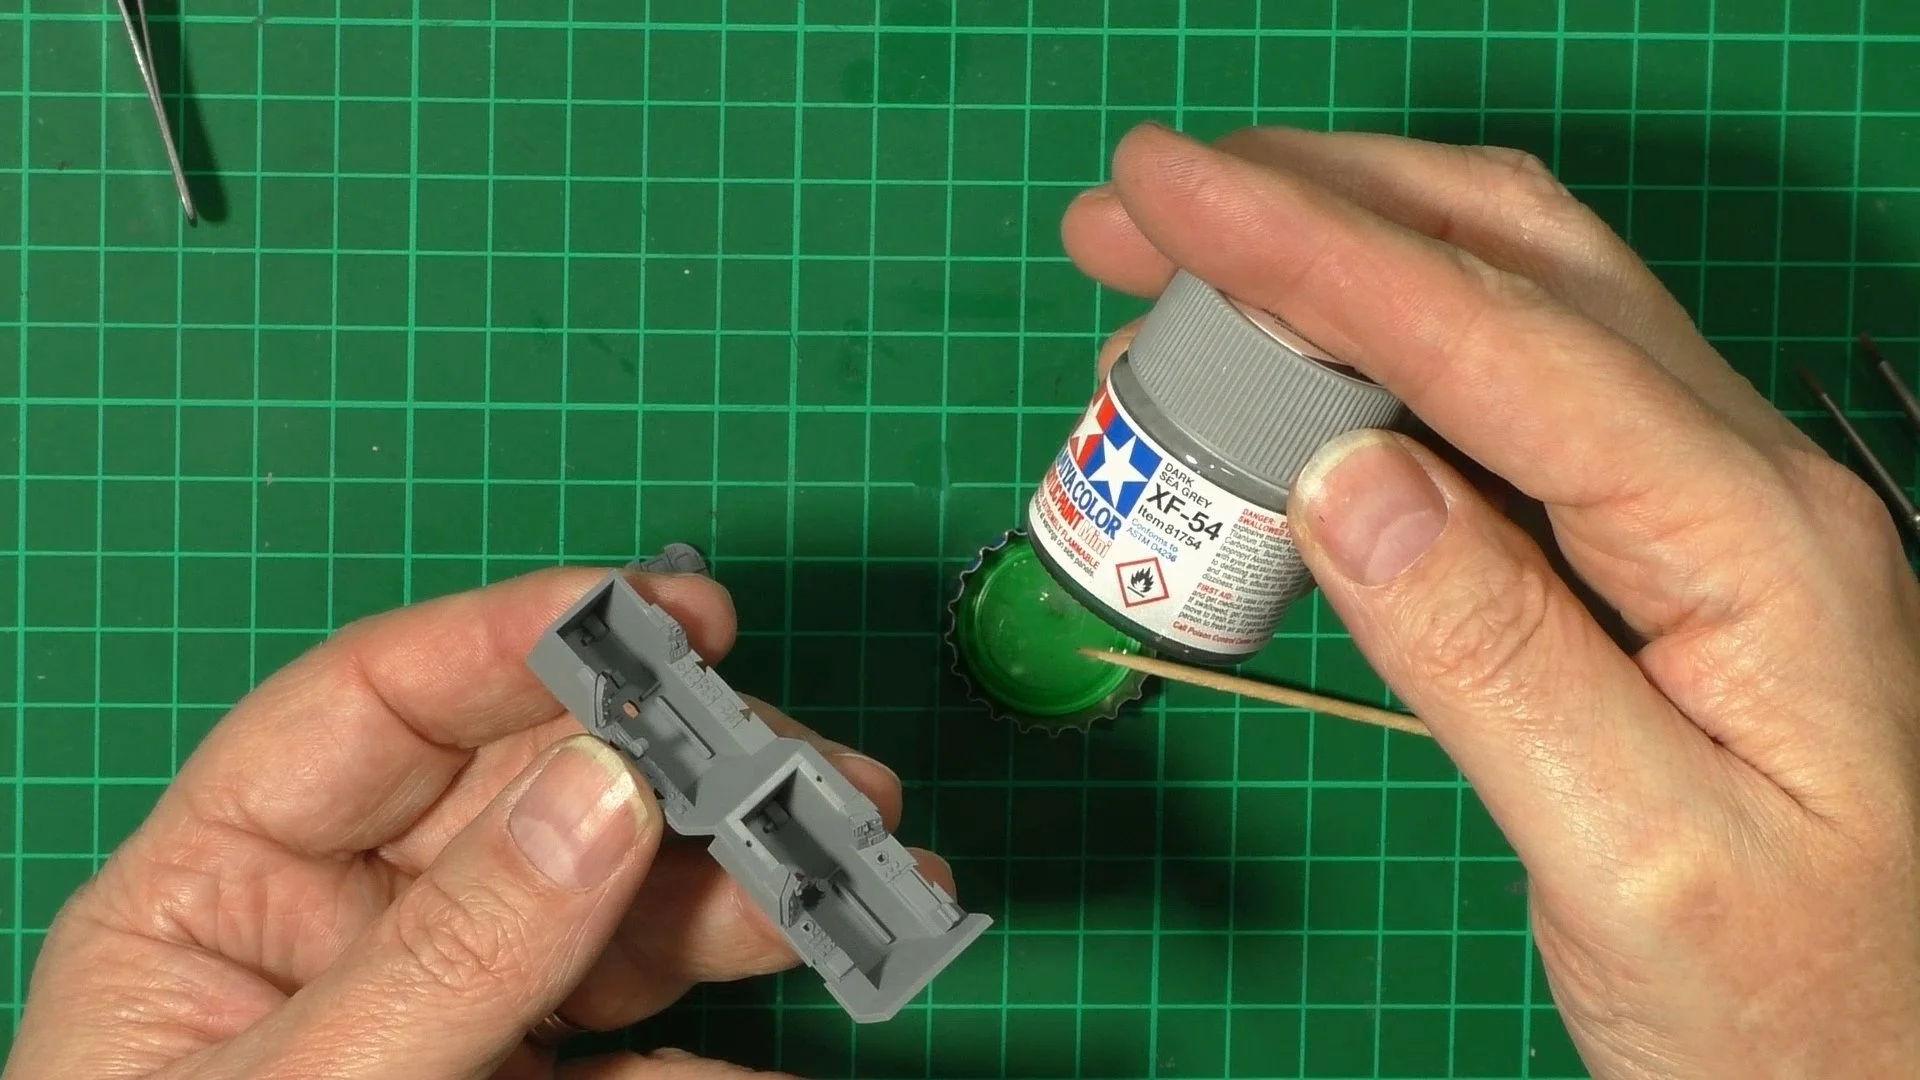
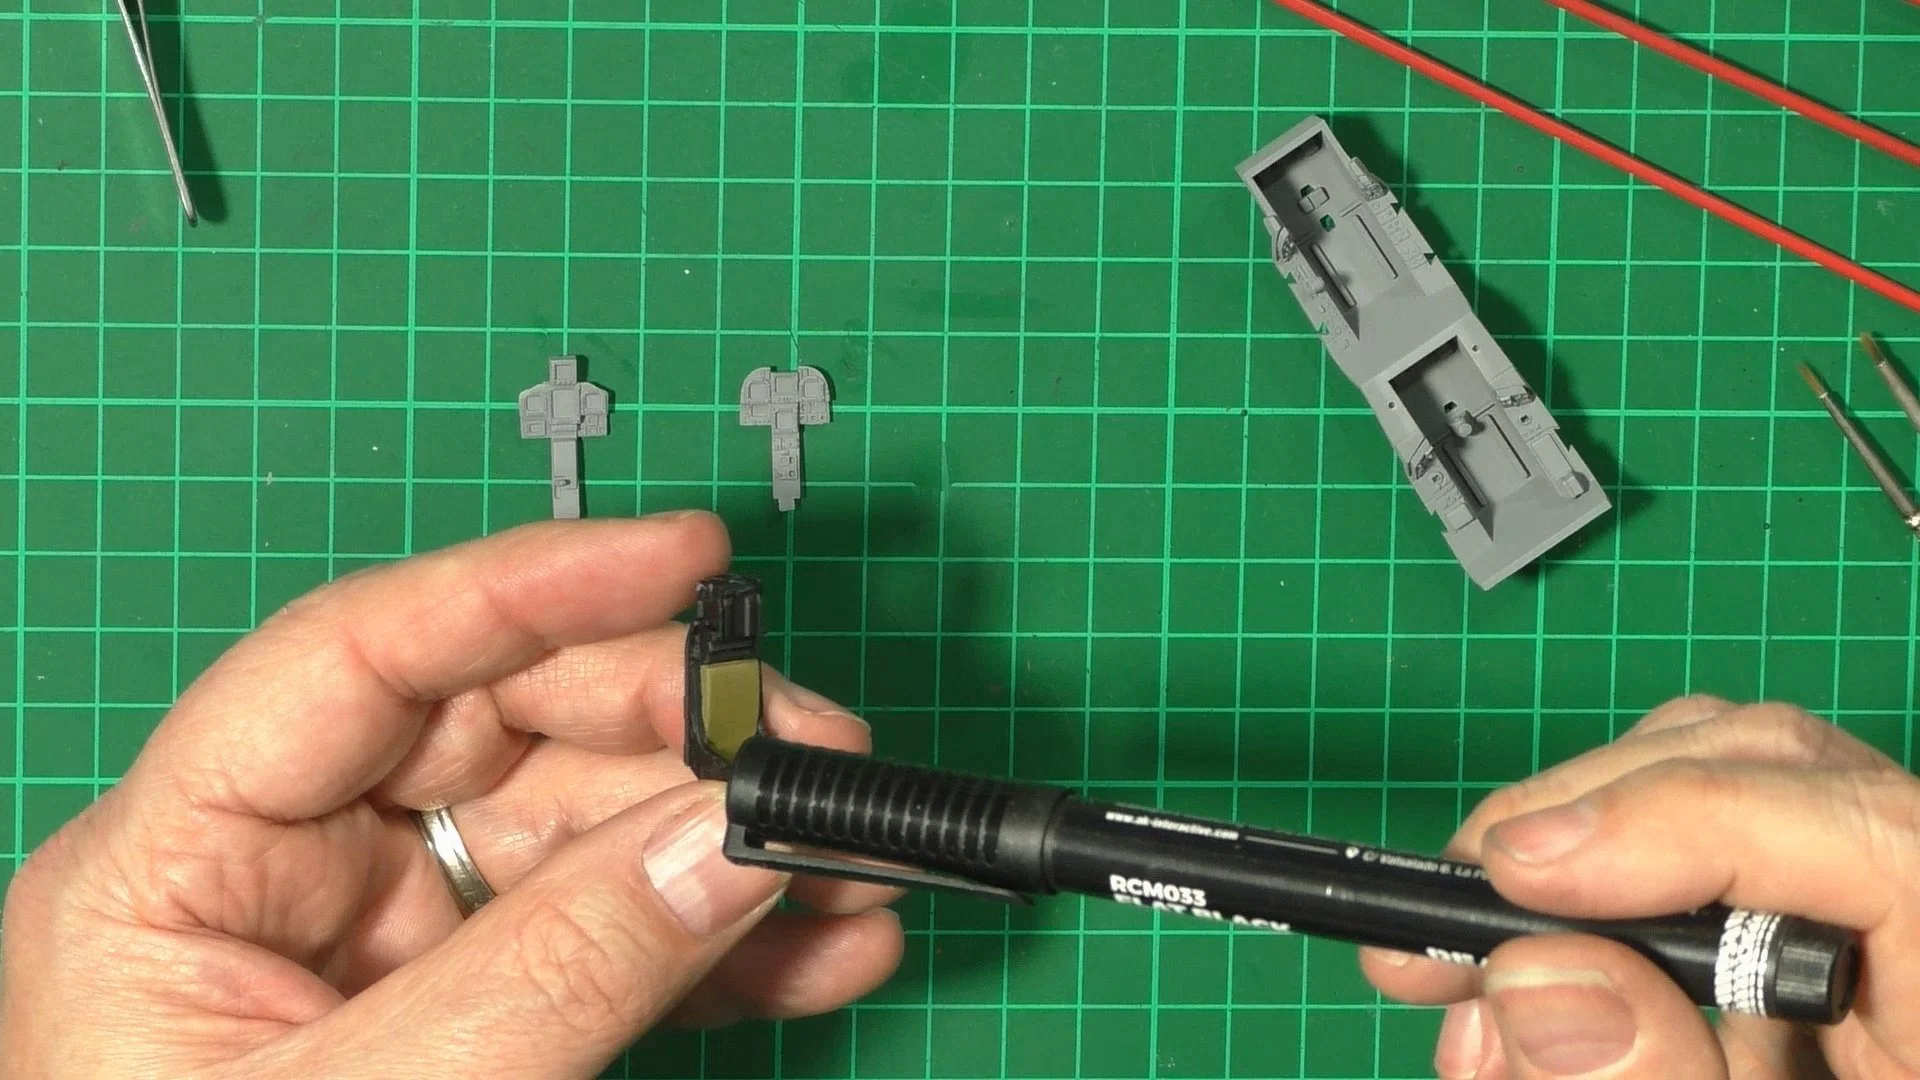
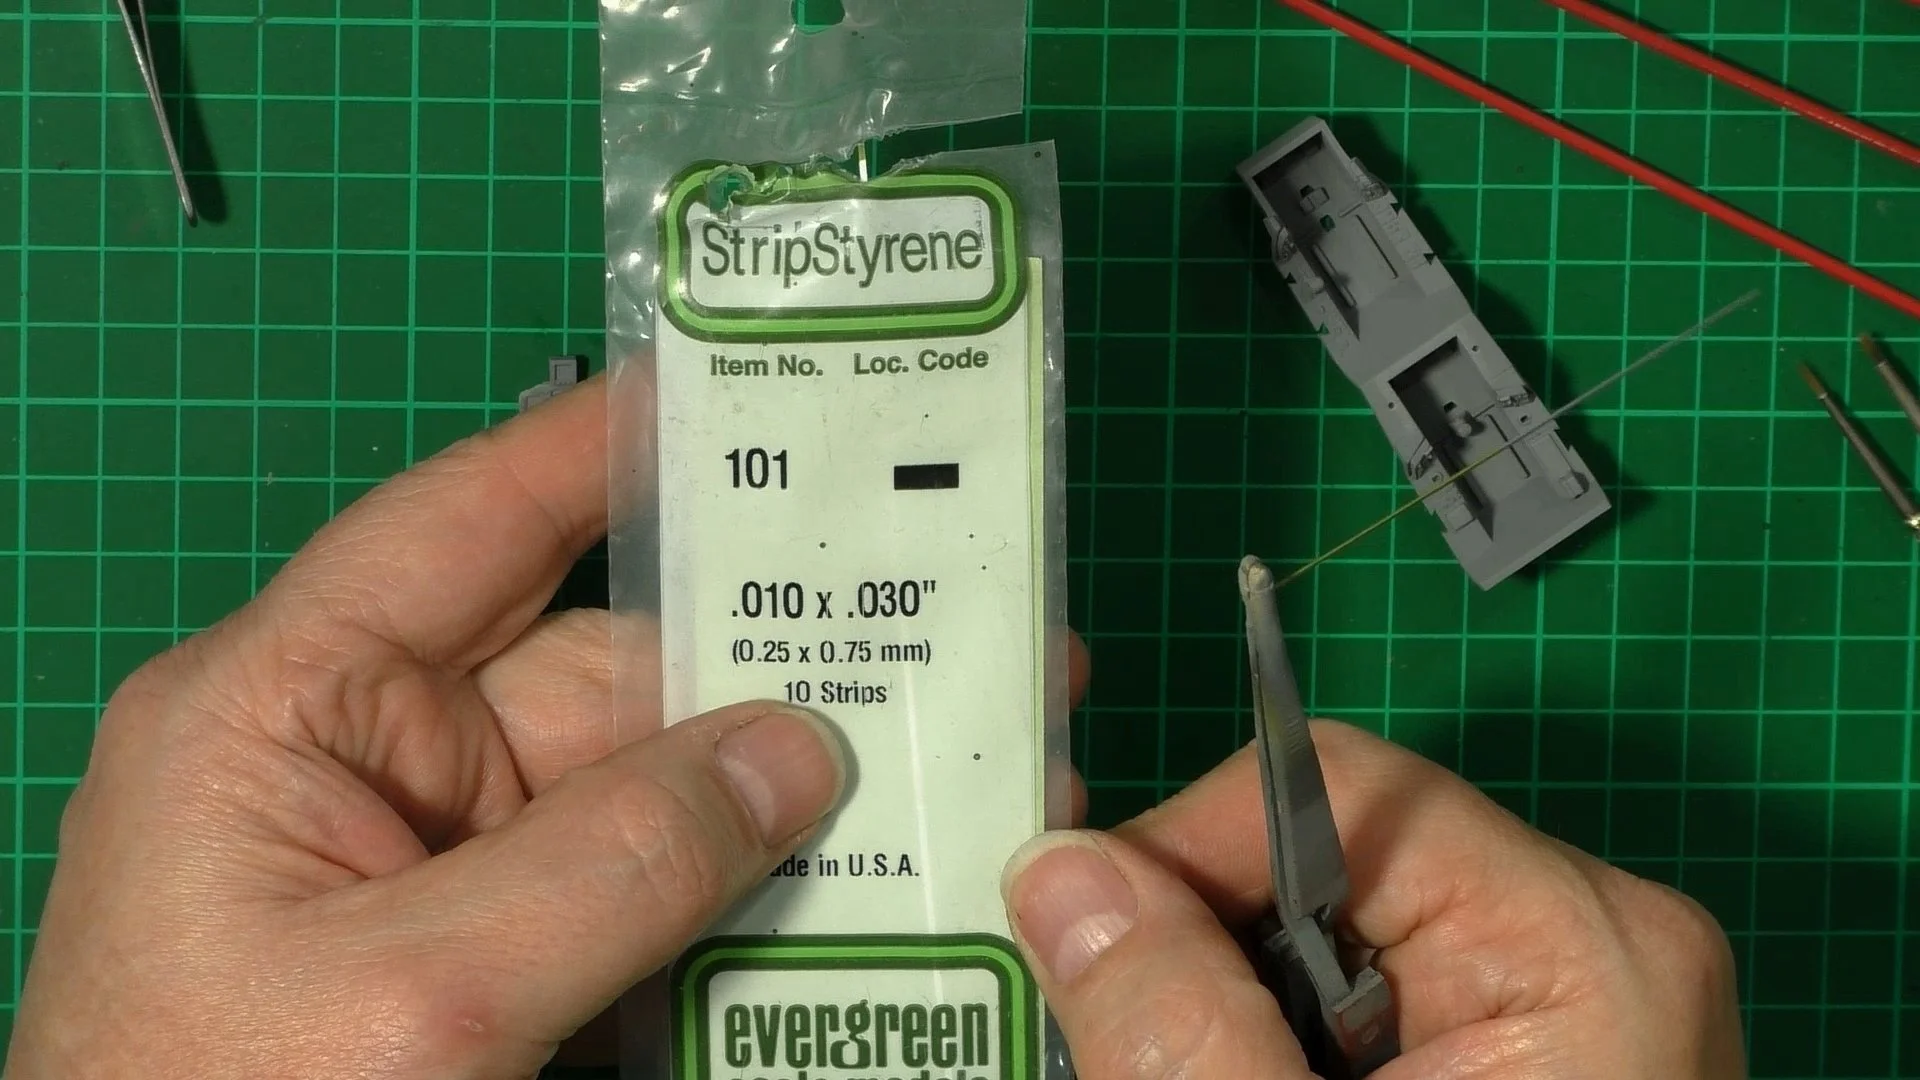
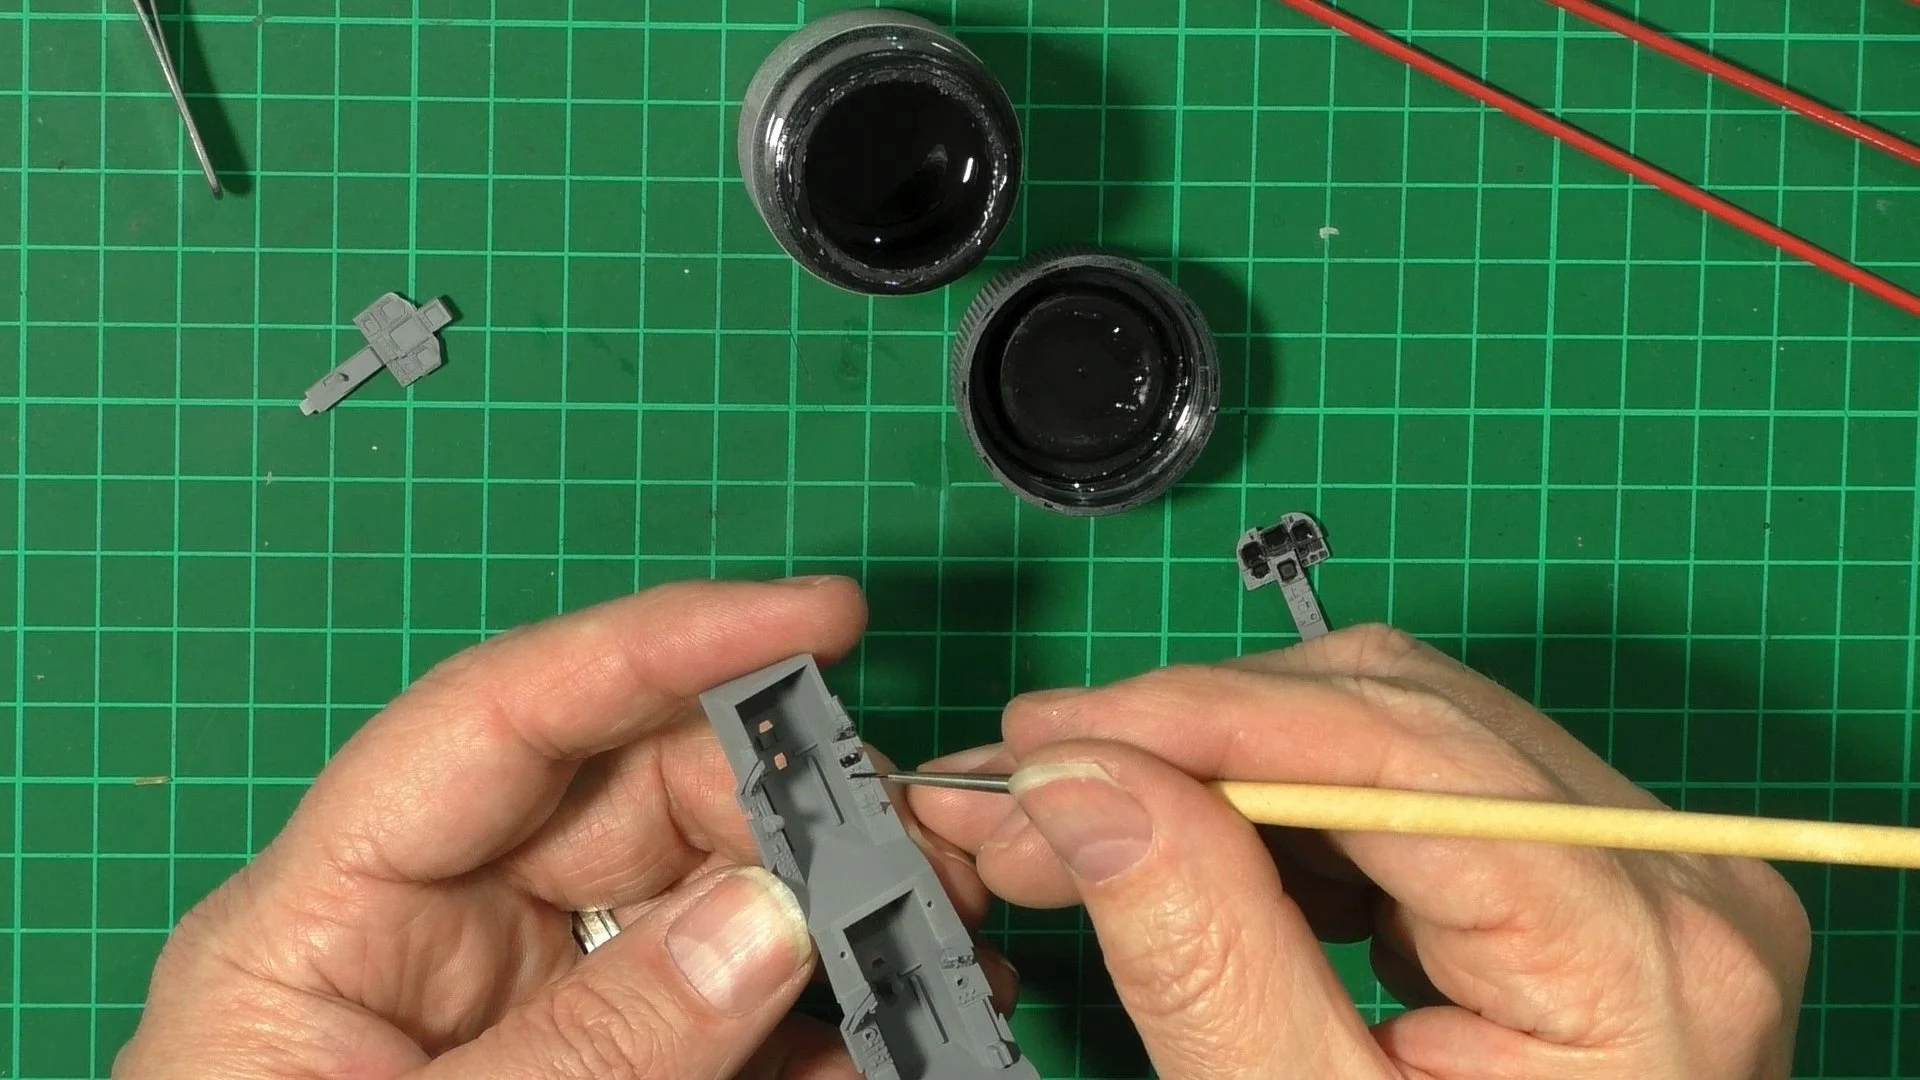
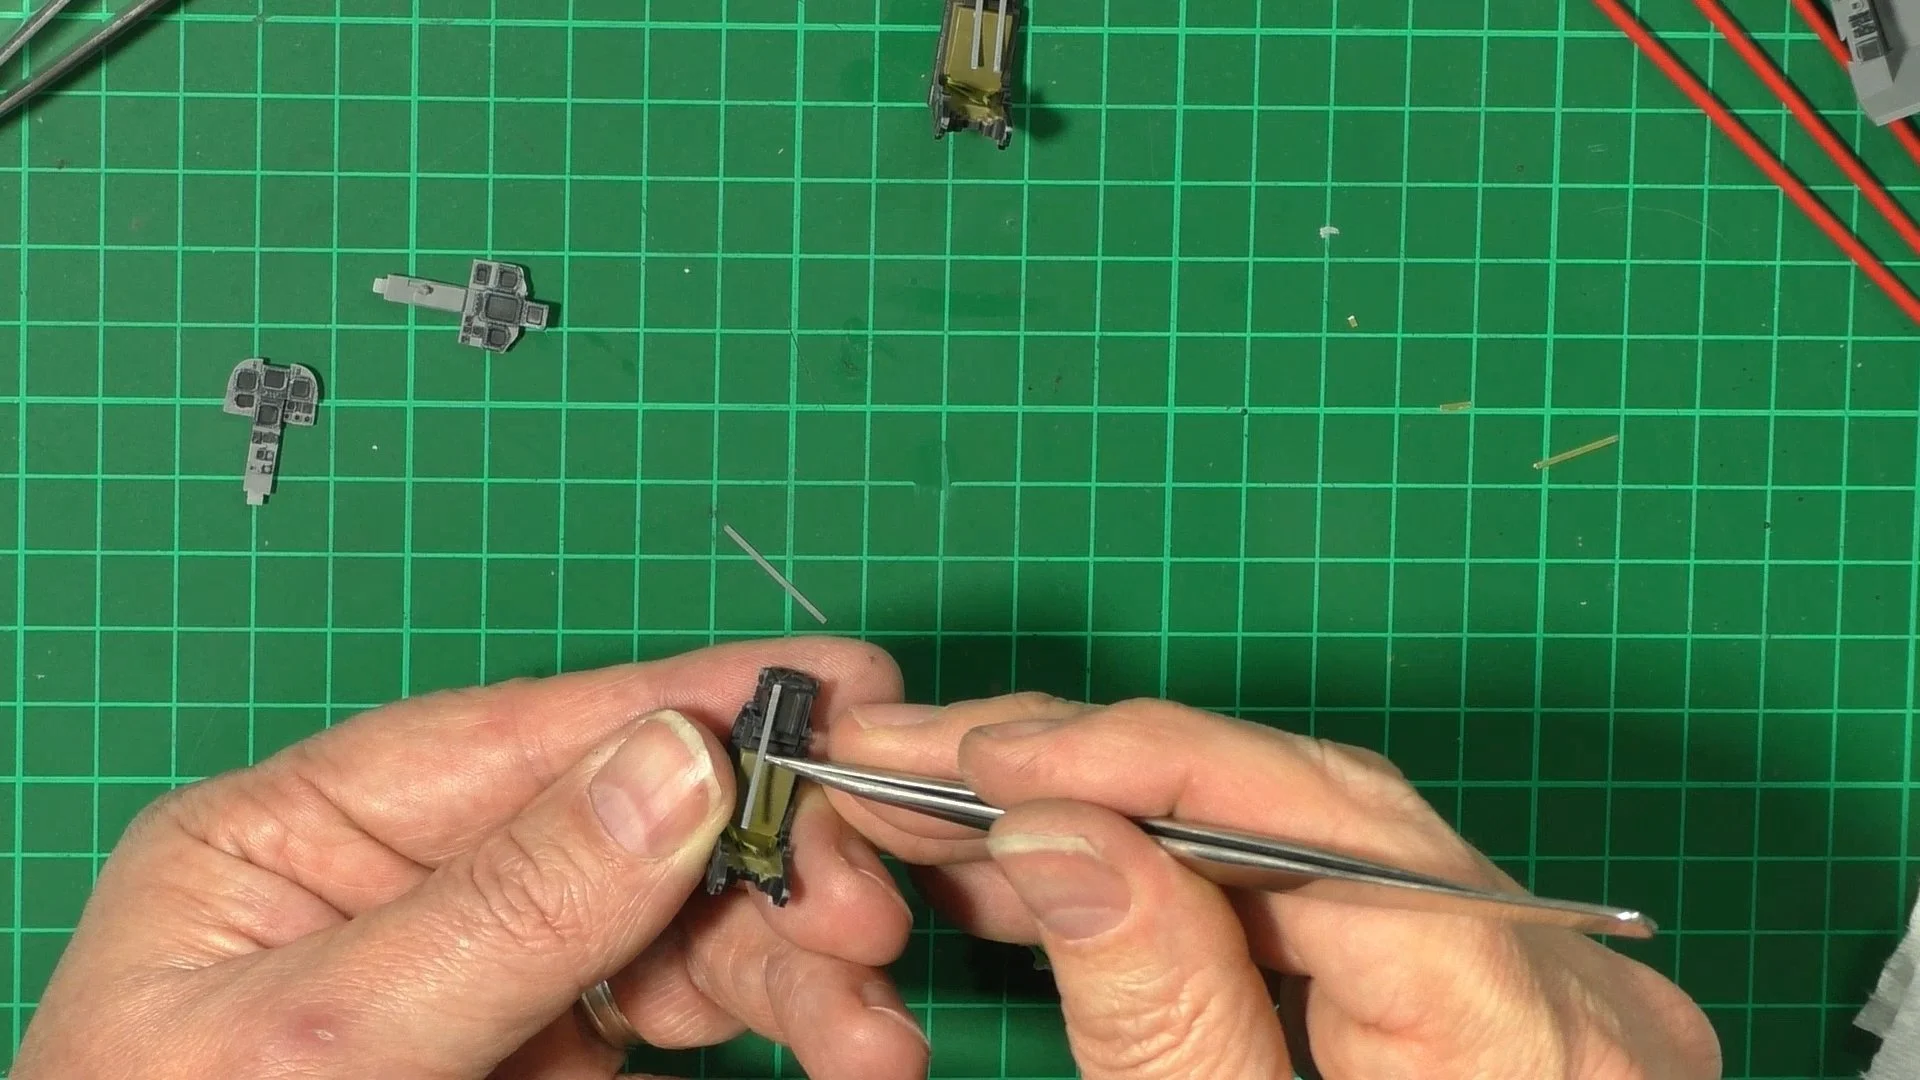
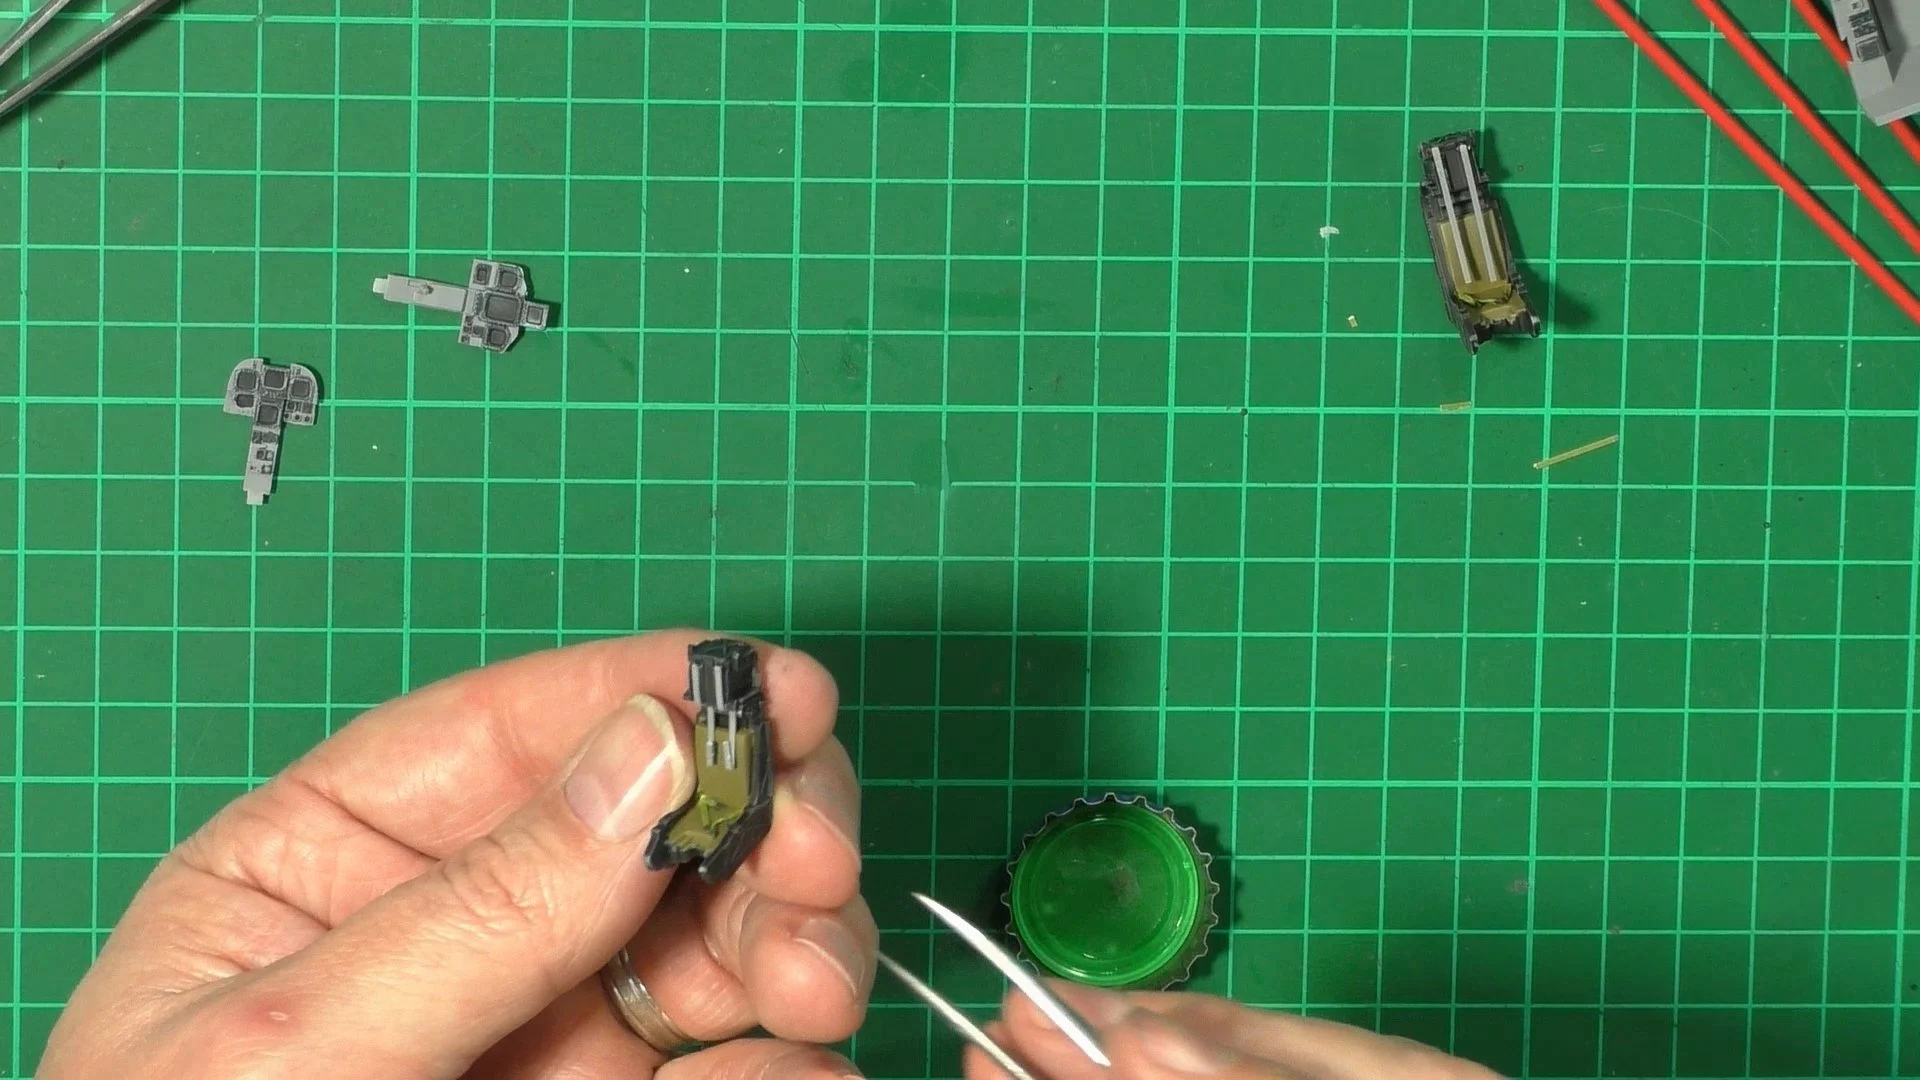
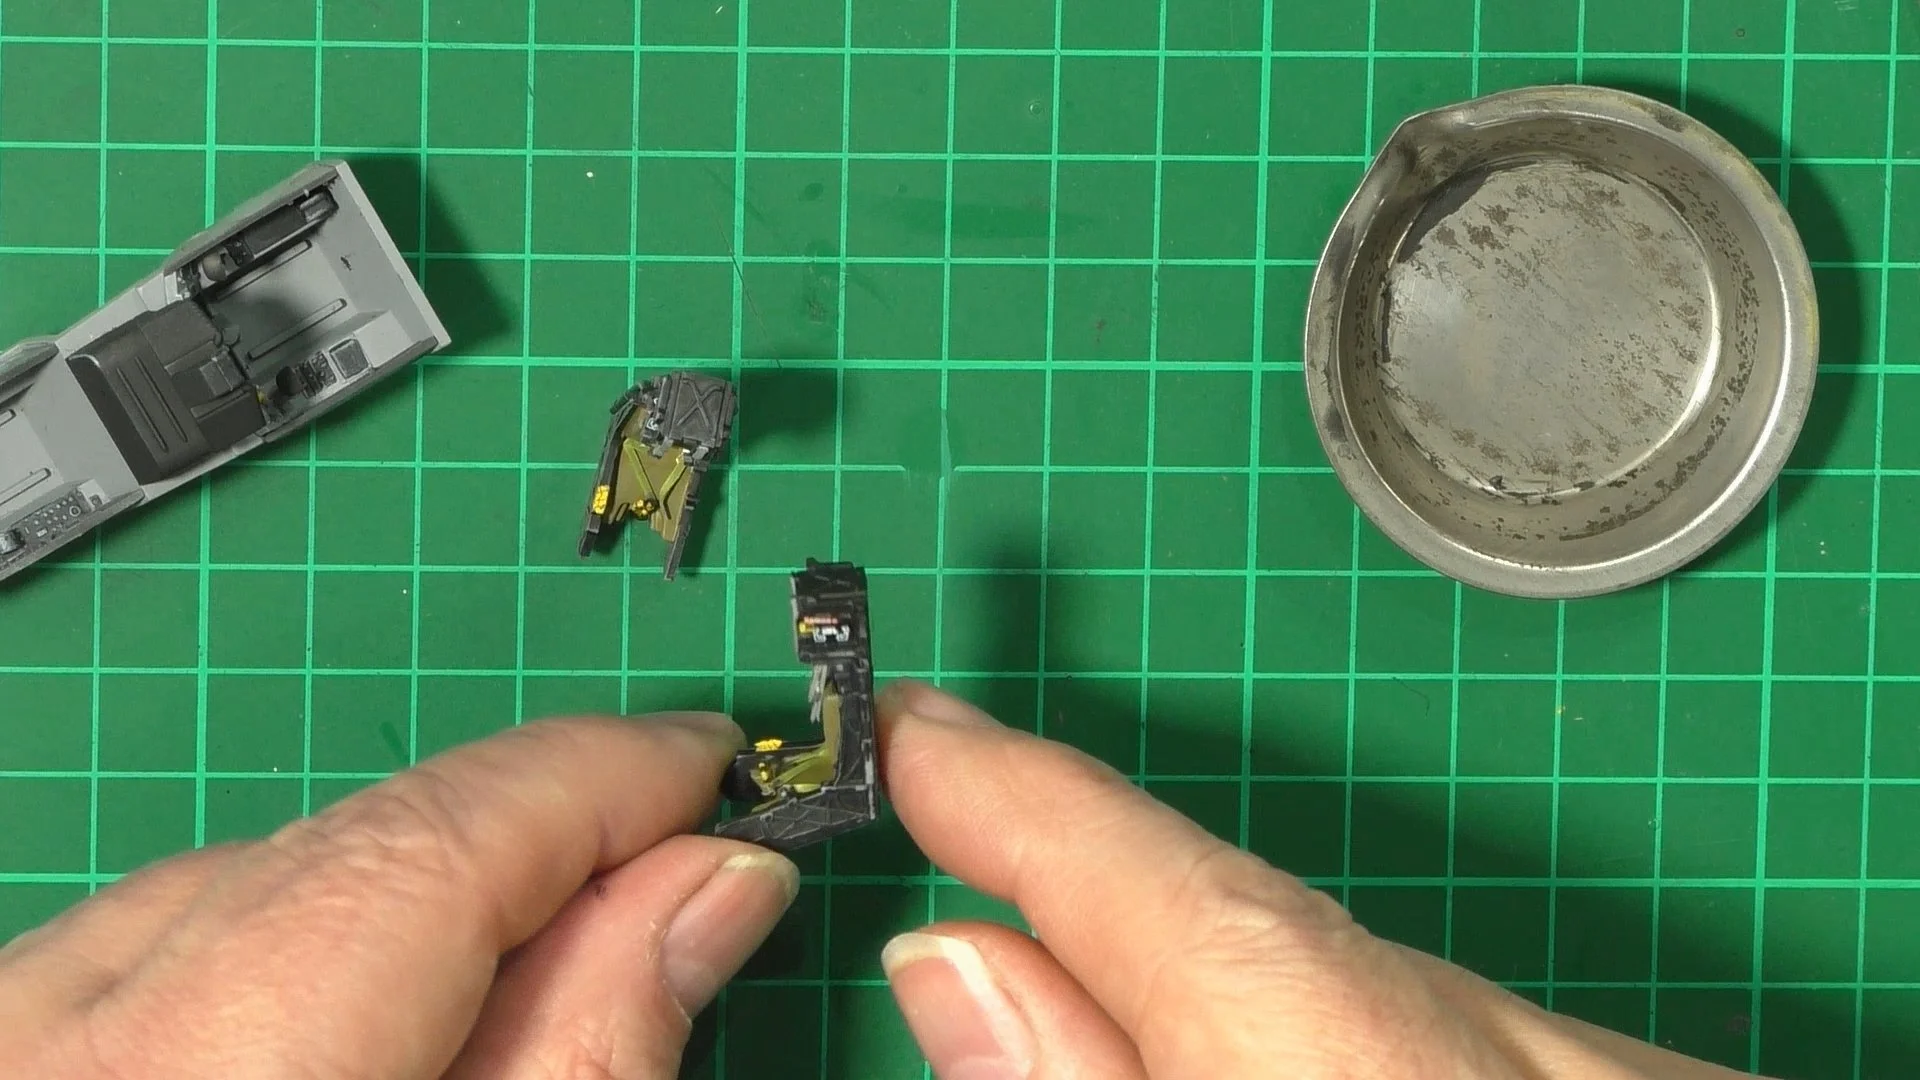
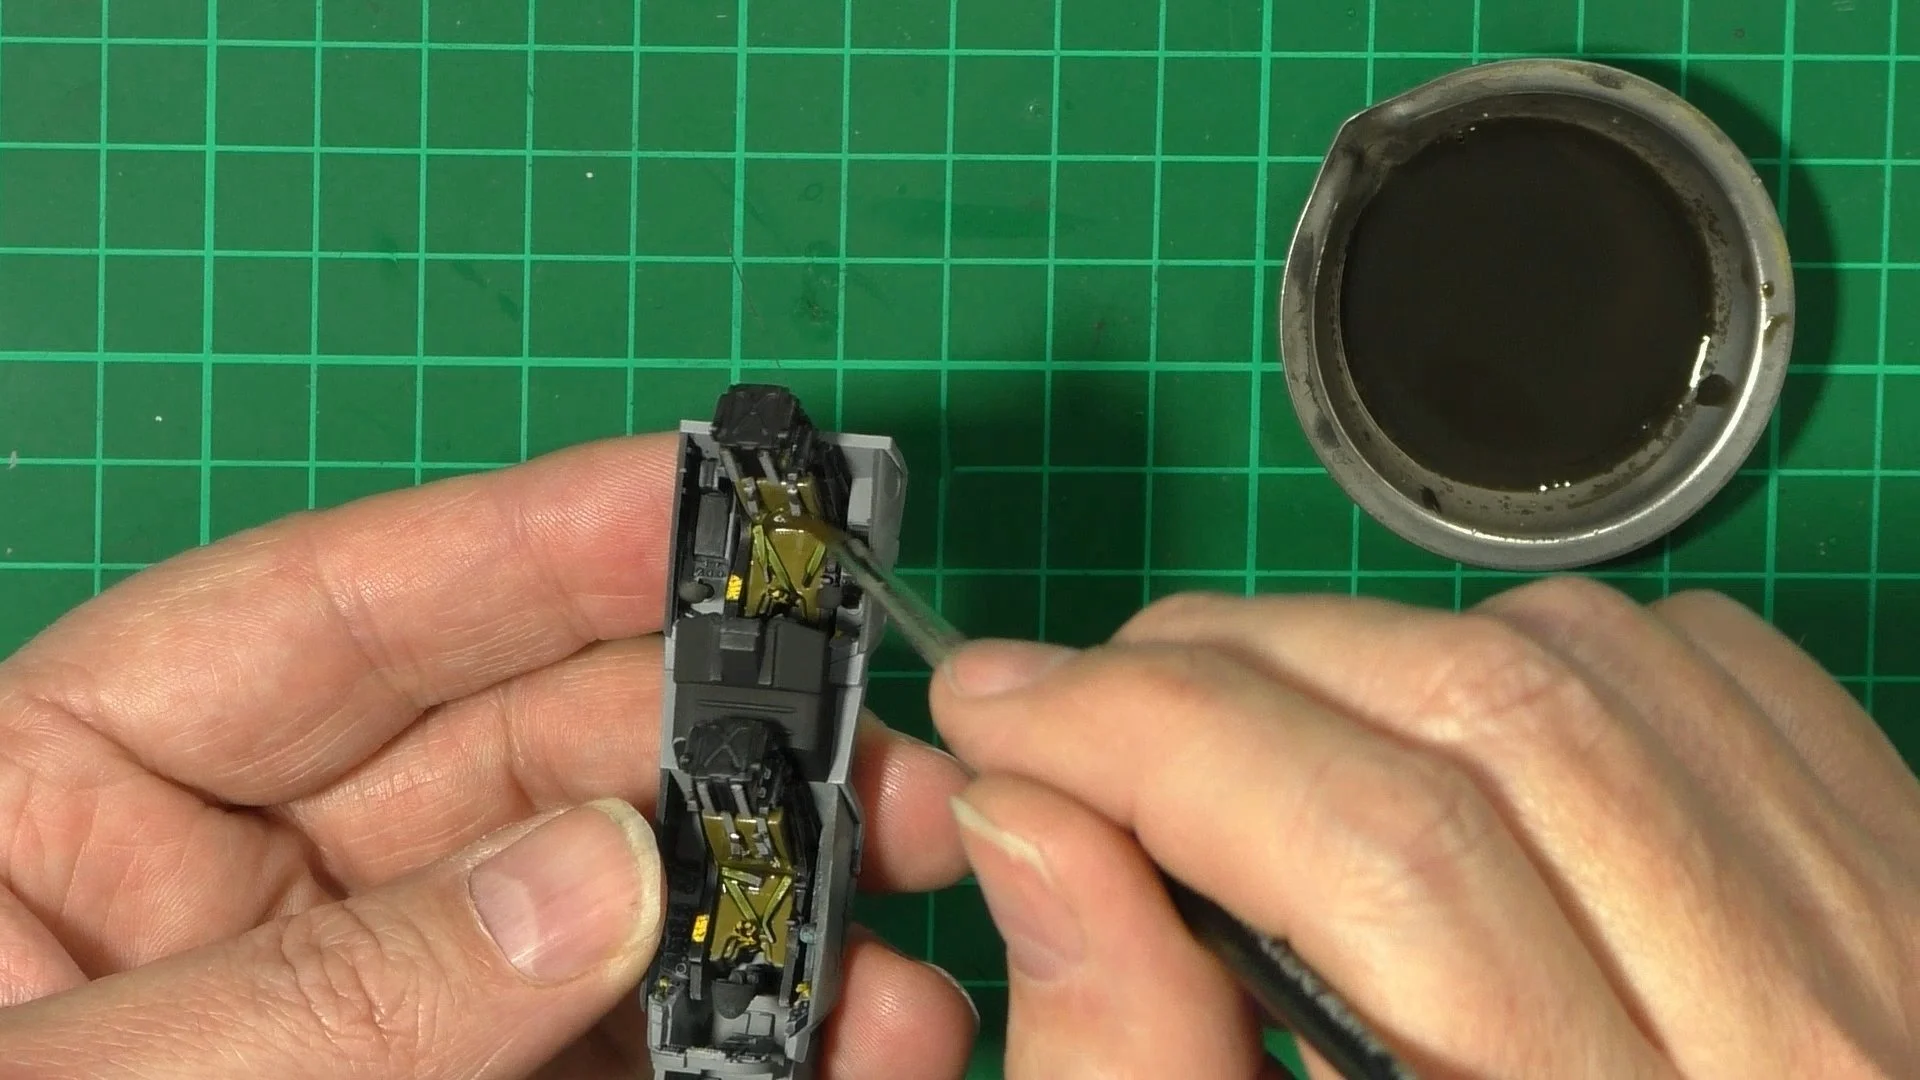
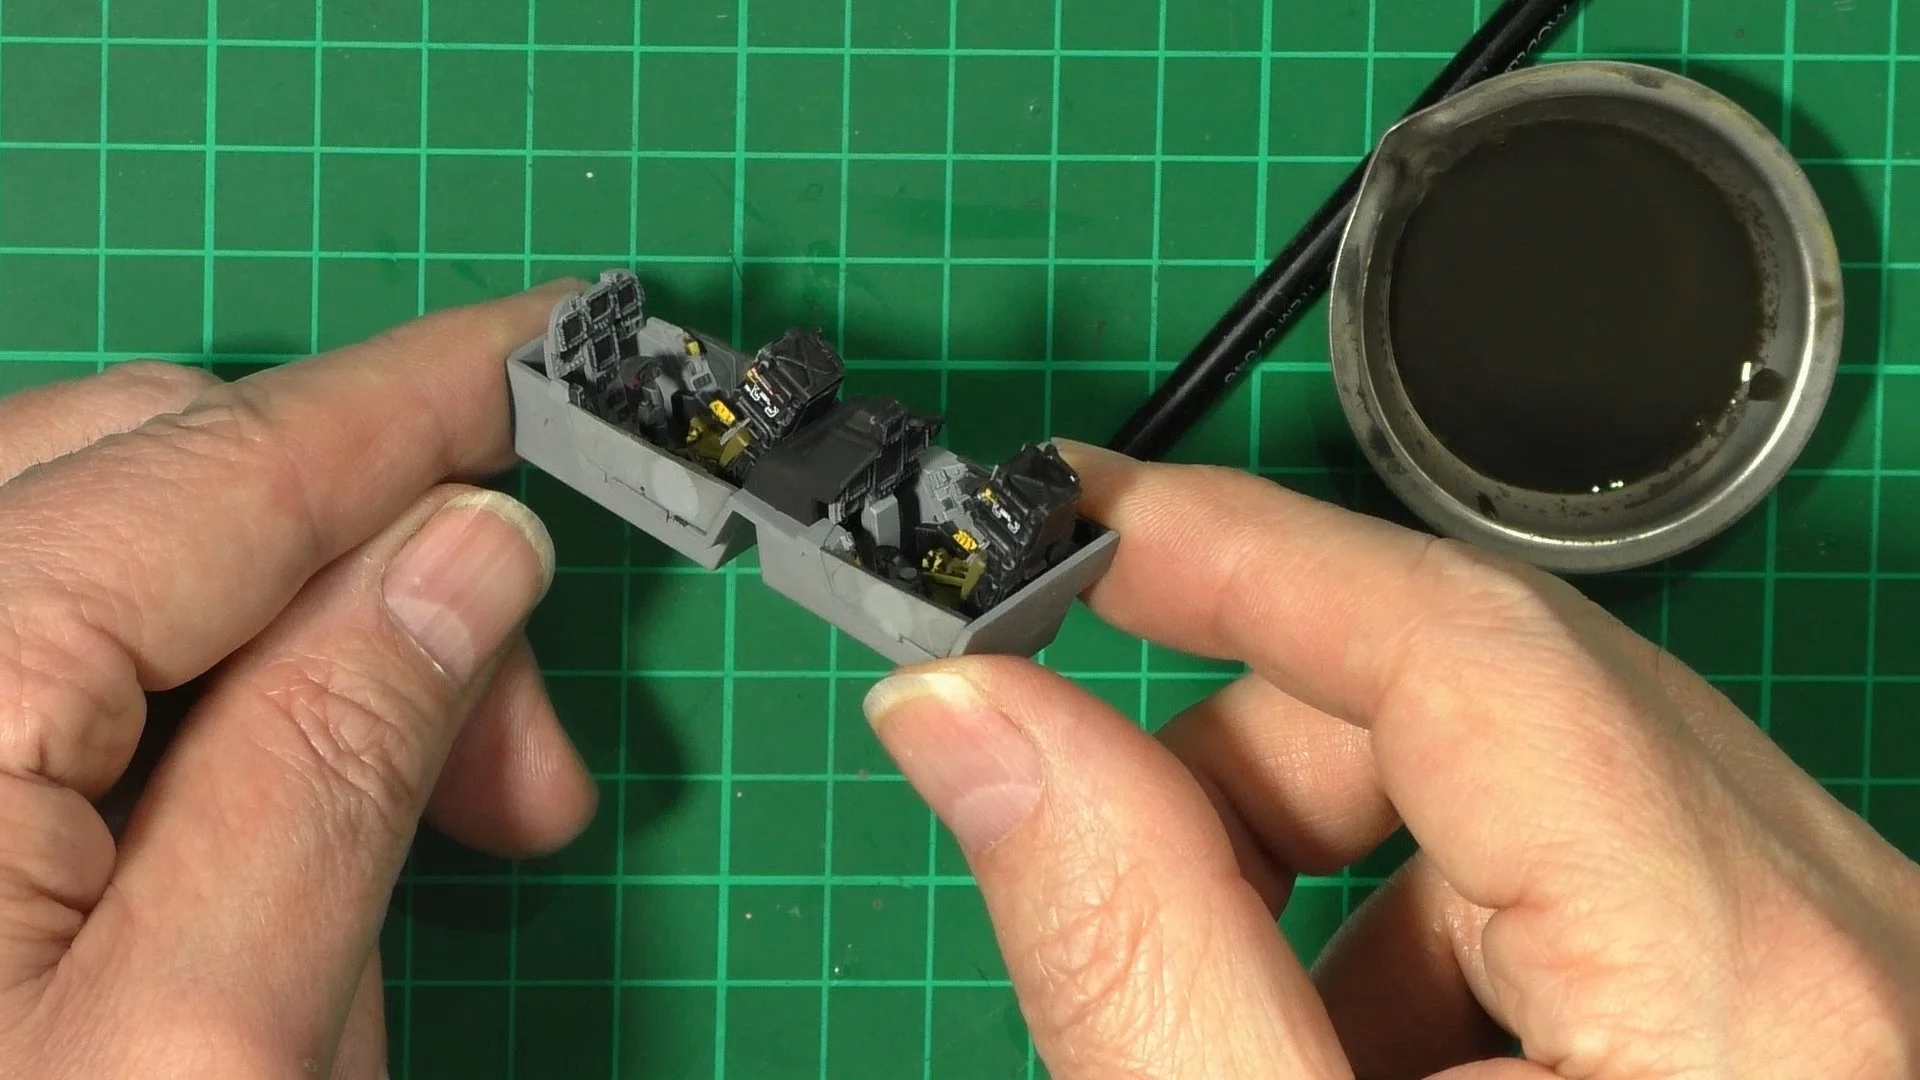
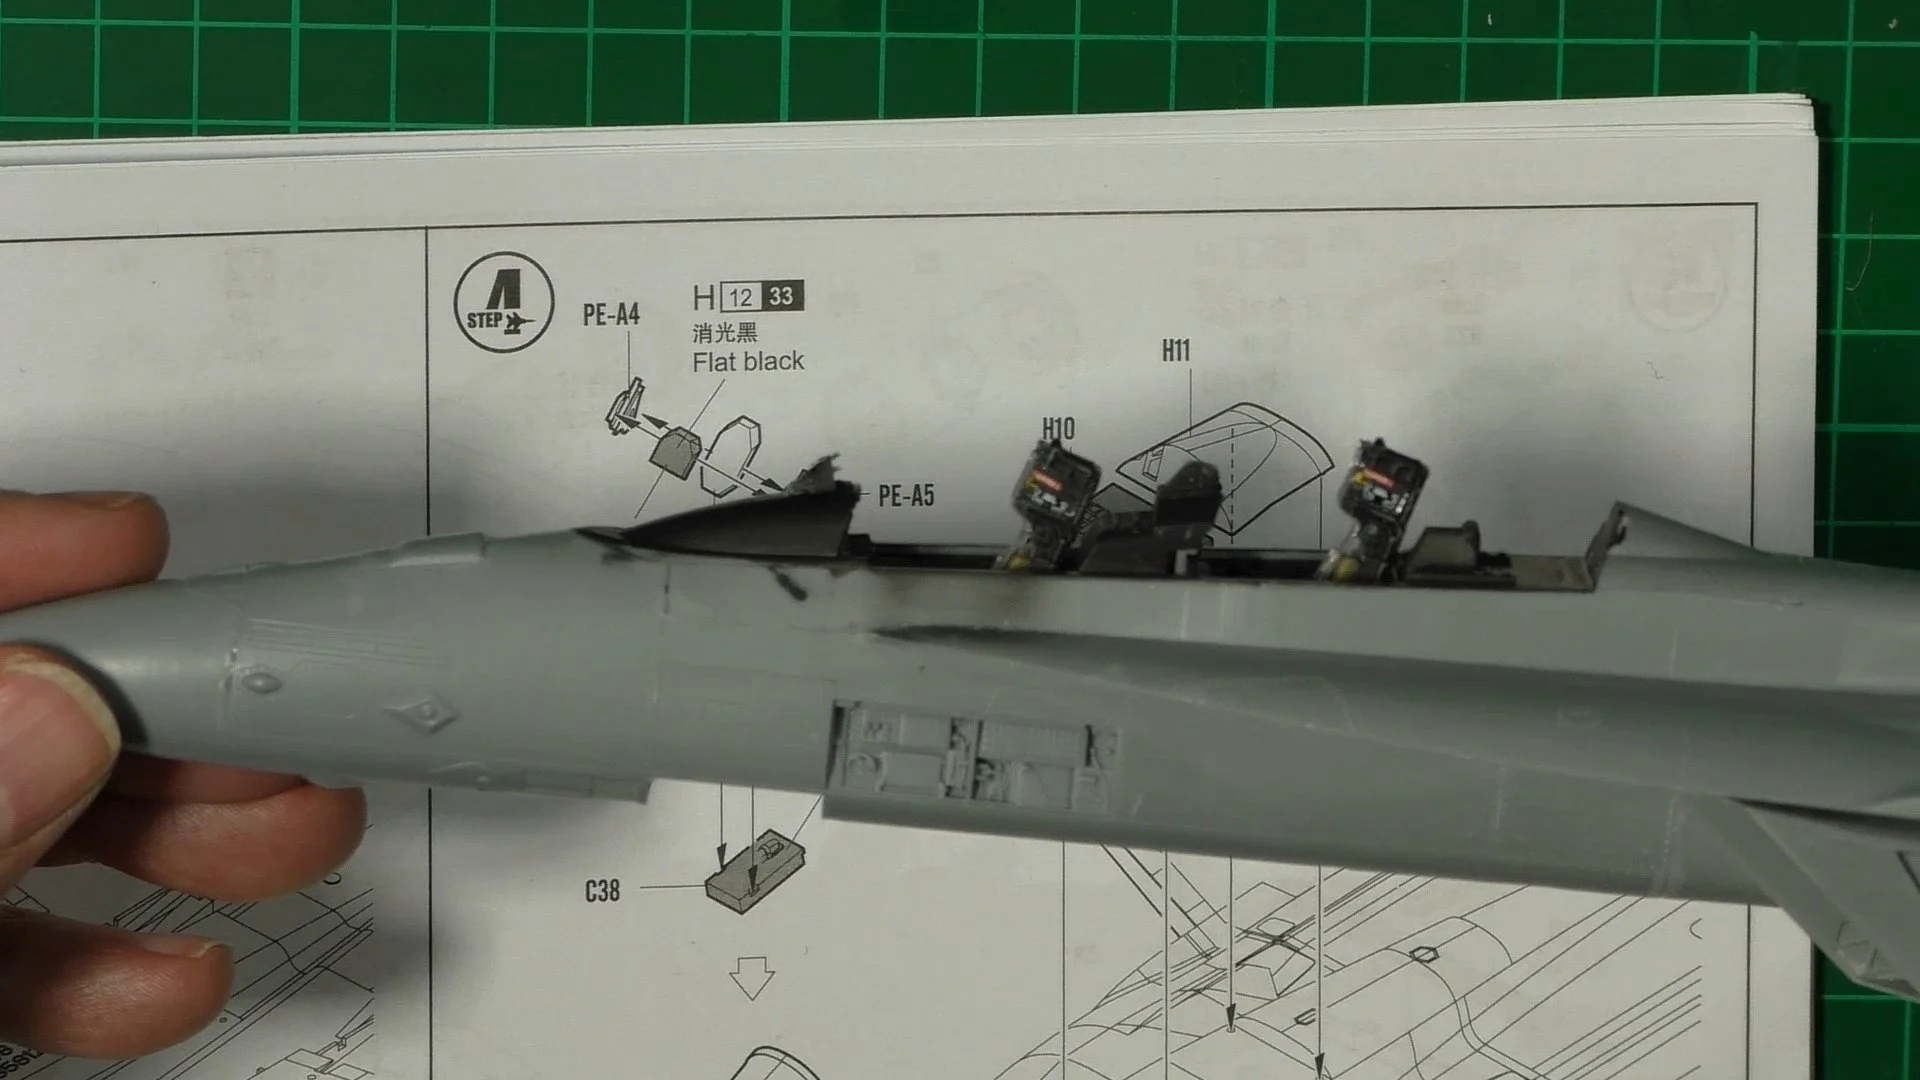
0:00 To start, we have a look at the kits and what the plan for the build is. 6:03 We start work on the cockpit with a base coat of Tamiya XF-54 grey and then hand paint in the panels with Tamiya XF-85 16:53 Next, we dry brush ABT170 Light Grey to bring out the details. Next, we make the harness for the seats. We use 0.25 X0.75 plastic strips and paint. 27:44 Last up, we add the small parts and give the cockpit and thinned dark dirt wash FMW002.
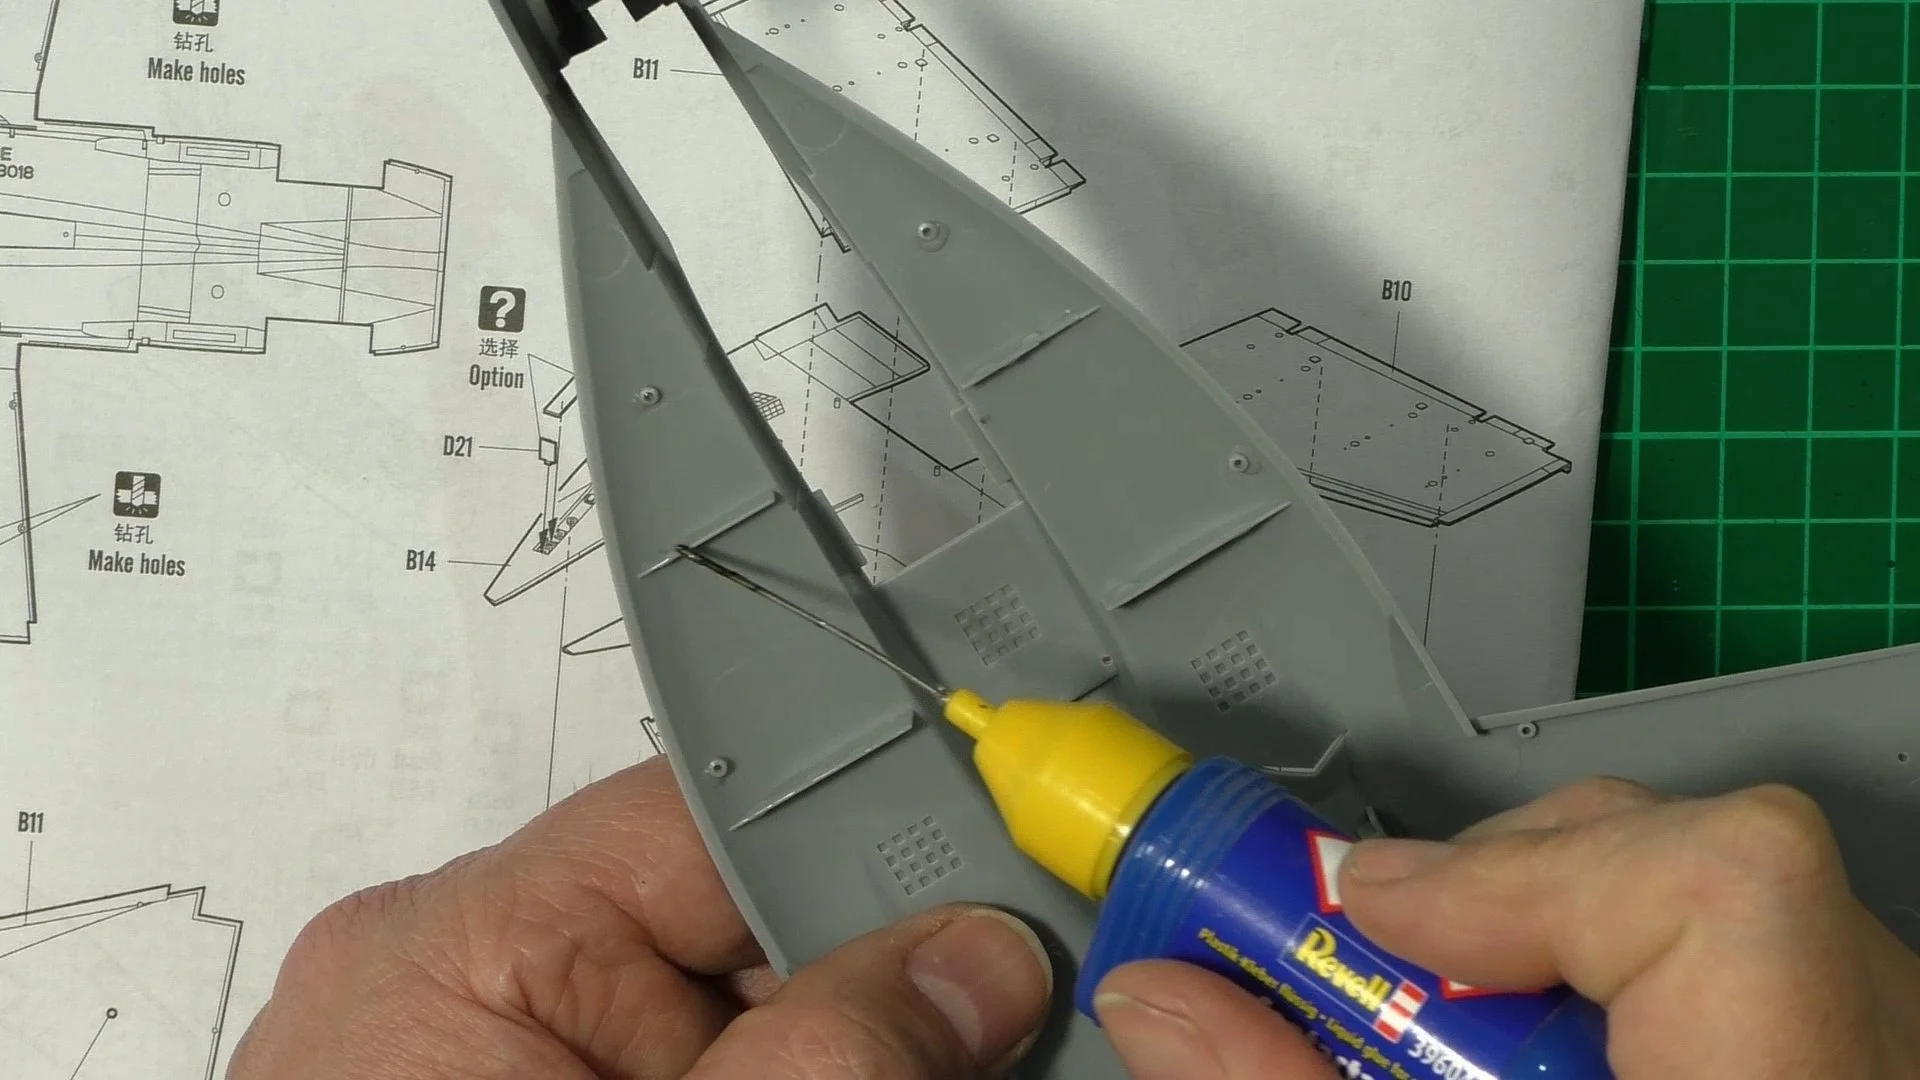
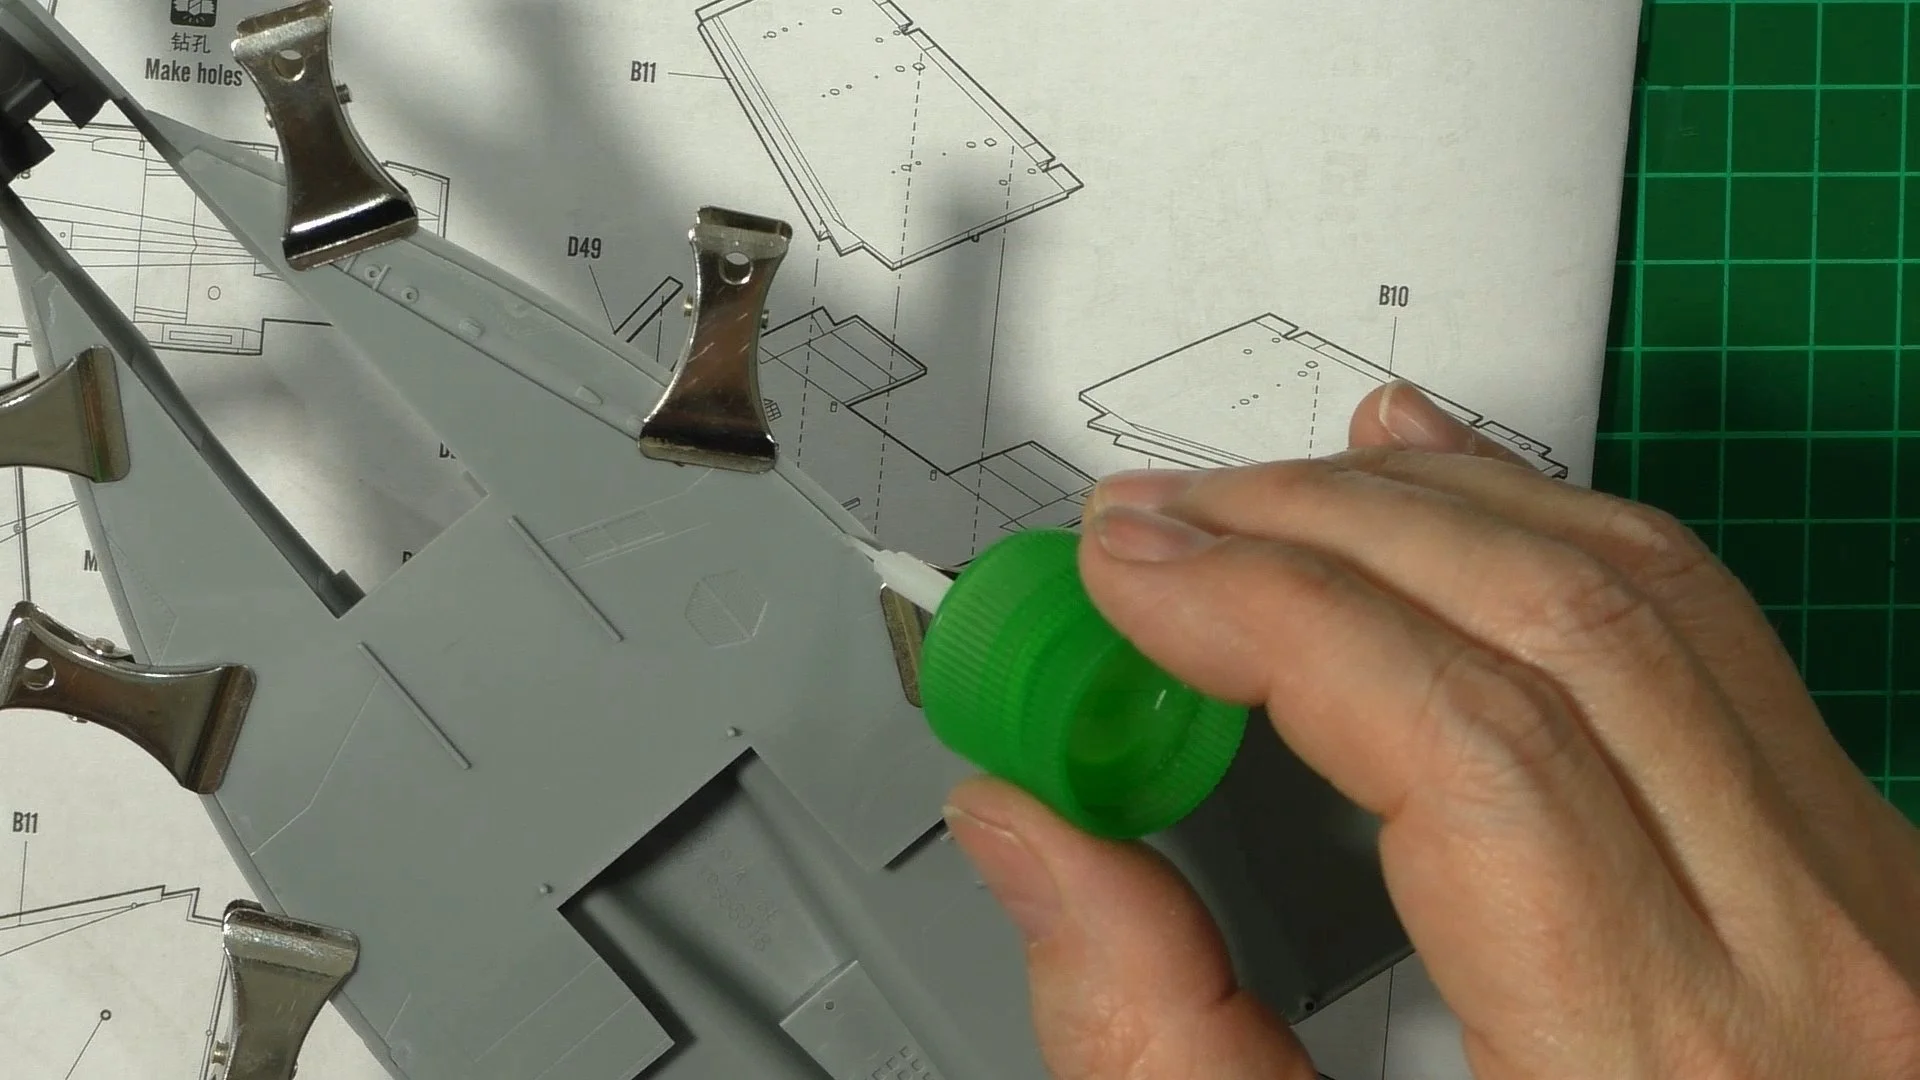
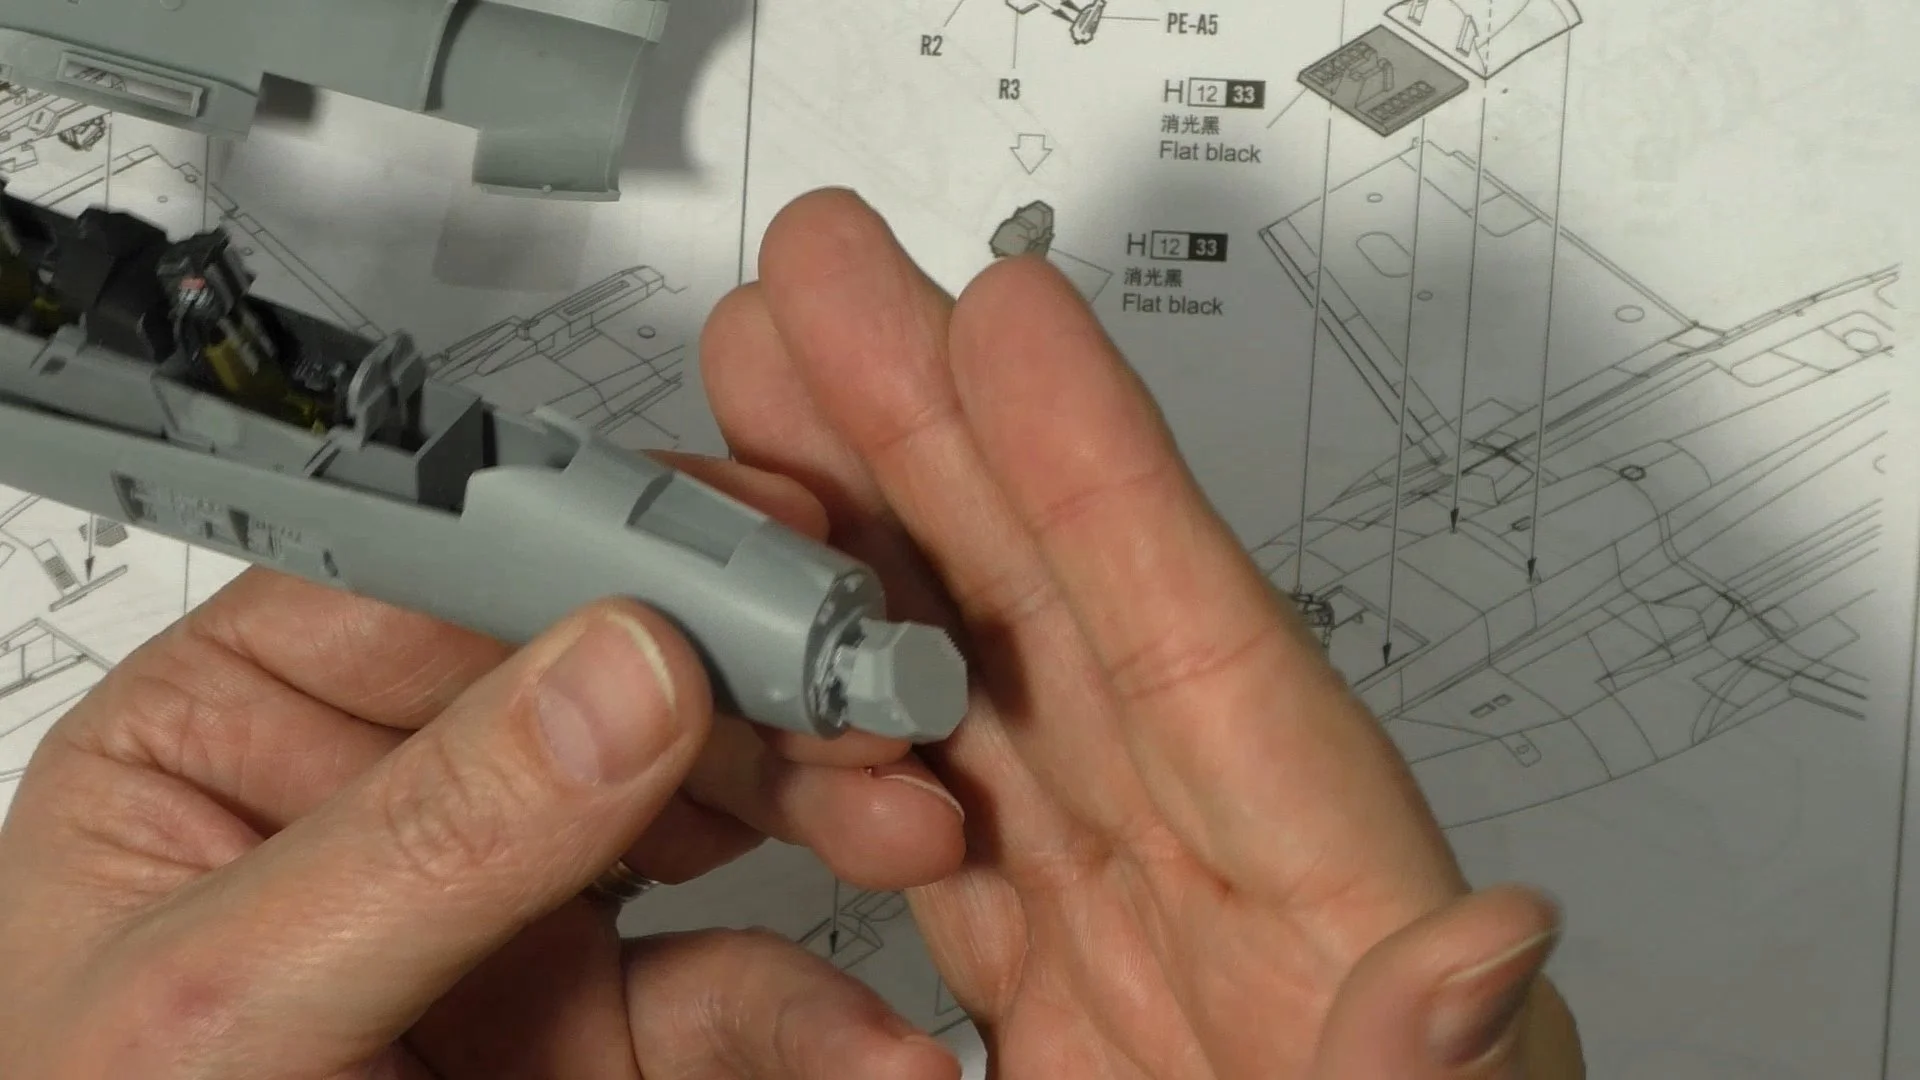
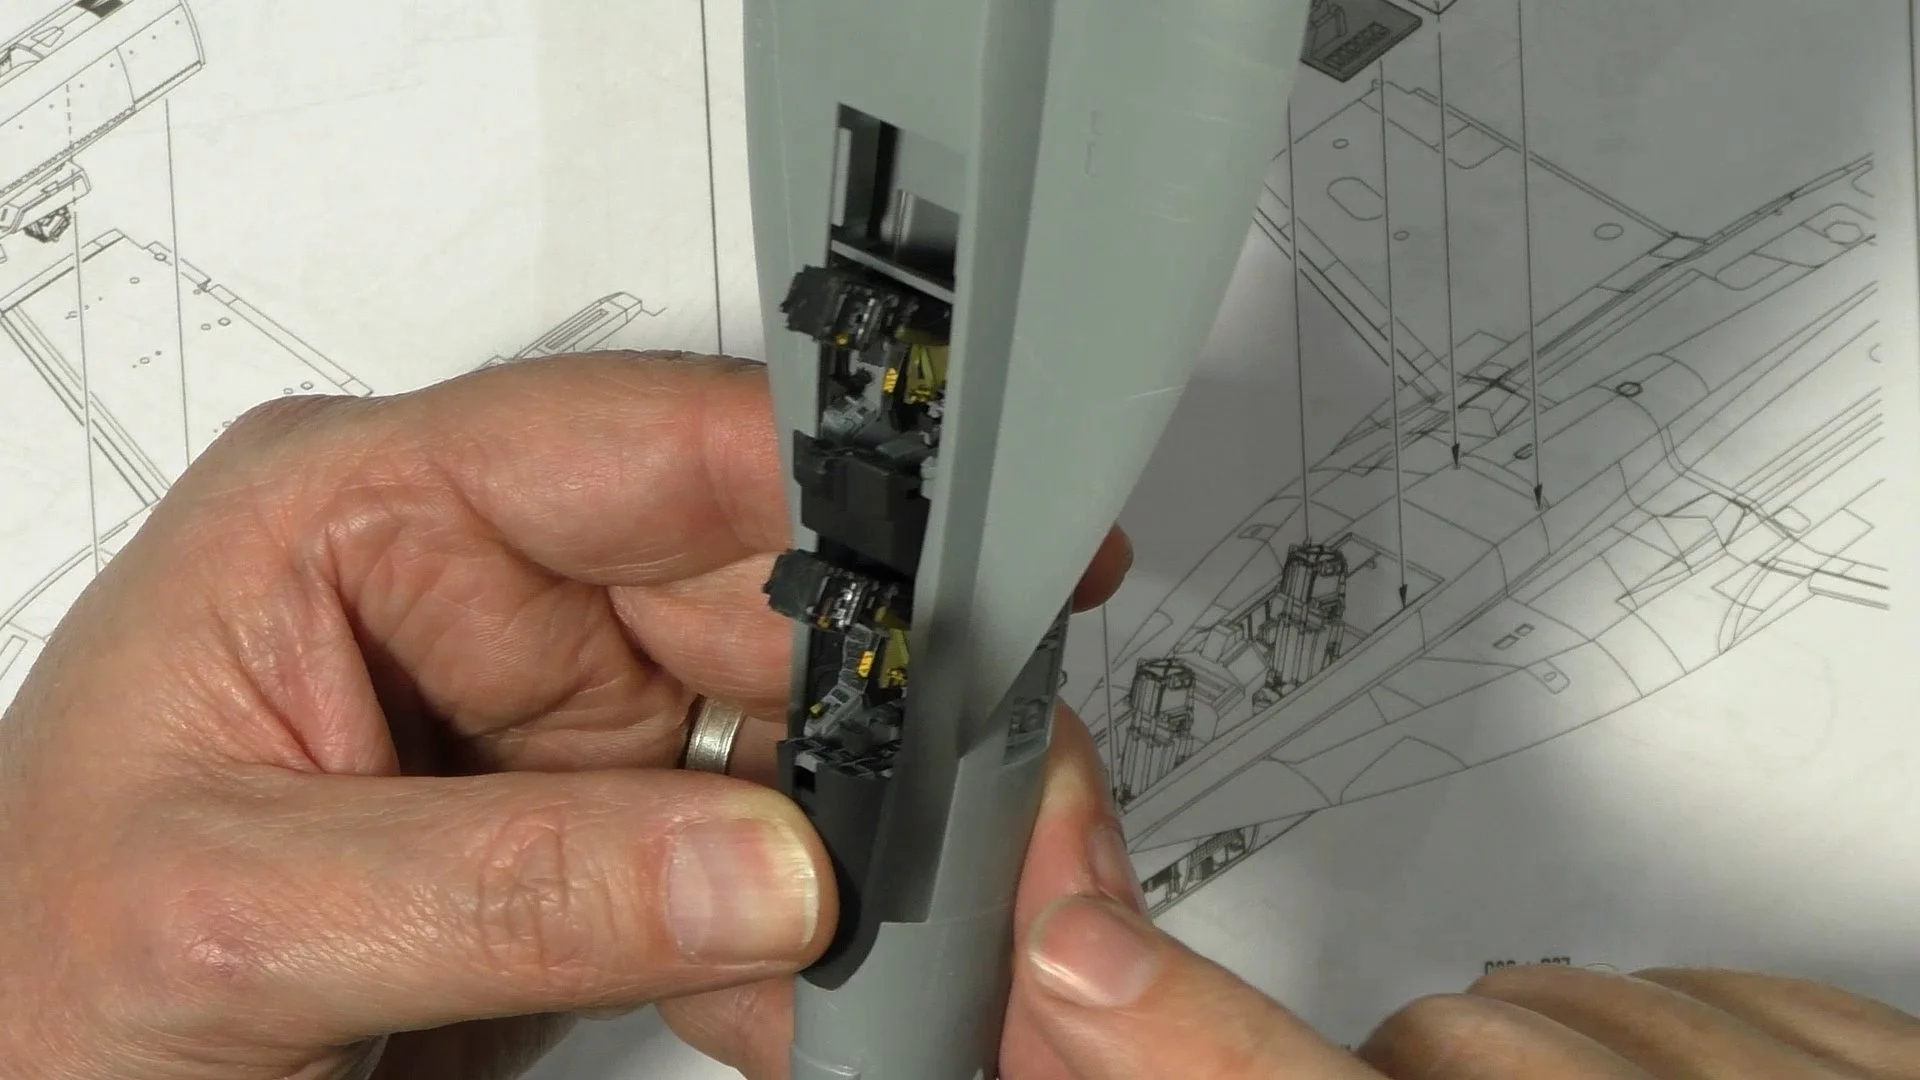
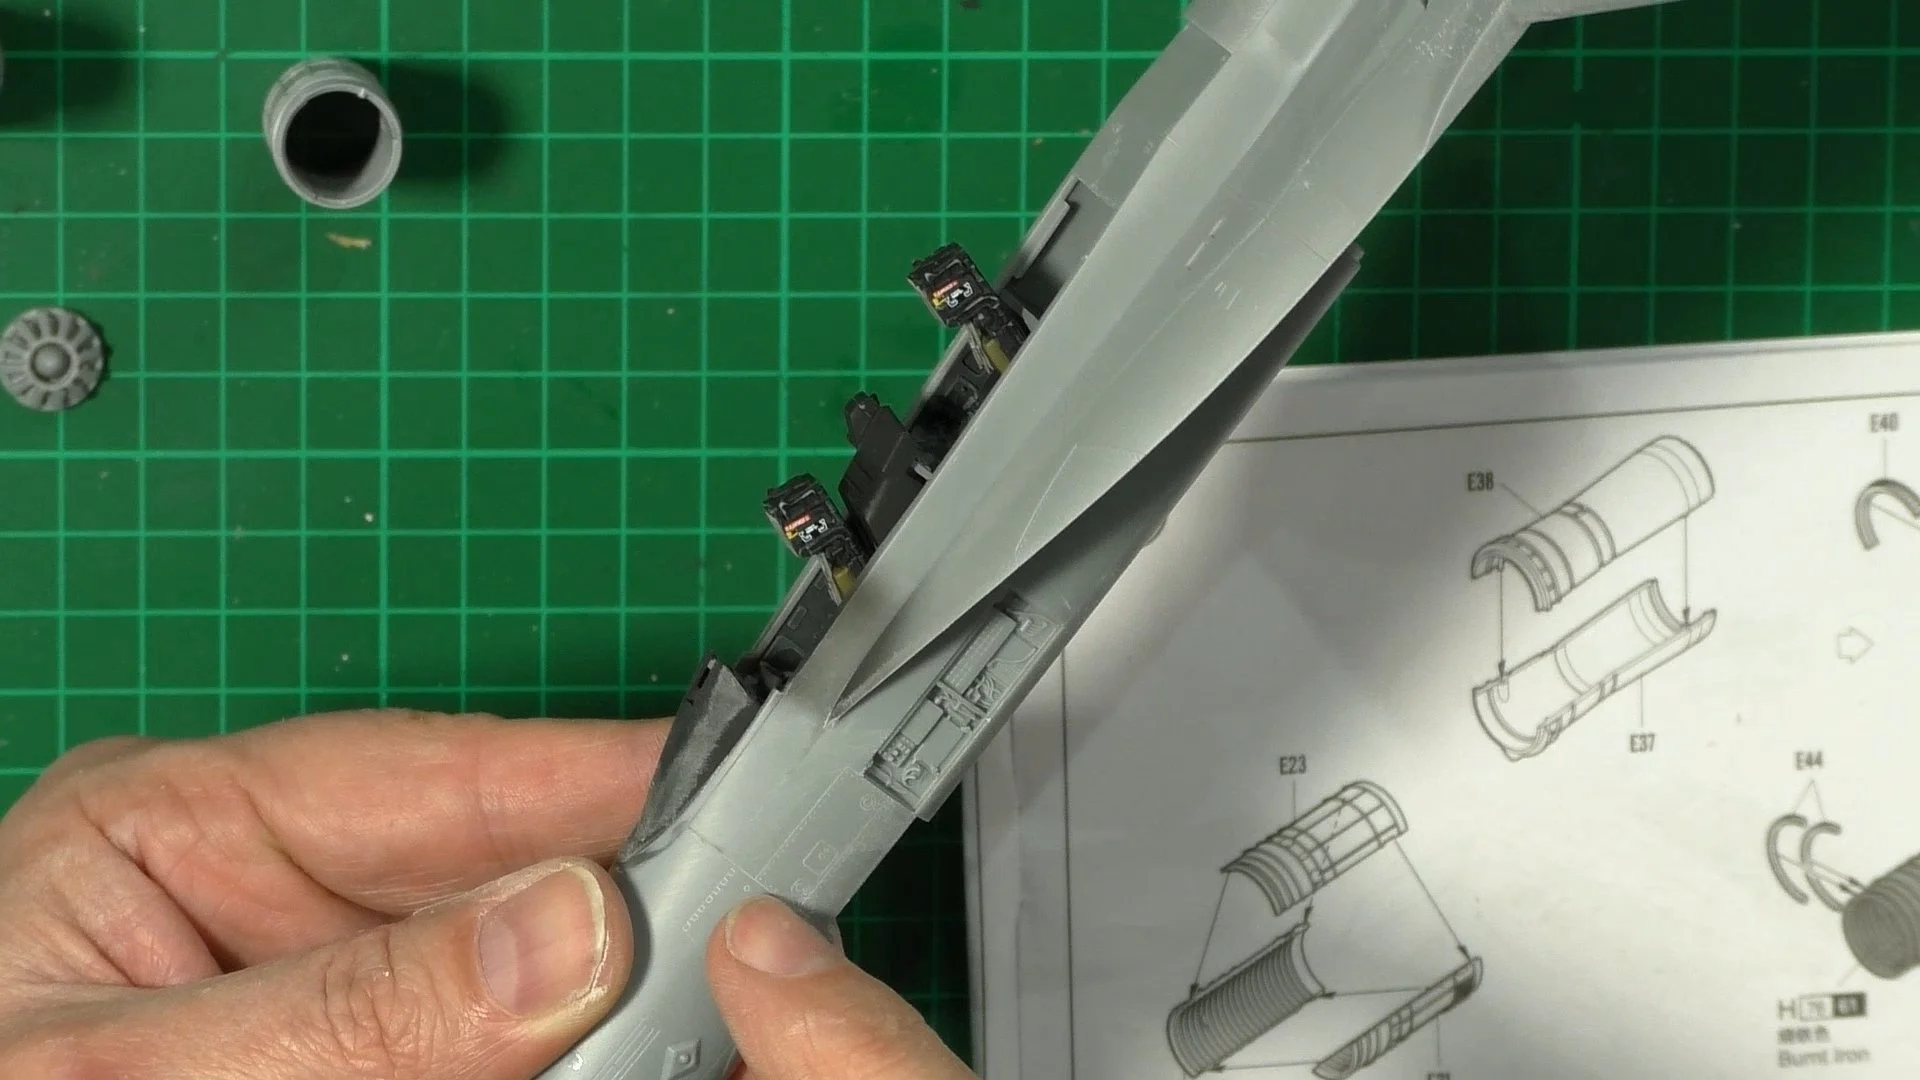
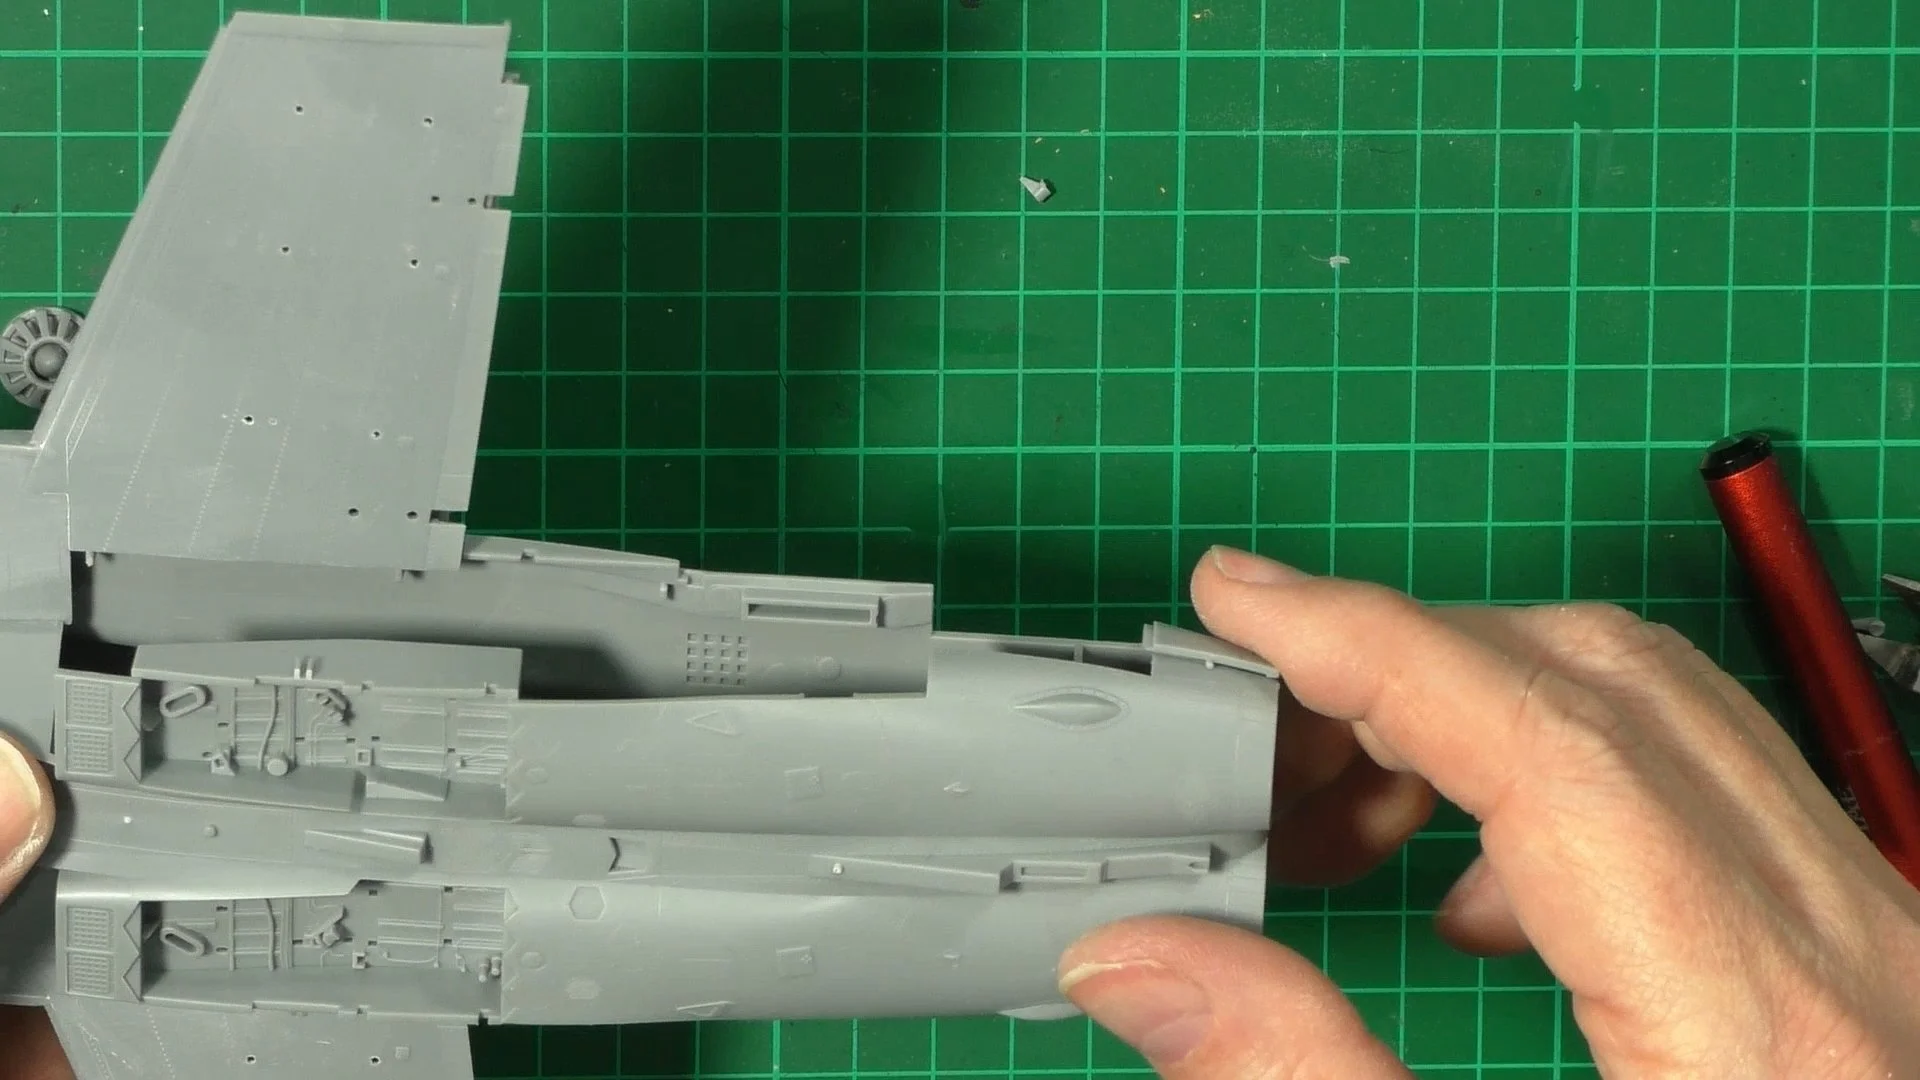
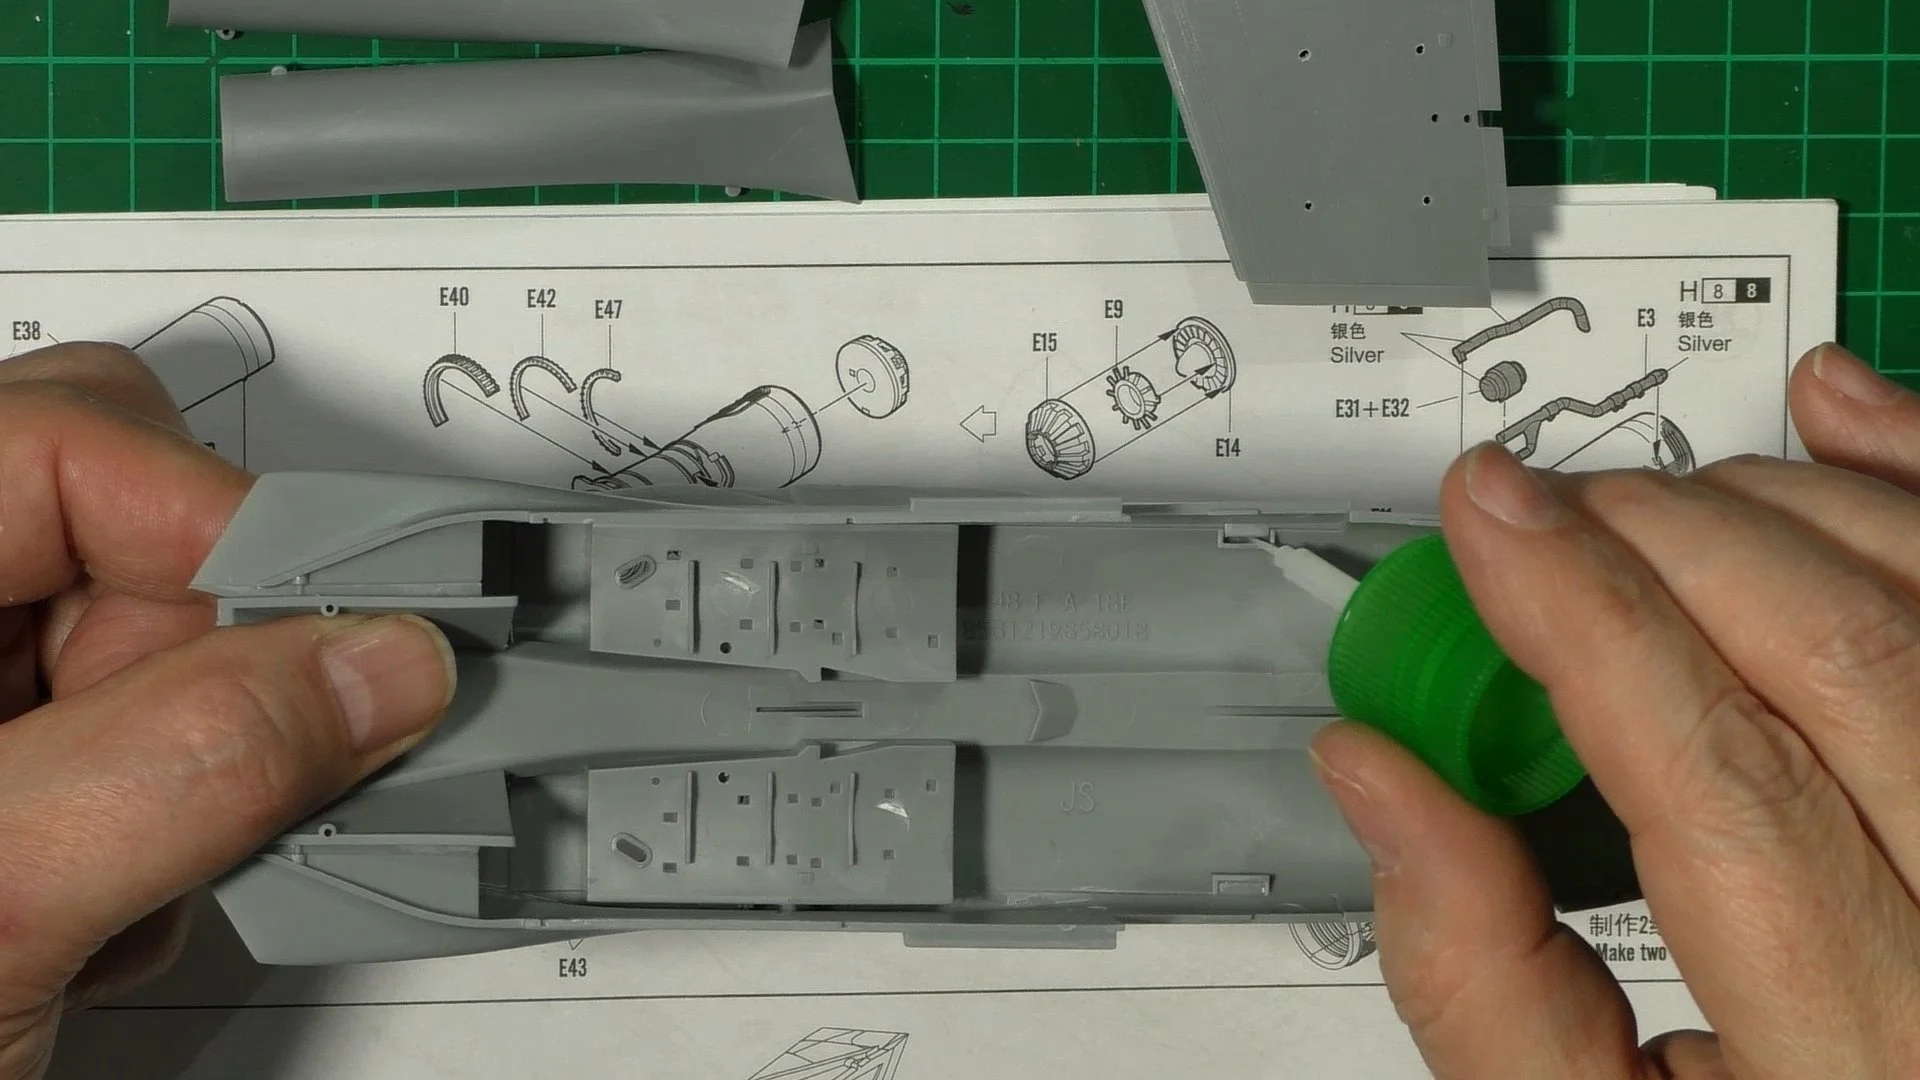
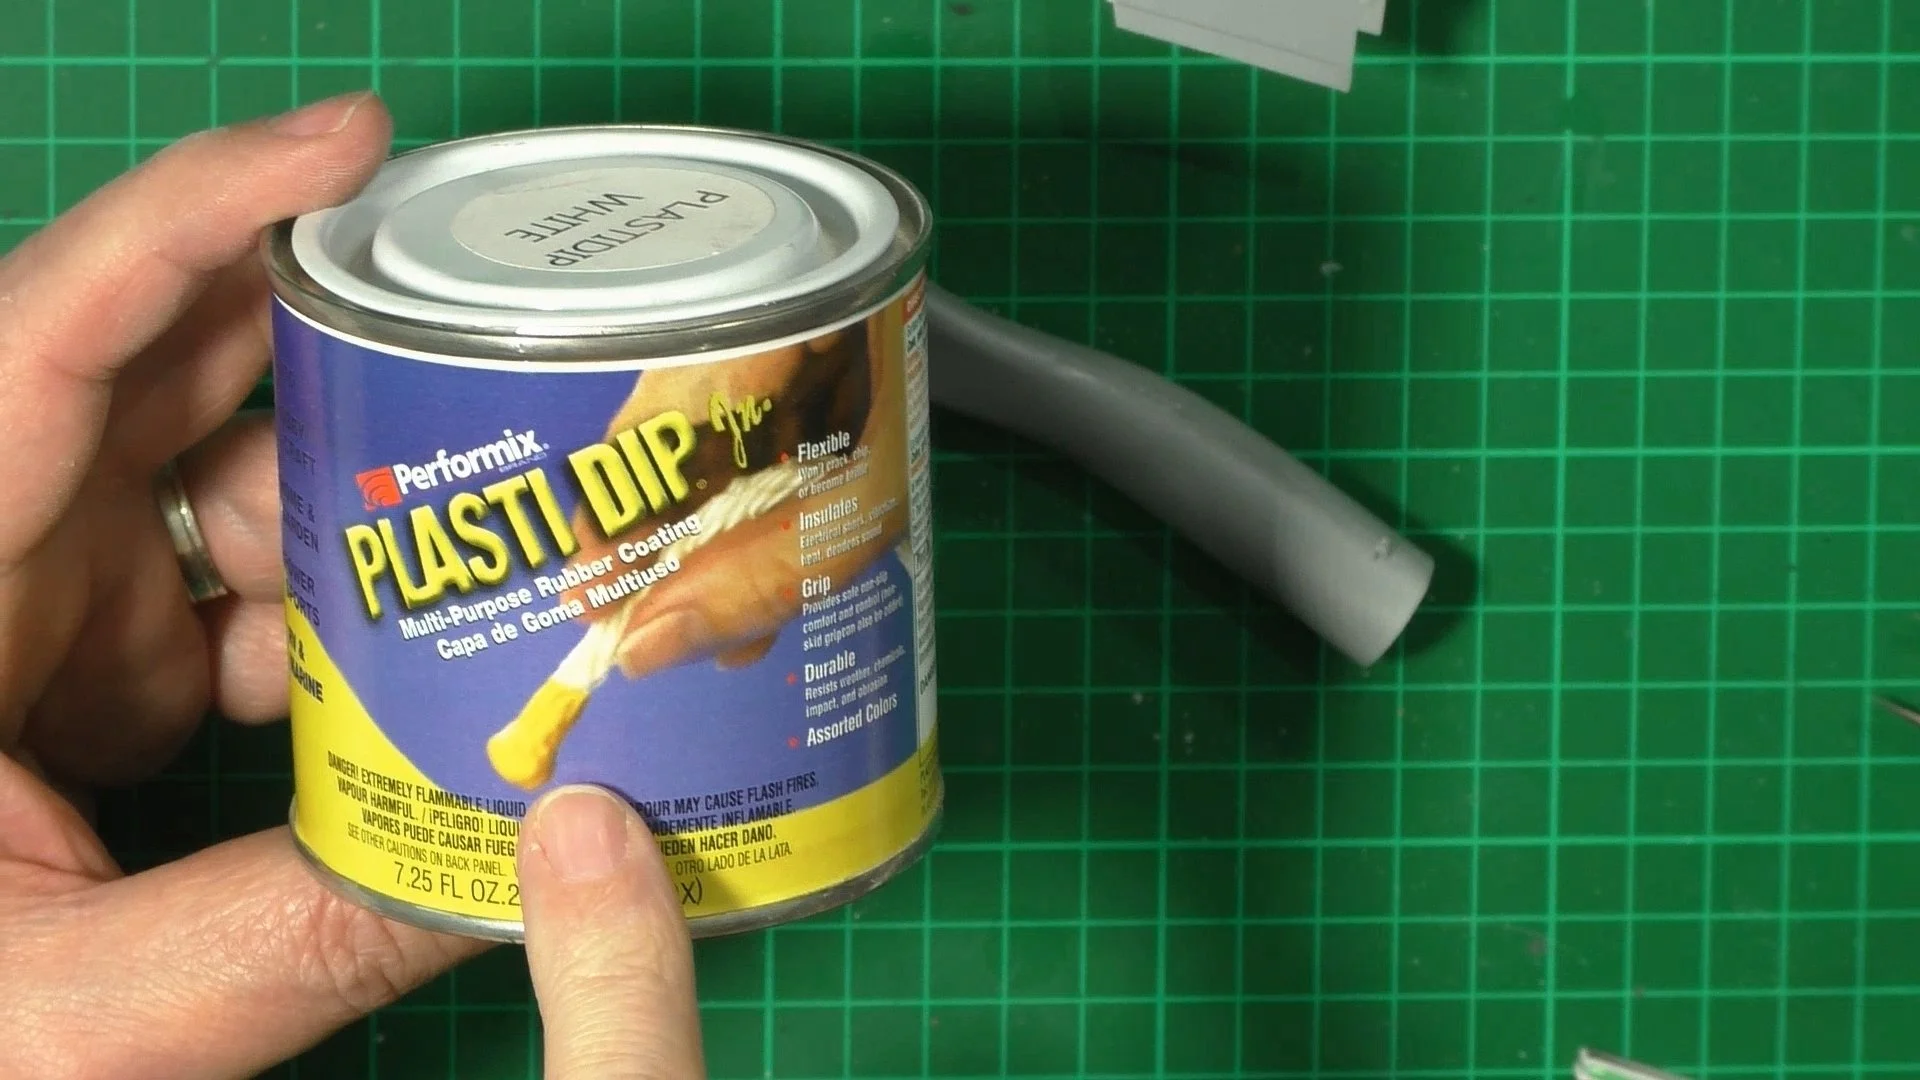
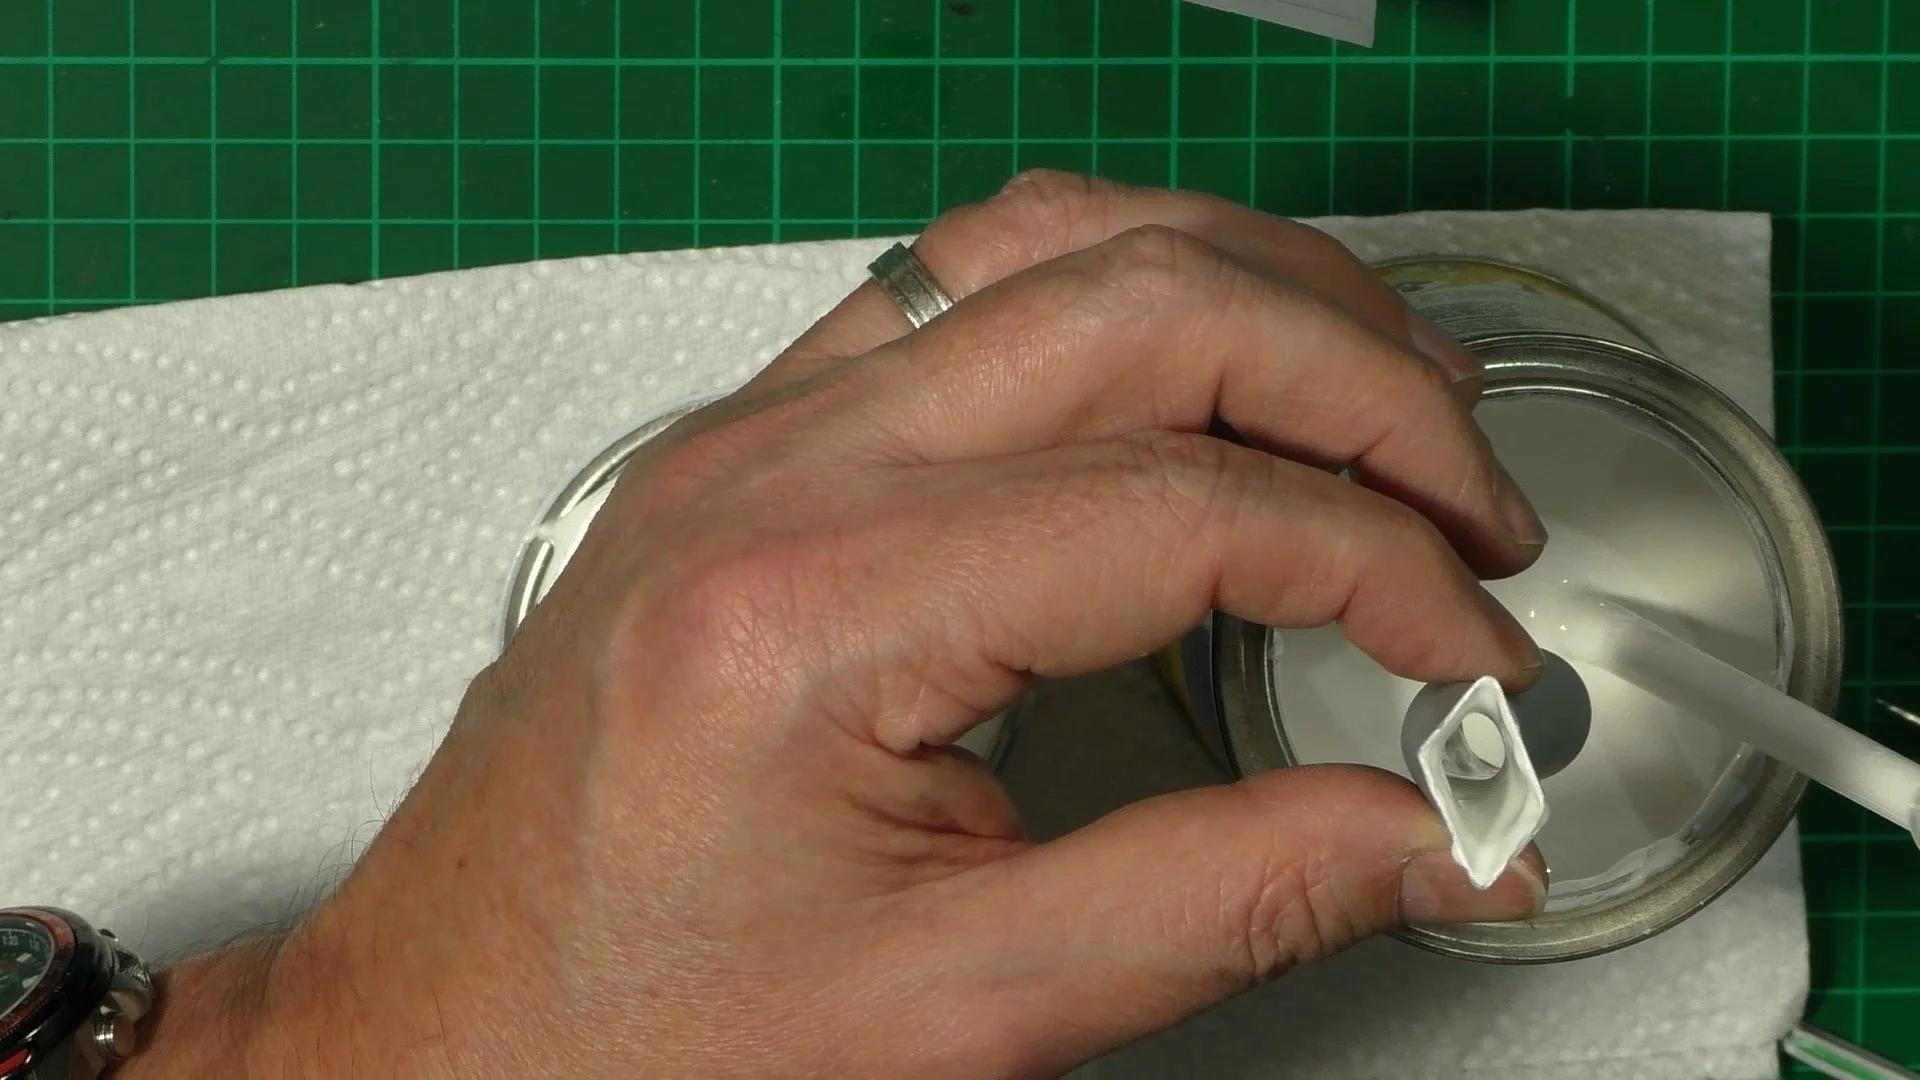
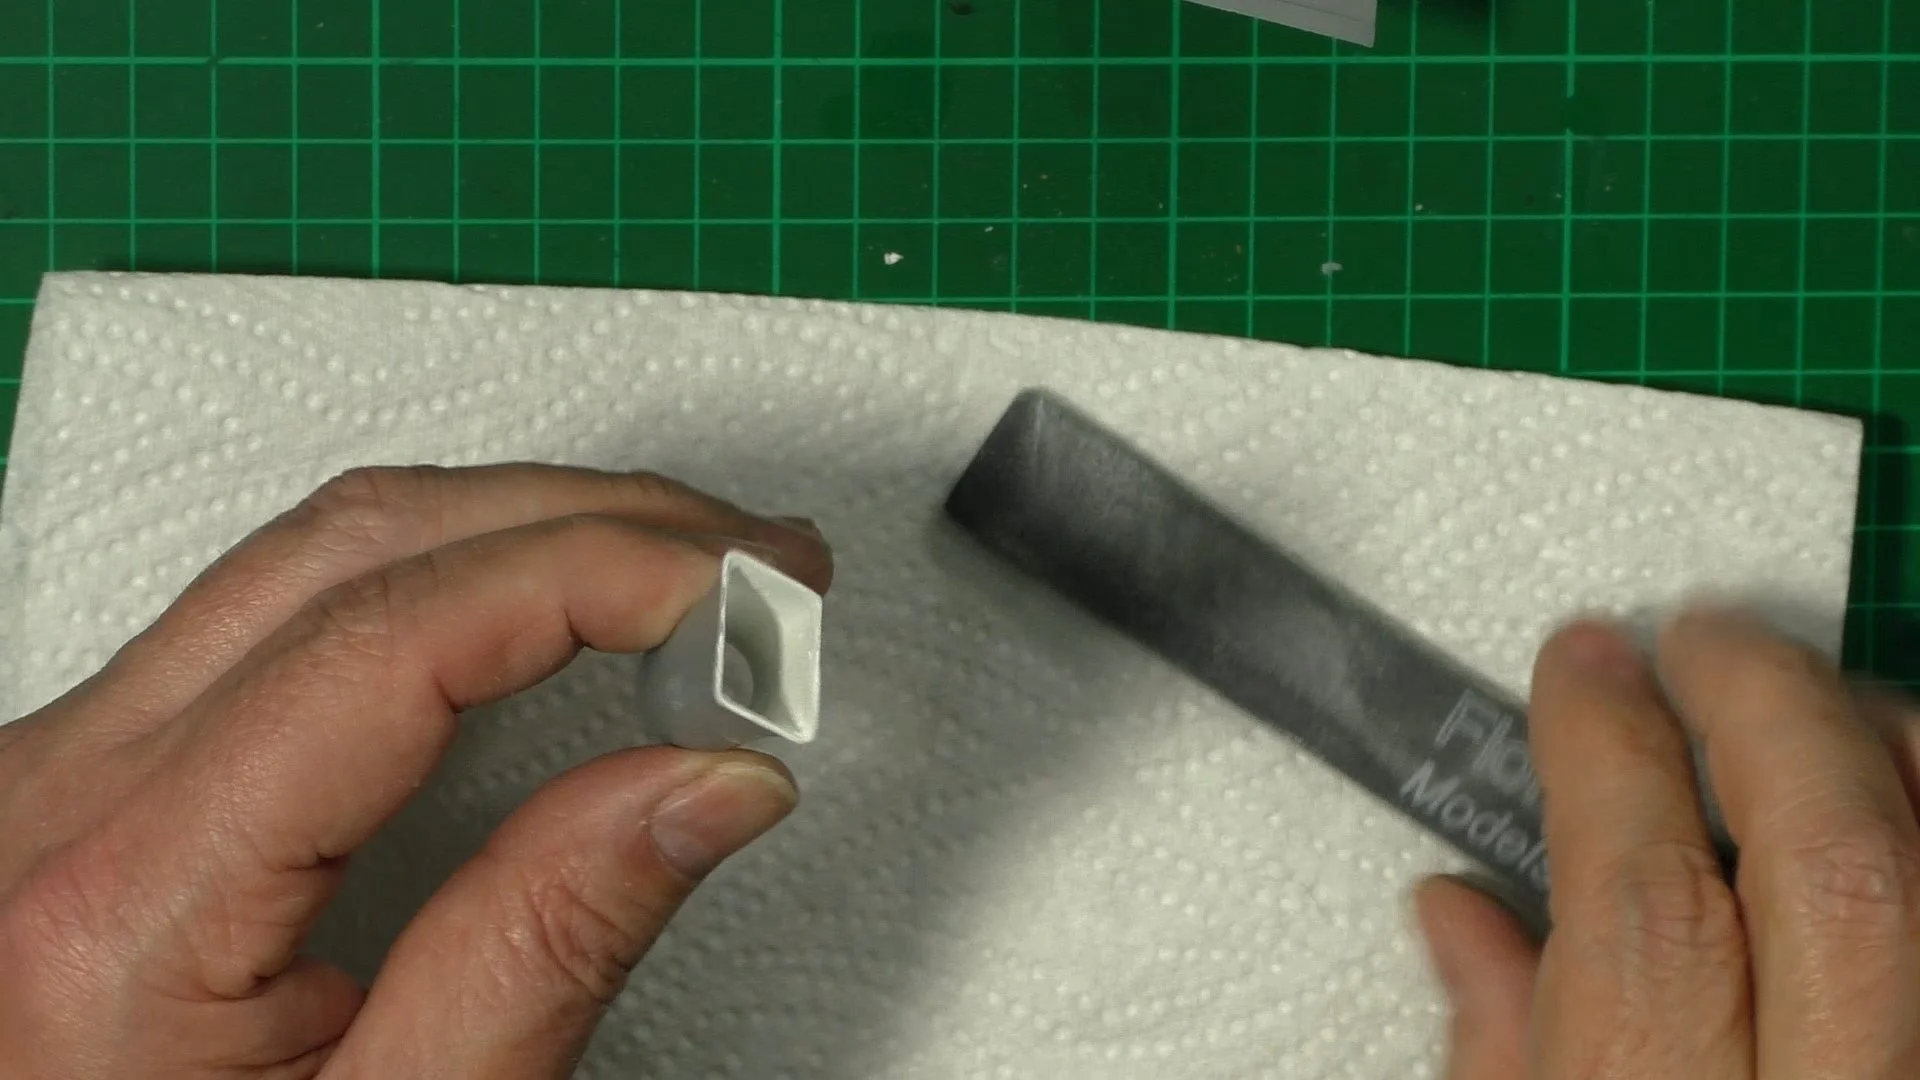
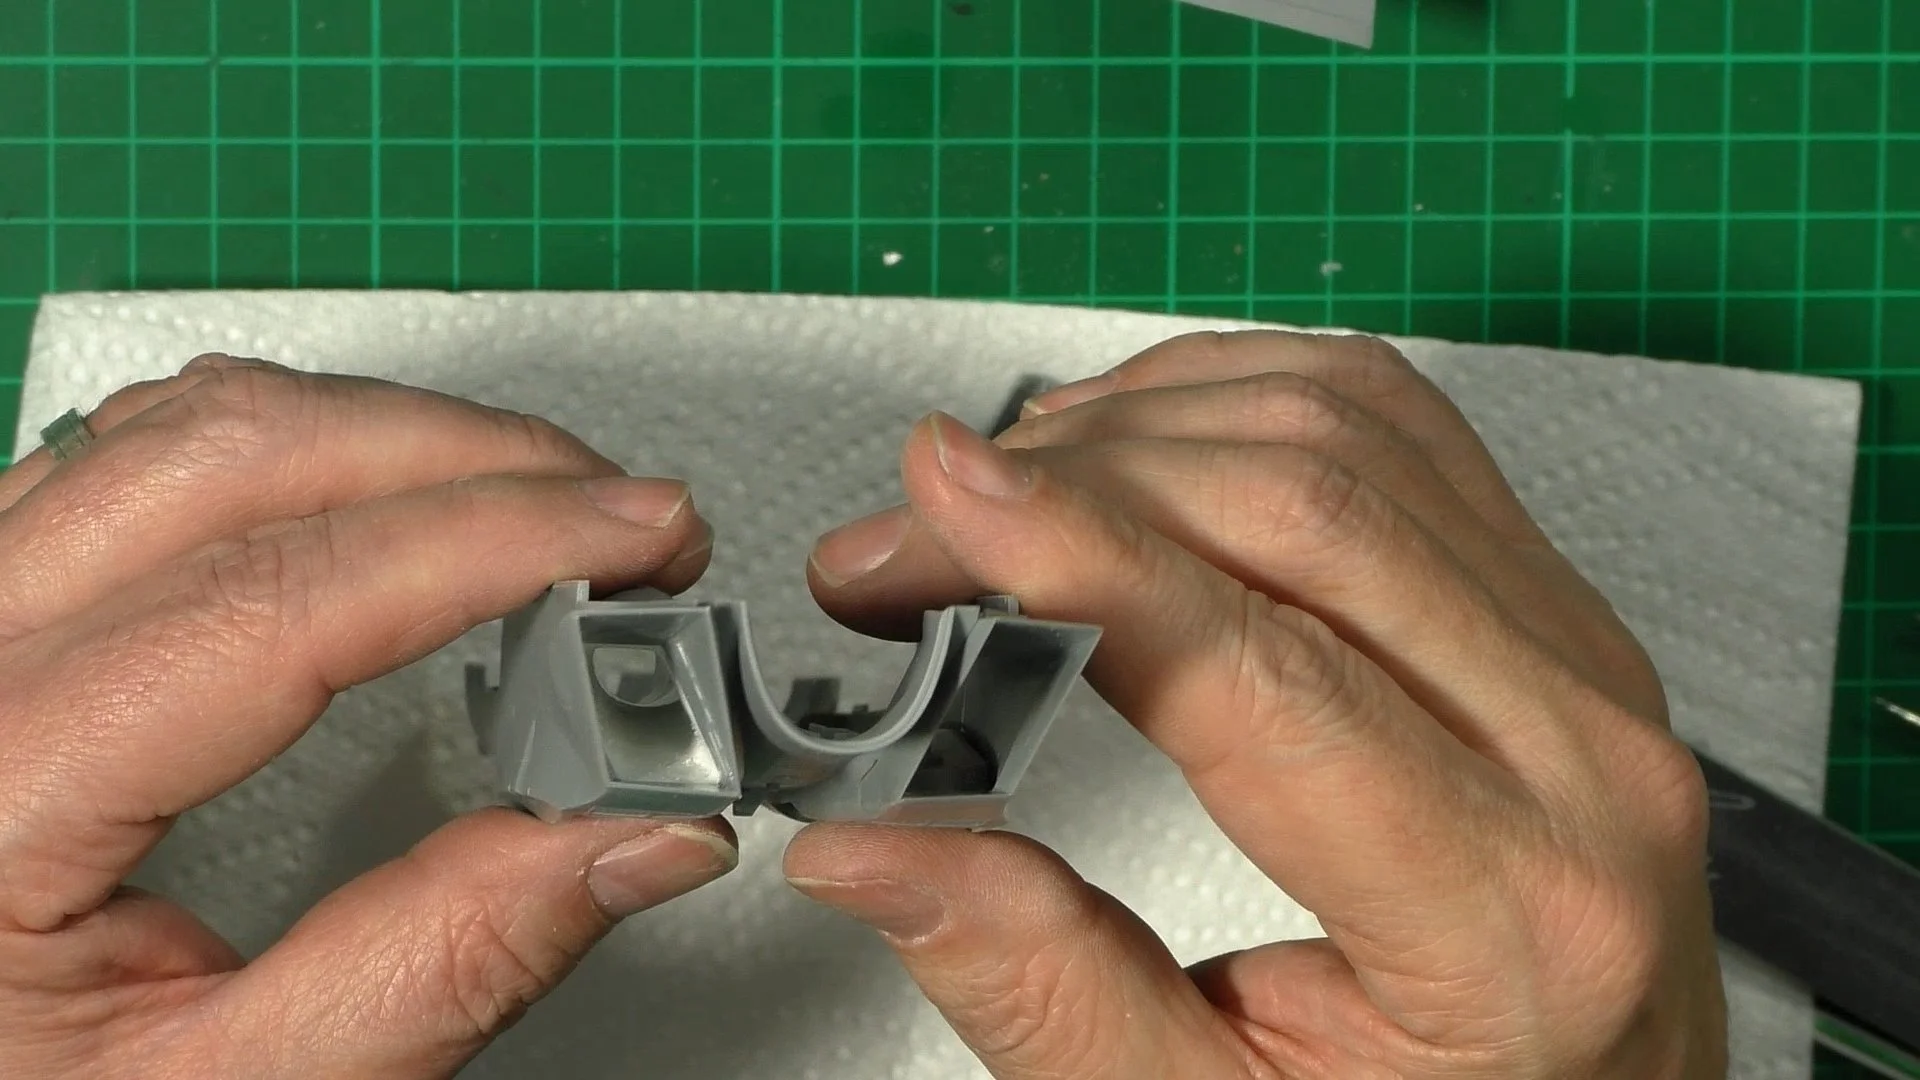
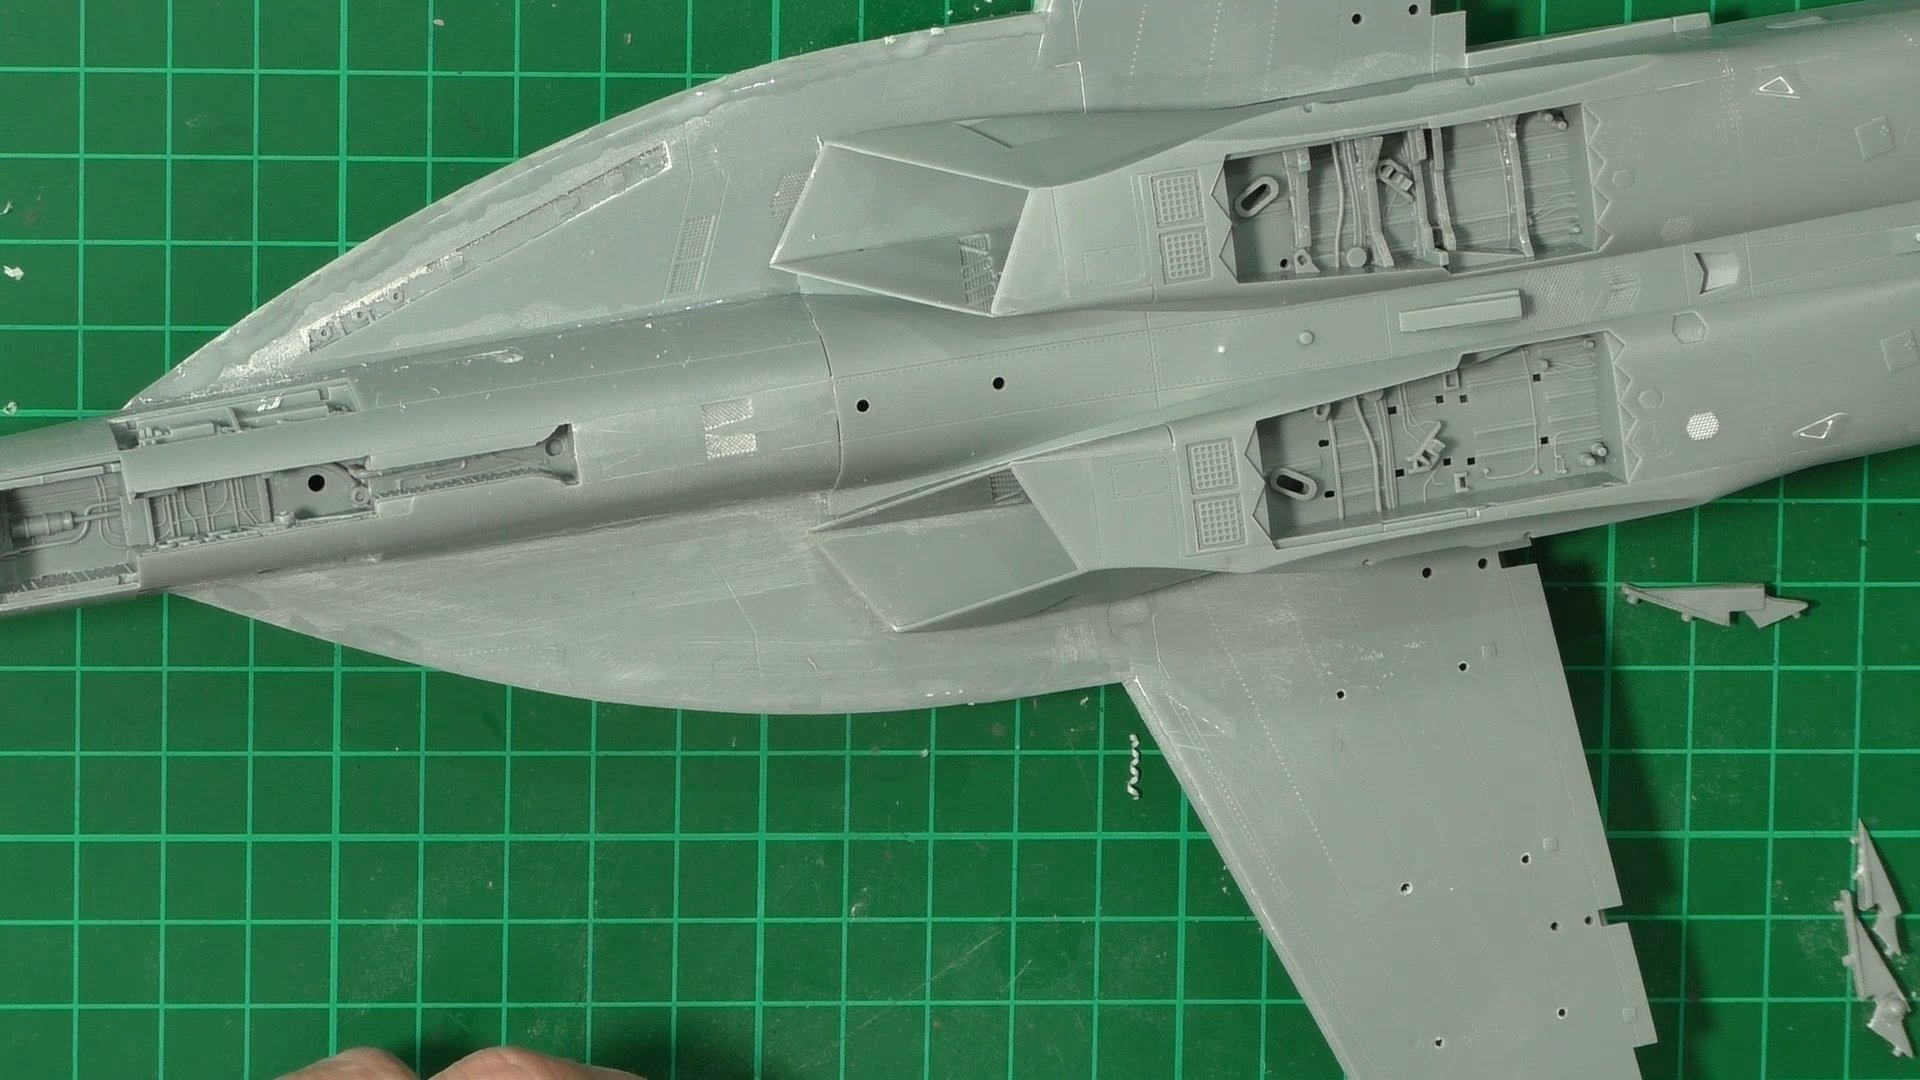
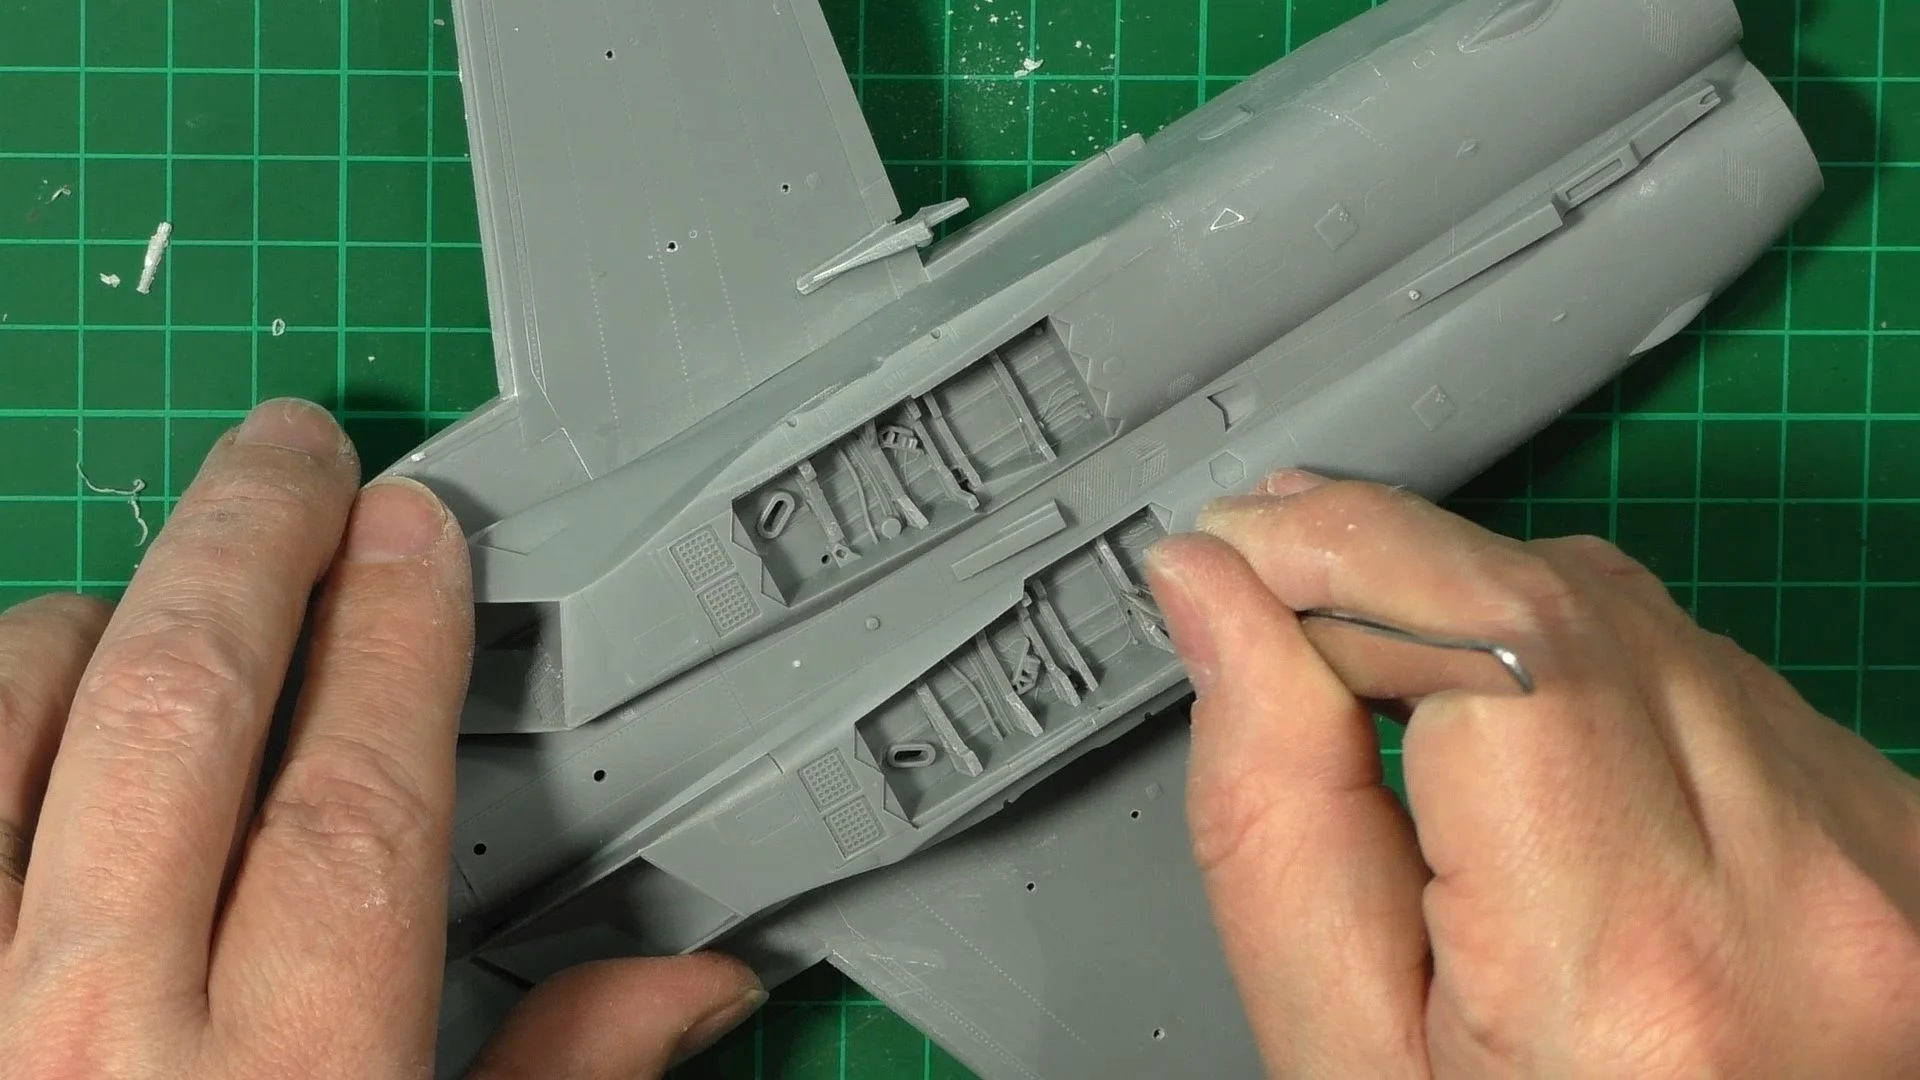
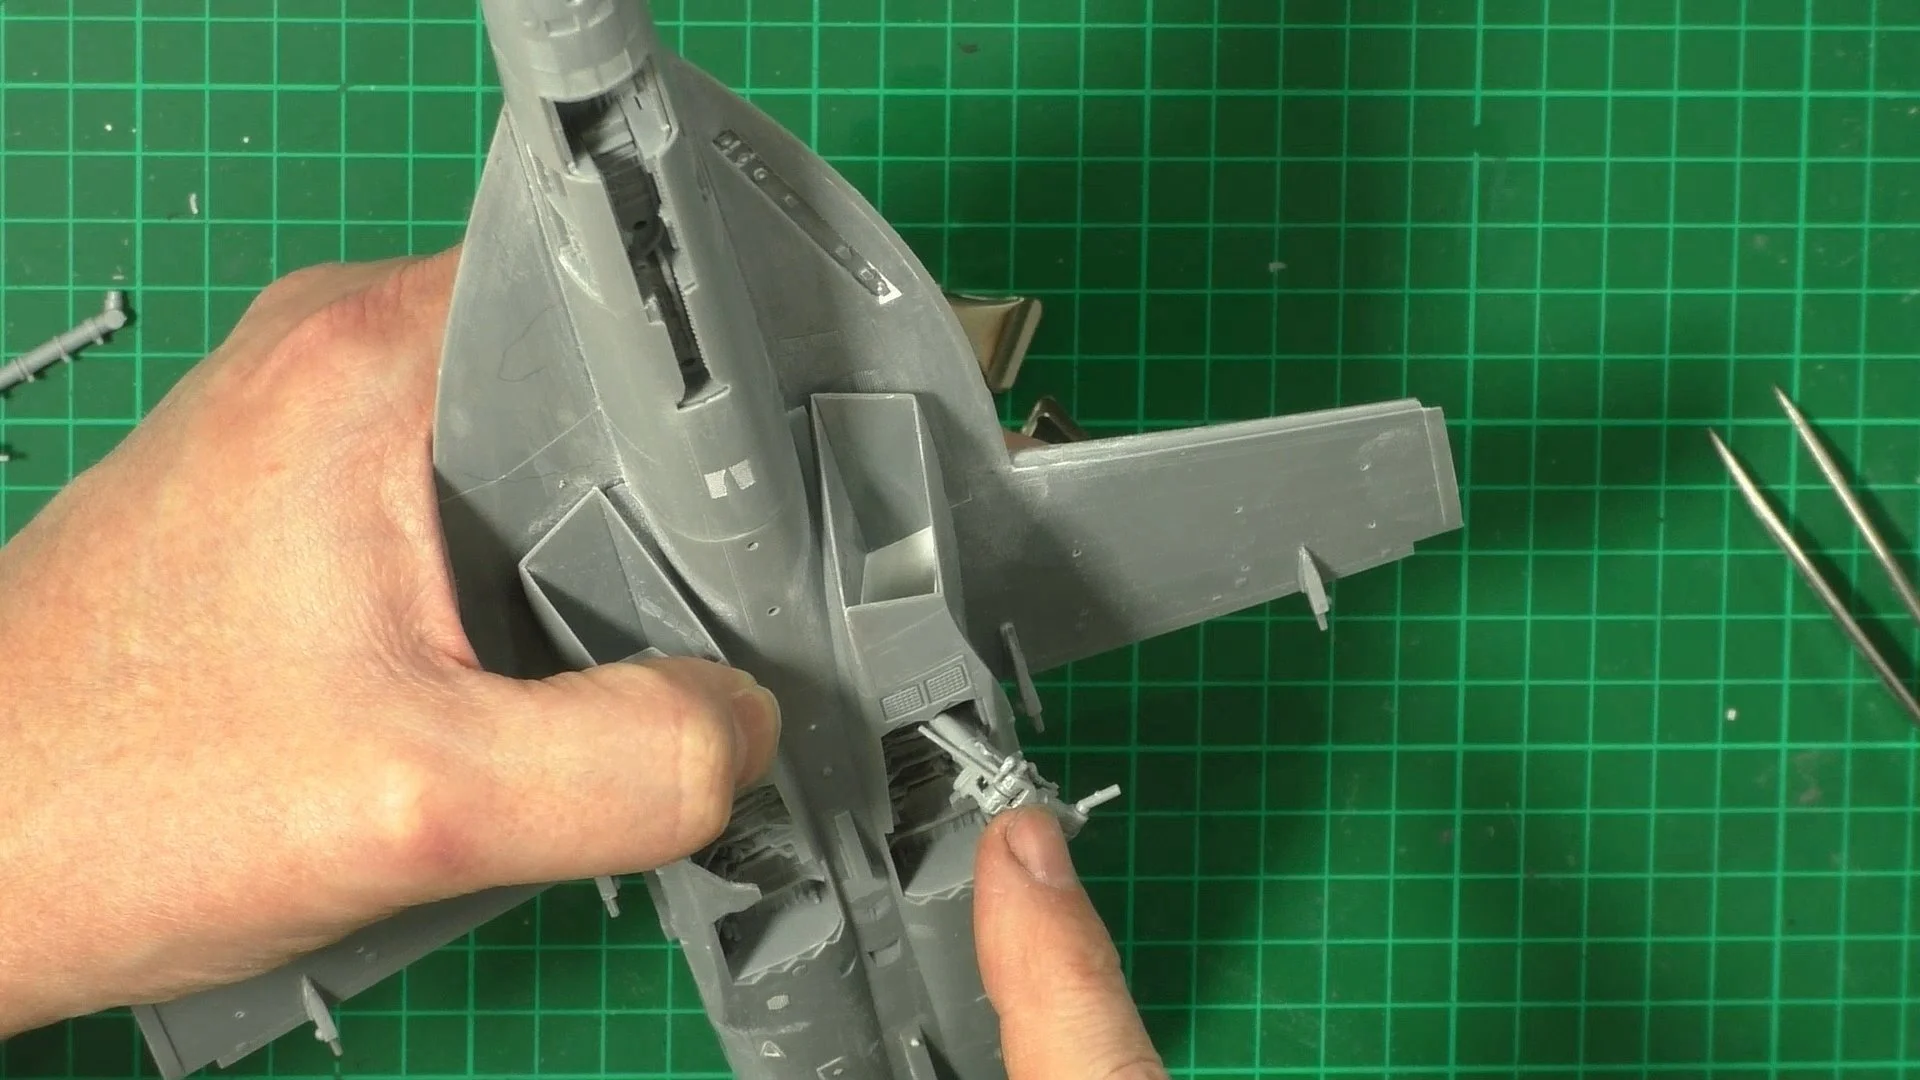
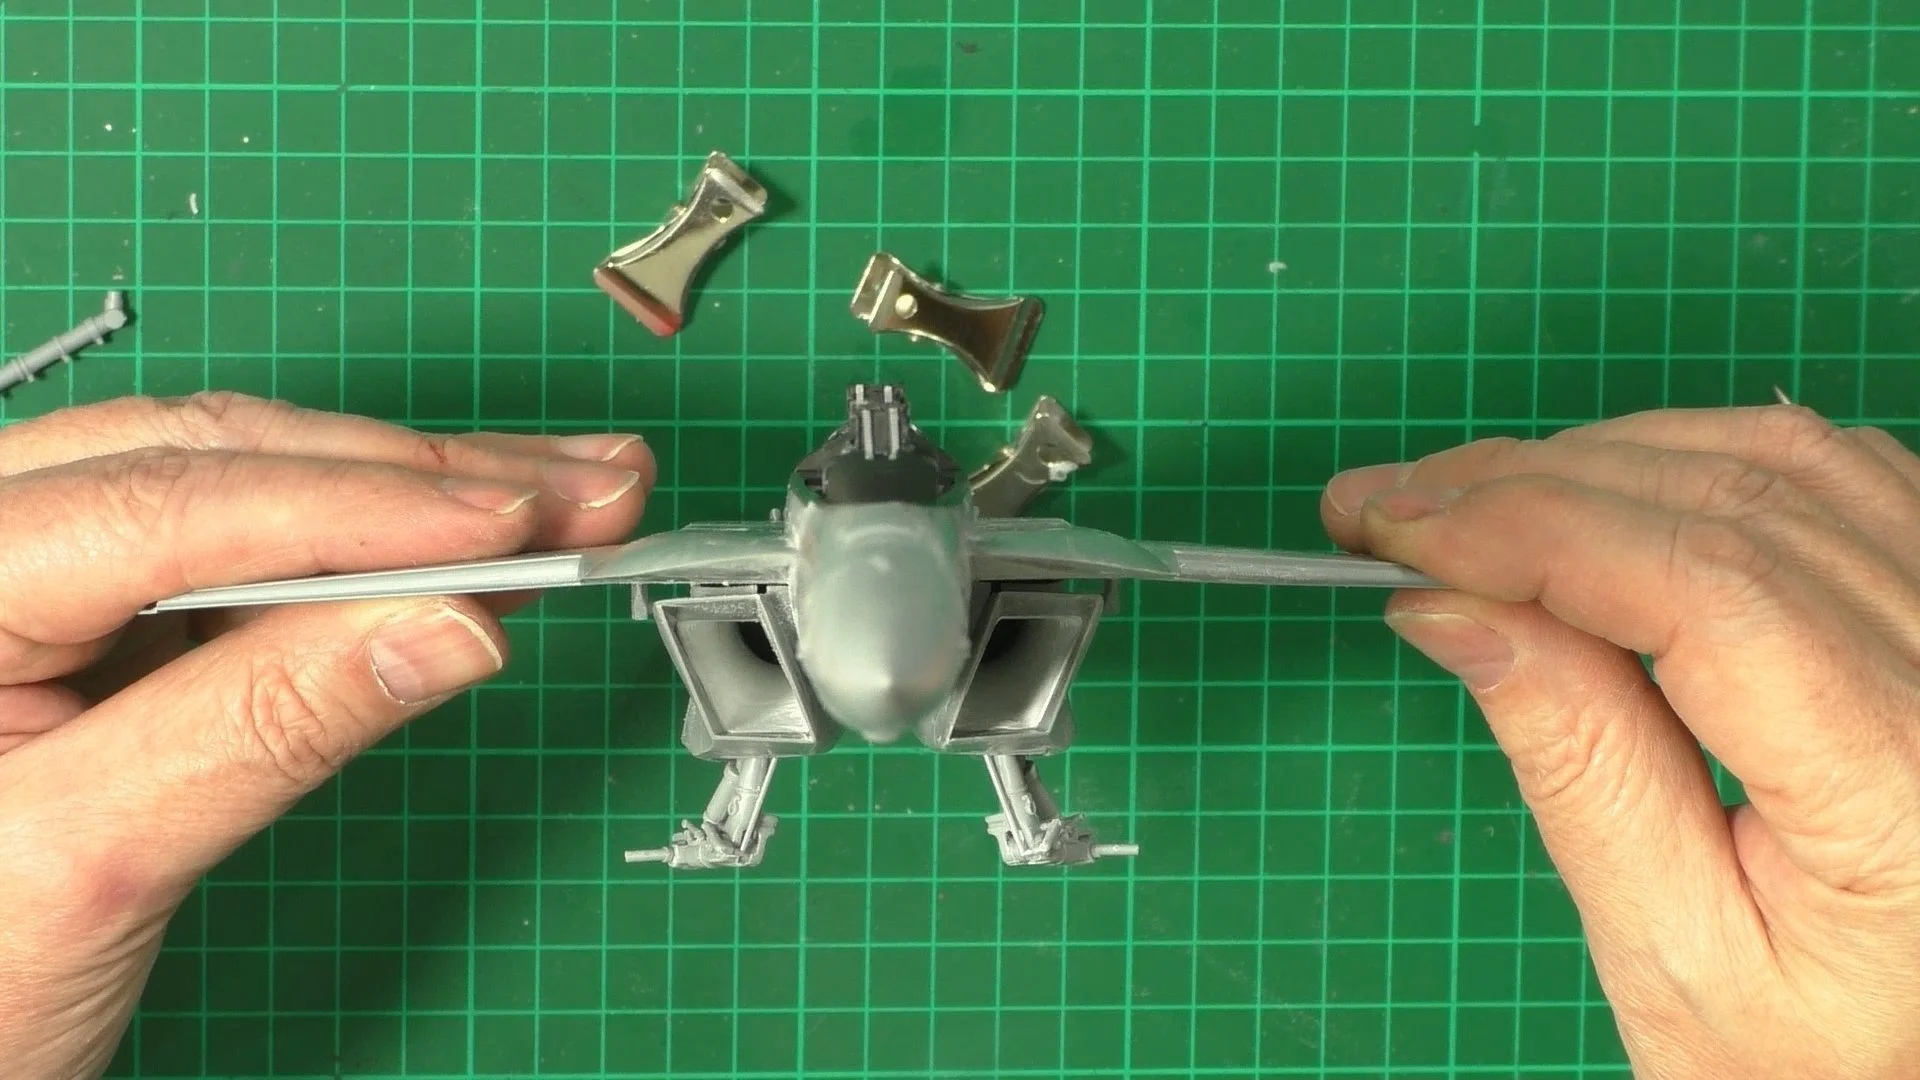
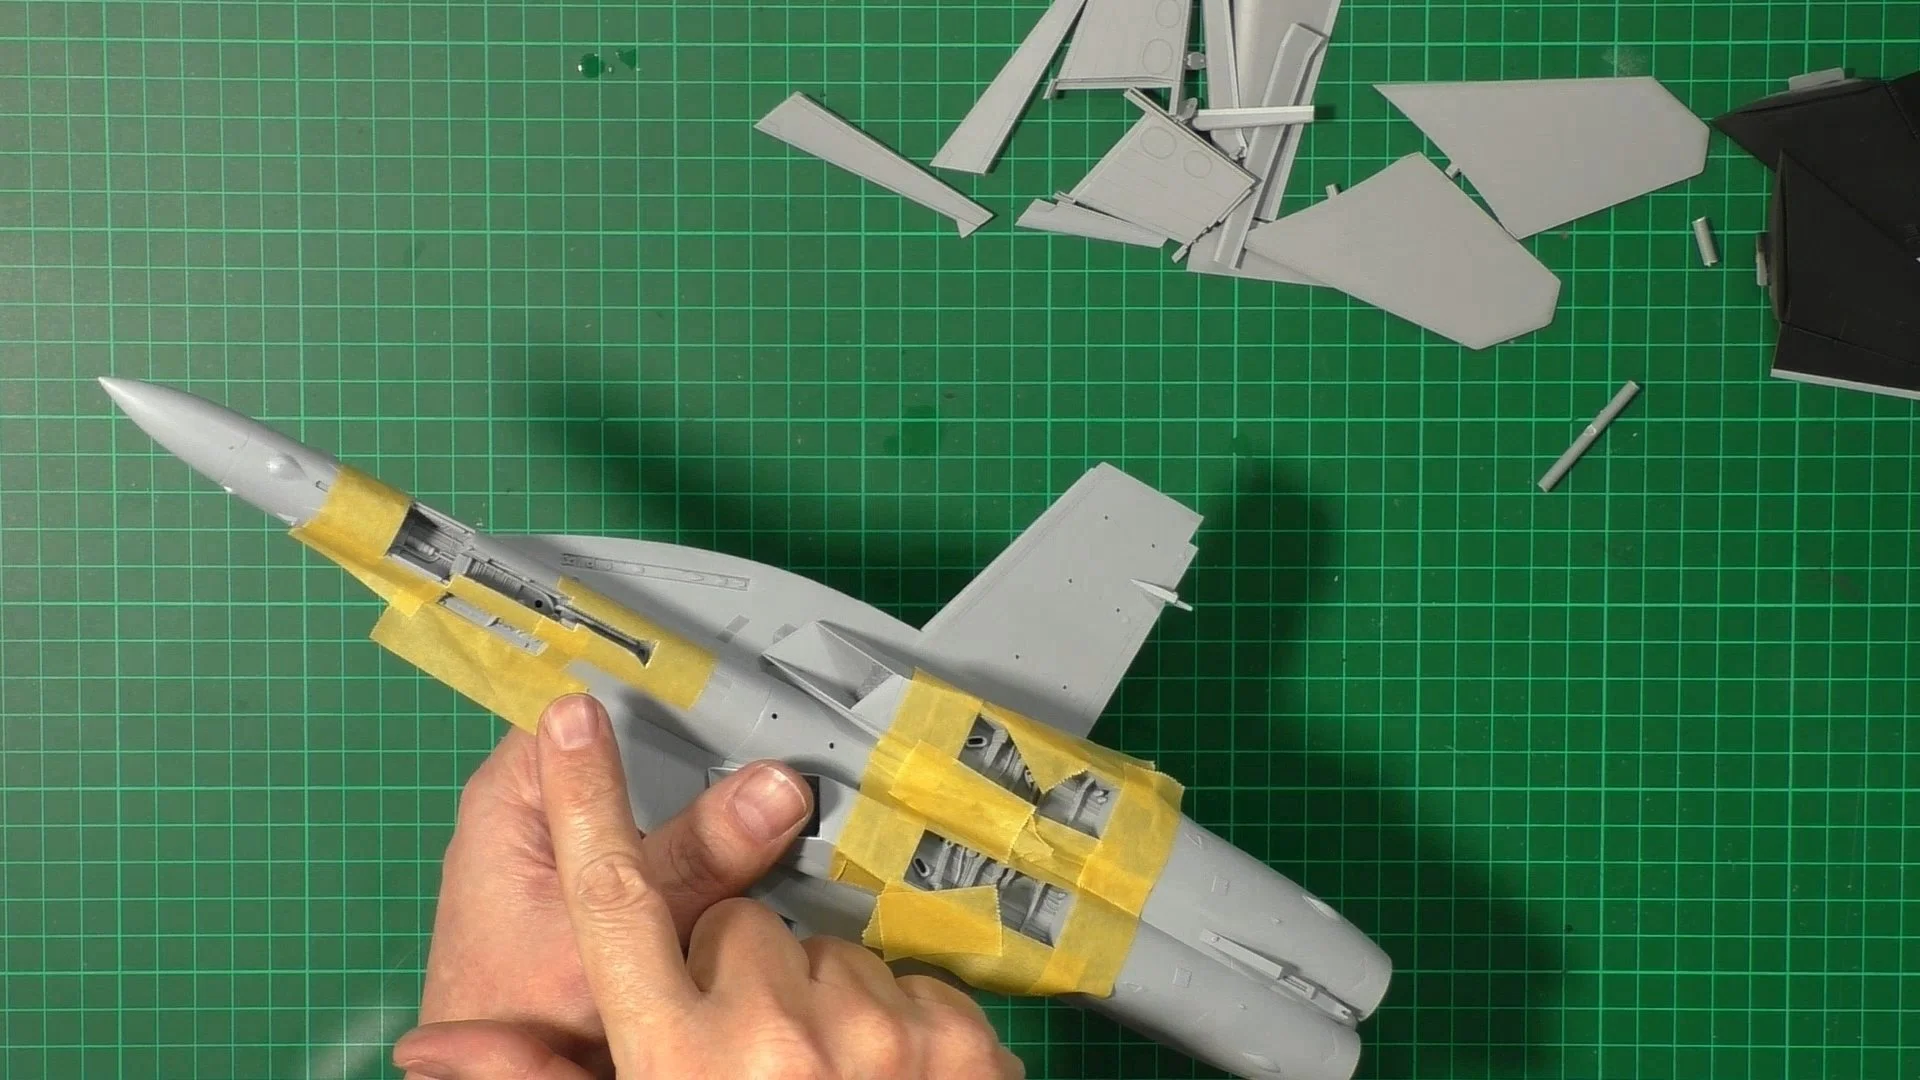
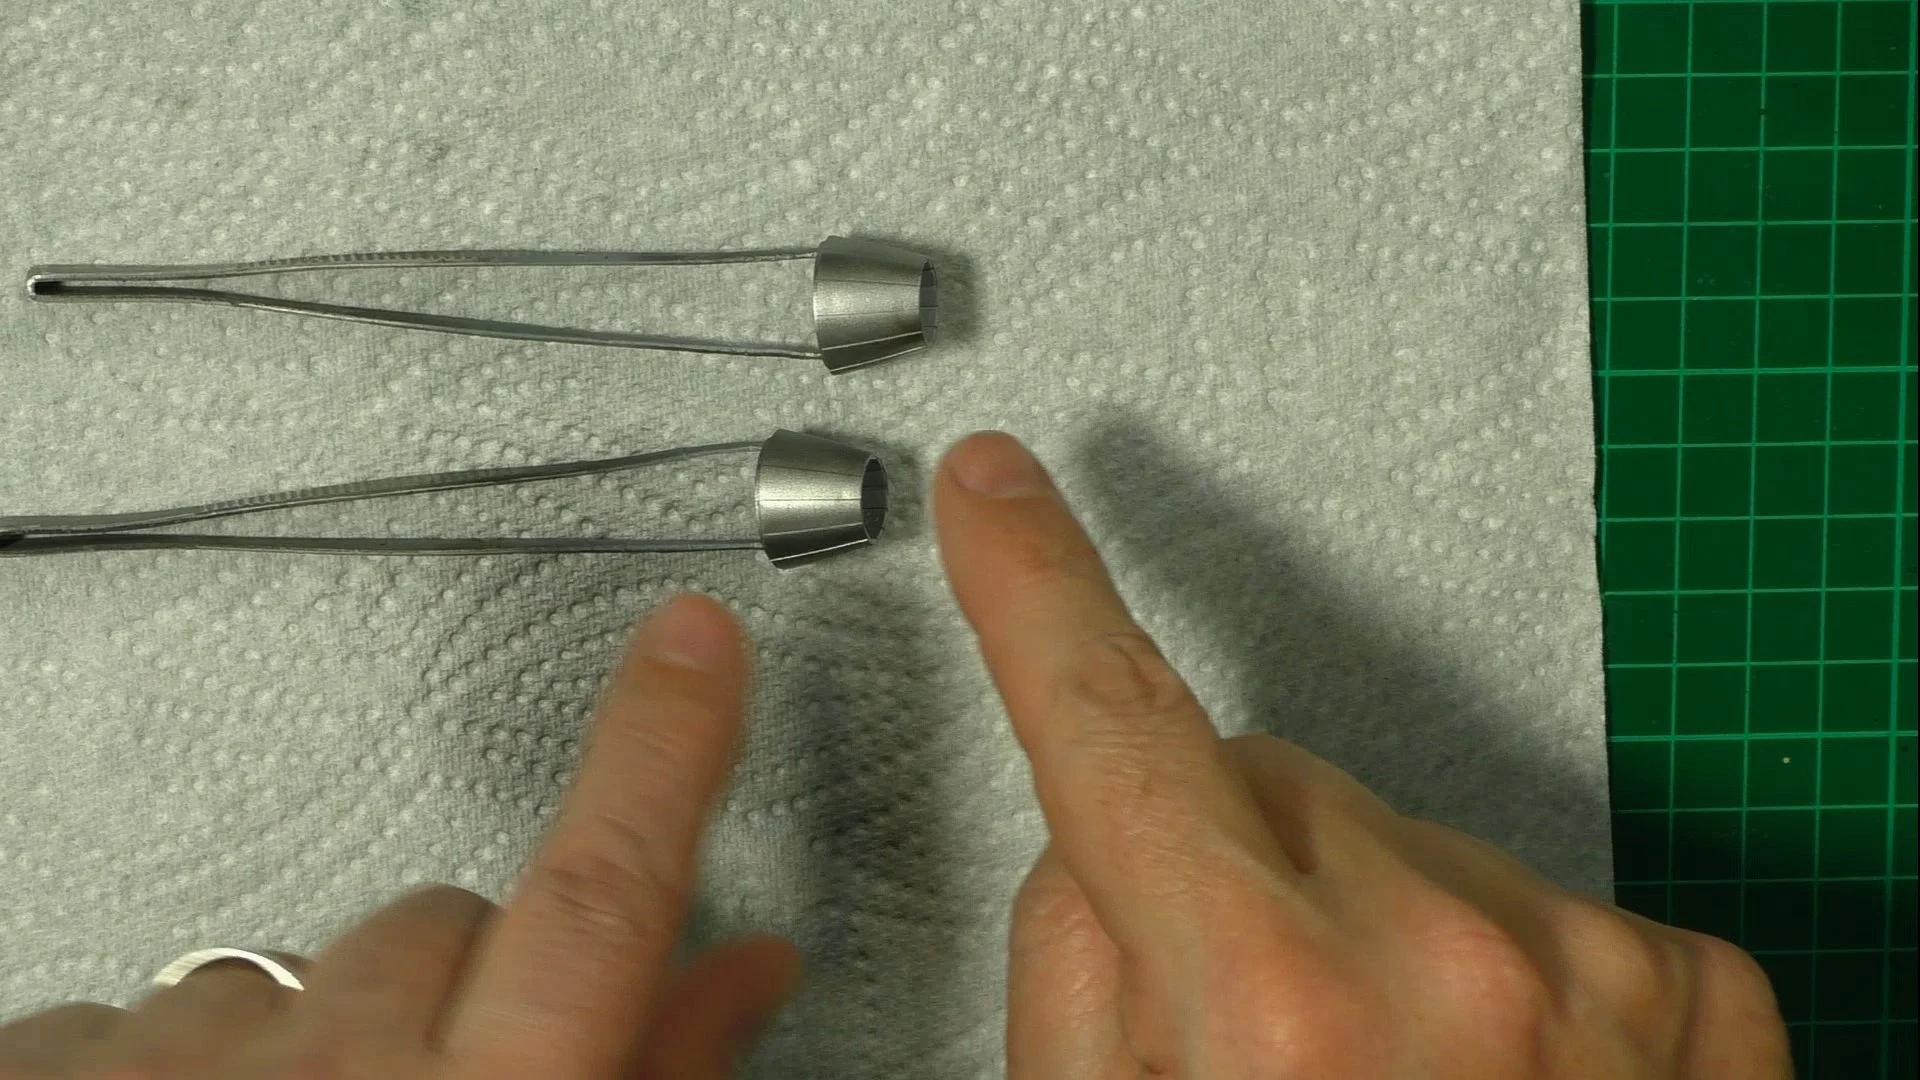
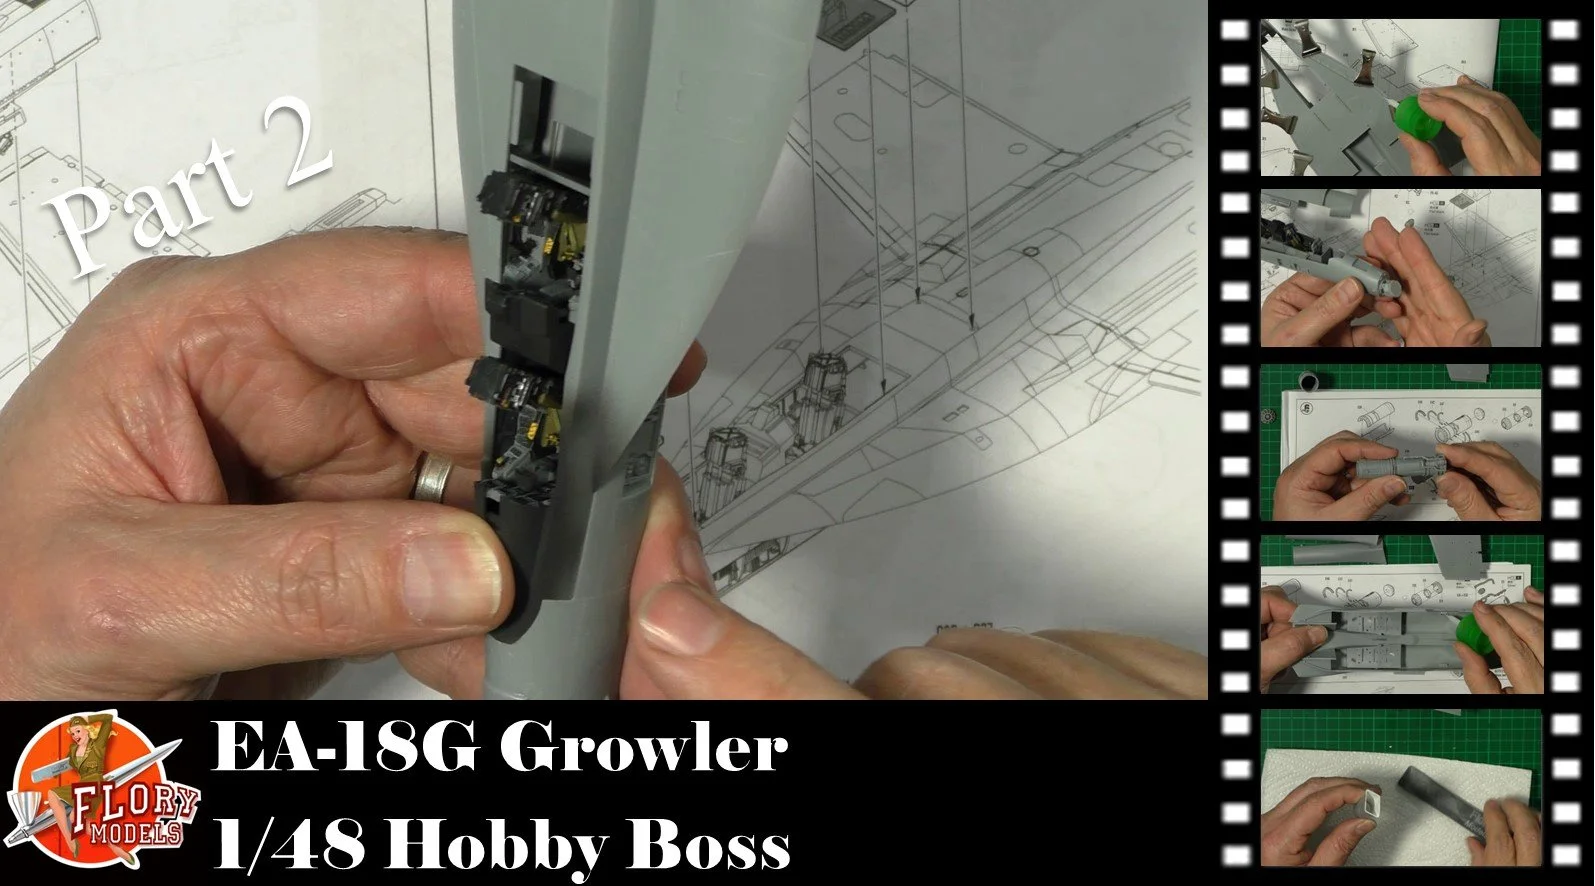
0:00 To start off, we install the cockpit into the forward fuselage along with the front wheel well. Then we attach the LERX to the top fuselage. 11:02 Here, we attach the Forward Fuselage to the top Fuselage. 16:13. Next up, we build the engines. Just a shame you won't see them as they are covered up. 24:31 Last up, we work on the intake for the engines and remove an ejector, make and then use Plastic Dip to make a seamless intake and painted in one.
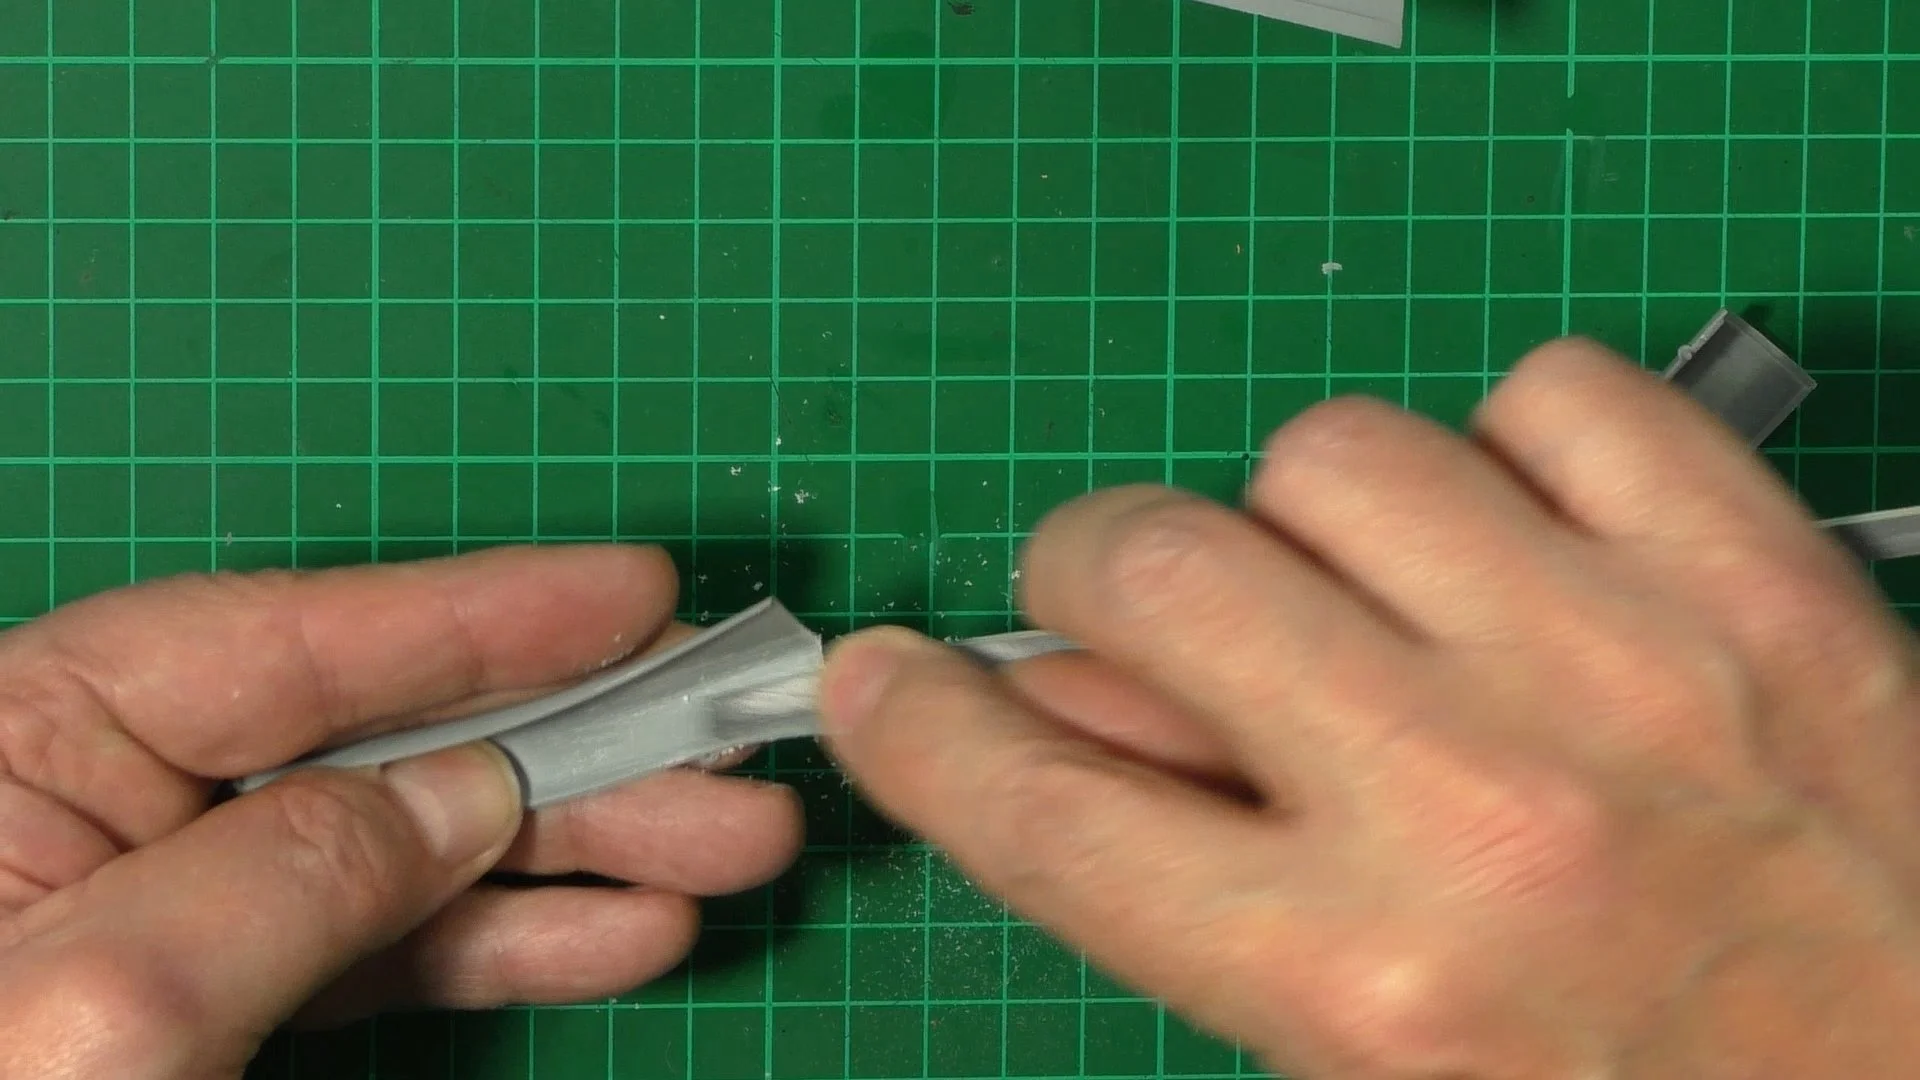
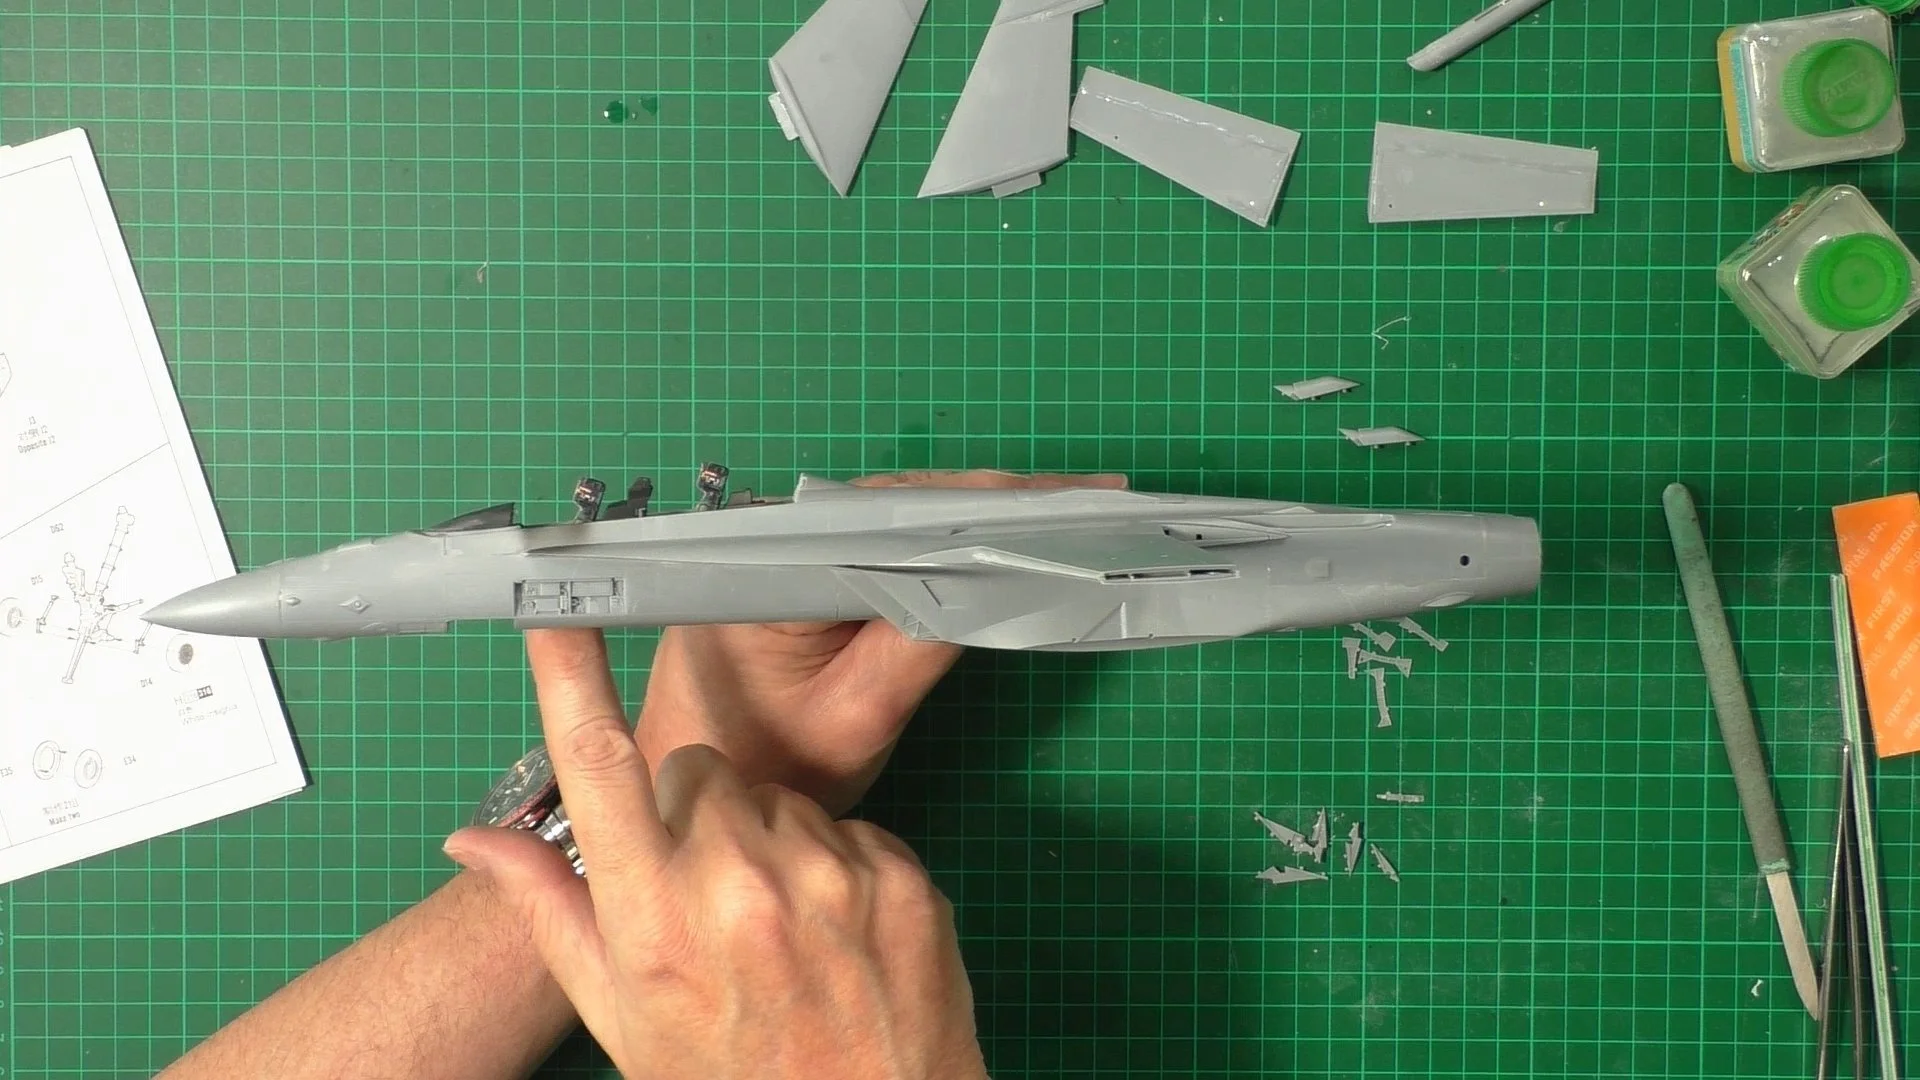
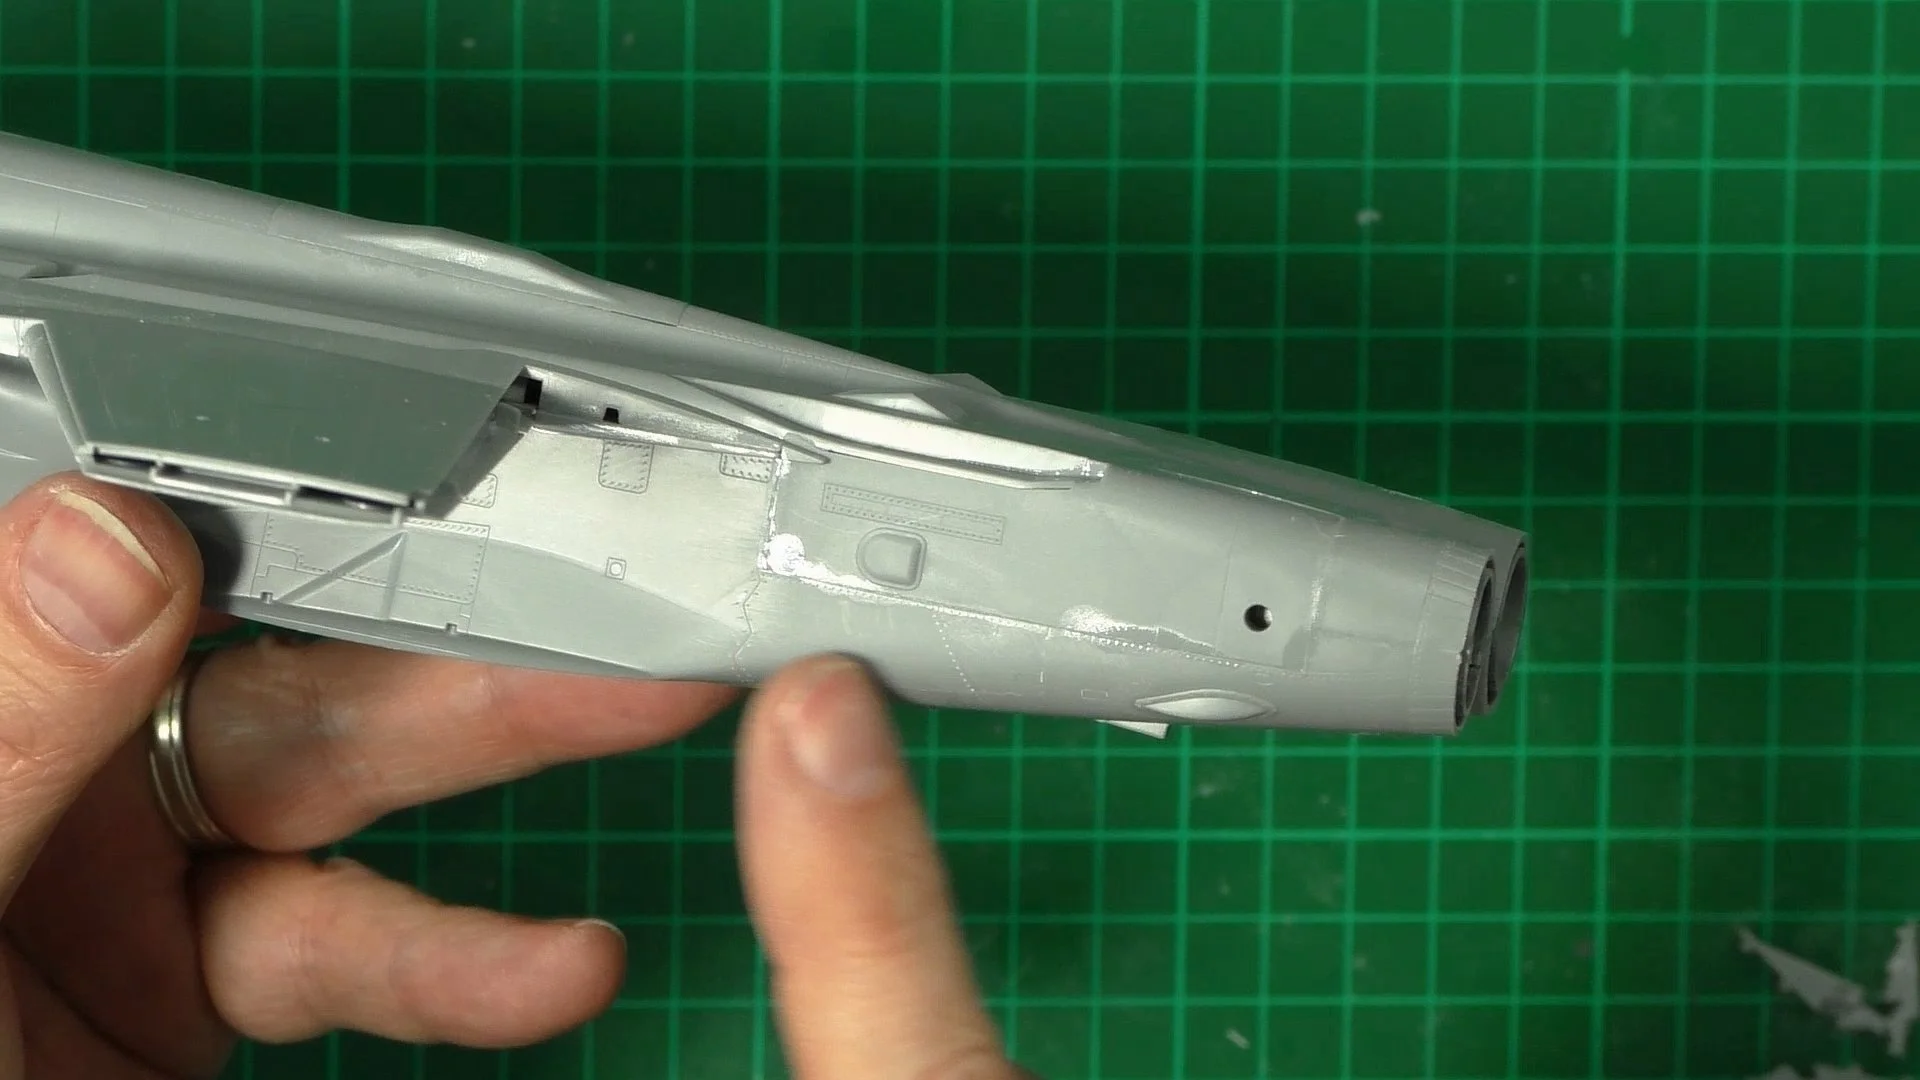
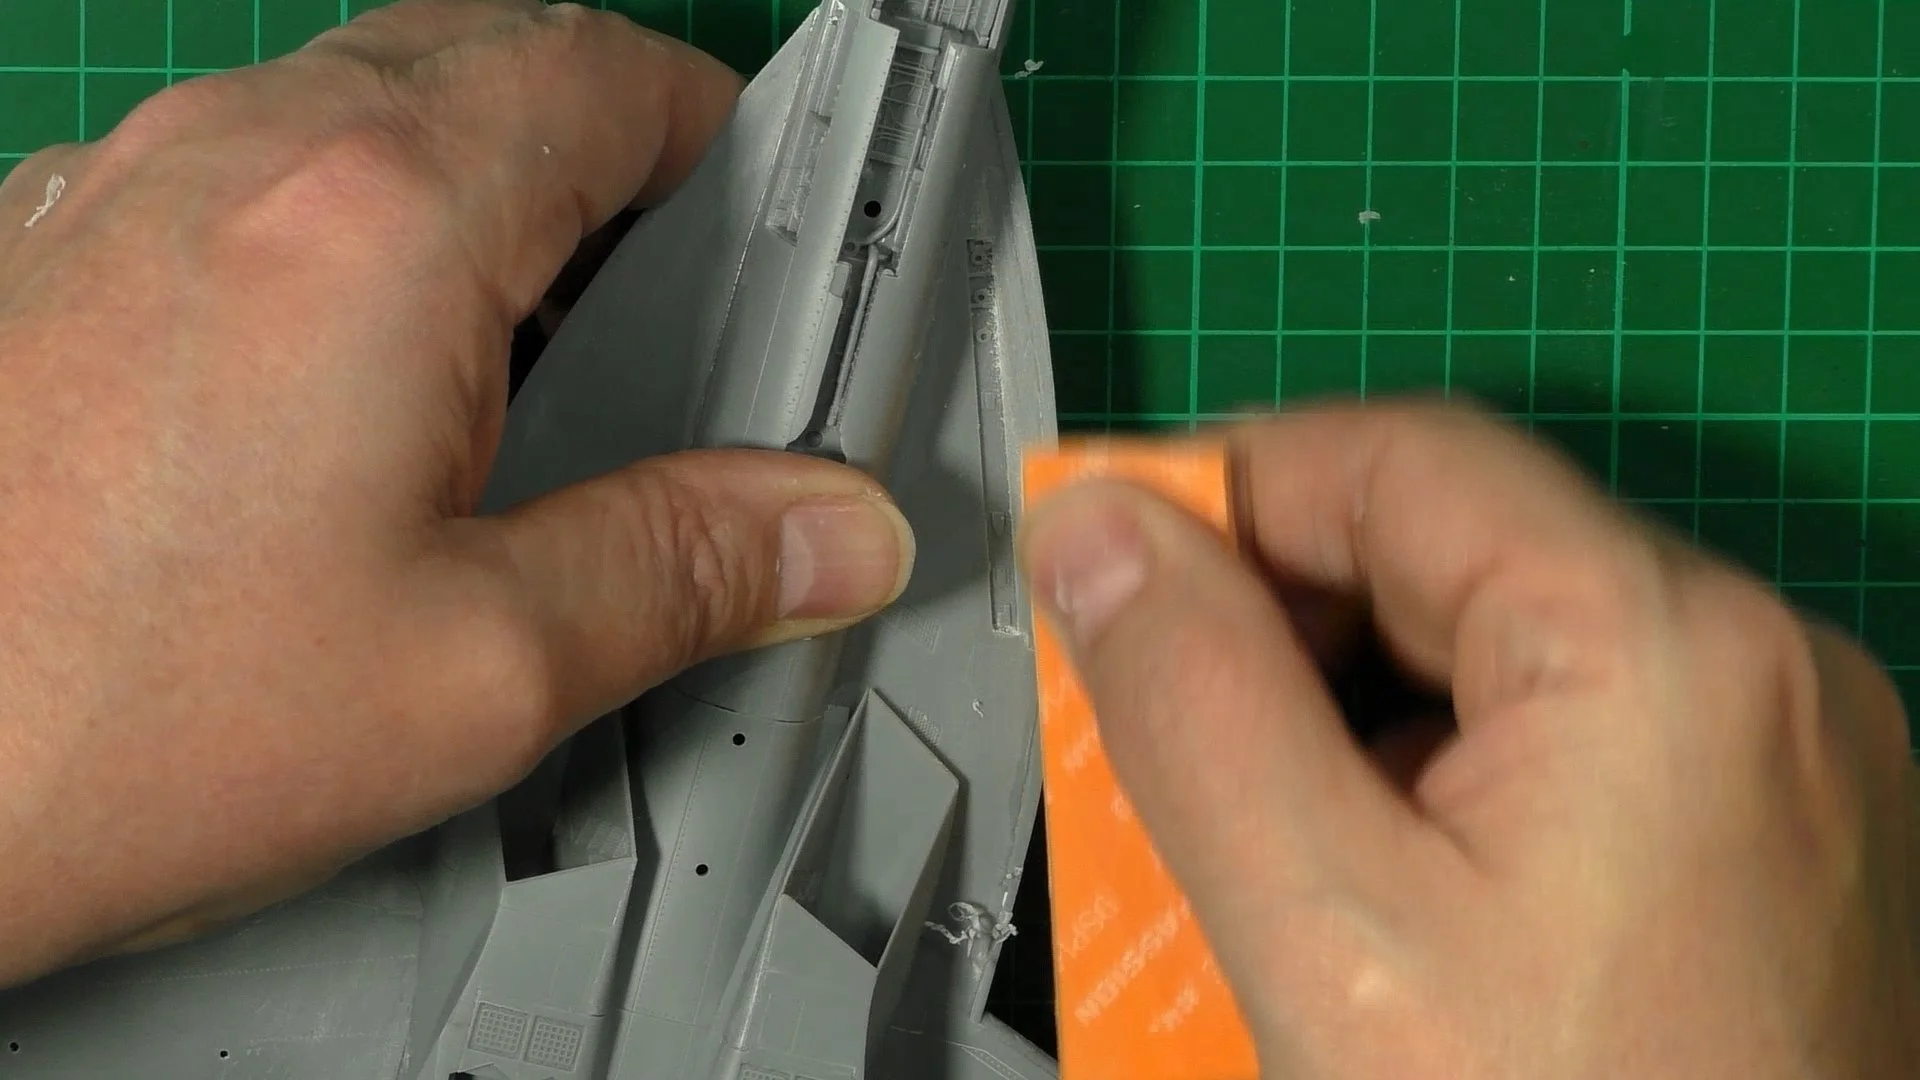
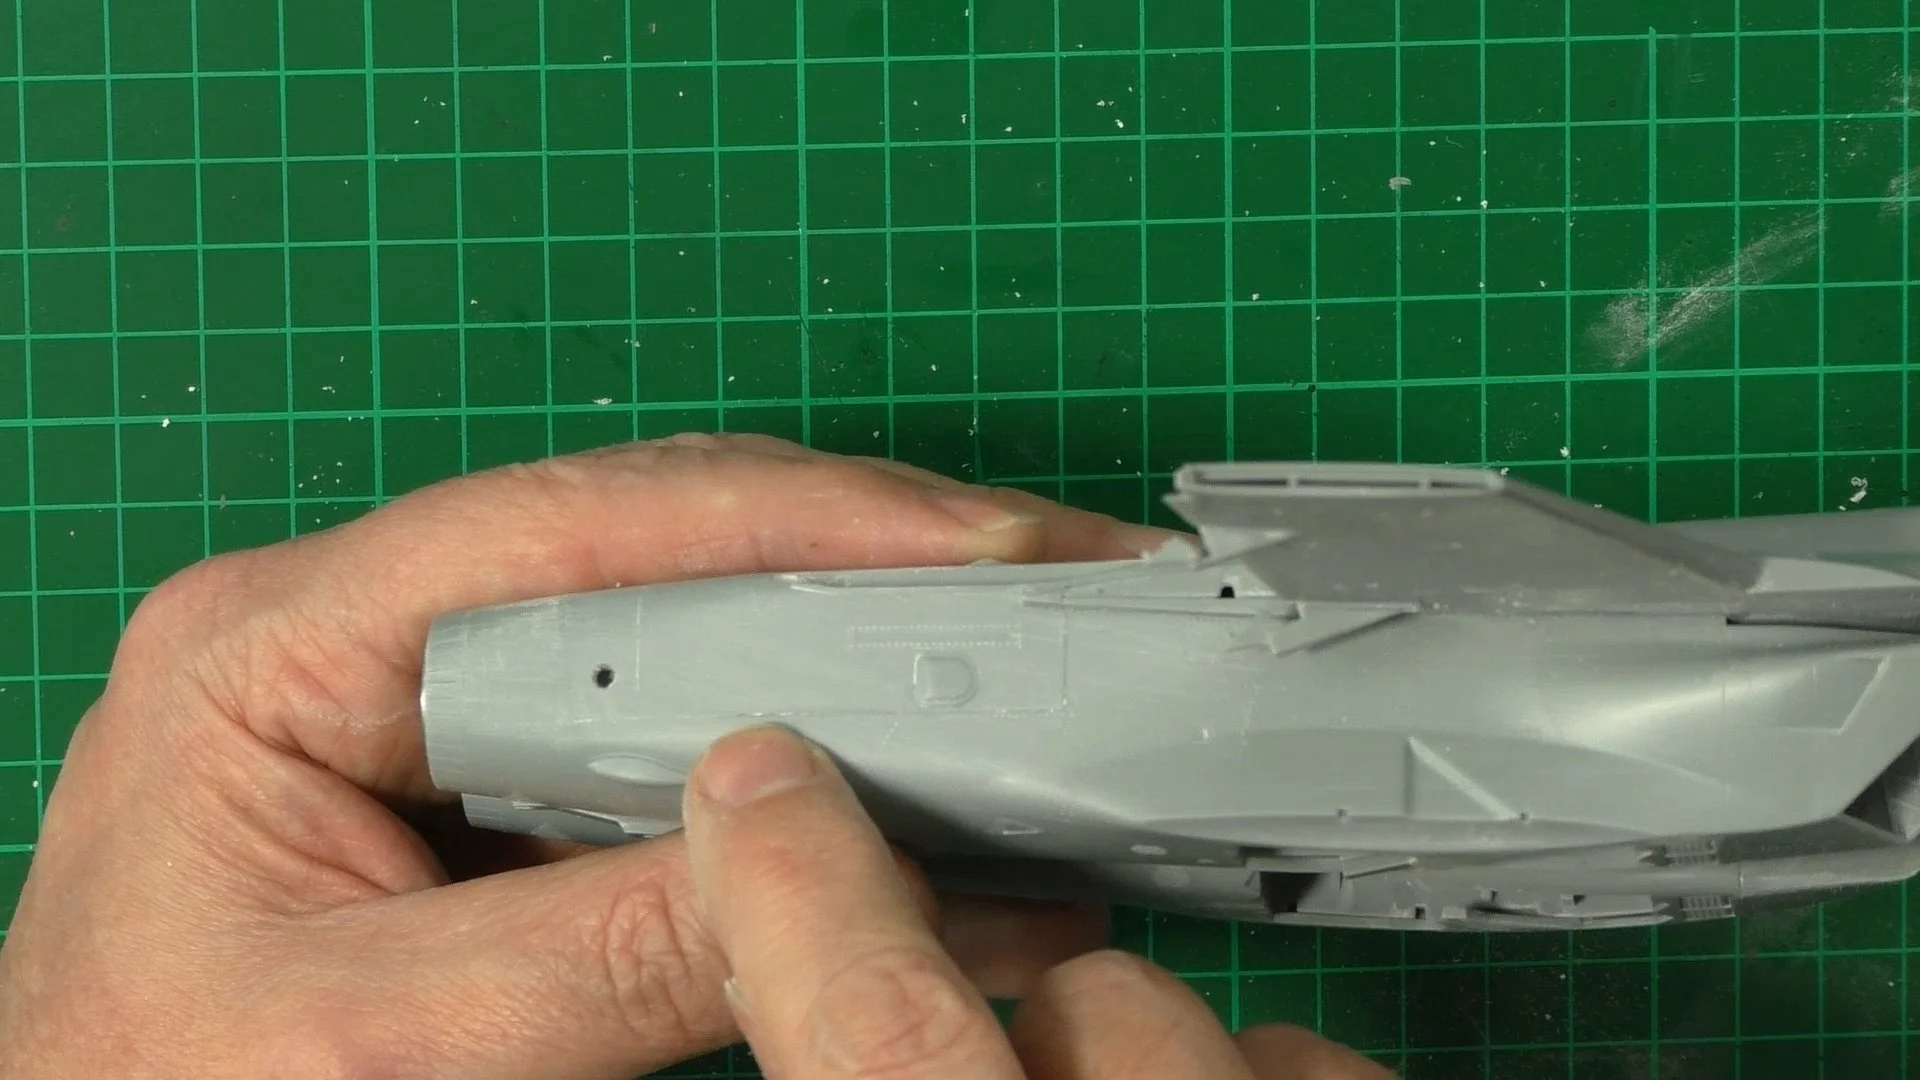
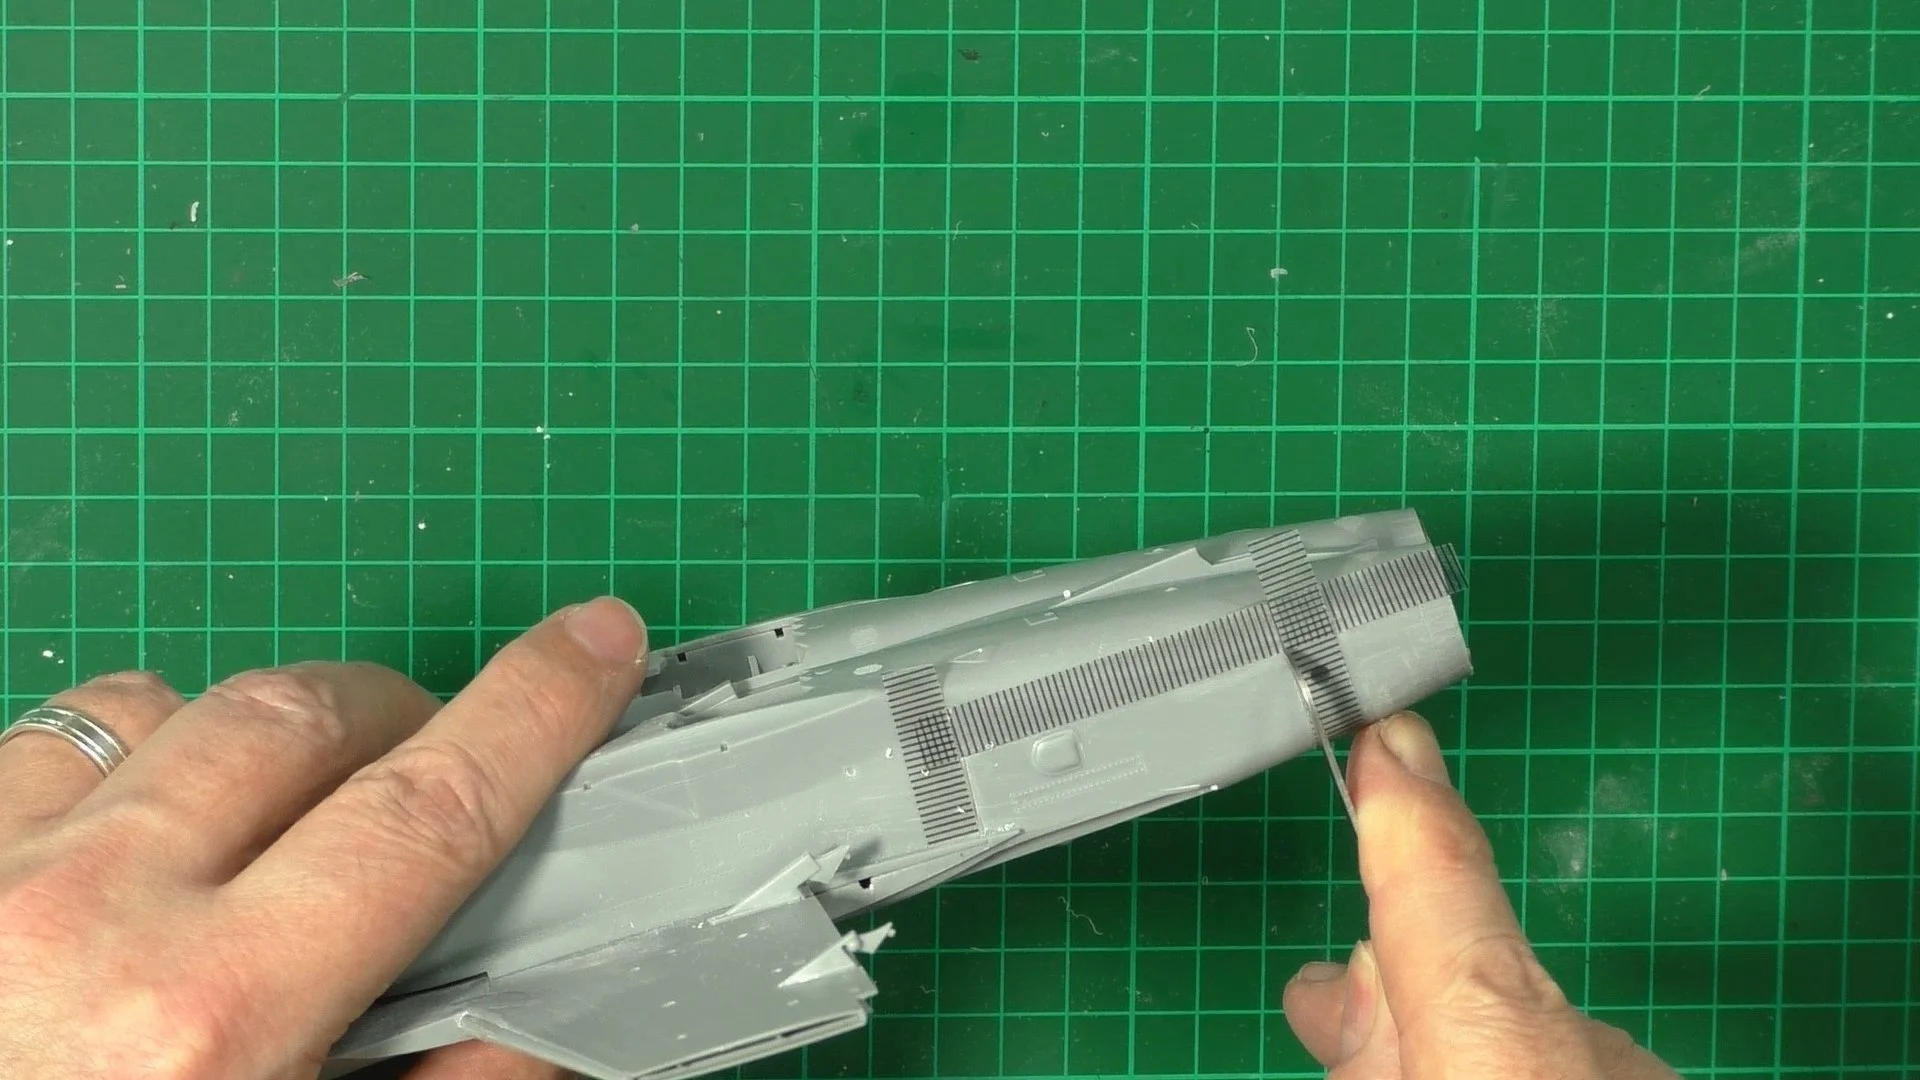
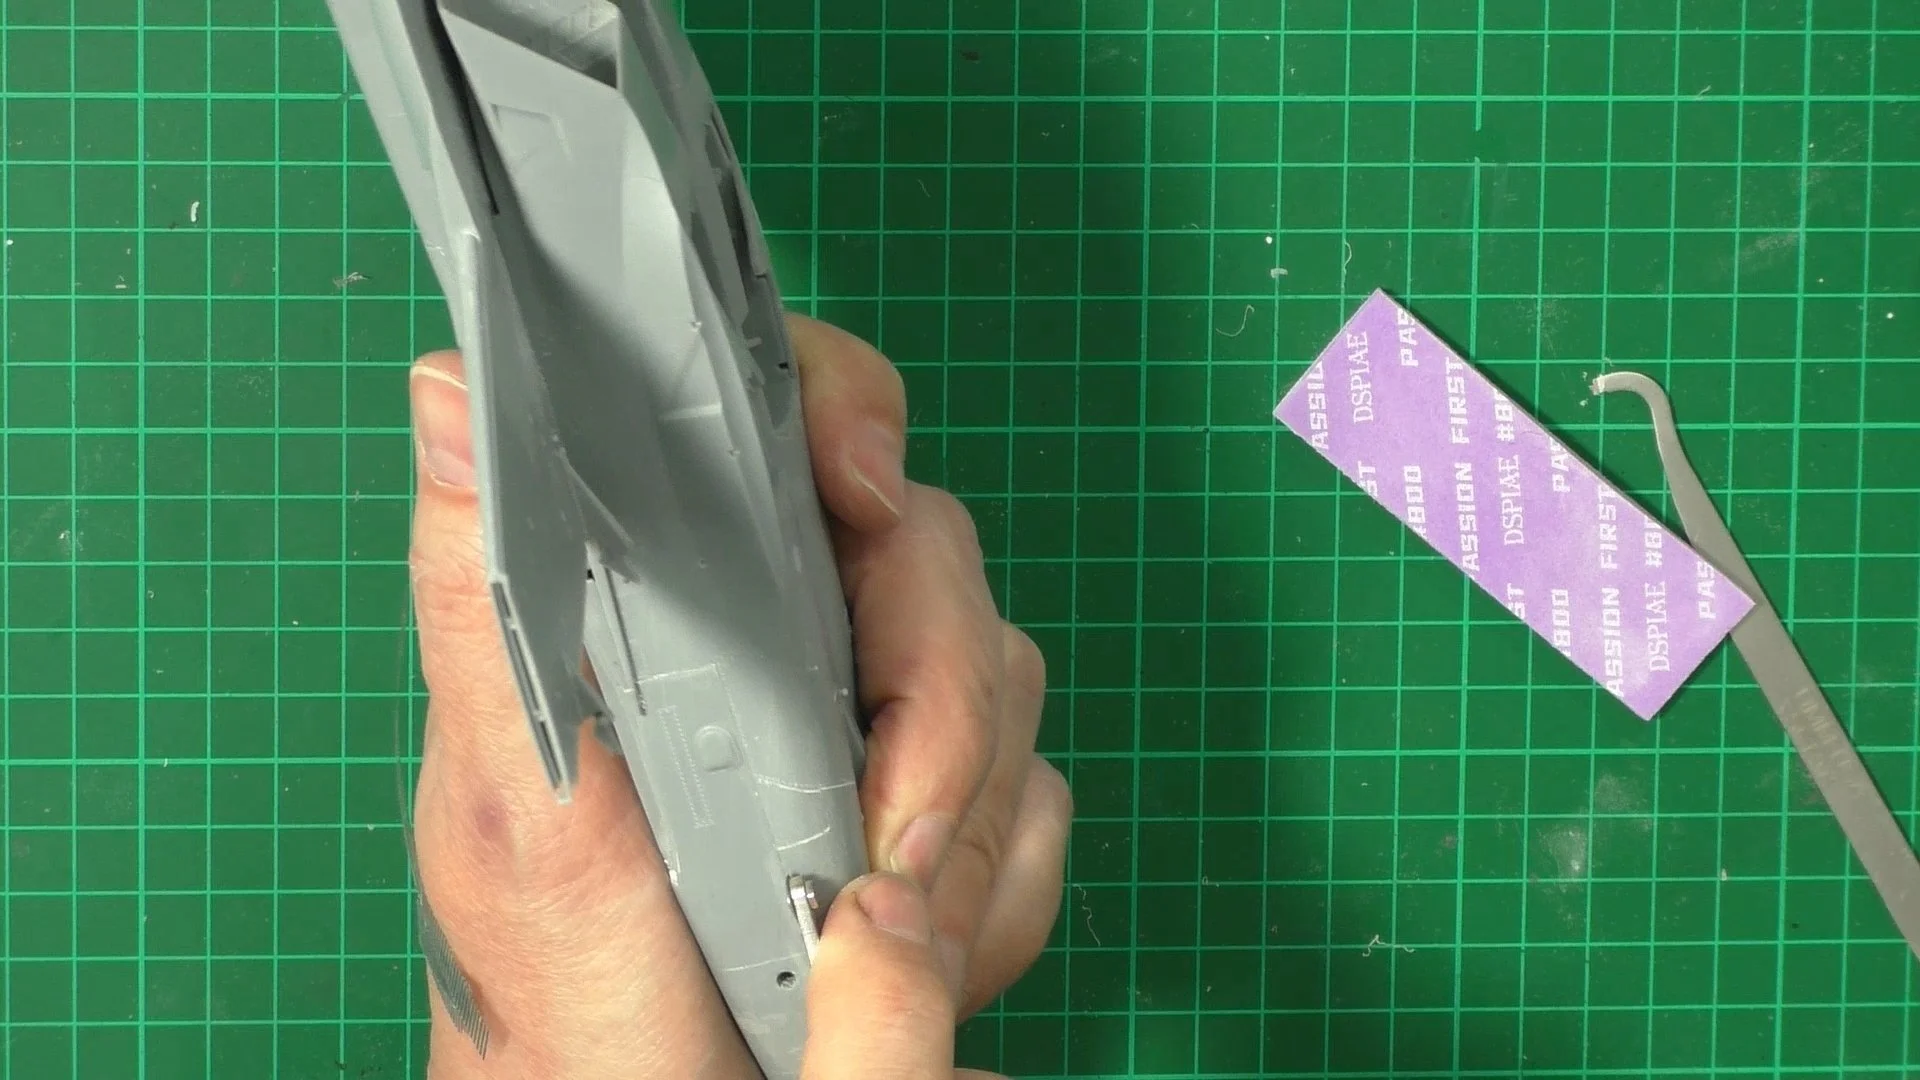
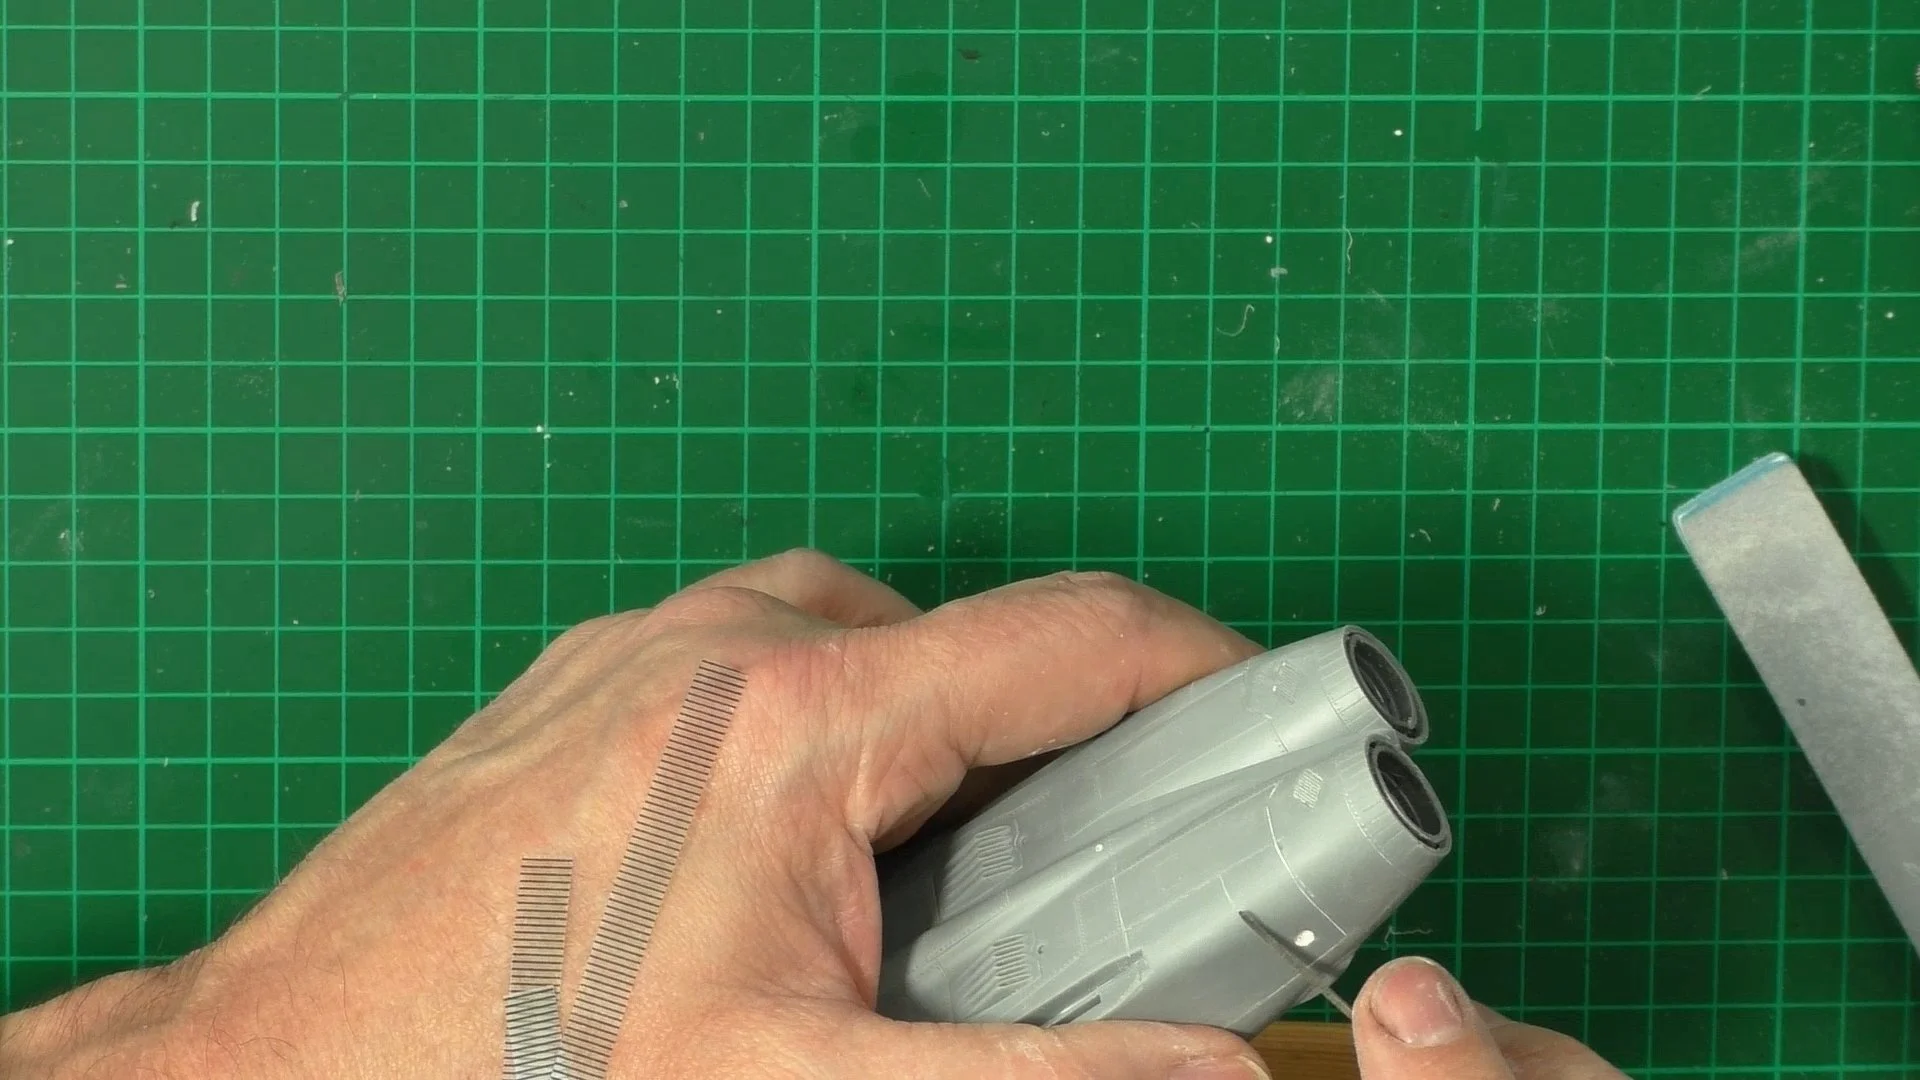
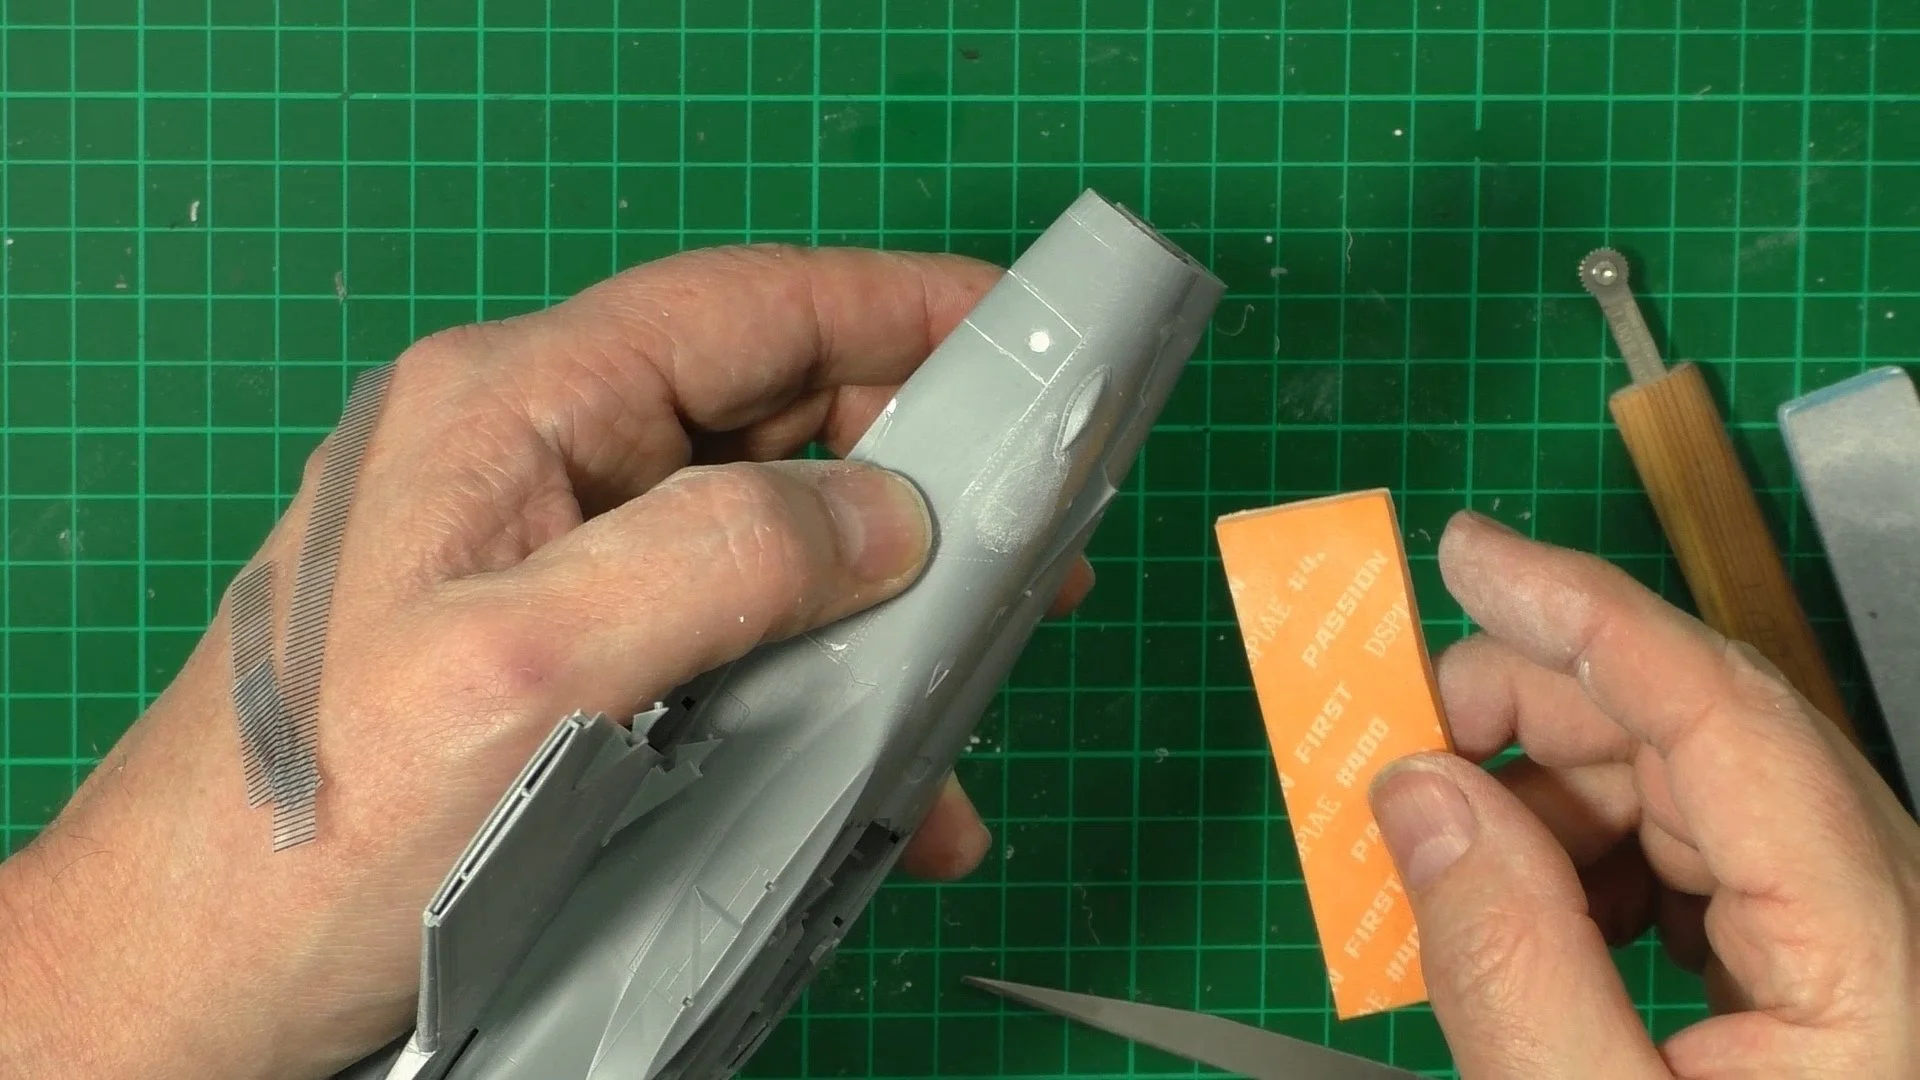
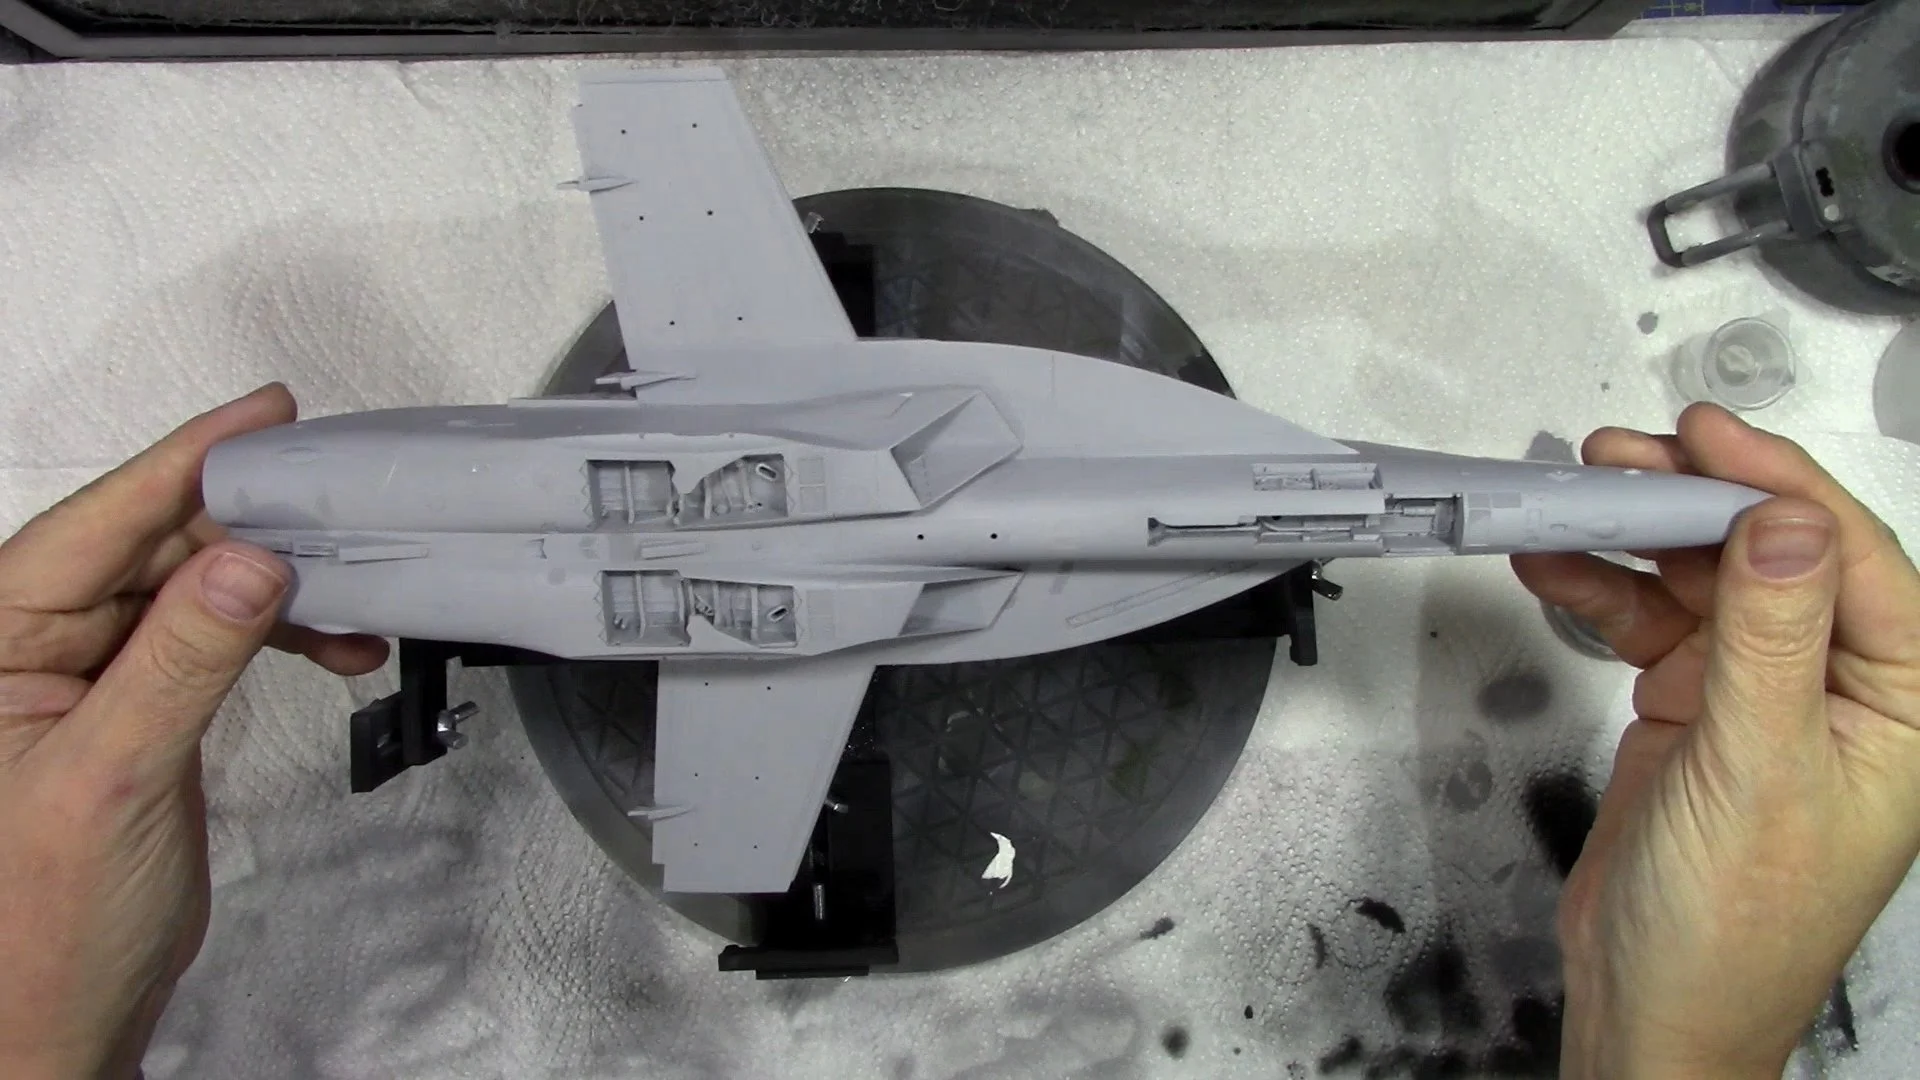
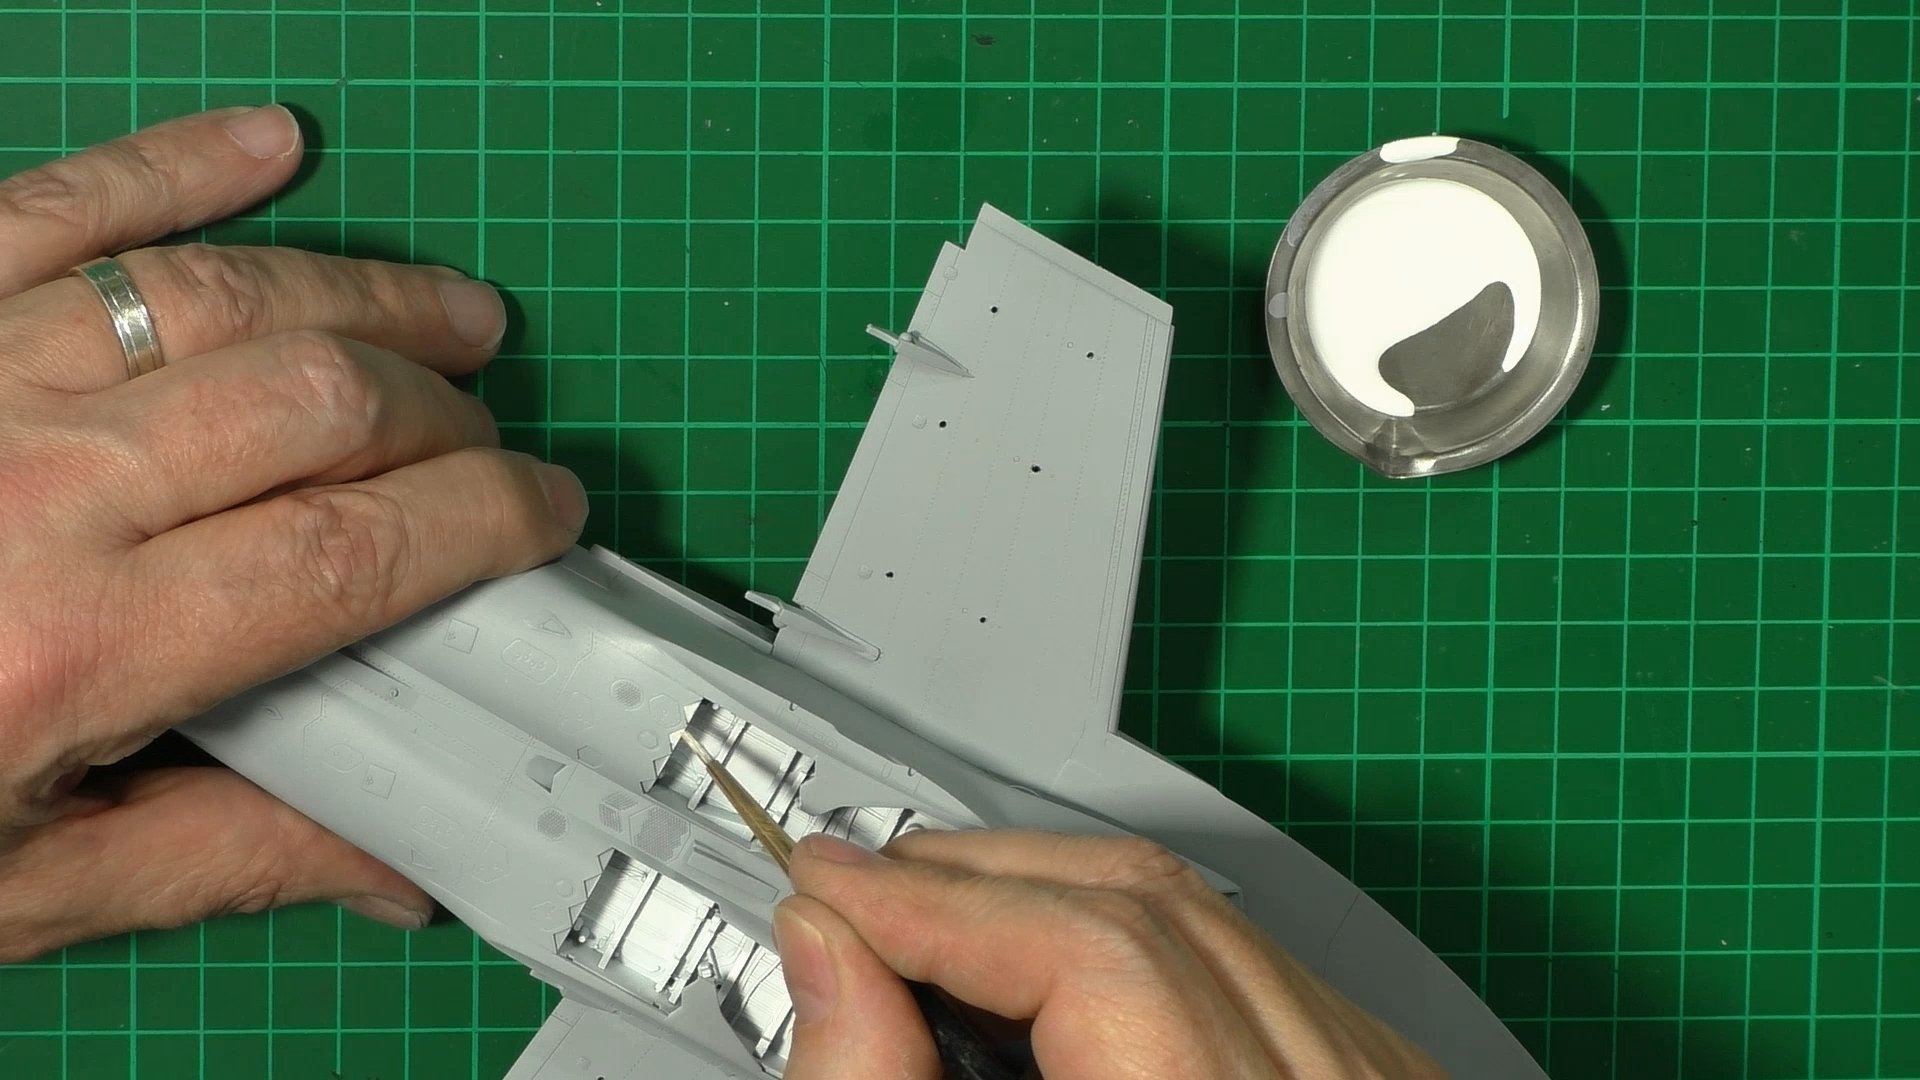
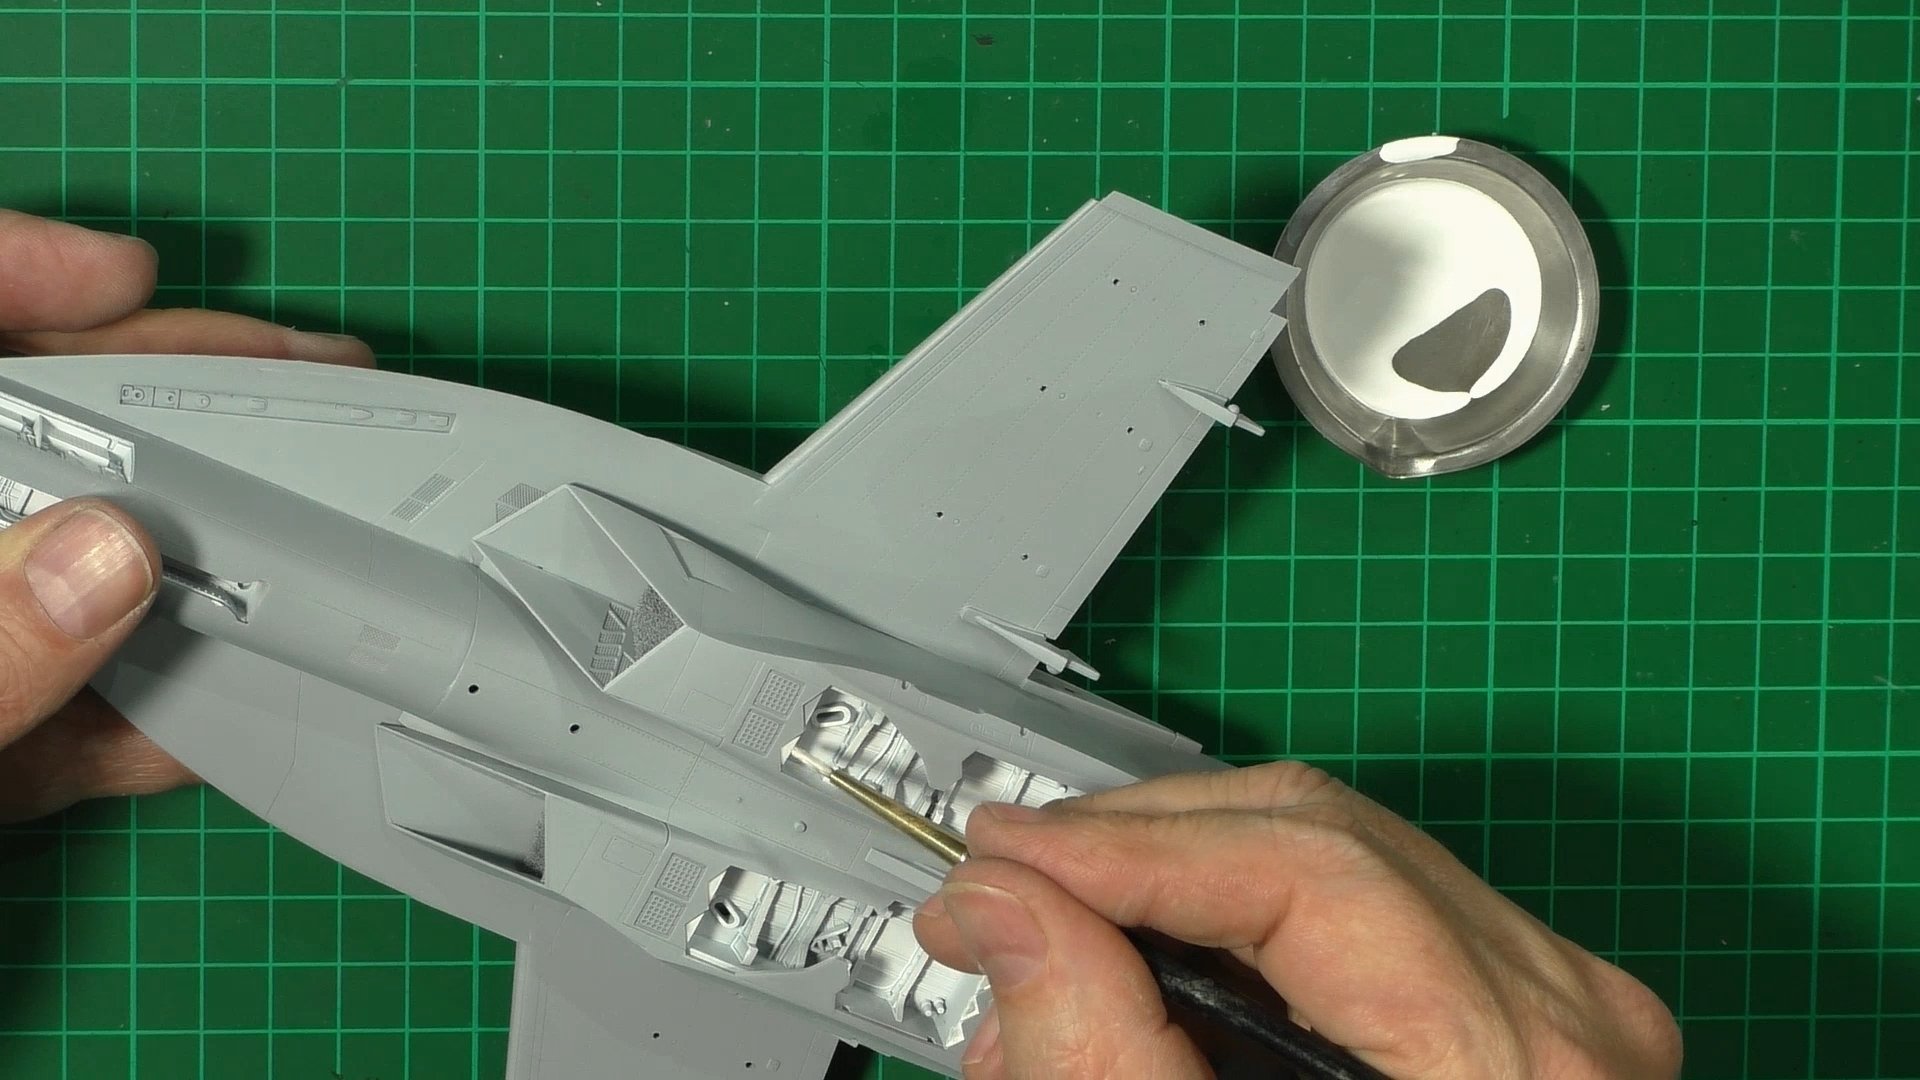
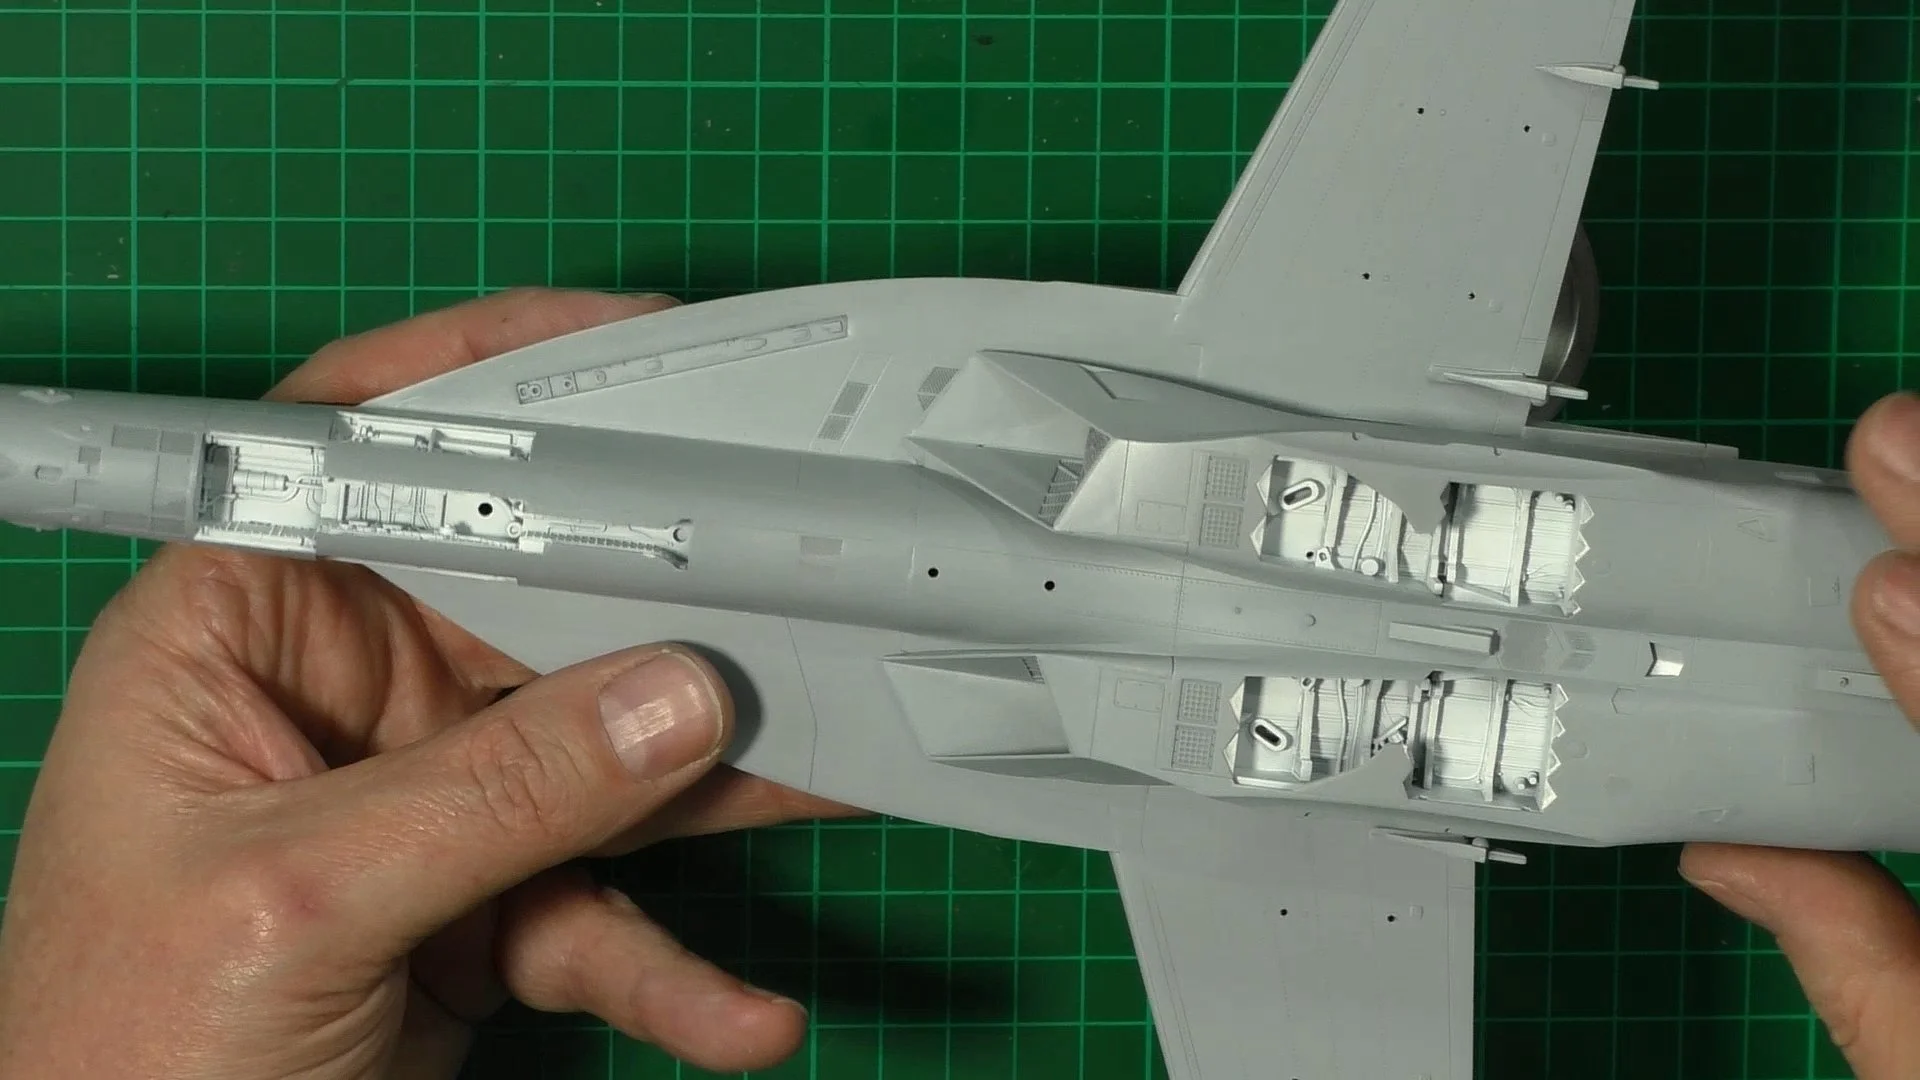
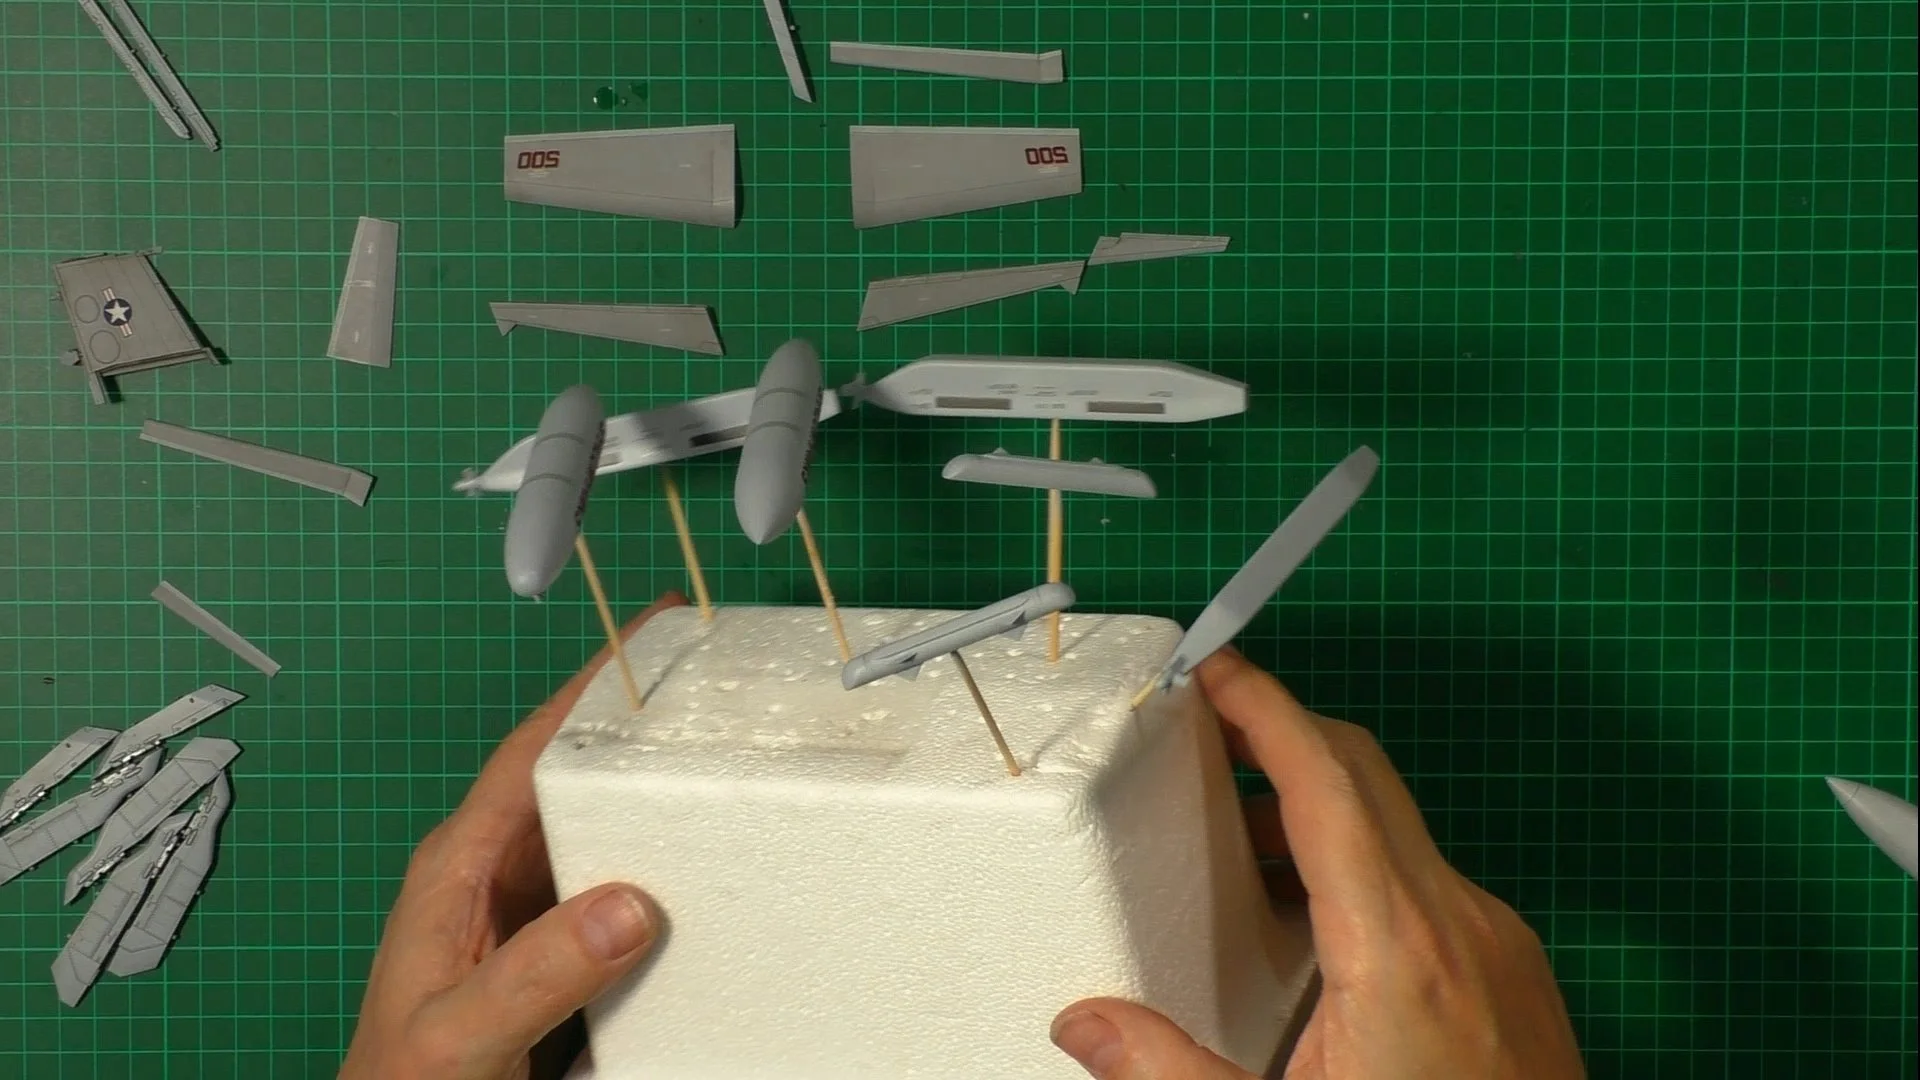
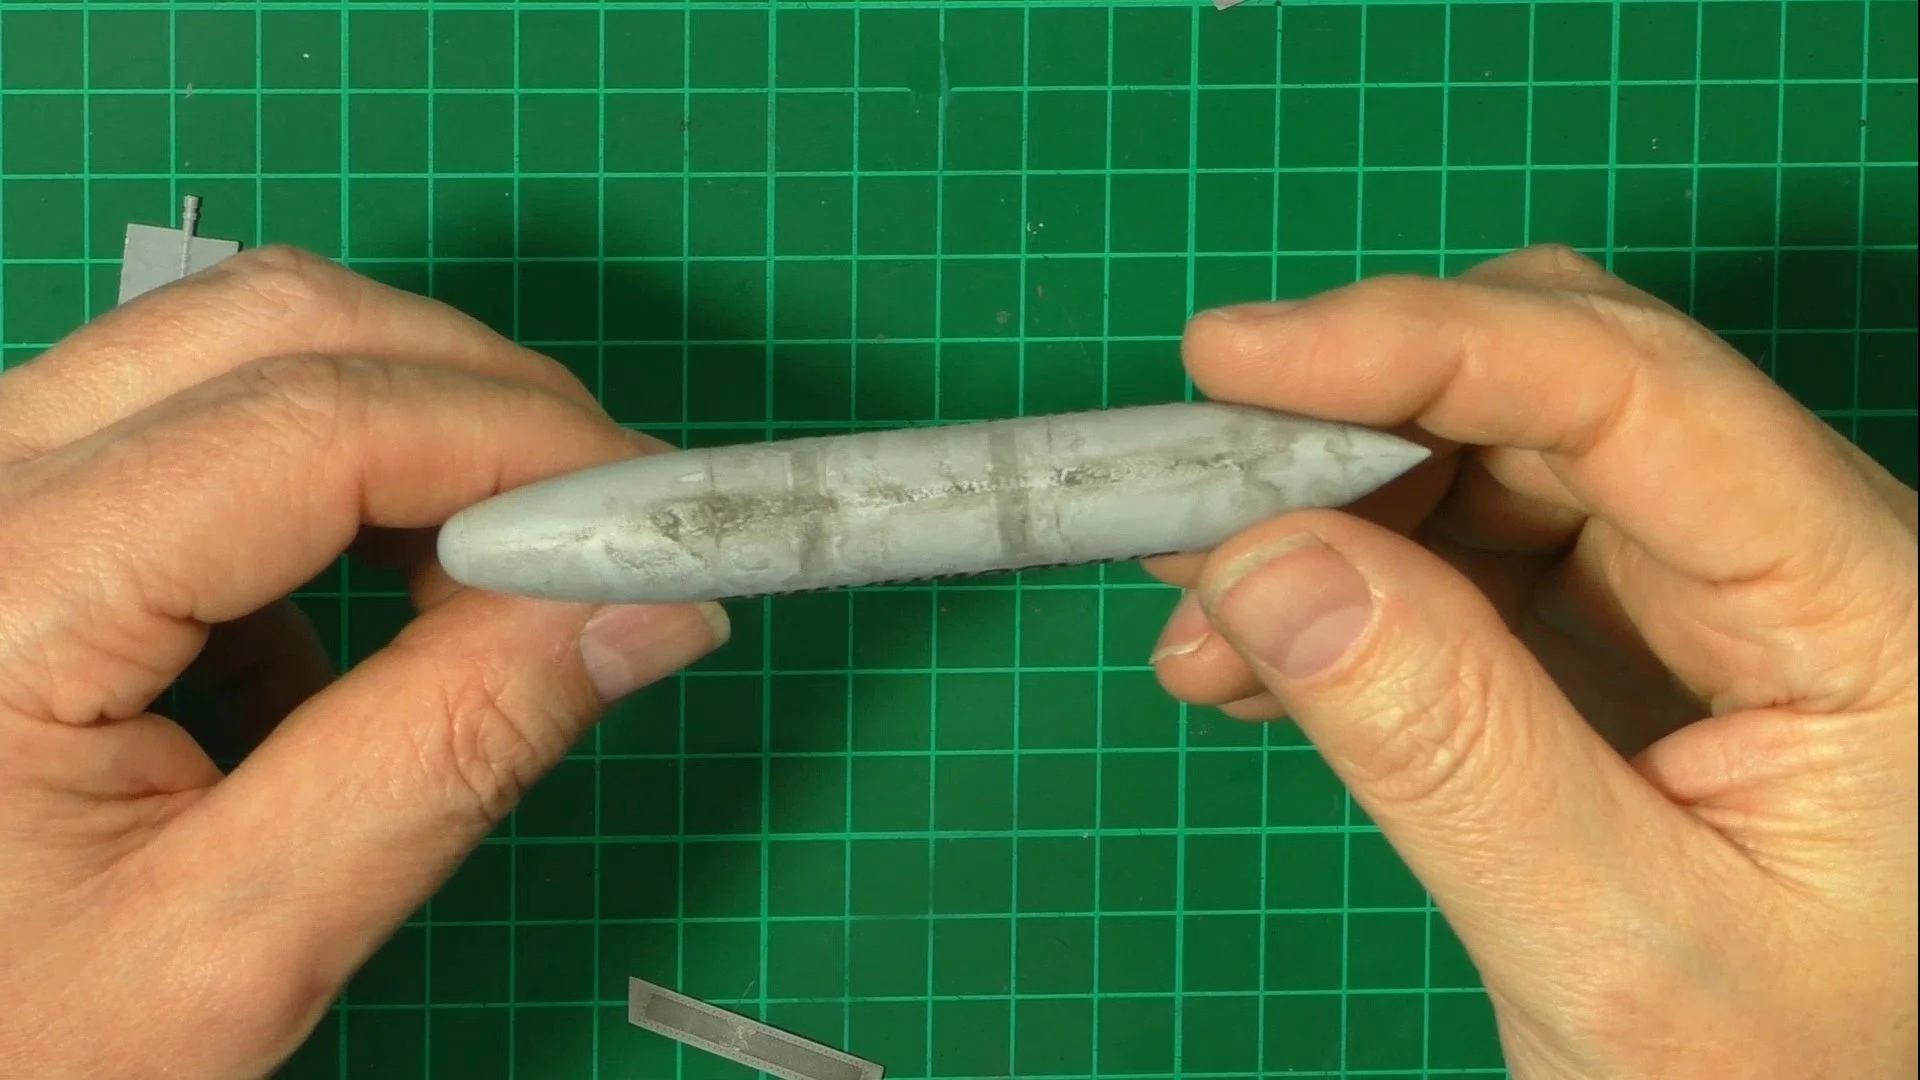
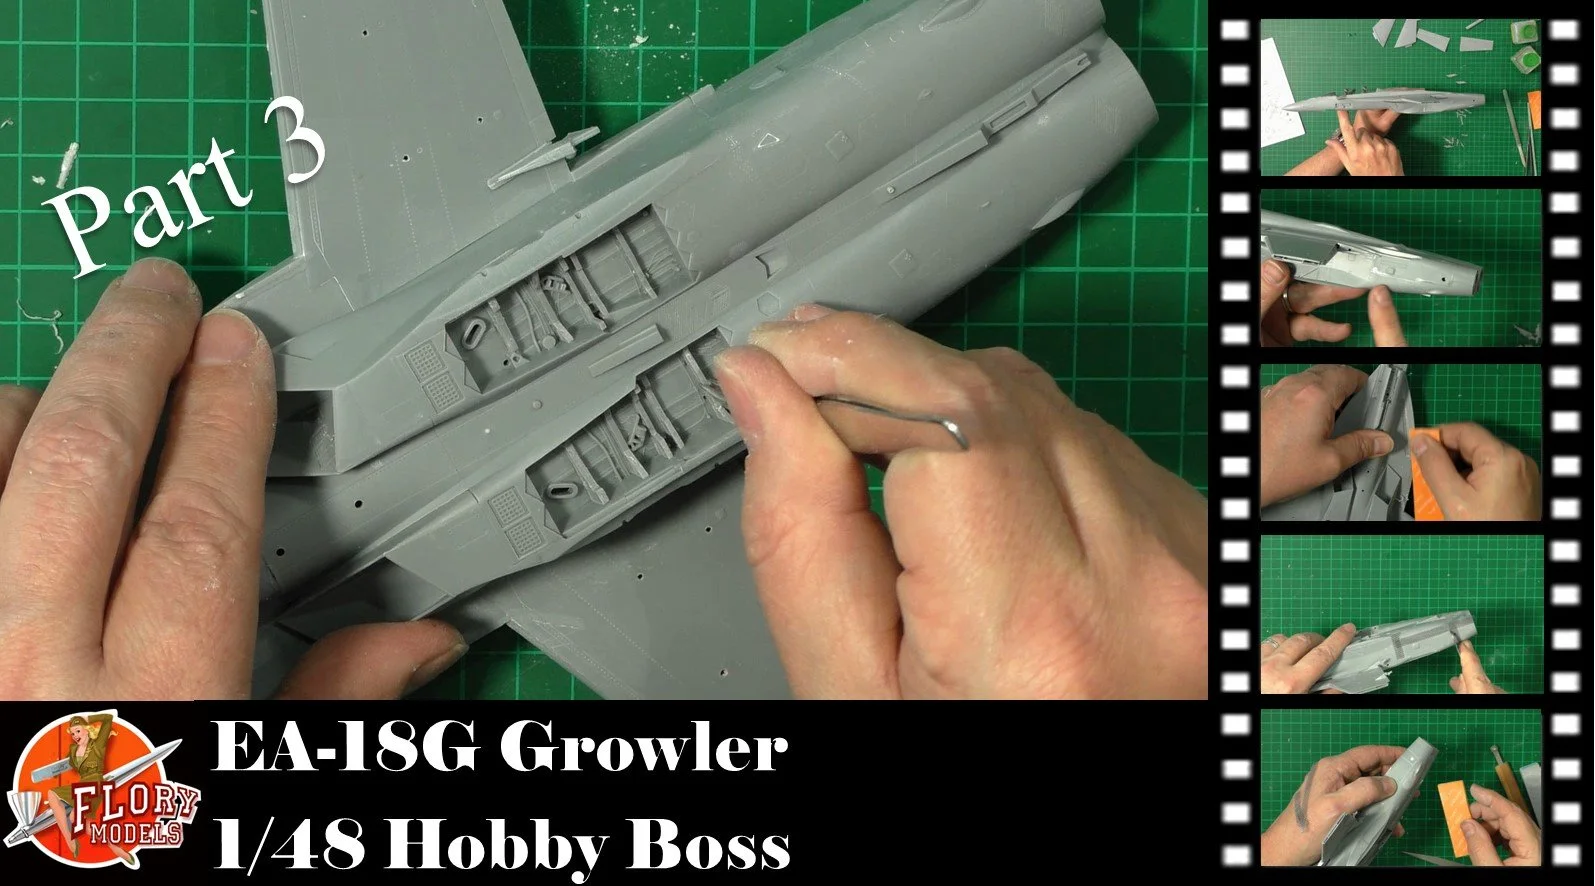
0:00 To Start we take care of all the seams and joins. This is mostly by sanding and polishing, but for a few, we use sprue goo. Then we add the details to the main gear wells. 16:11 Next, it's some final sanding and polishing, and we are ready to move on. 20:55 last up, we re-scribe and re-rivet all the details lost on the sanding.
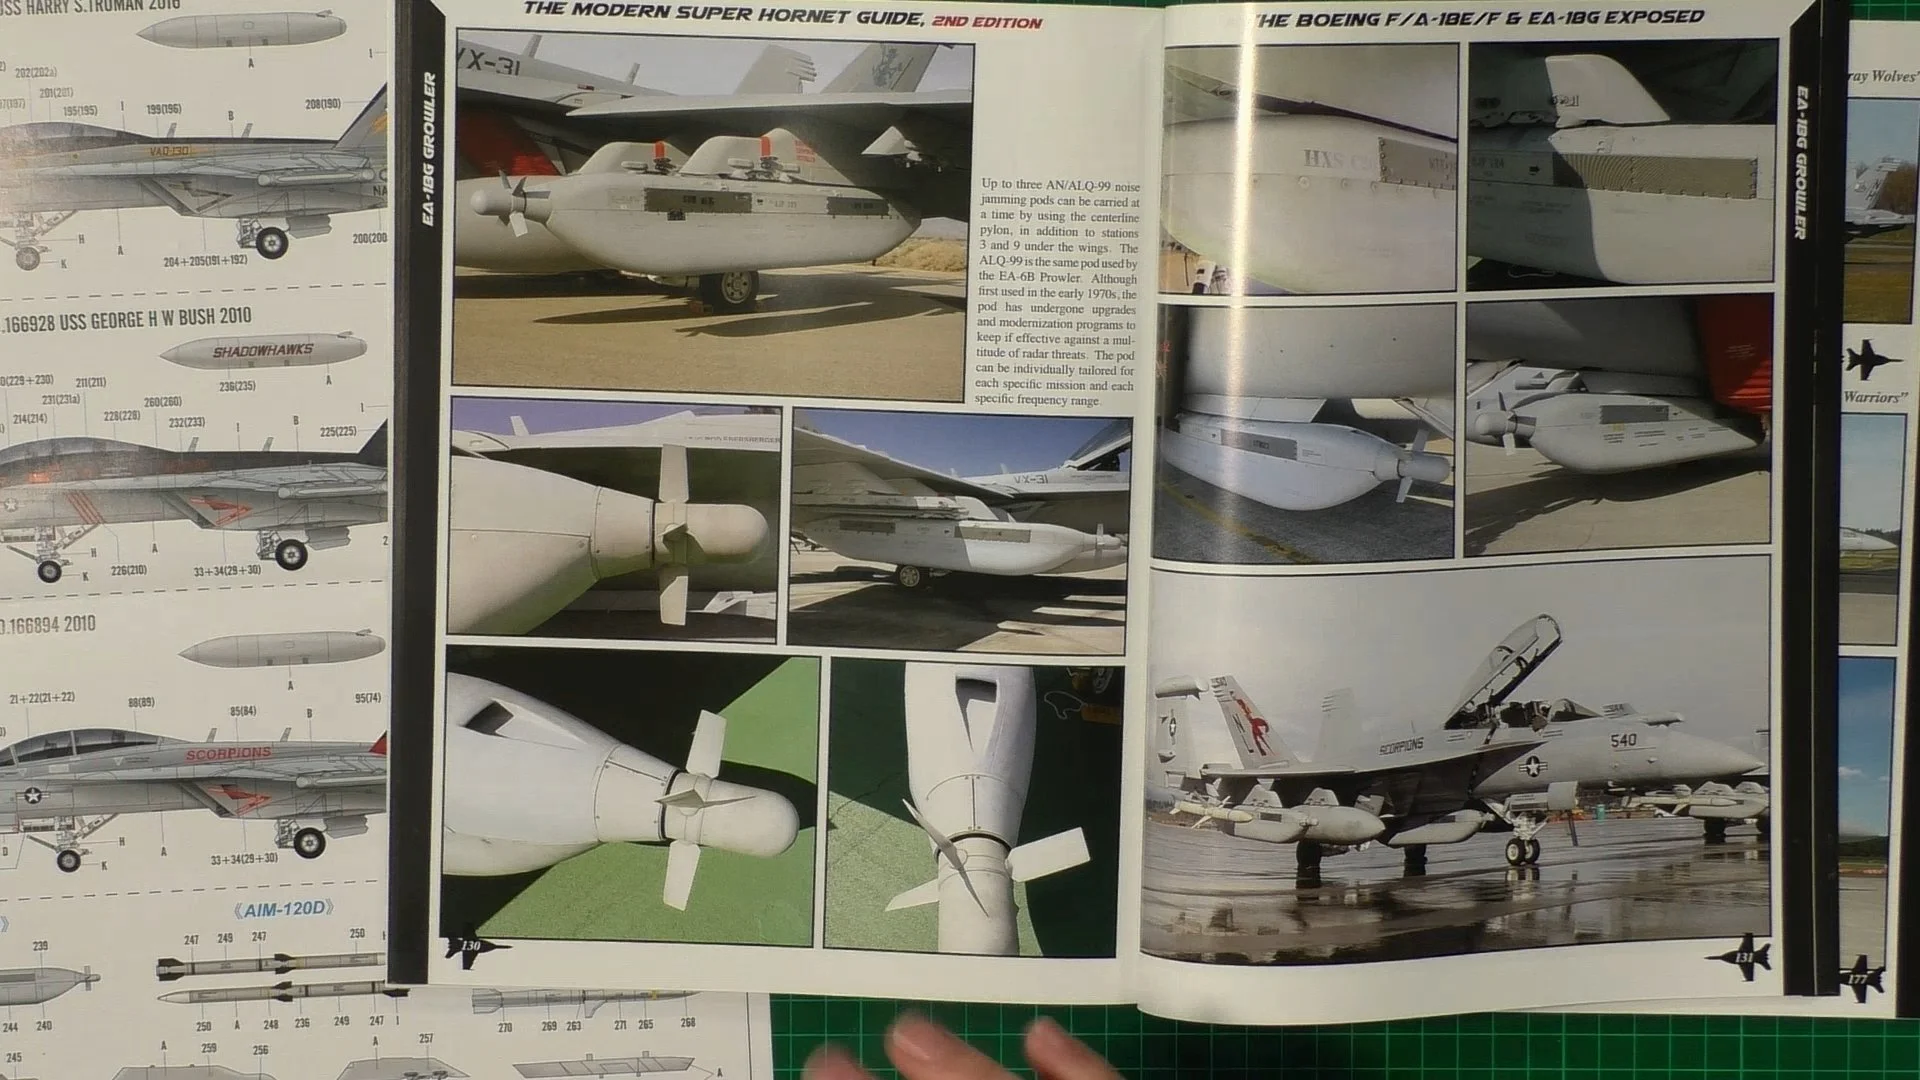
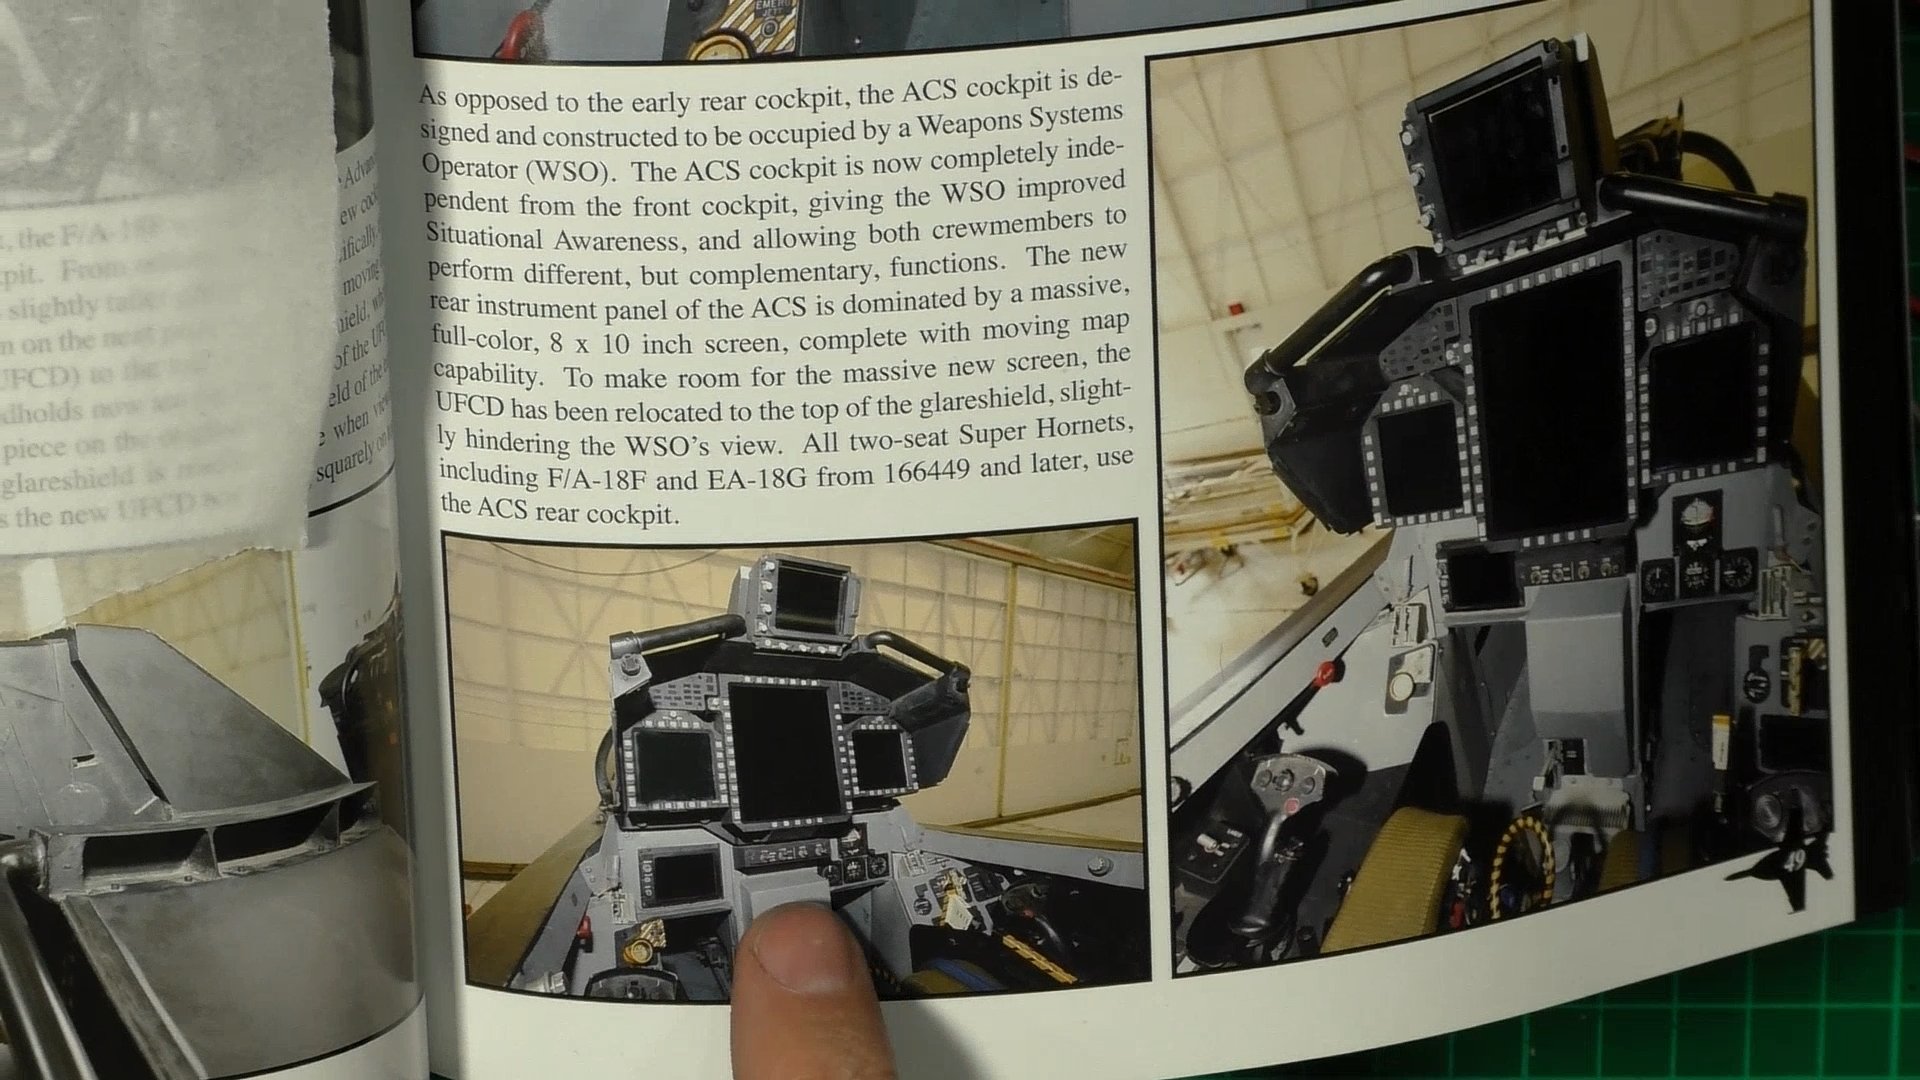
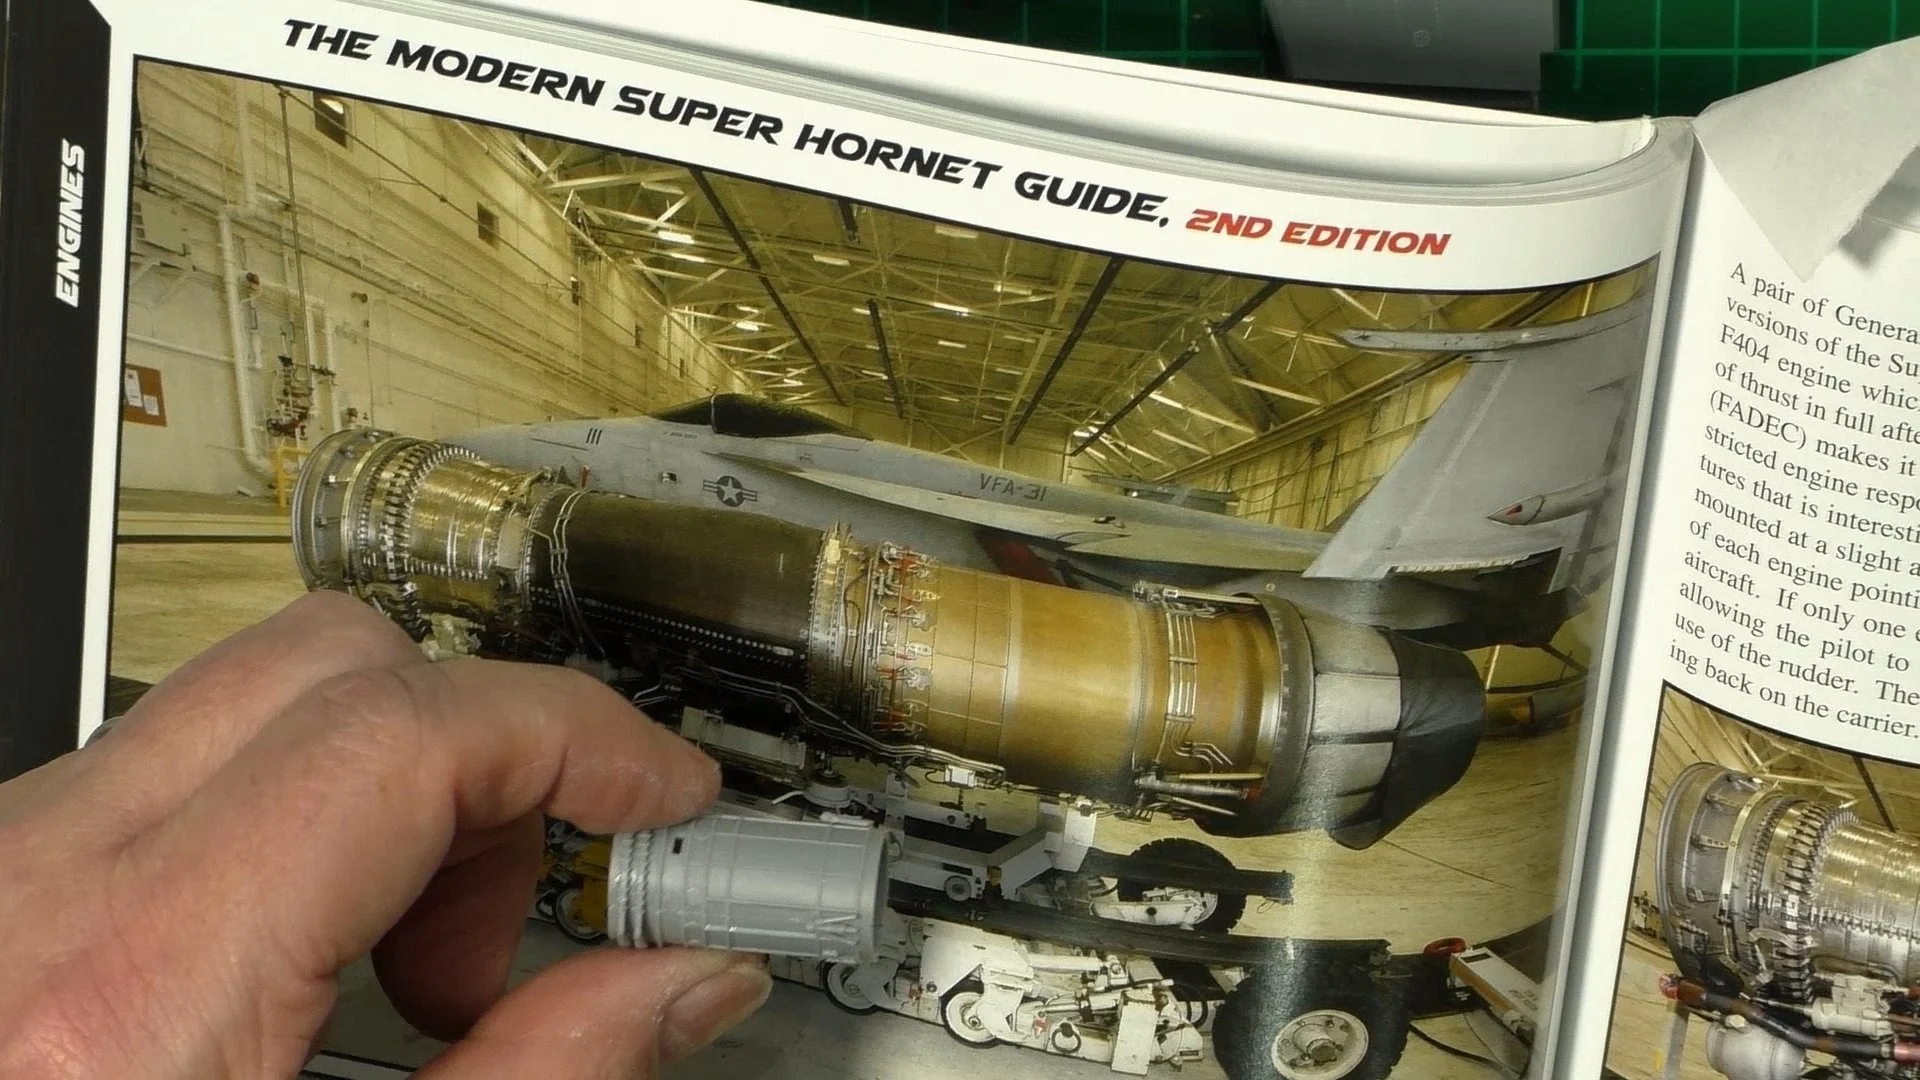
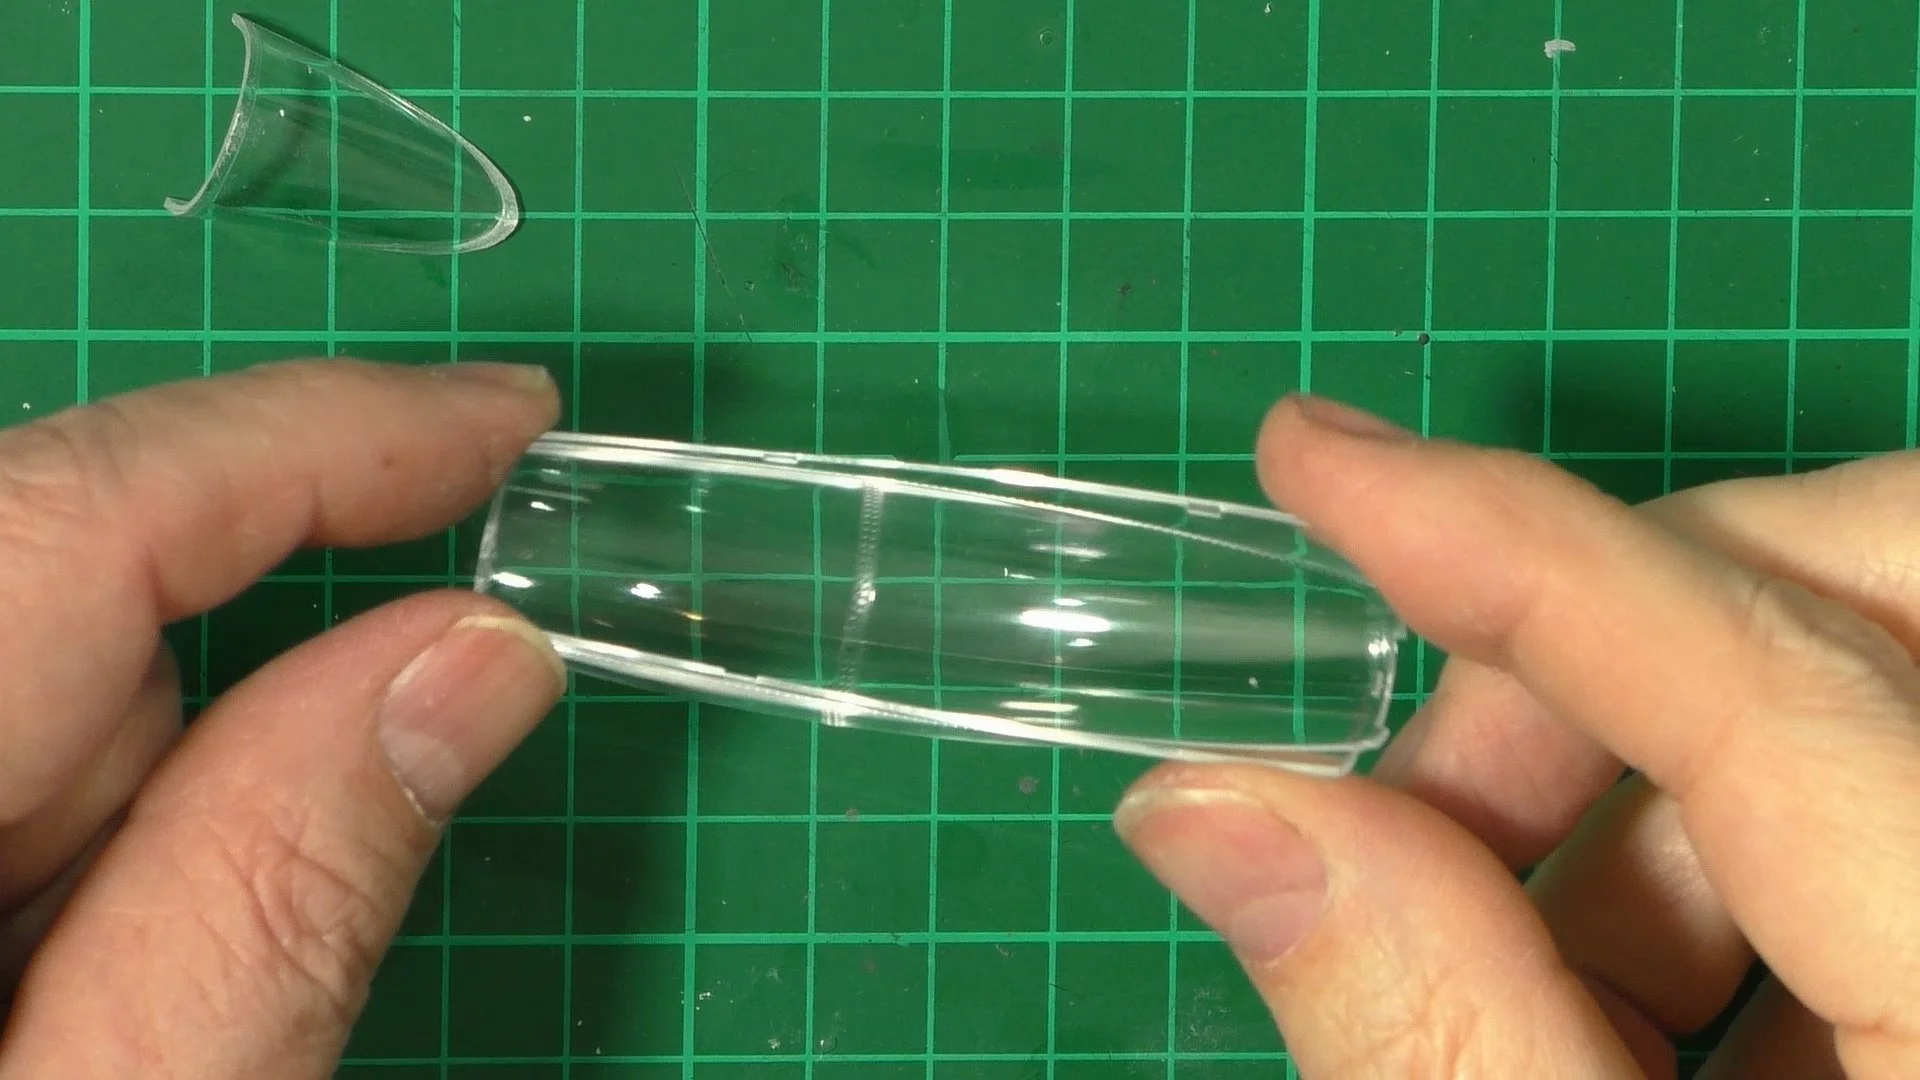
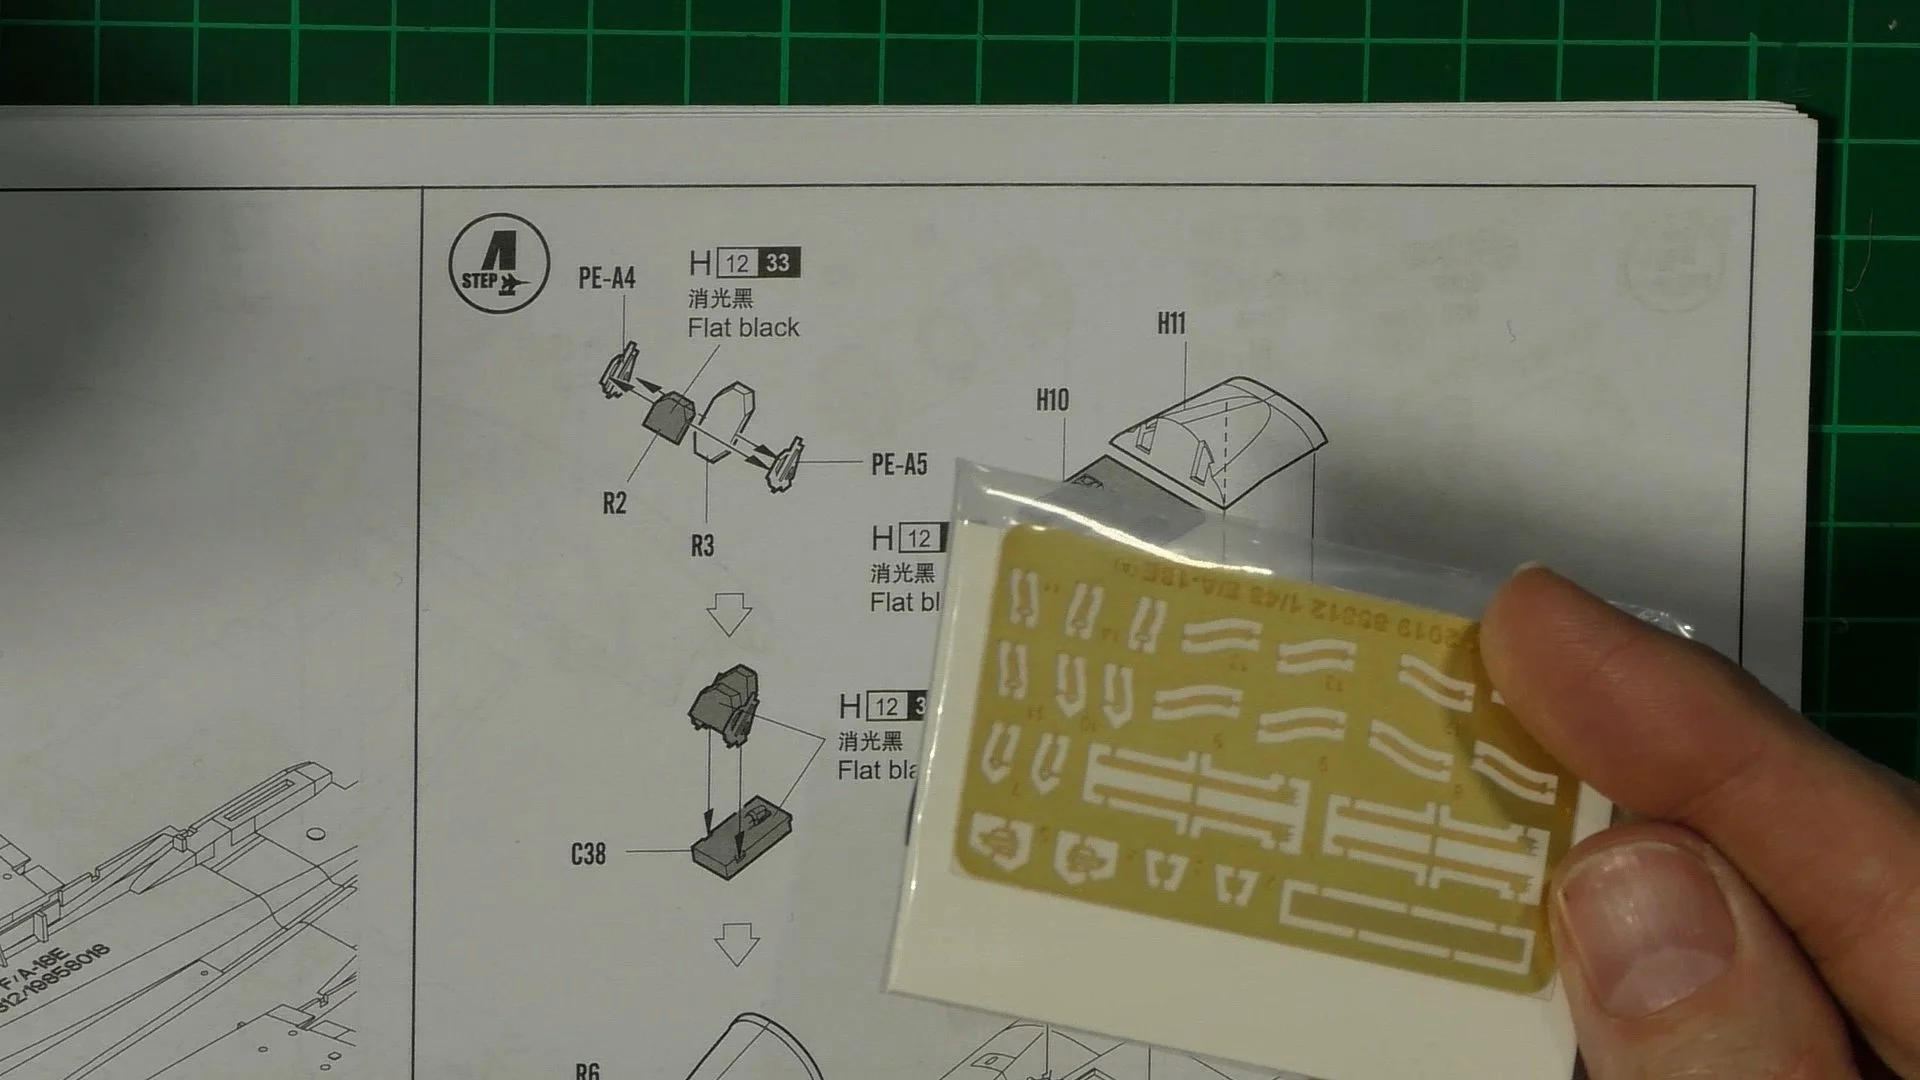
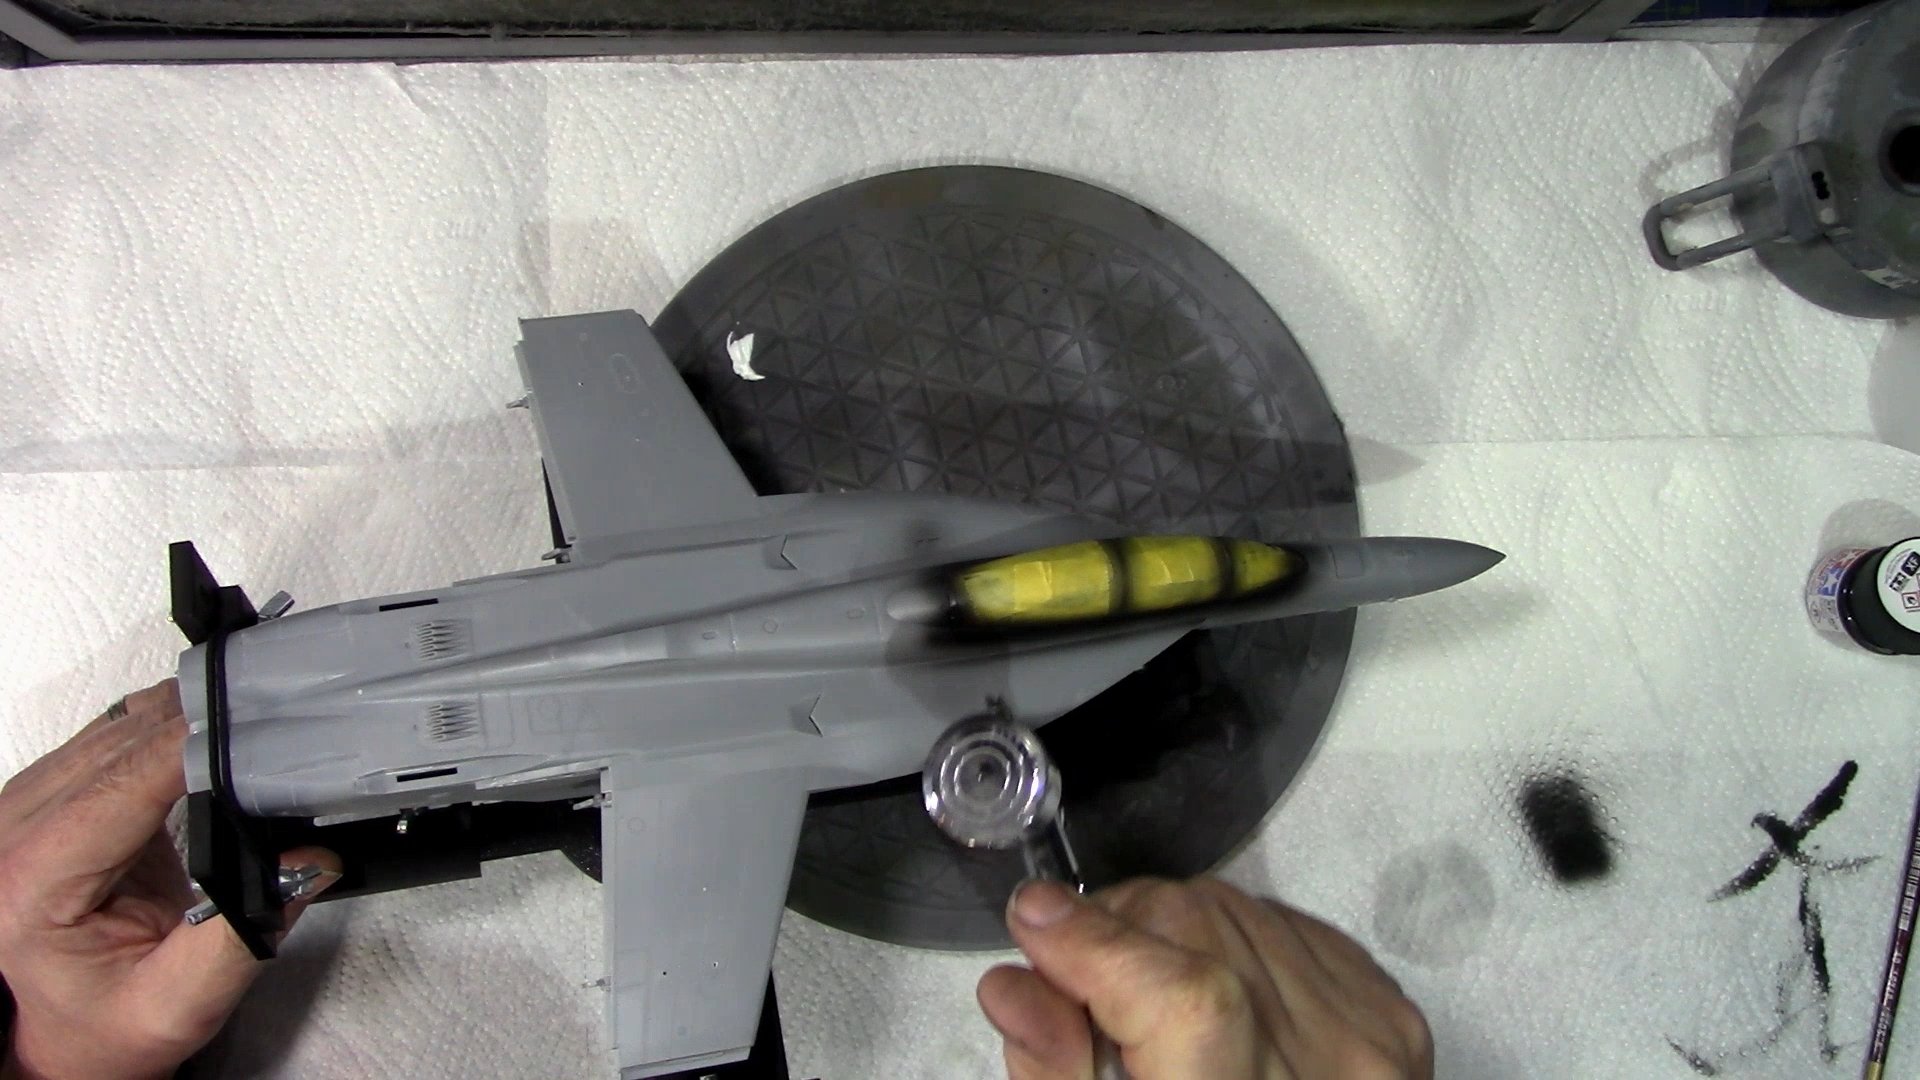
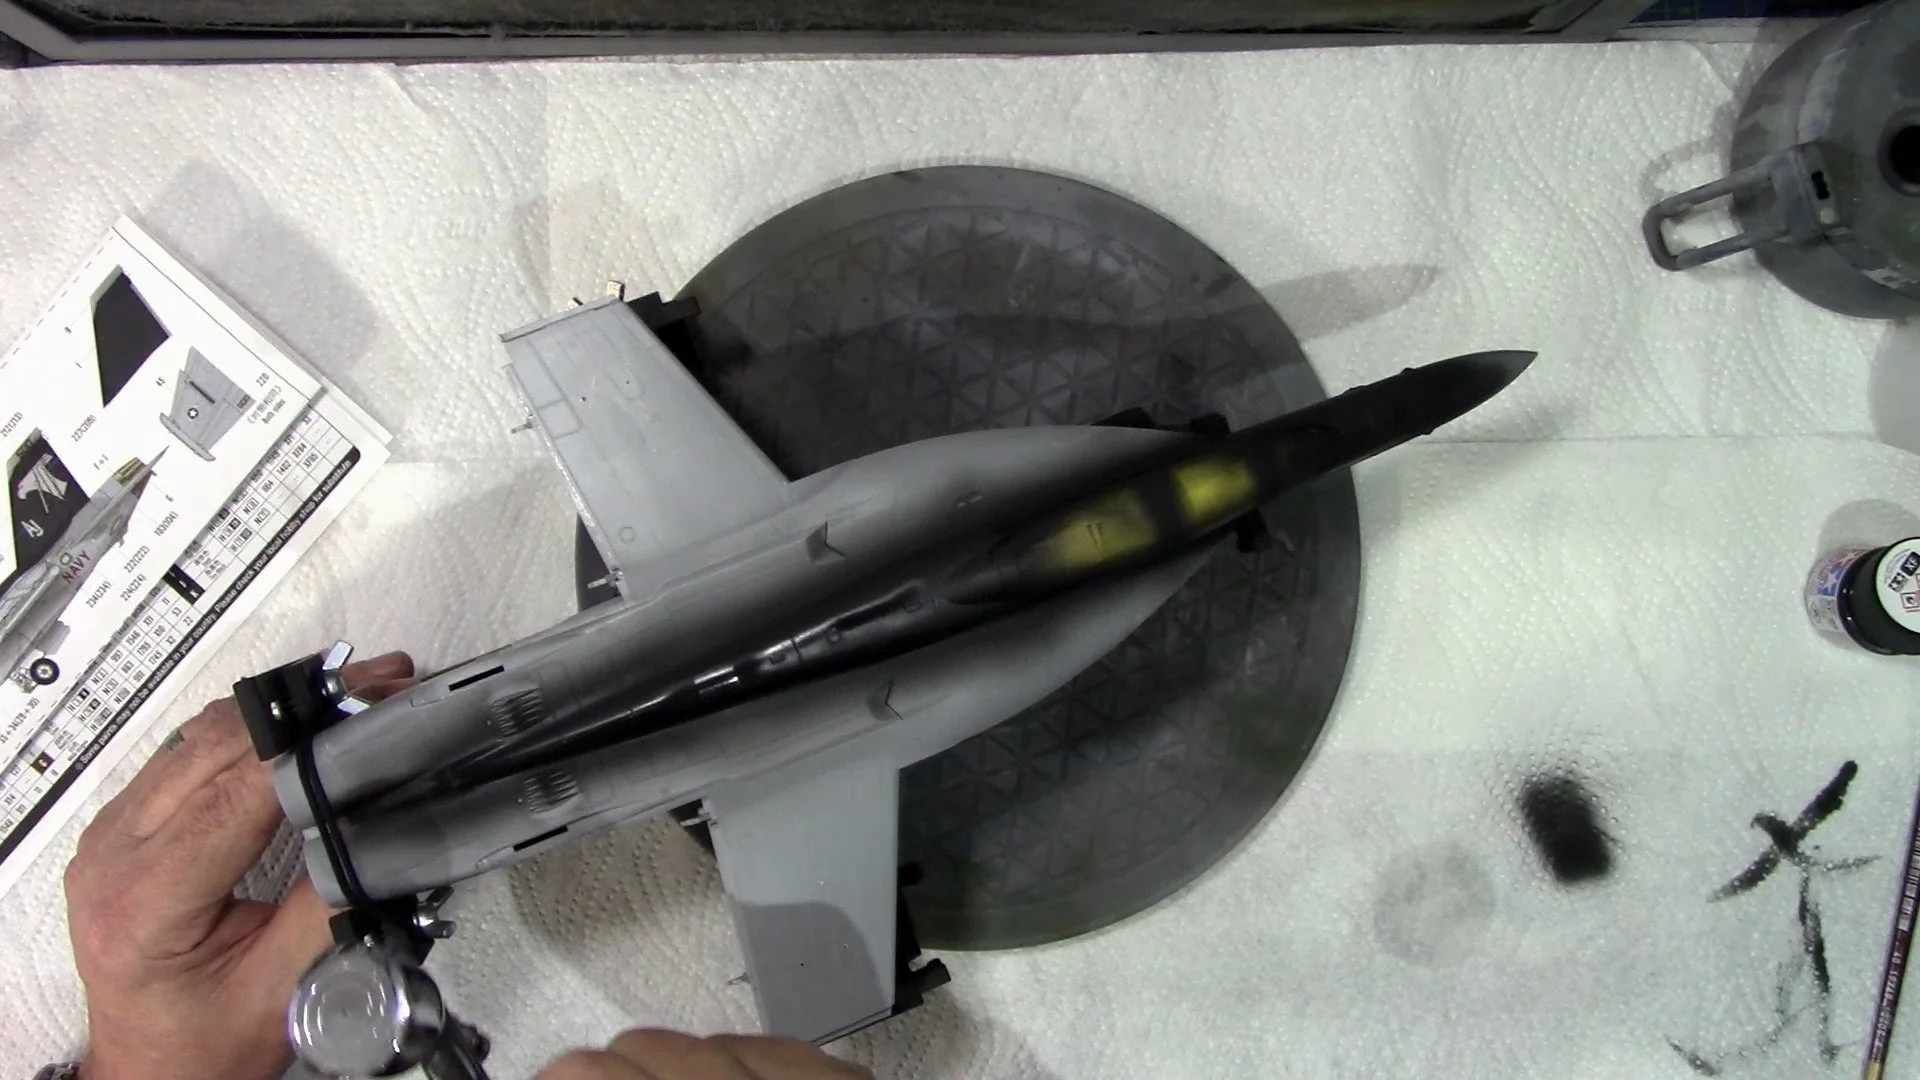
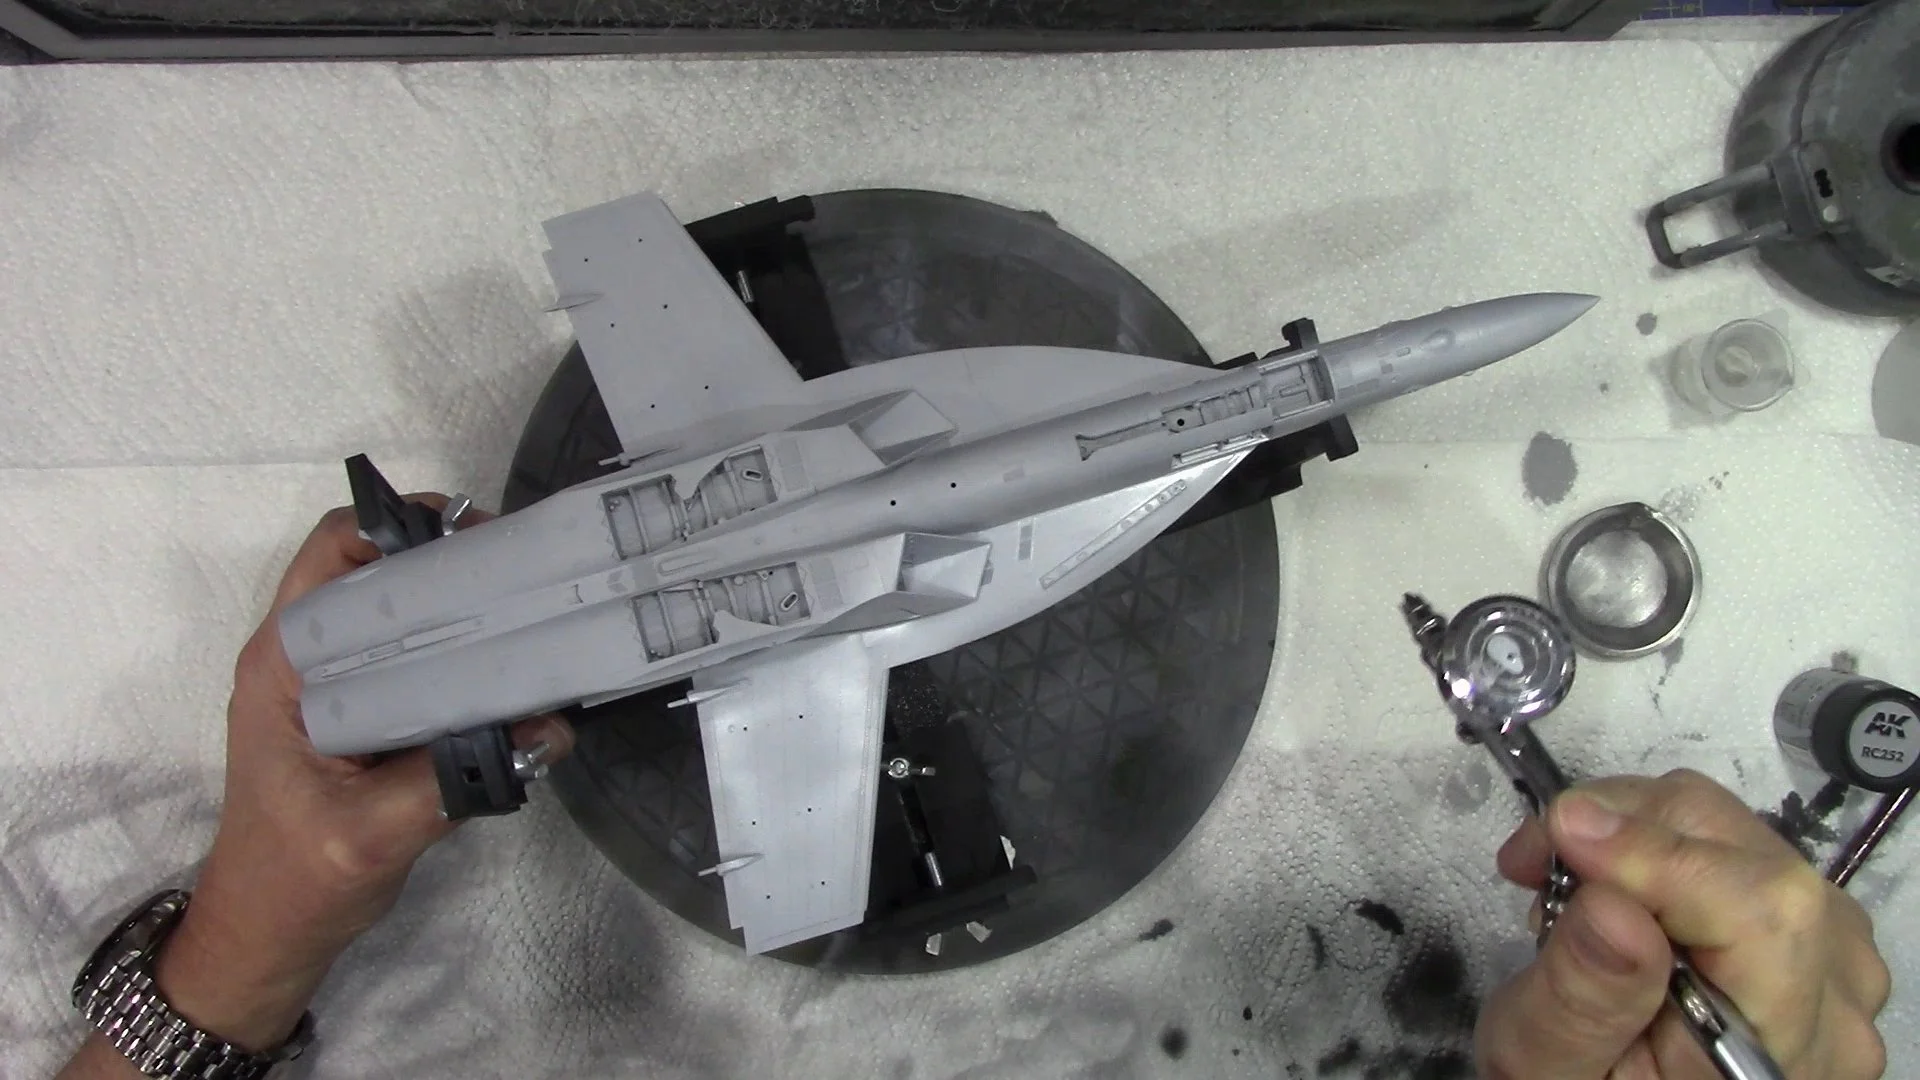
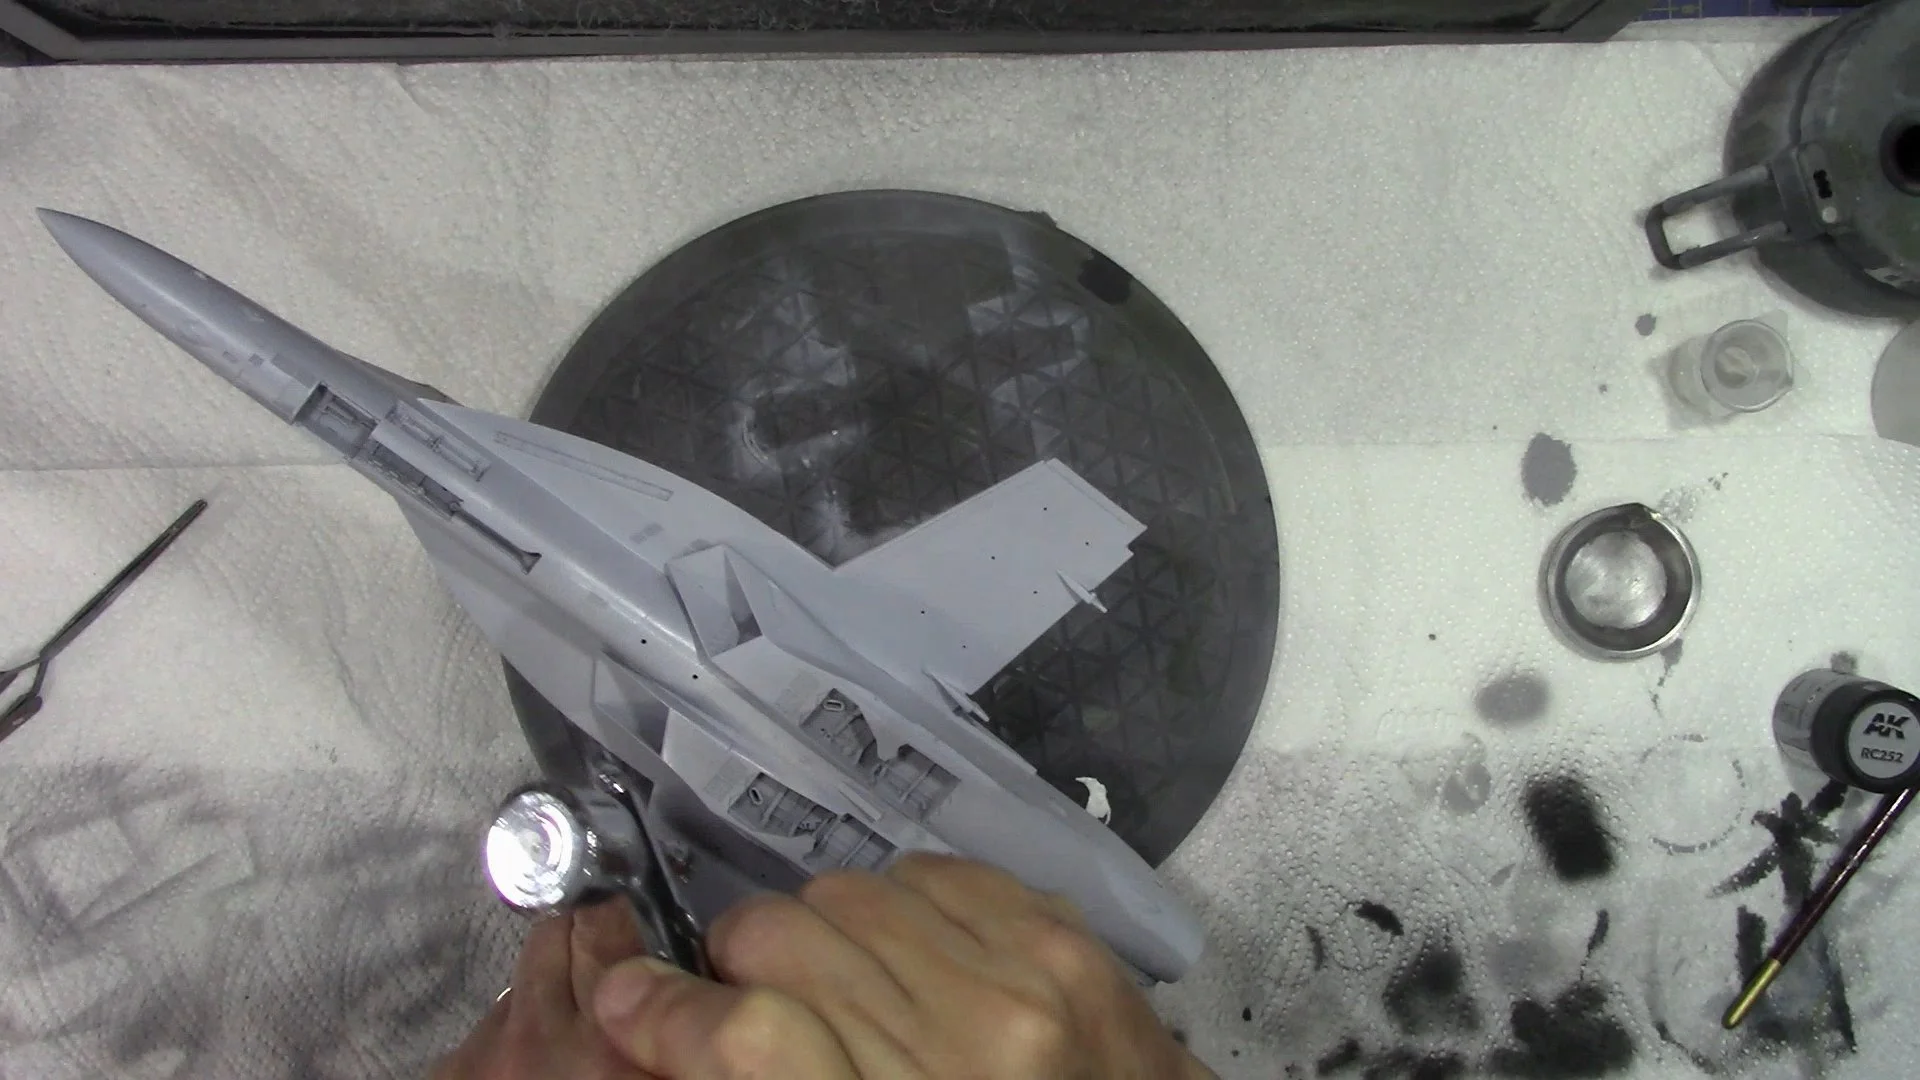
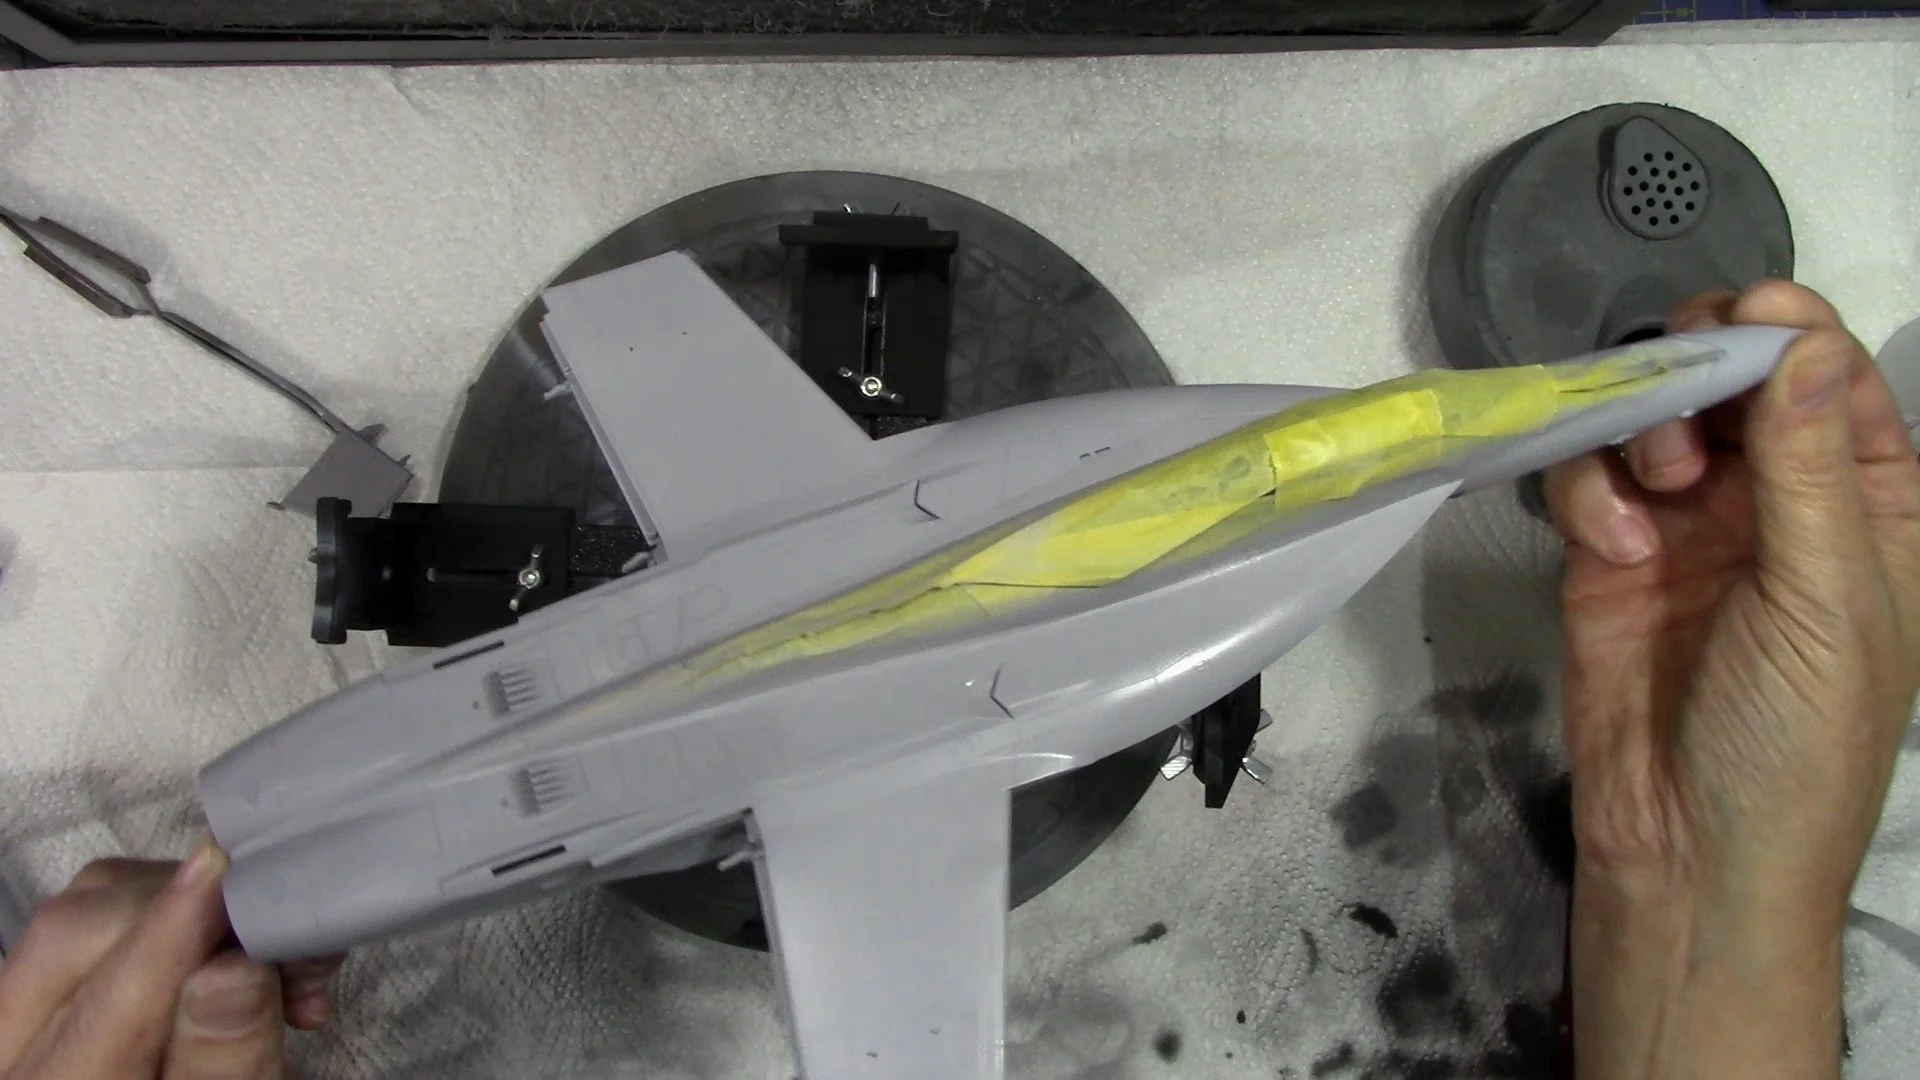
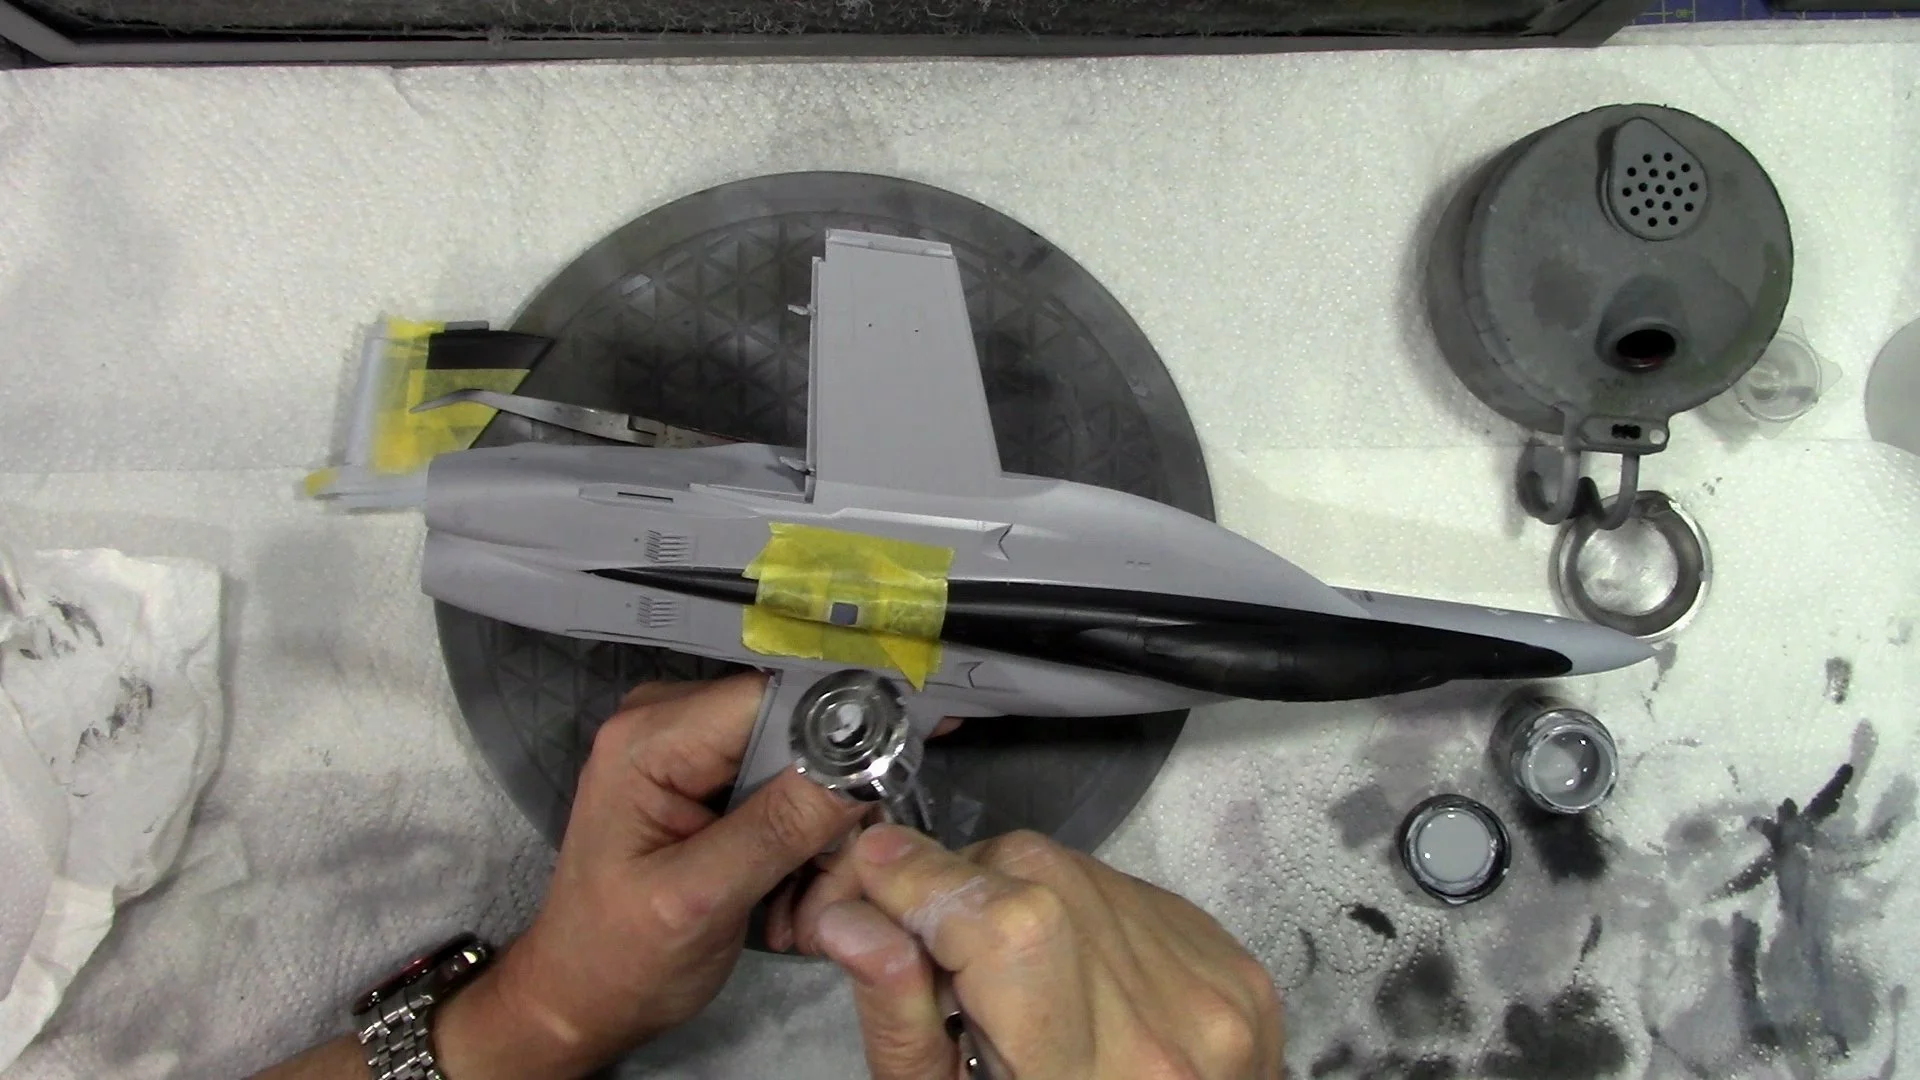
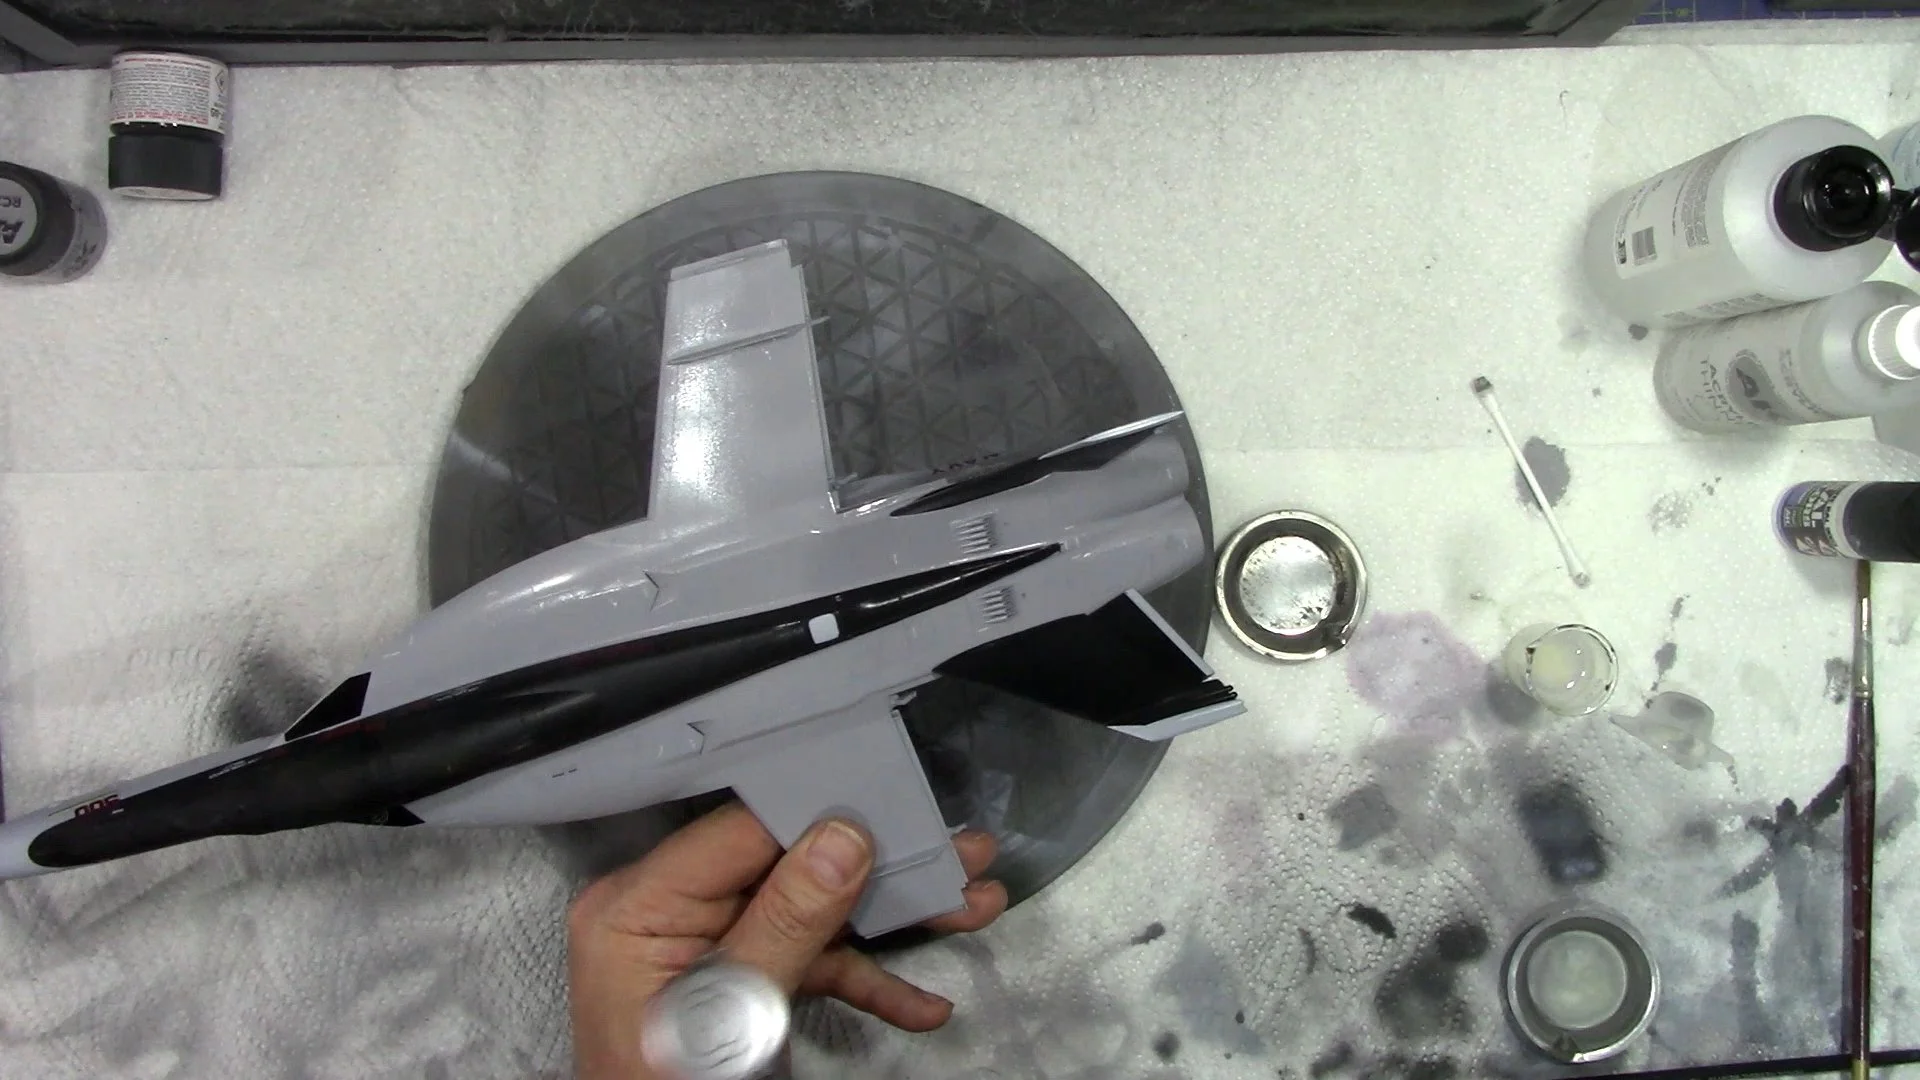
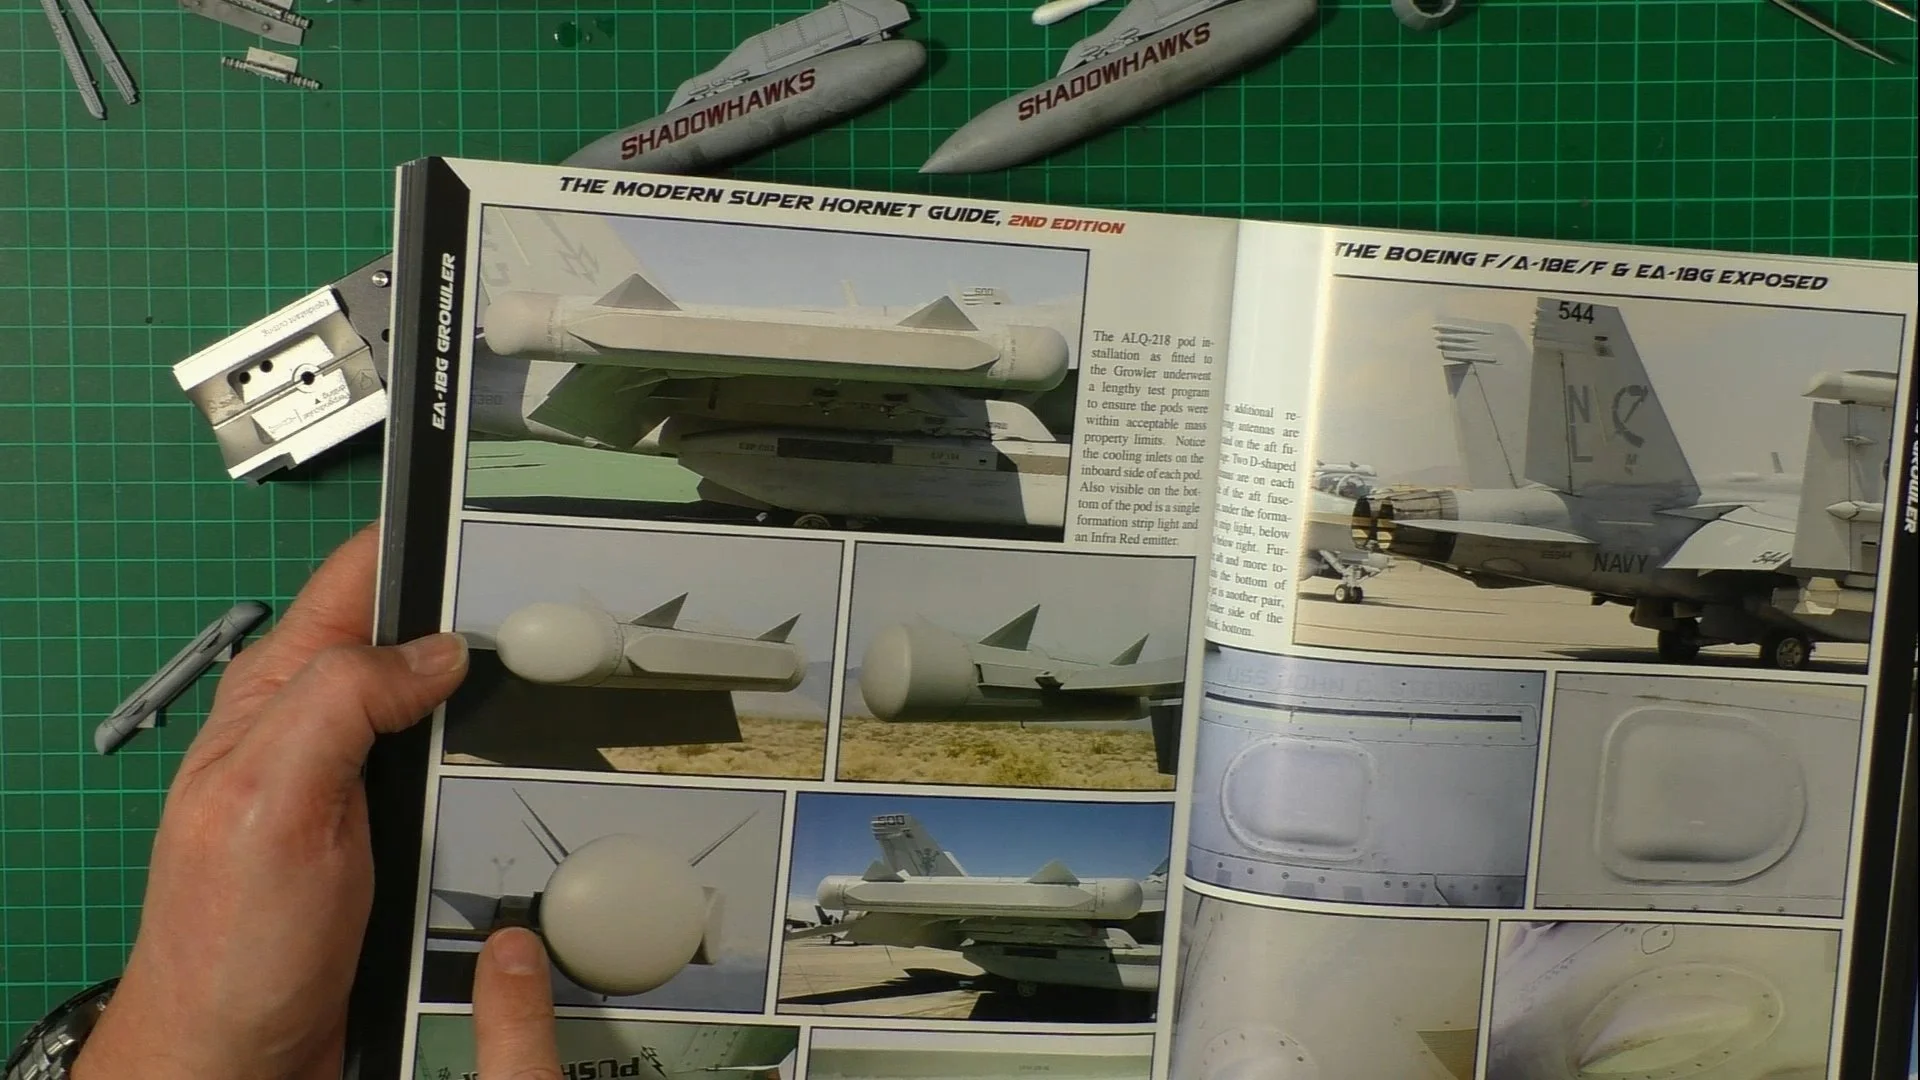
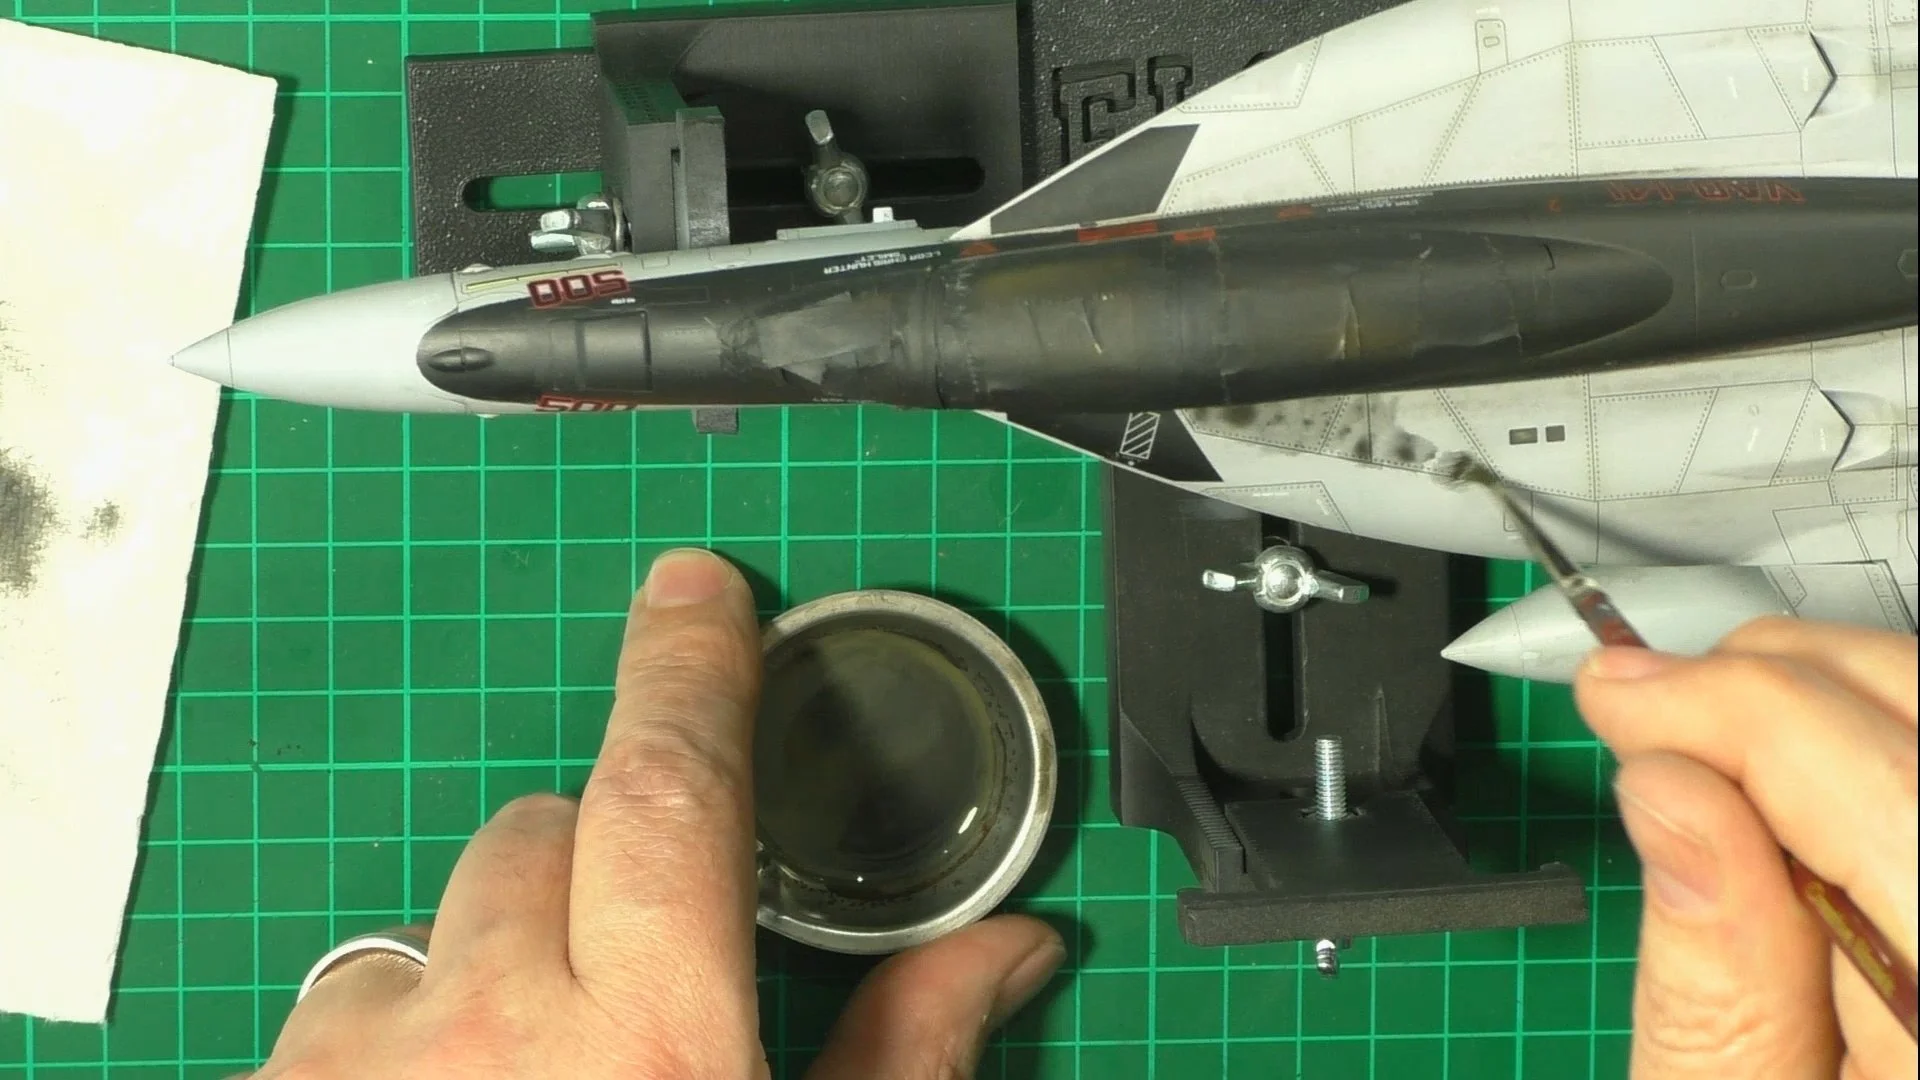
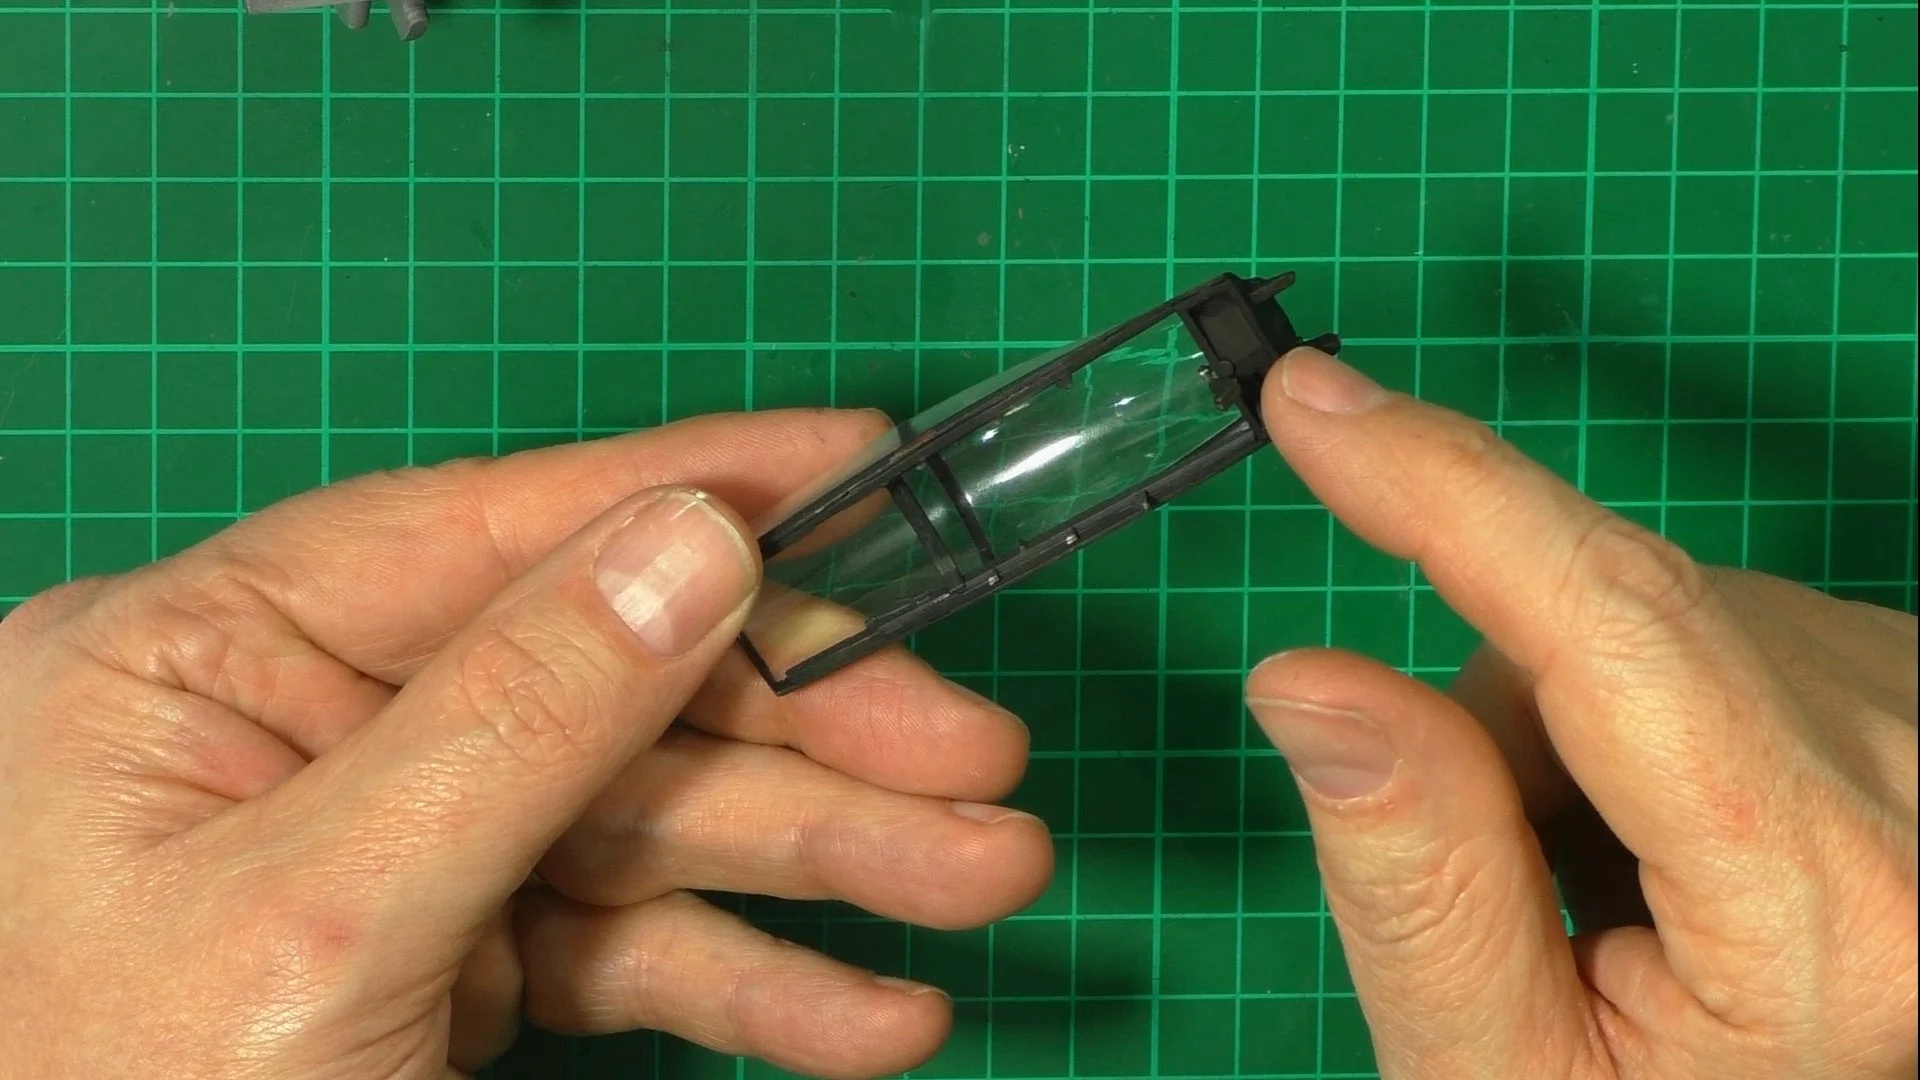
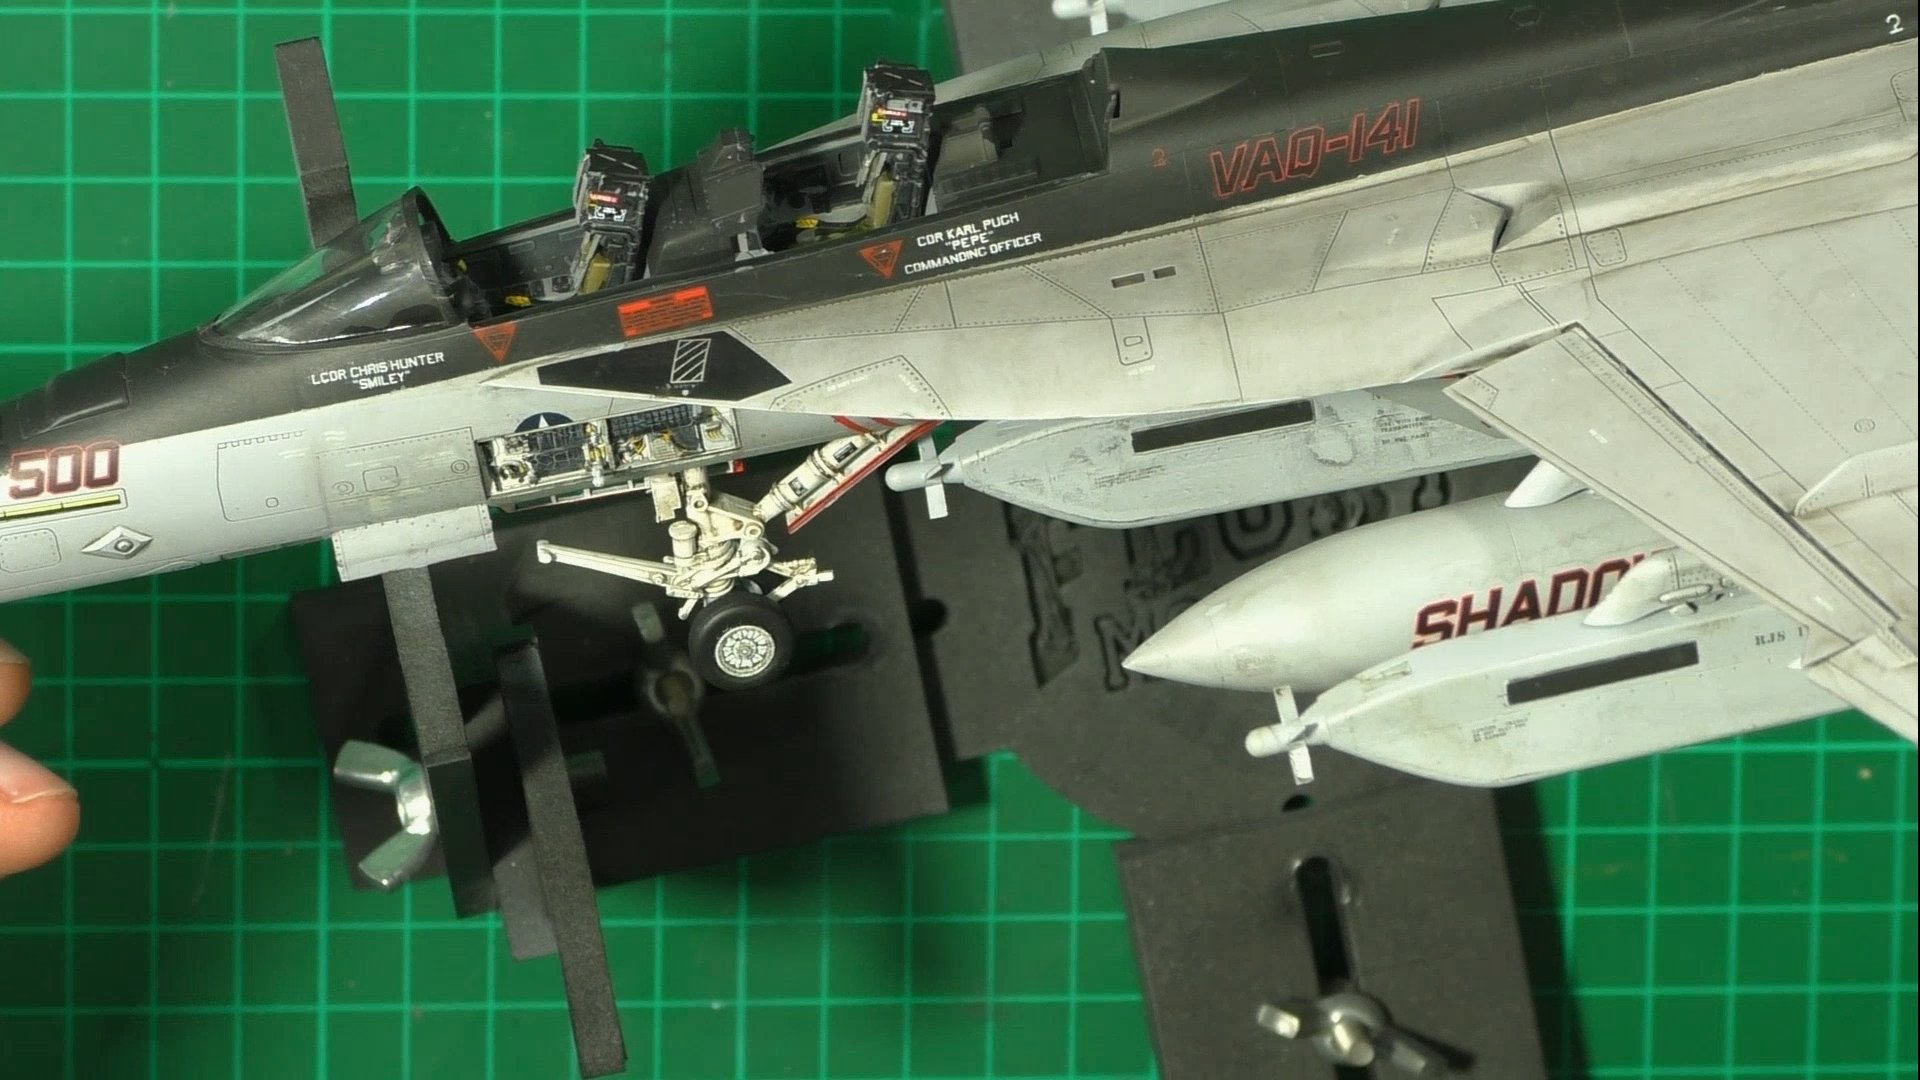
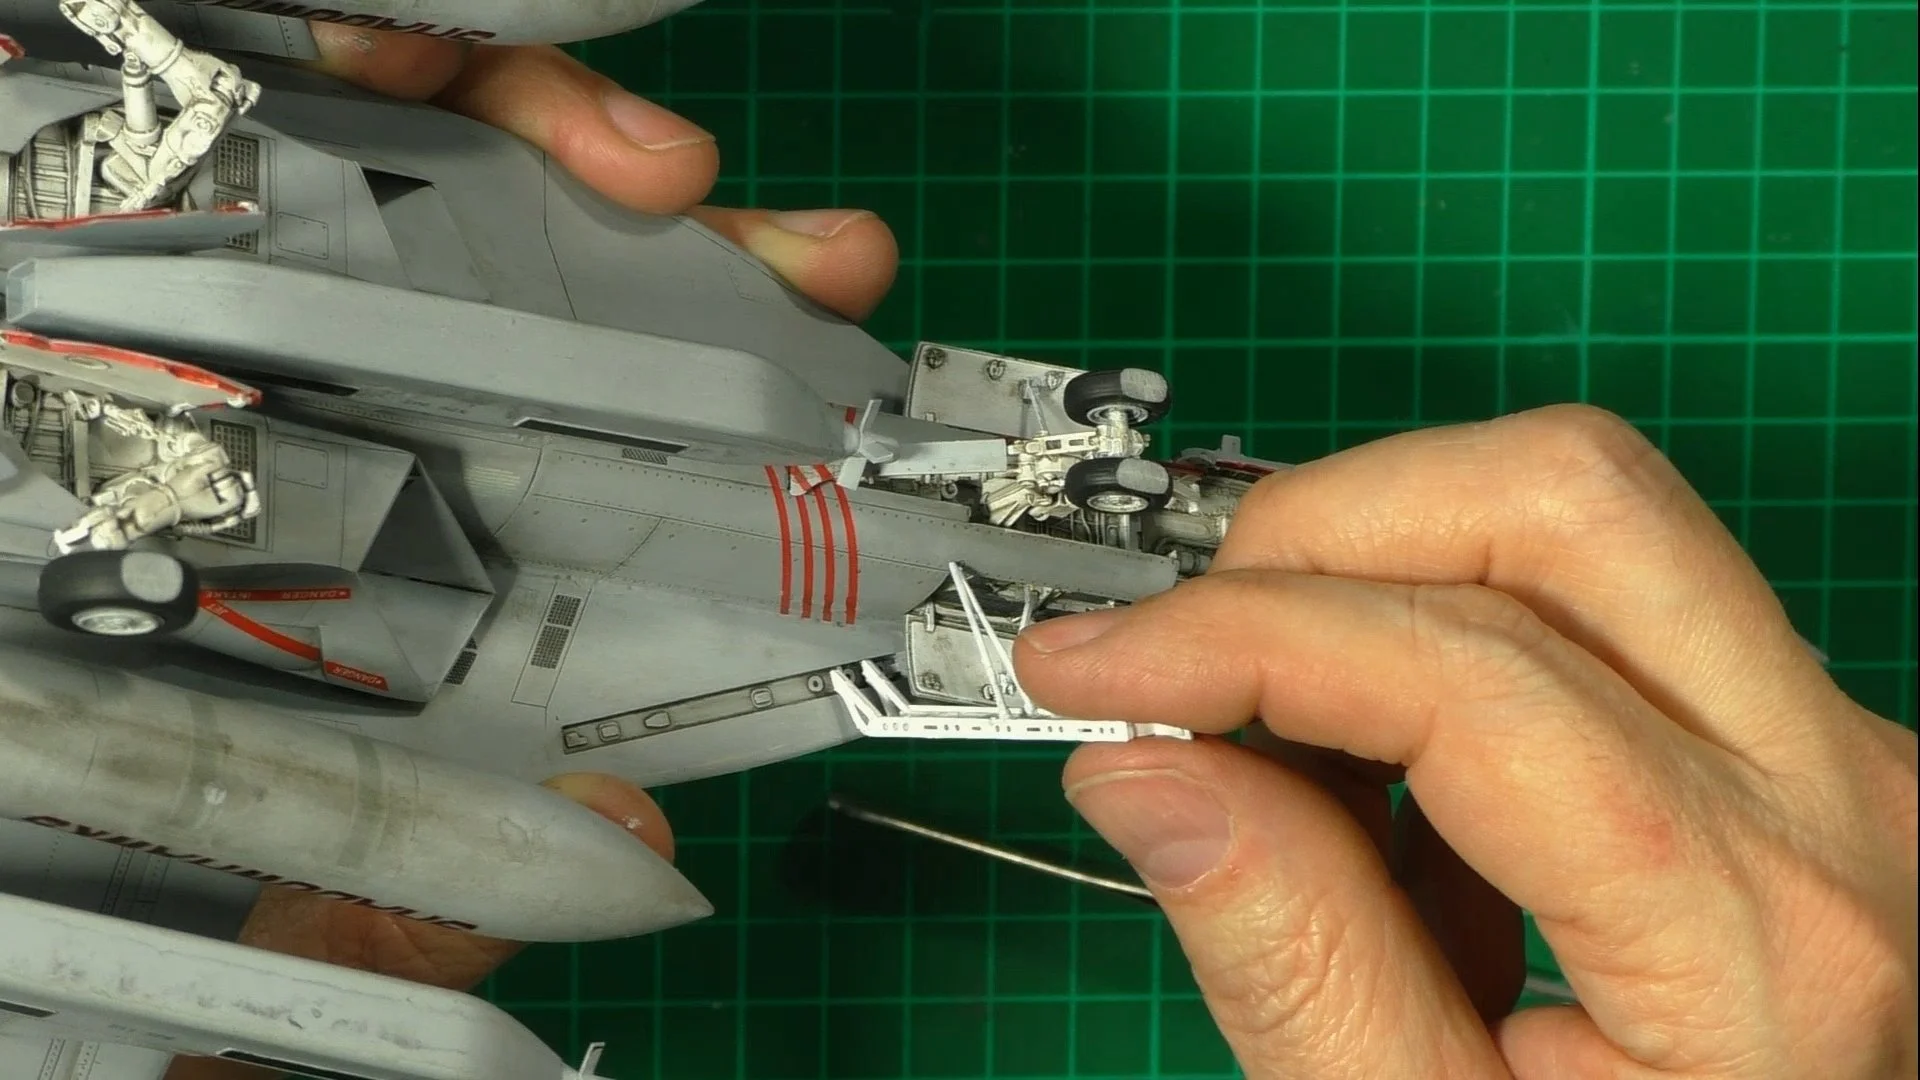
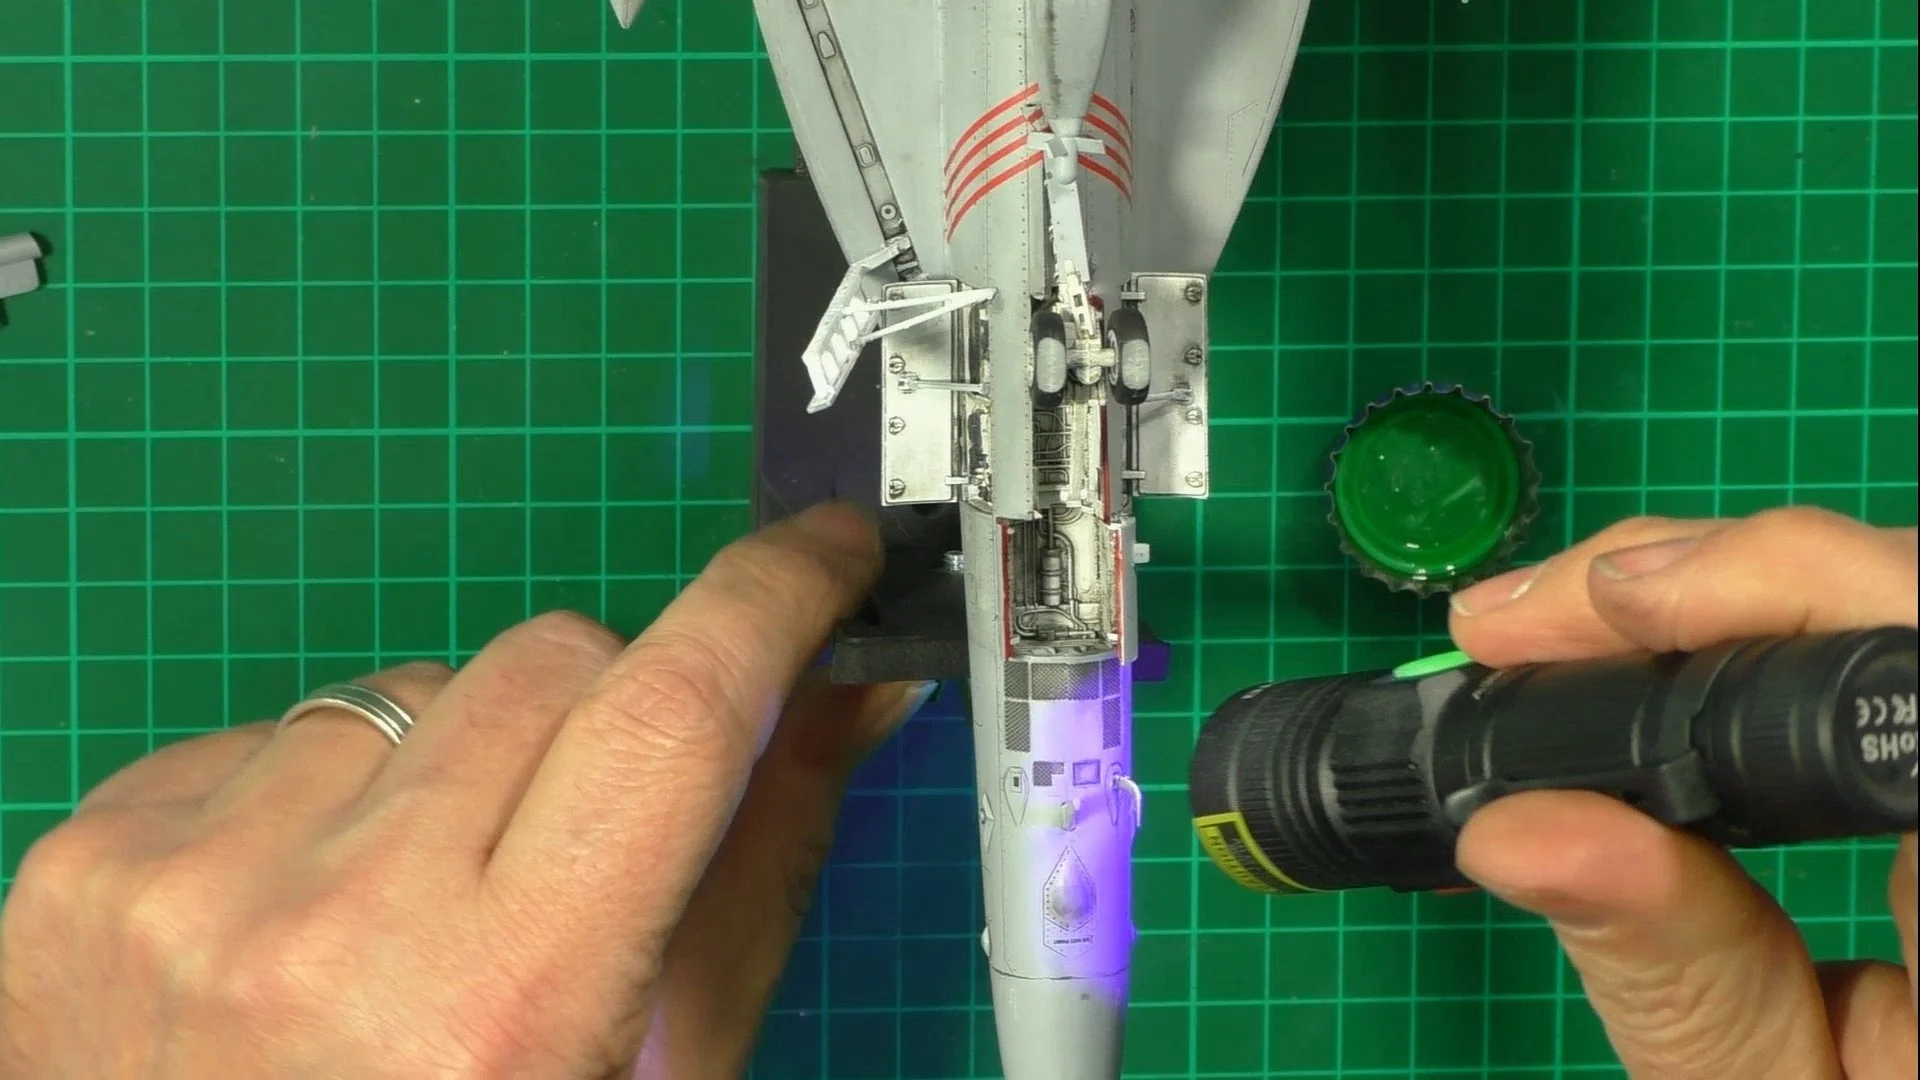
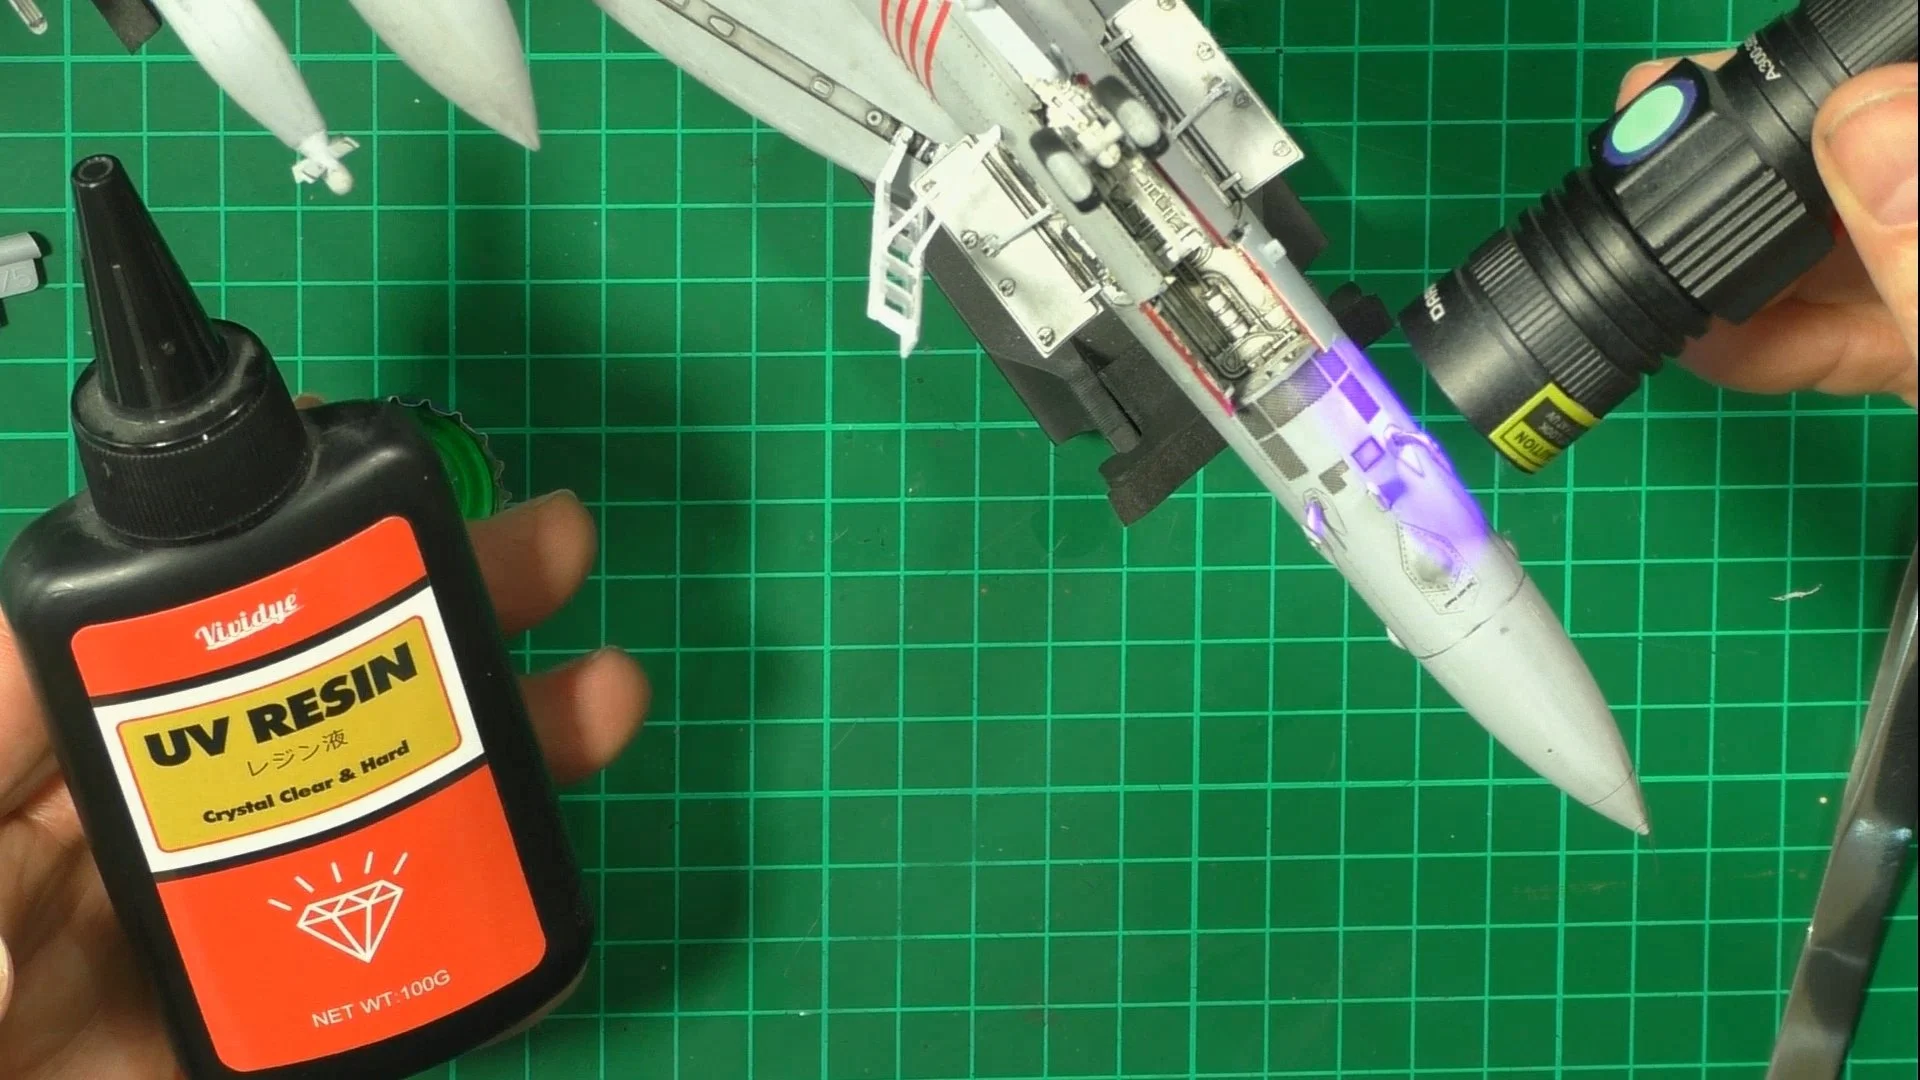
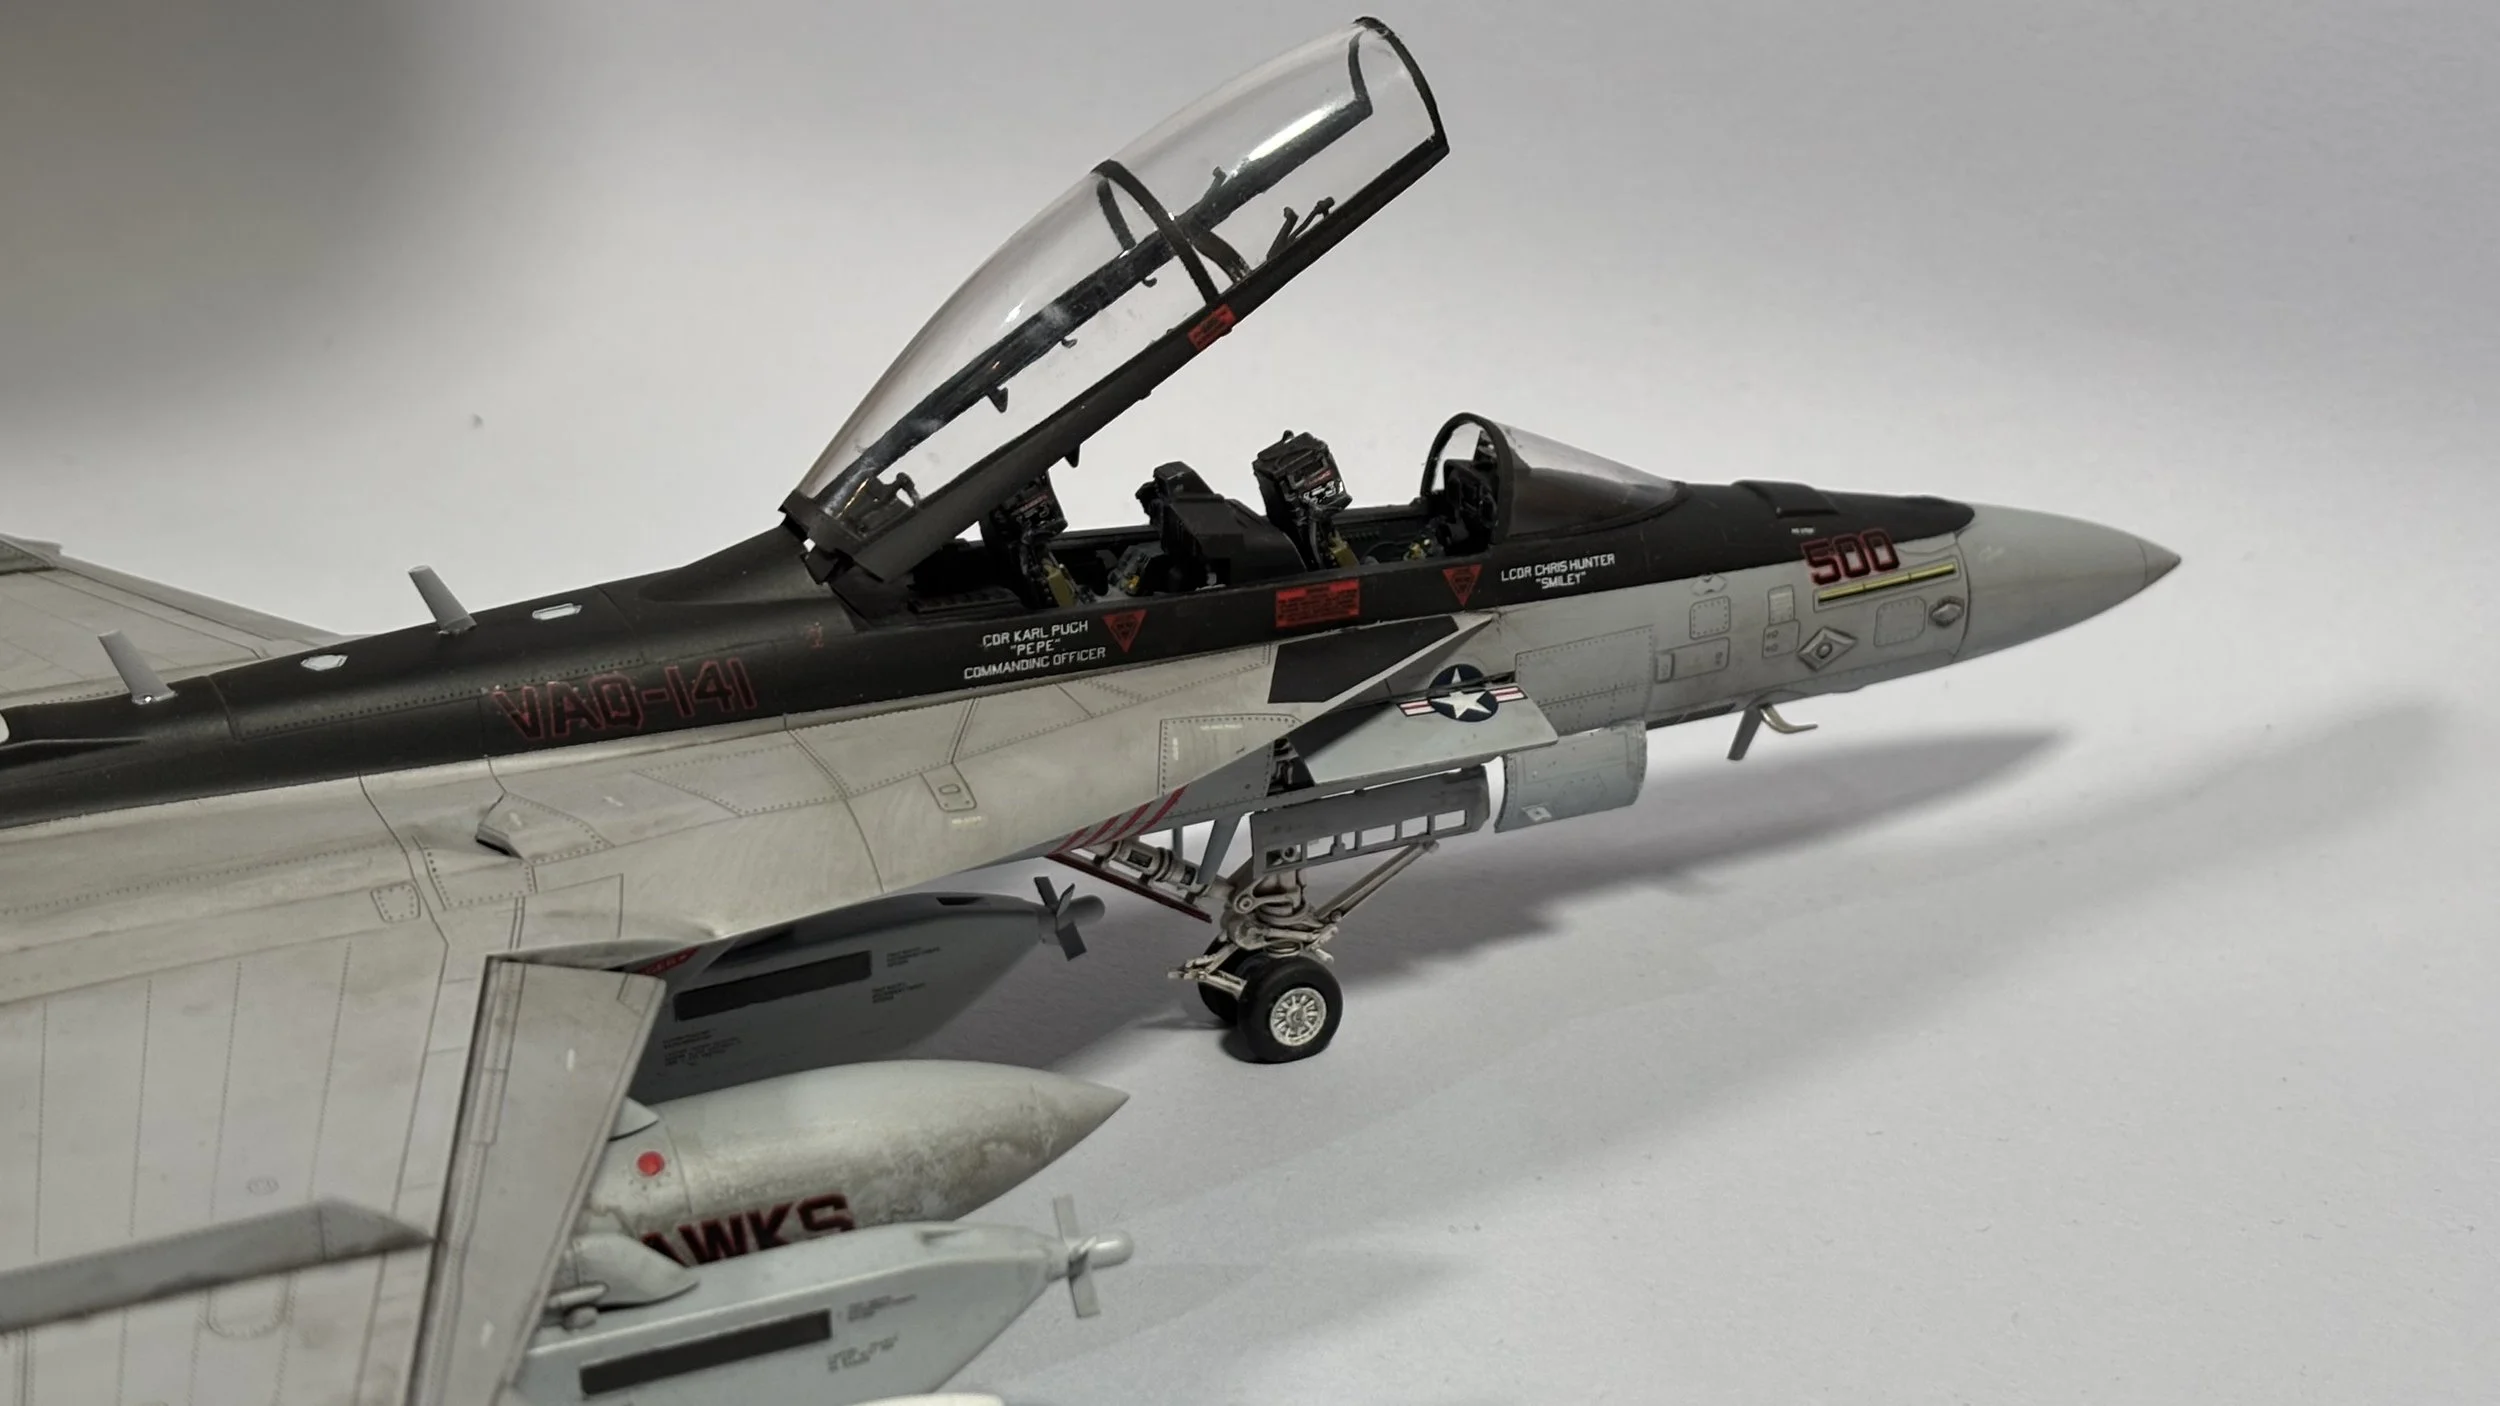
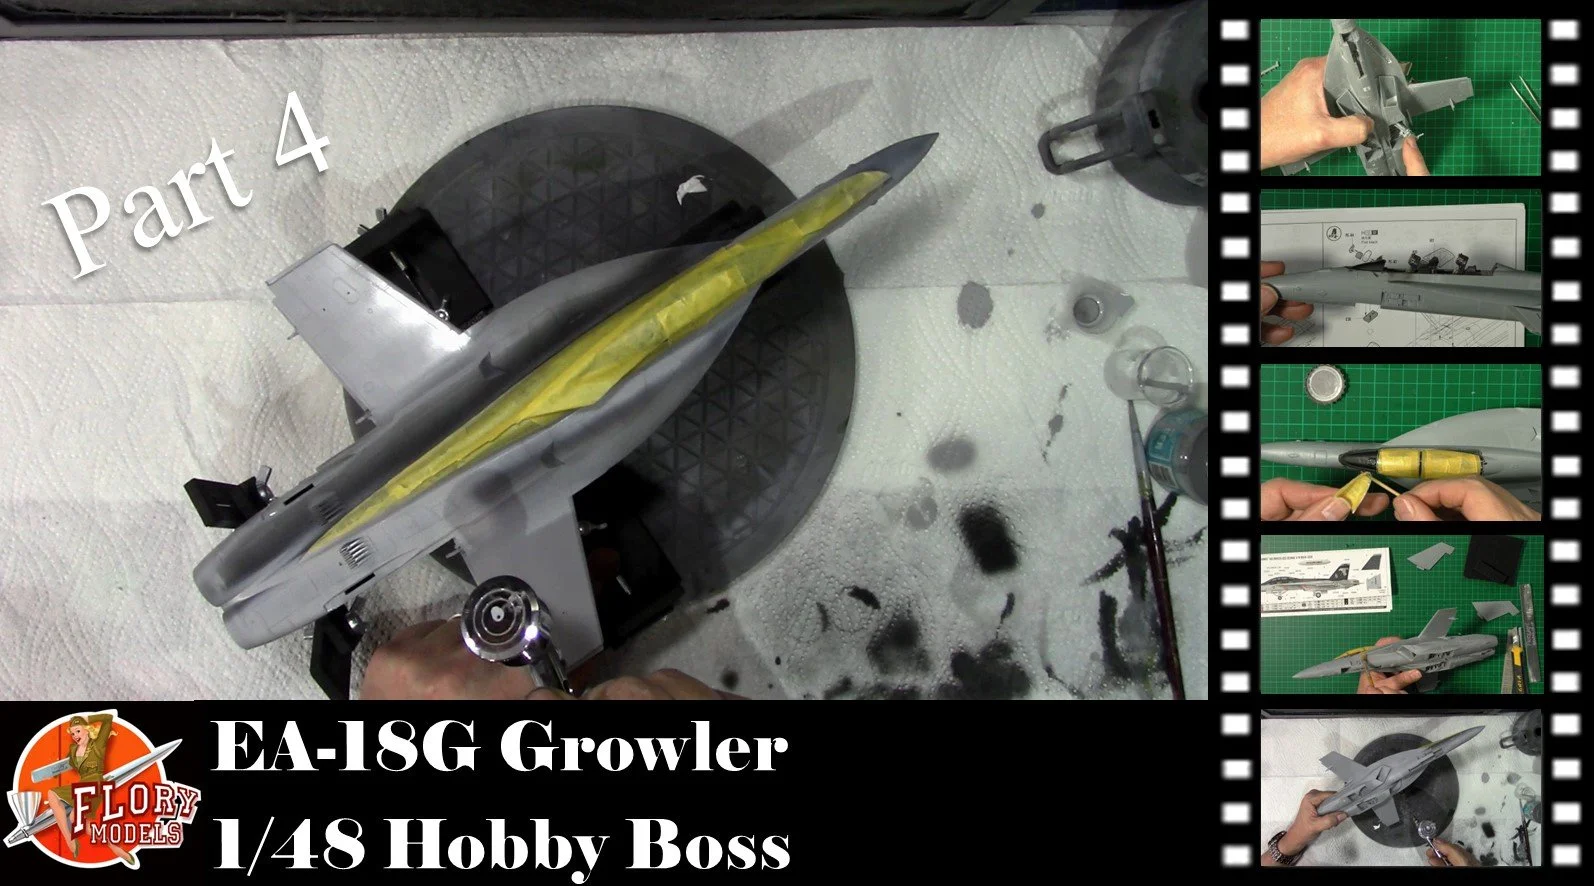
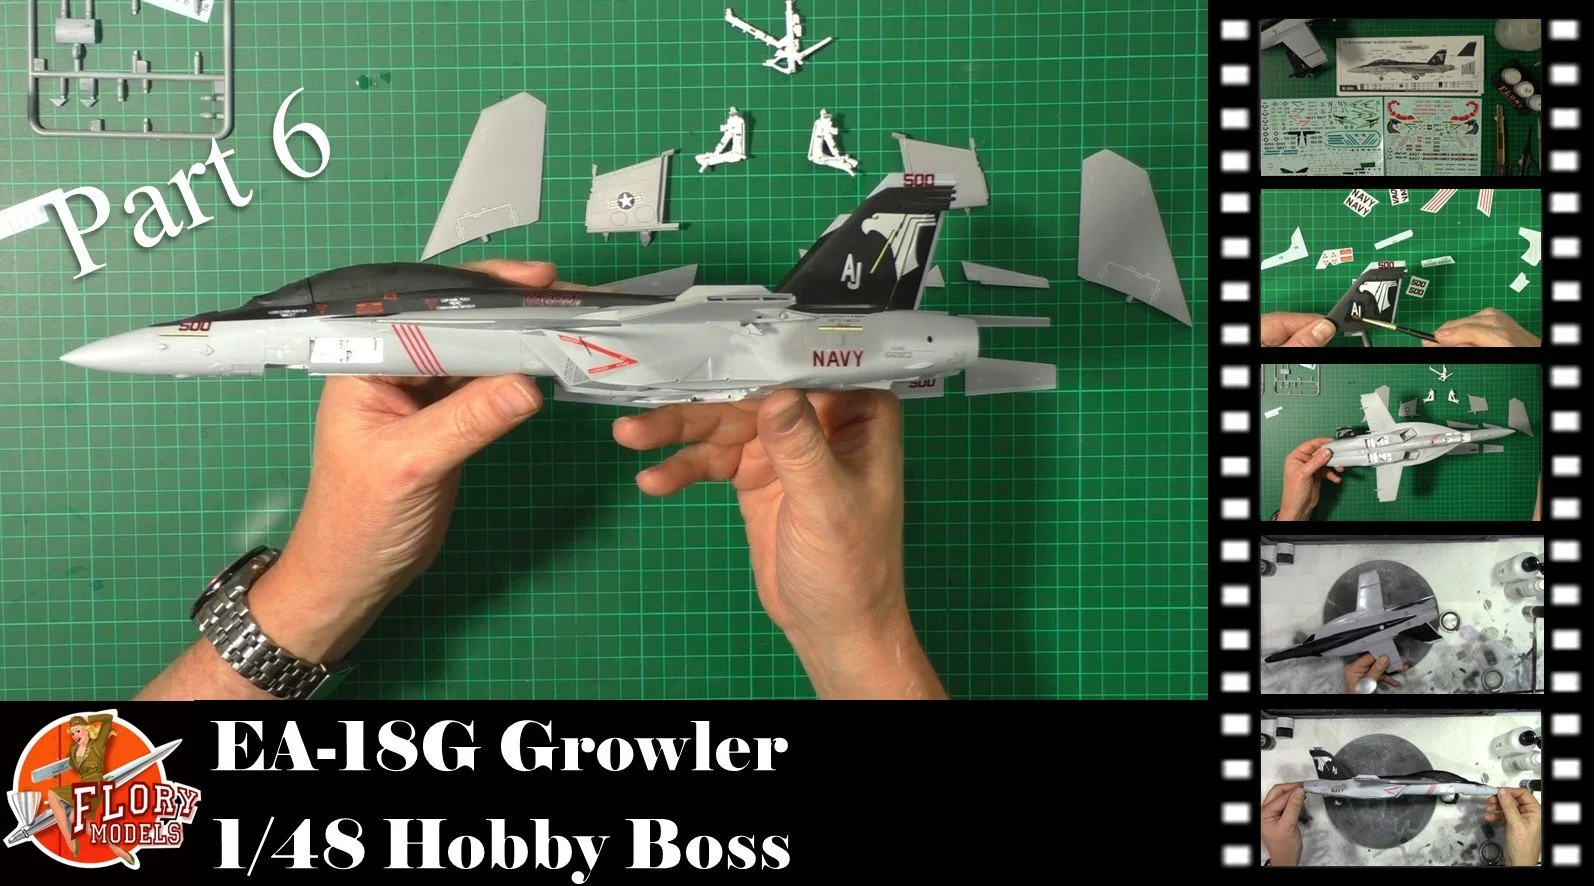
0:00 To start off, we put together the gear with the help of our reference book. Then we look at the canopy and decide not to remove the seam line as it's so small and will do more damage than good. 7:42 Next, we scratch-build a HUD frame, as we are missing the photo-etched parts for this kit. Then, using UV glue, attach the front canopy. 19:08 Then it's over the spray booth and put down the black for the spine and tail planes. 25:05 With the Black areas all masked up, we prime the rest of the model with Mr Surfacer 1000.
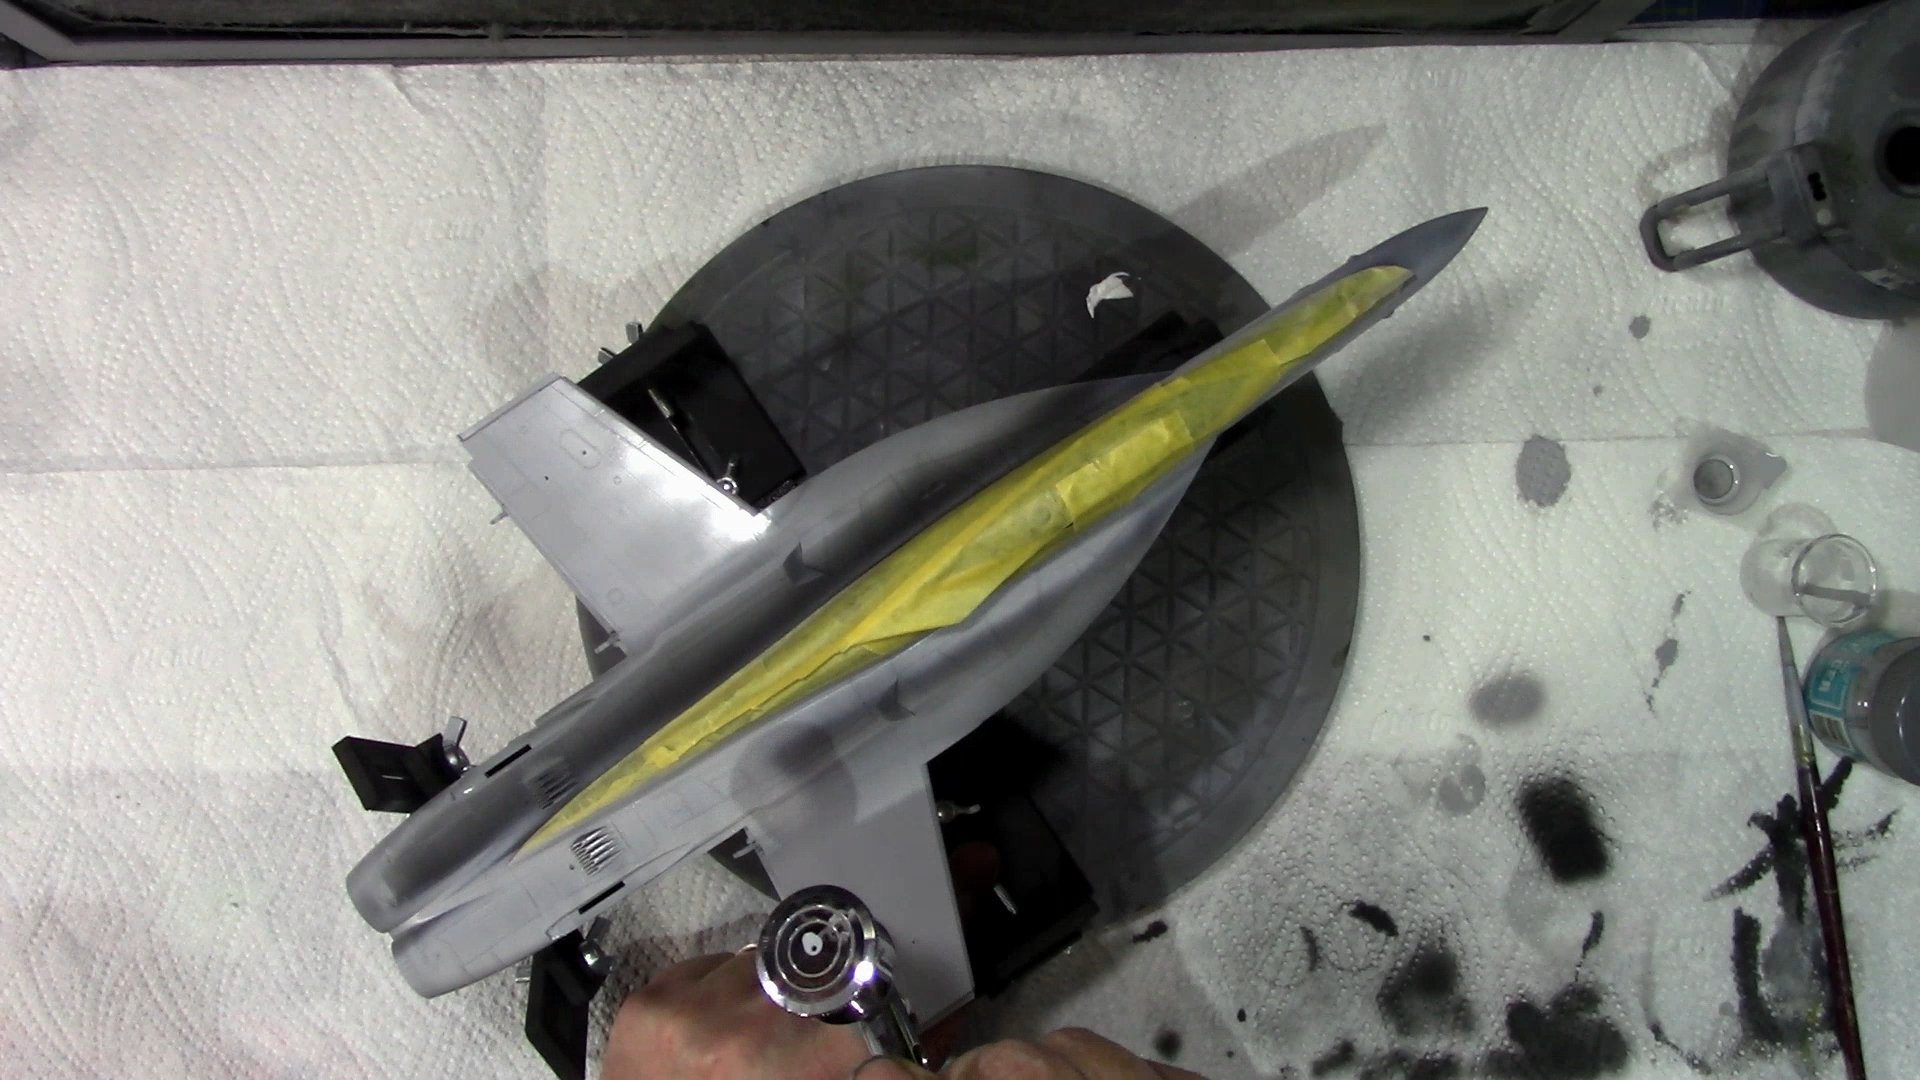
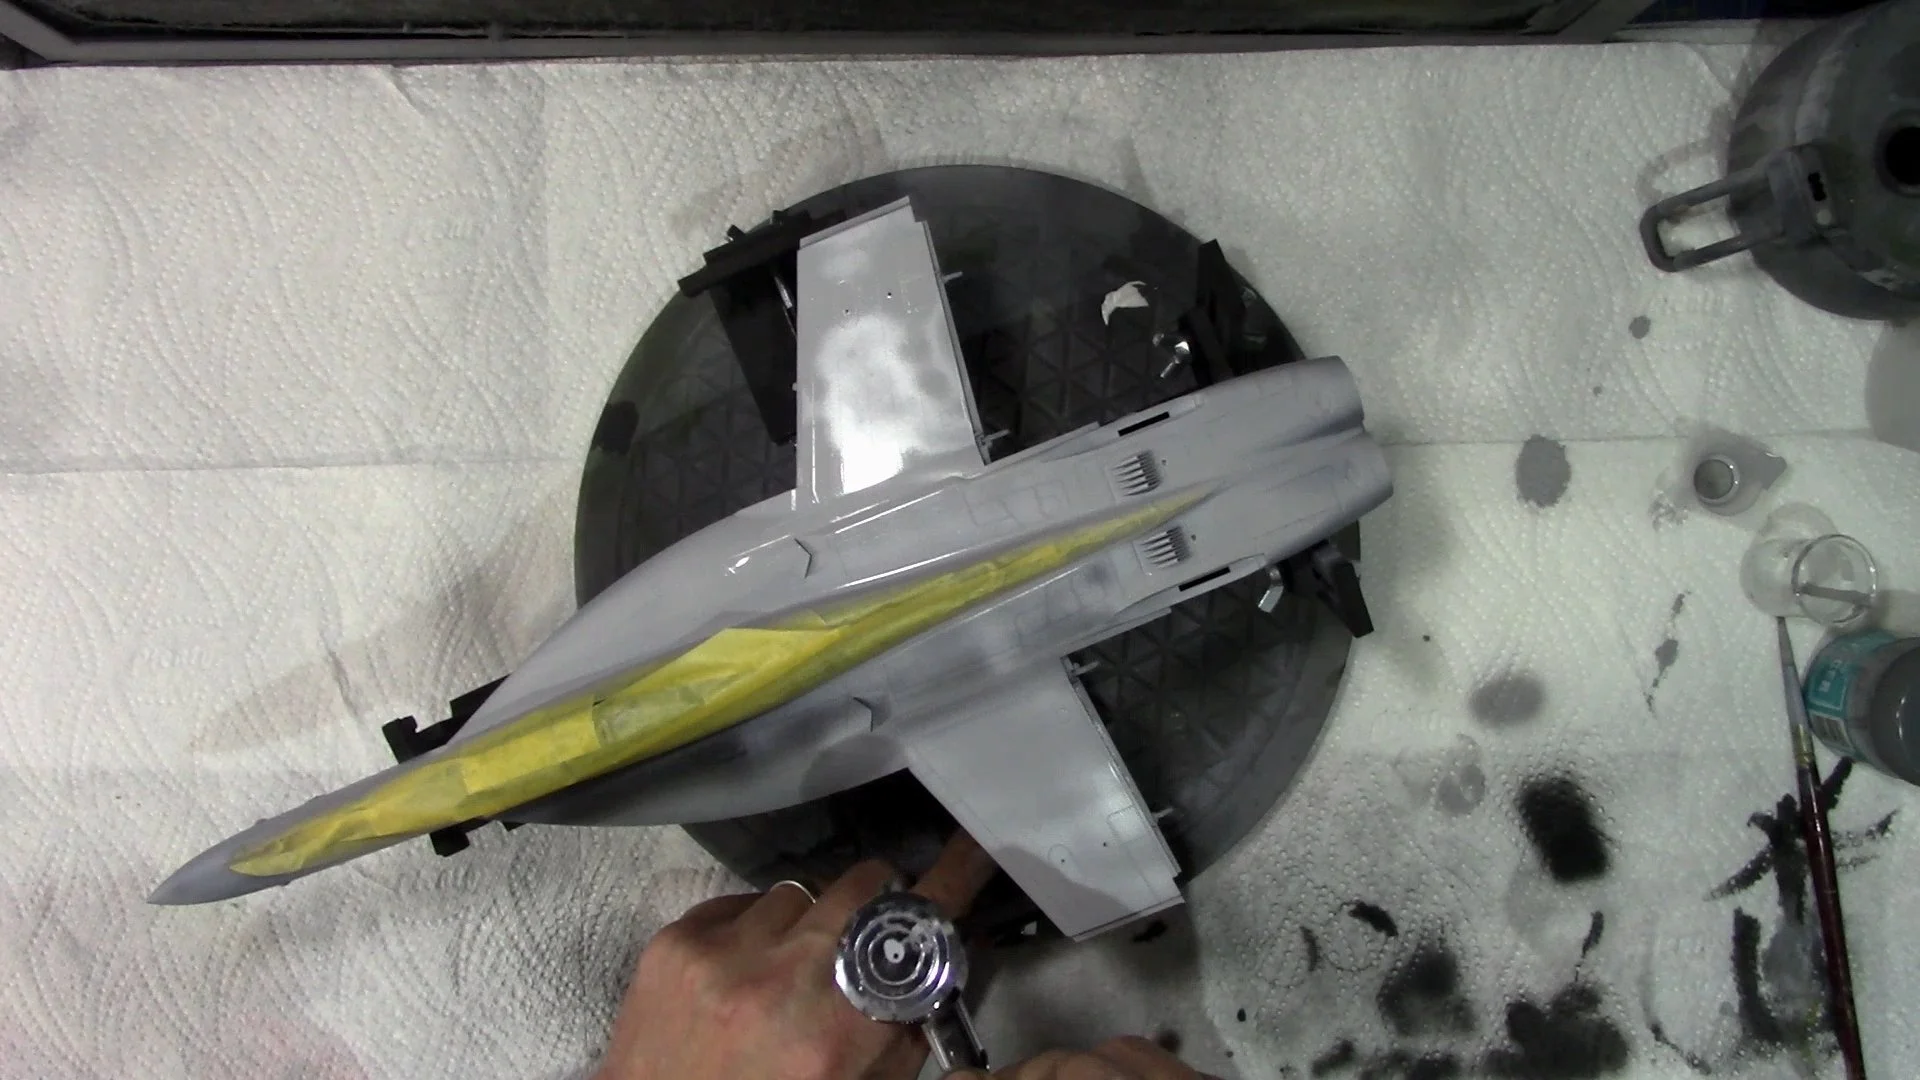
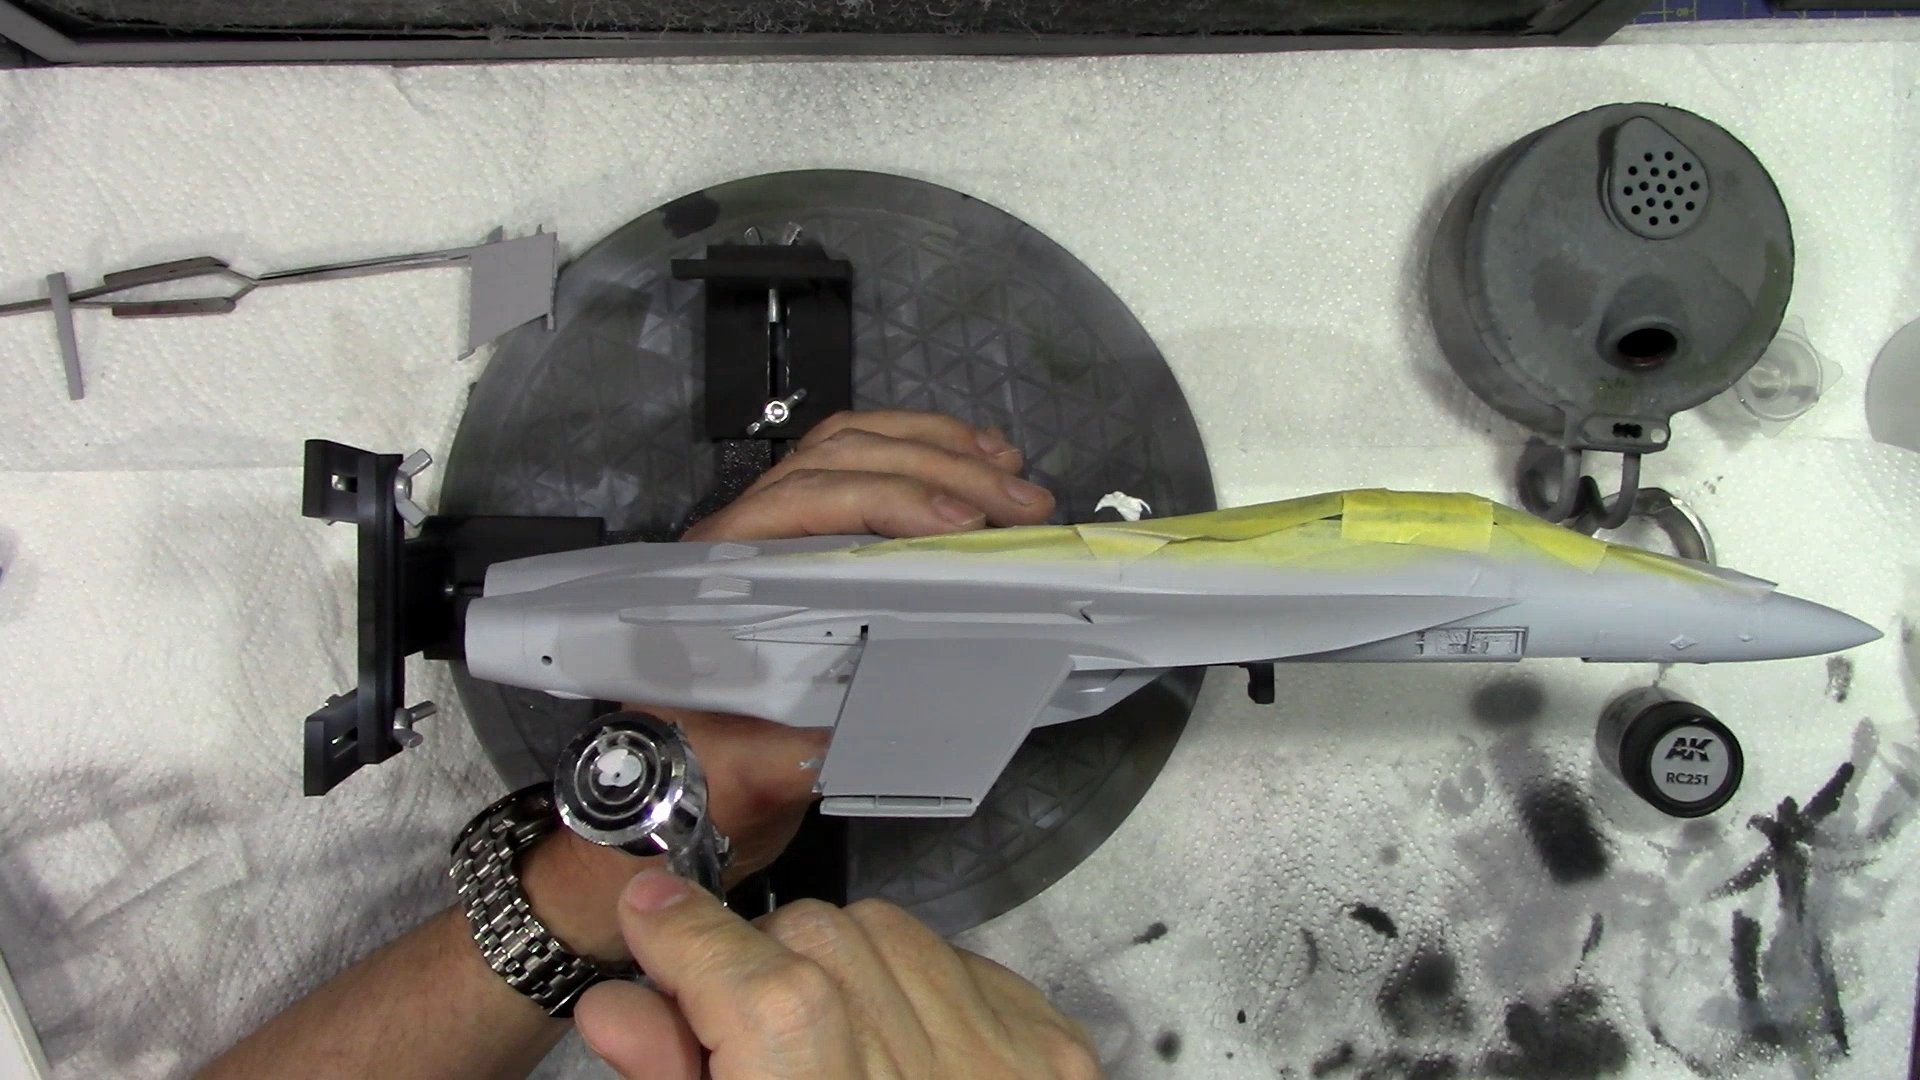
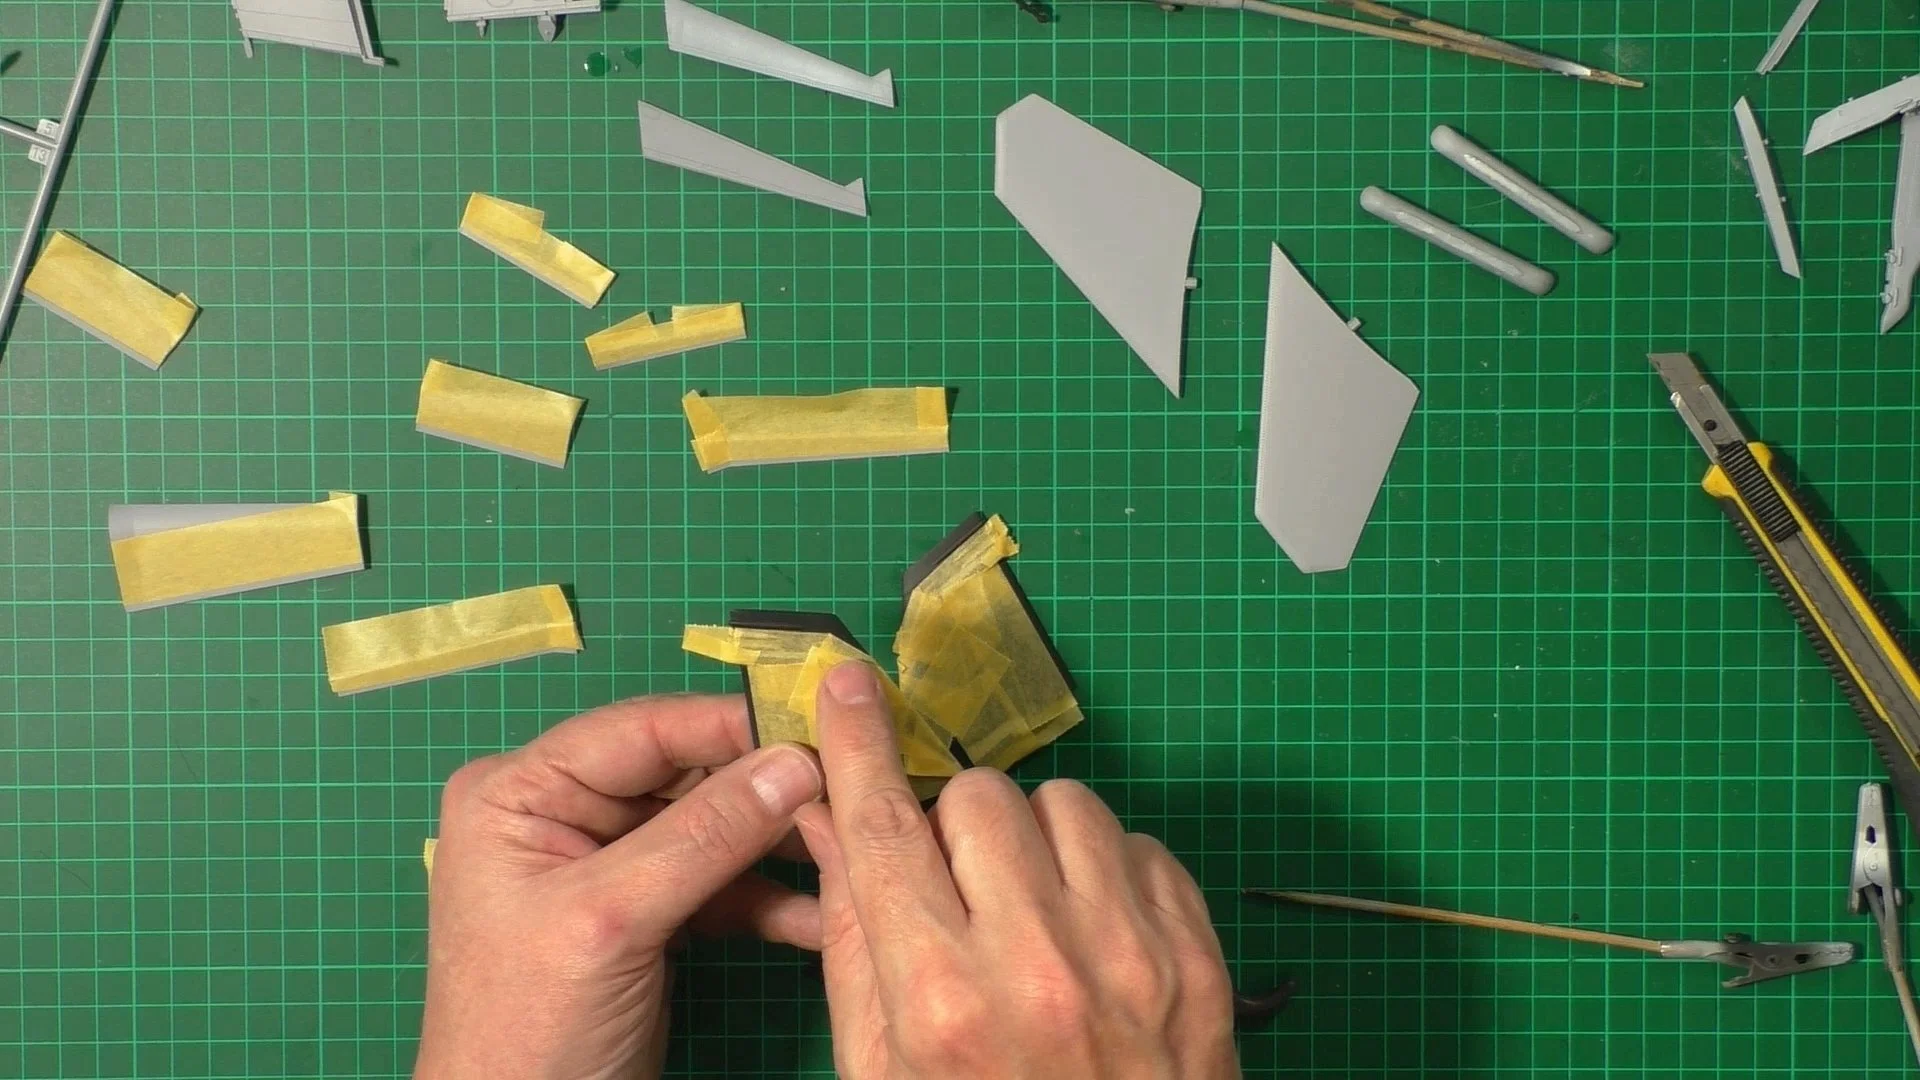
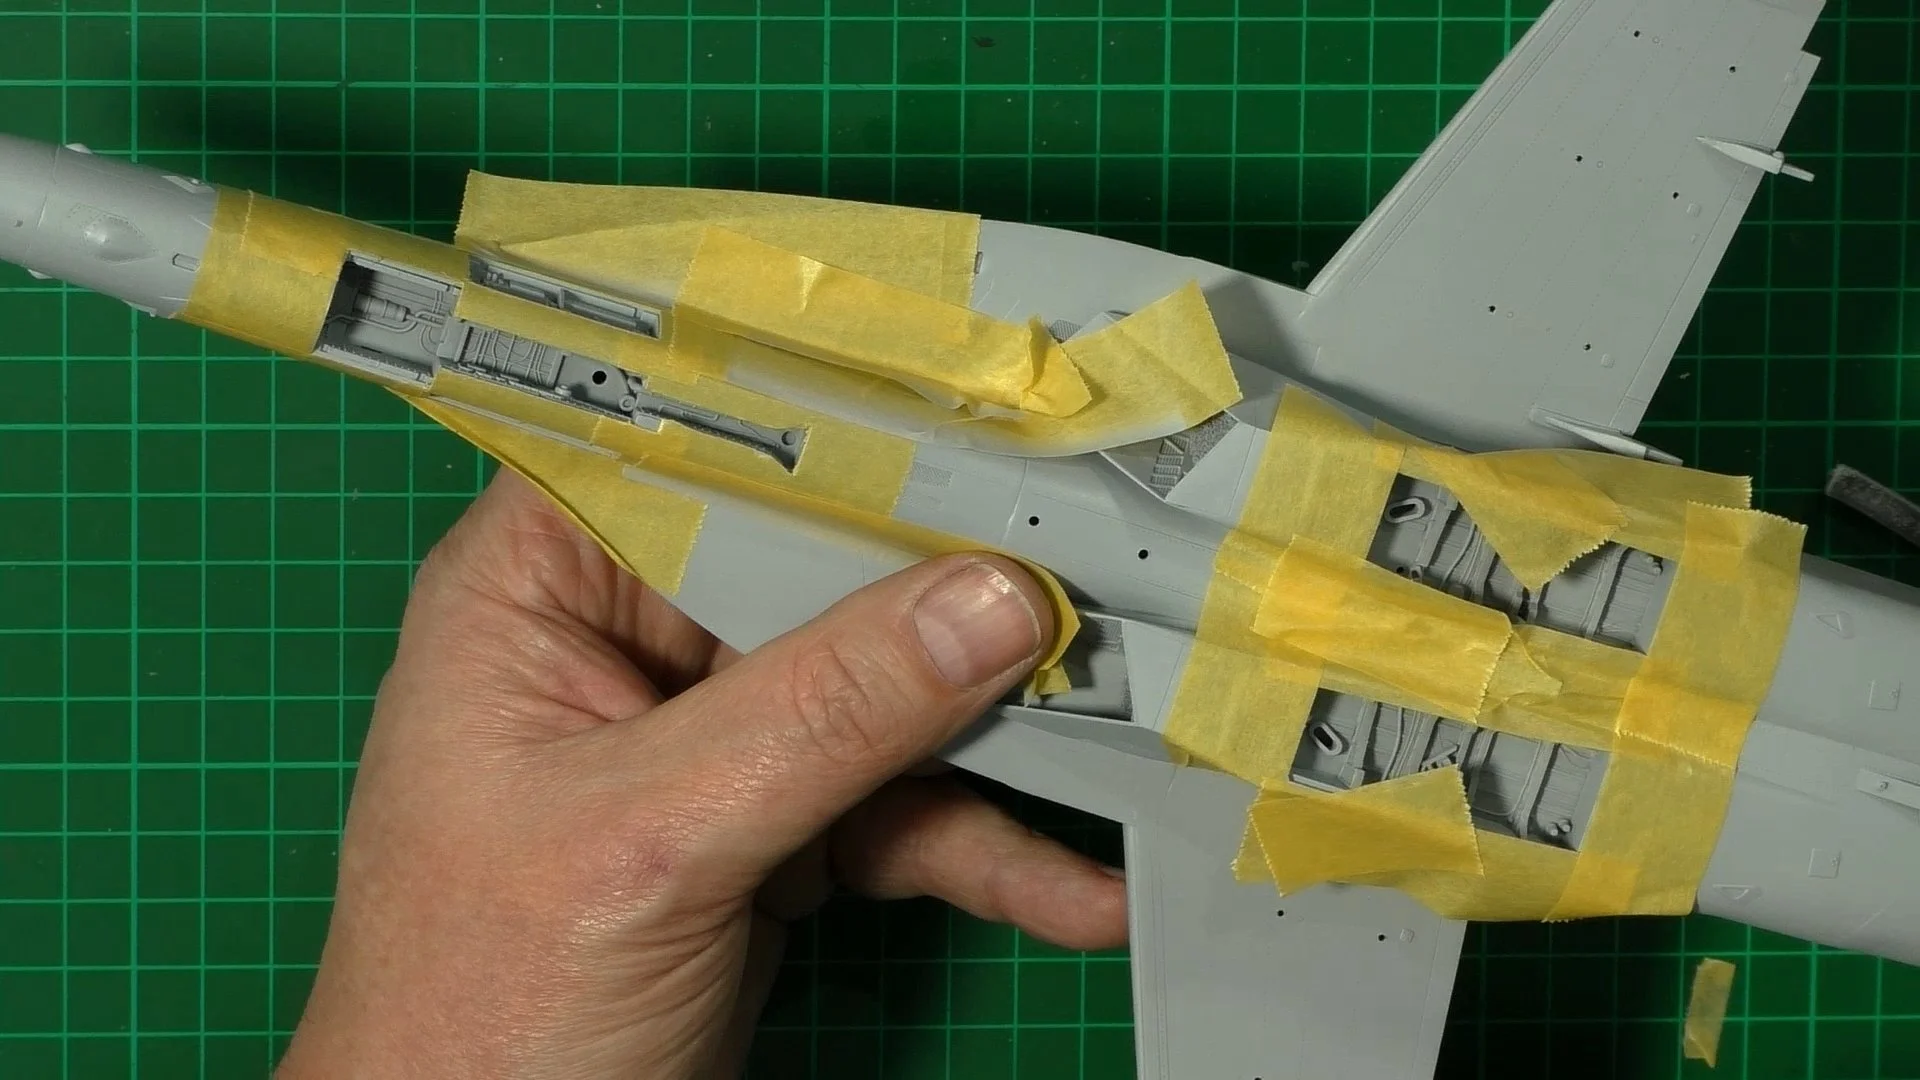
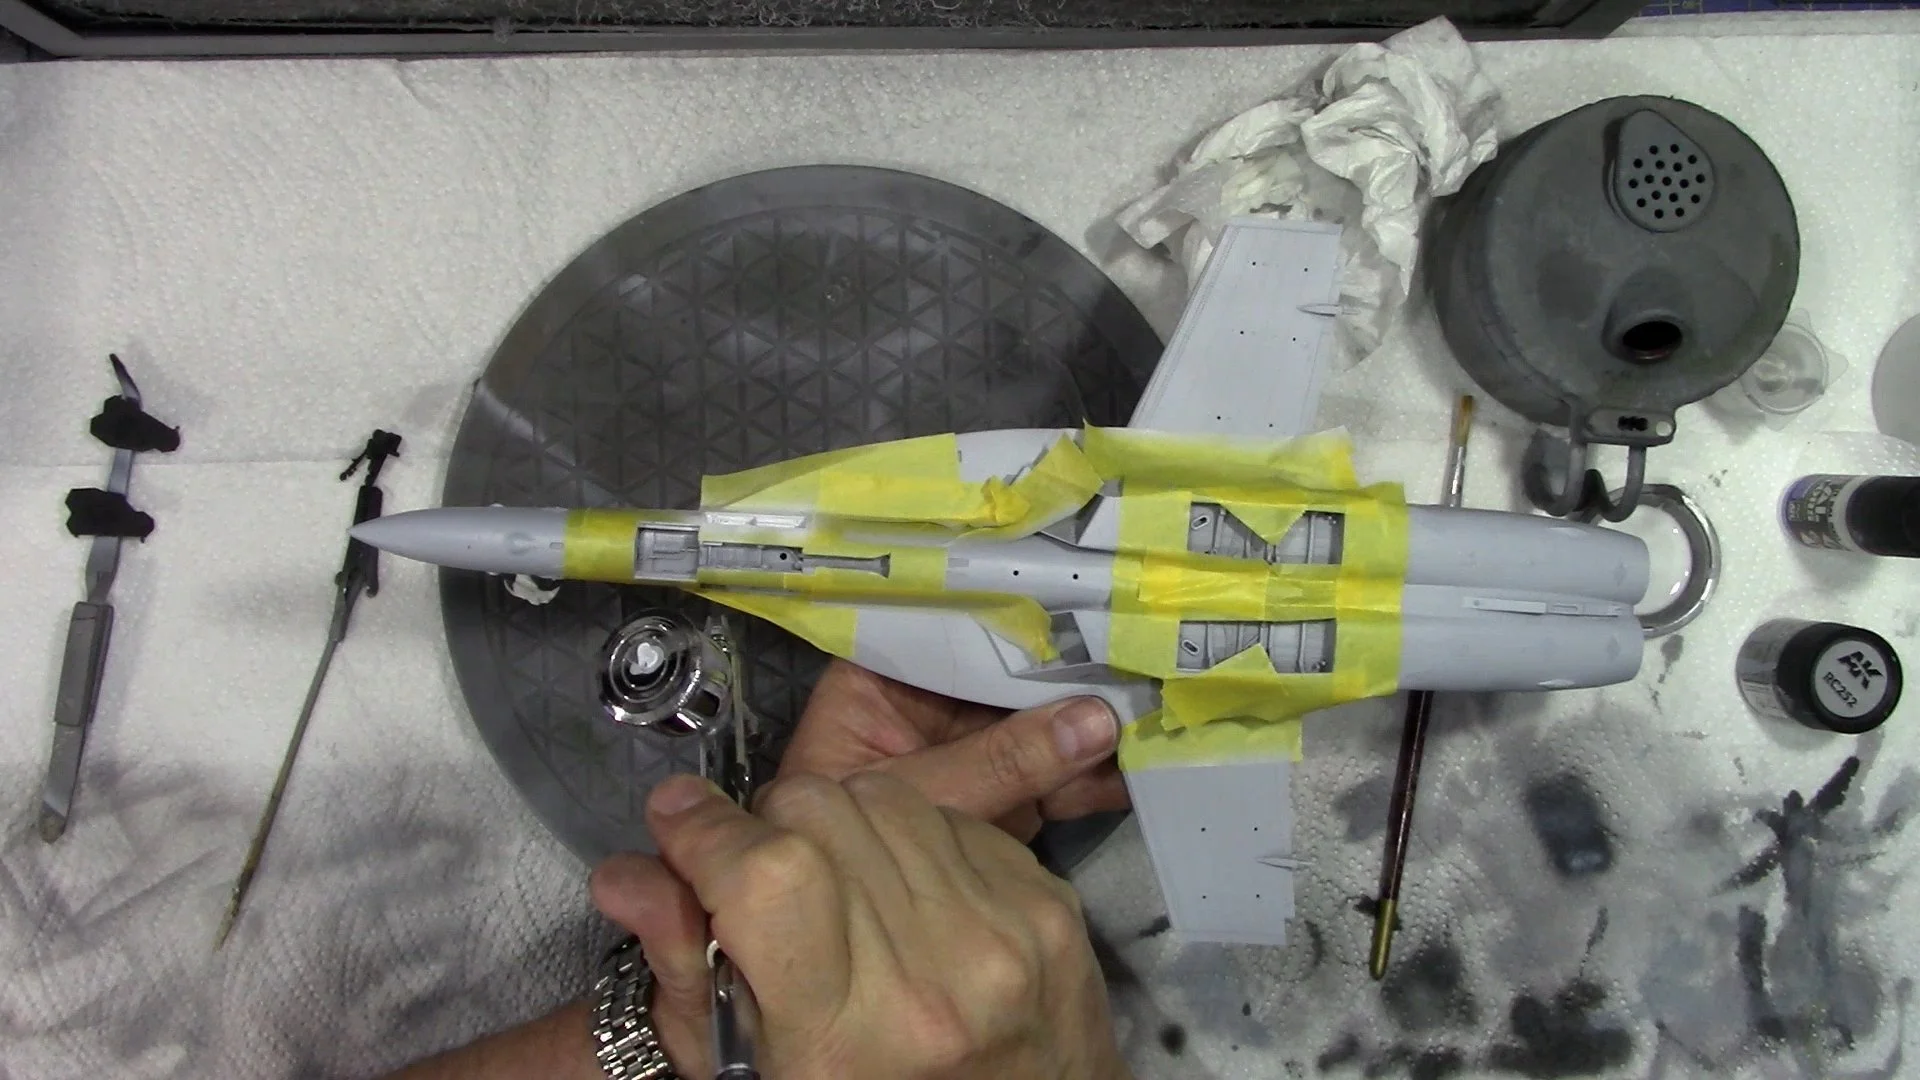
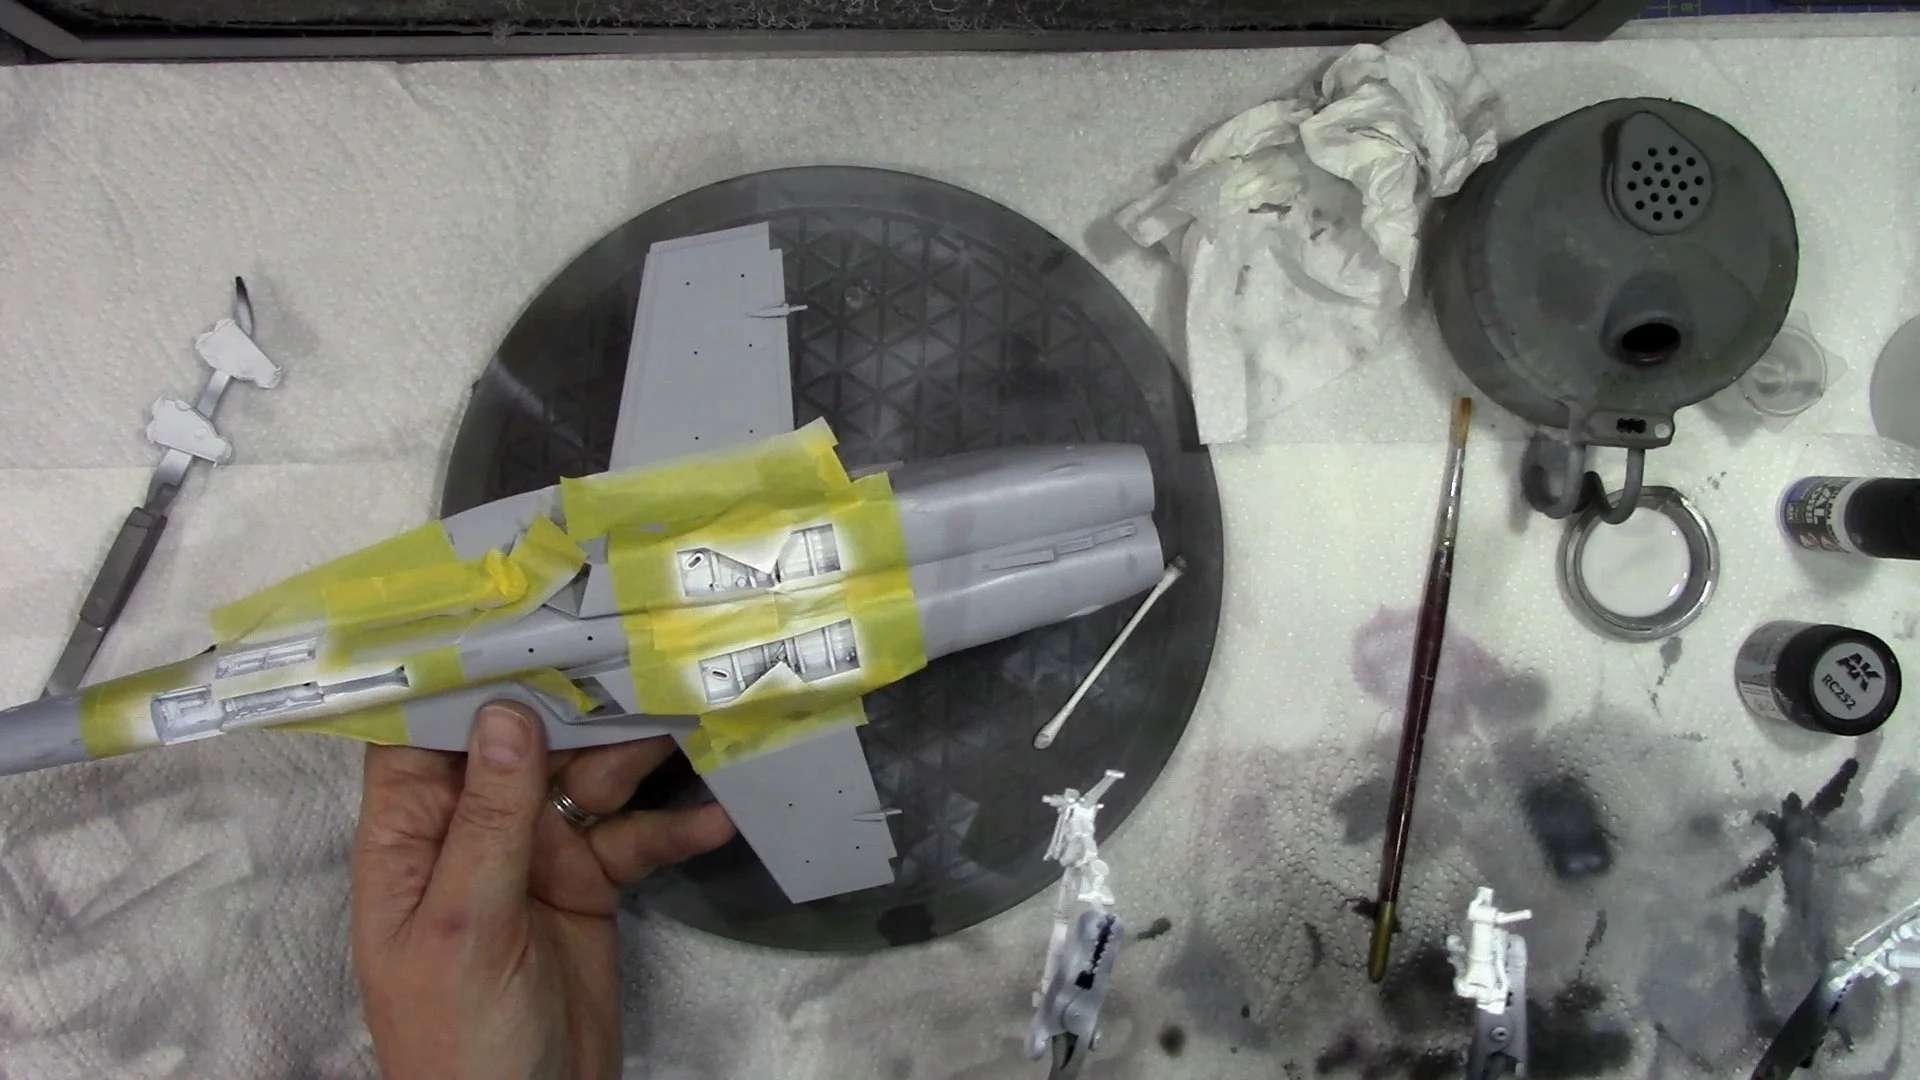
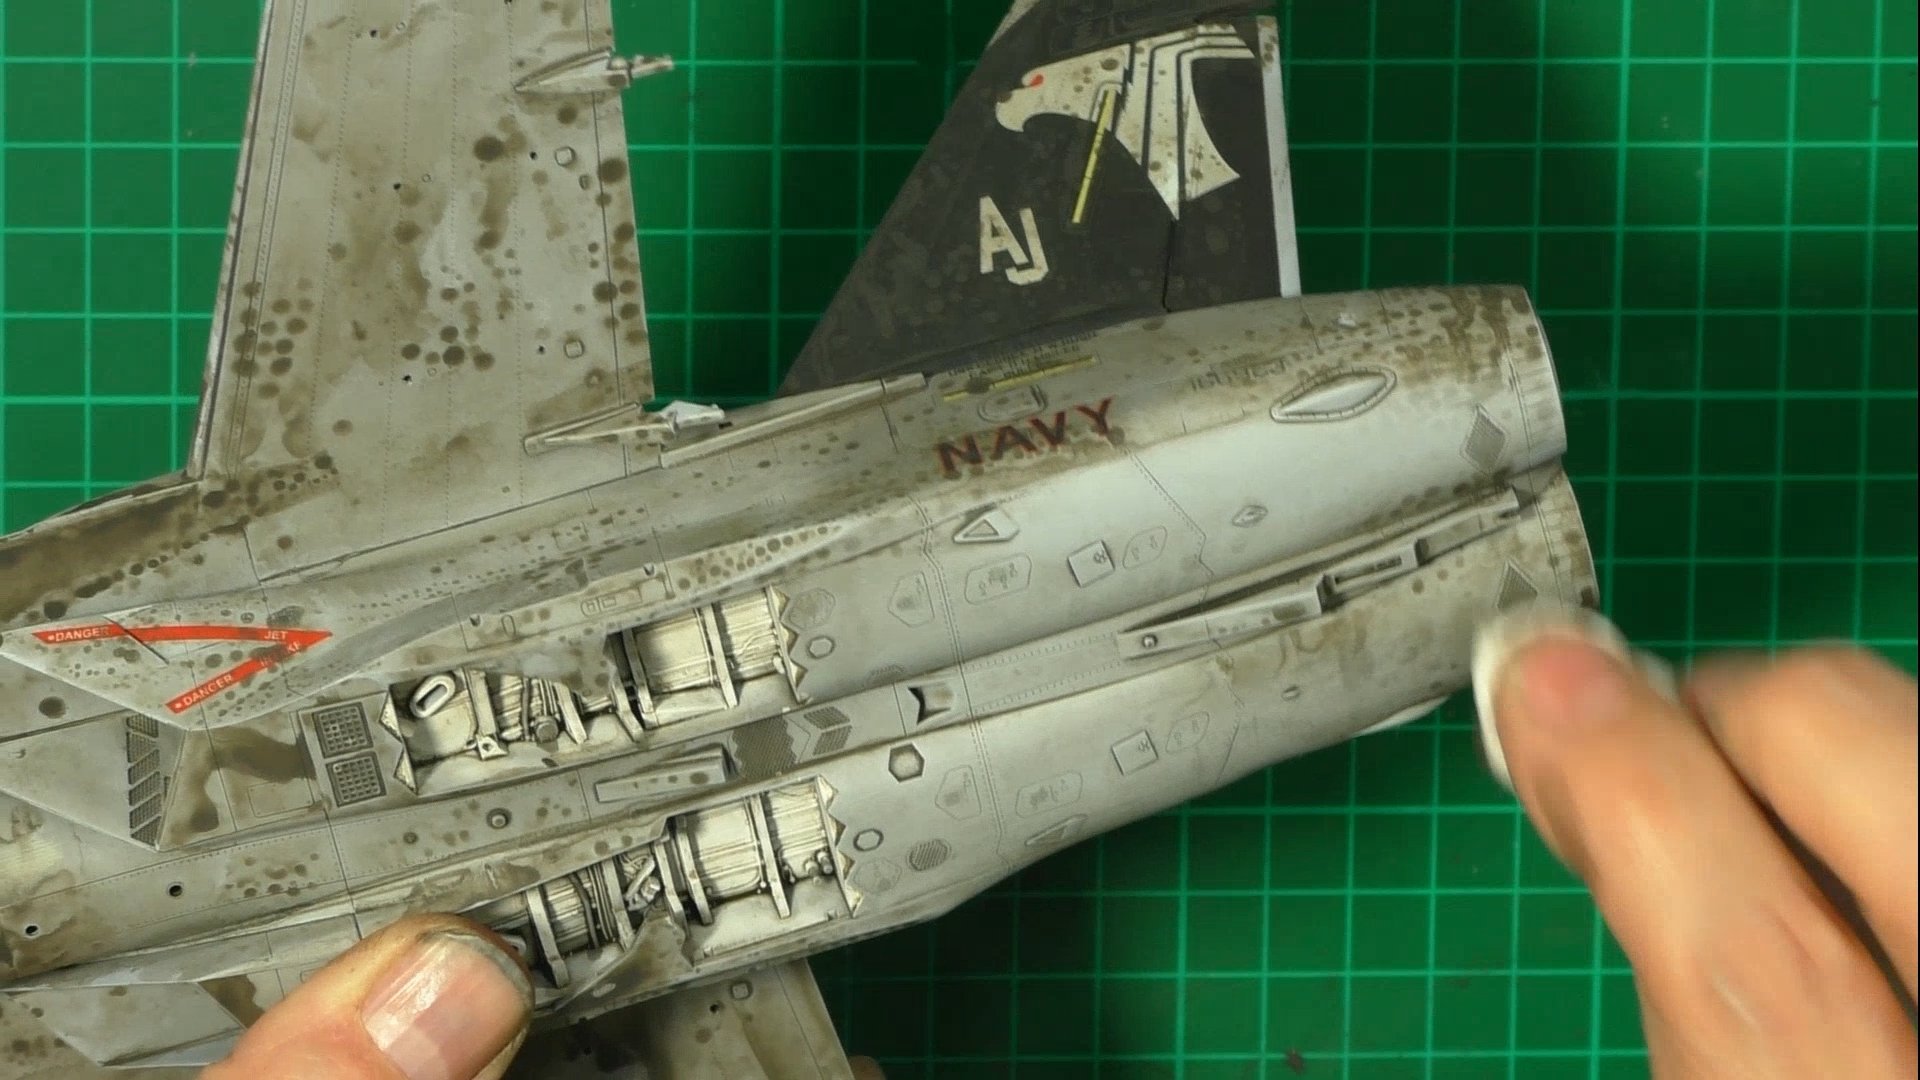
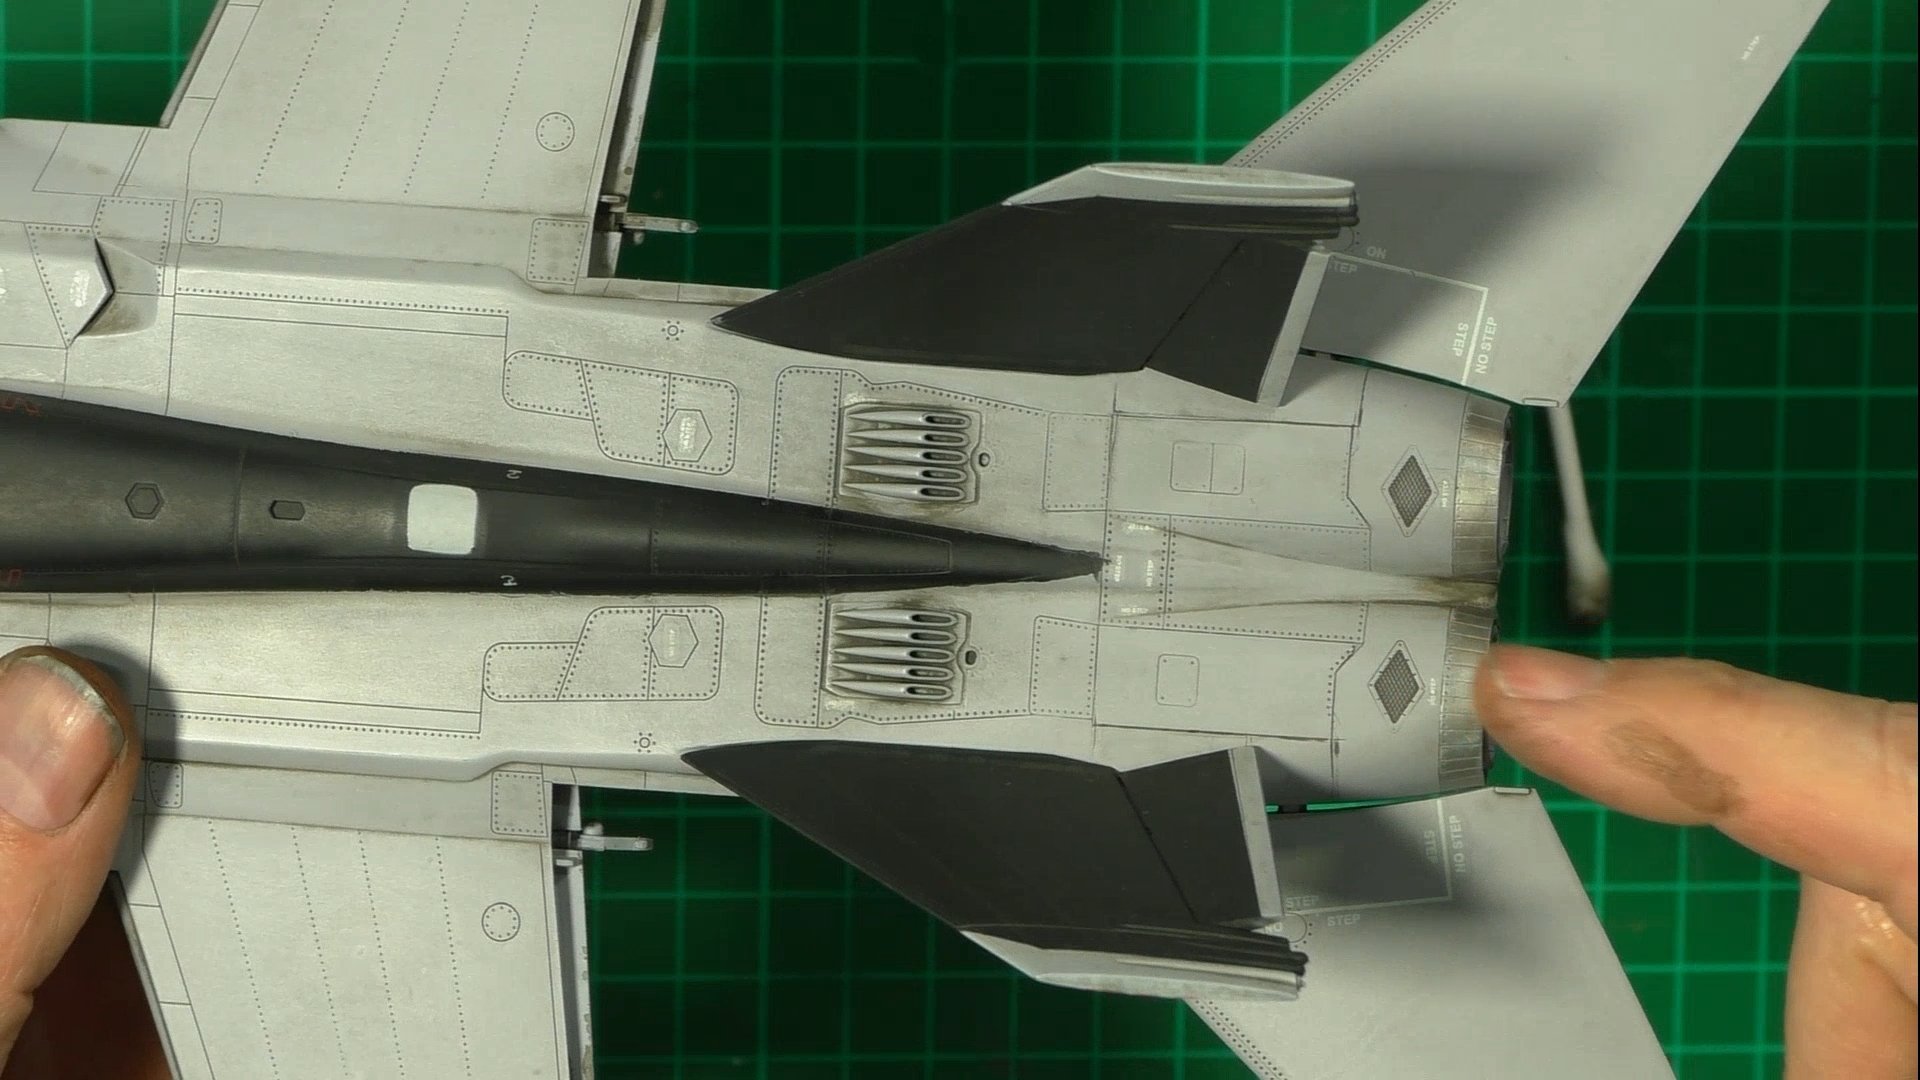
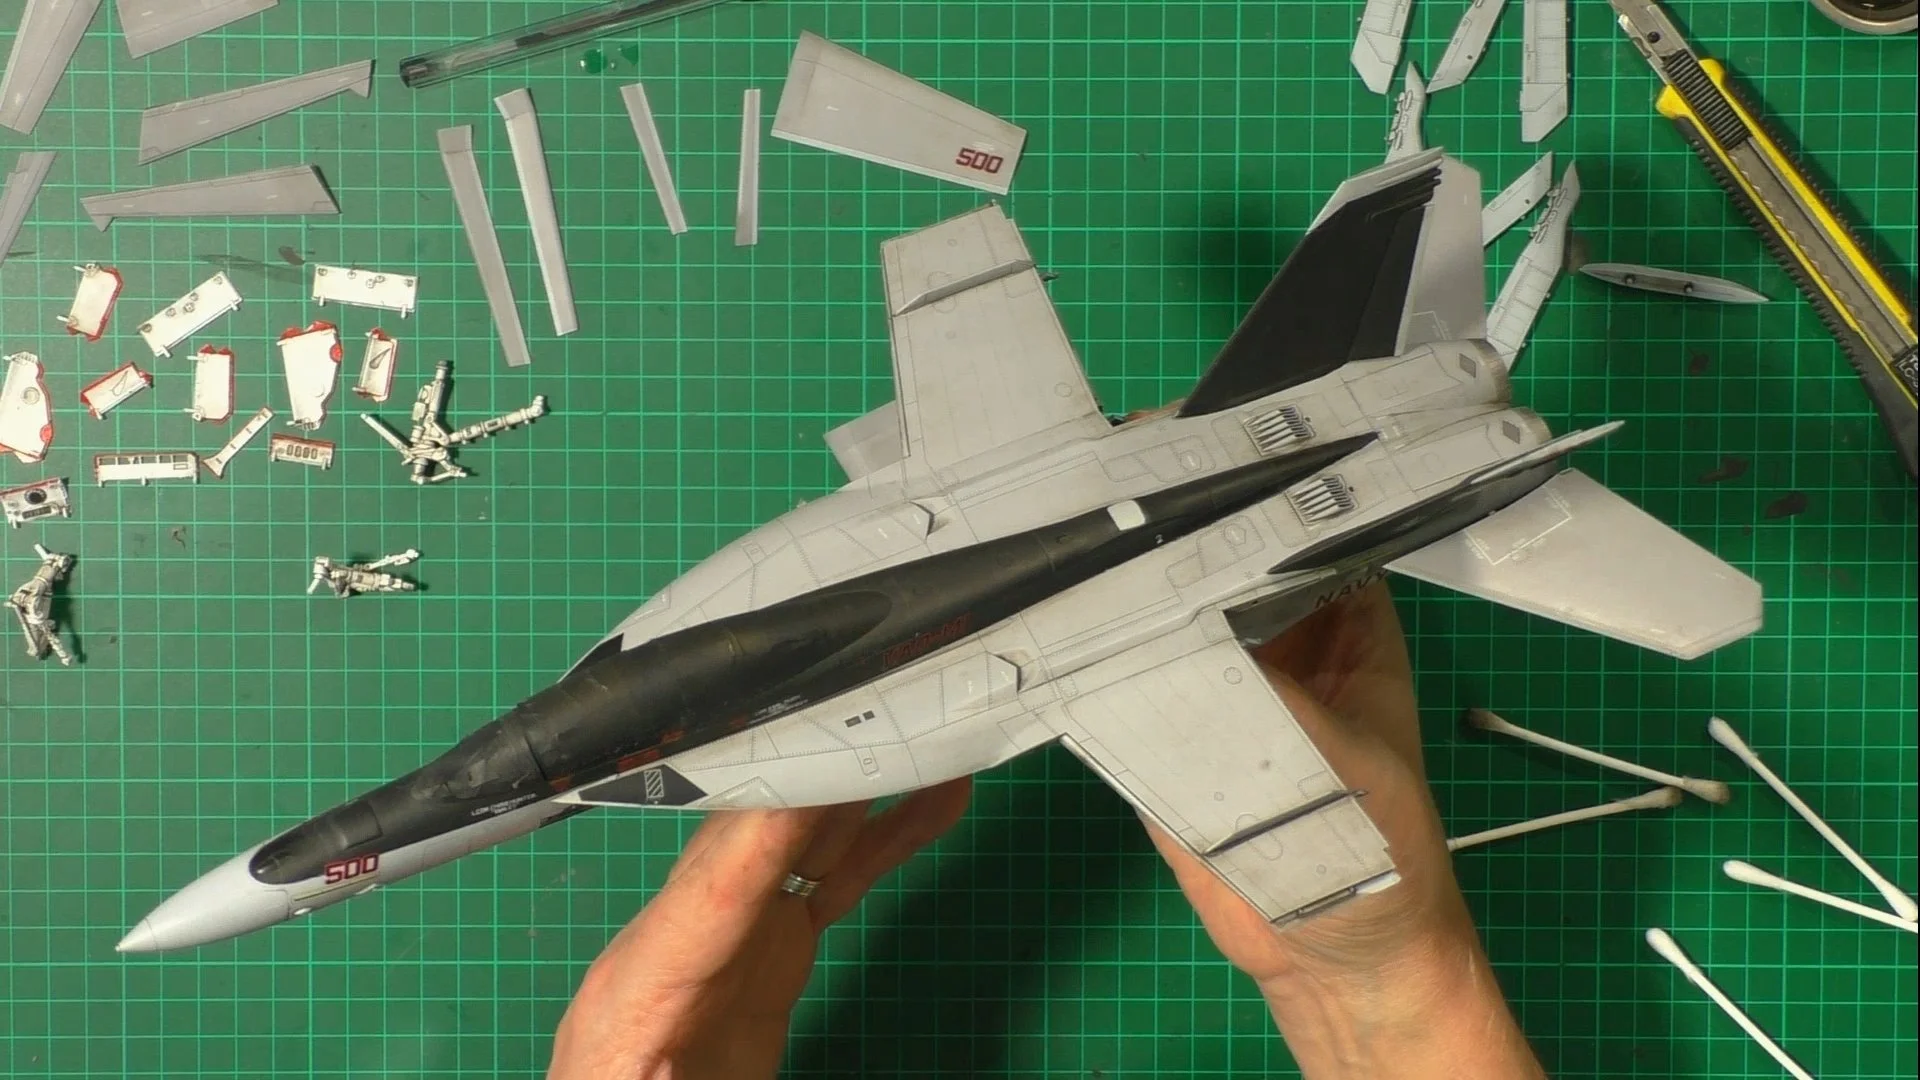
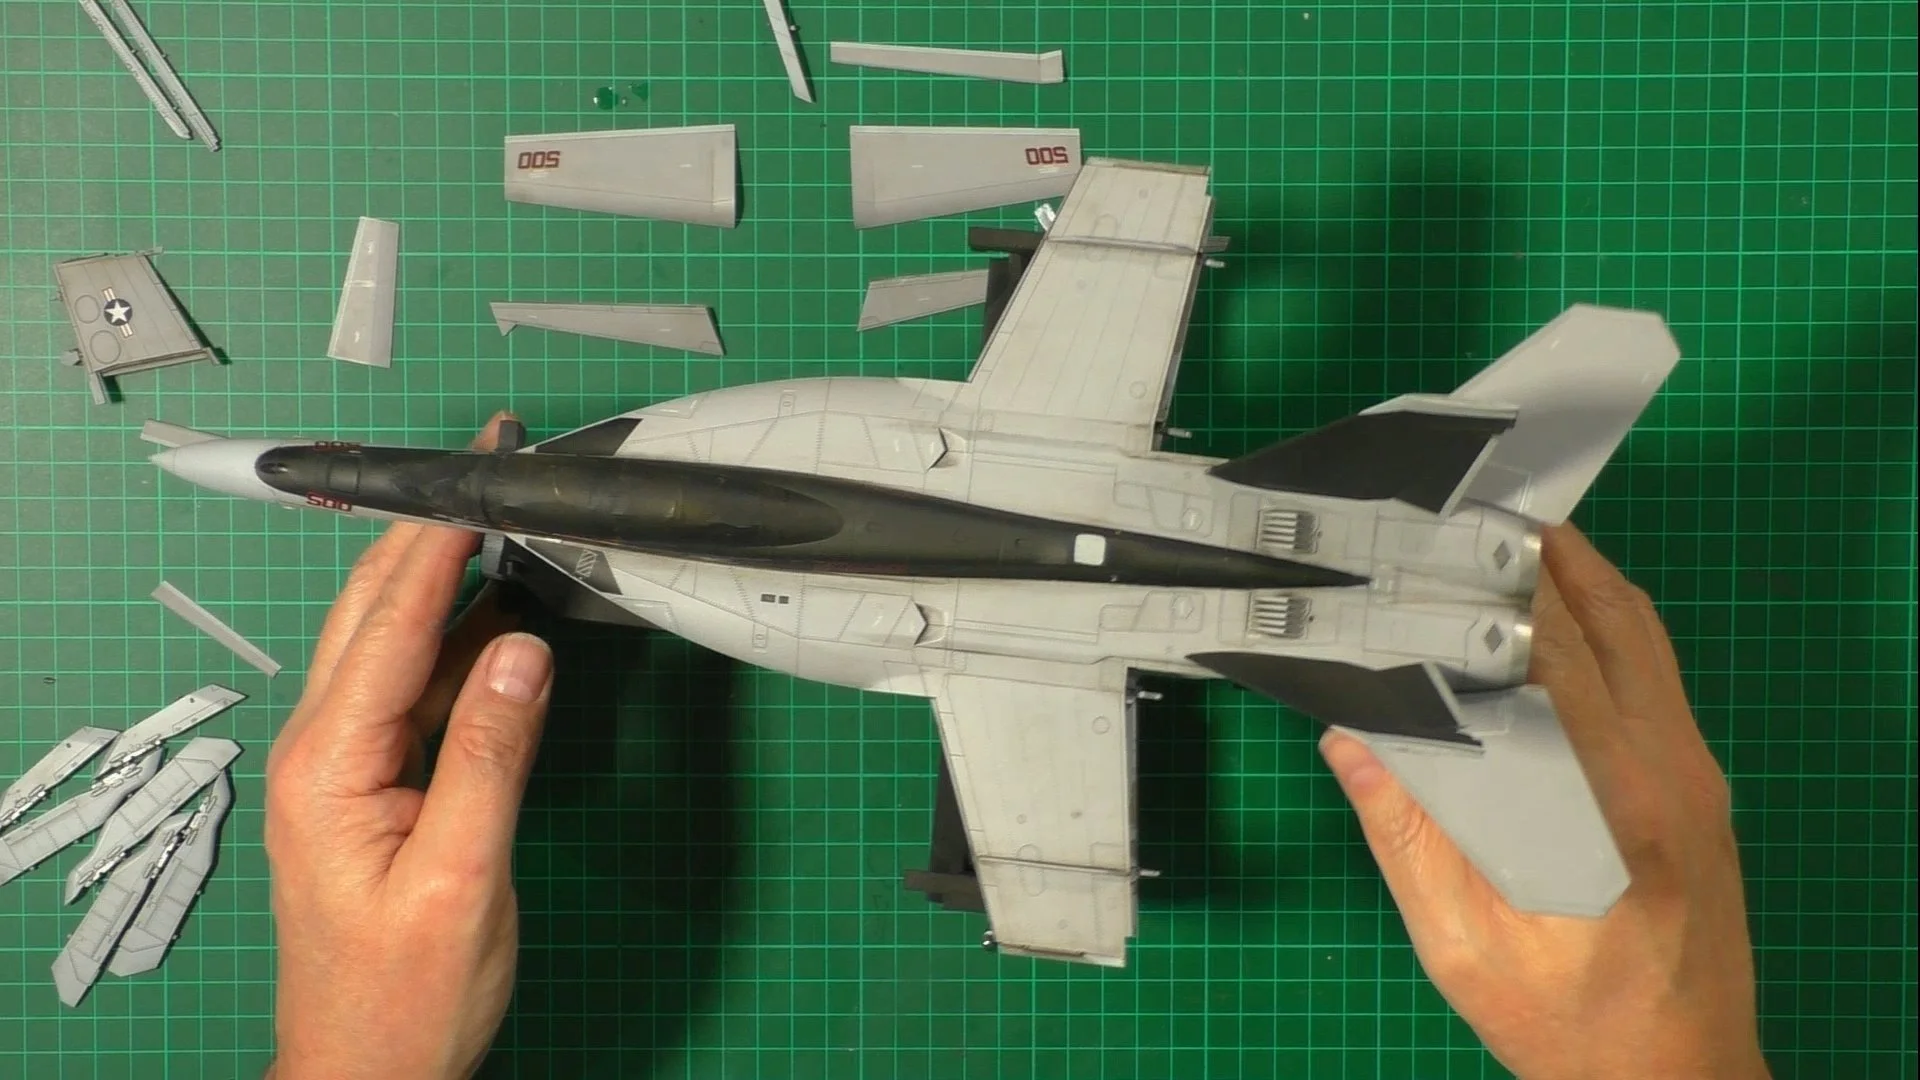
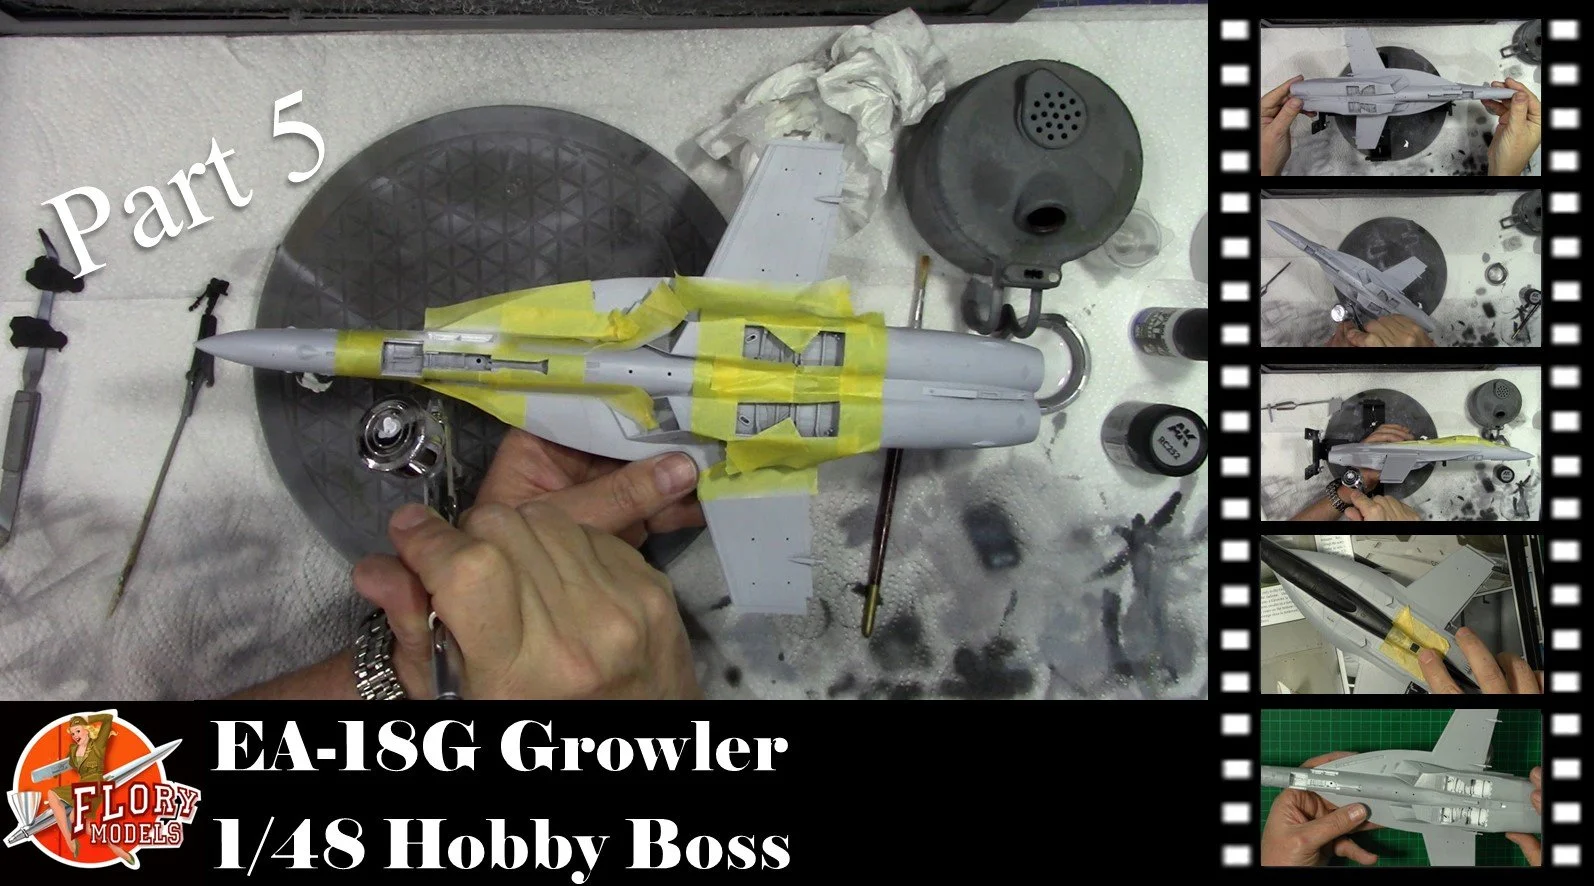
0:00 So over to the spraybooth and to start, we put a coat of Light Ghost Grey FS36375 6:01 With the light Ghost Grey dry, we next put on the top Dark Ghost Grey FS36320. 14:23 Here we mask up the trailing edges of the flaps, etc., and the tail, so we can paint the light ghost grey over these areas. 18:50 With it all masked, we sprey on the light ghost grey. 20:53 Next, we mask up all the wheel wells and bays for a coat of satin white. 24:58 Next, we sprey all the wheel wells and bays as well as all the gear and doors. 30:00 Last up, we unmask and then hand-paint in some of the details missed in the booth.
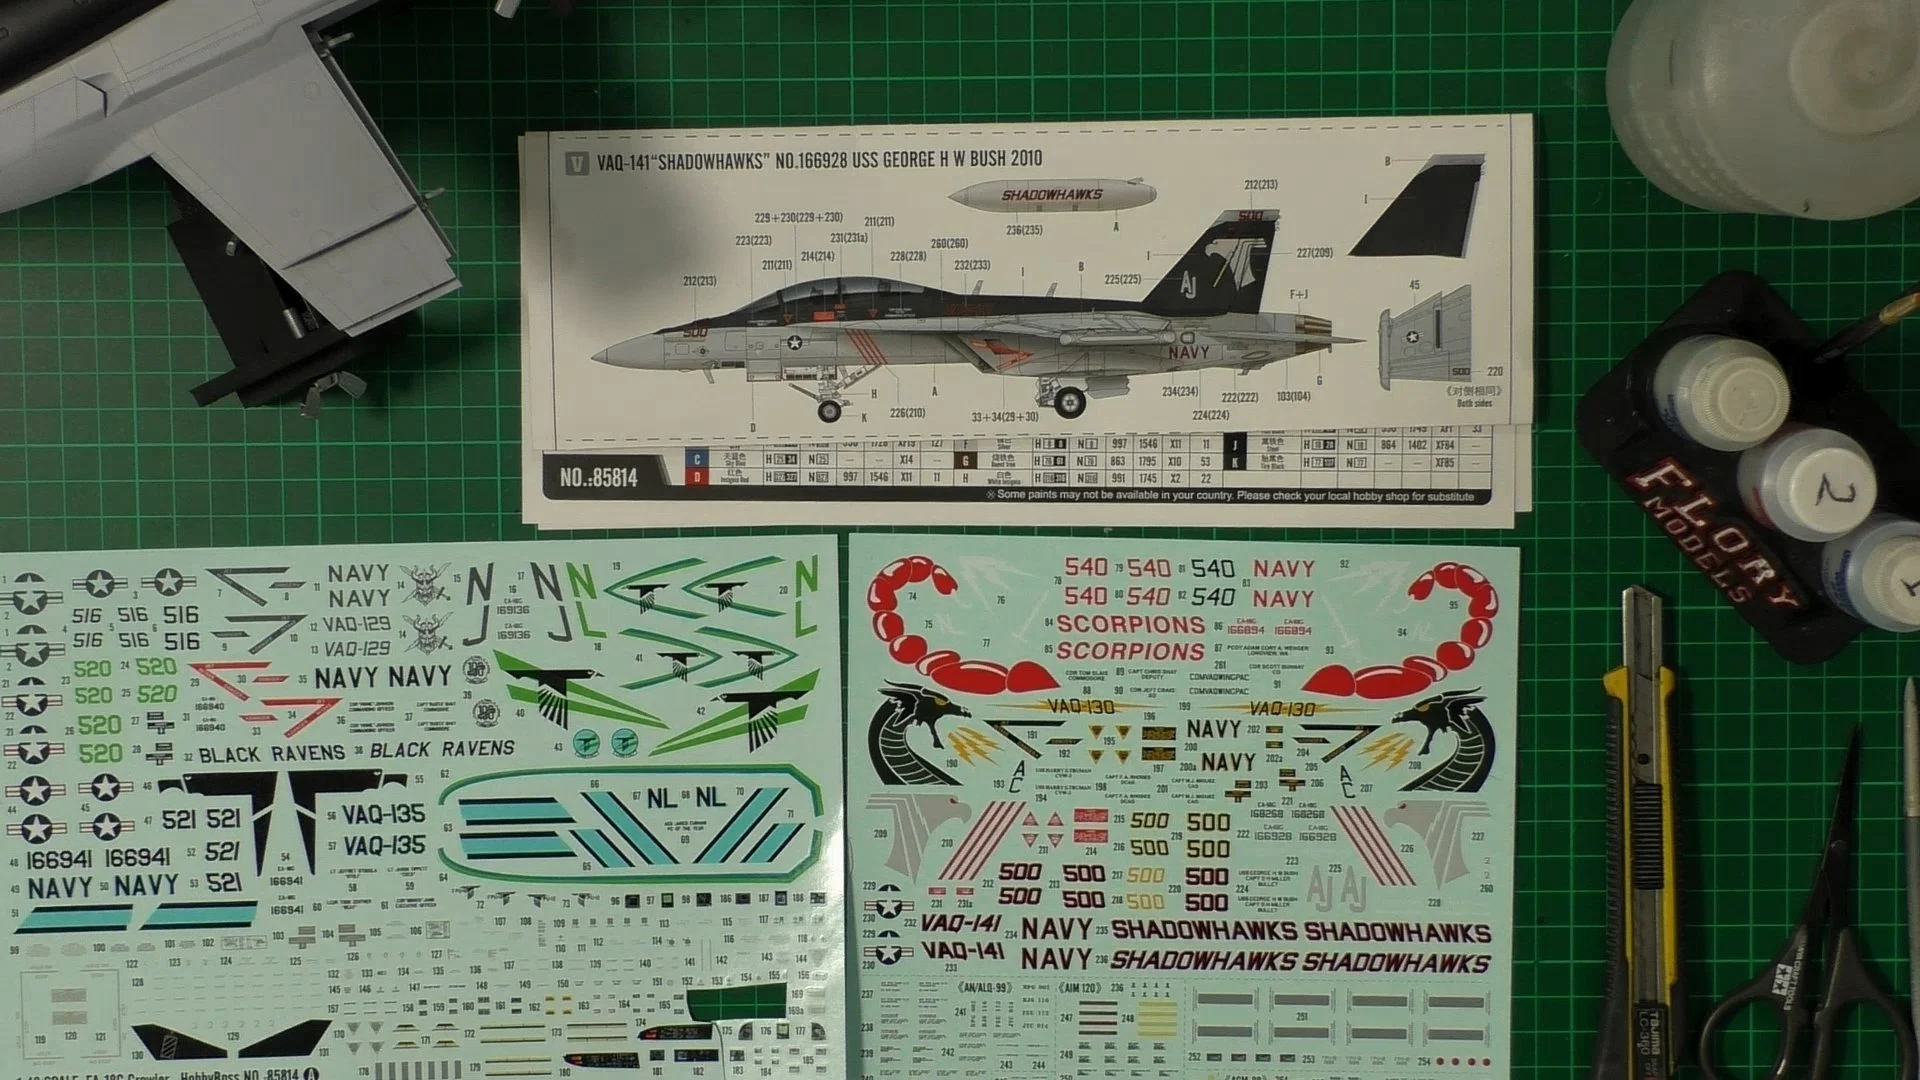
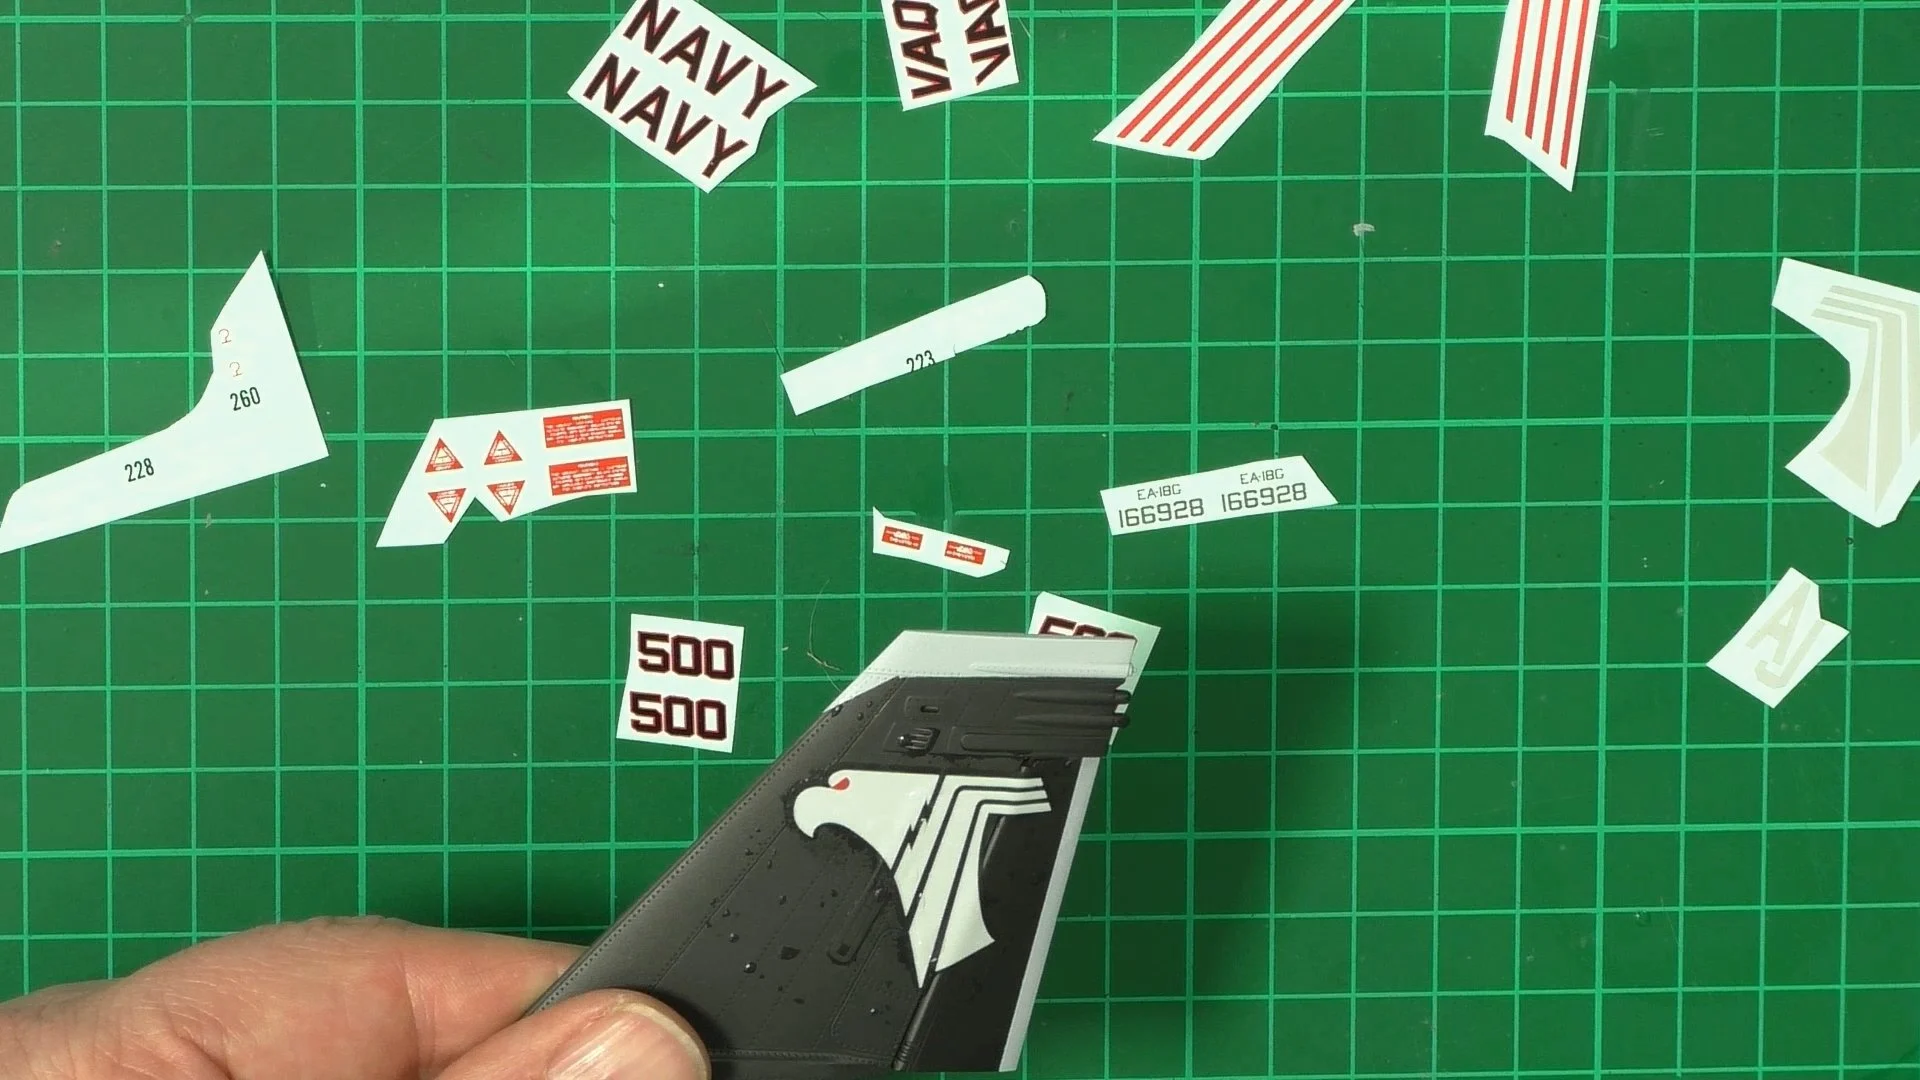
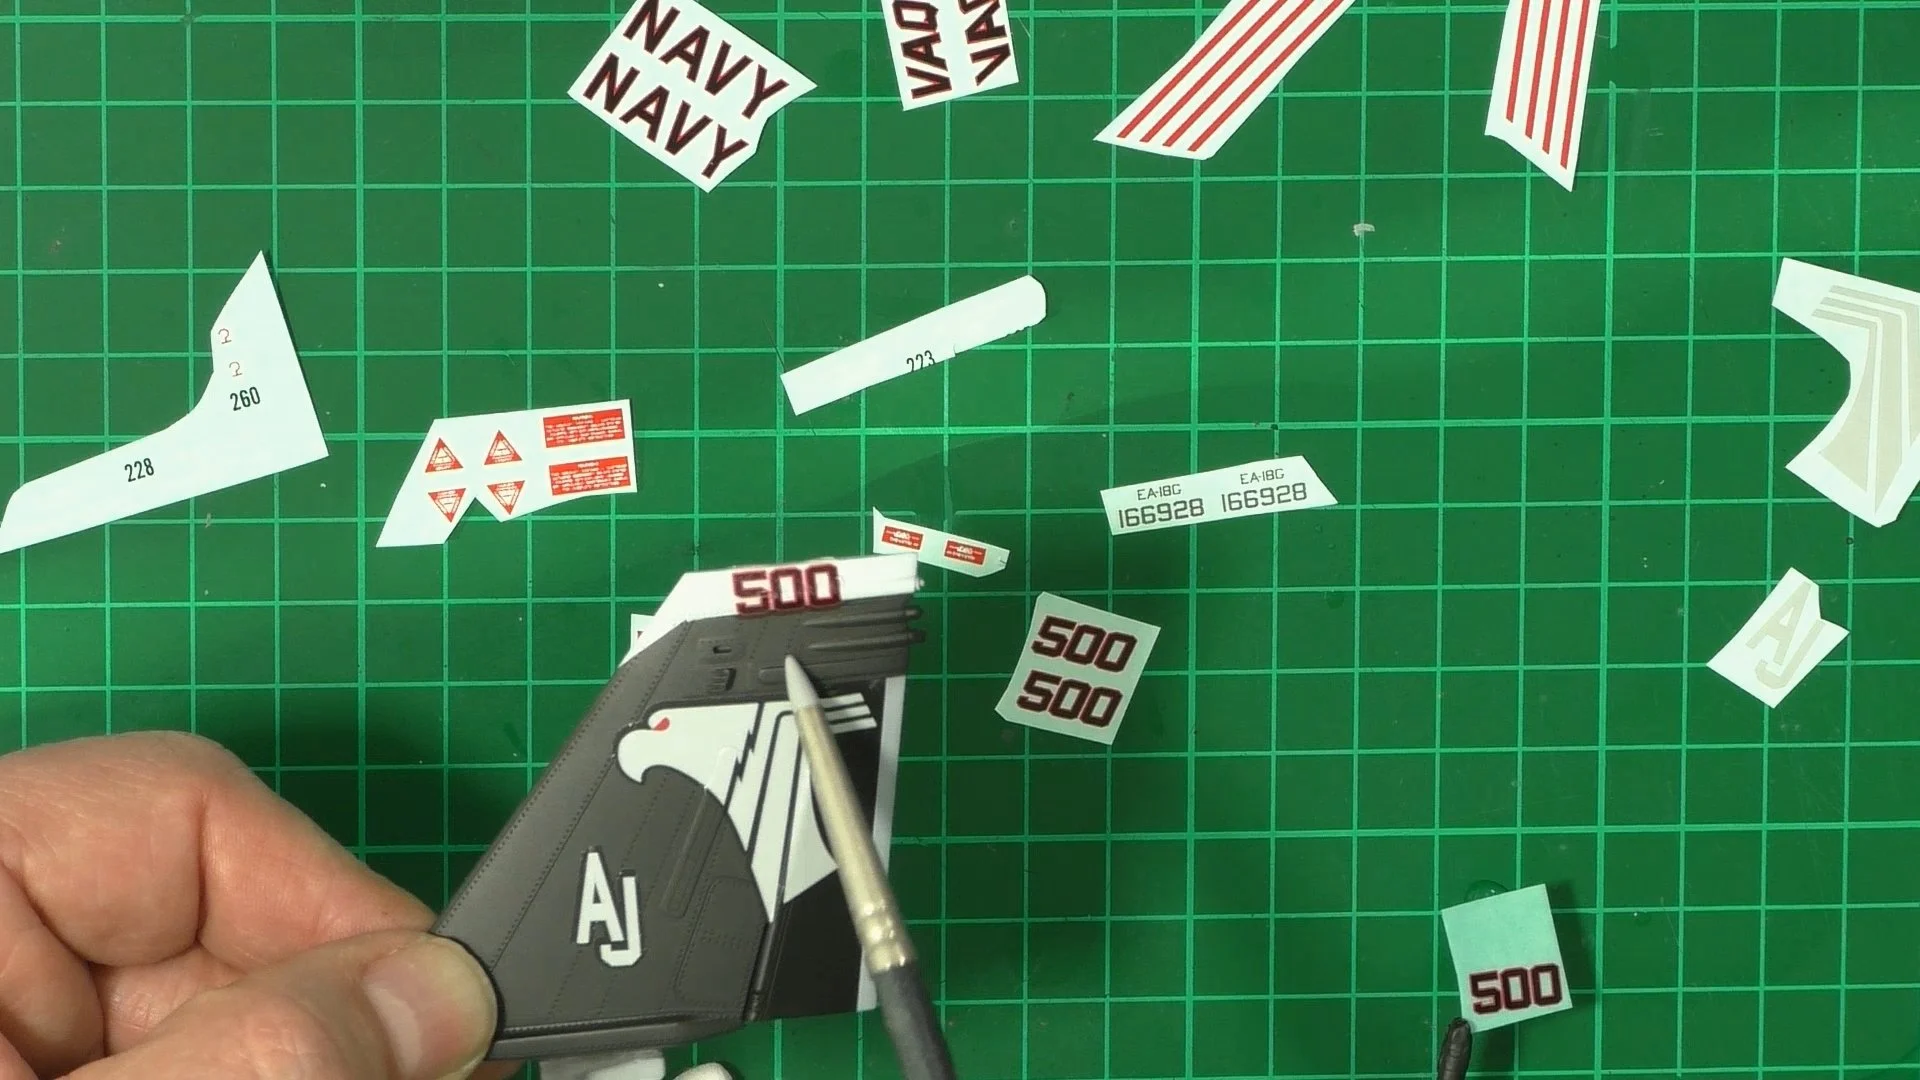
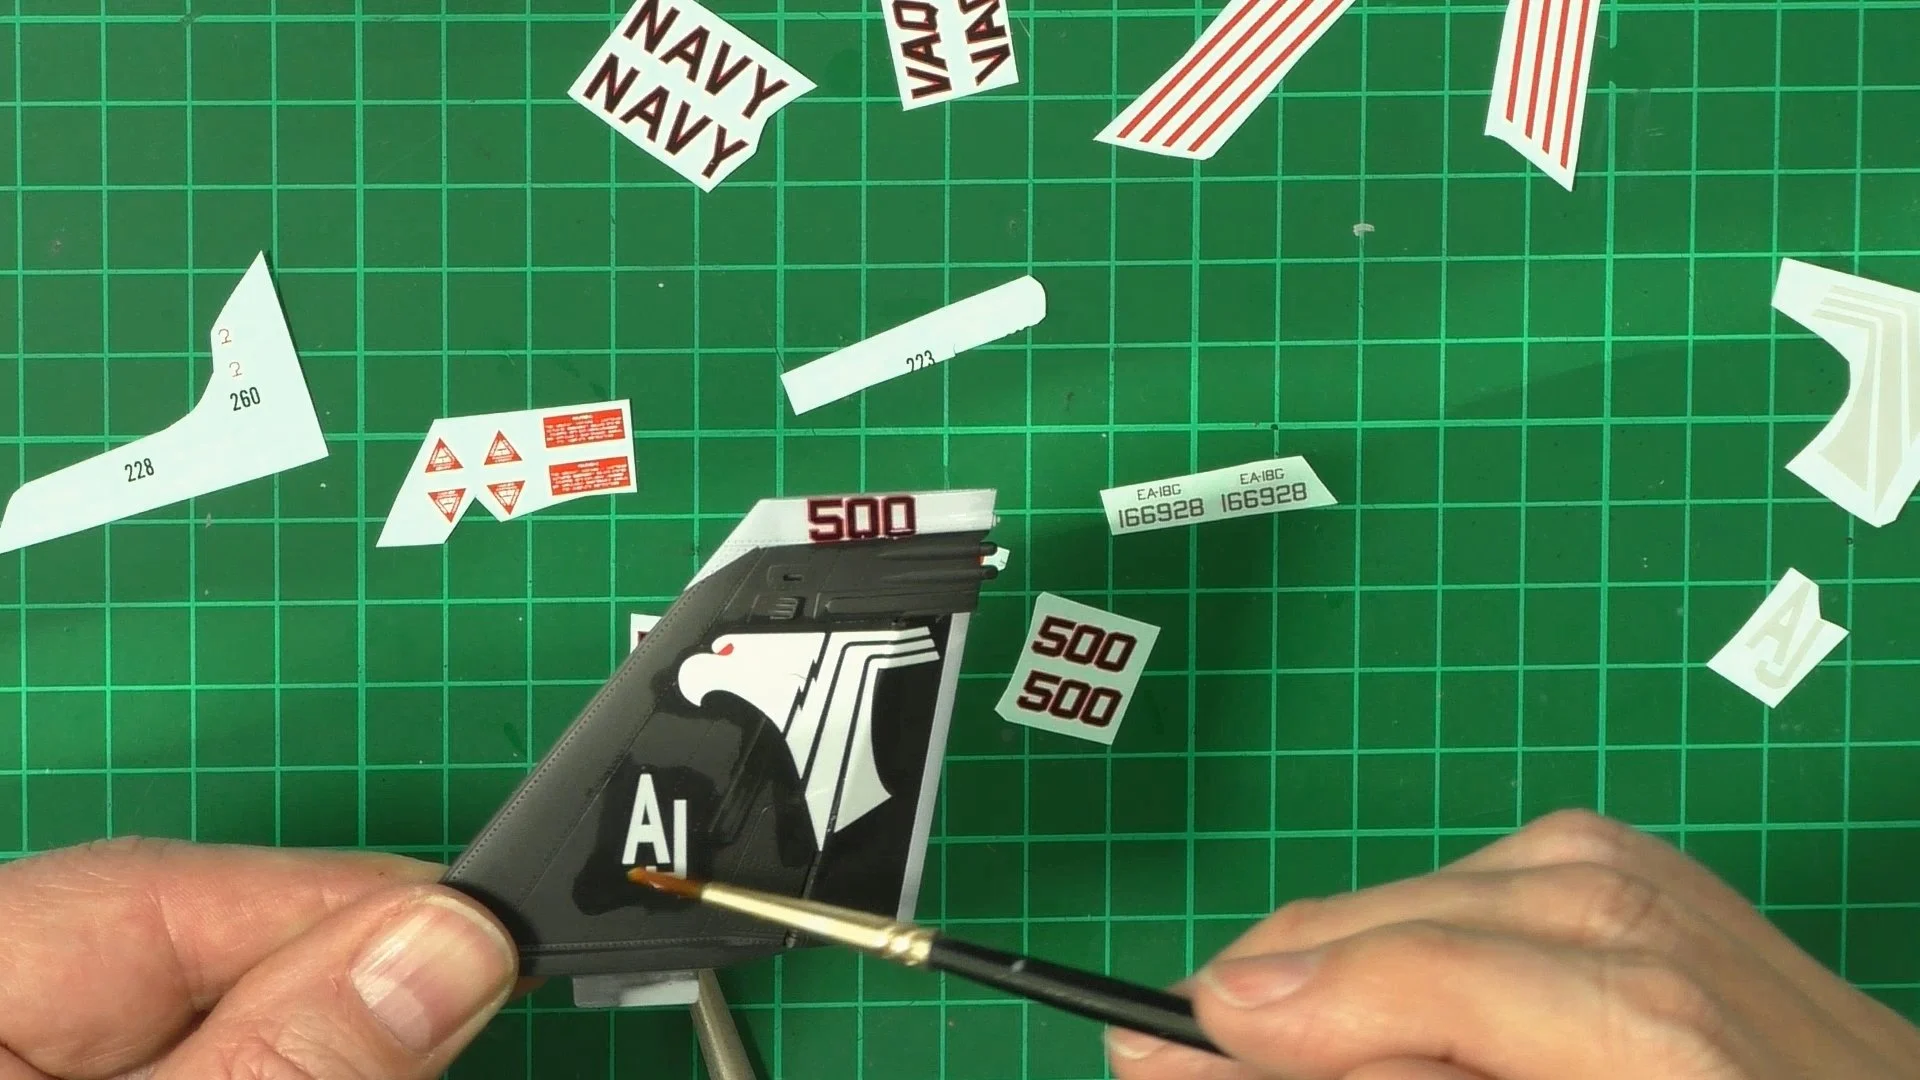
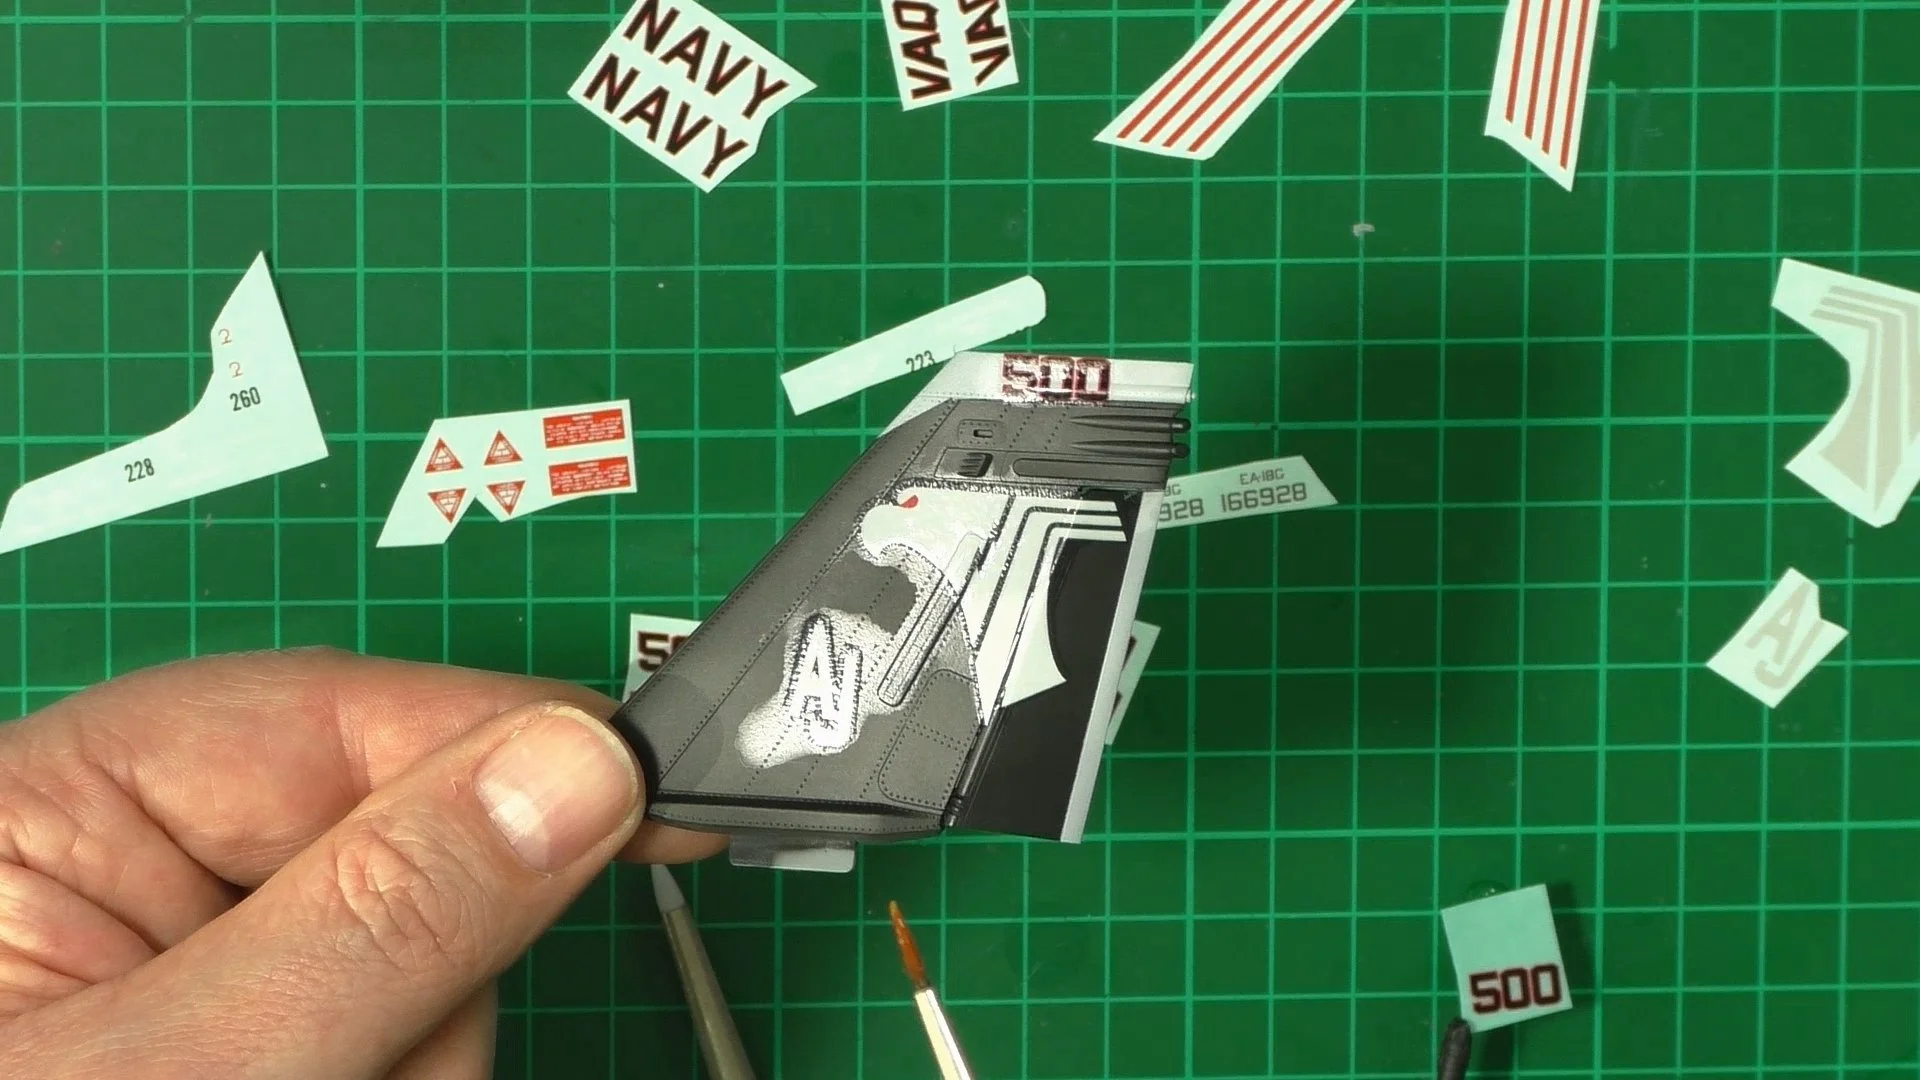
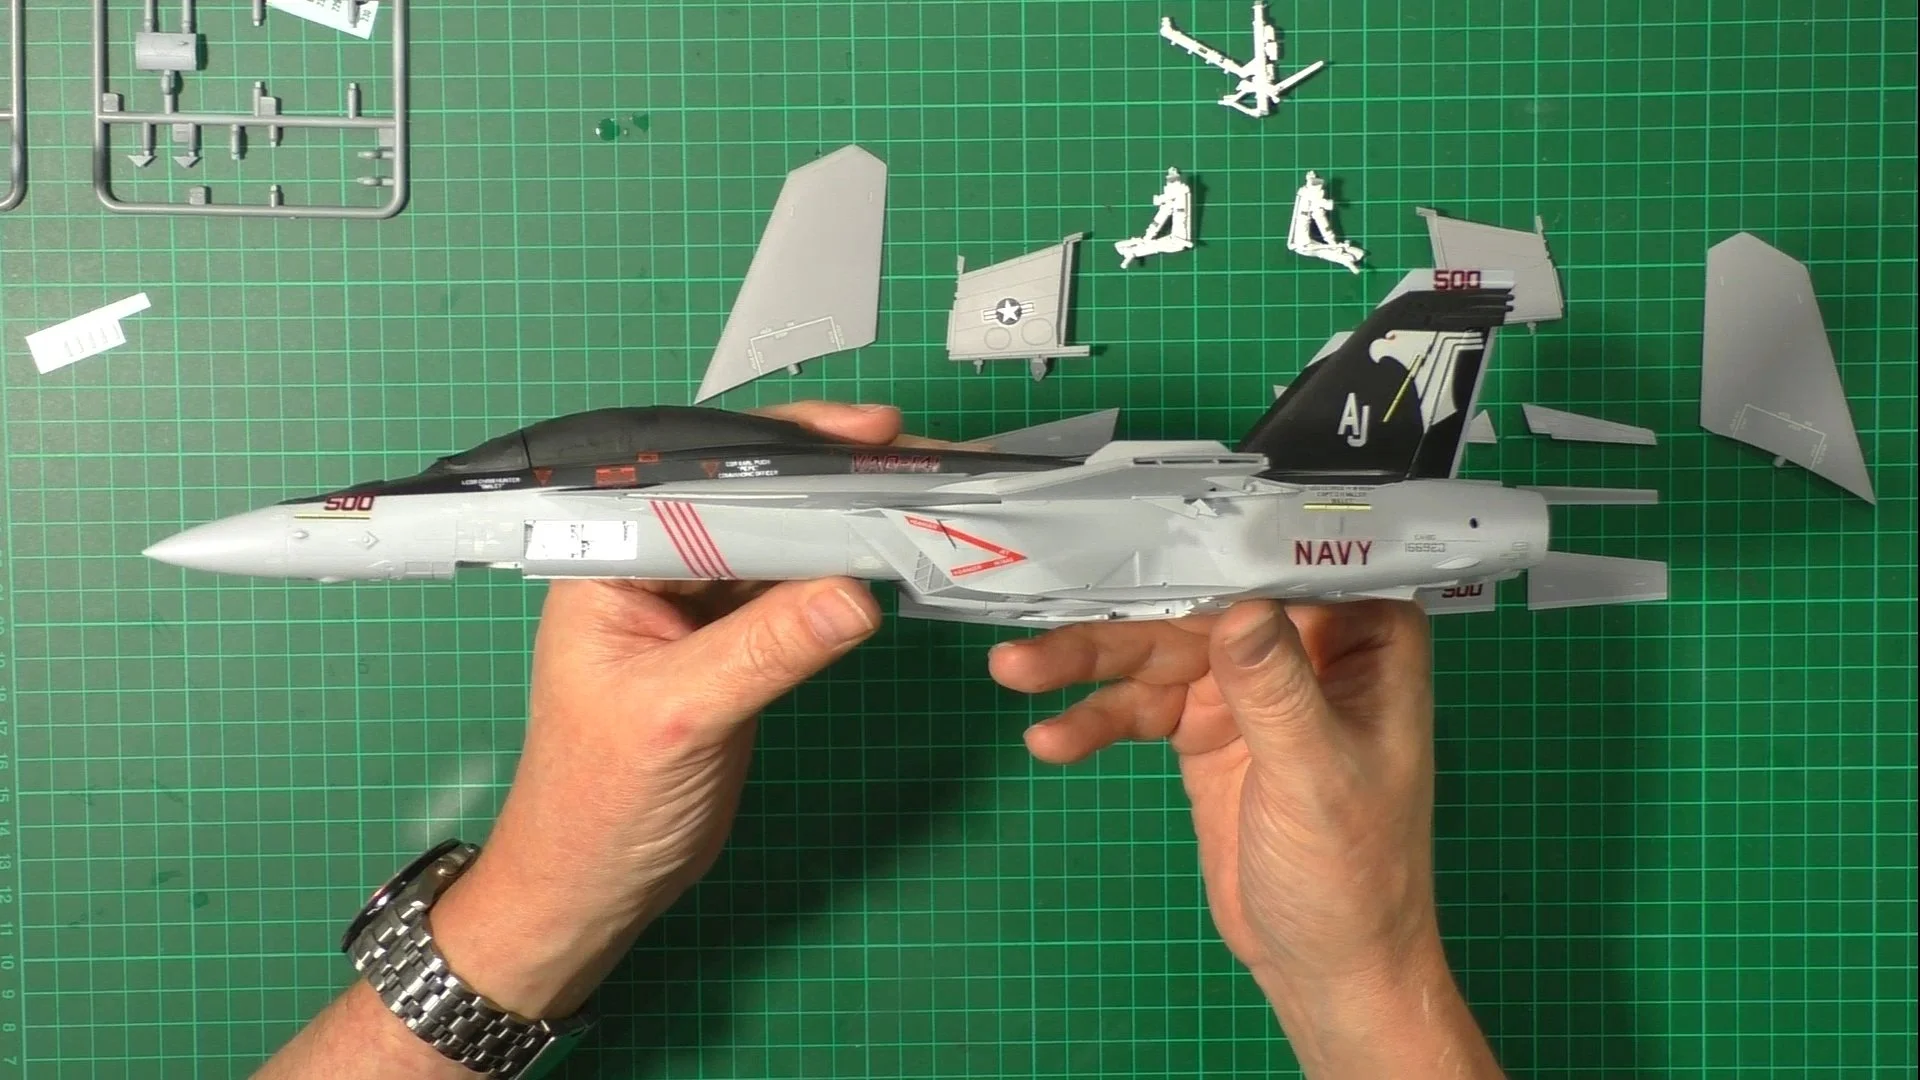
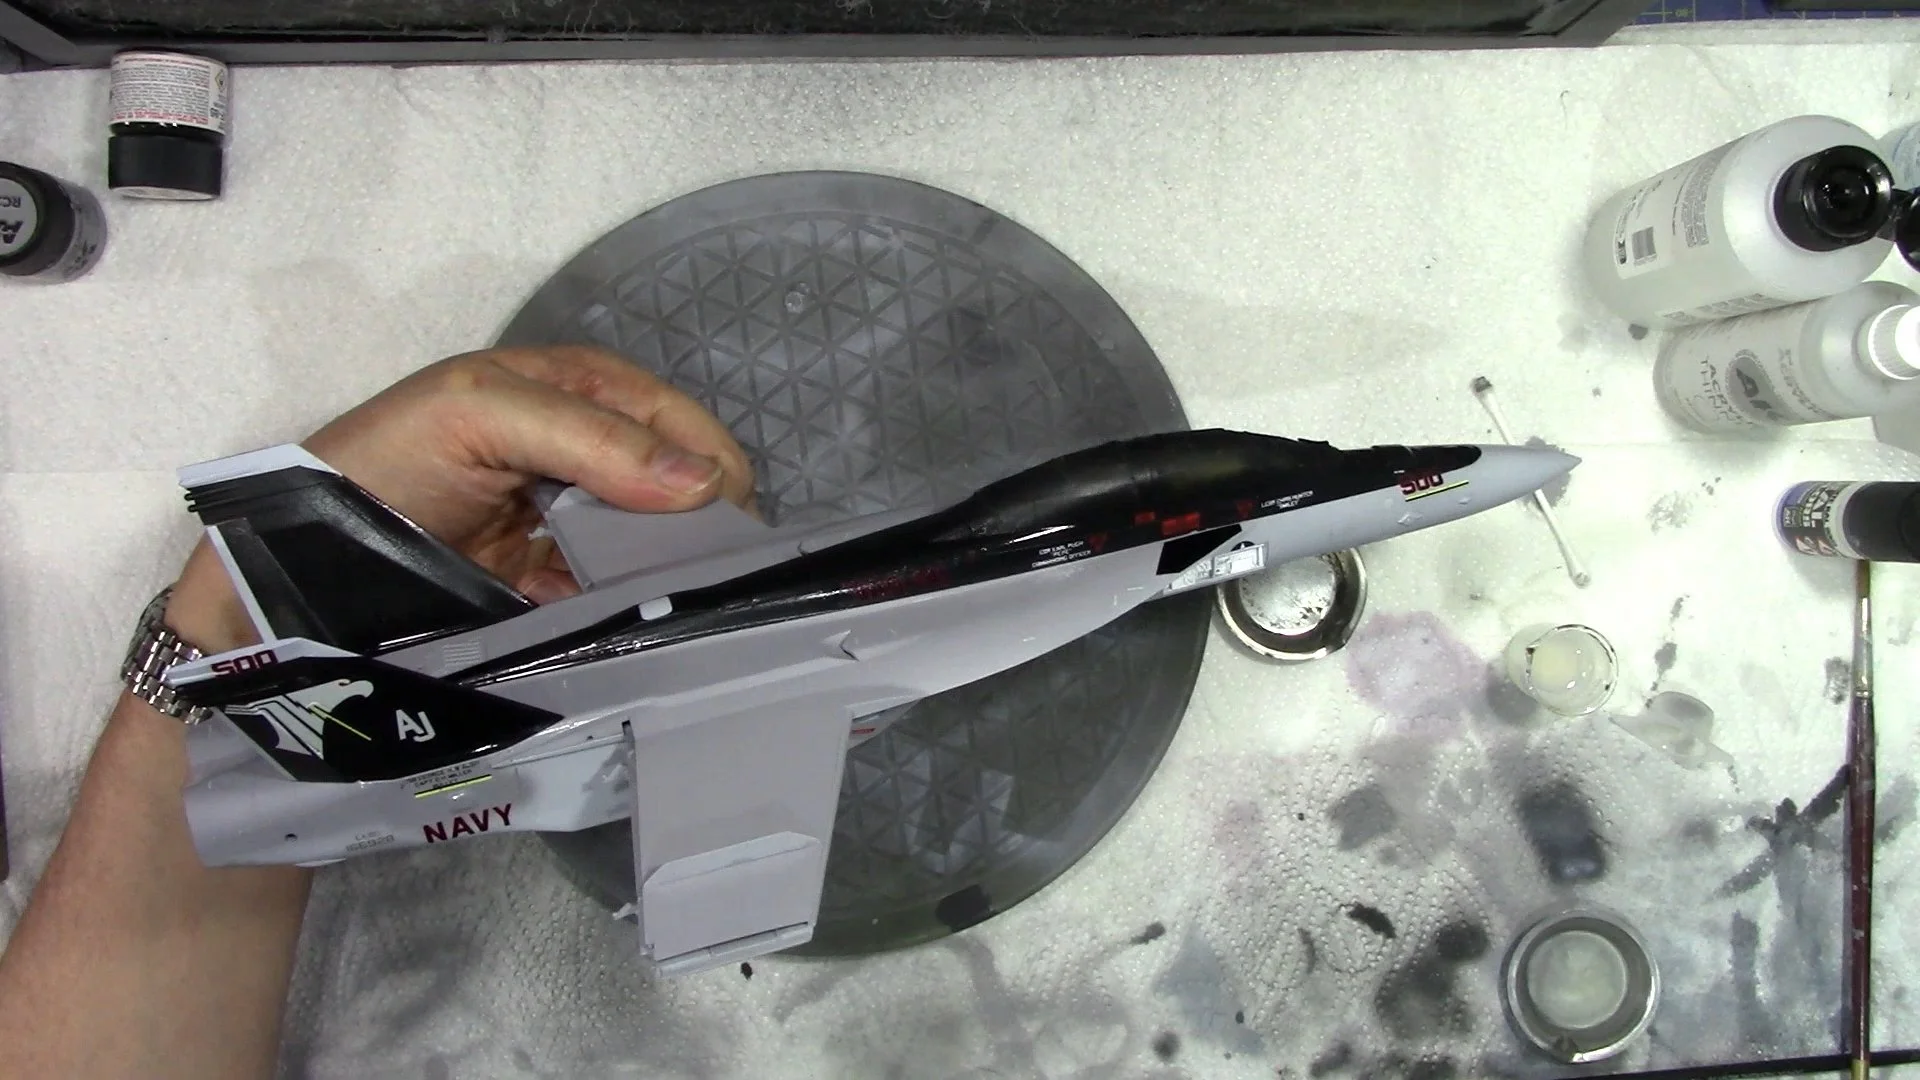
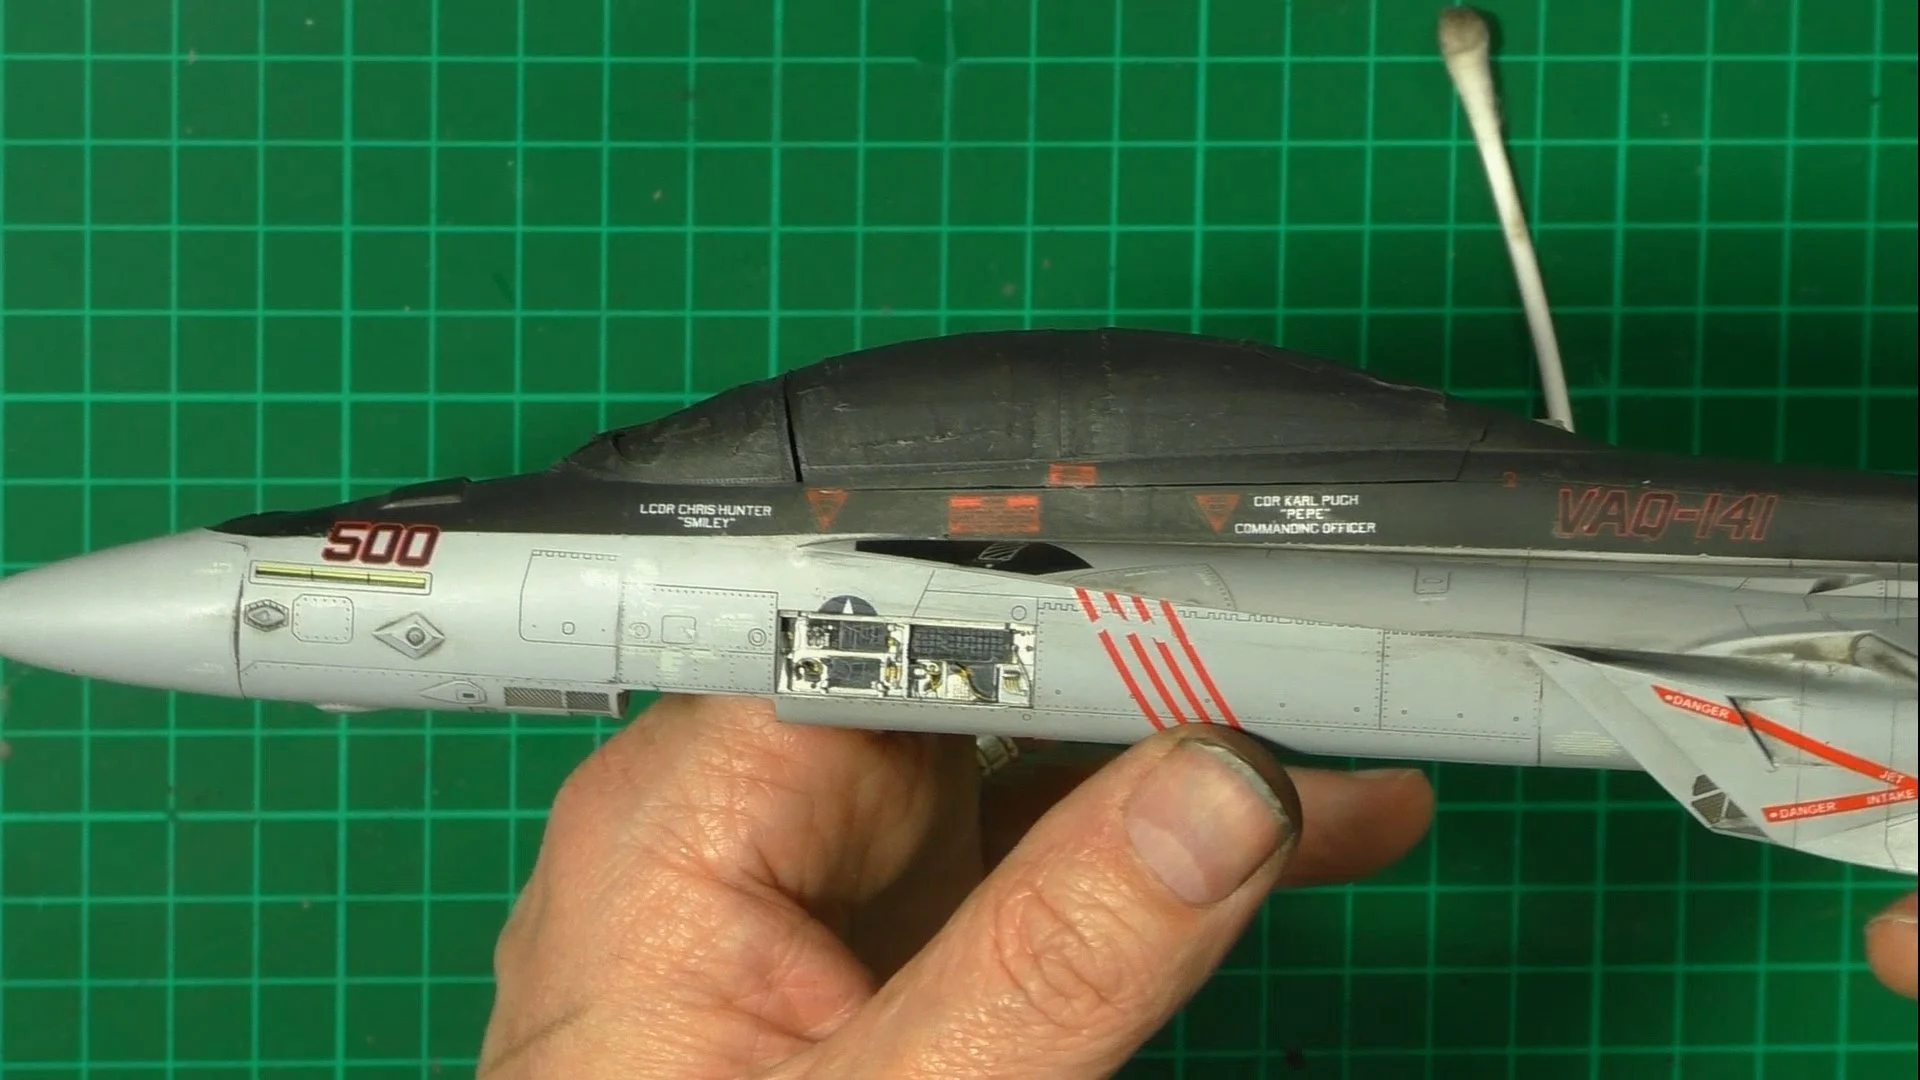
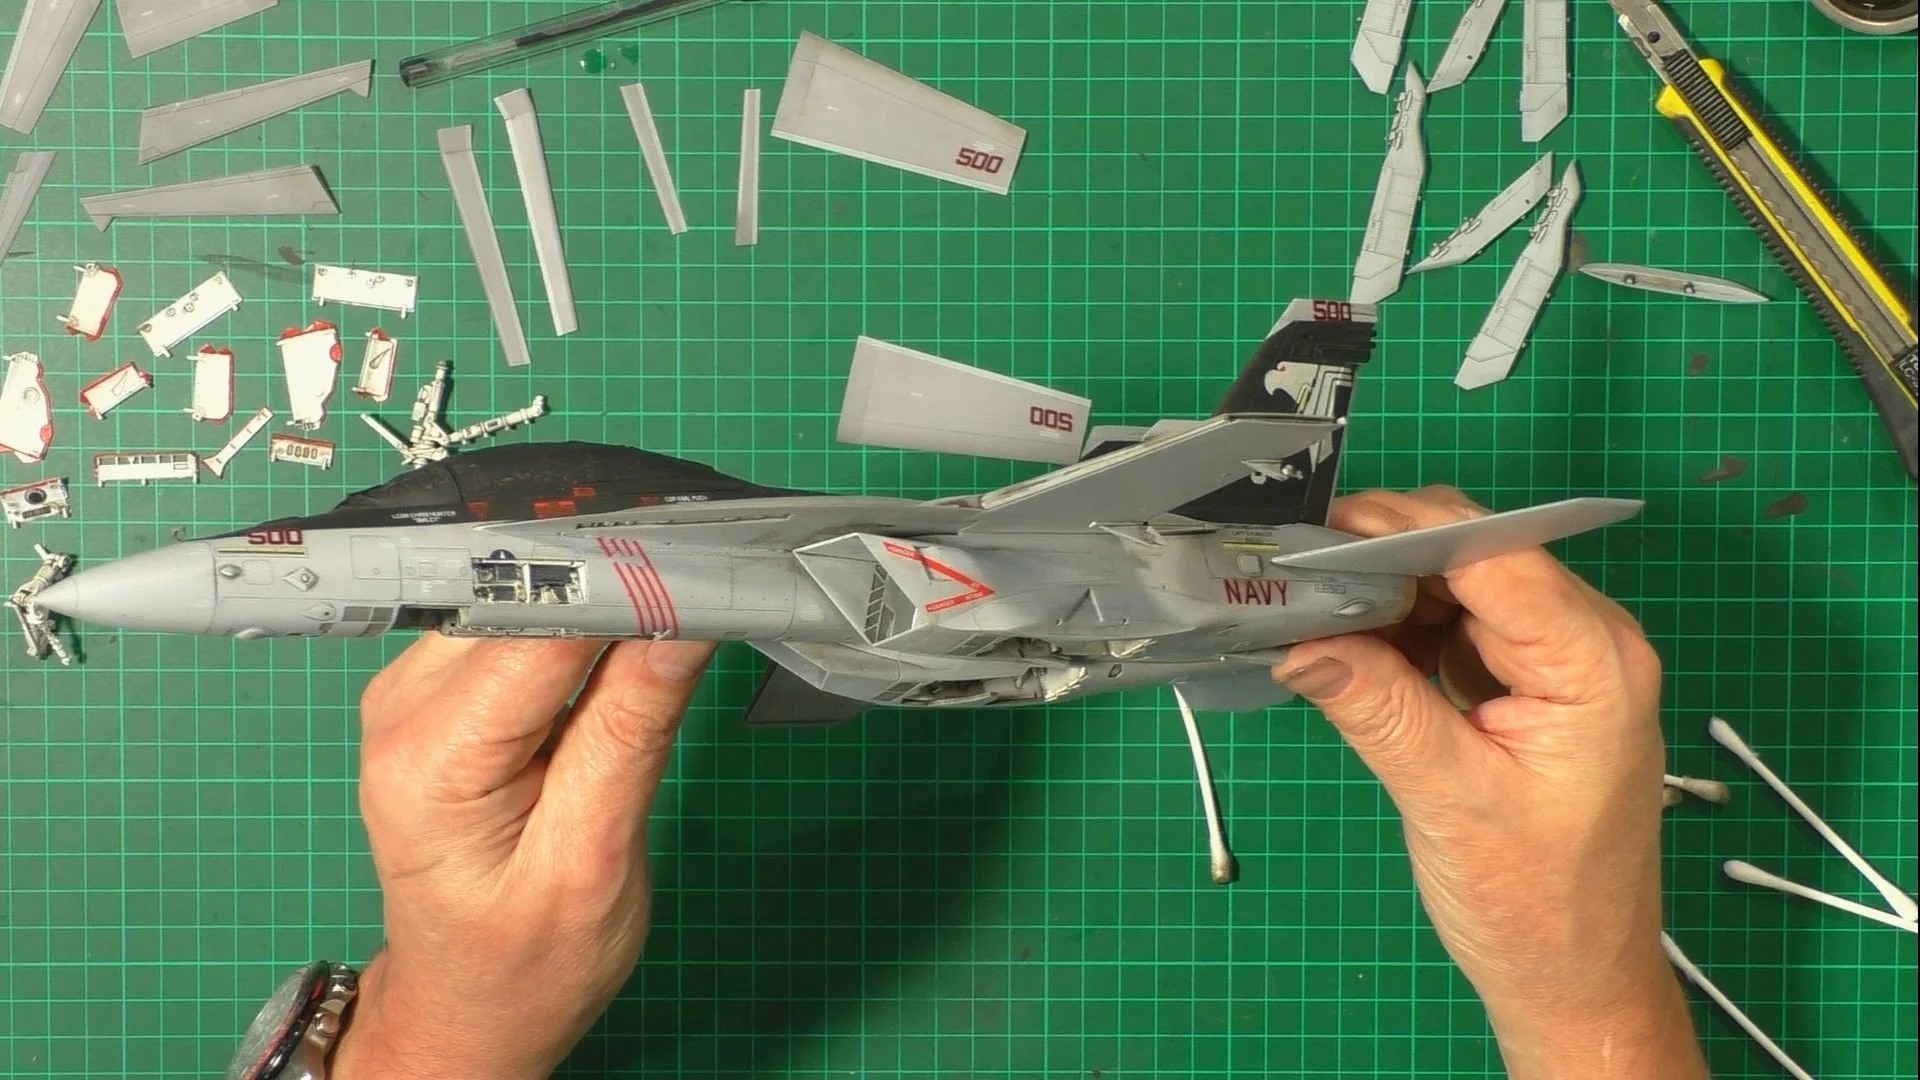
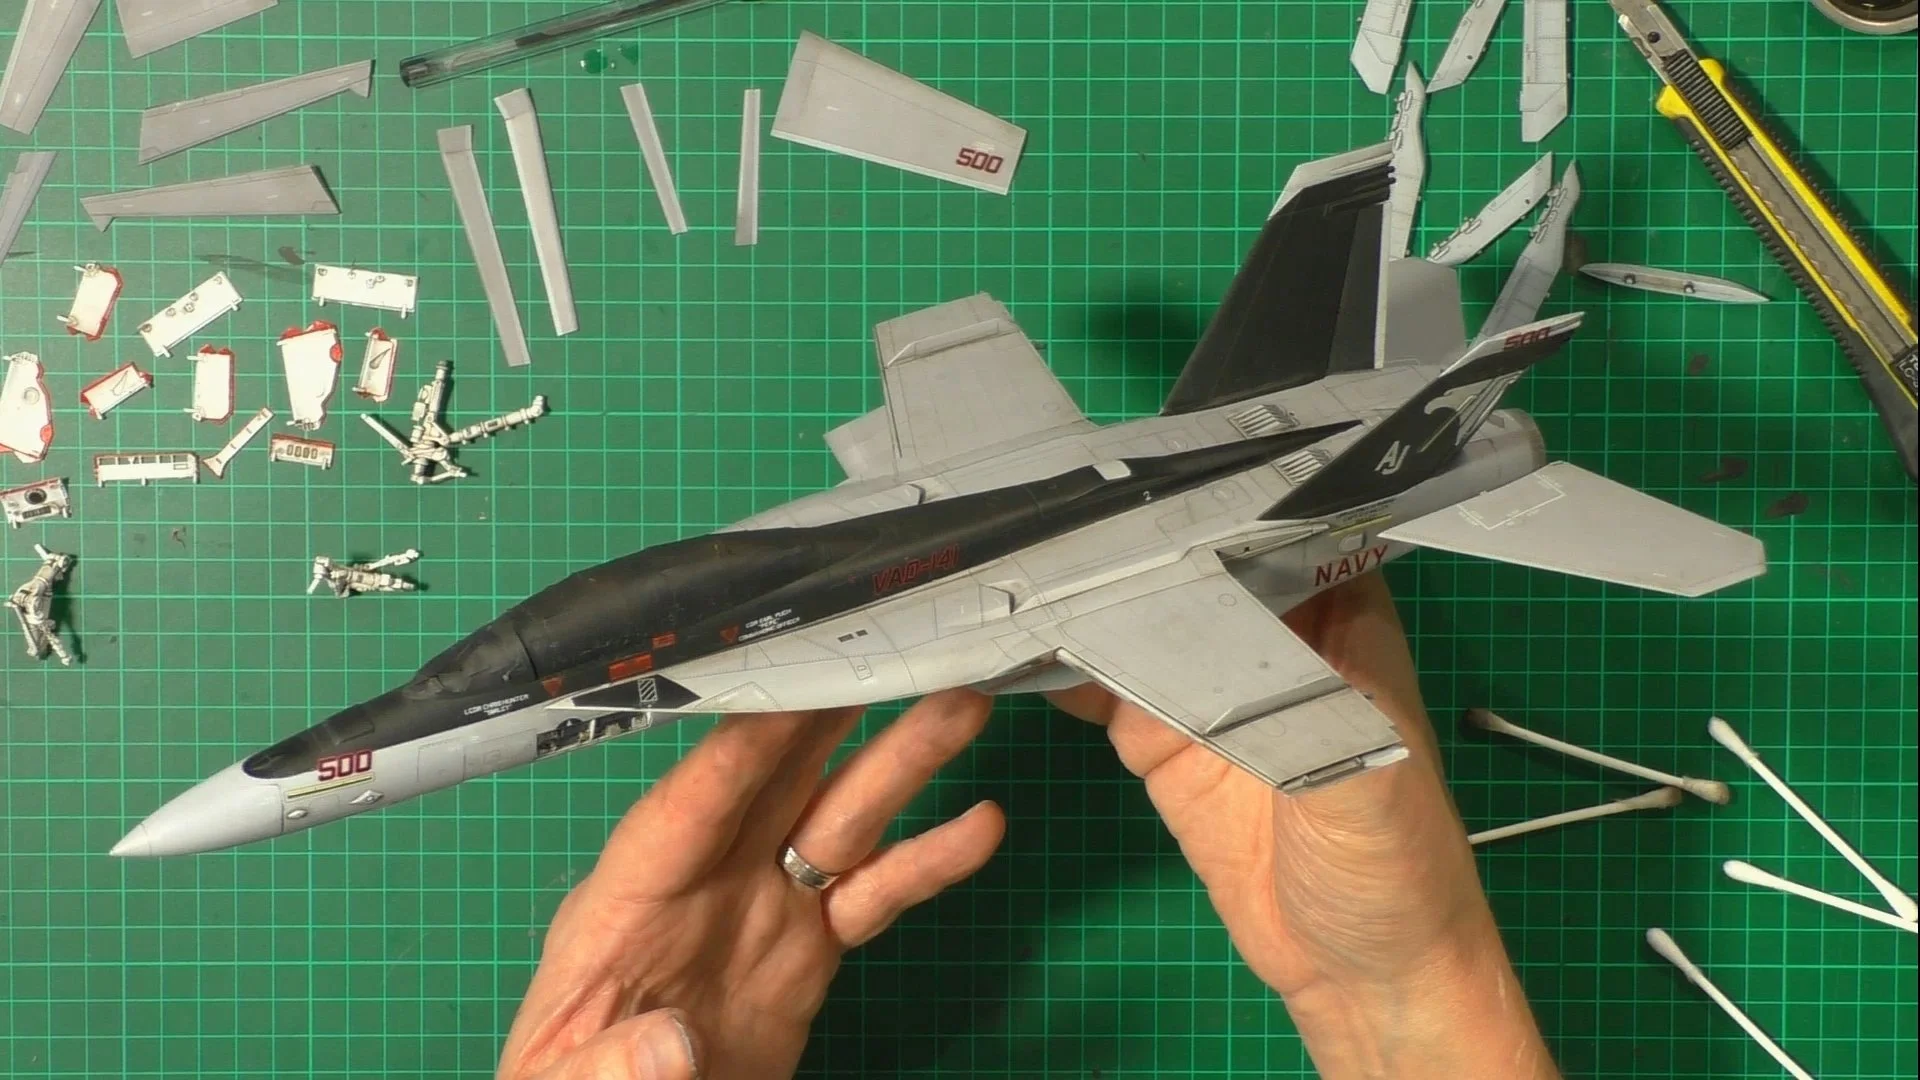
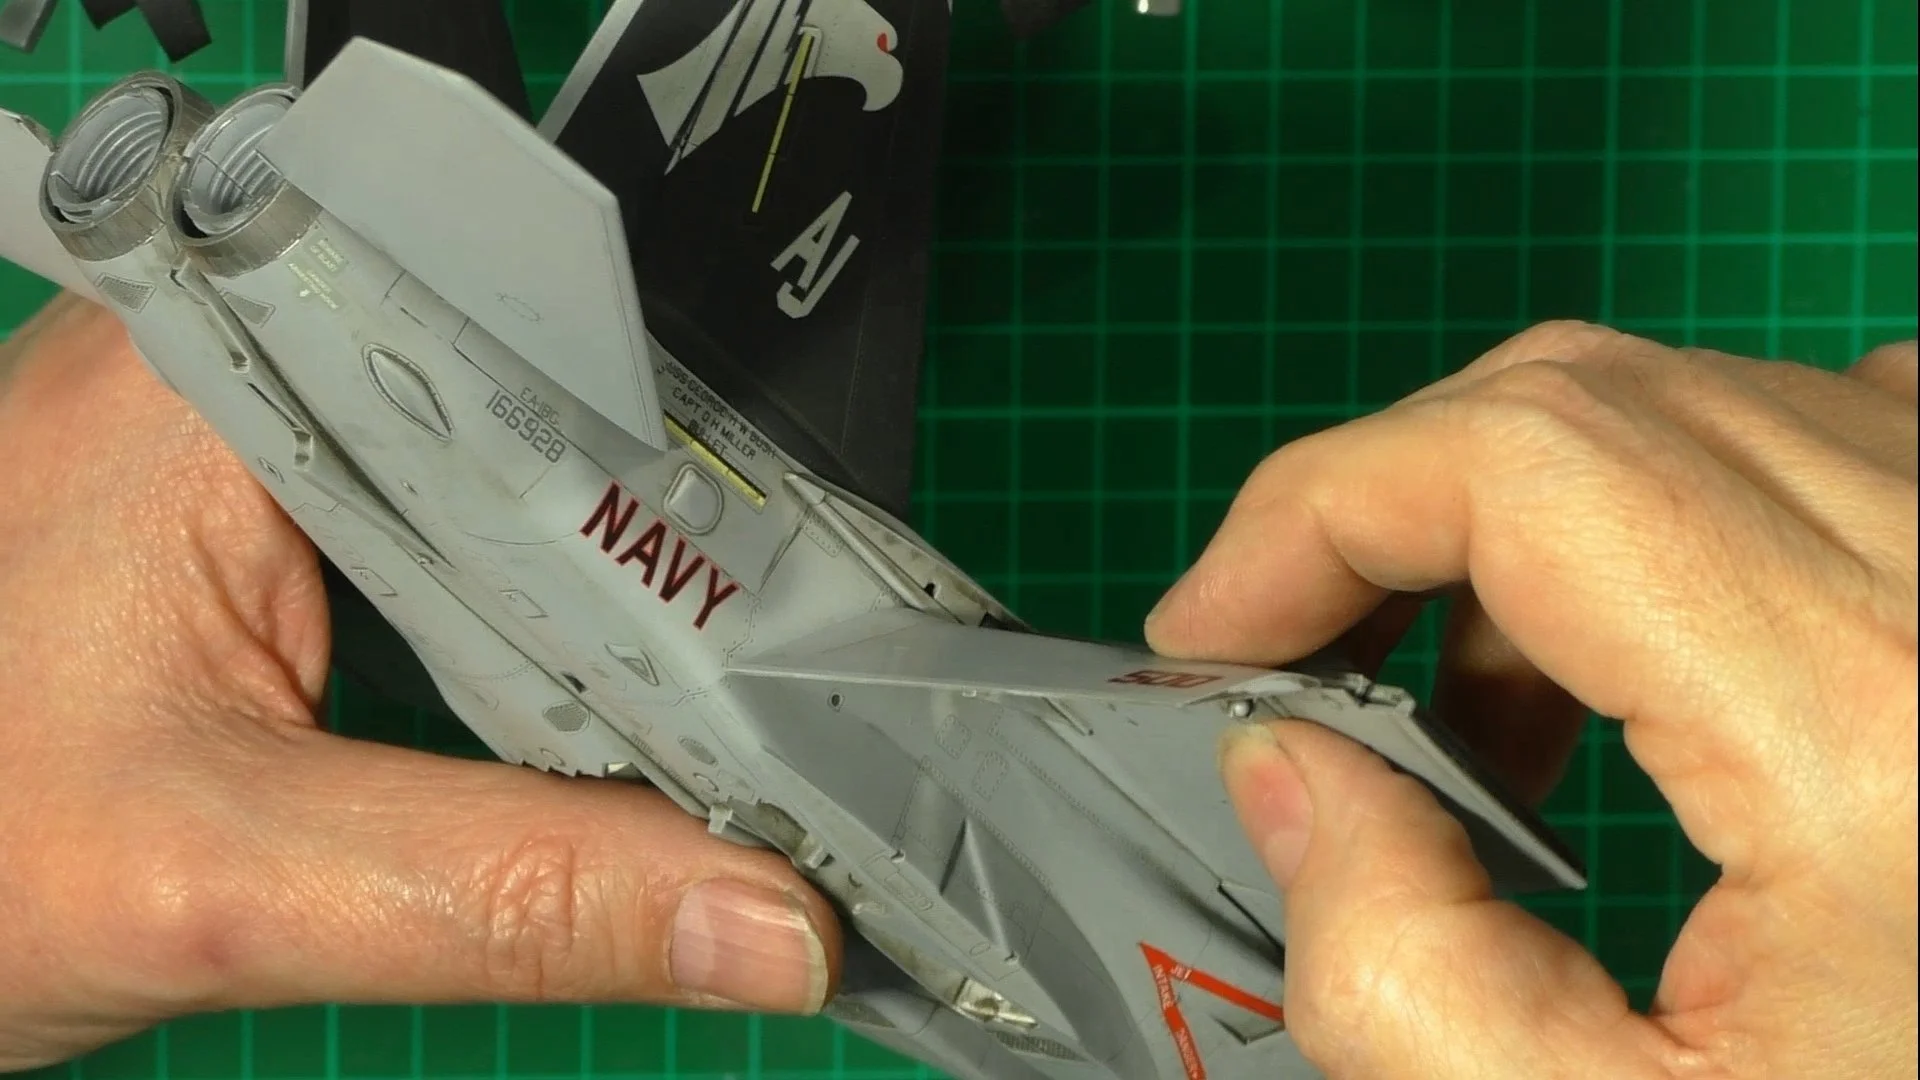
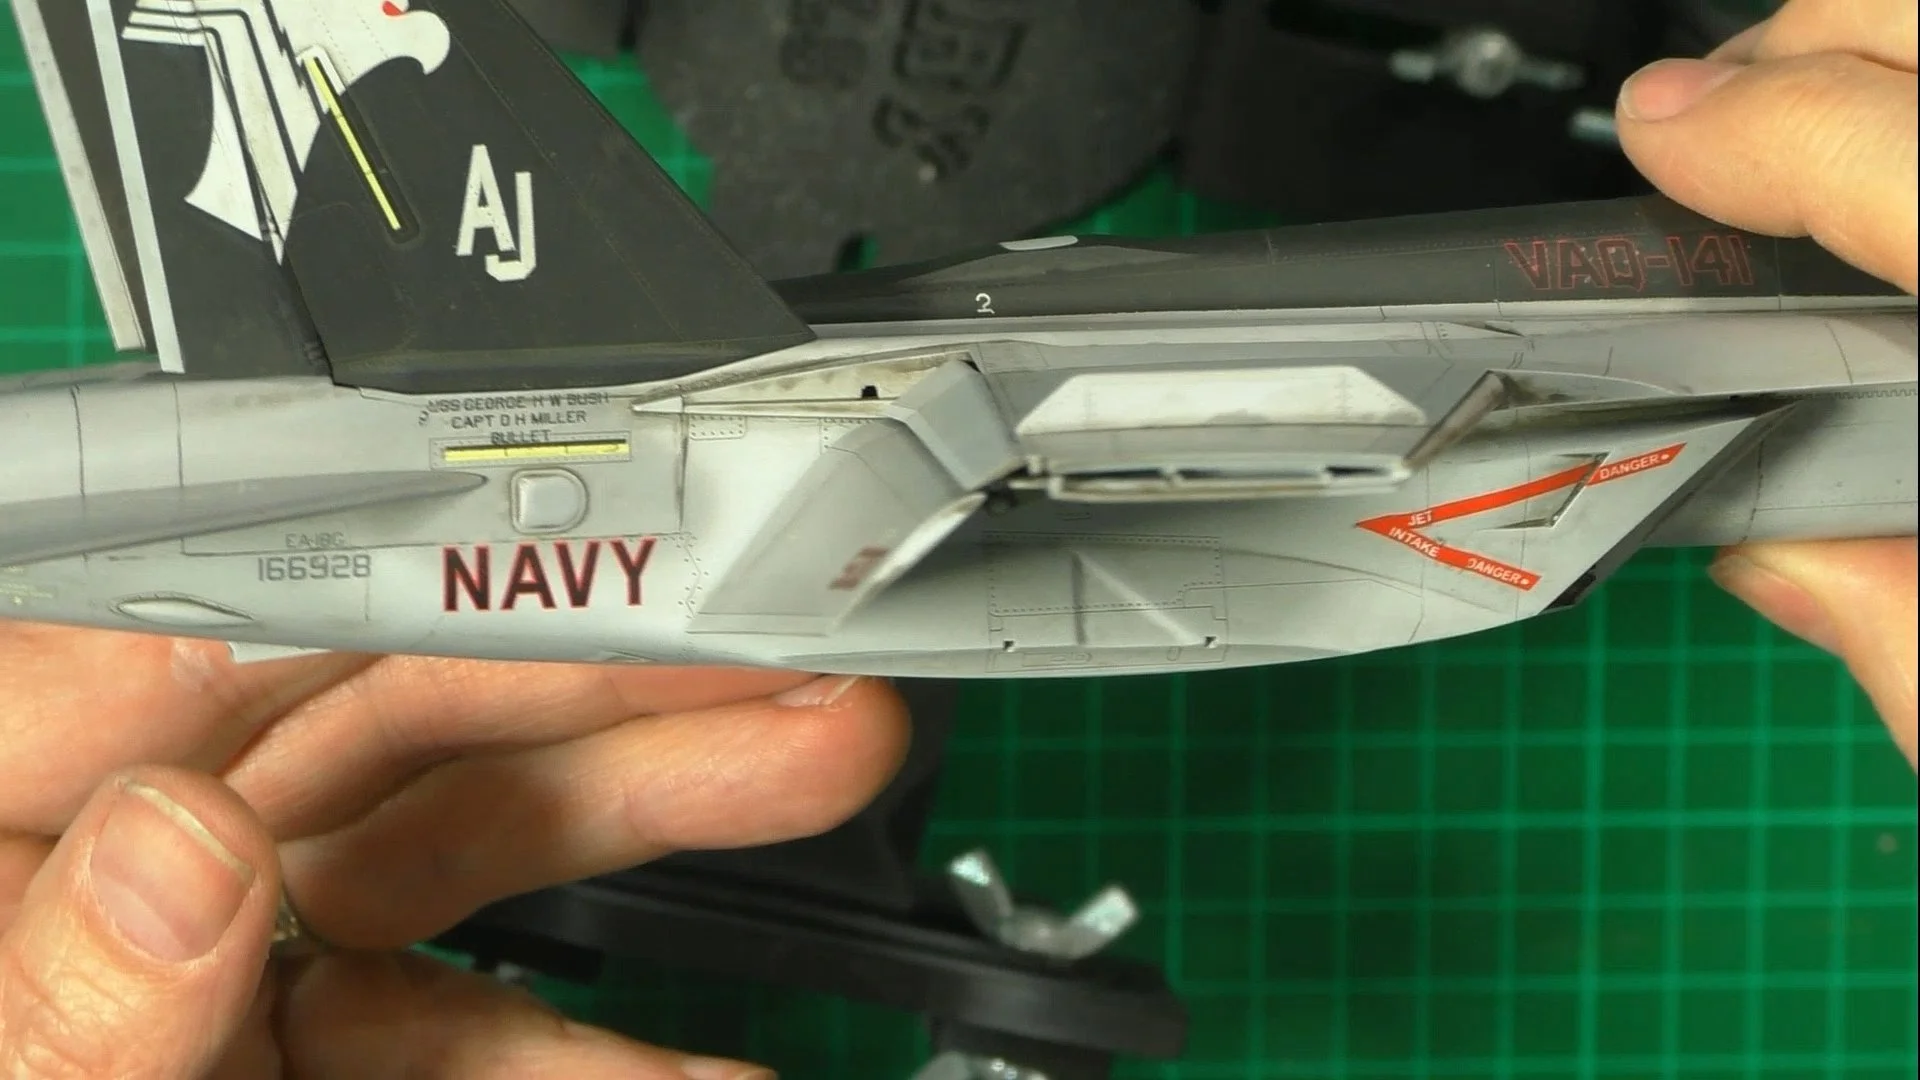
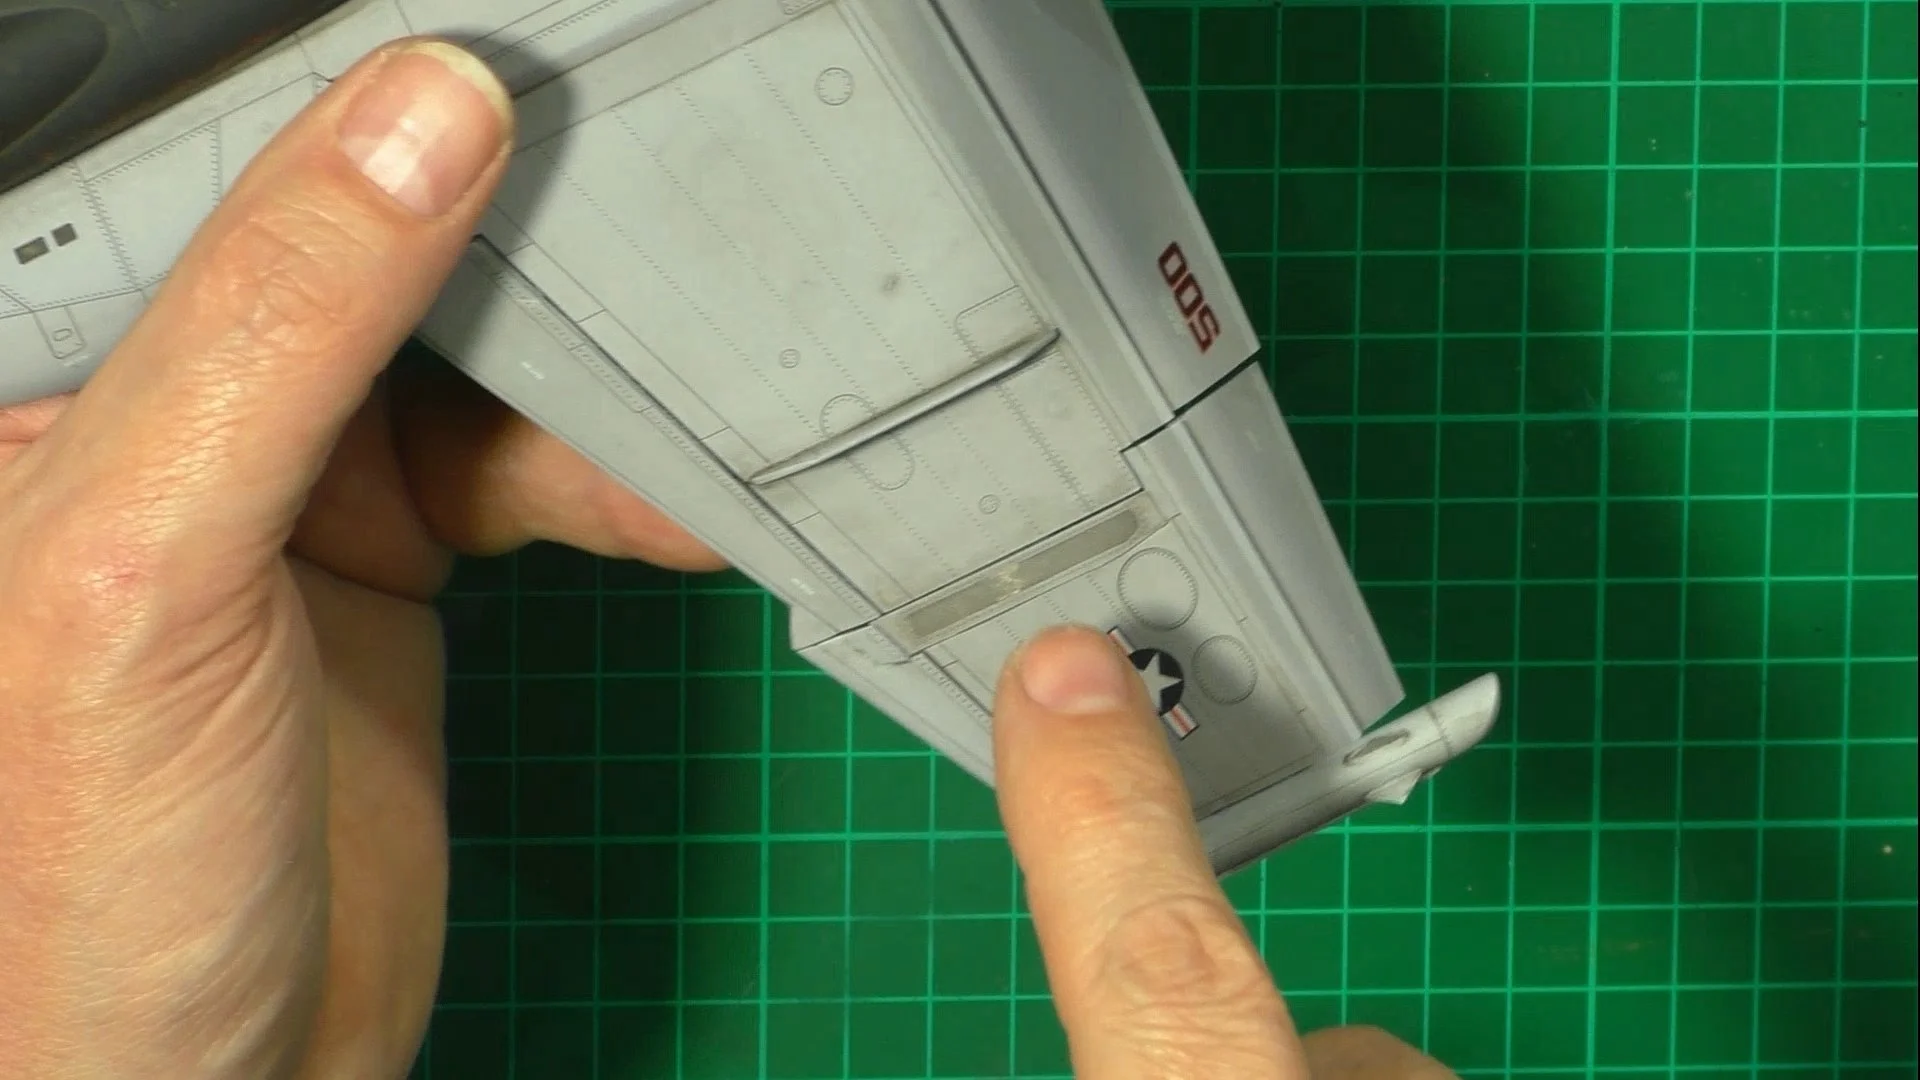
0:00 To start off, we start the long process of decaling. WE start with the Large culorful CAG markings and then follow up with the small stencil data markings. 15:55 With the decaling complete and settled down nicely, we move into the spray booth to seal them in with a coat of VMS XXL satin varnish.
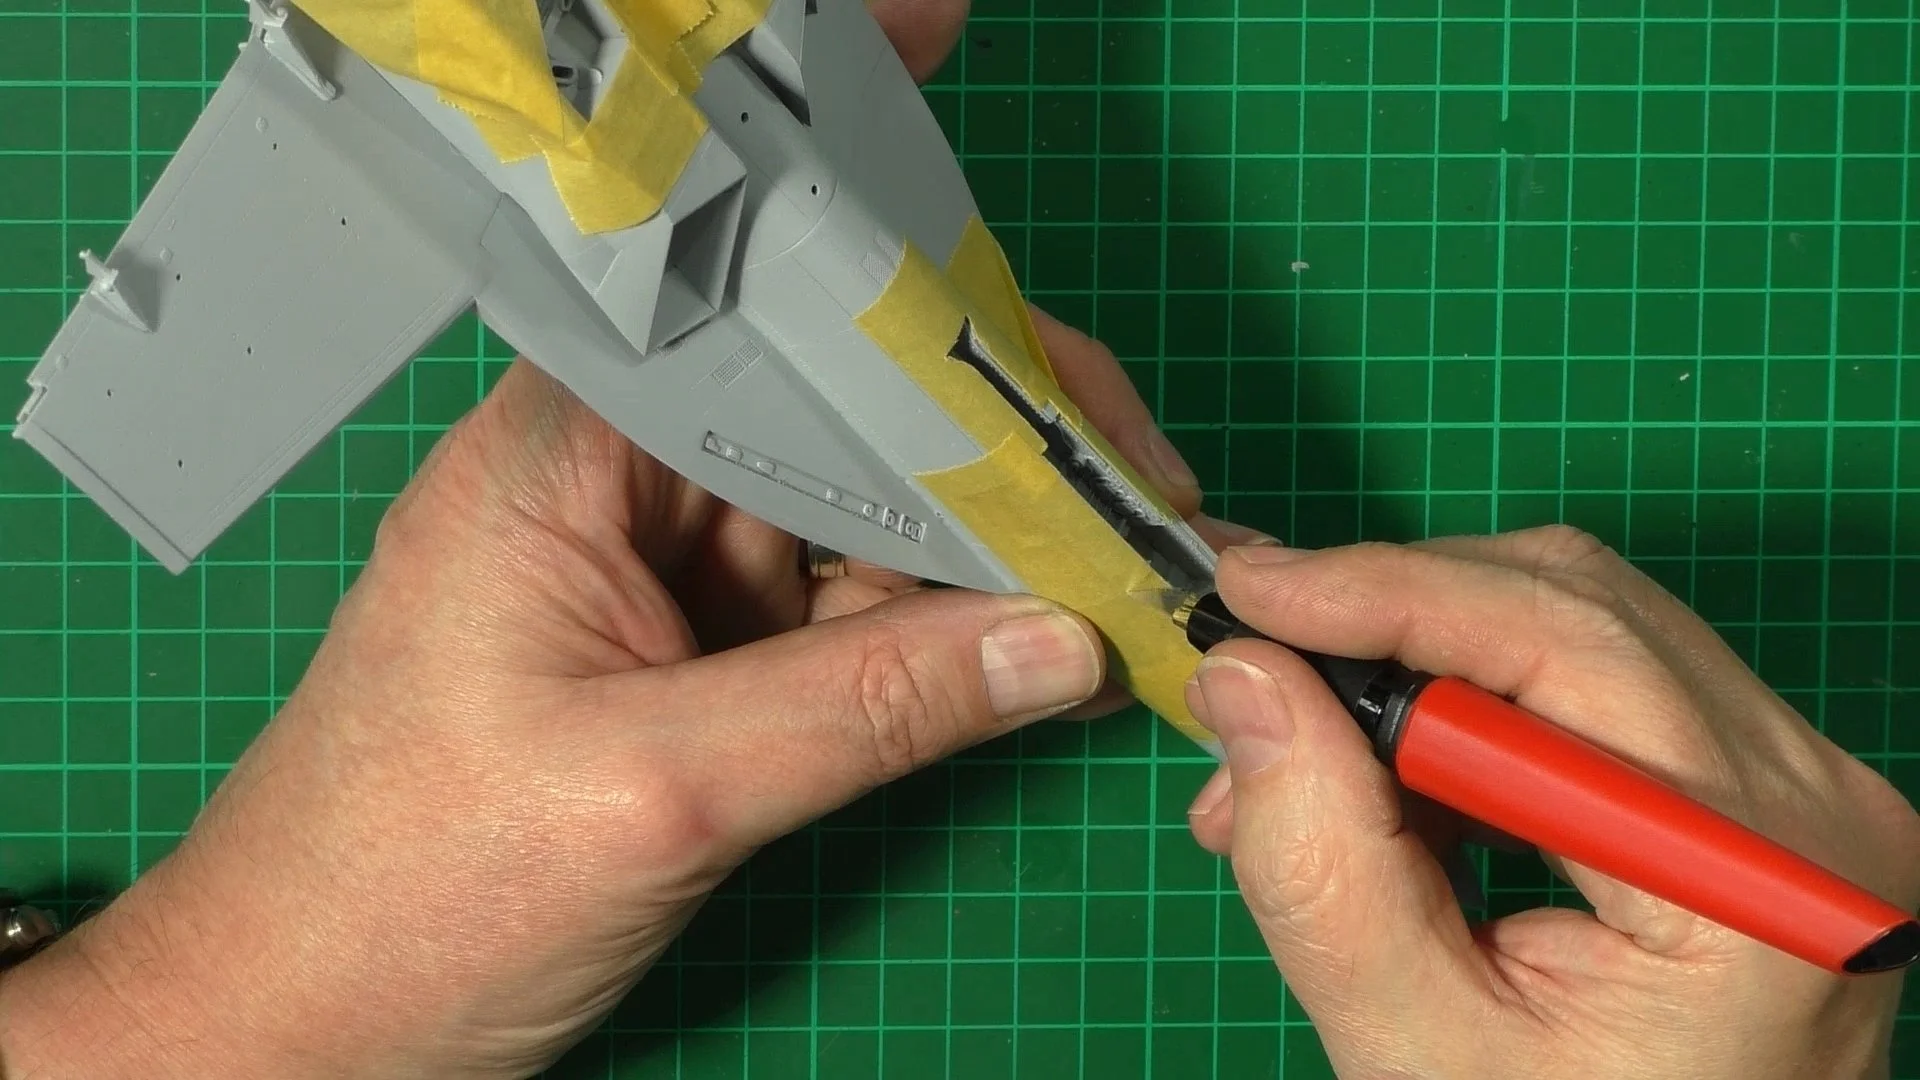
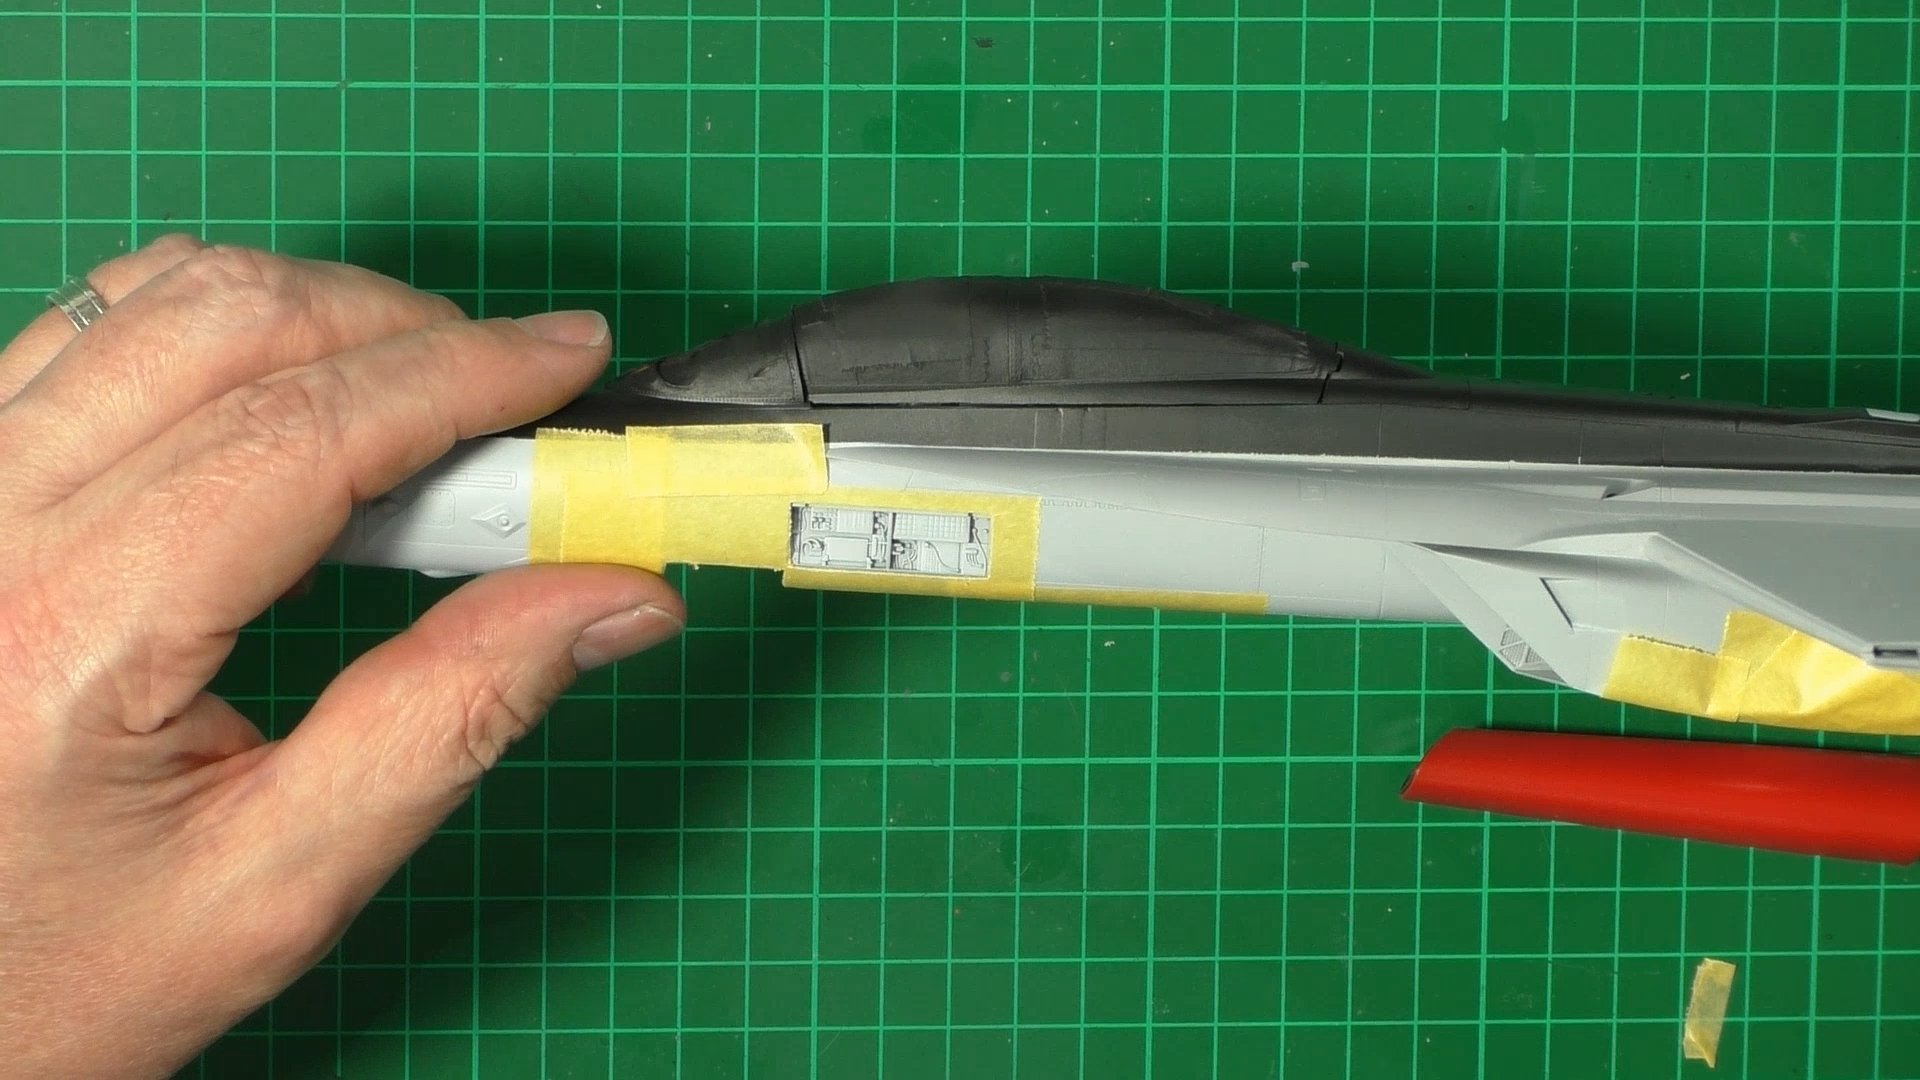
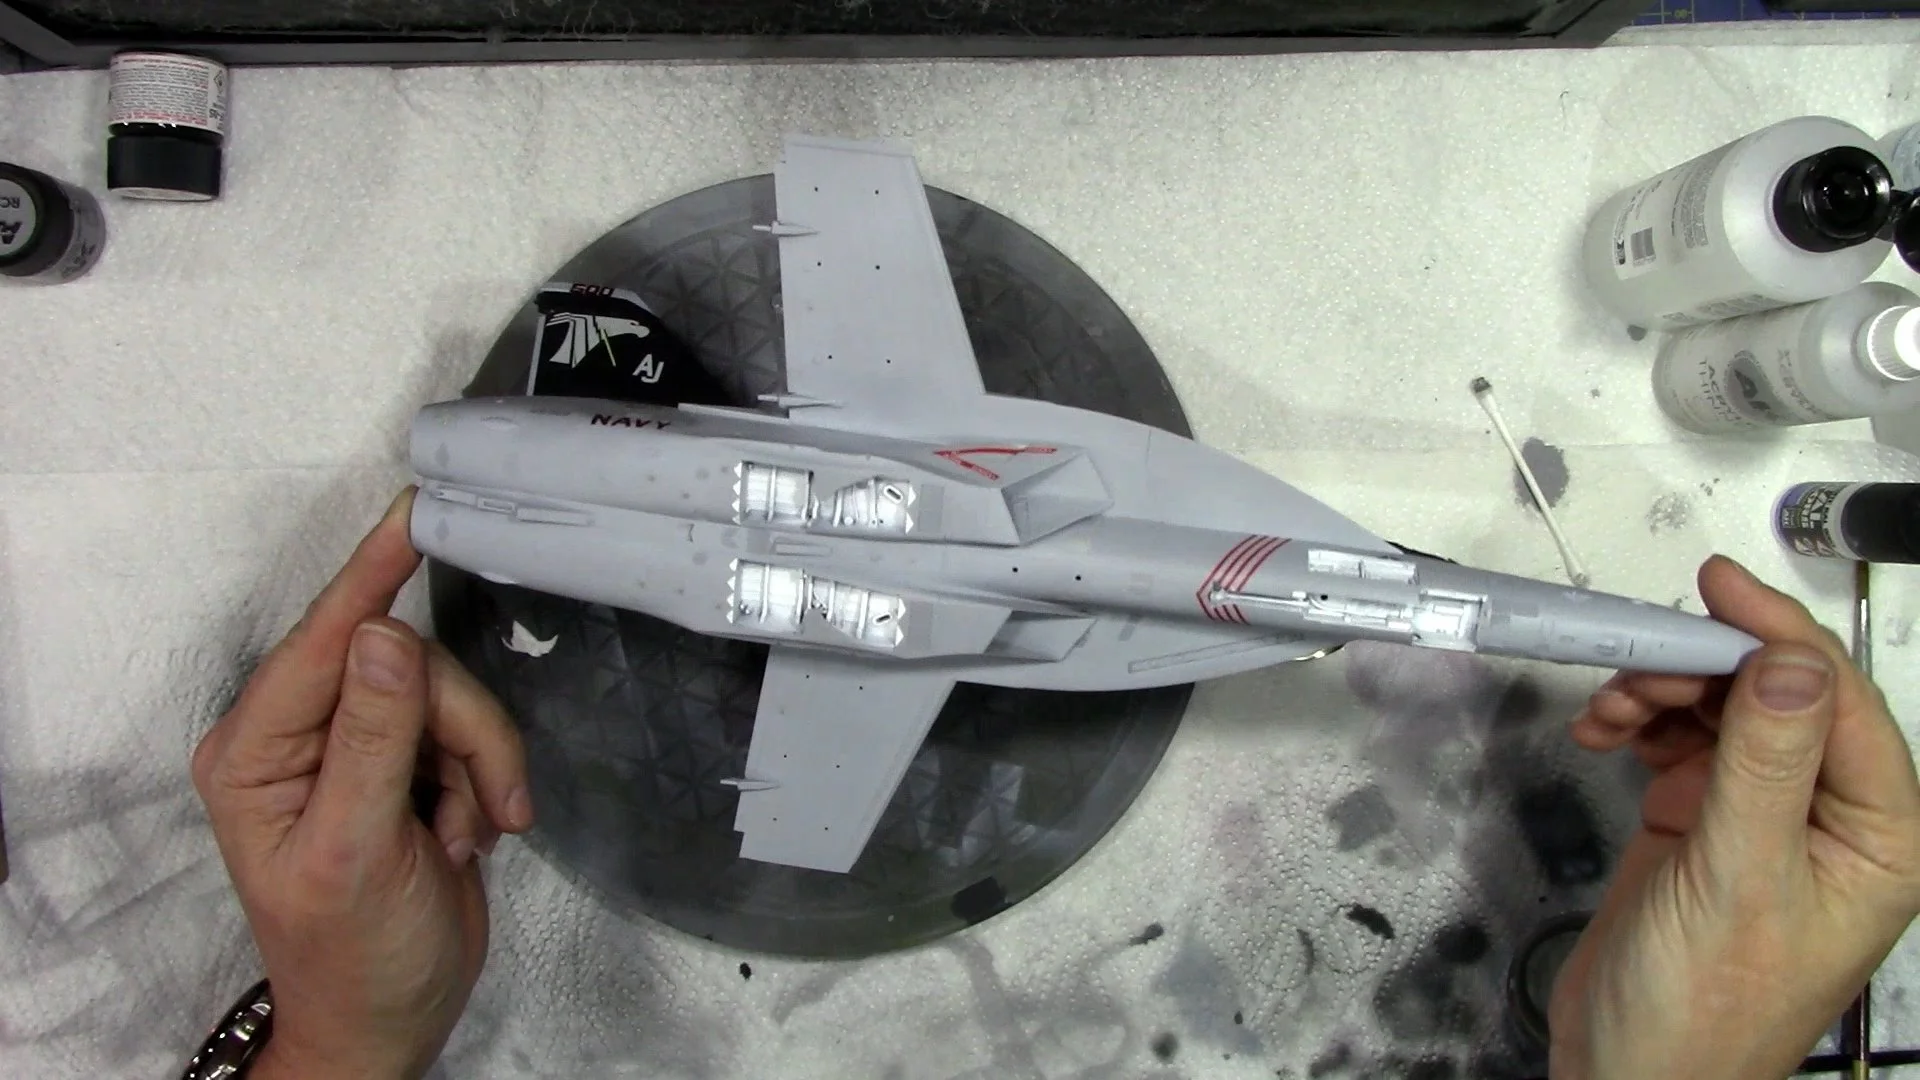
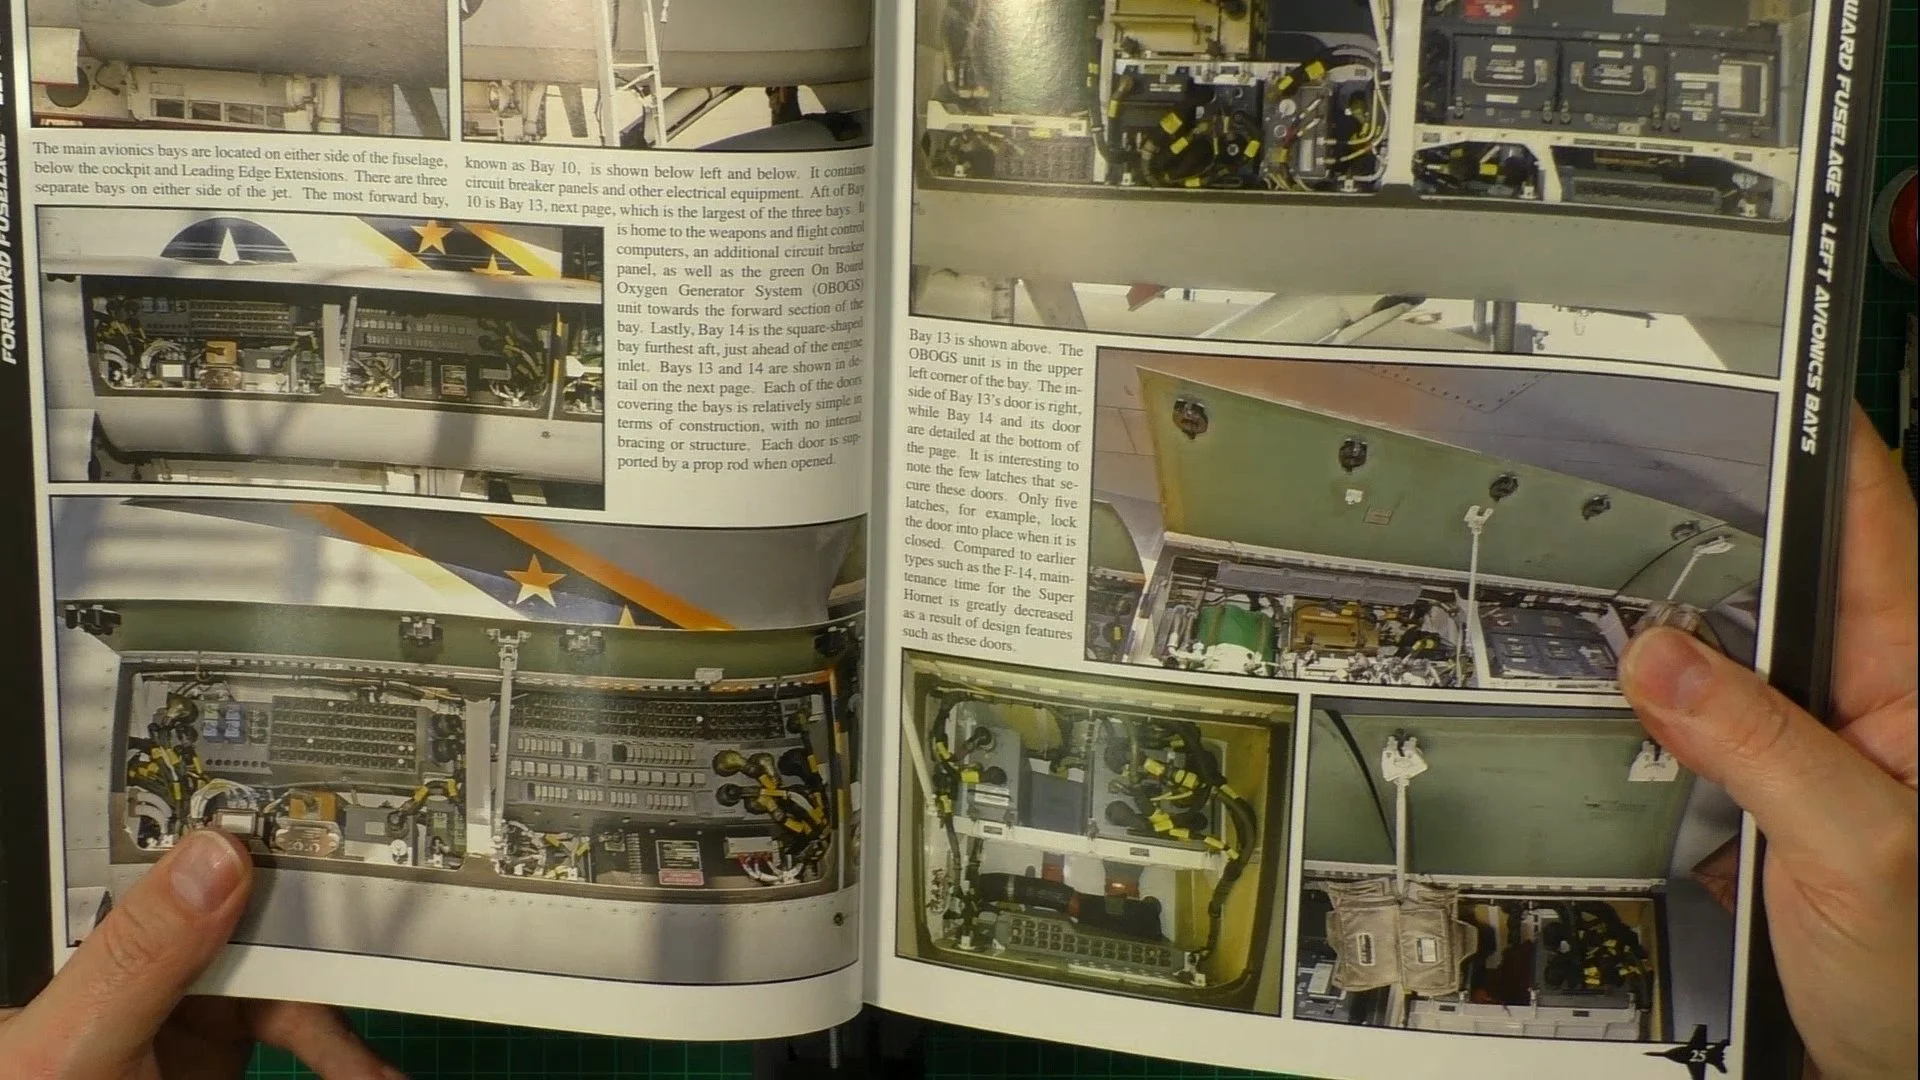
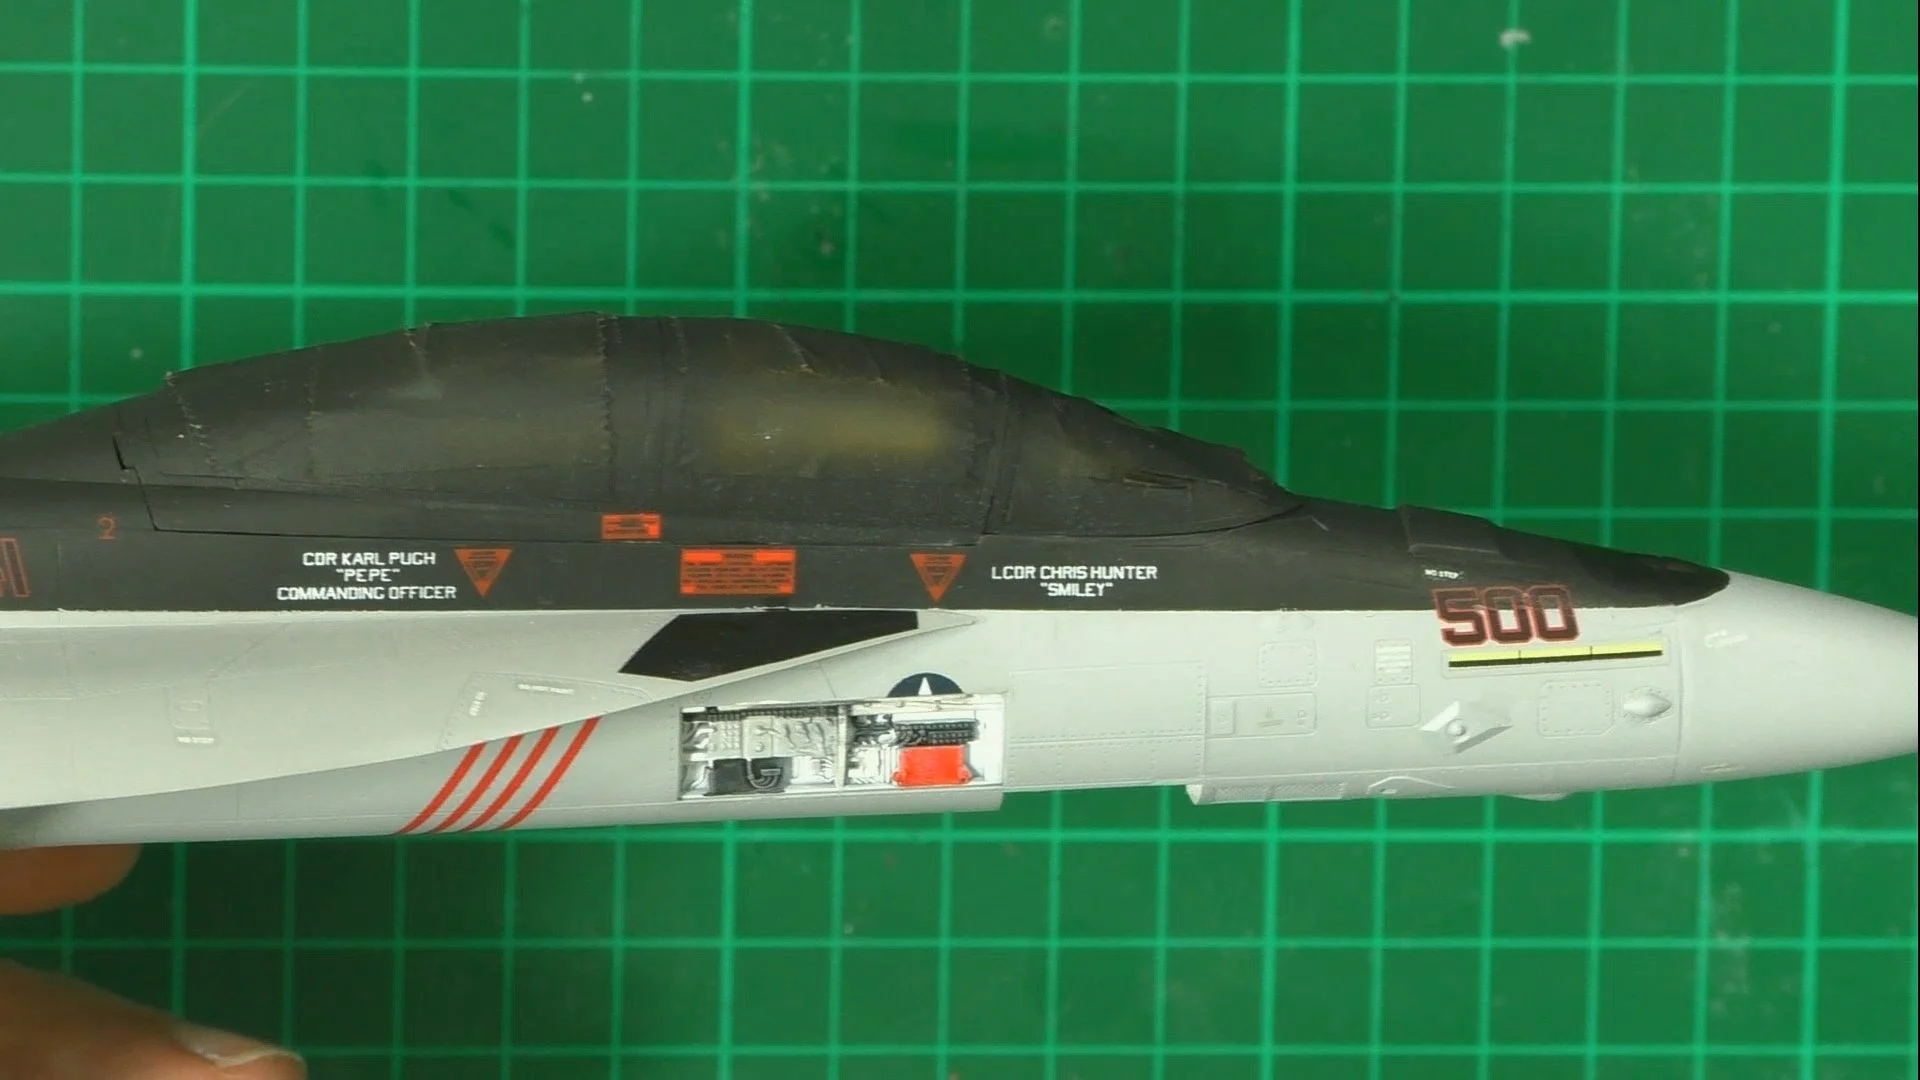
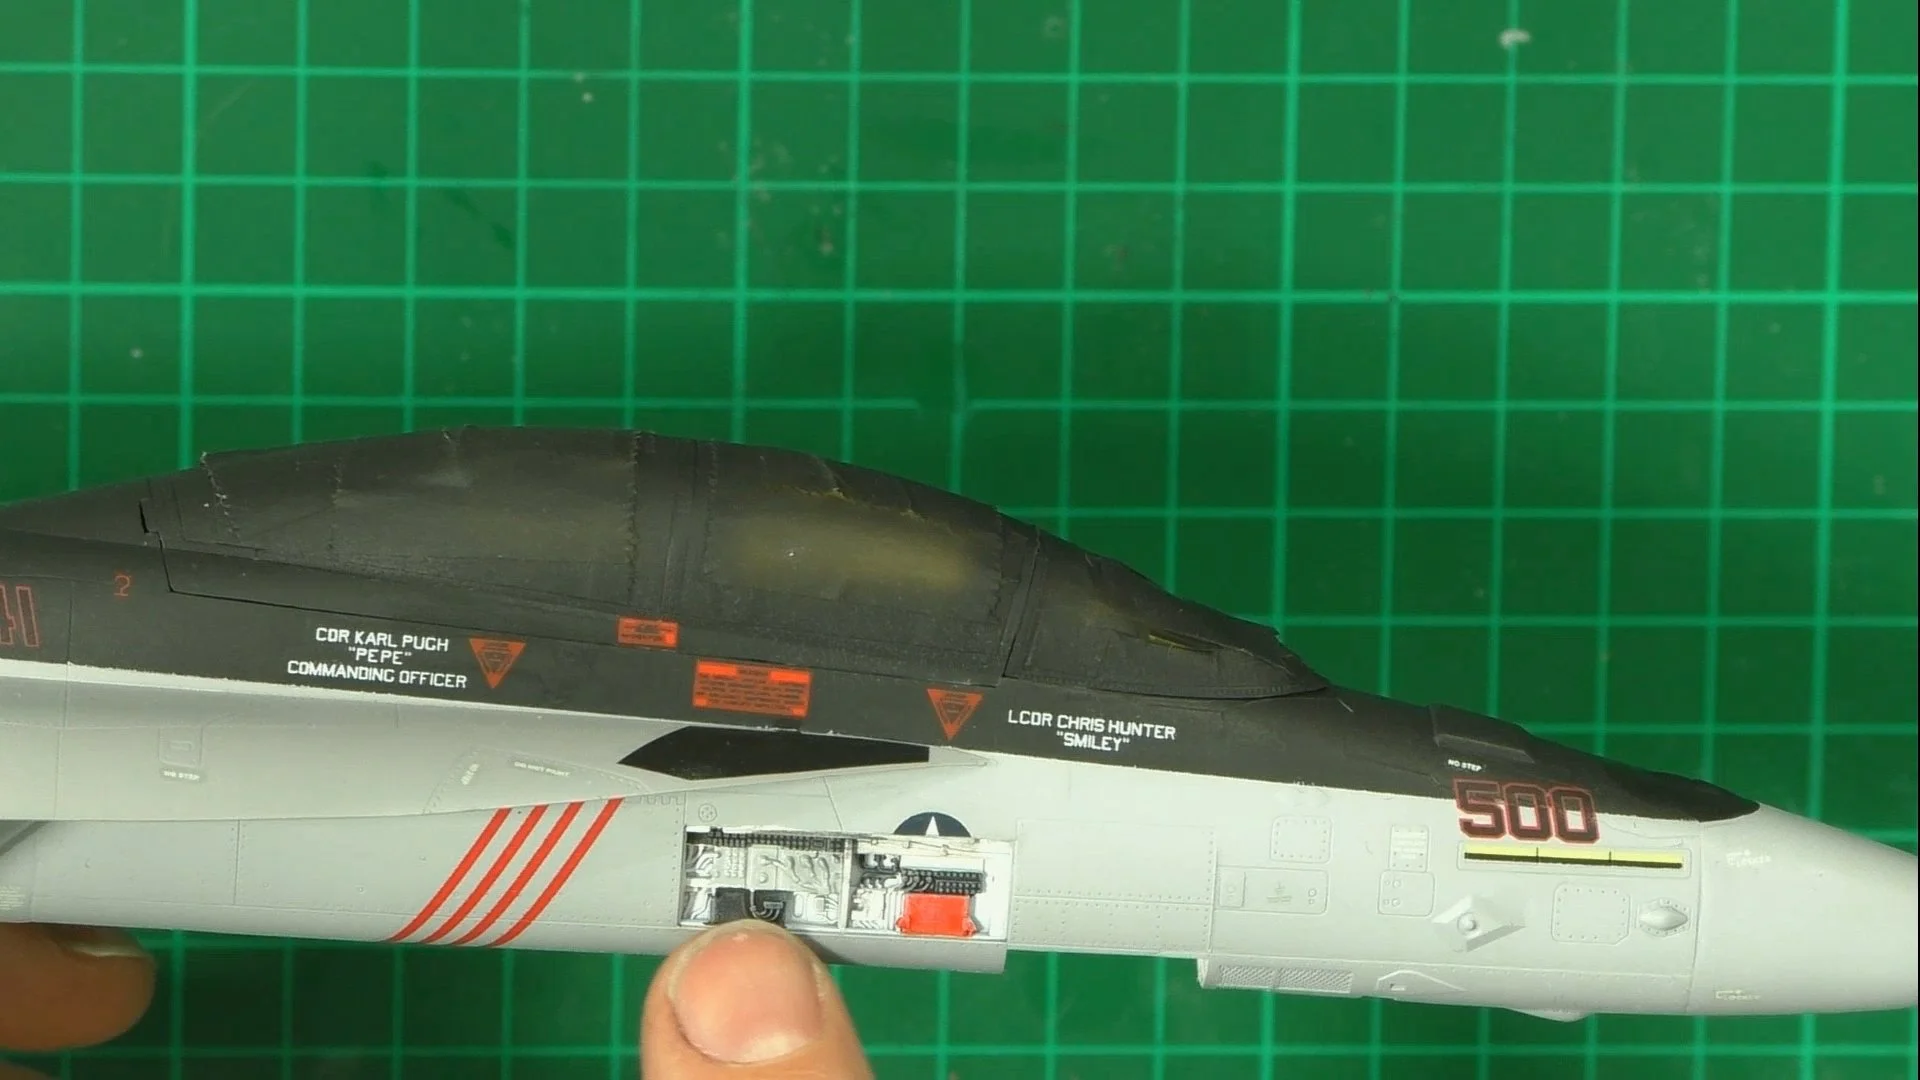
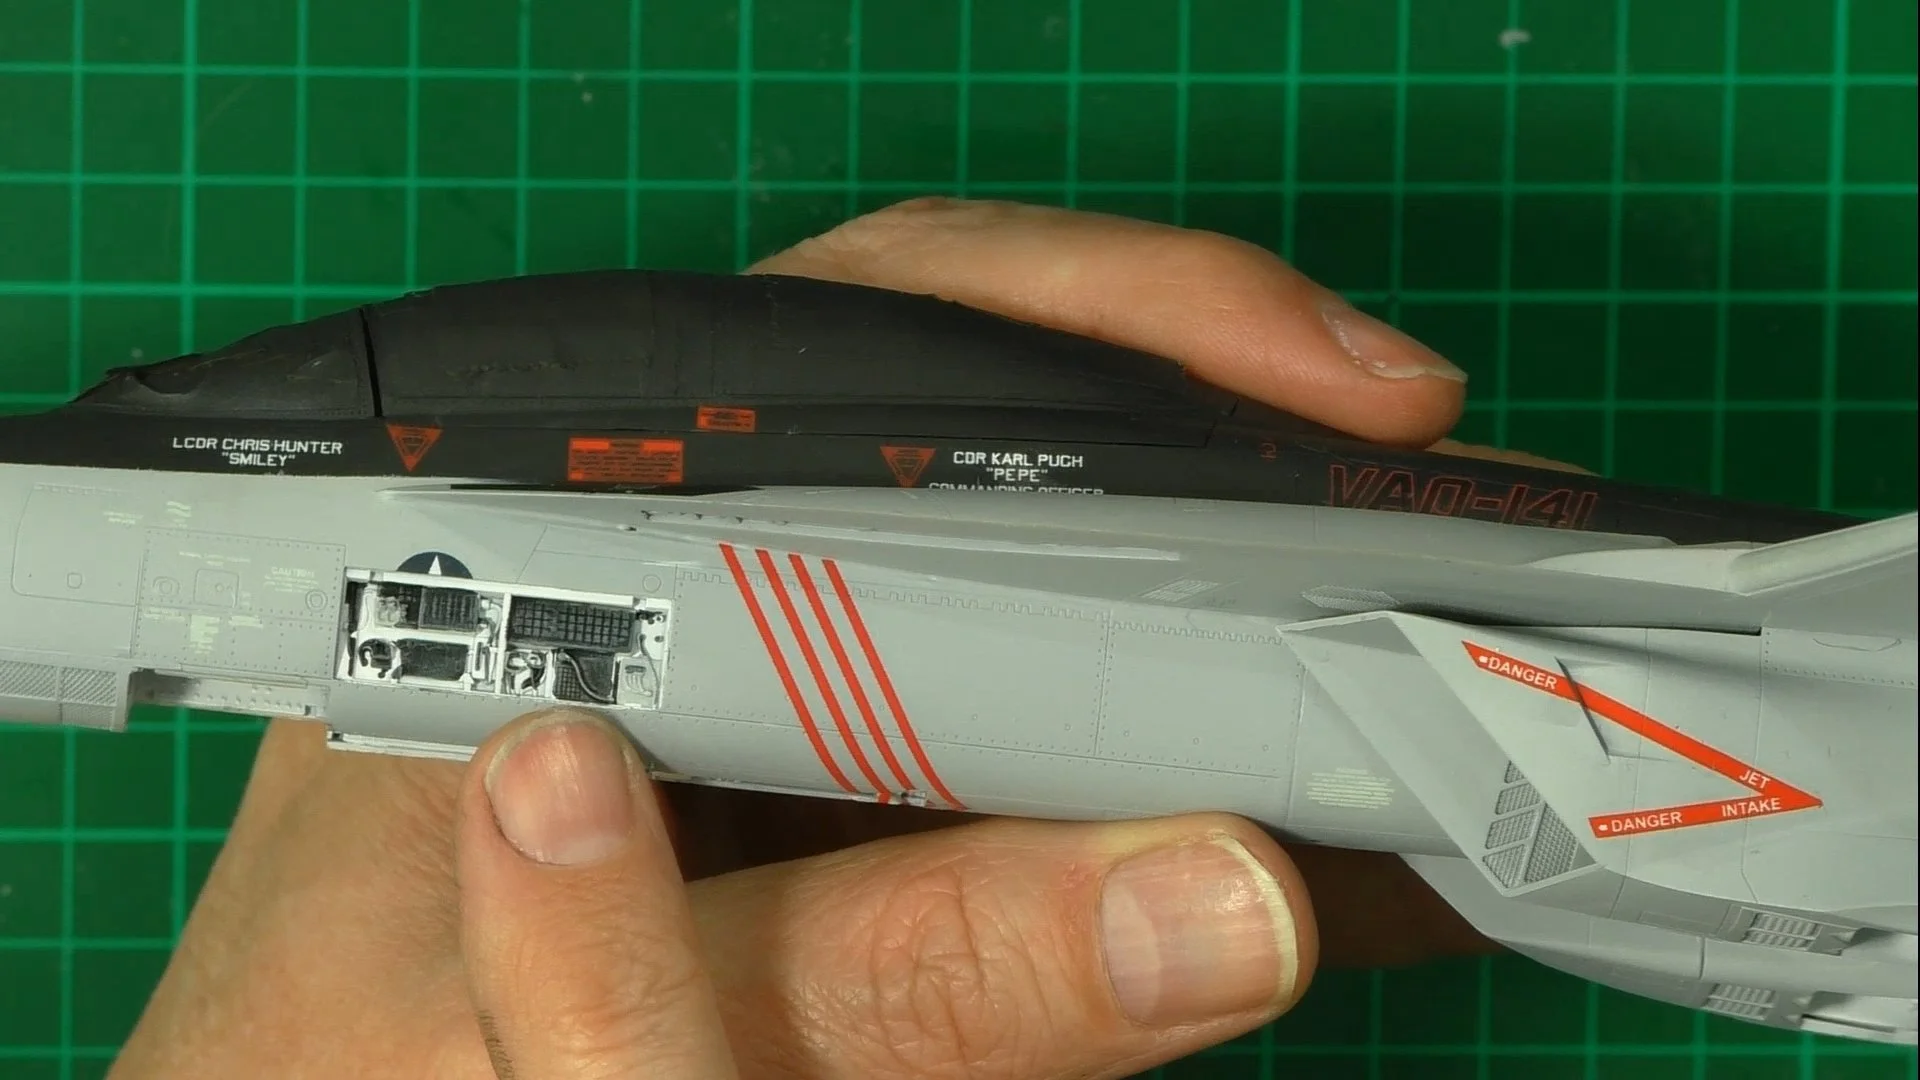
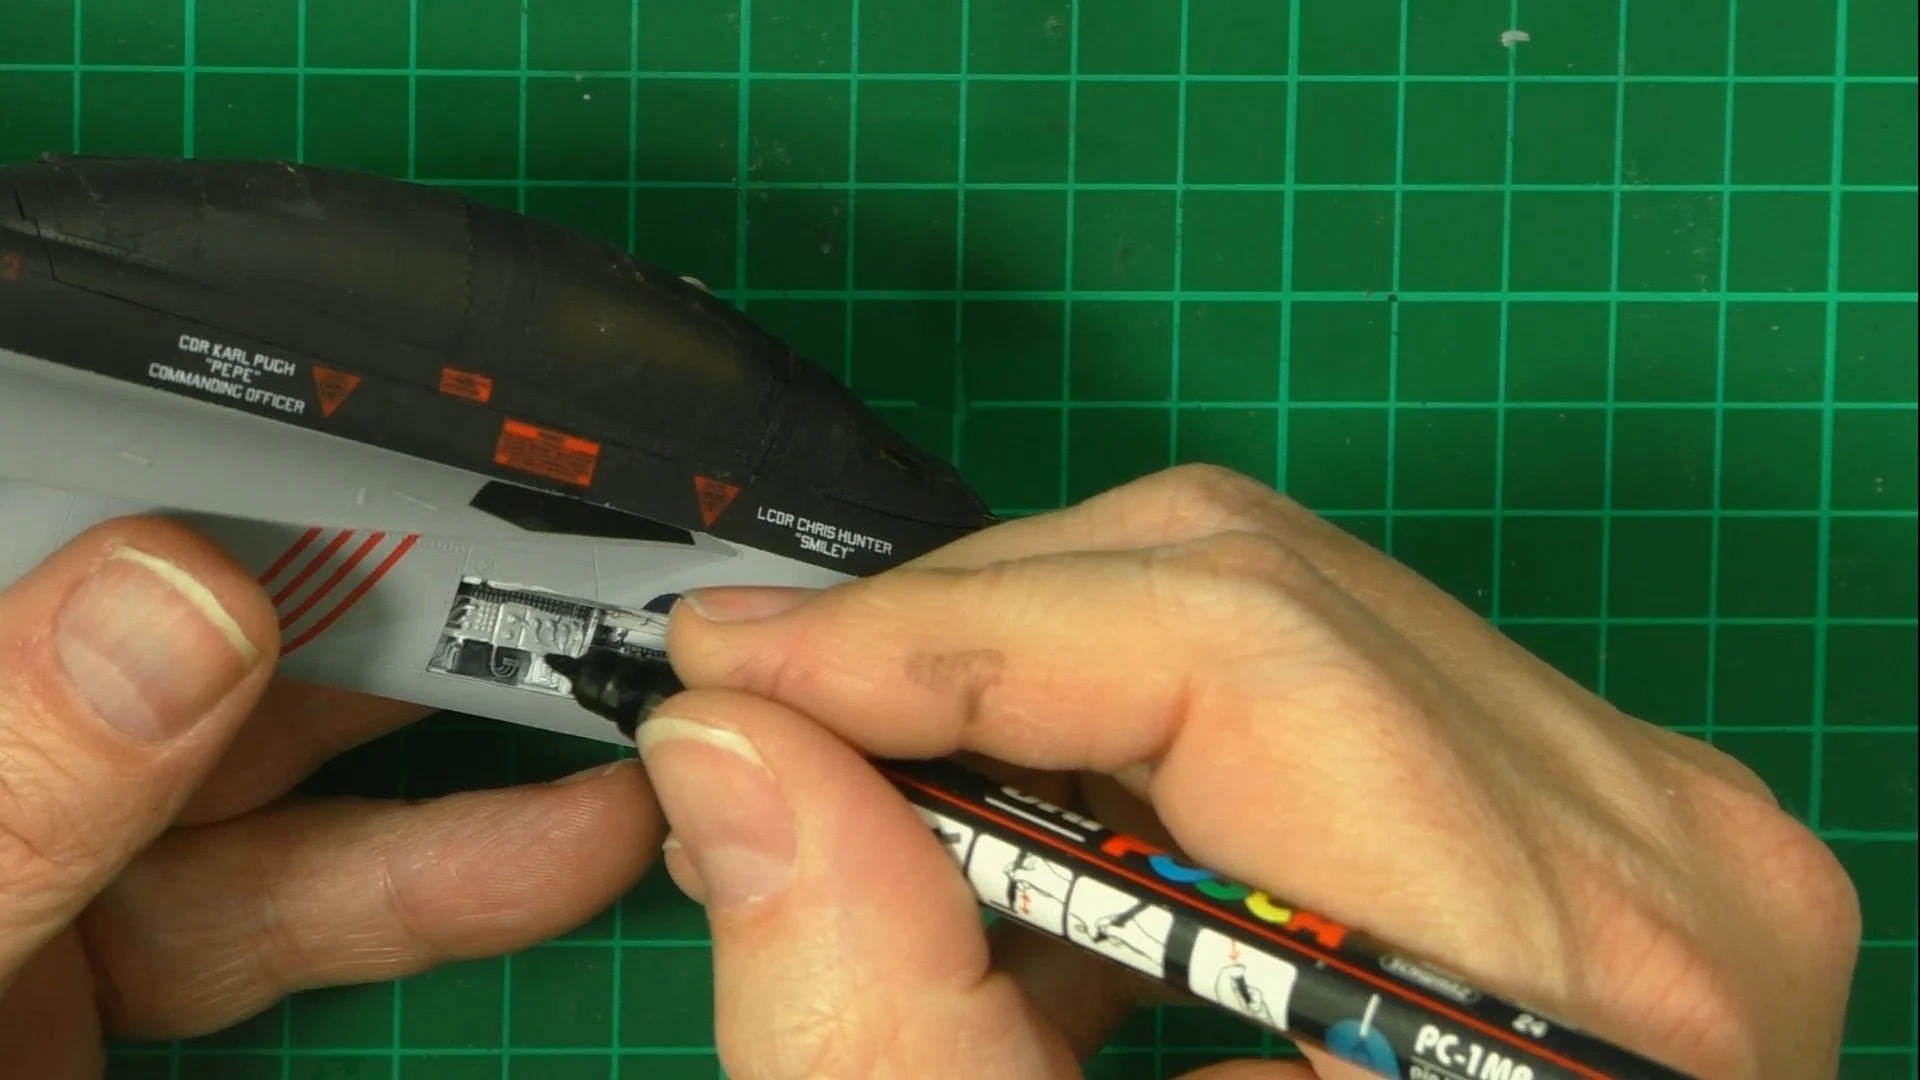
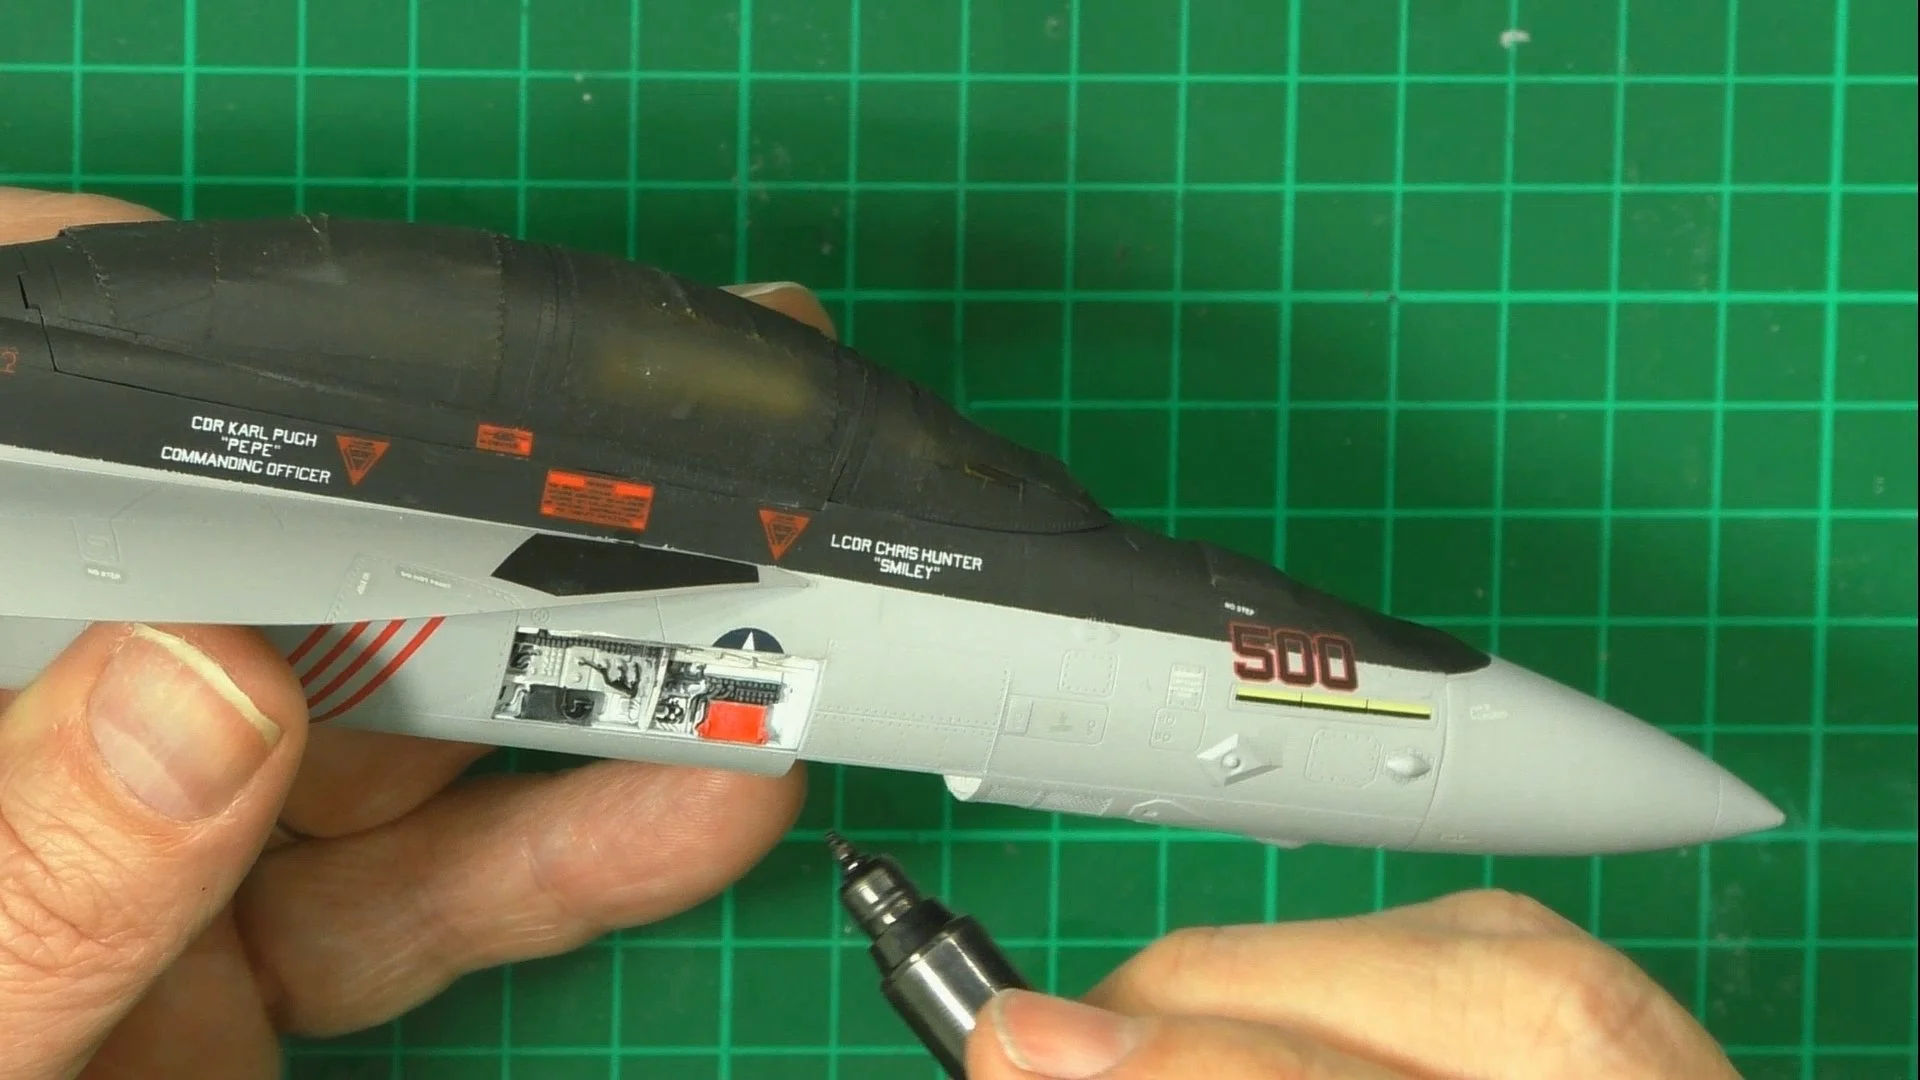
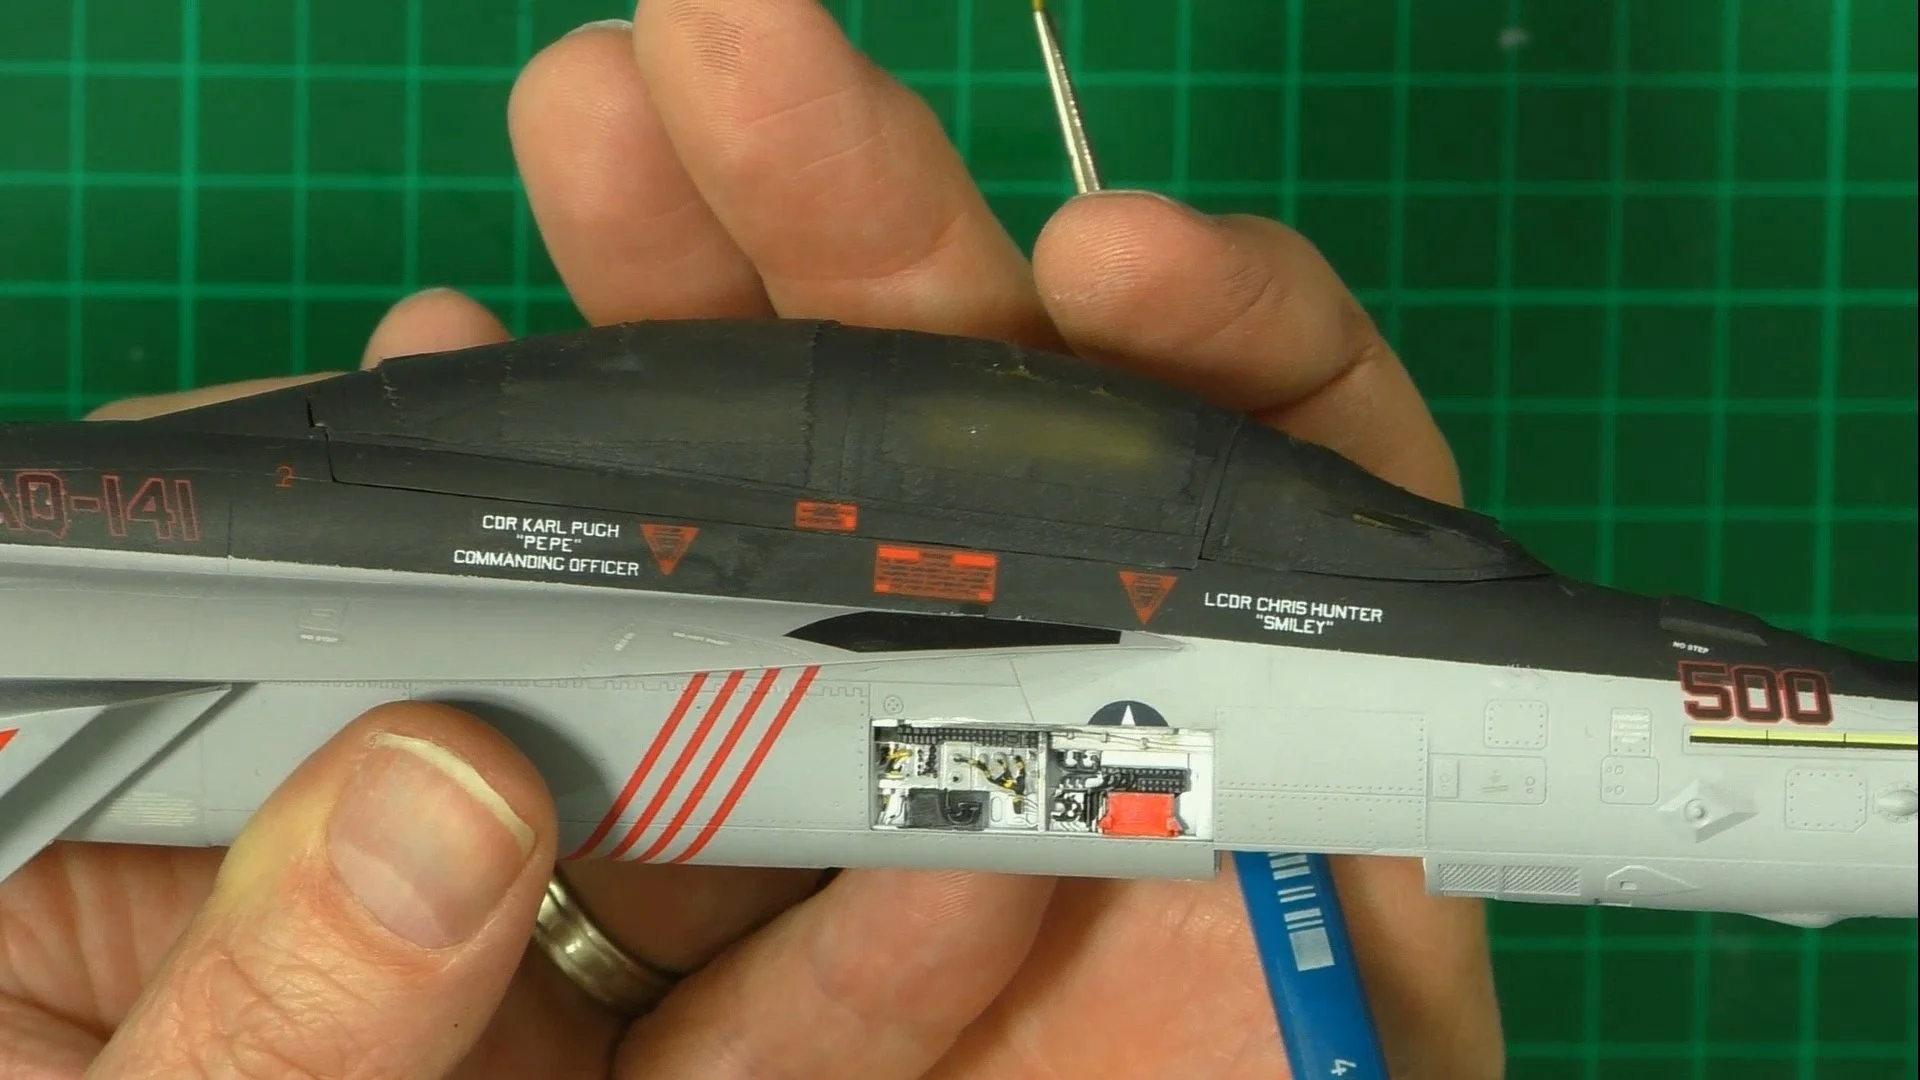
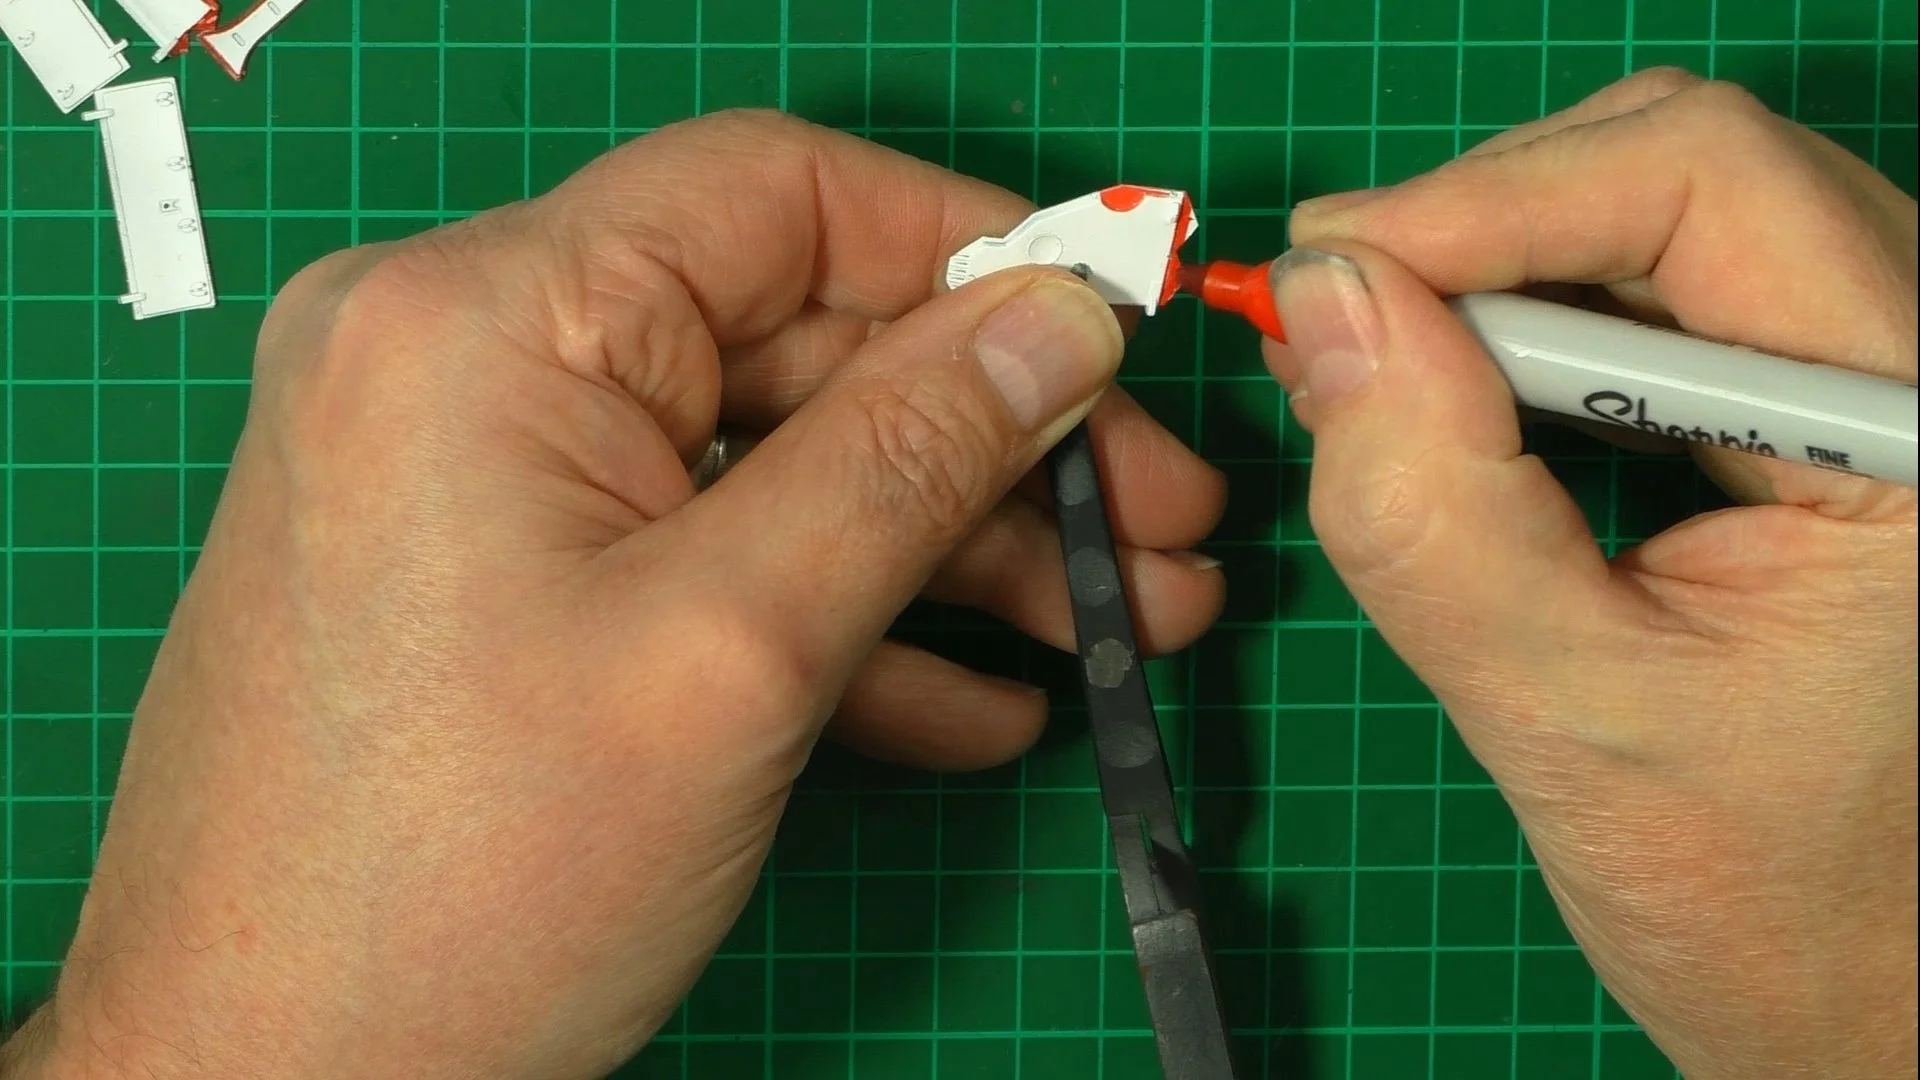
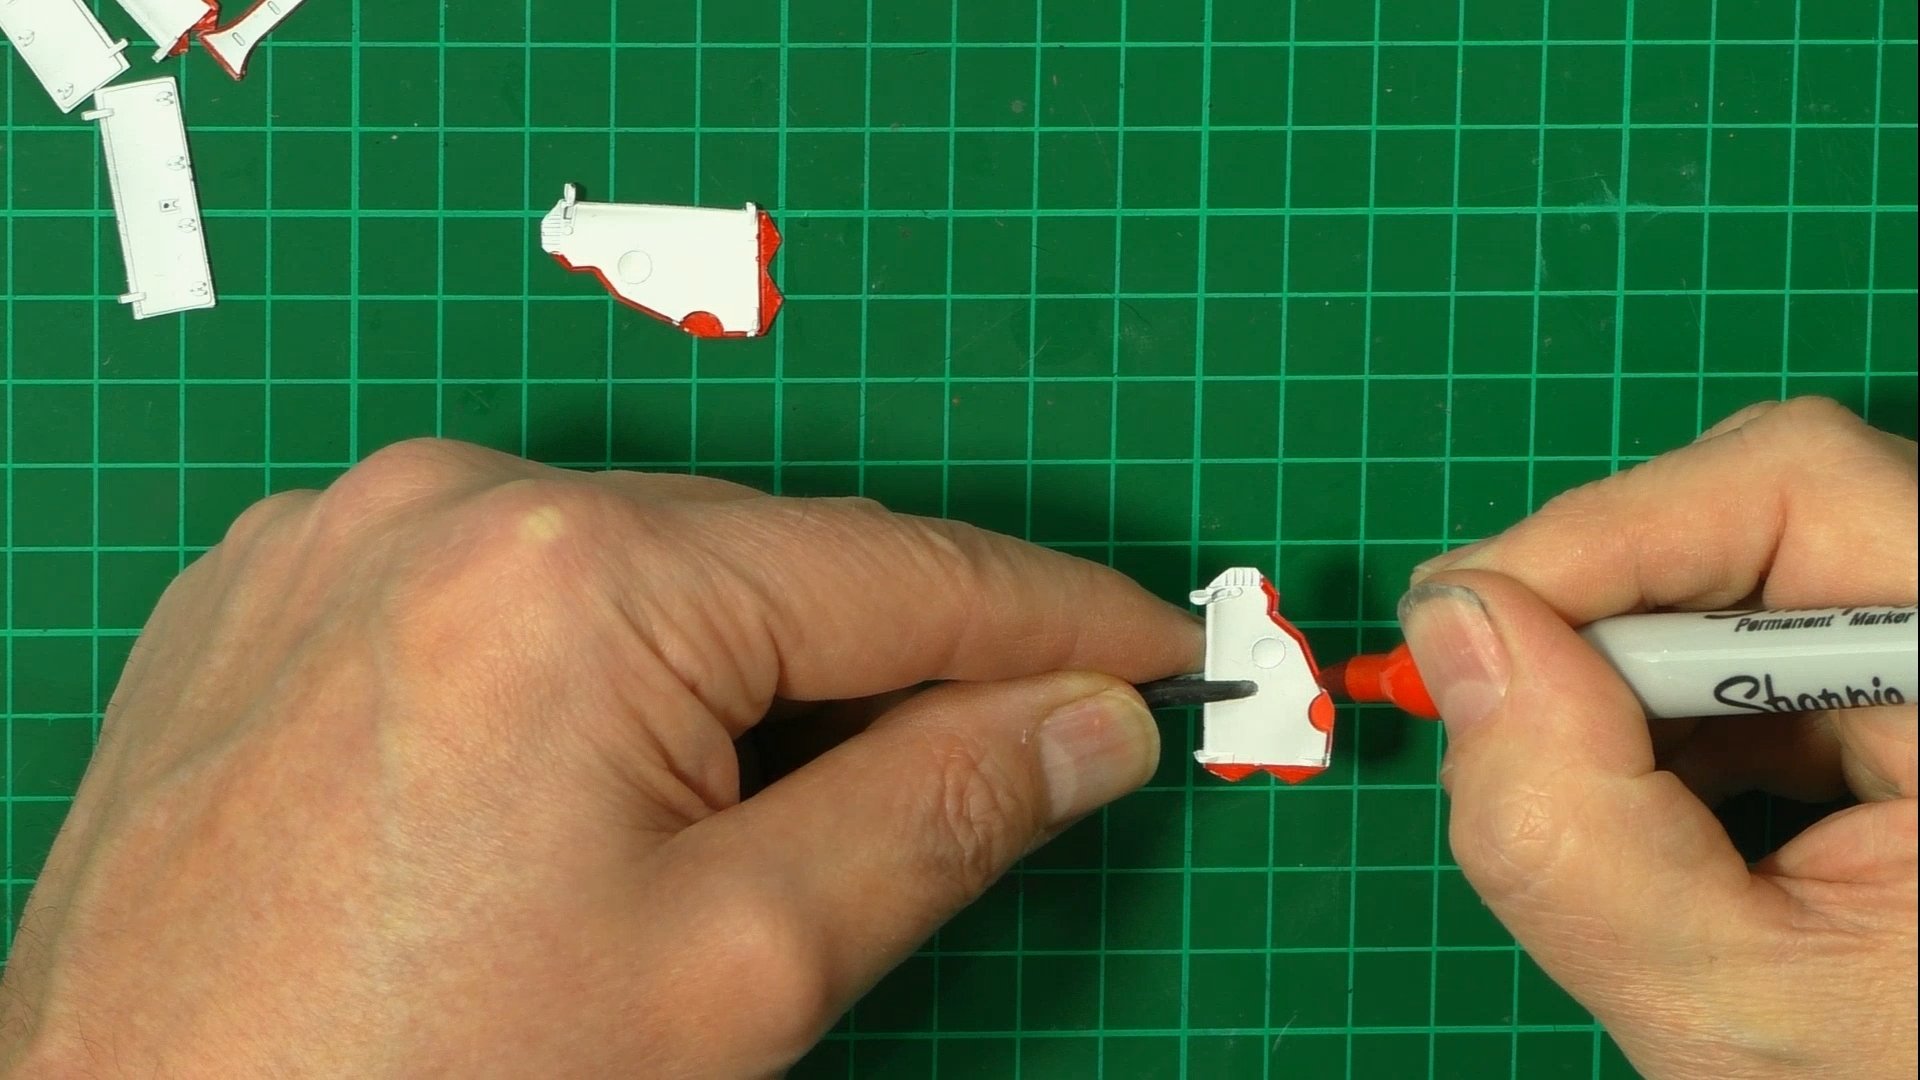
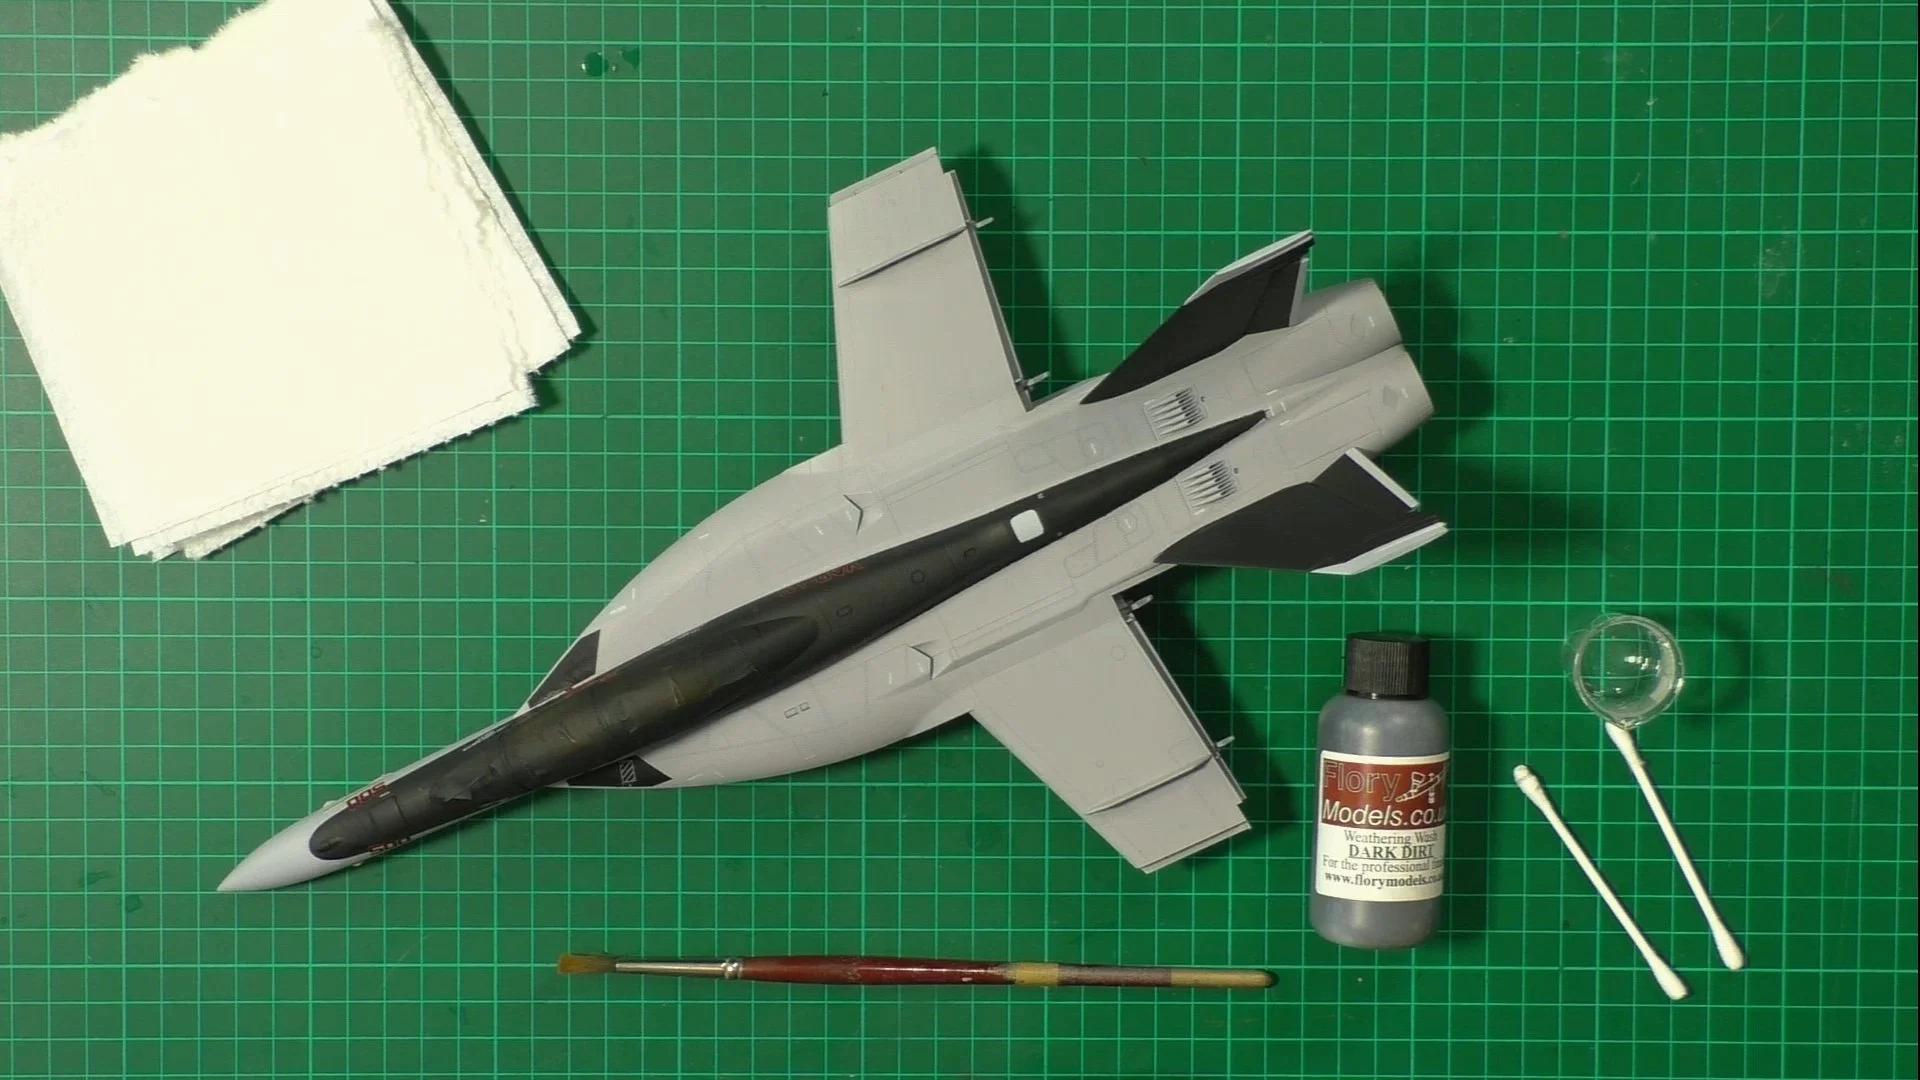
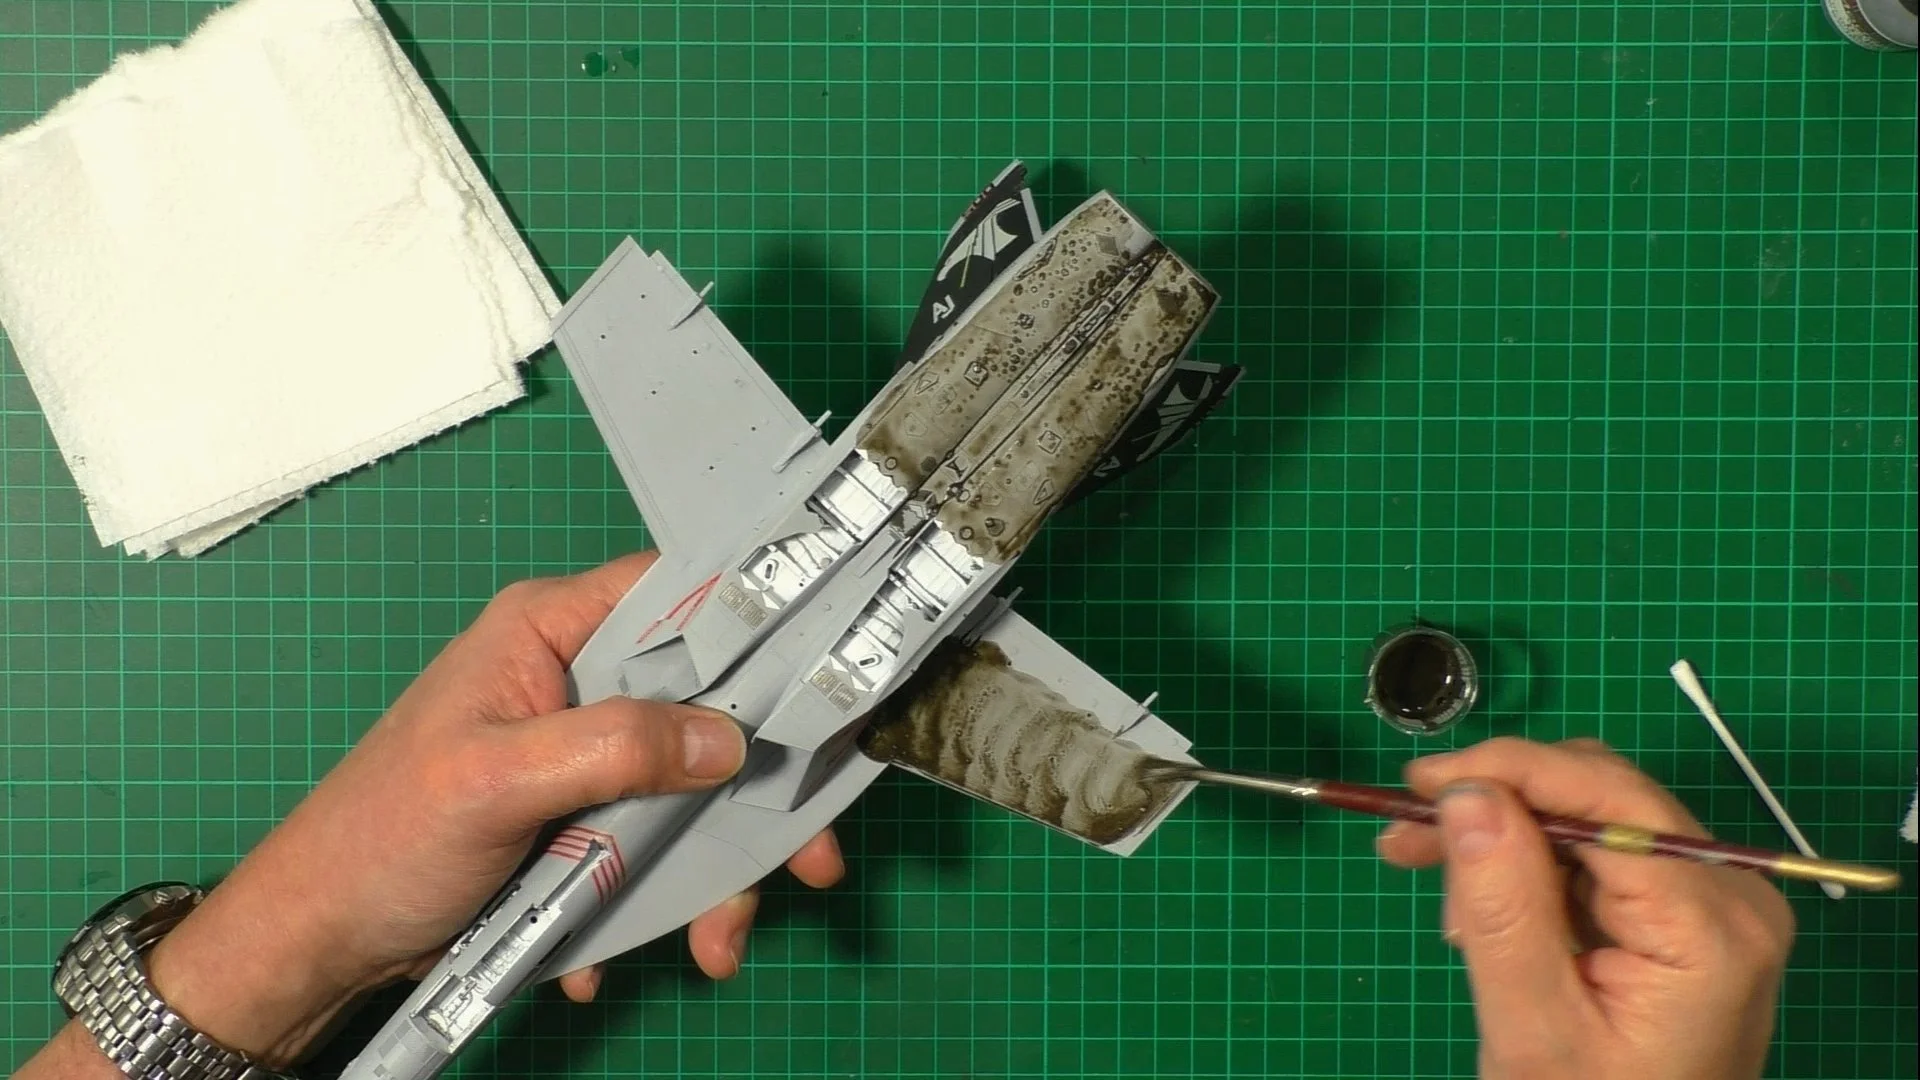
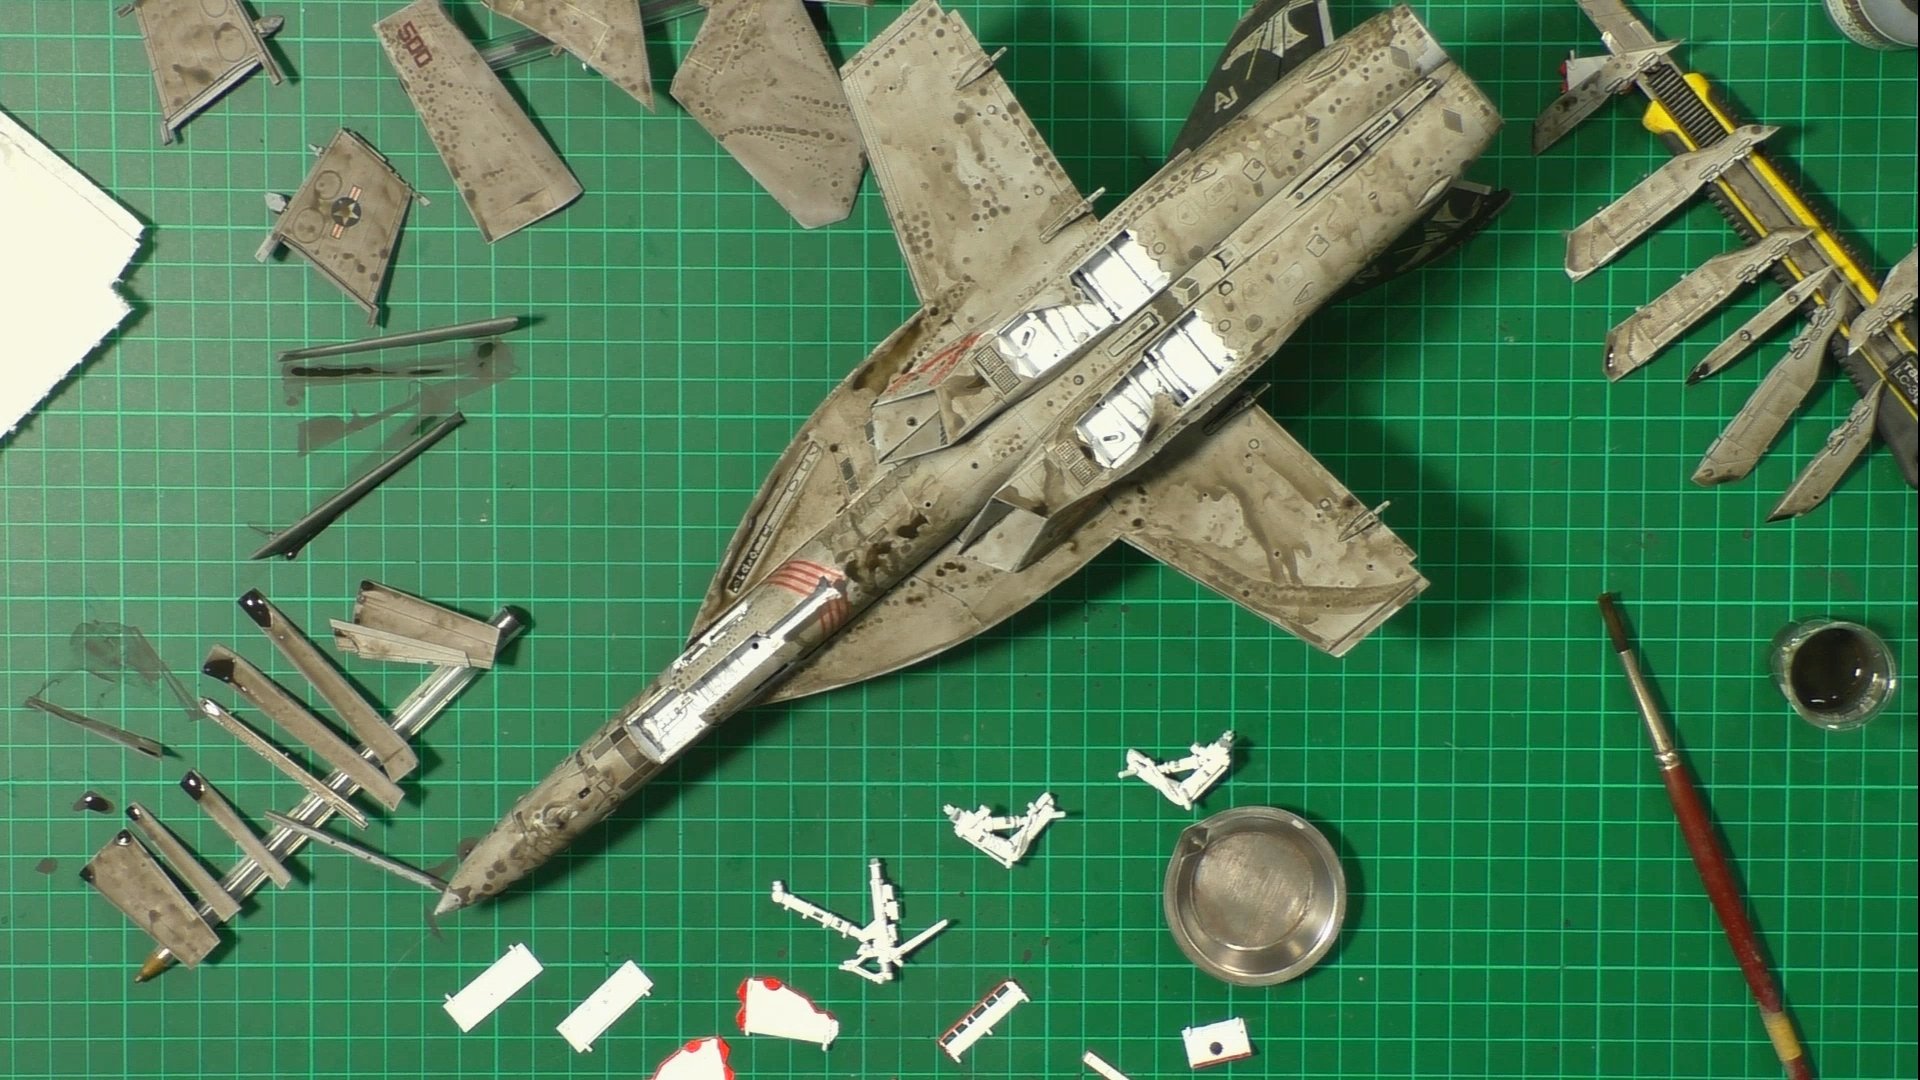
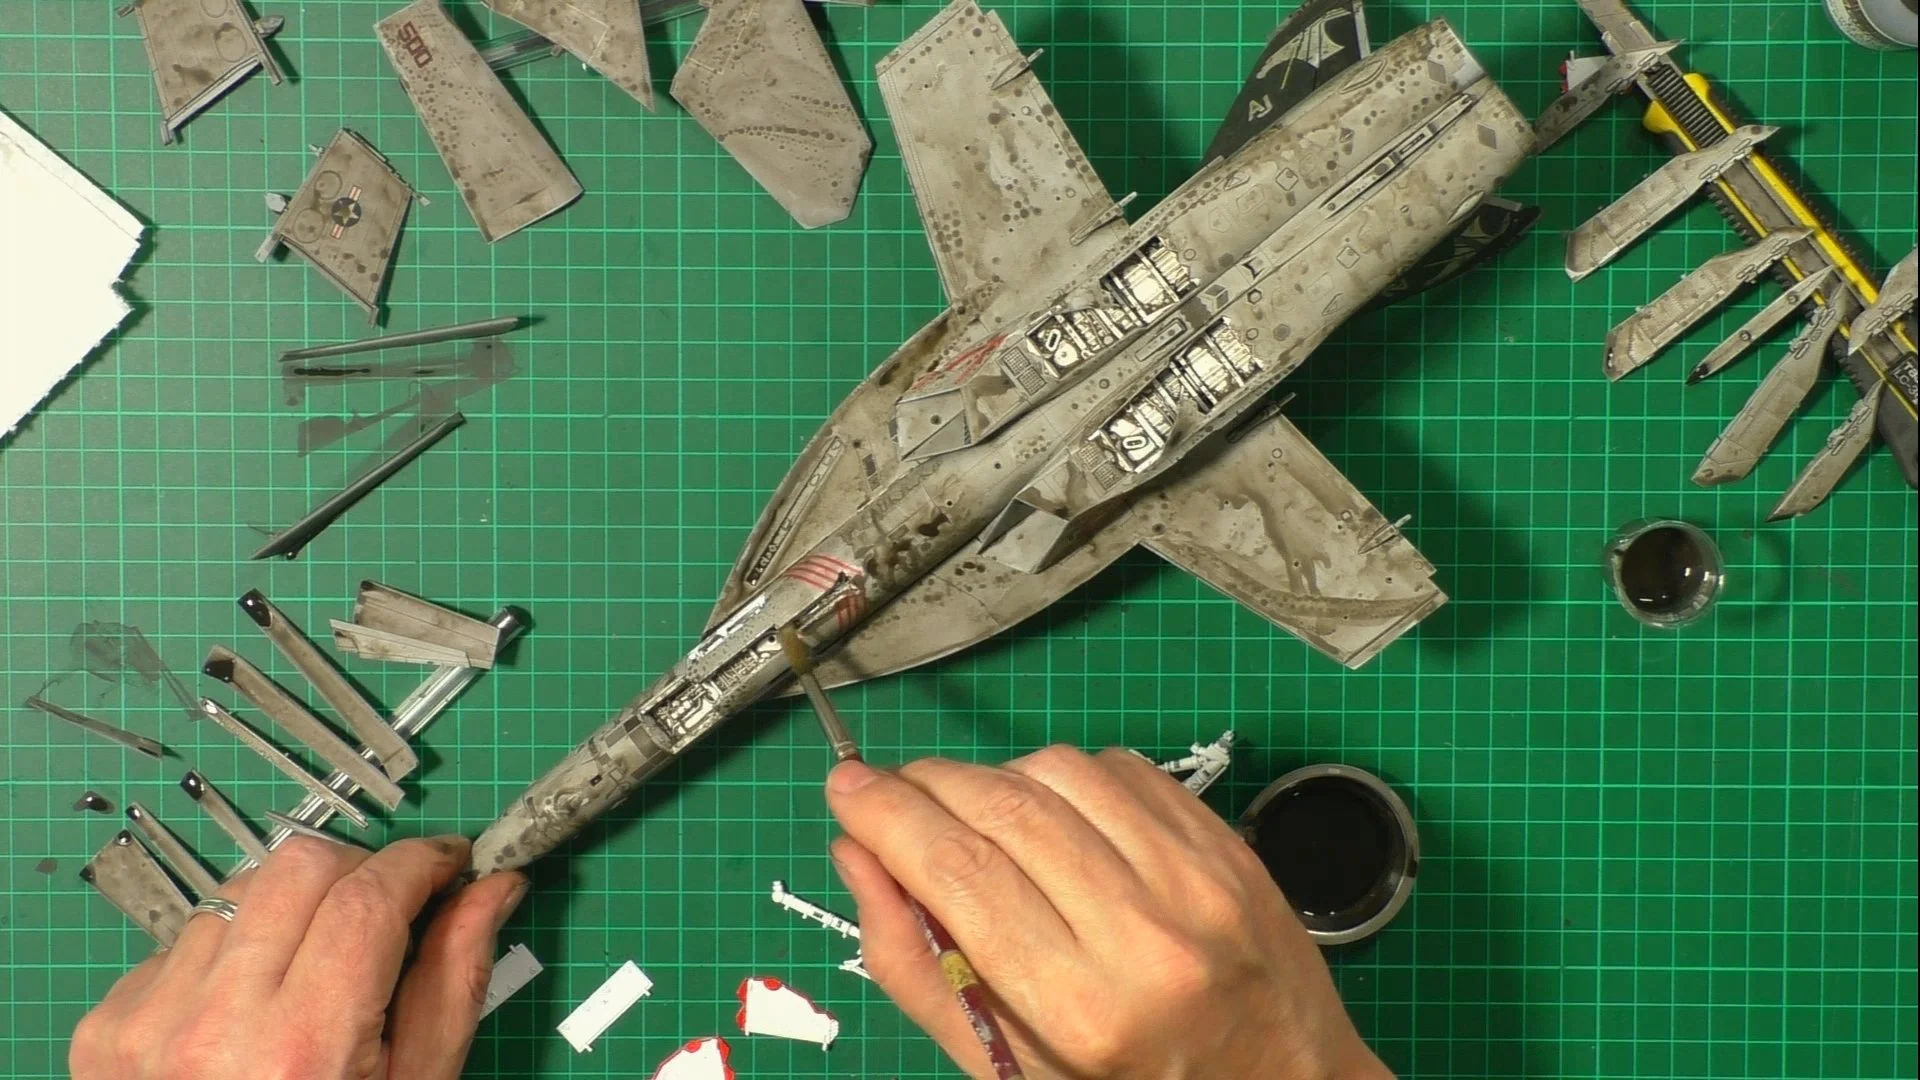
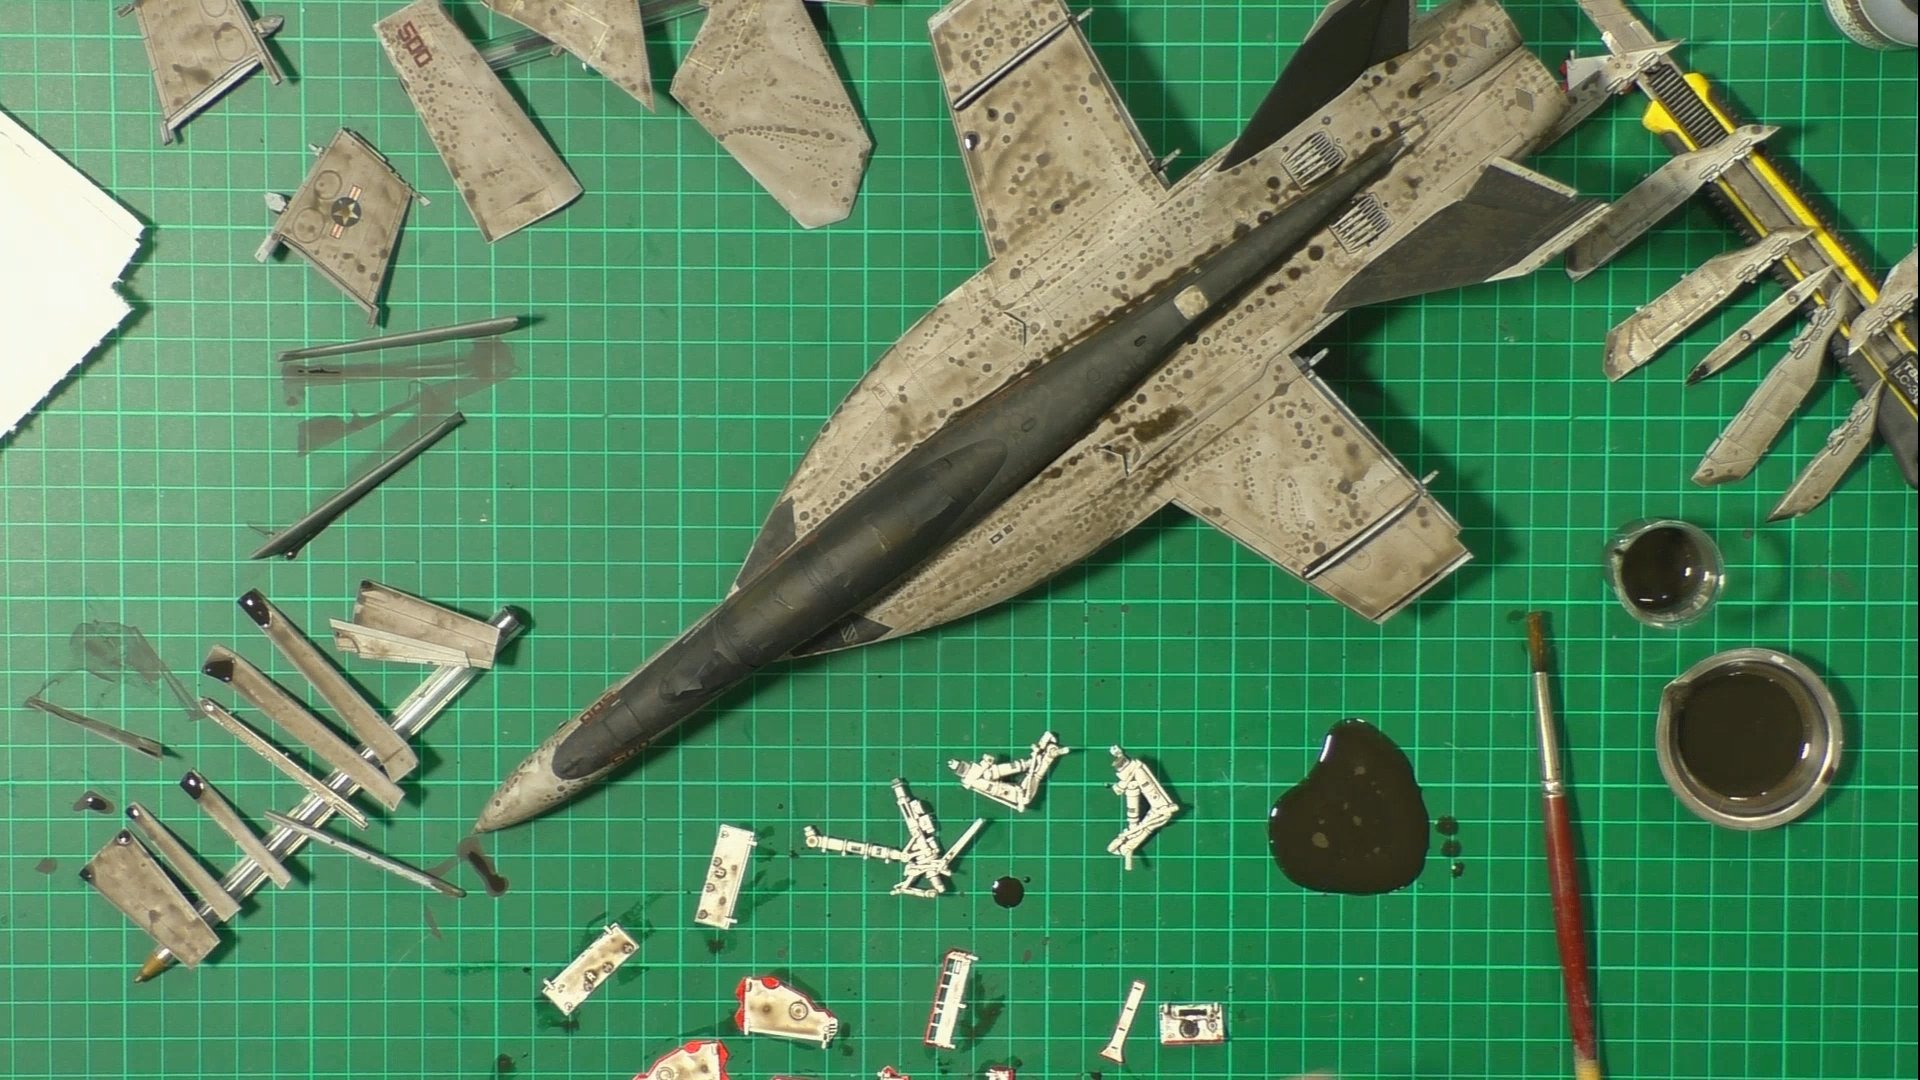
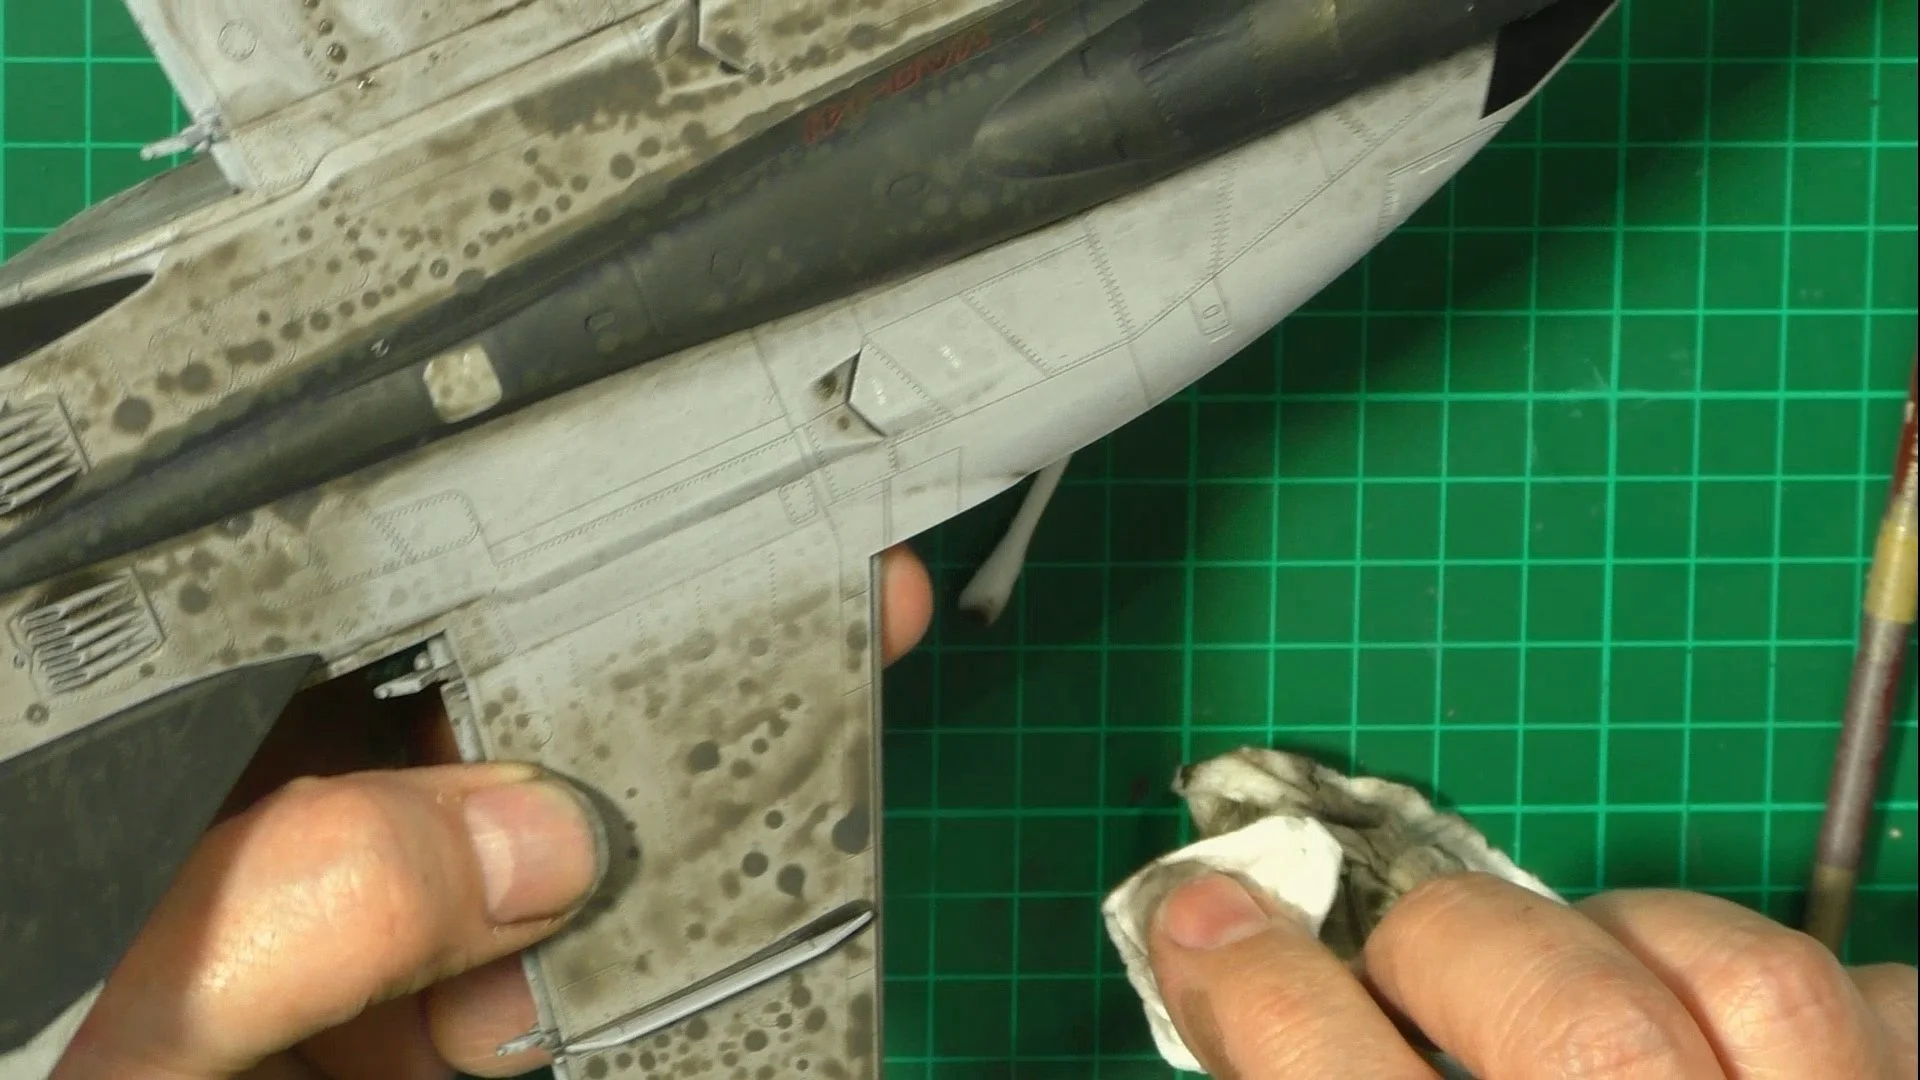
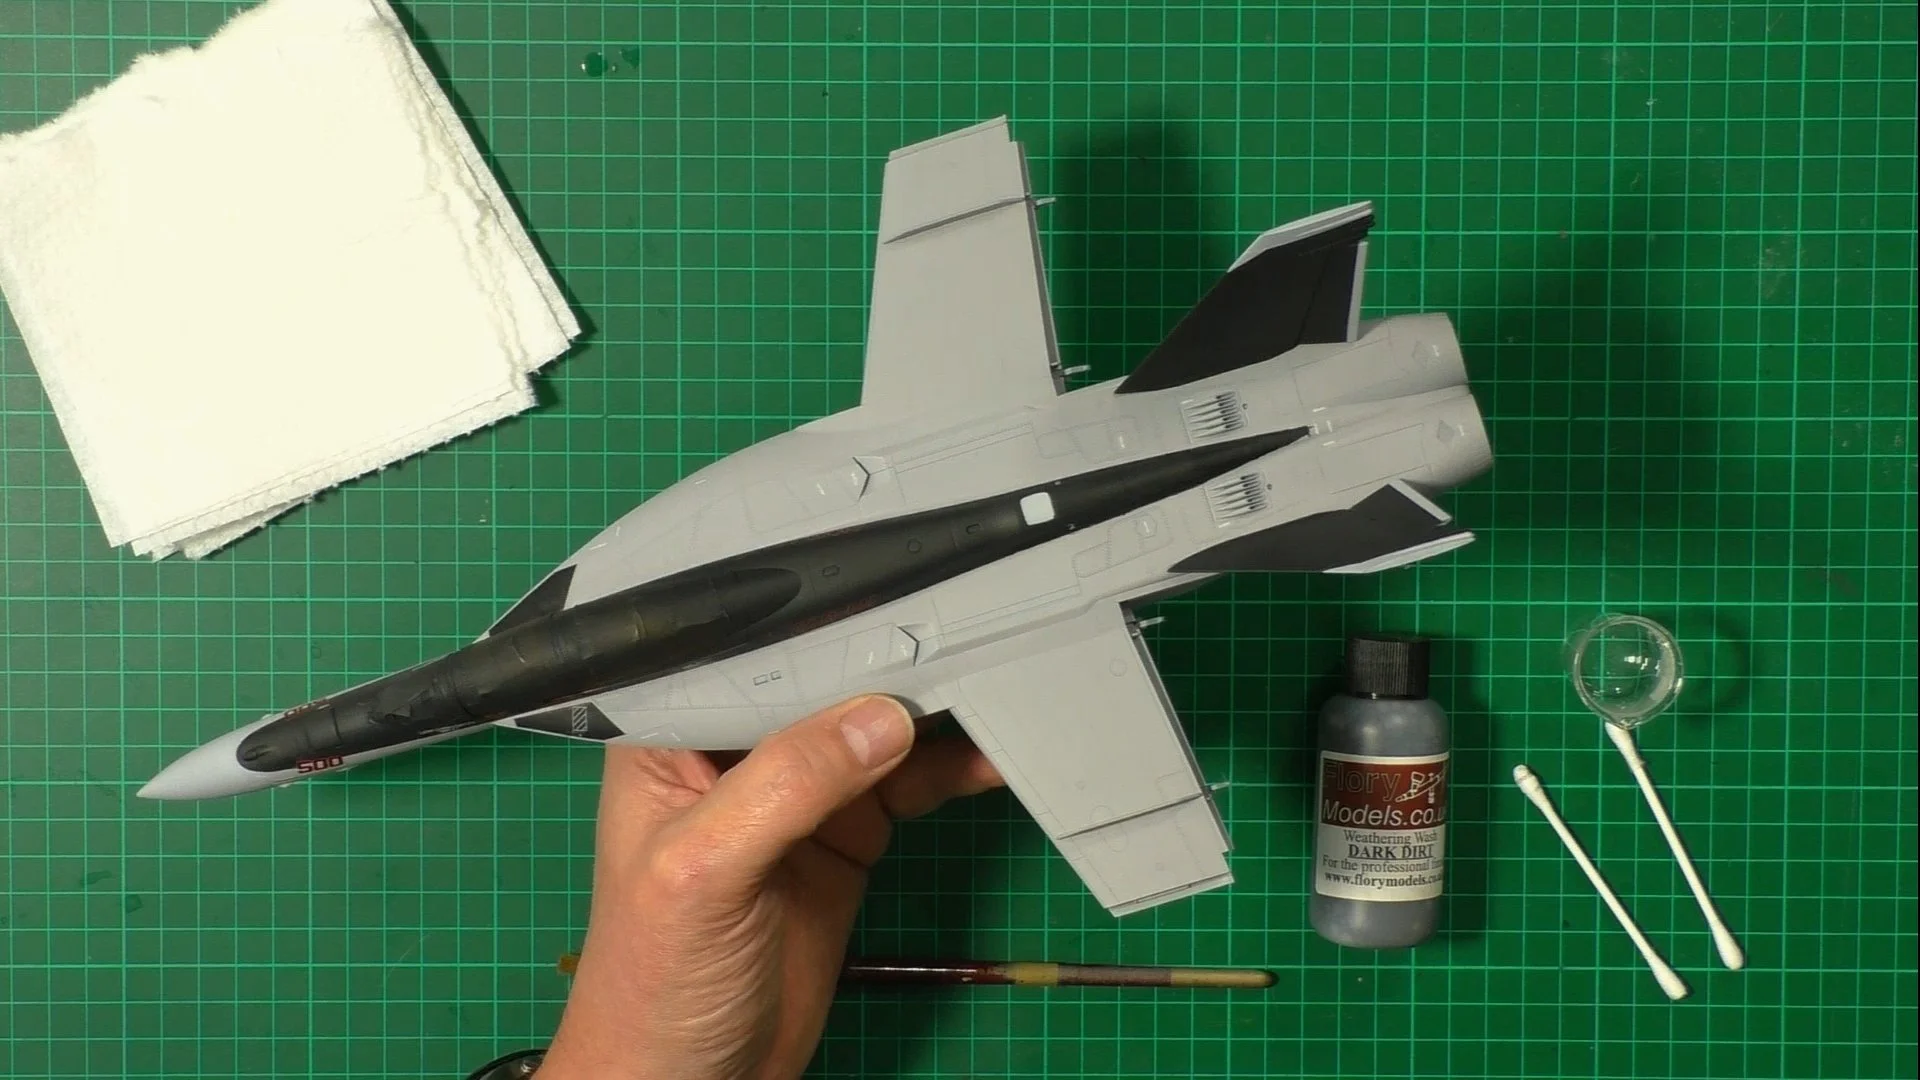
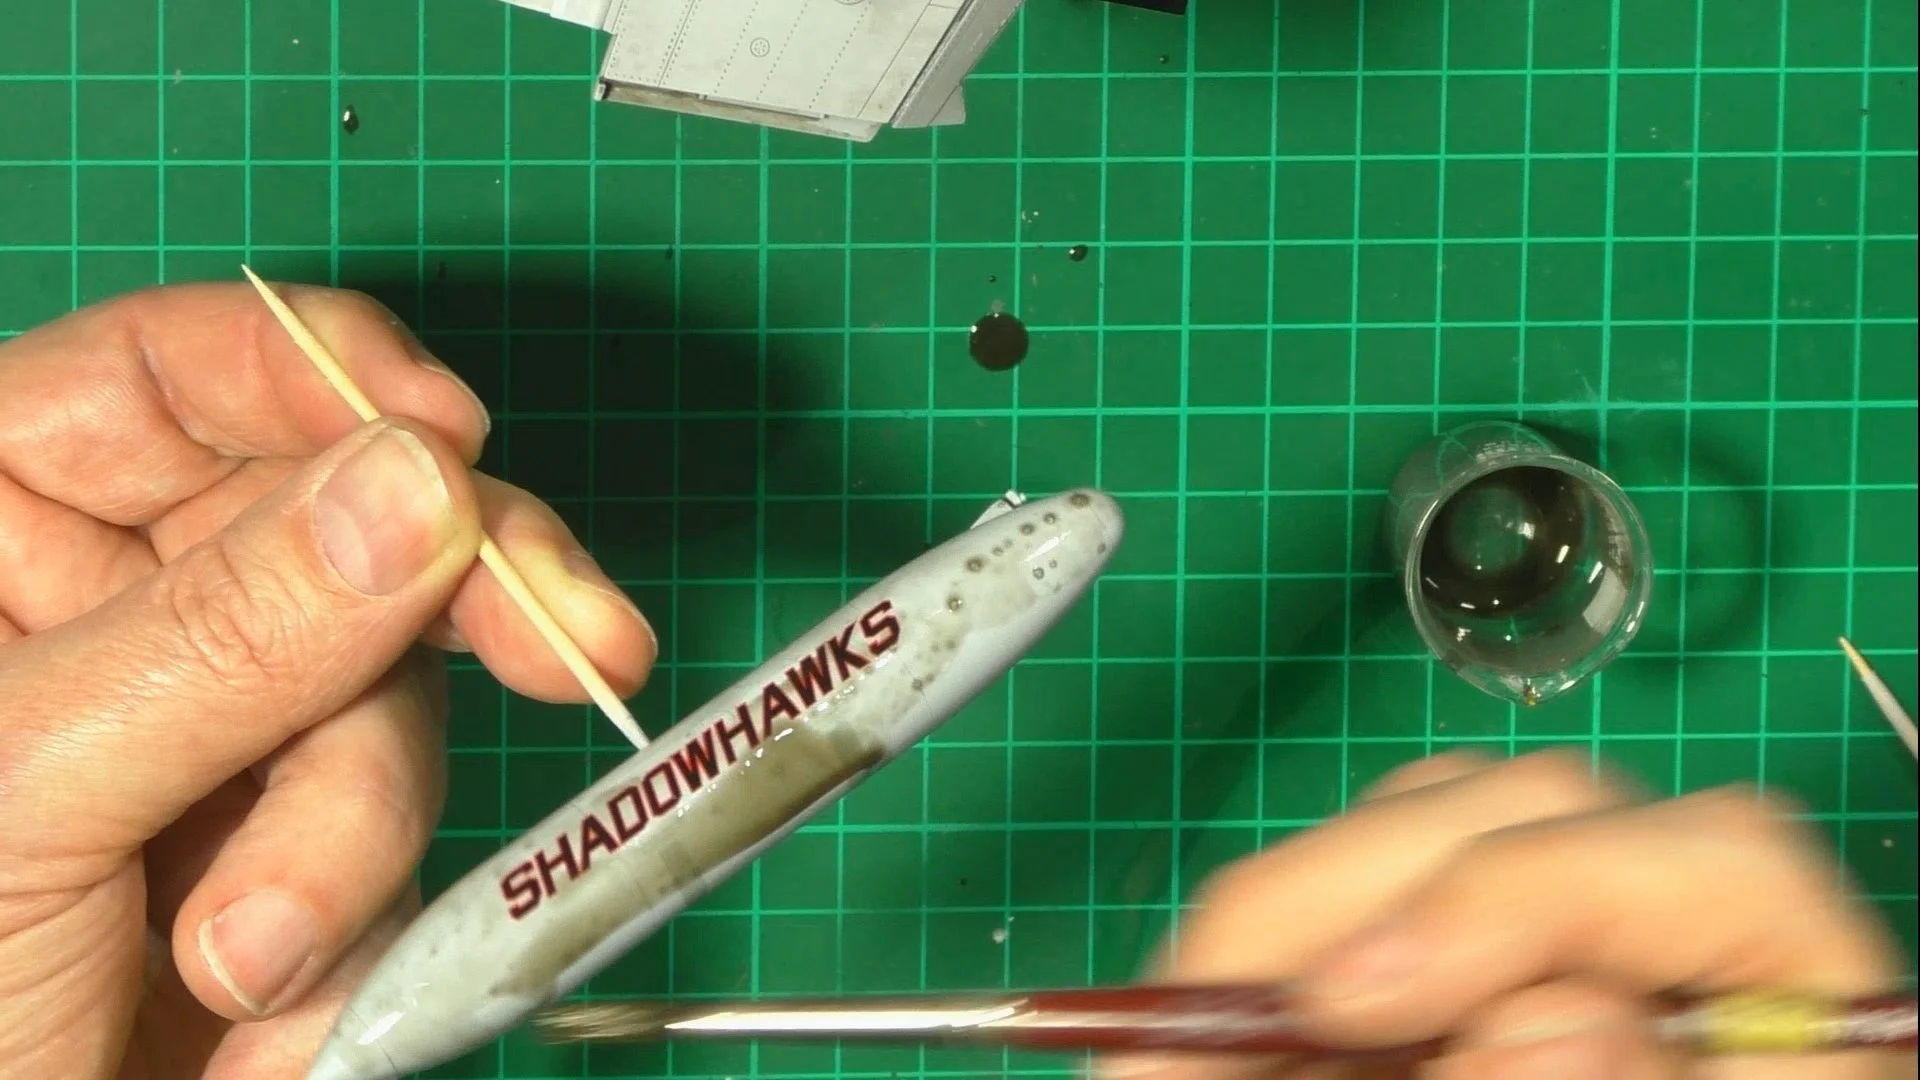
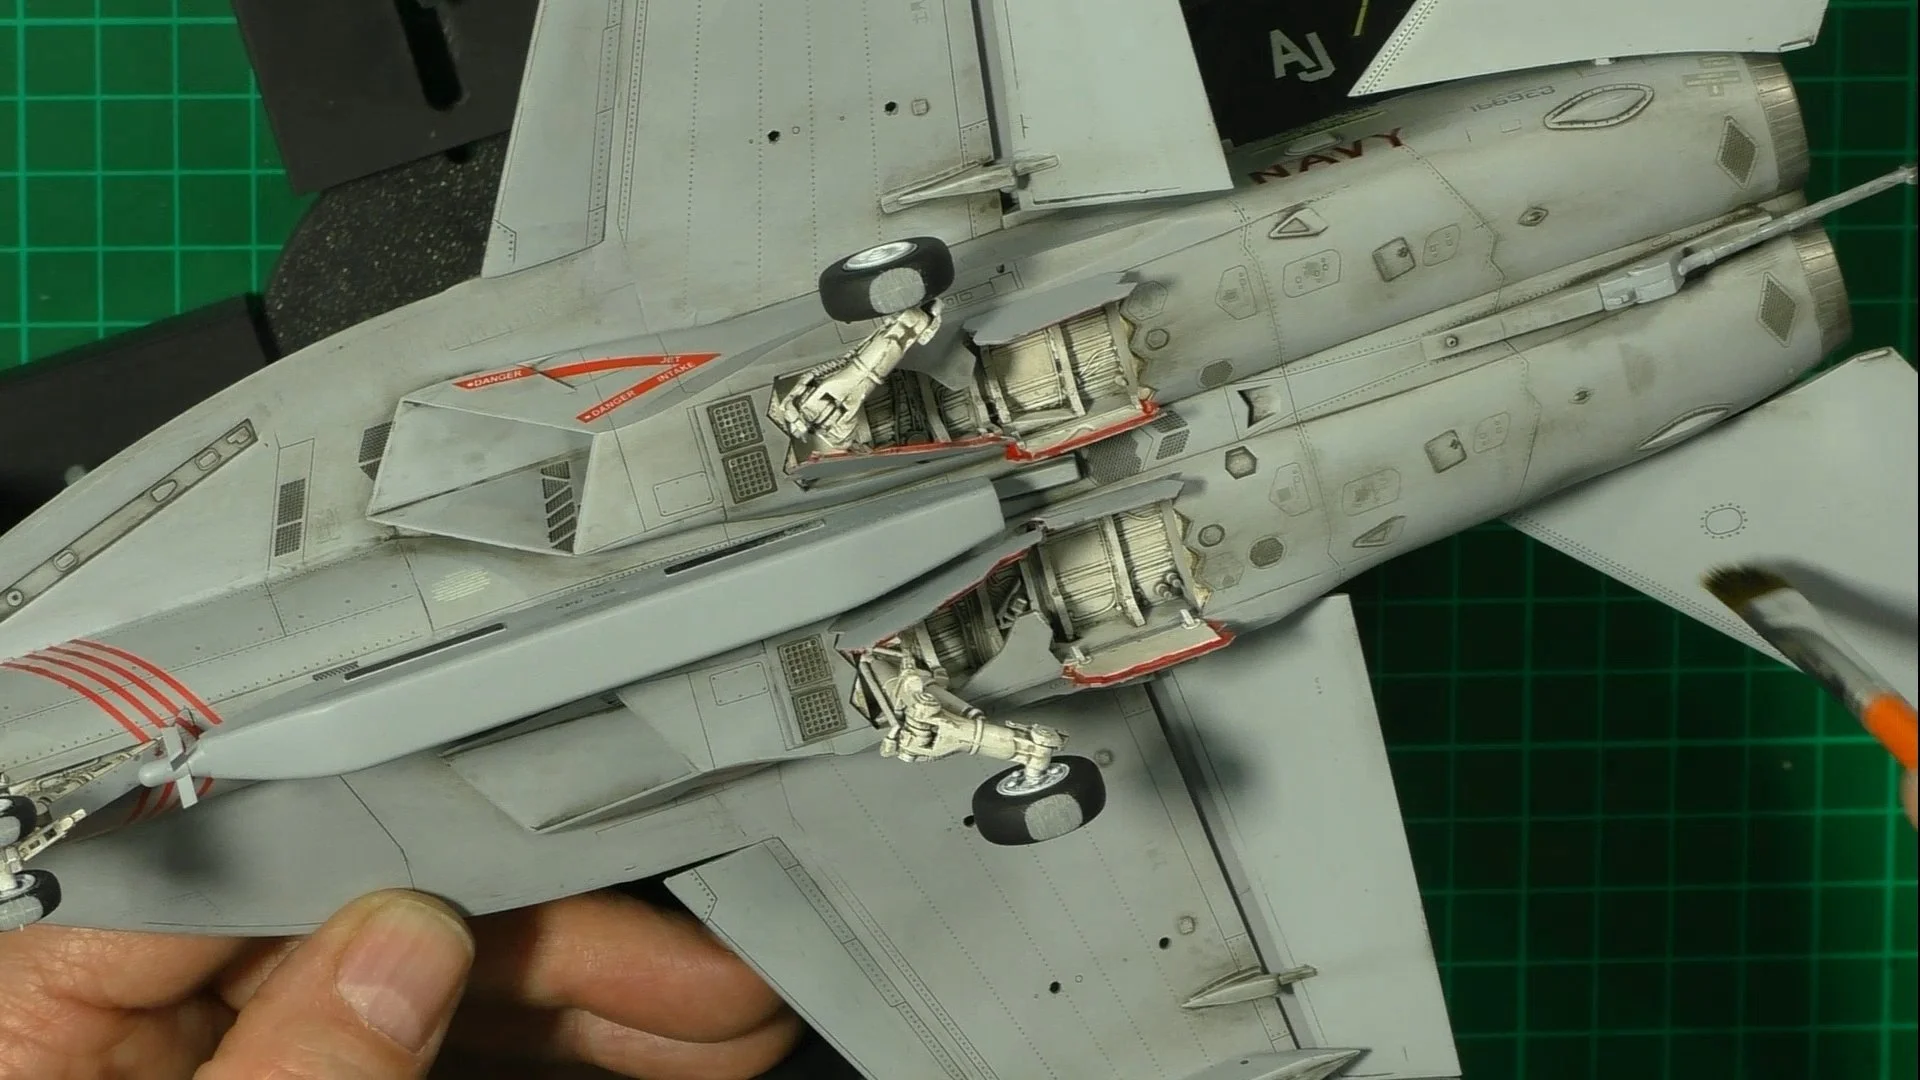
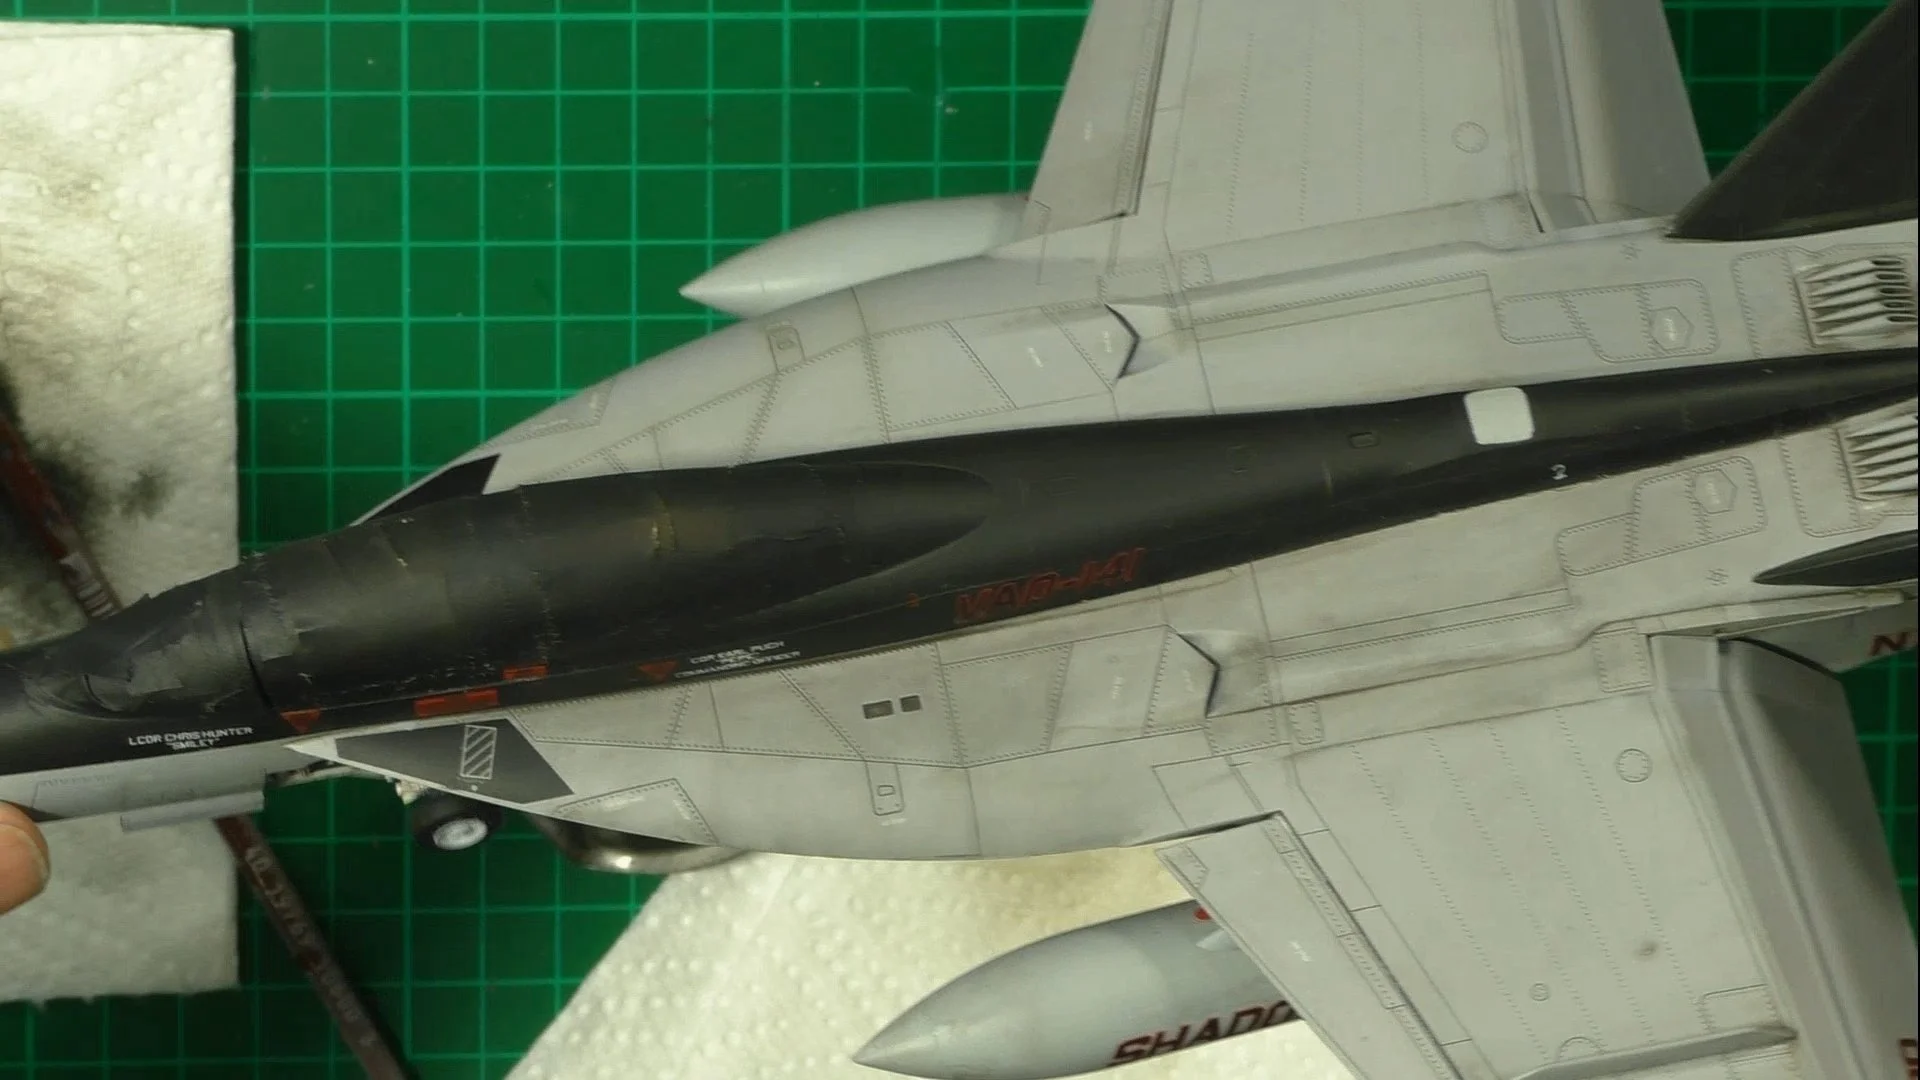
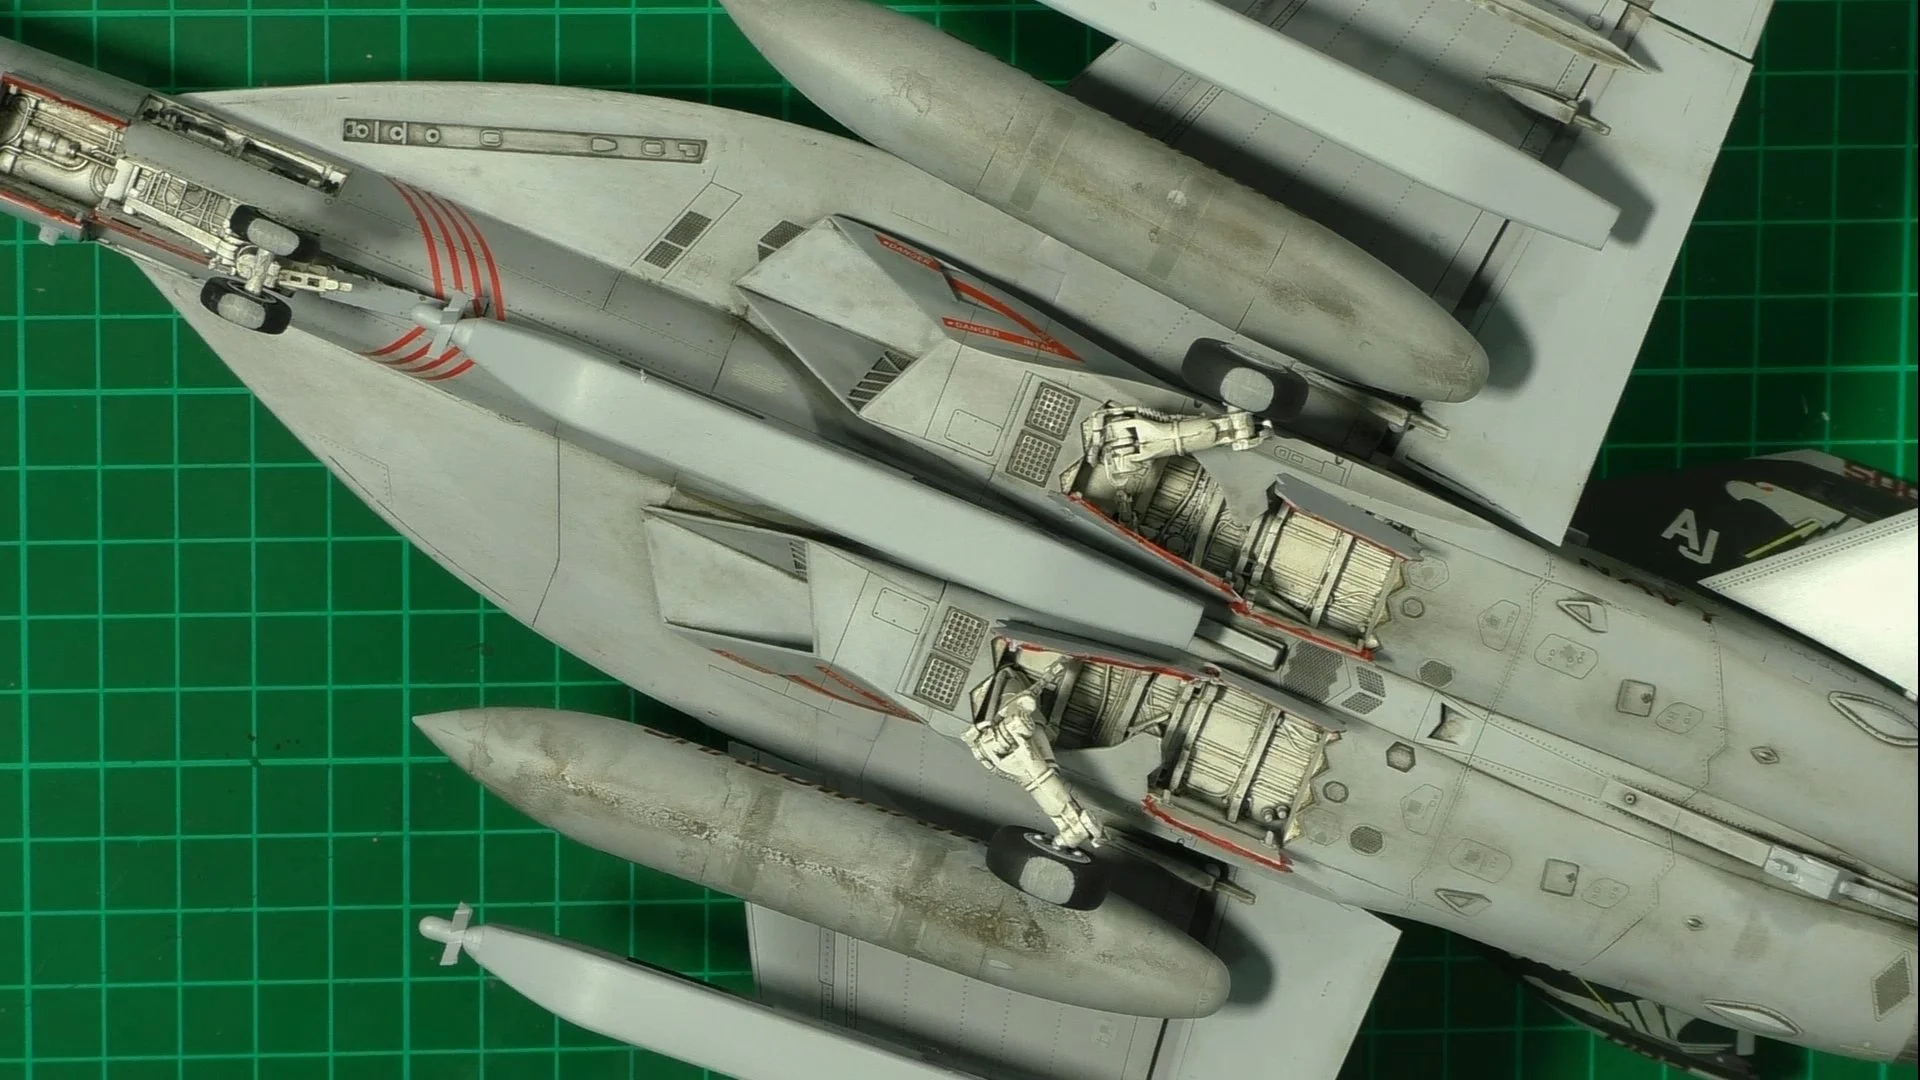
0:00 First up, we detail and paint the electronics bays with pens and fine brushes. 7:30 Here, we add the red edging to the gear doors with a red Sharpie pen. 11:34 Next, it's time to start the weathering. First up, we brush on a coat of Flory Models Dark dirt weathering wash over the whole model, and allow it to dry completely. 14:54 While it's drying, we make a diluted wash mix 50/%0 with tap water to thin the wash and brush on the gear and wheel wells. 19:34 With the wash completely dry, we wipe it down with a damp cloth and examine the results.
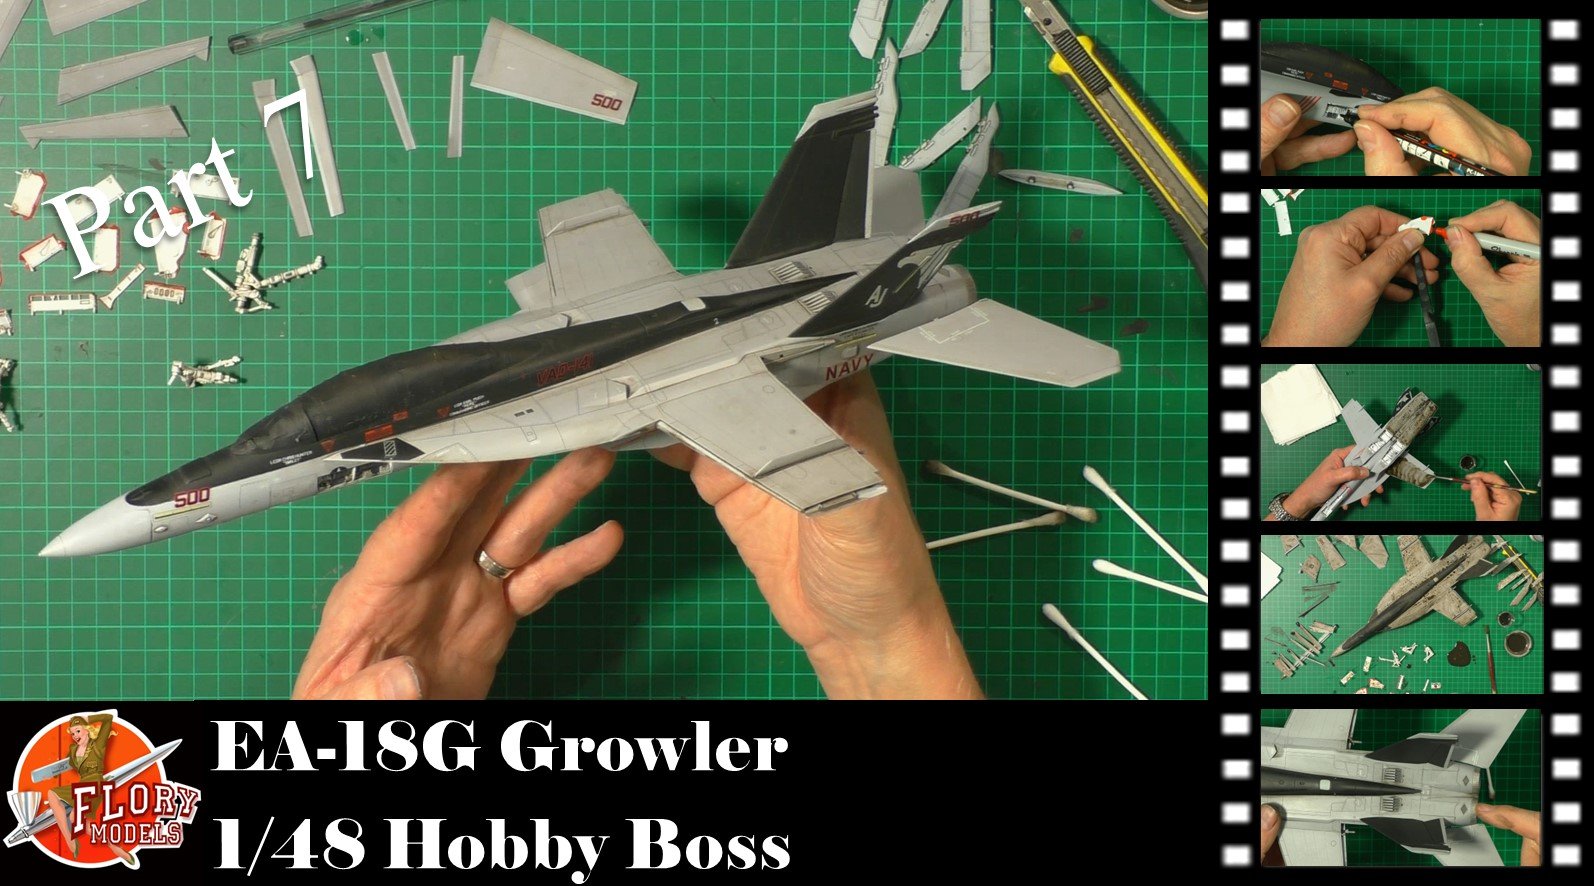
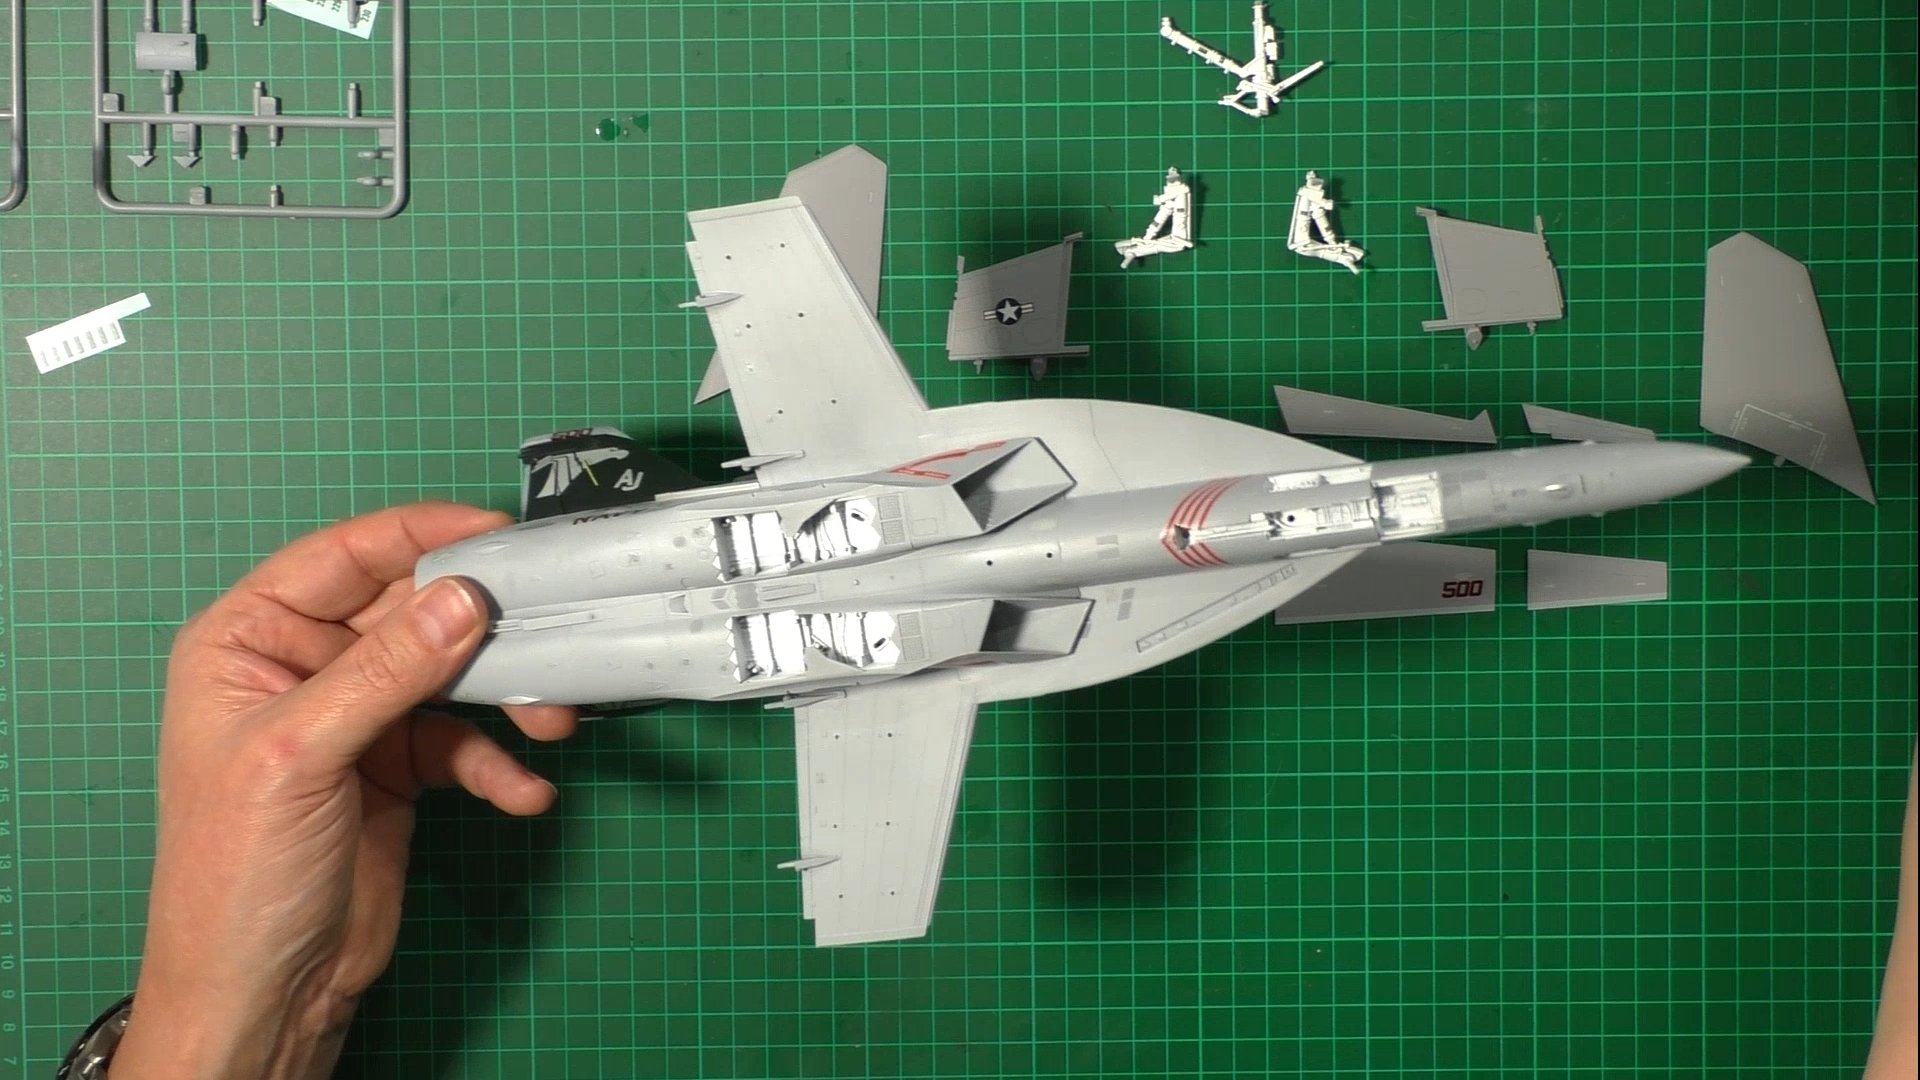
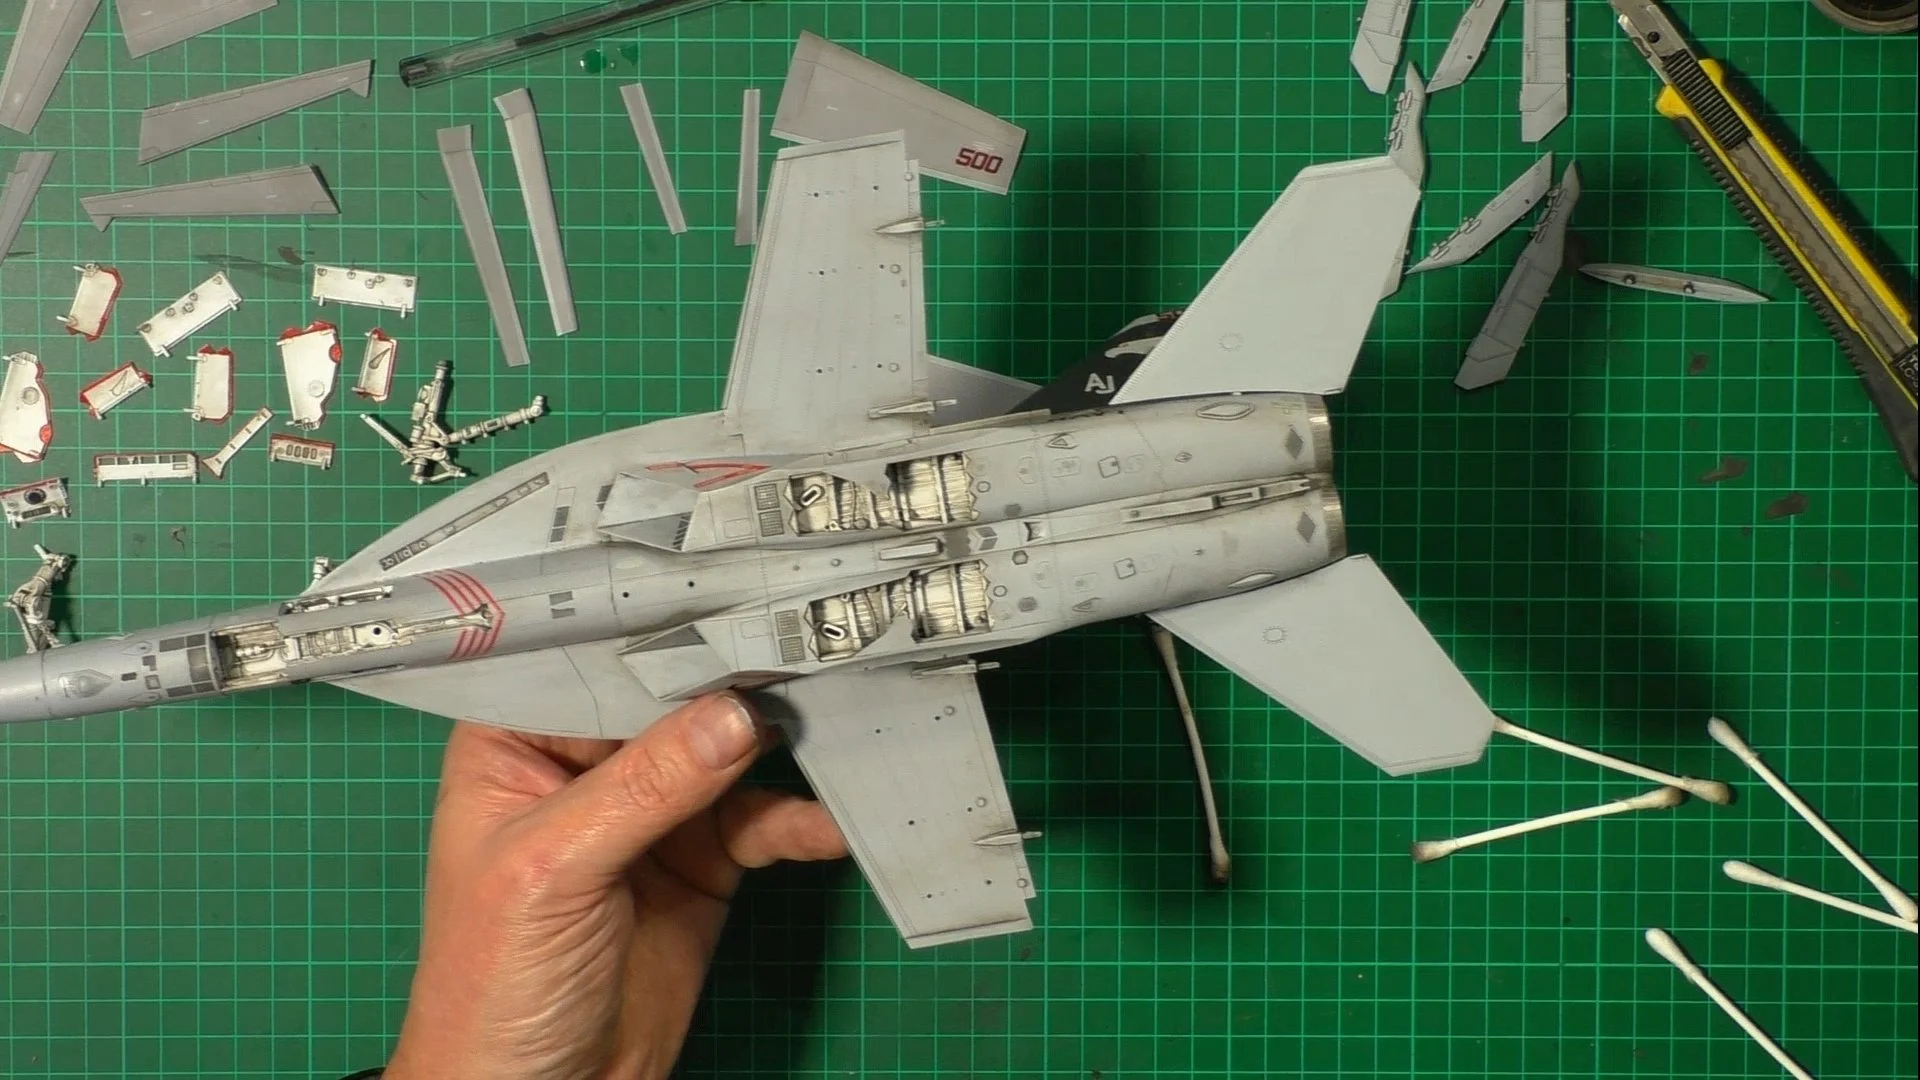
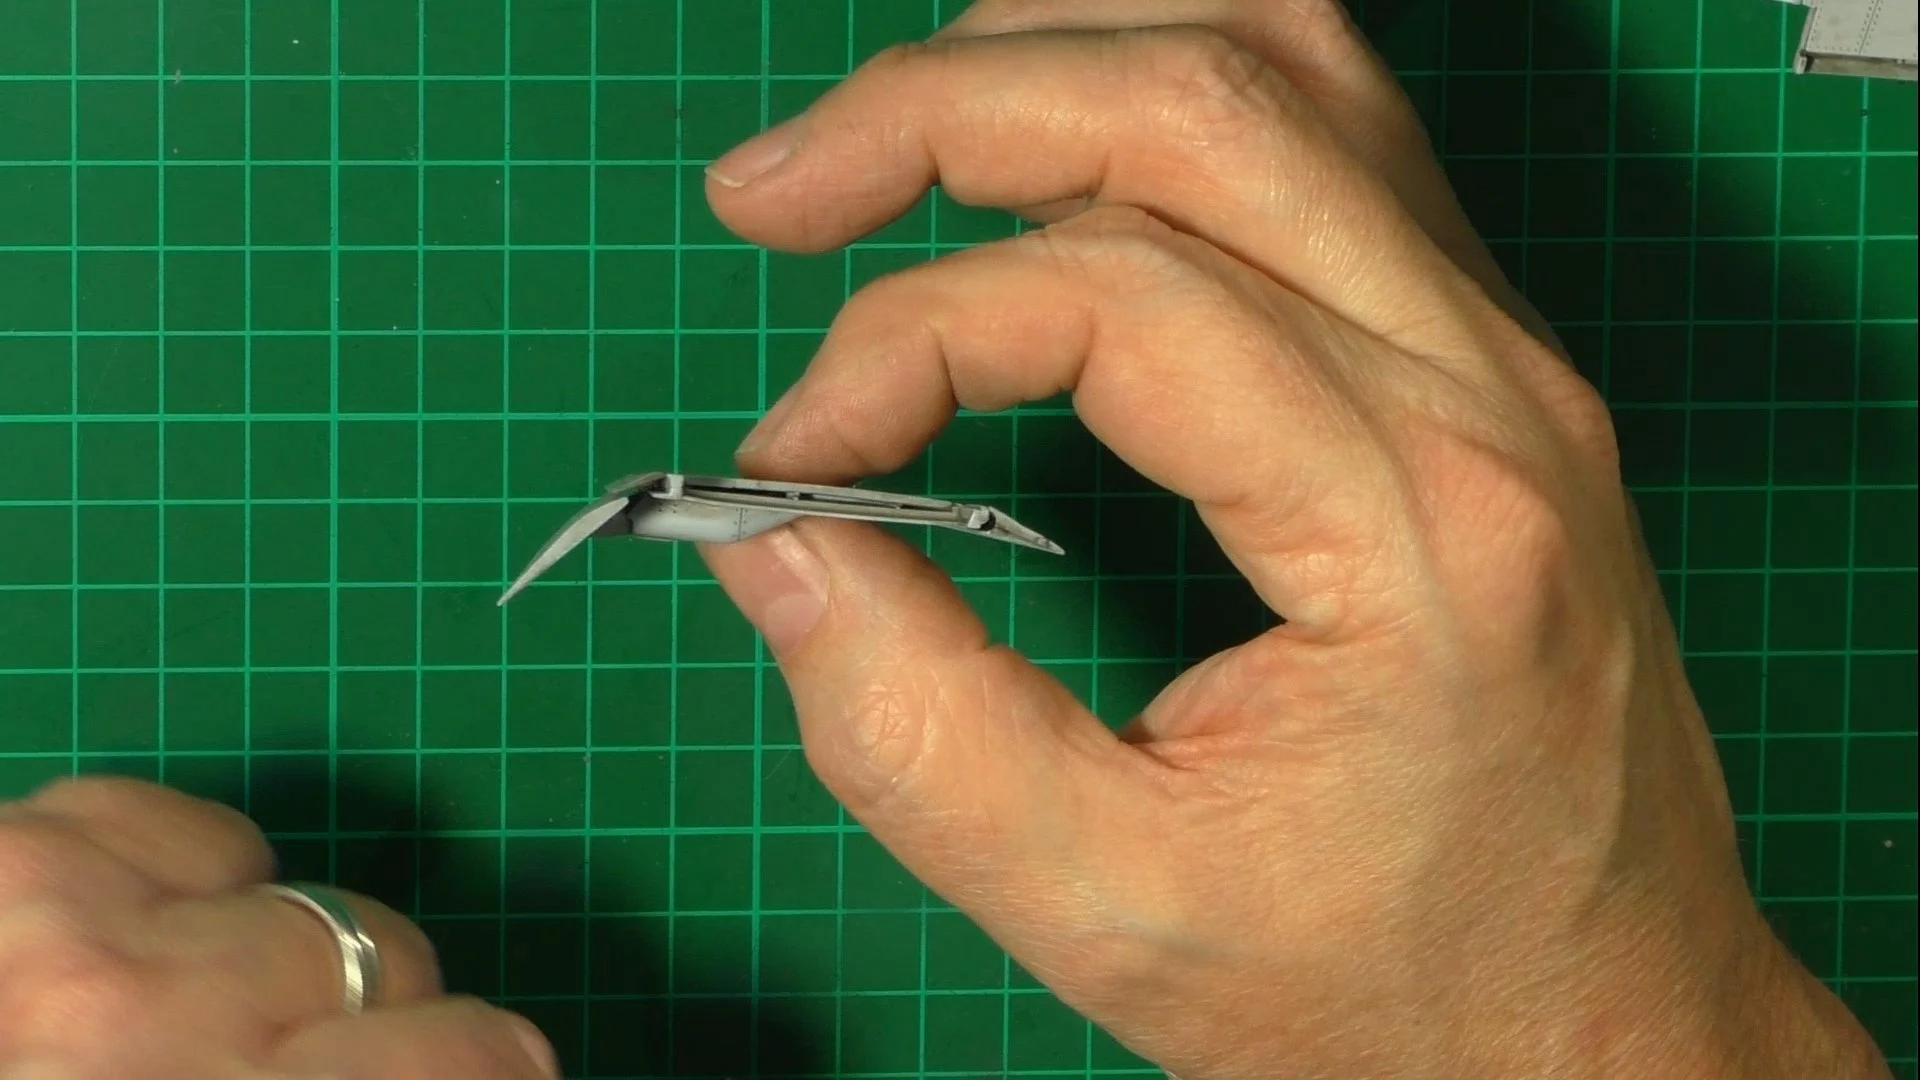
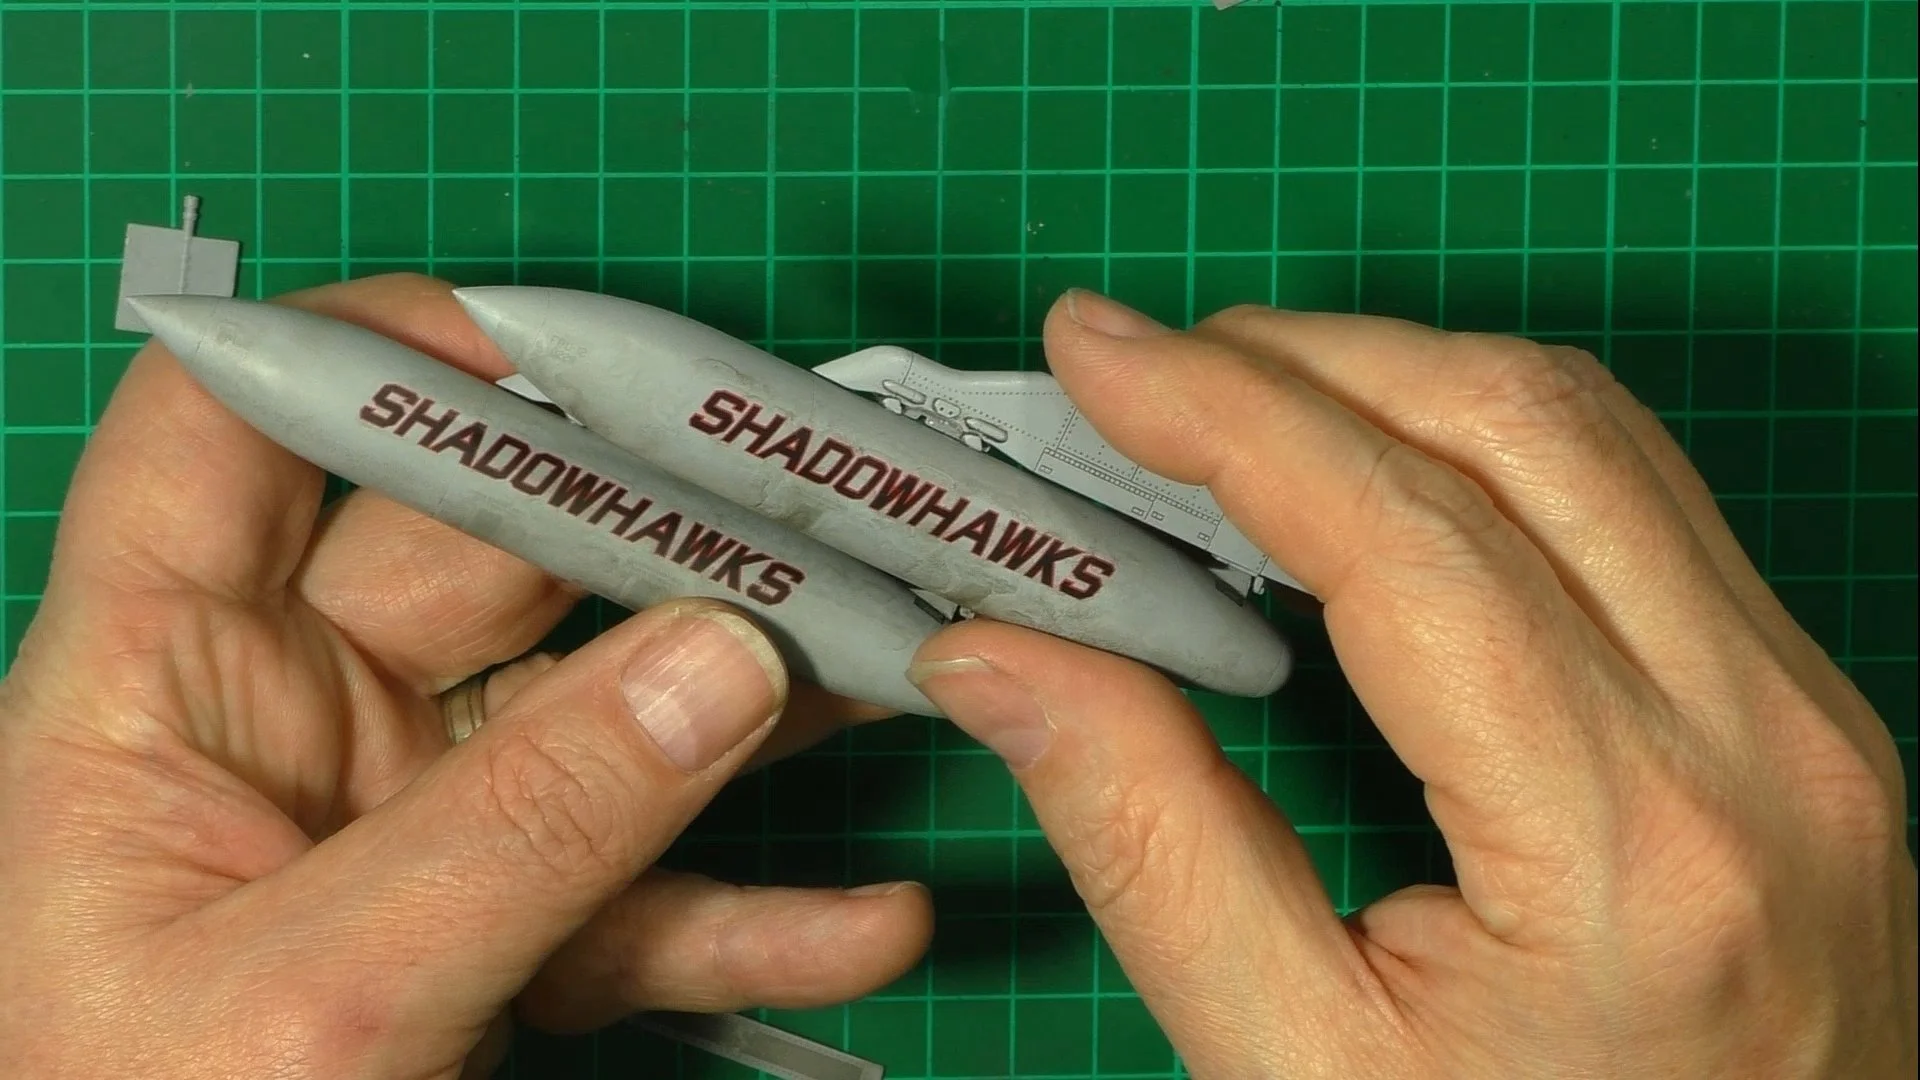
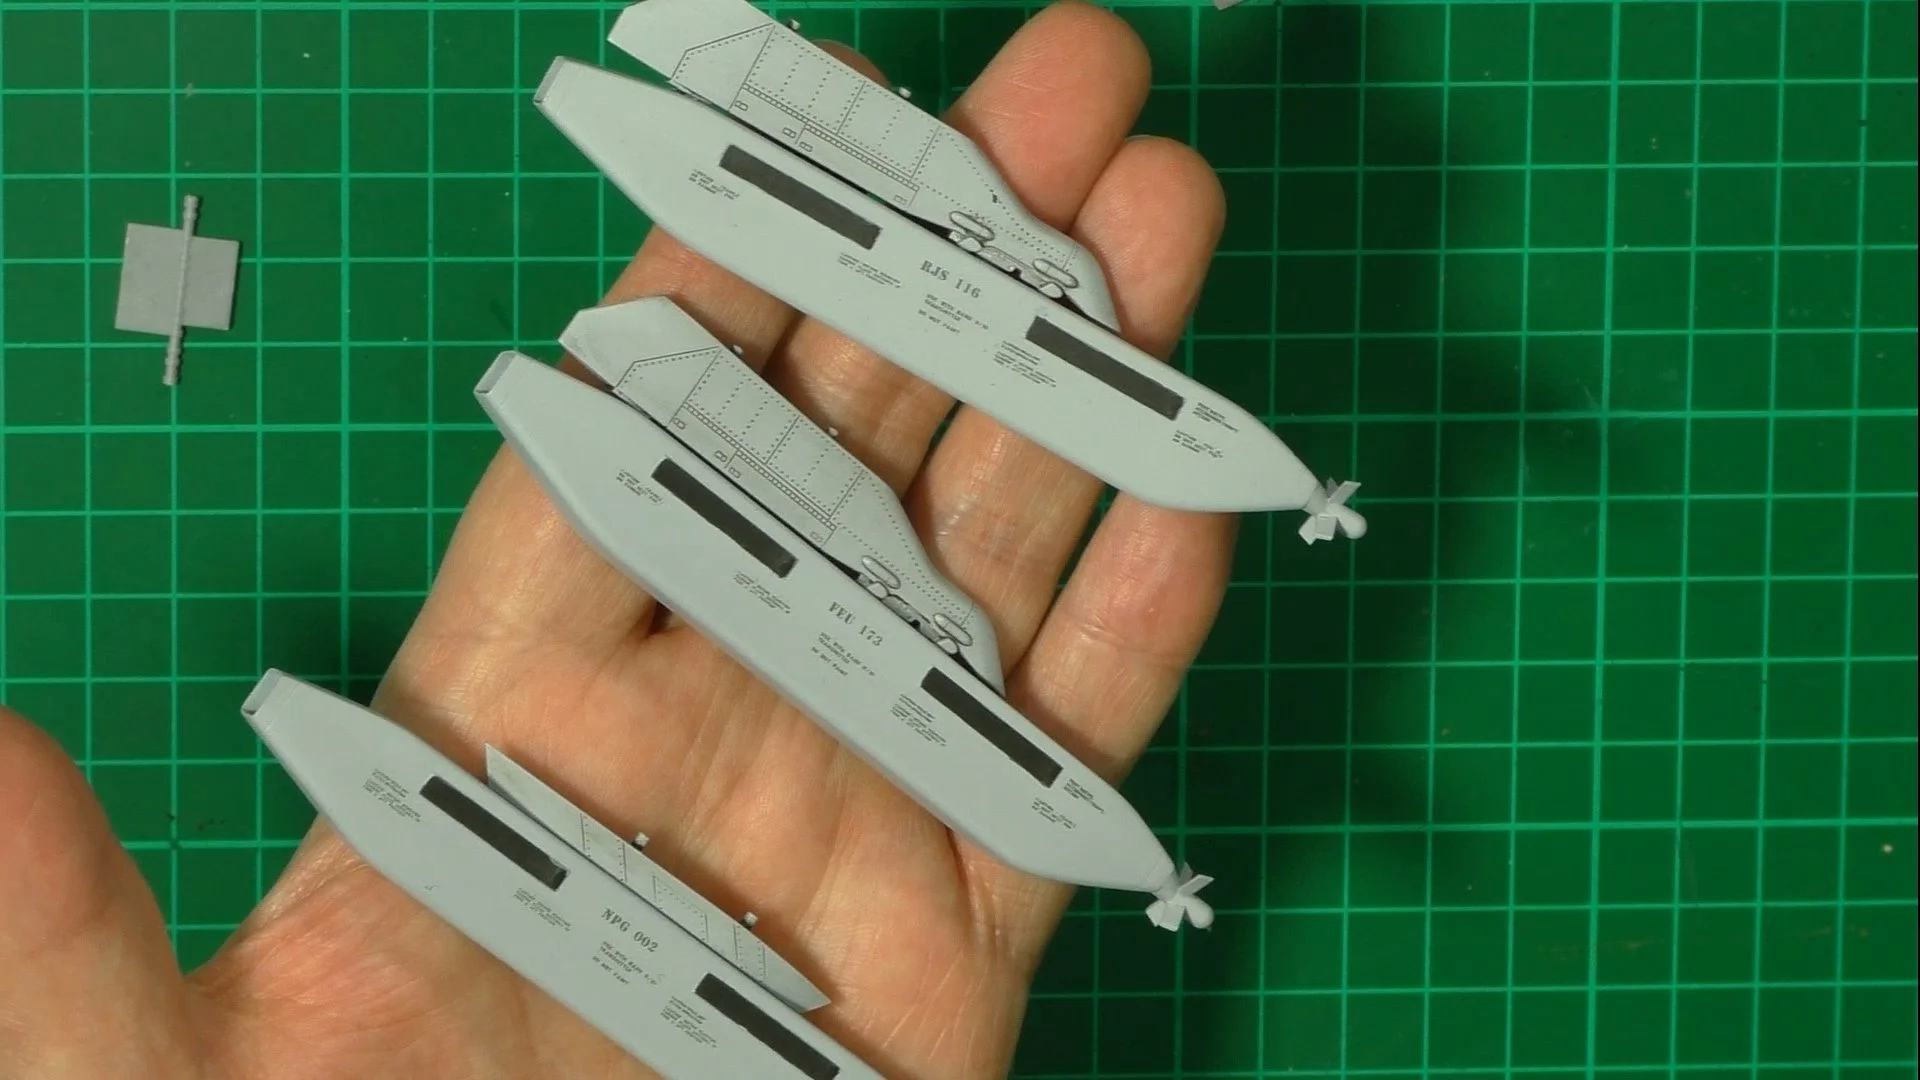
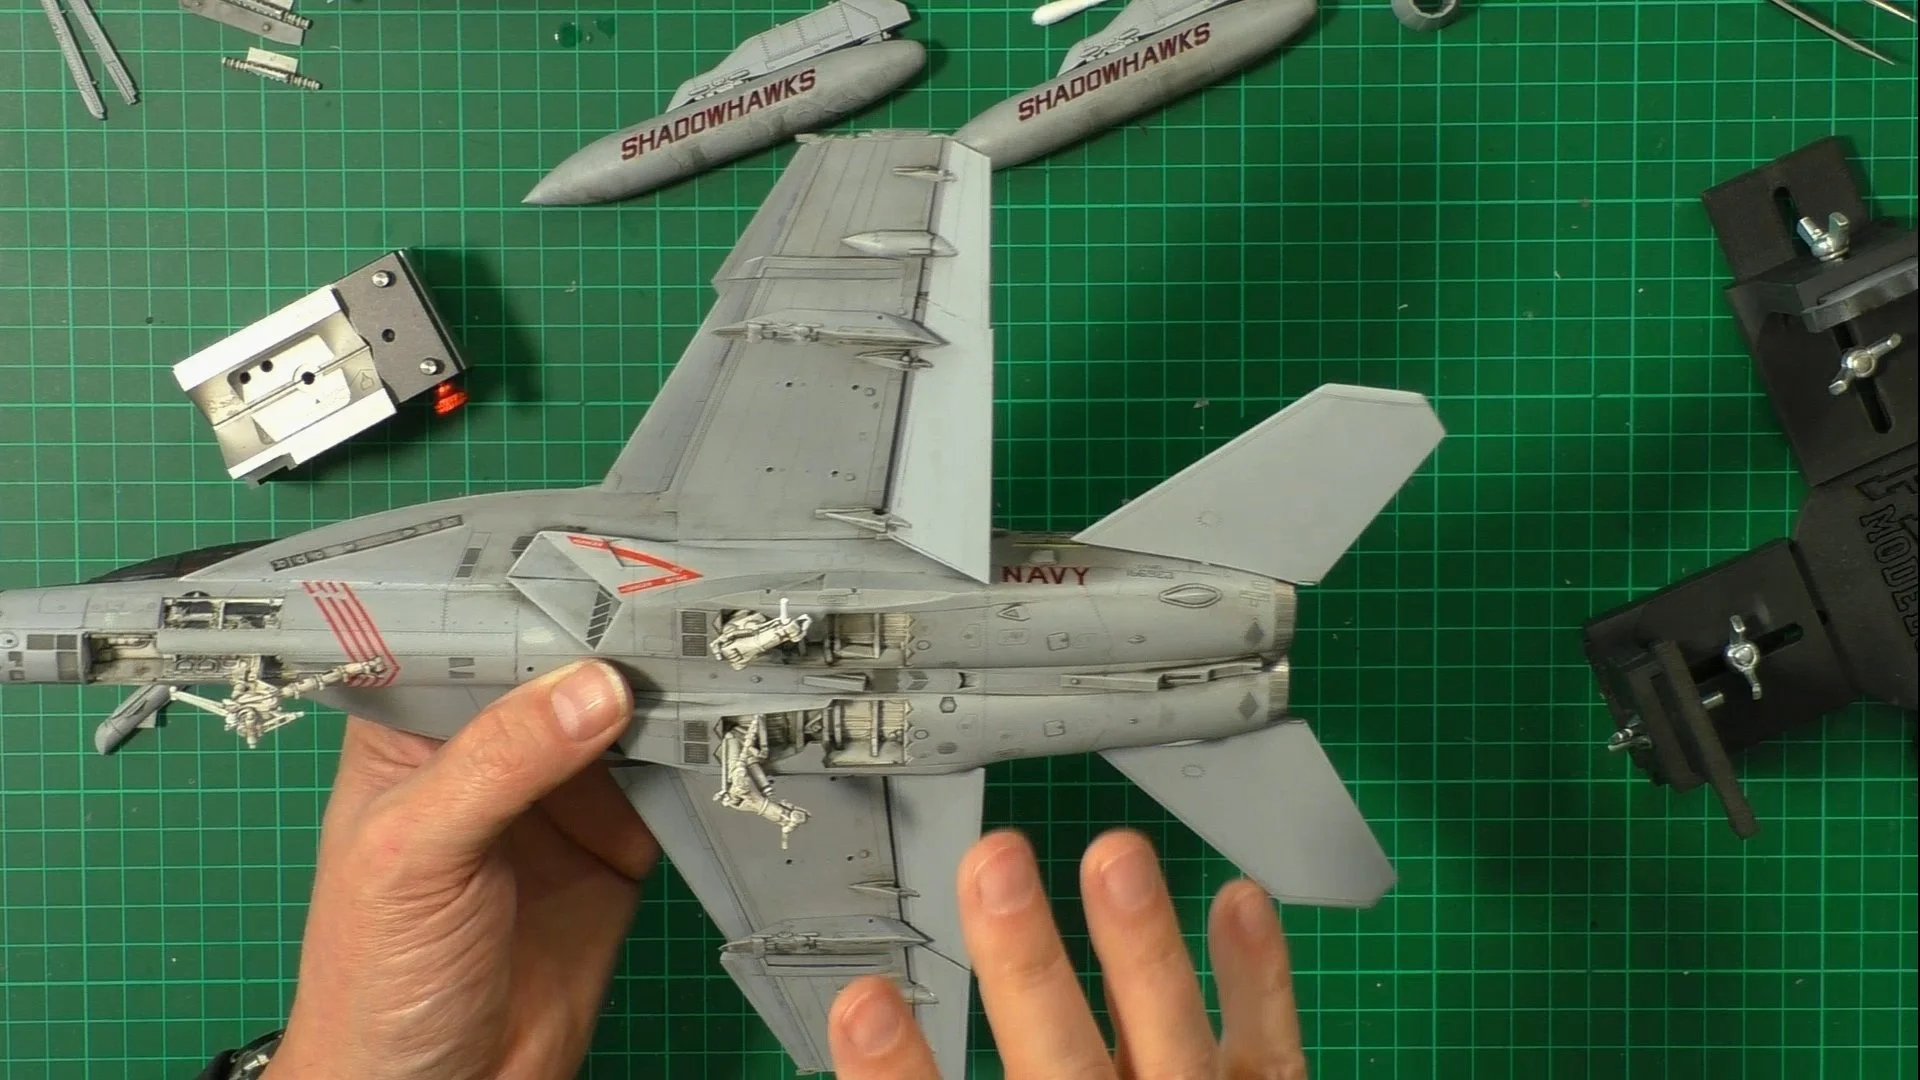
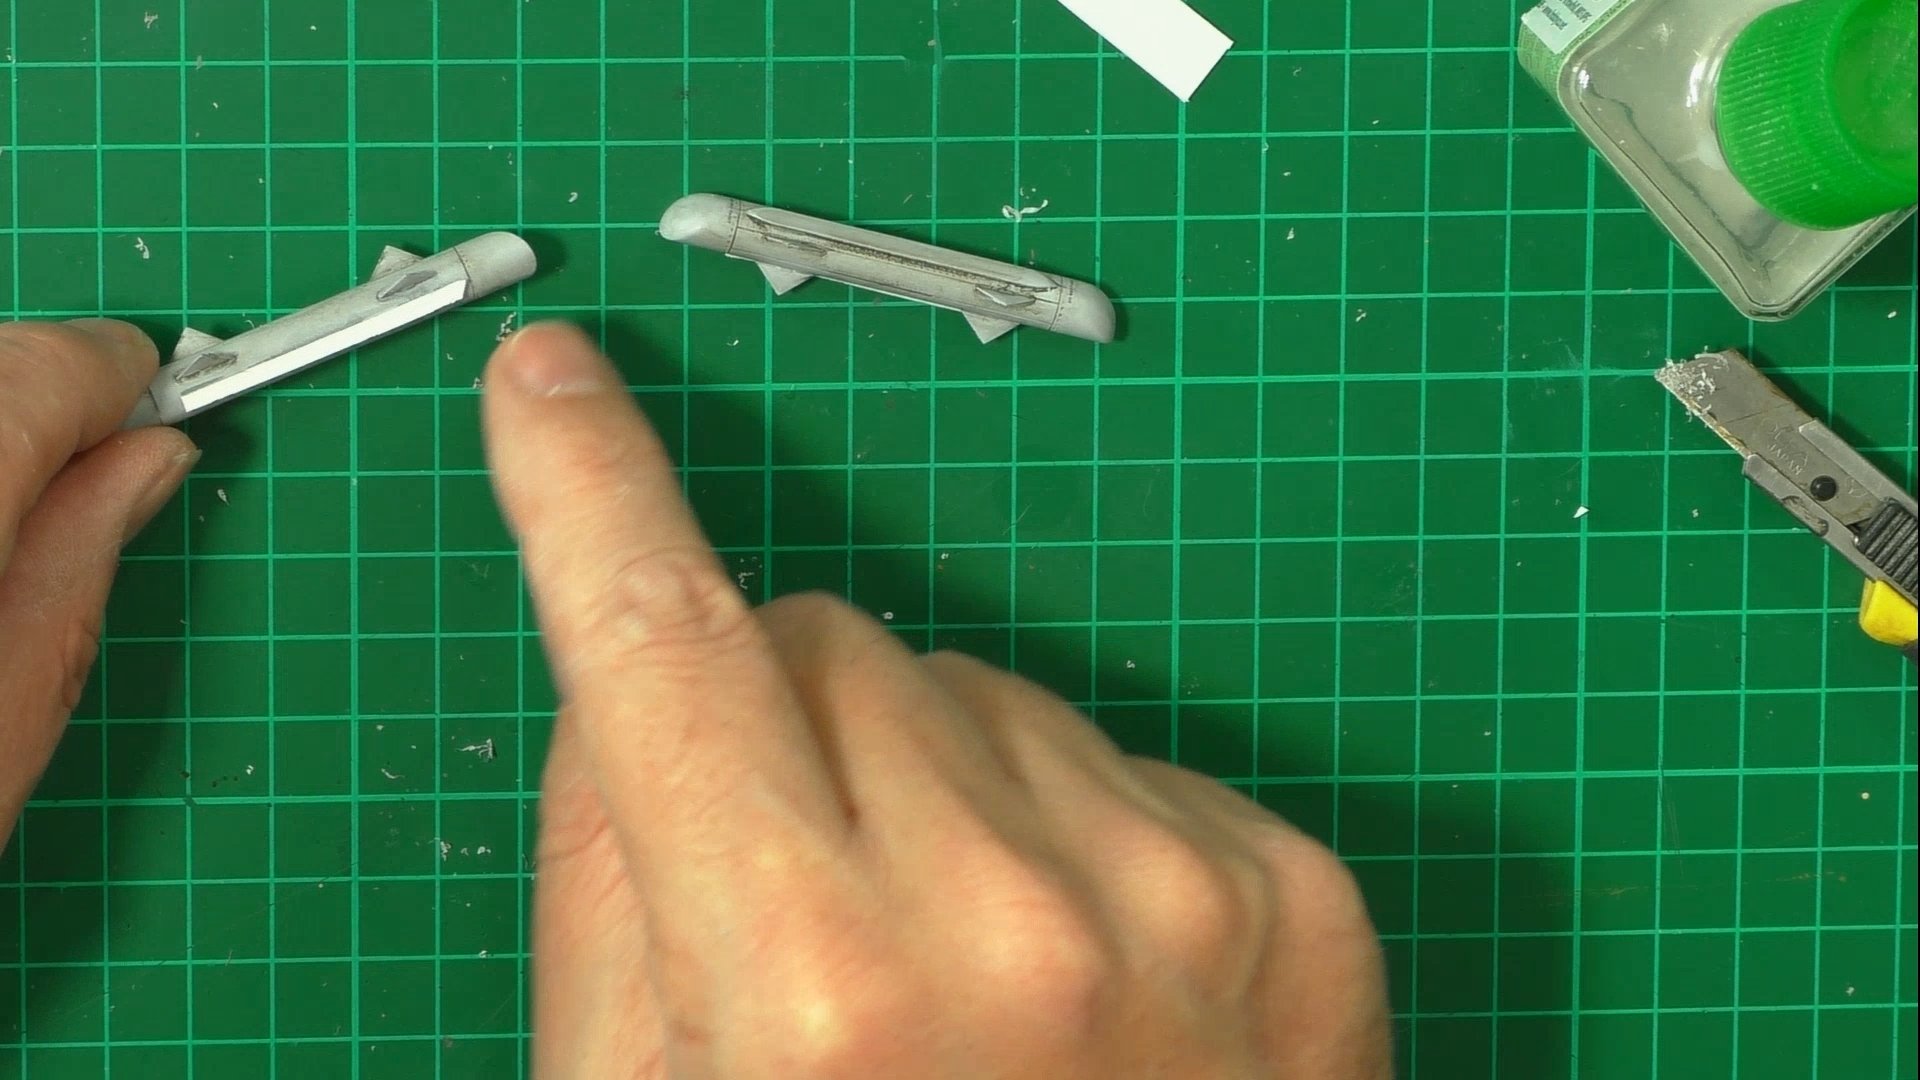
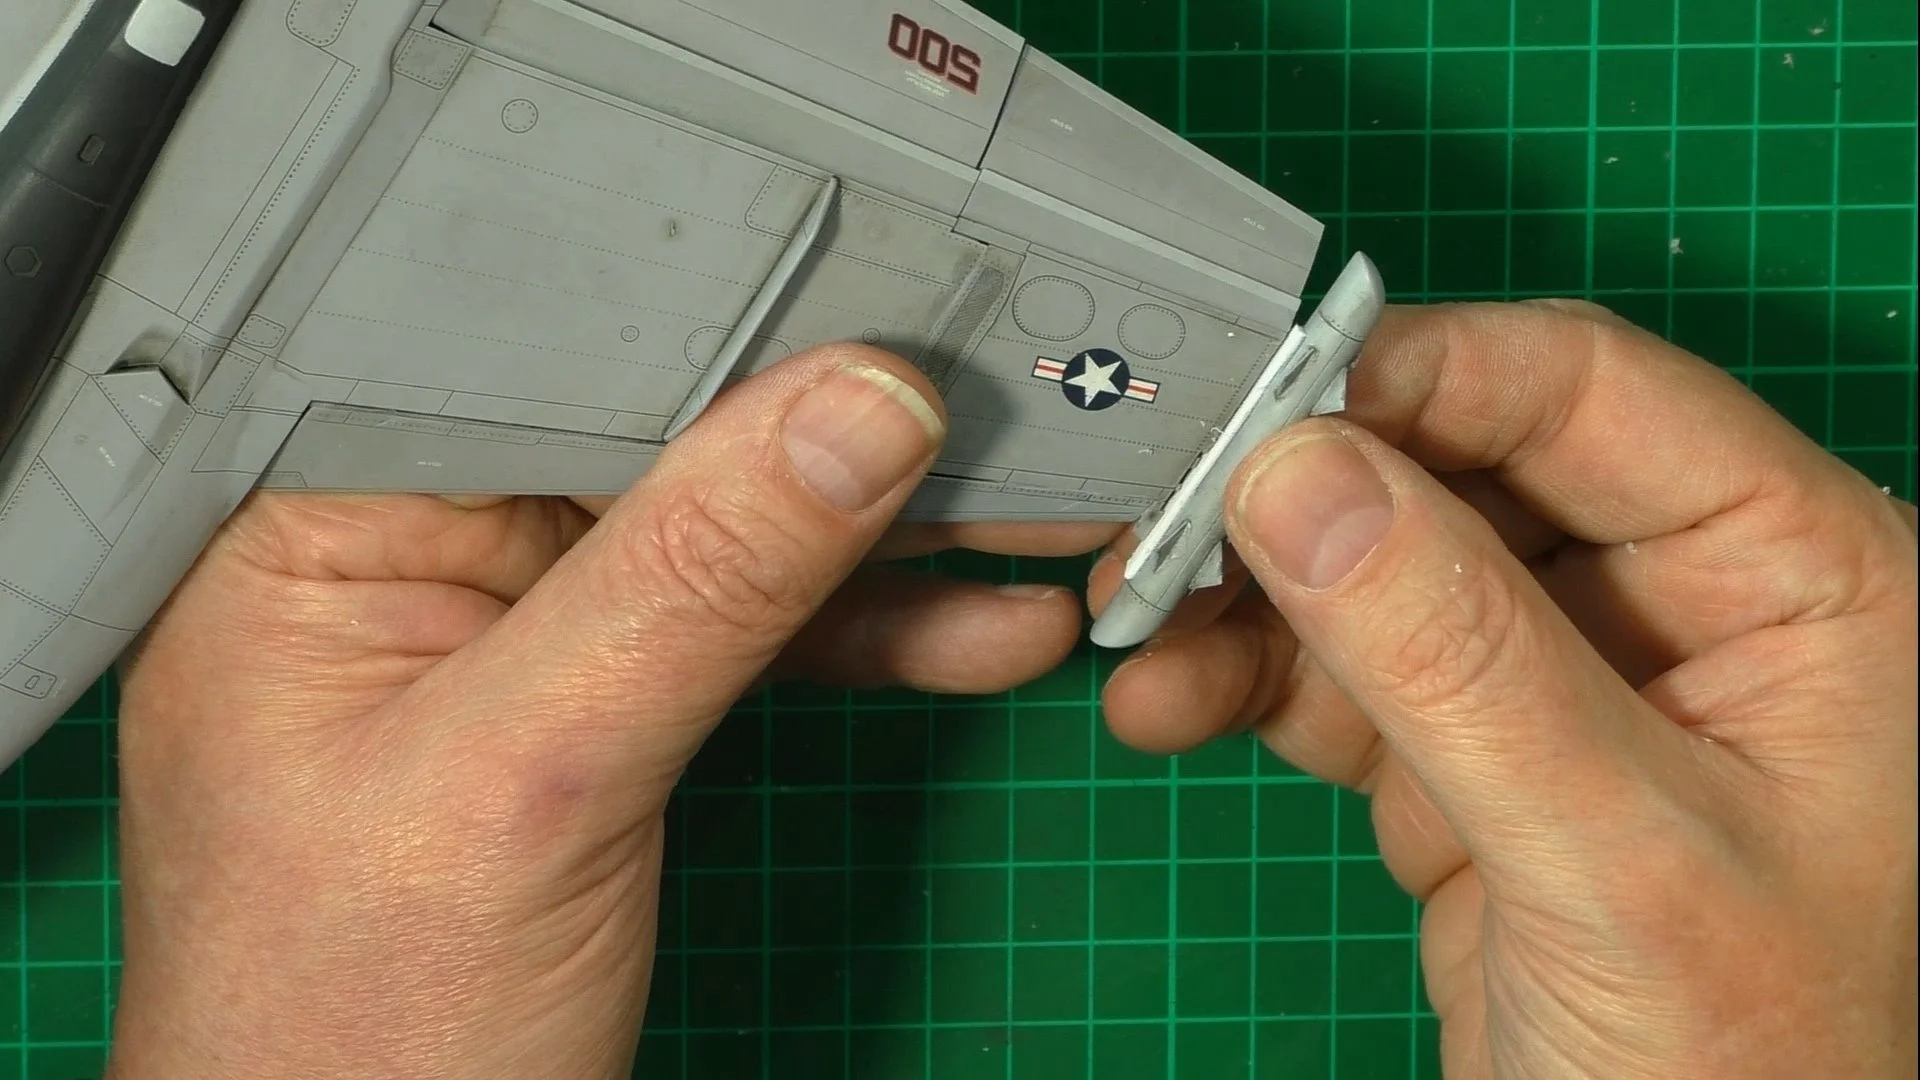
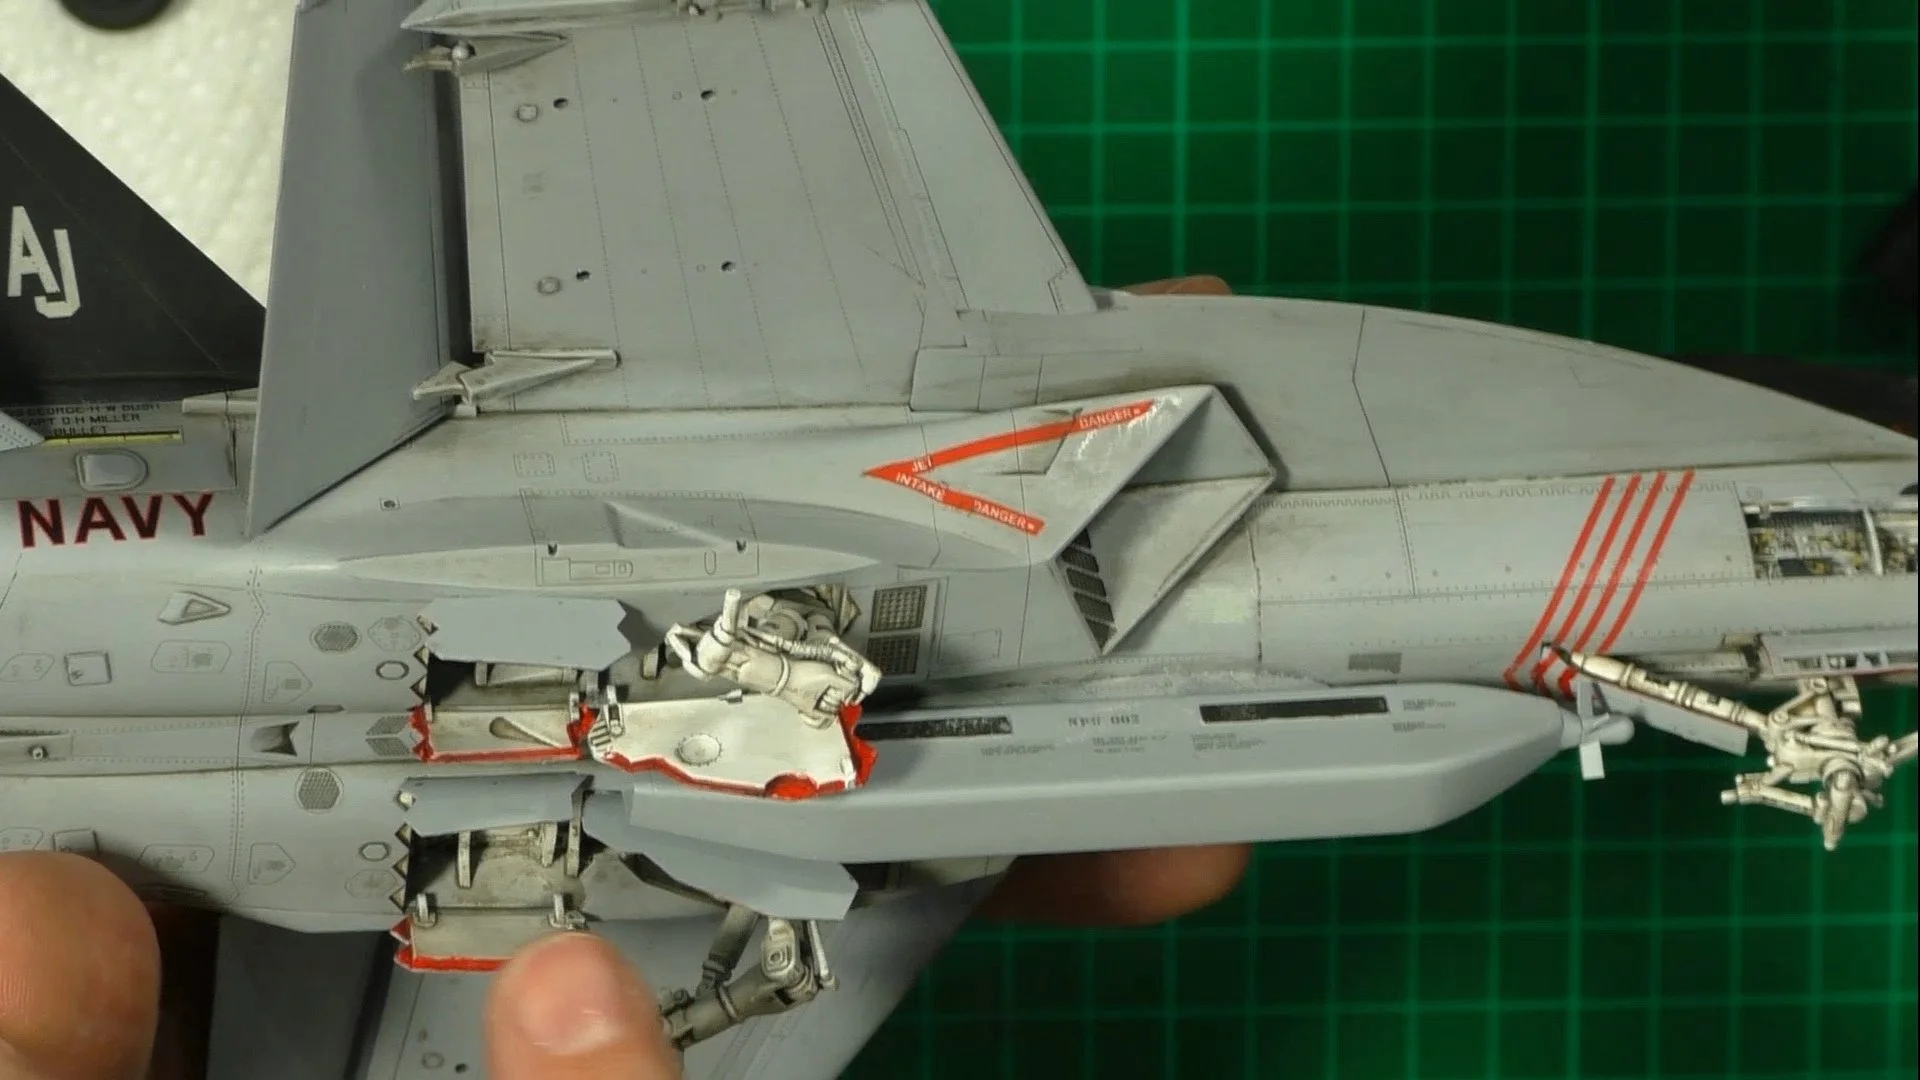
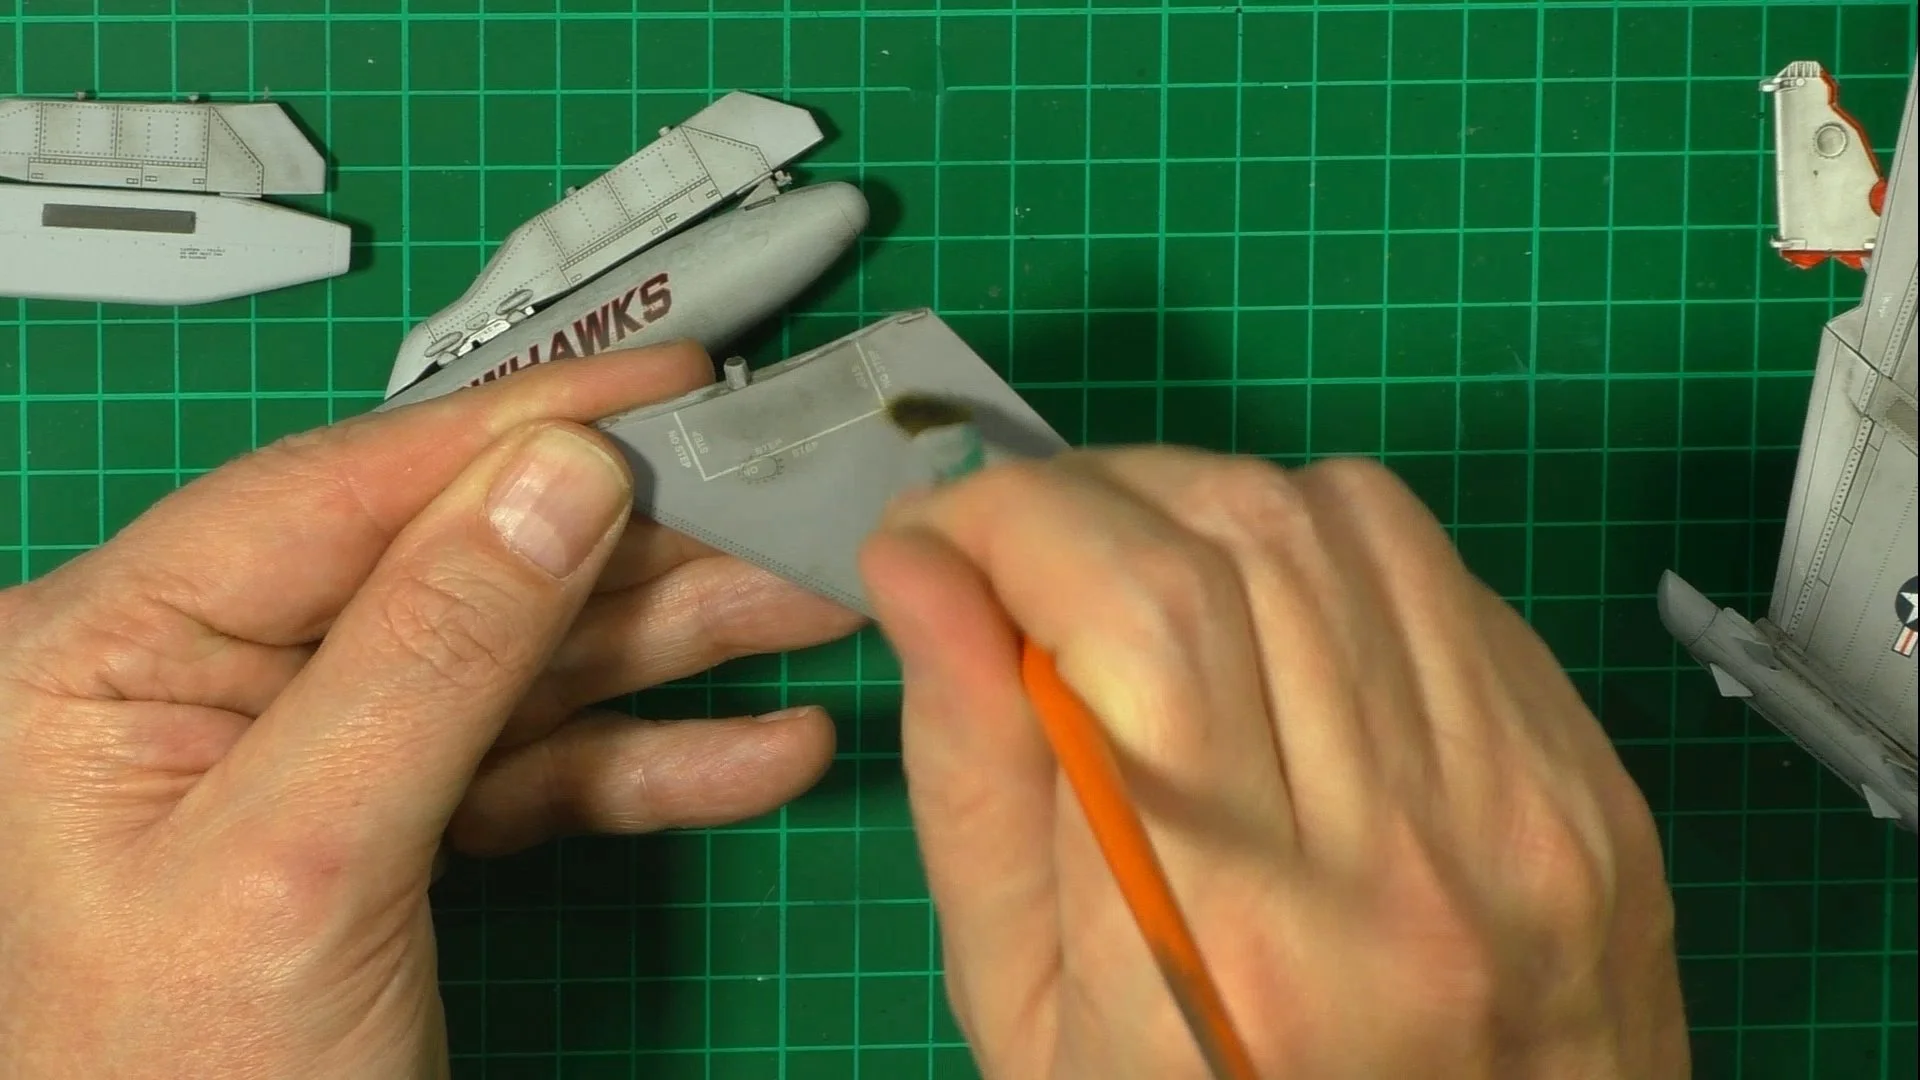
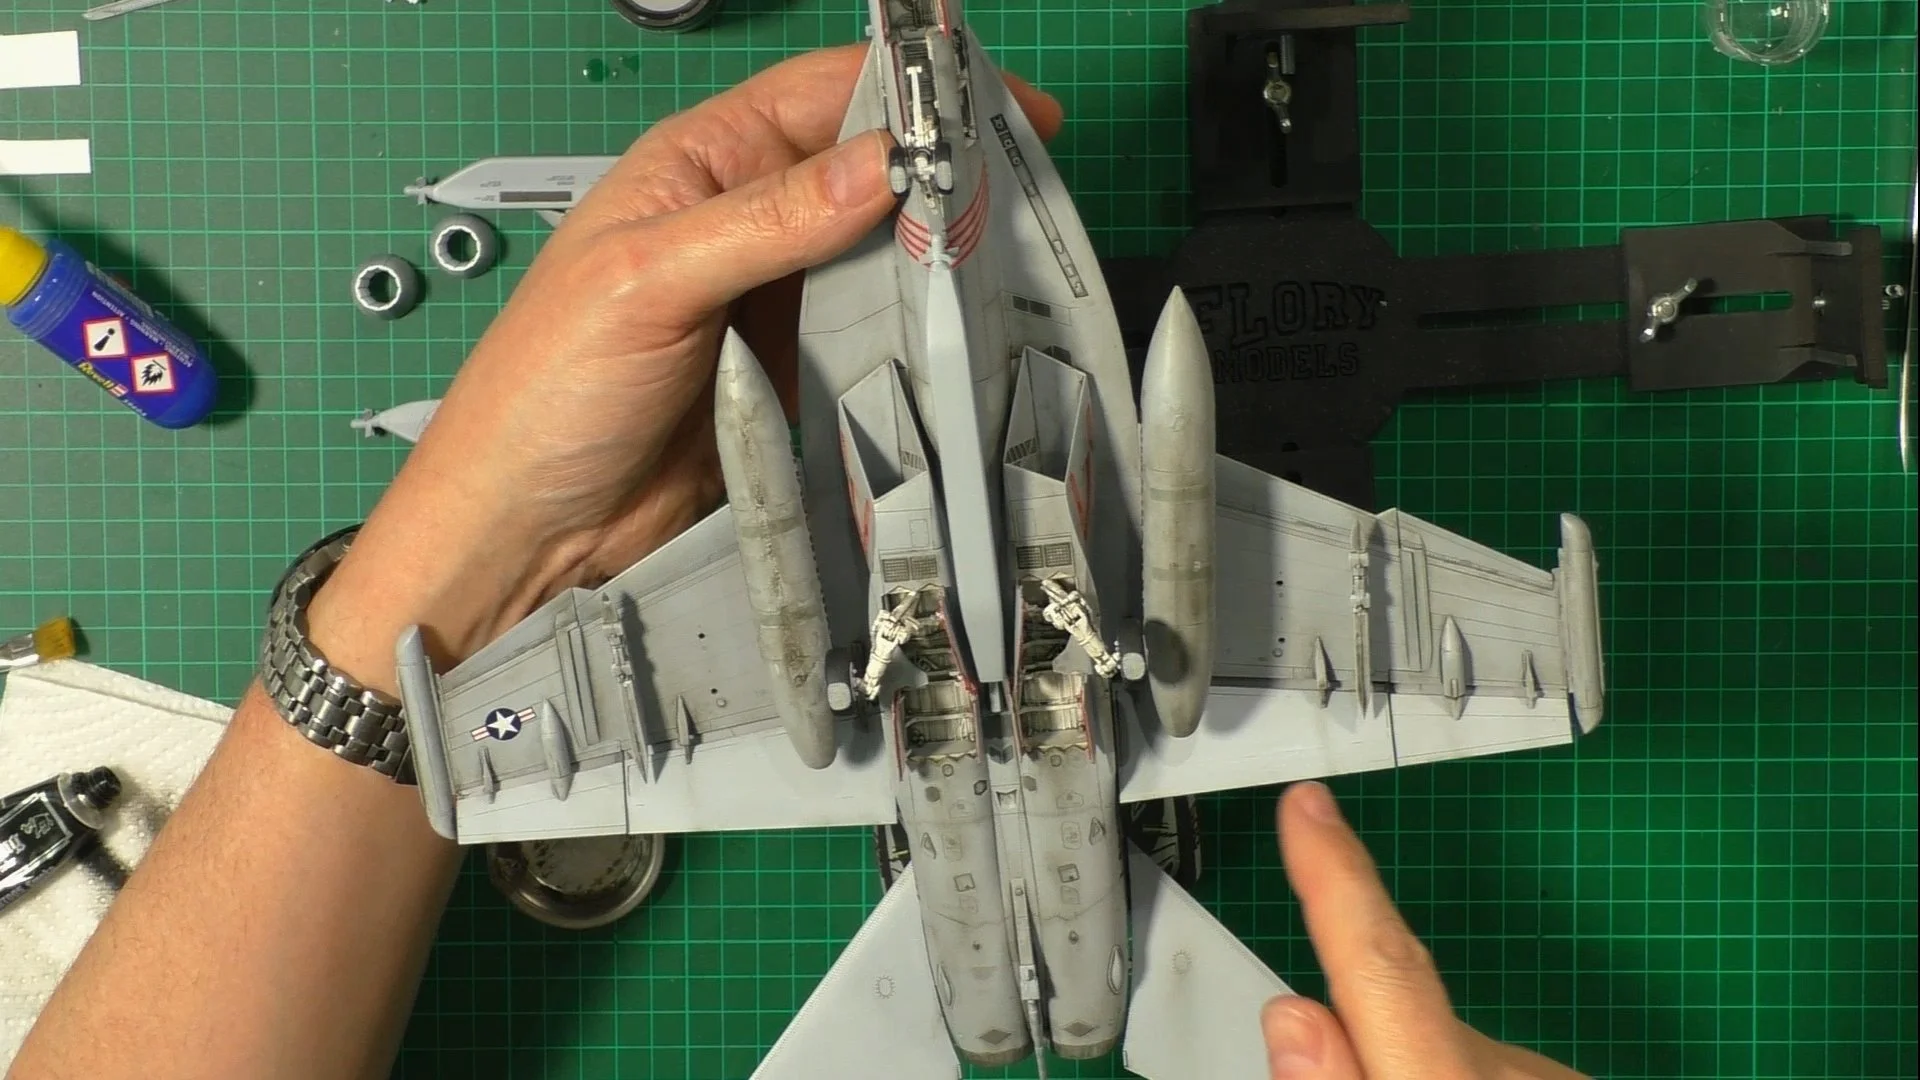
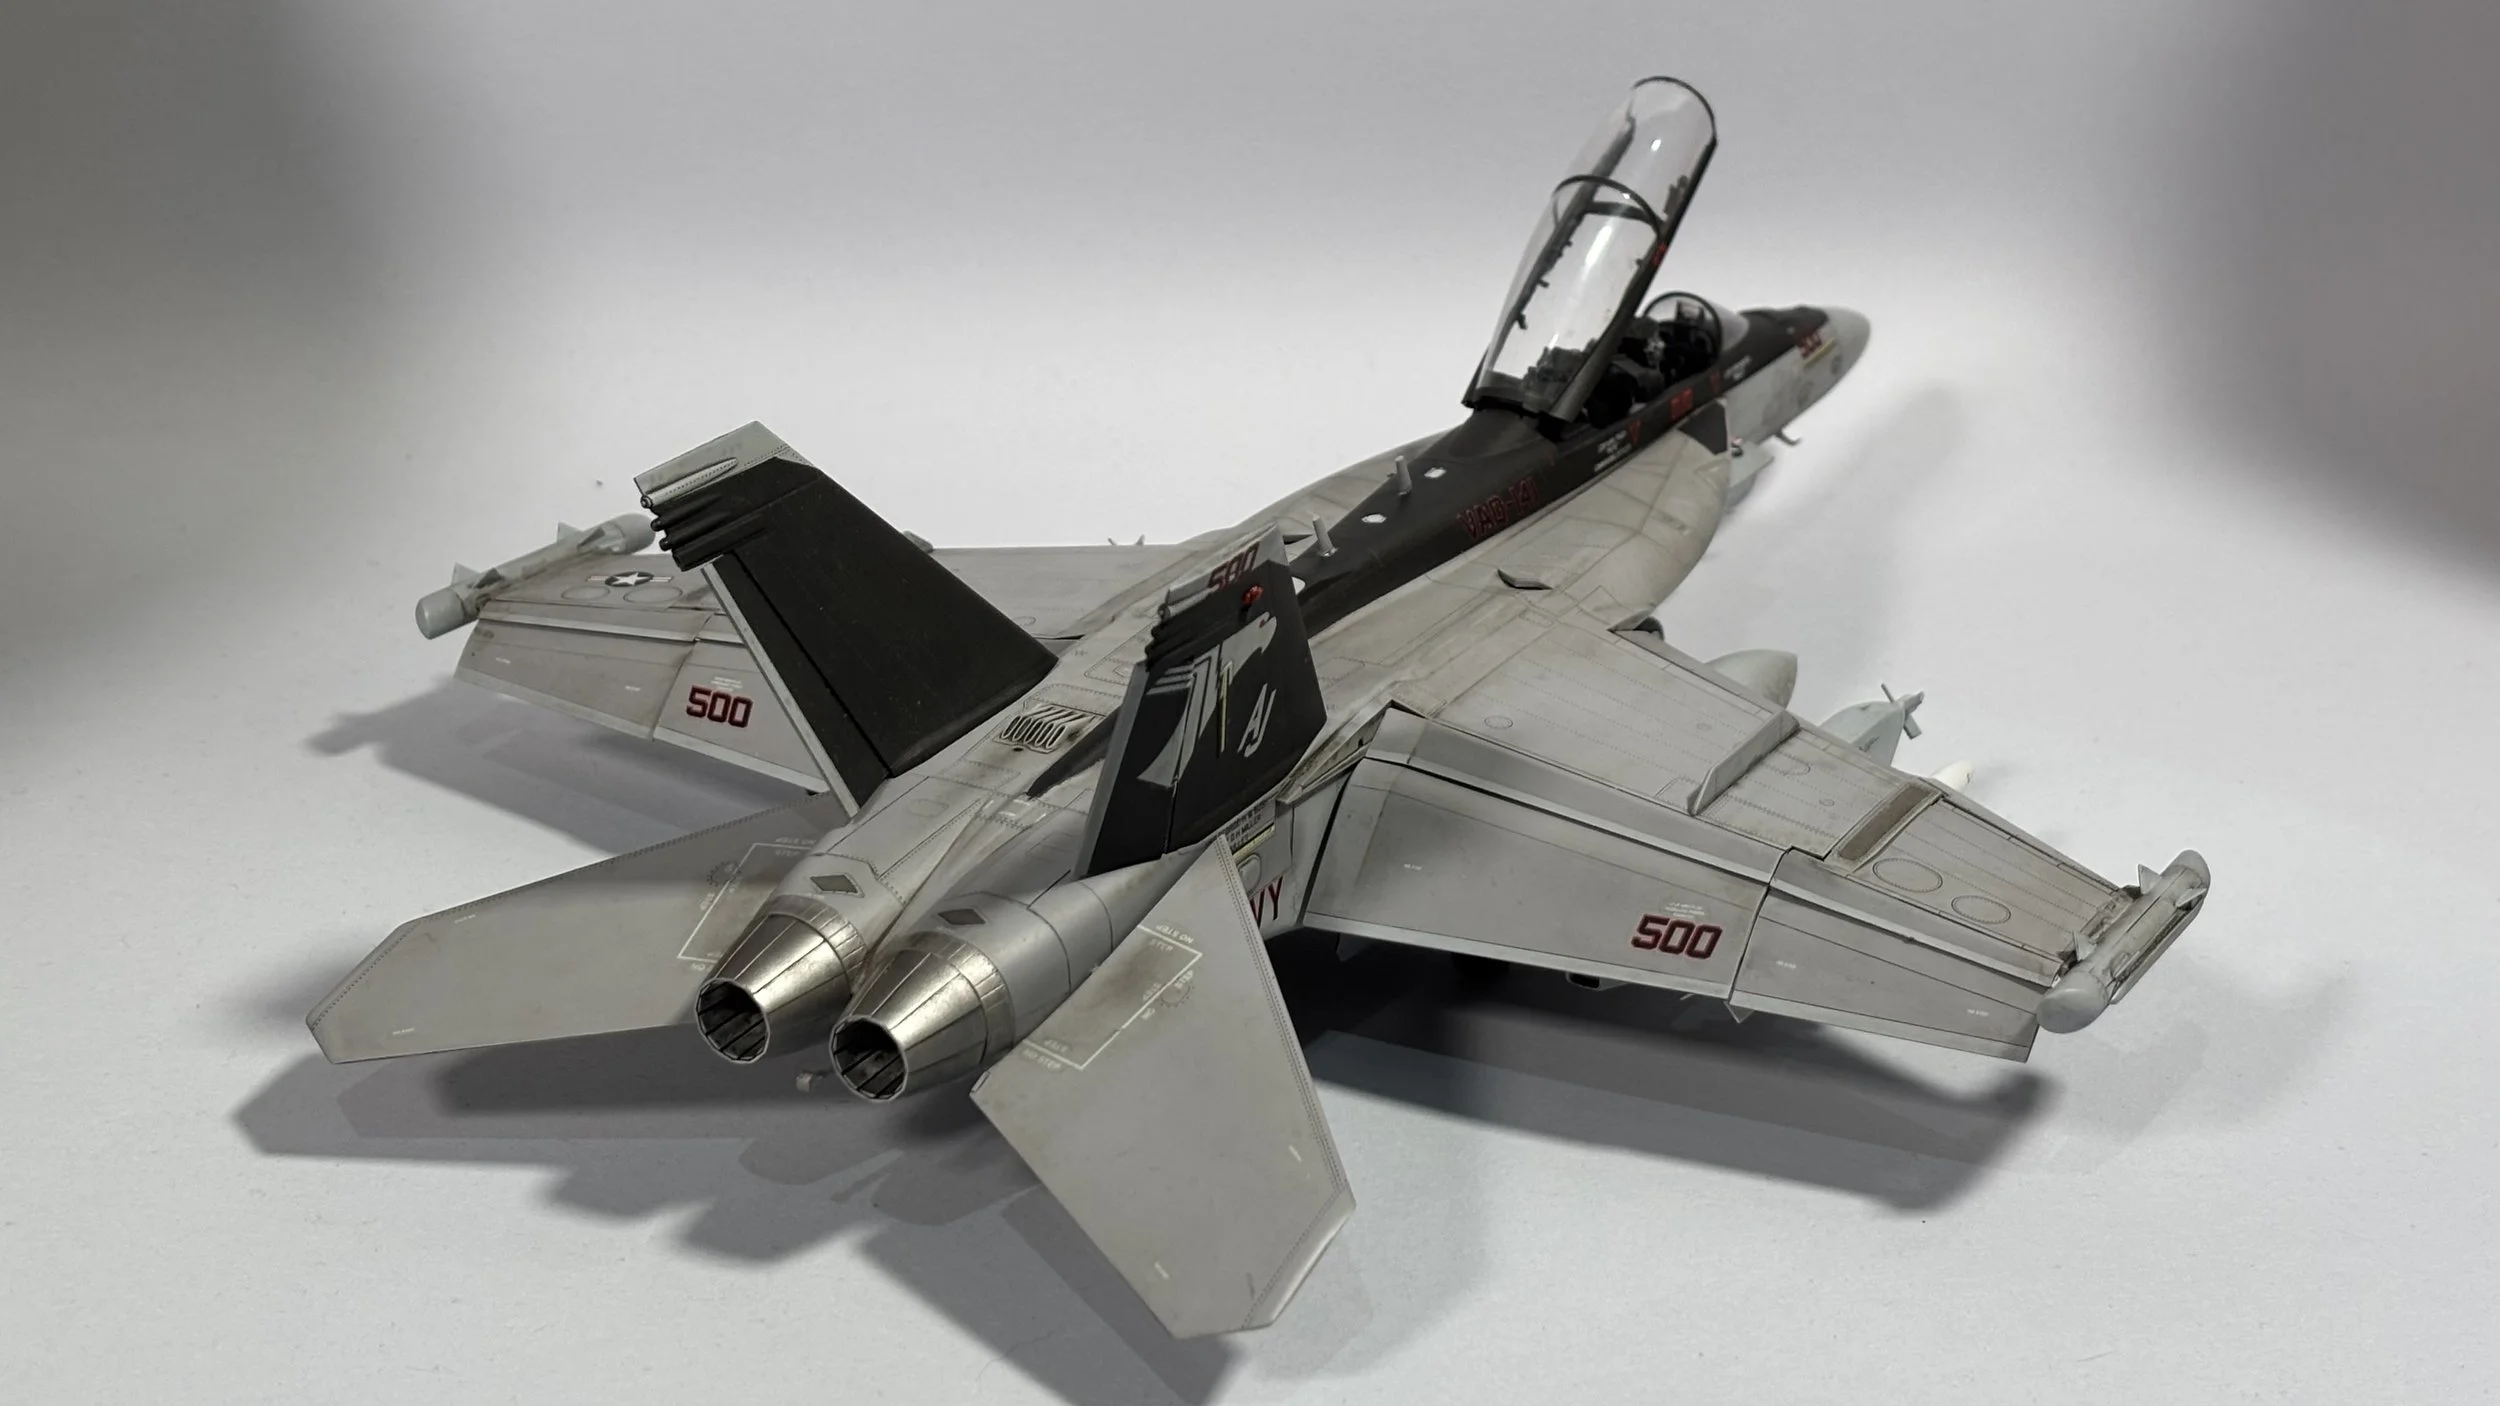
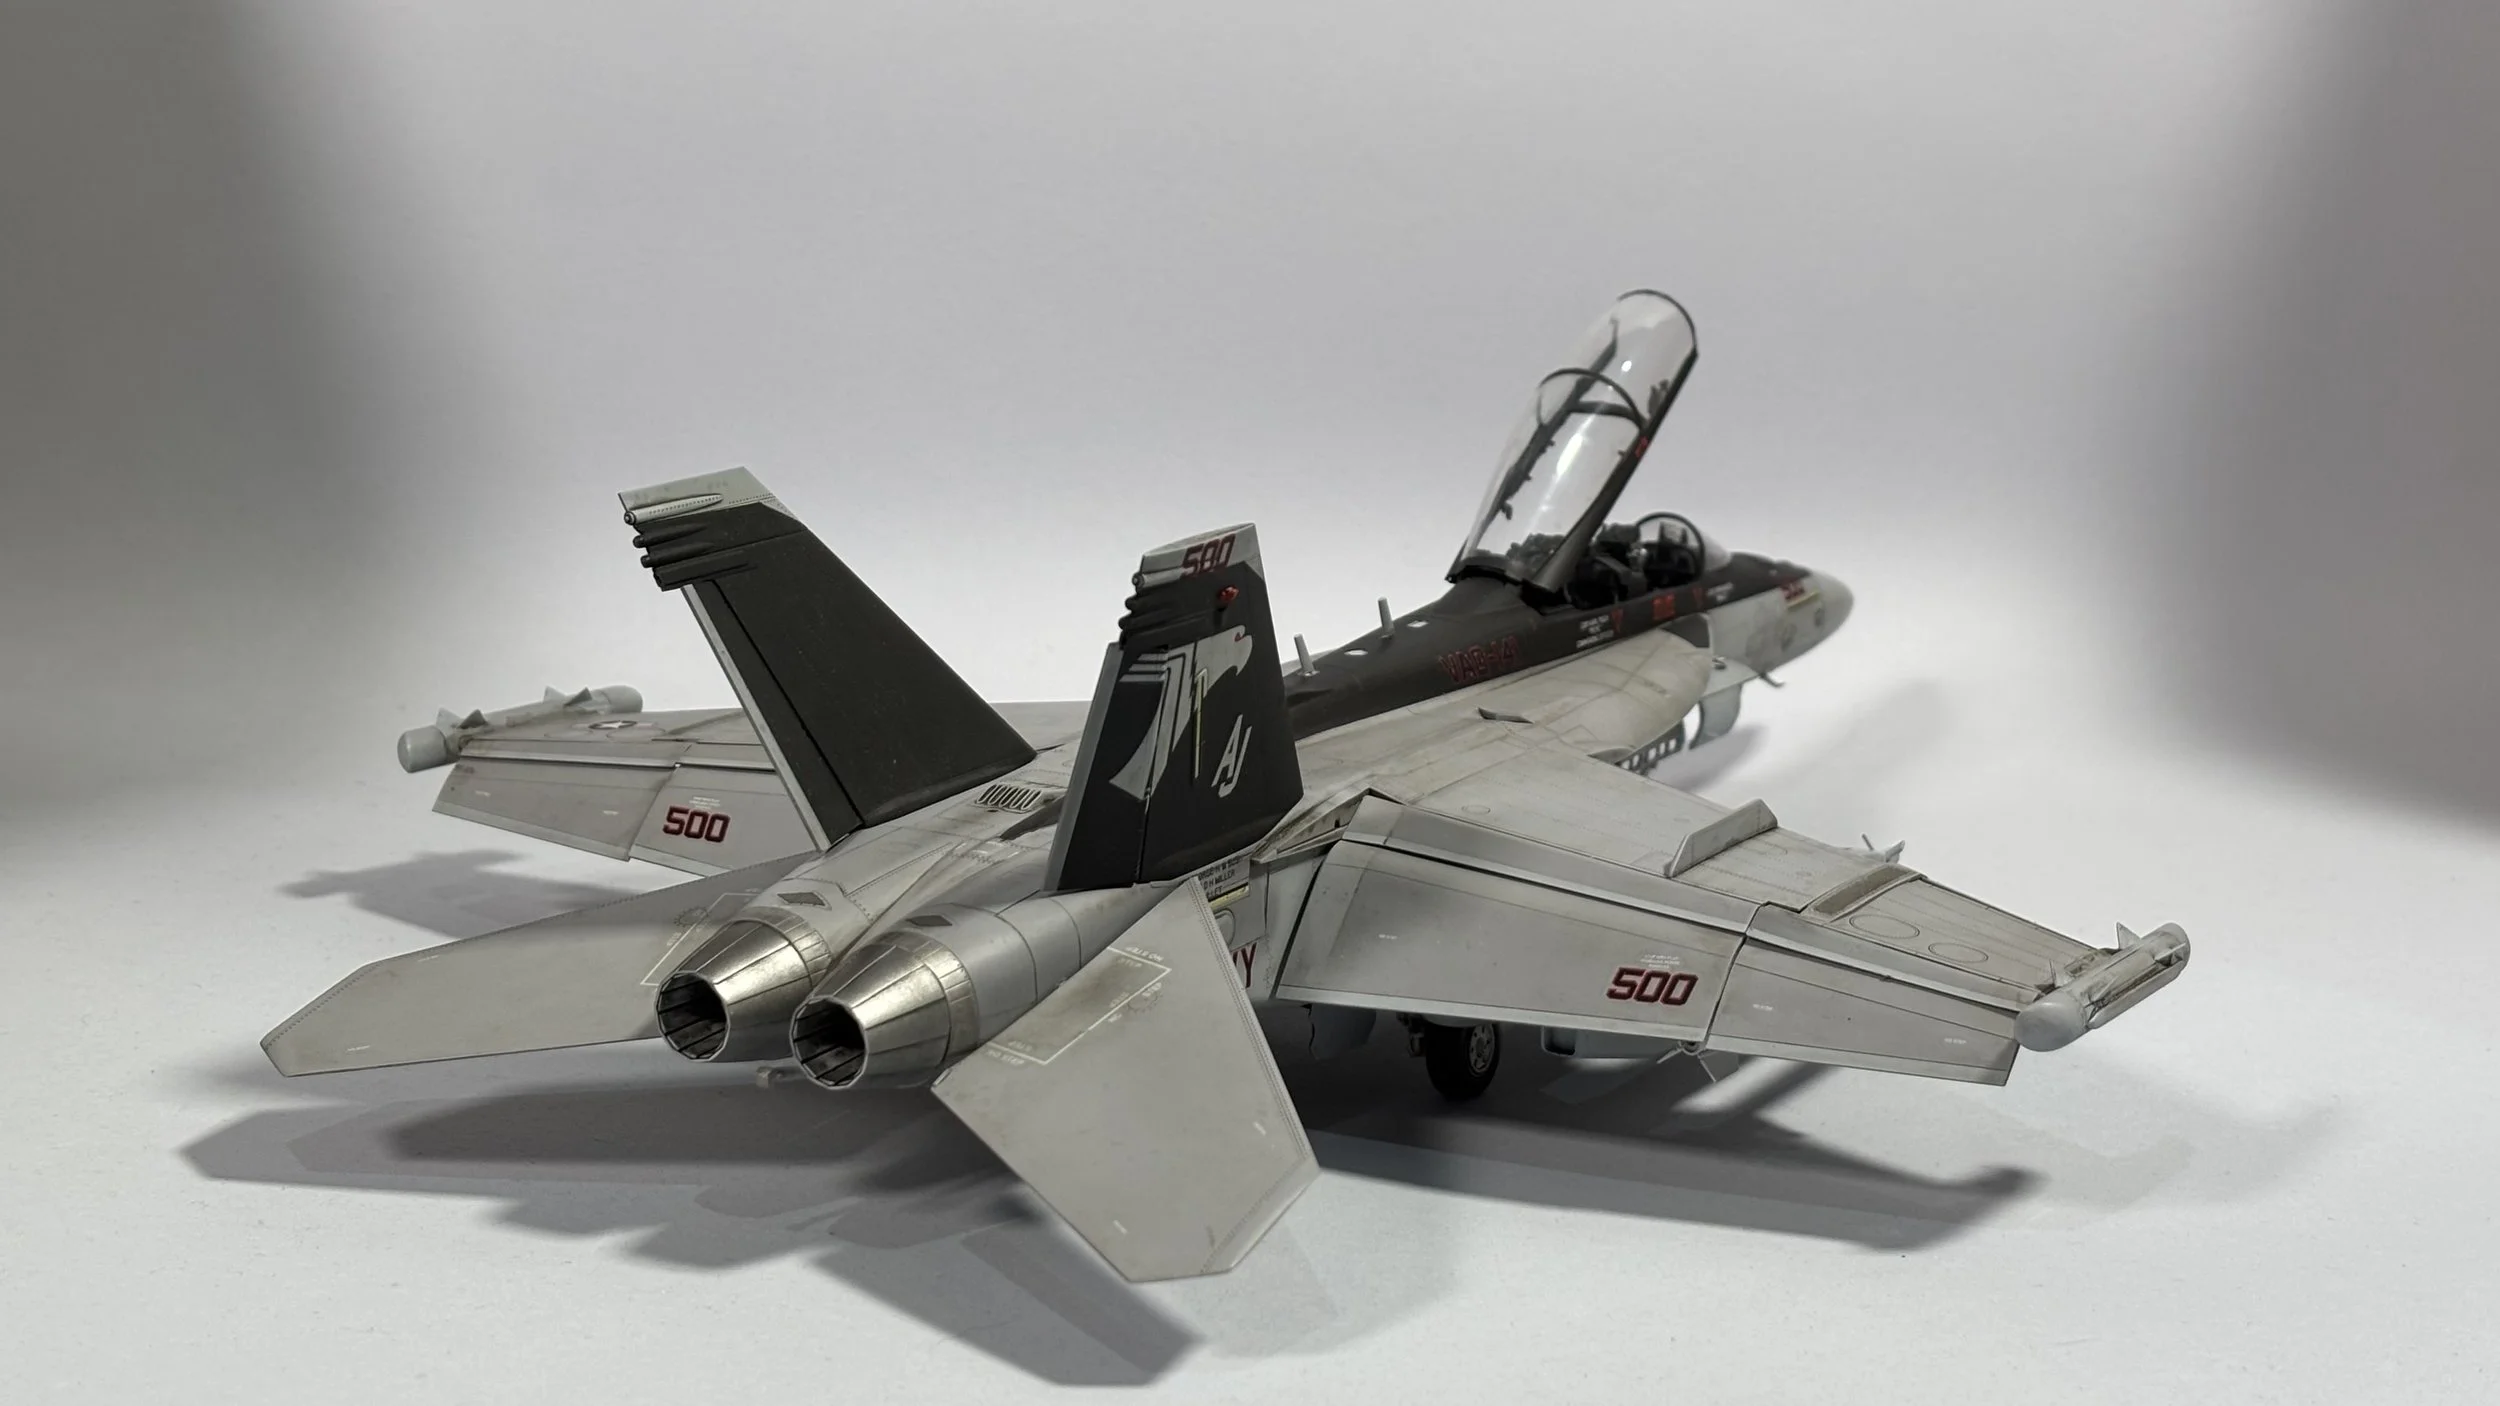
0:00 First up, we install the control surfaces and the slats into position. 11:24 Next, we weather the drop tanks with the thinned wash we used on the gear wells. 13:16 Here we install the wing fold and put them in the spread configuration and then look at the jammer pods ready to be installed. 18:17 Last up, we add more detail to the ling tip pods and reposition them into the correct position.
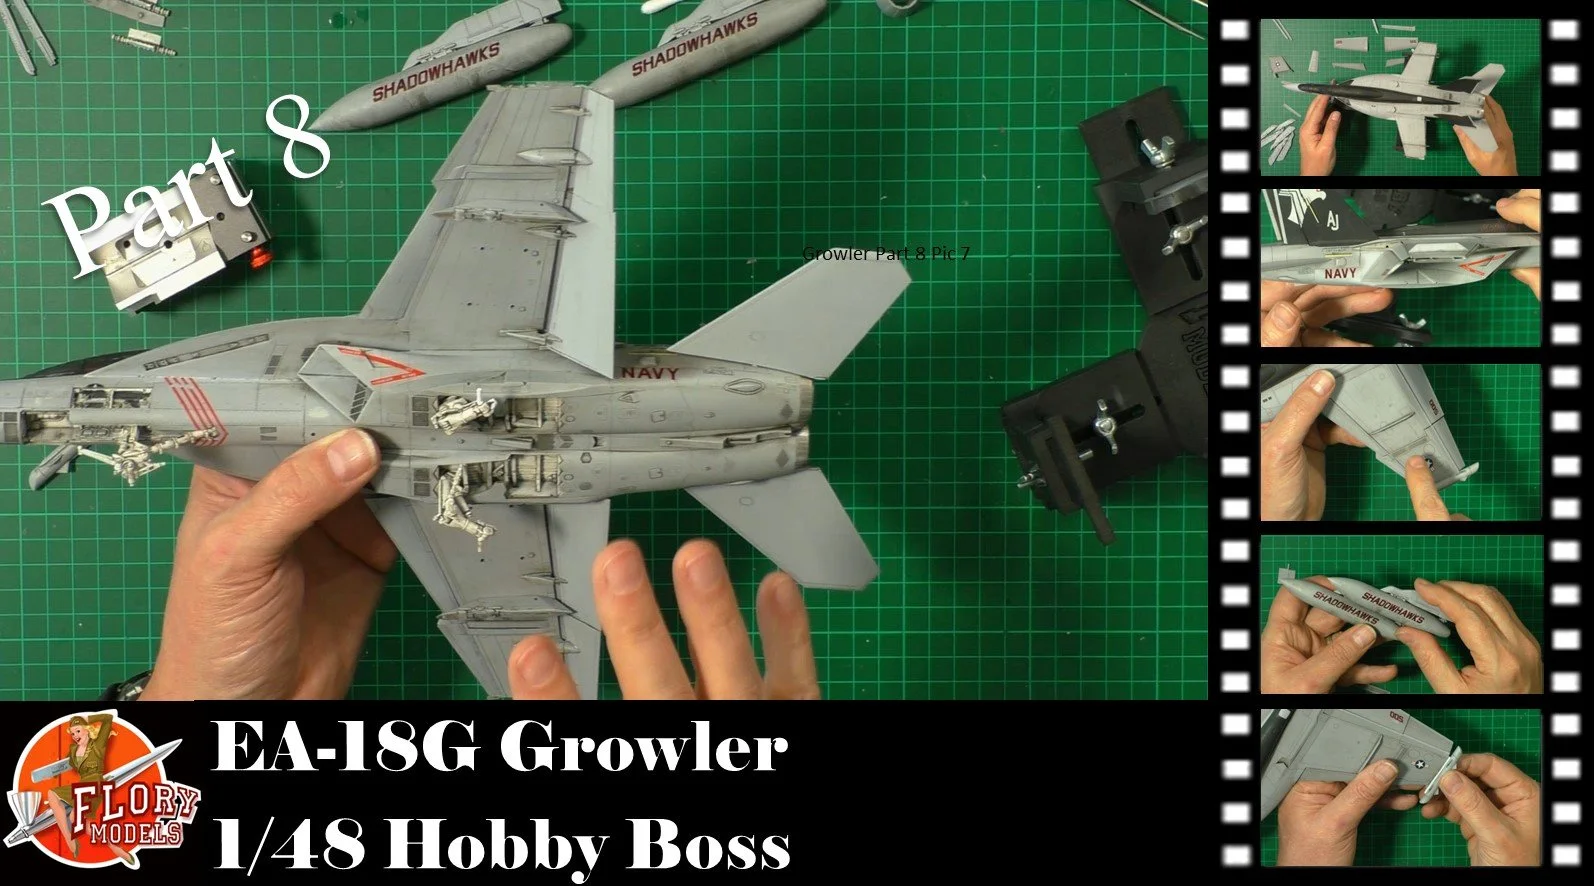
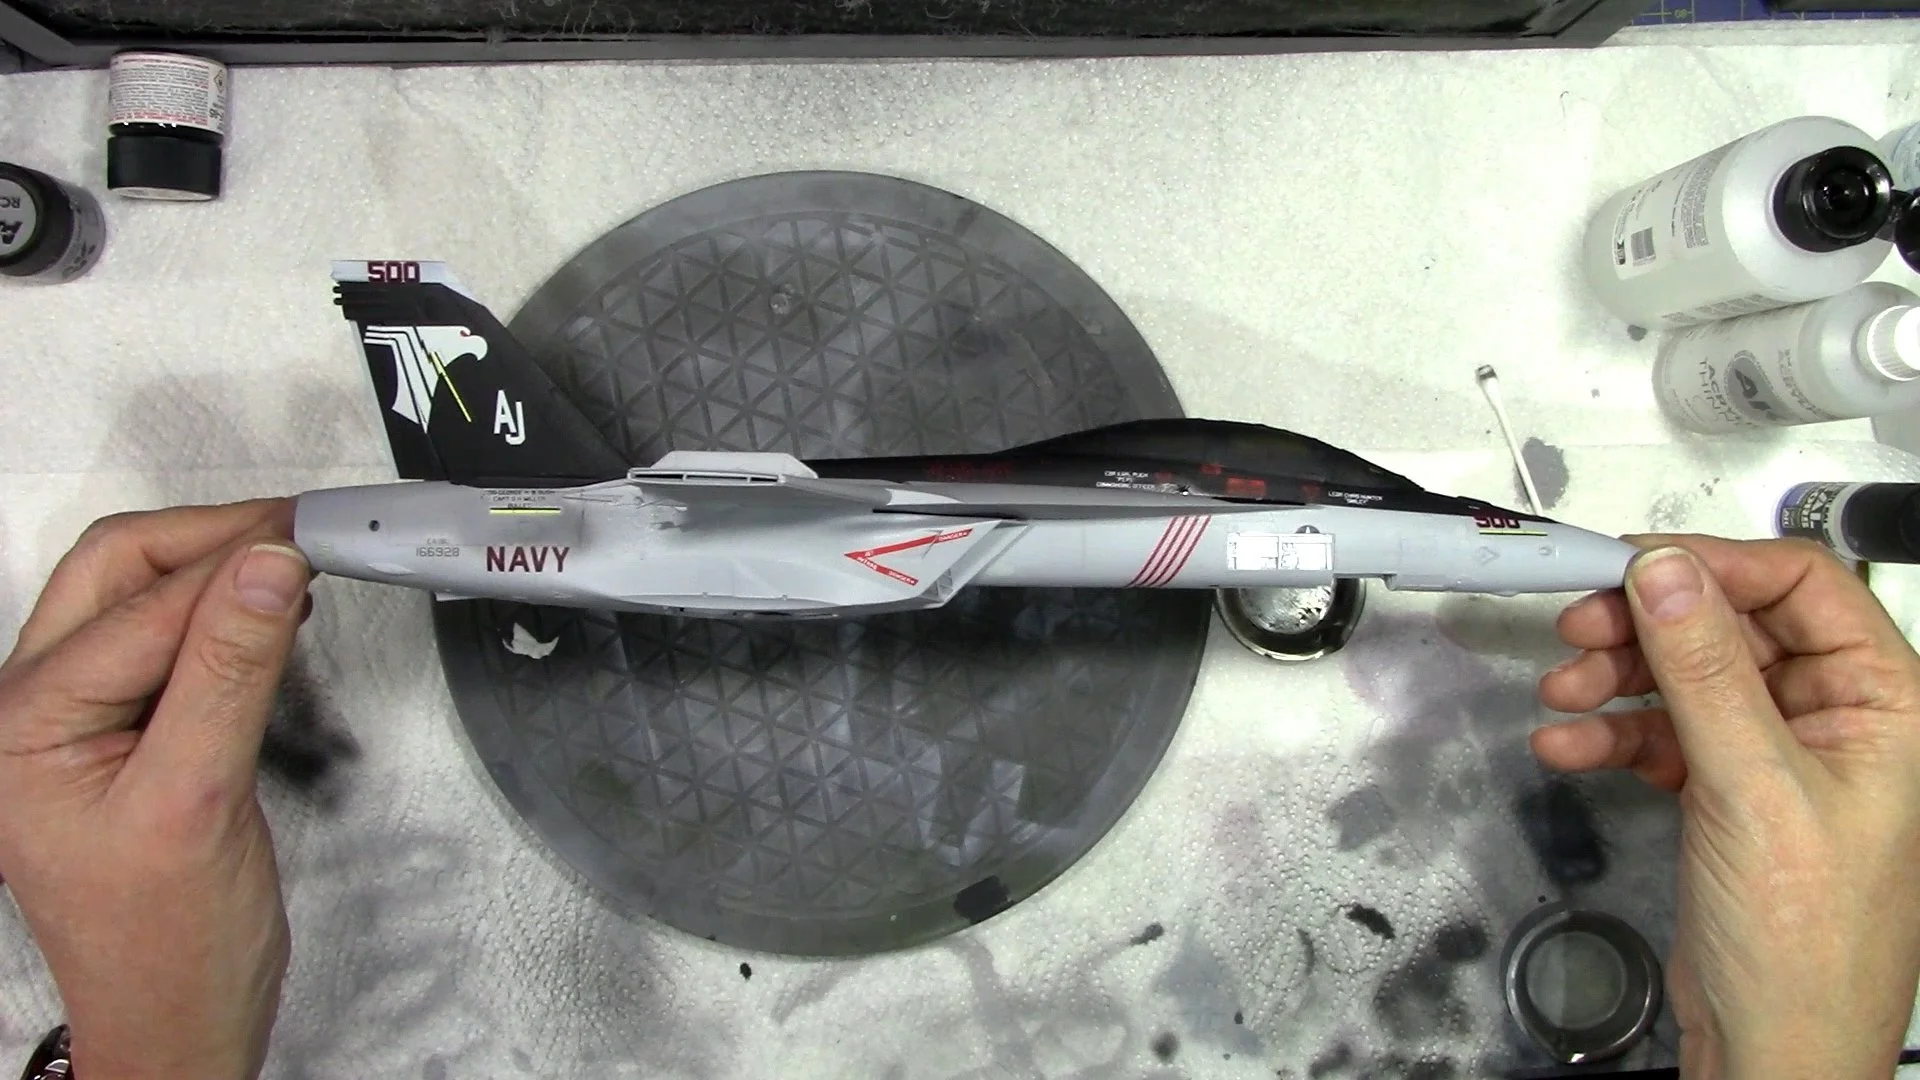
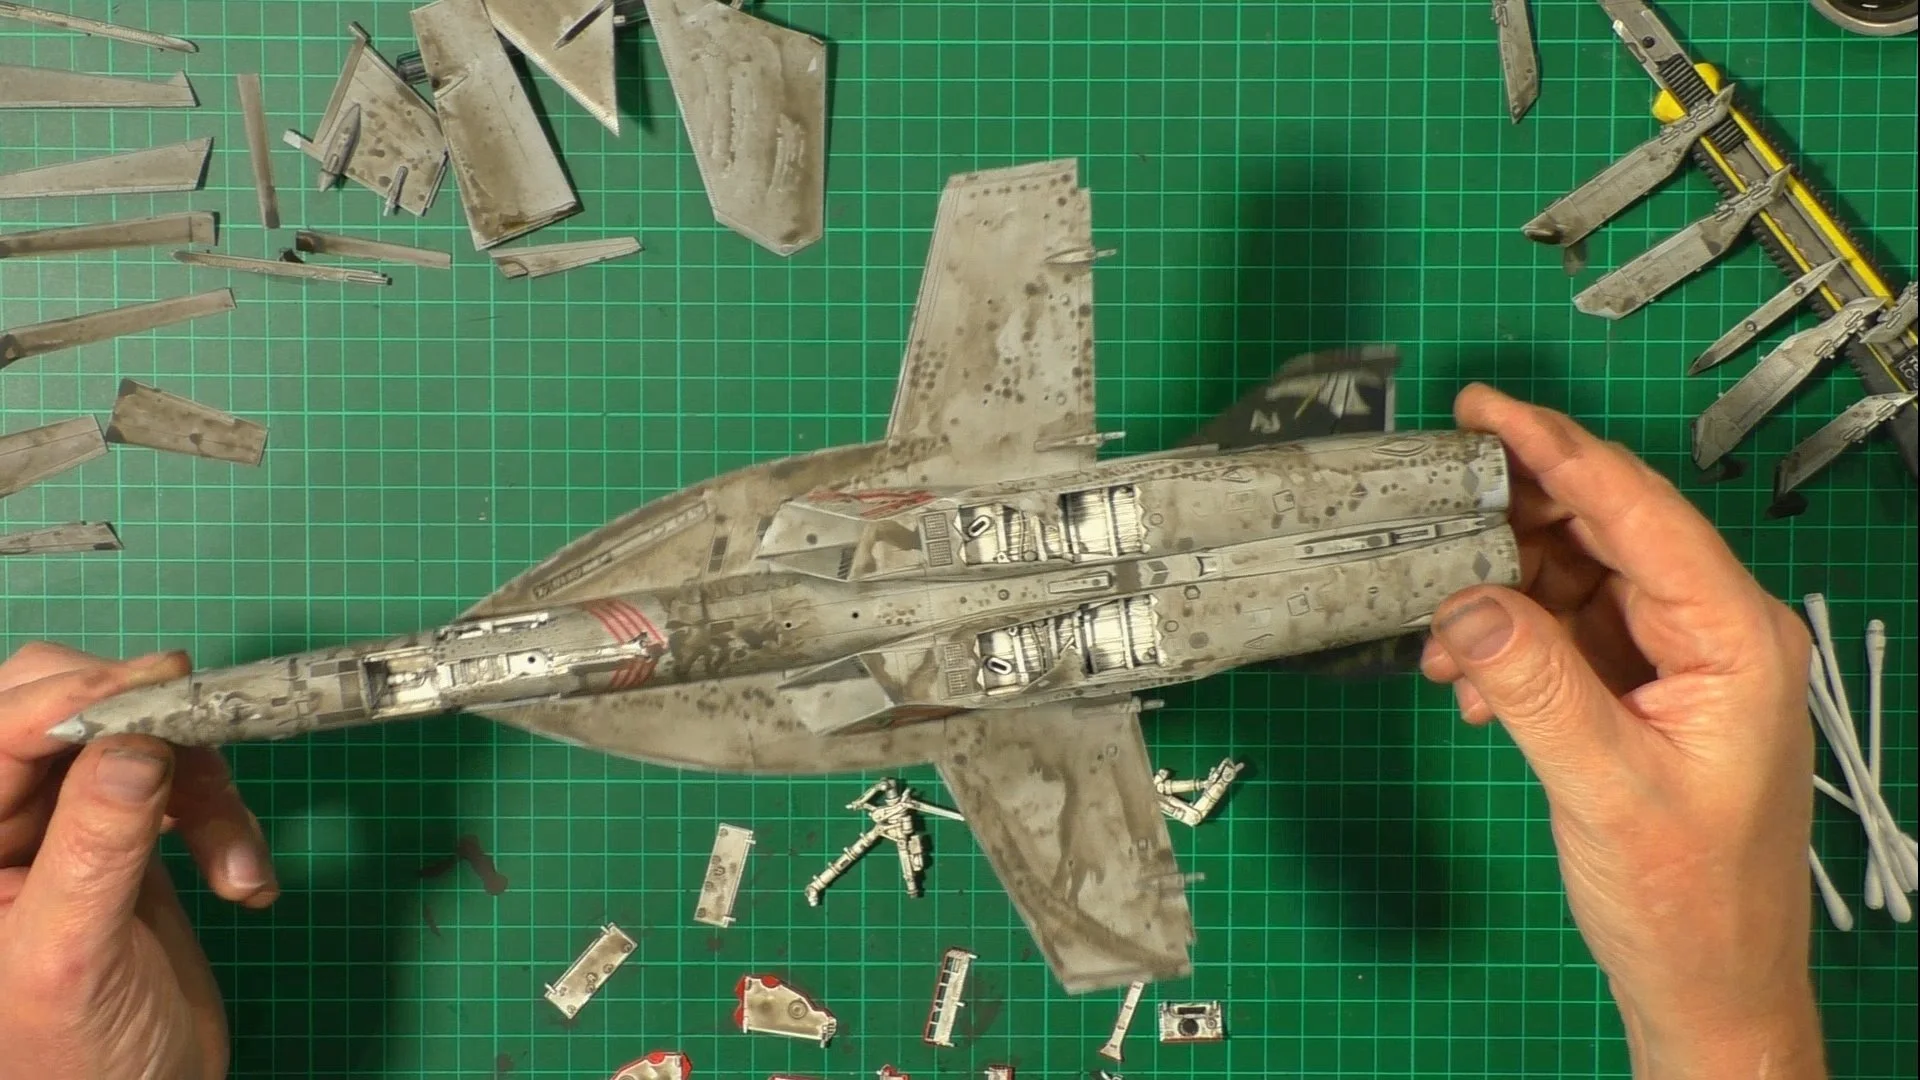
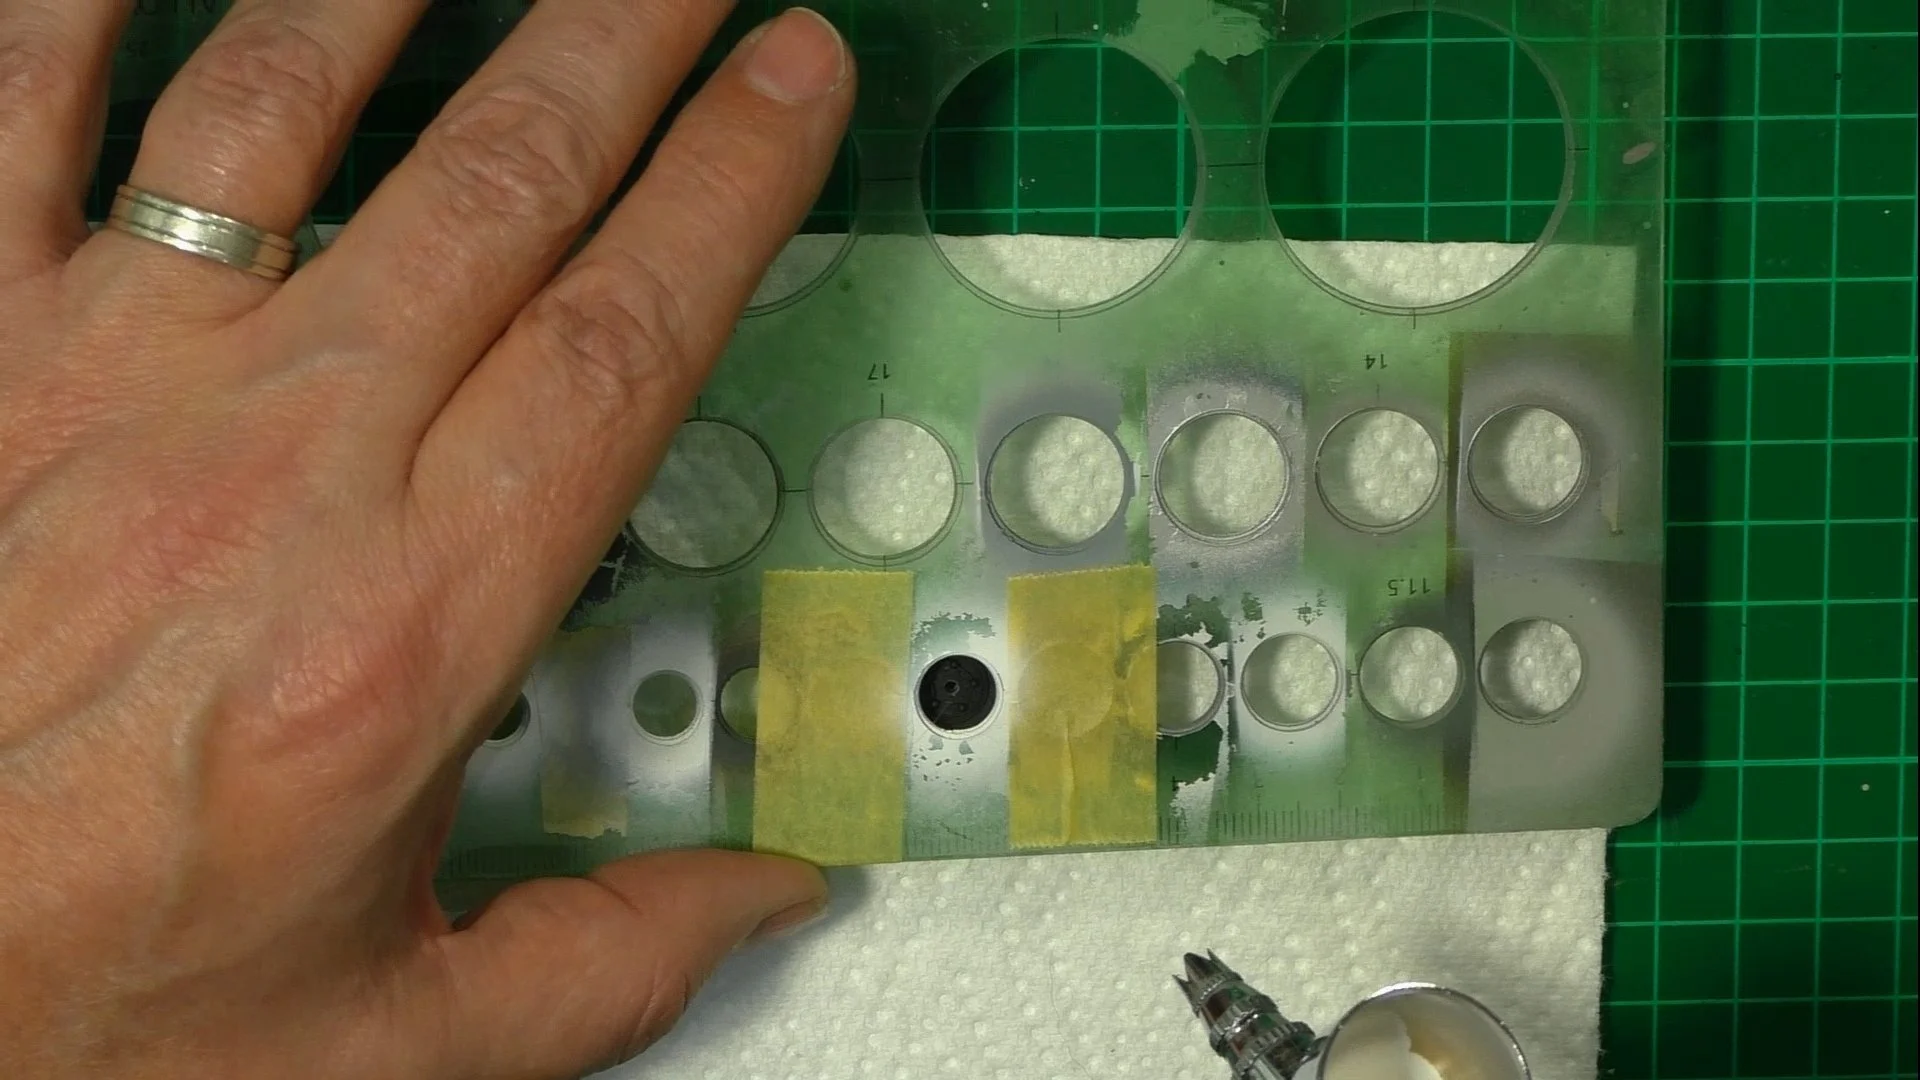
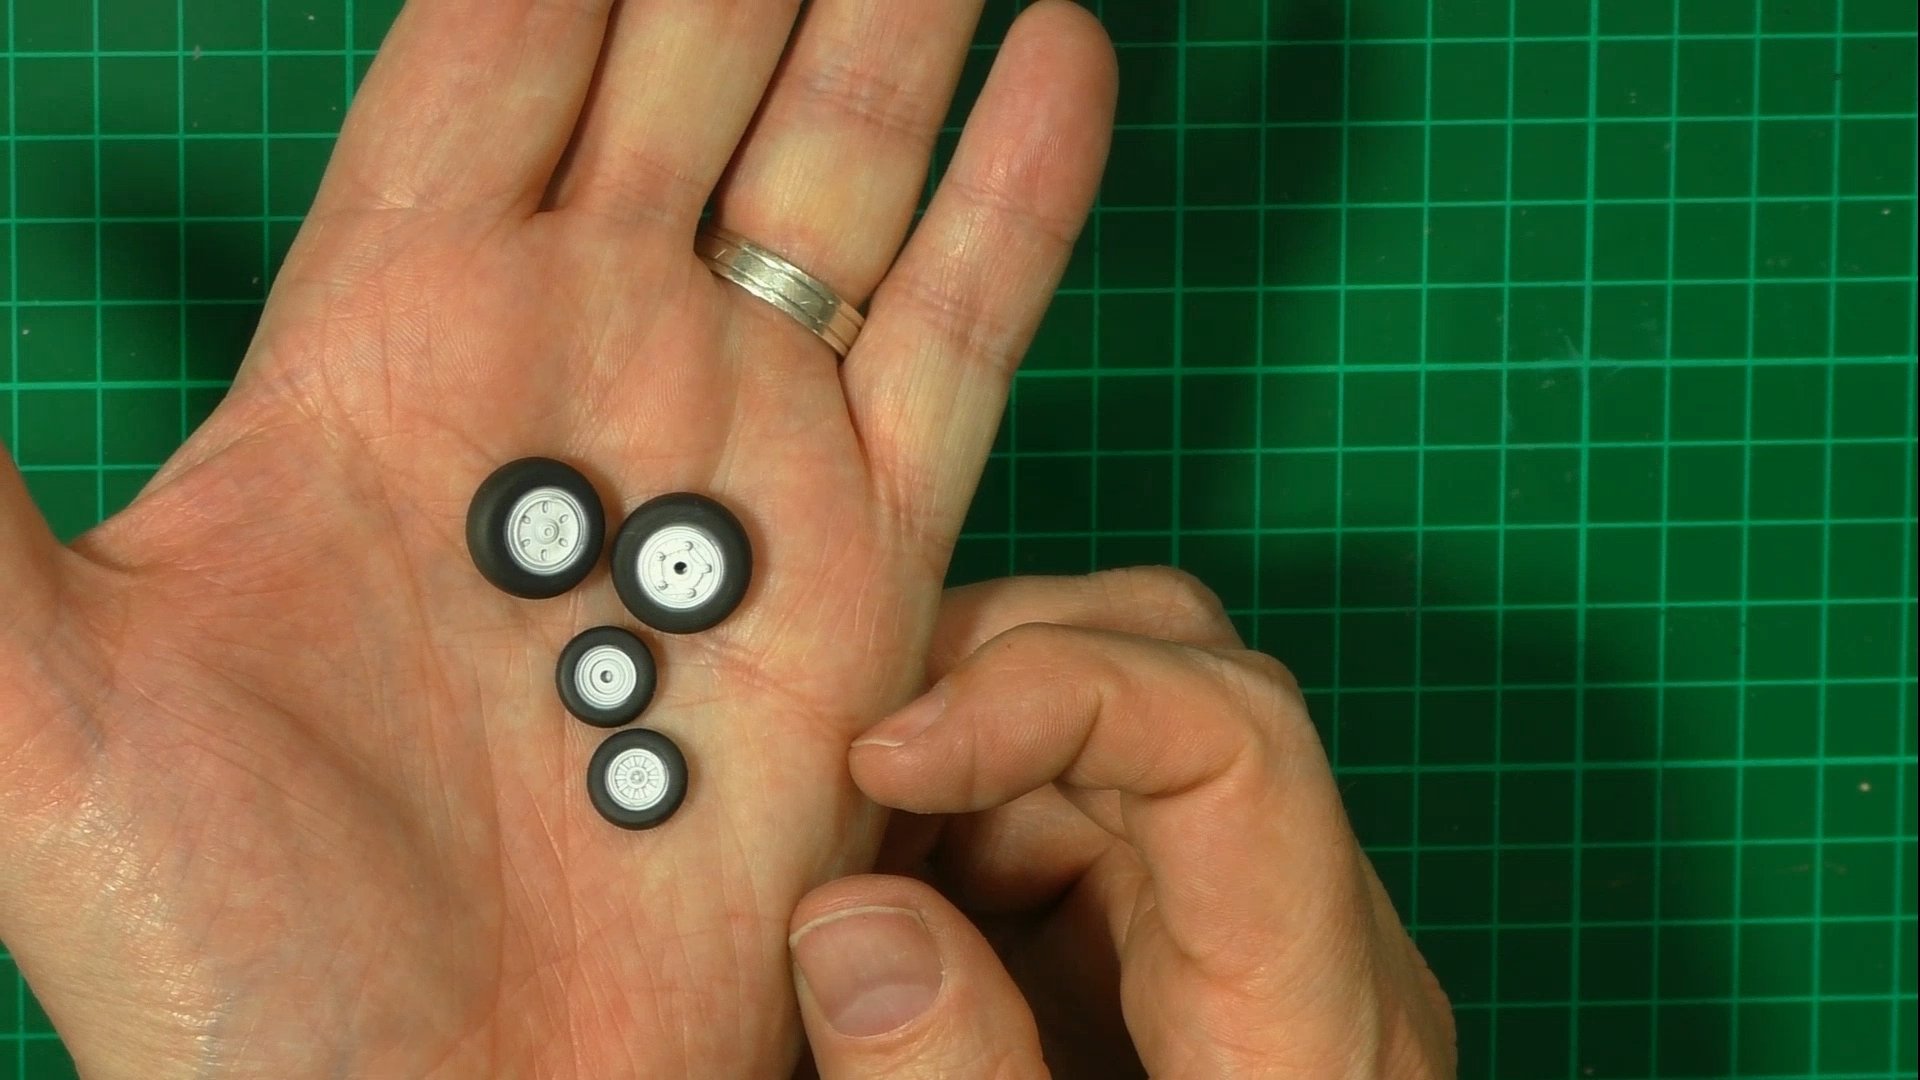
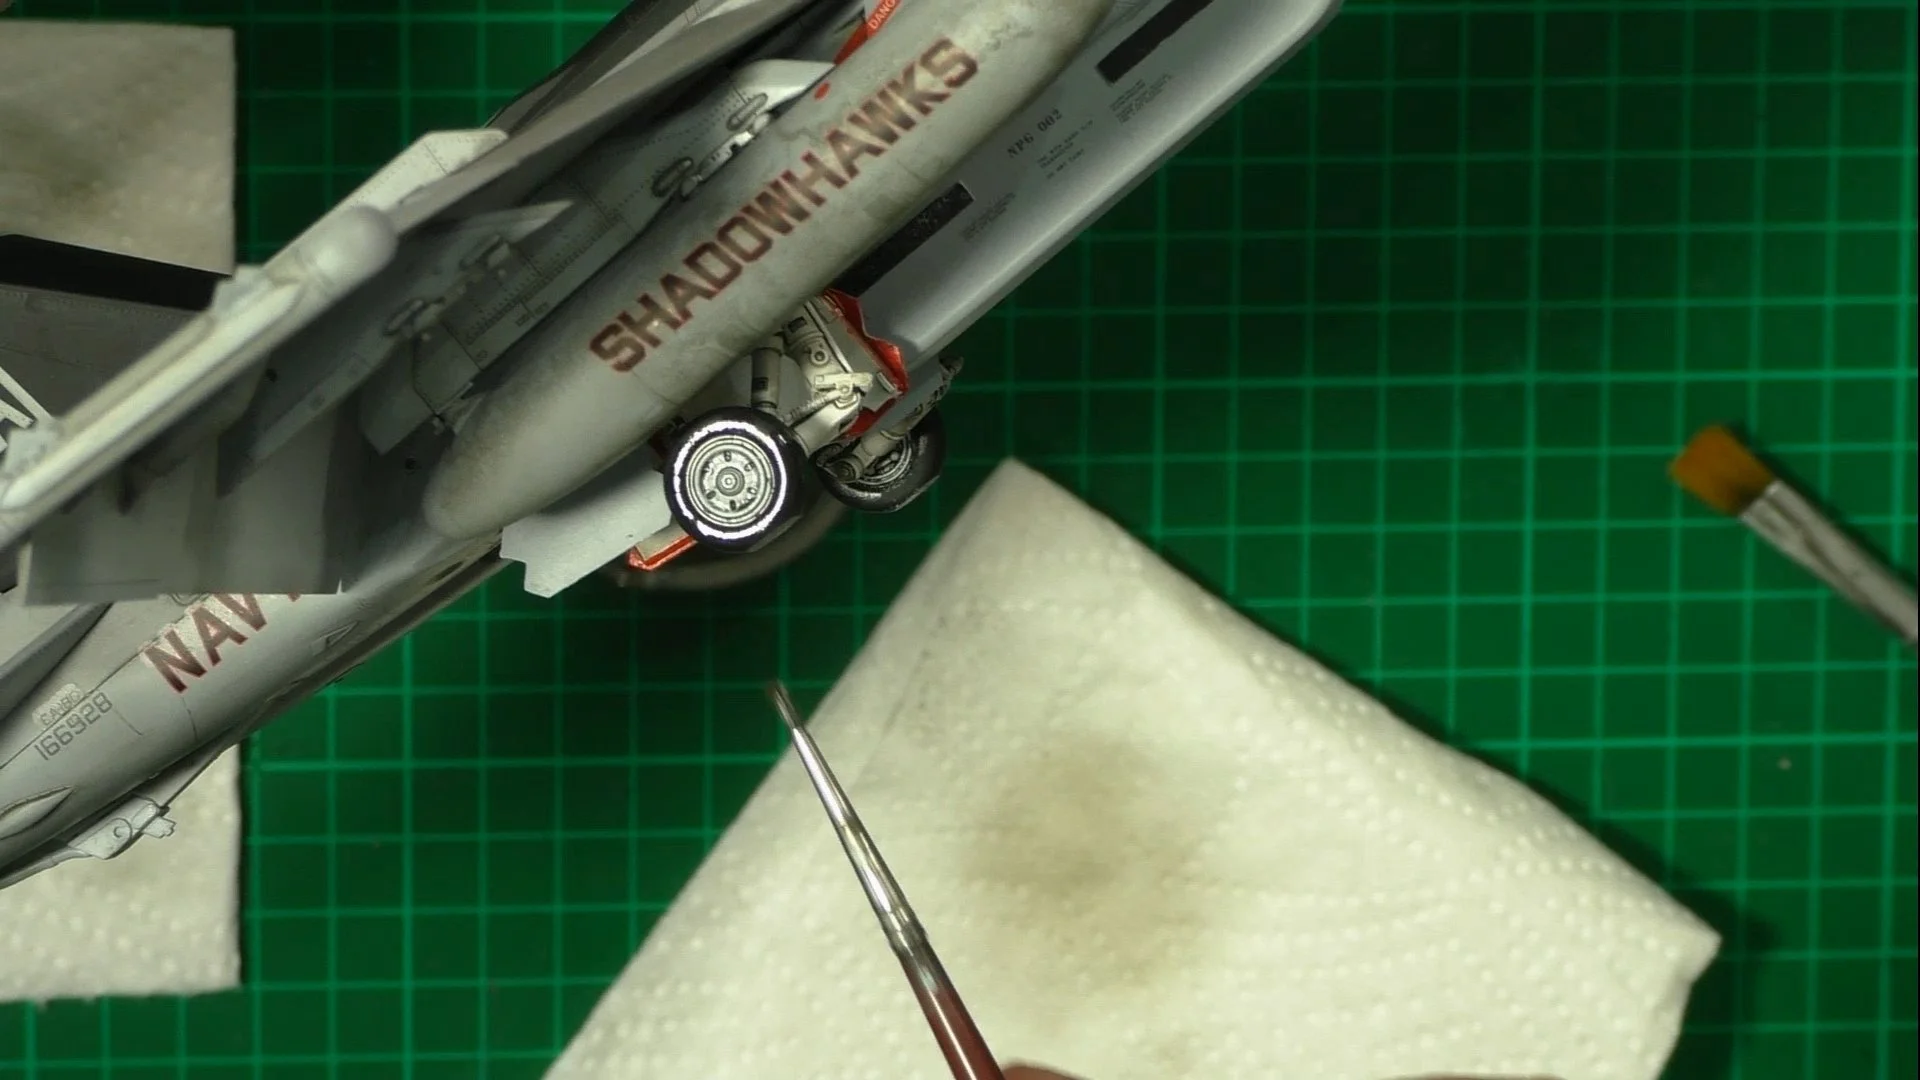
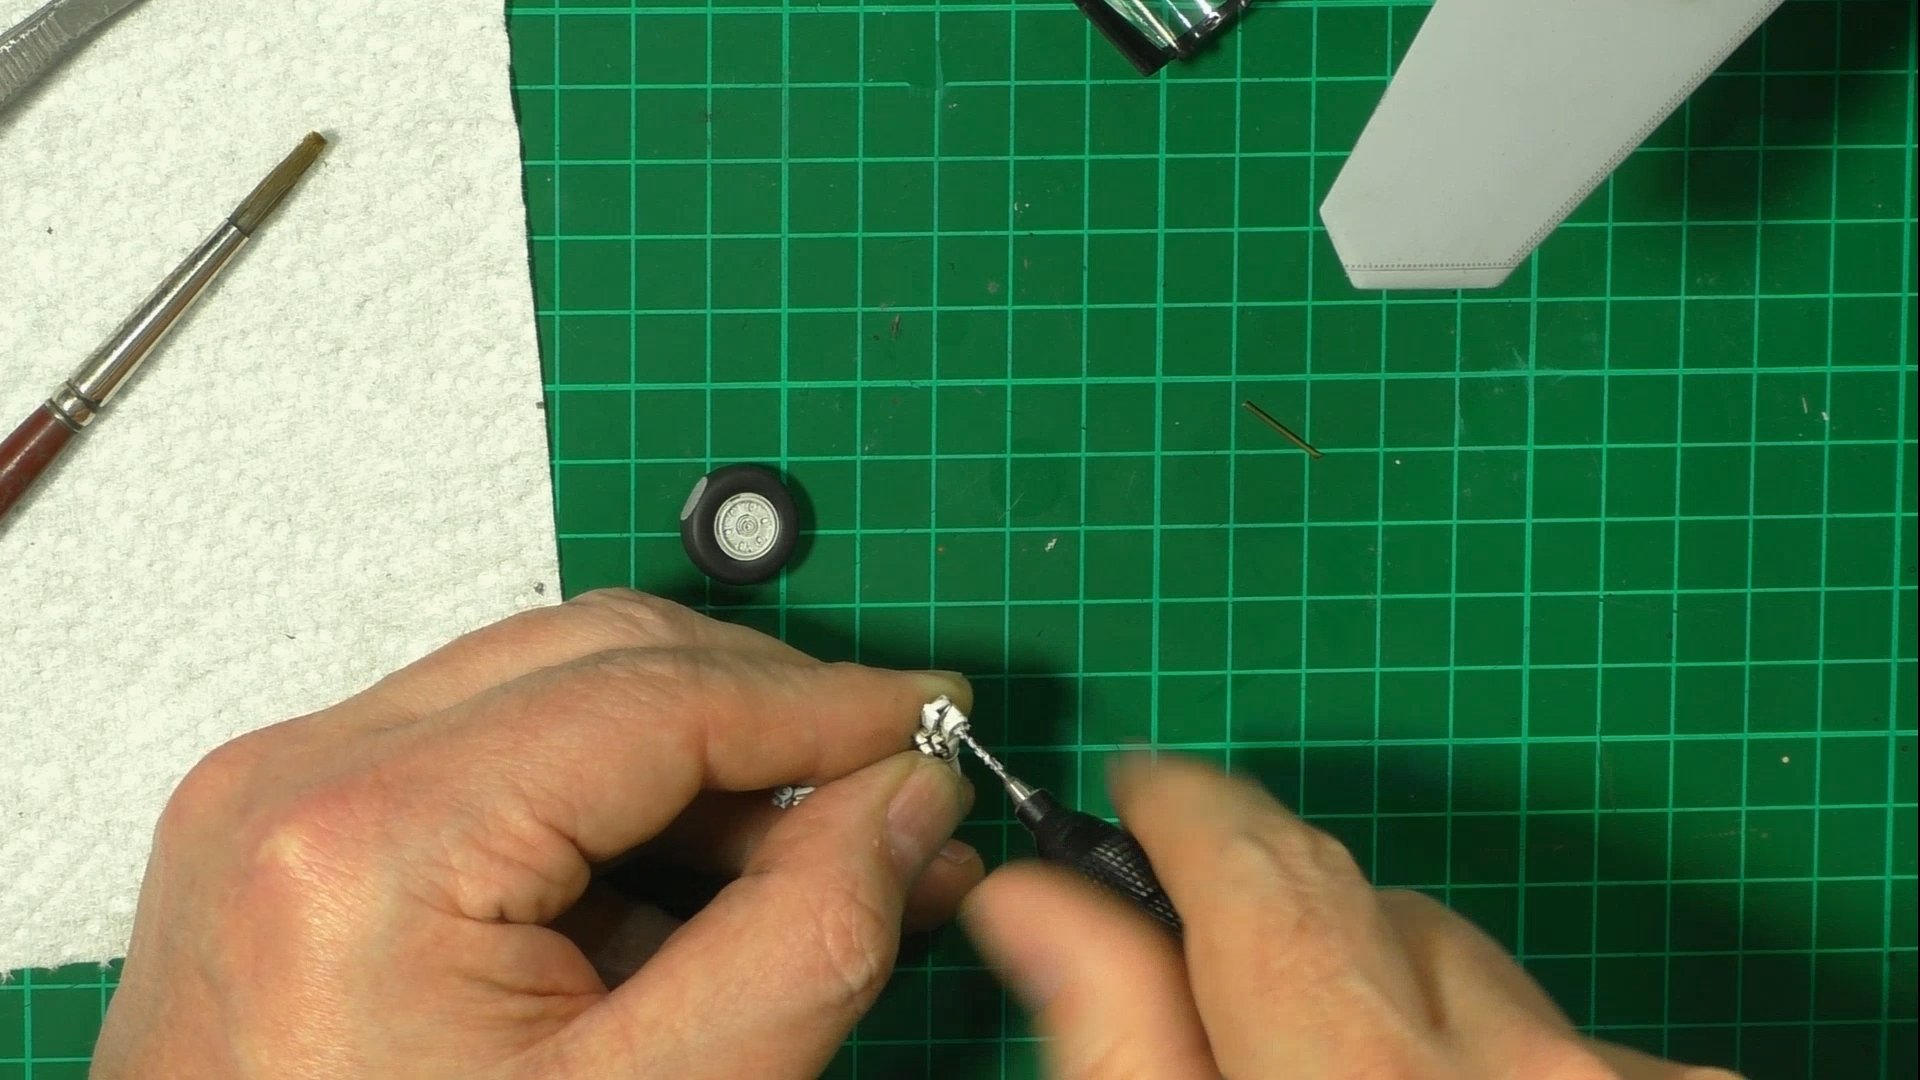
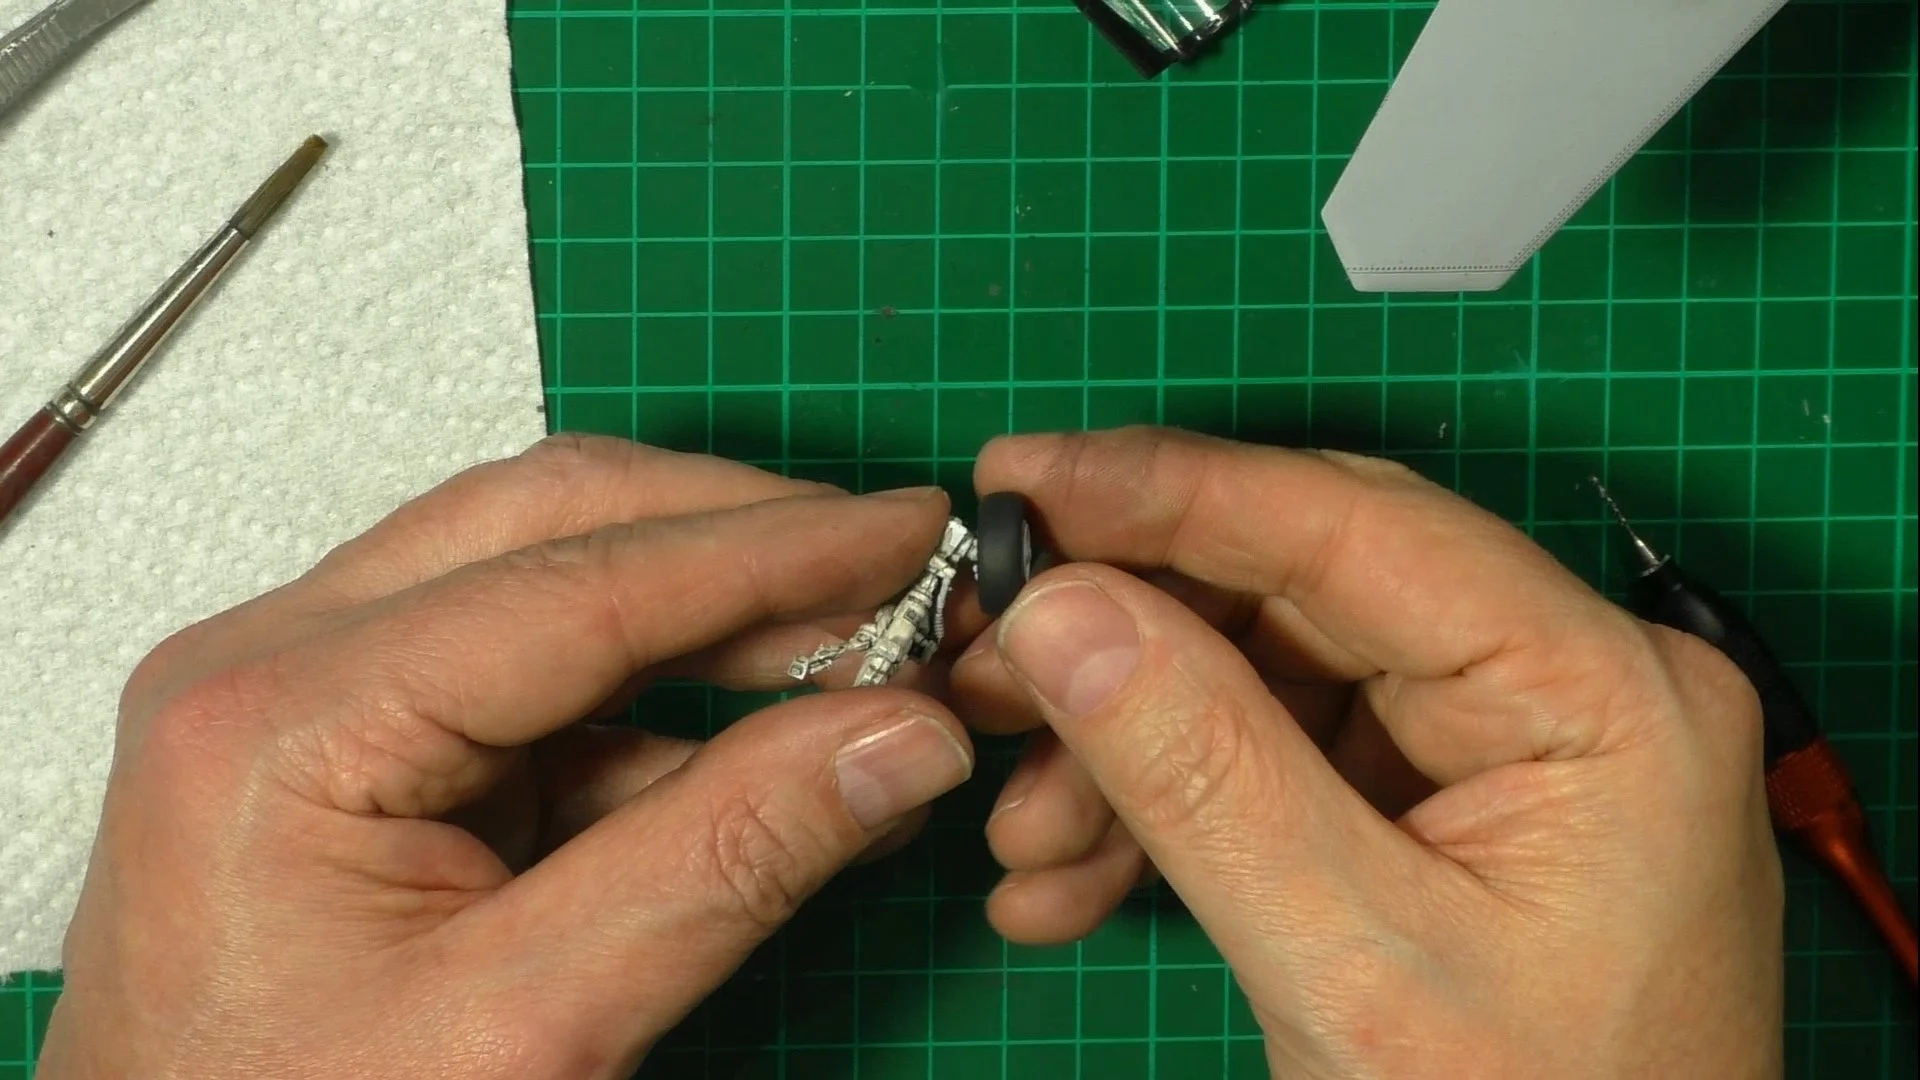
0:00 To start, we paint the wheels. For this, we paint the tyre with Tamiya Rubber Black XF-85 and use a circular template to mask the black and paint with Flat white. 7:42 Next, we use neat Black oils to post-shade and add dirt and streaking effects to the model. 21:39 Here we make a thin oil wash and use this to weather the model to give a mottled effect to the paint work.
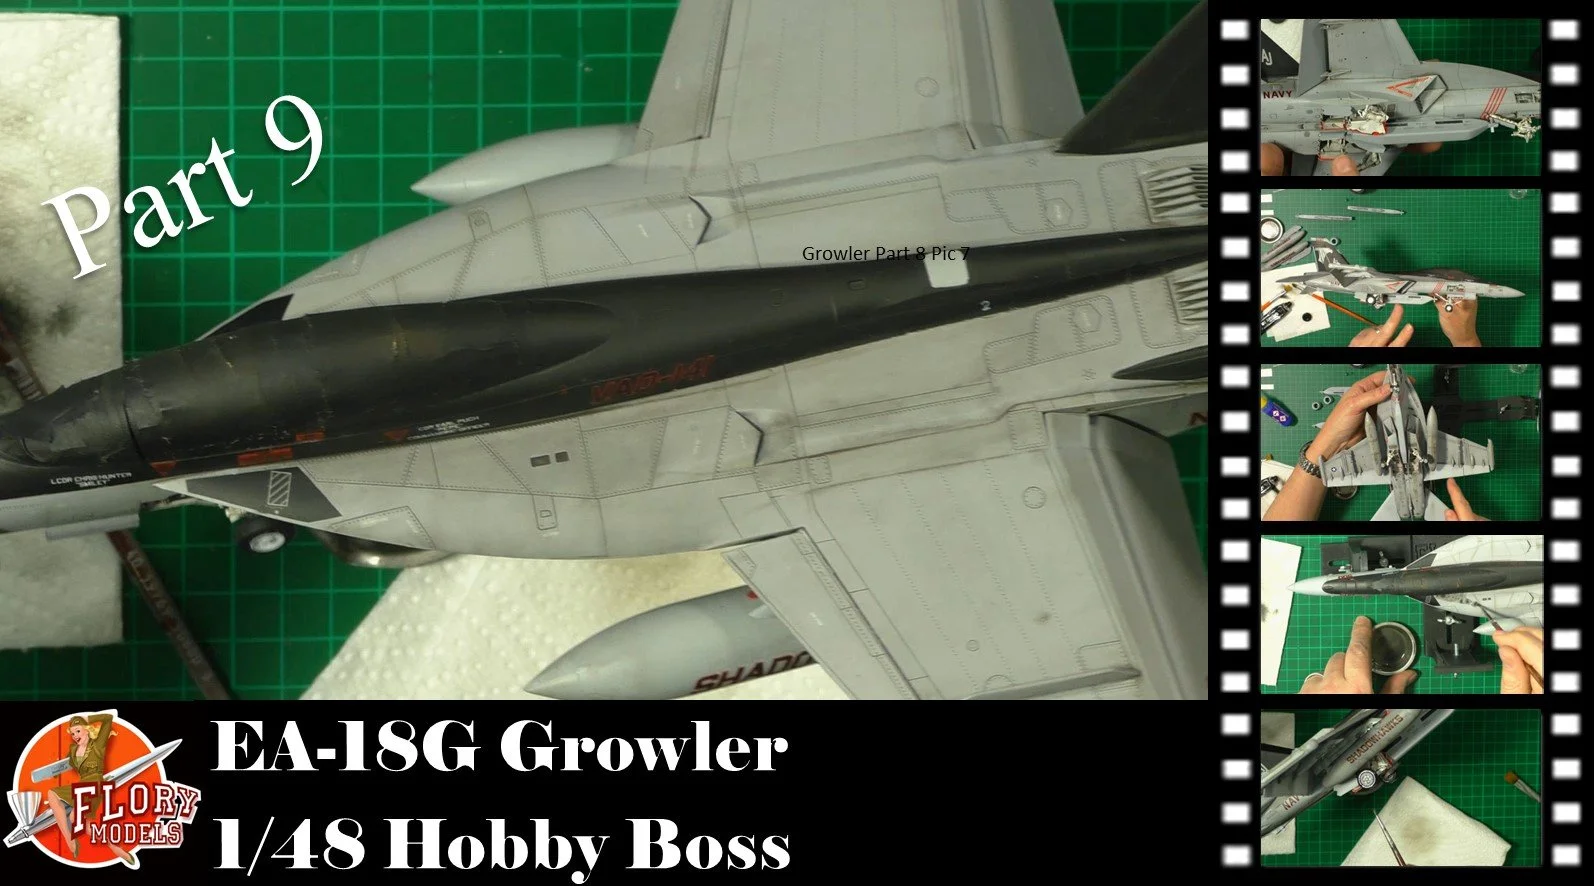
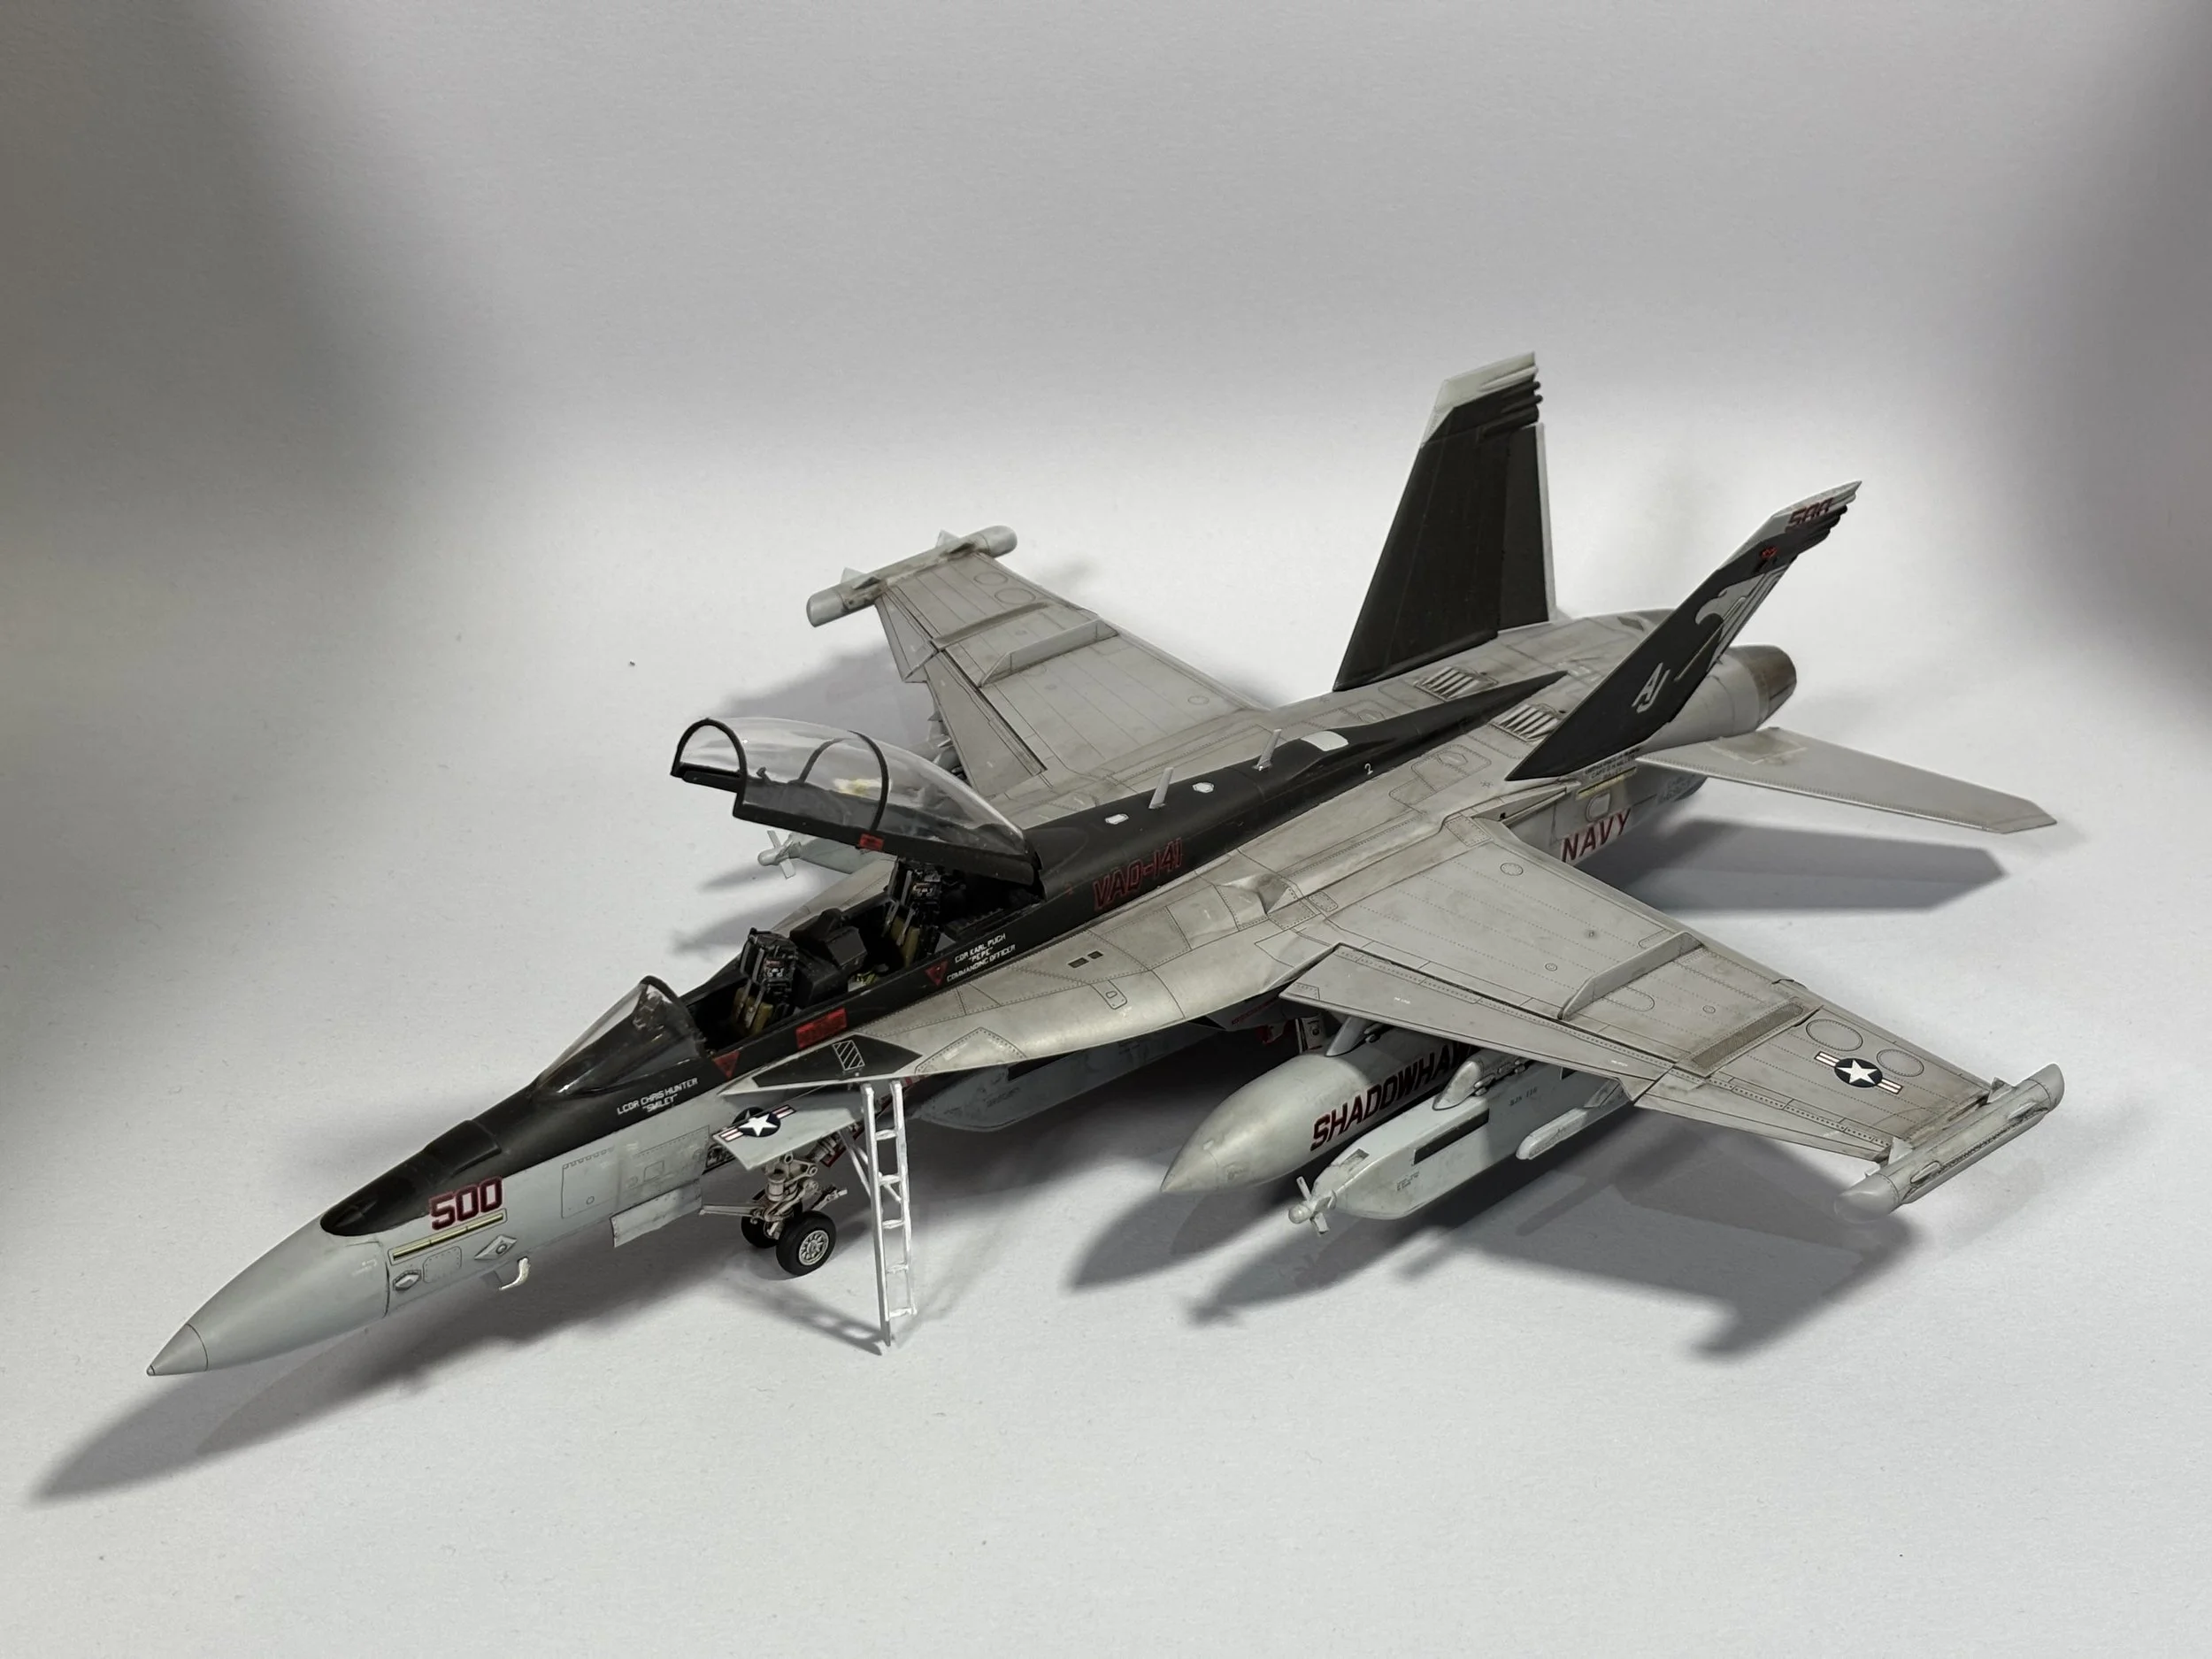
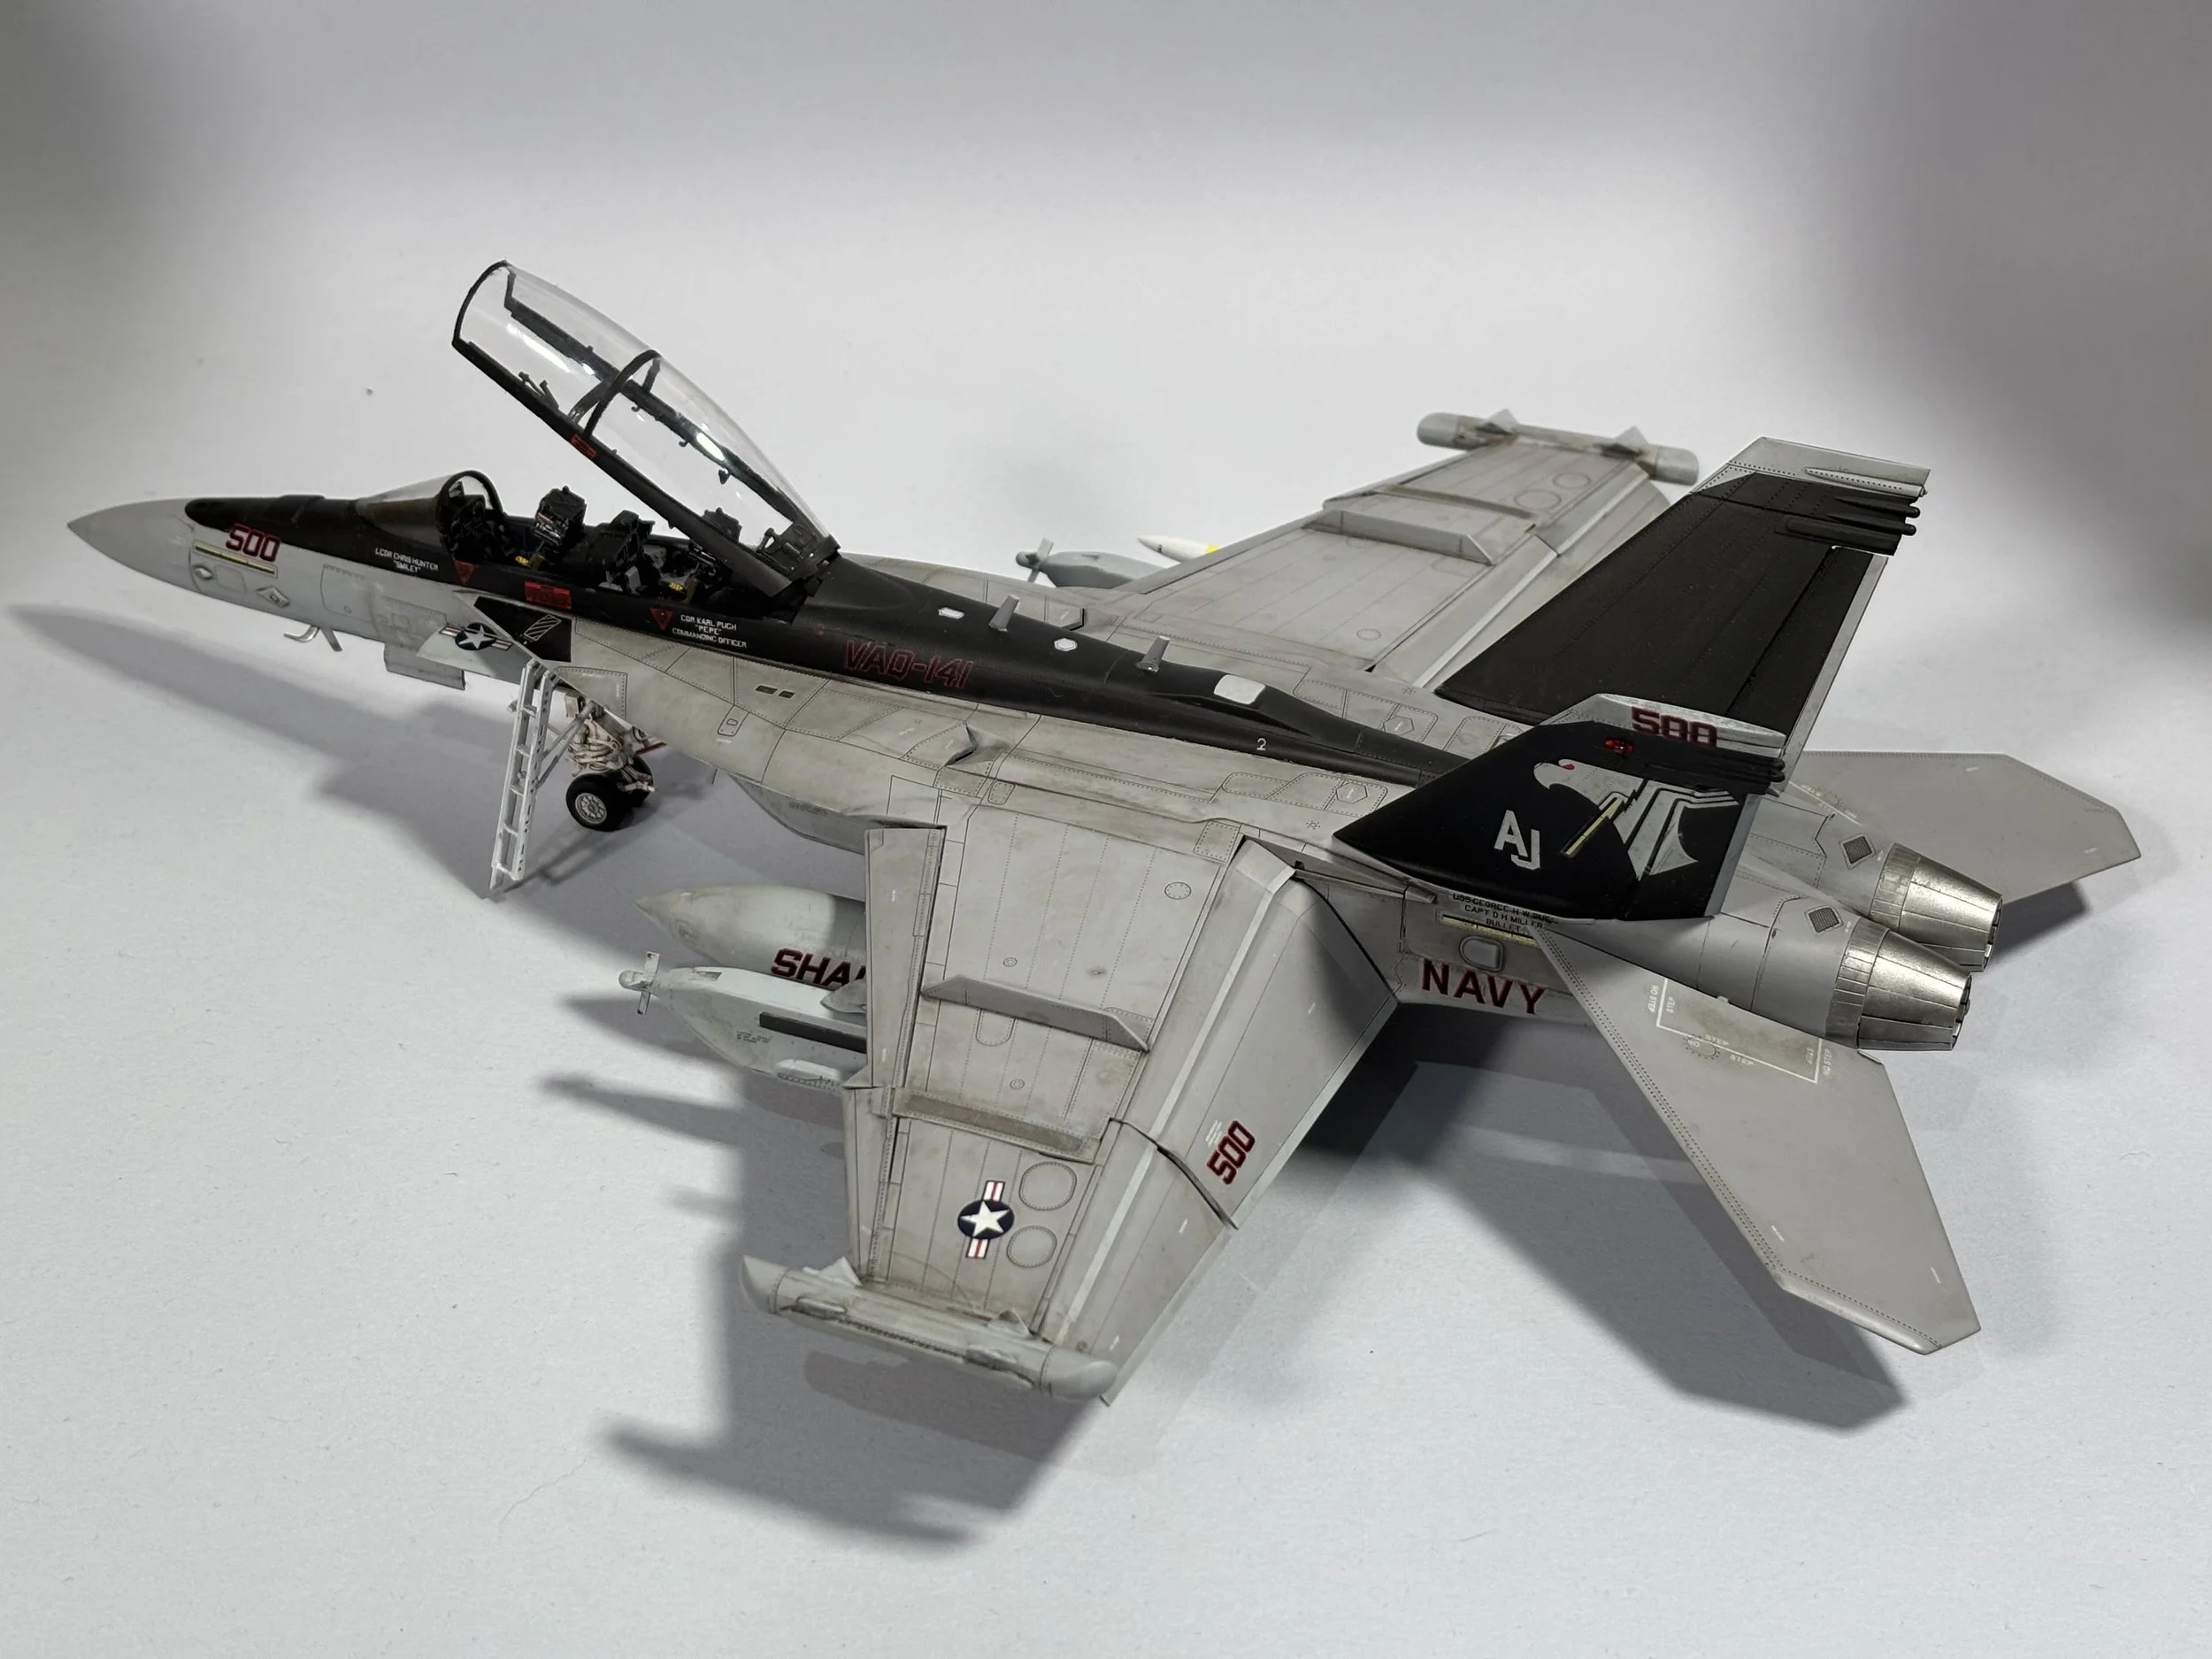
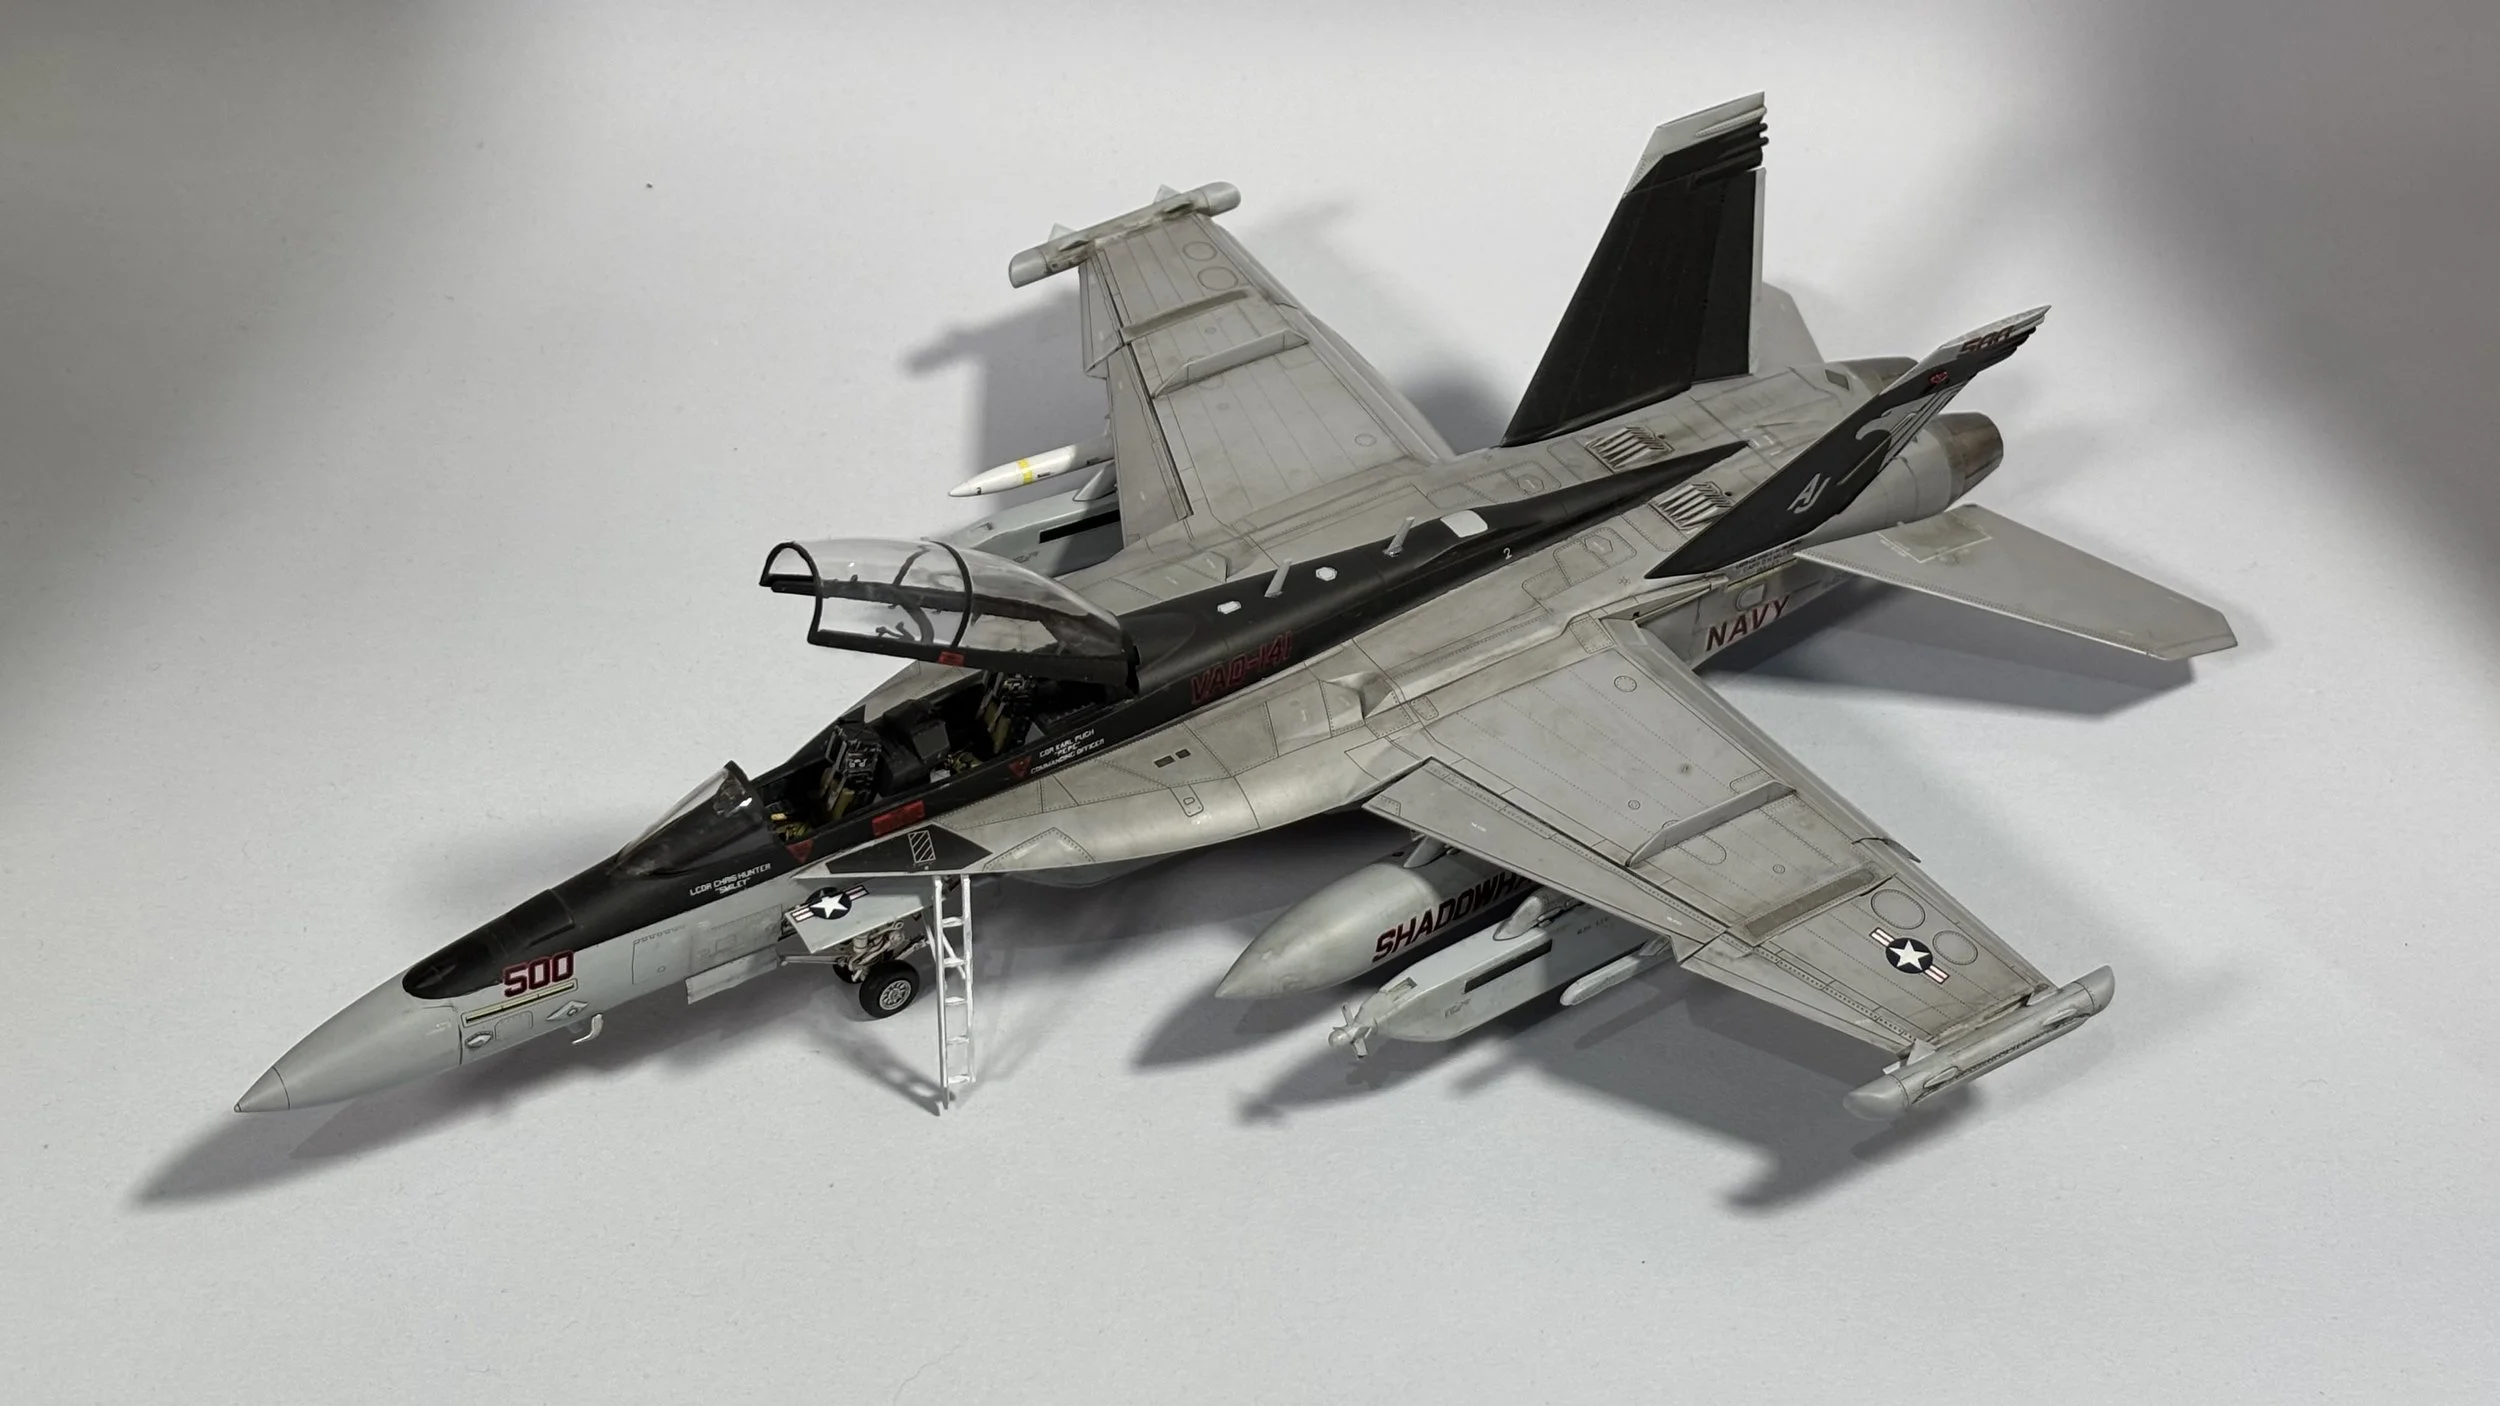
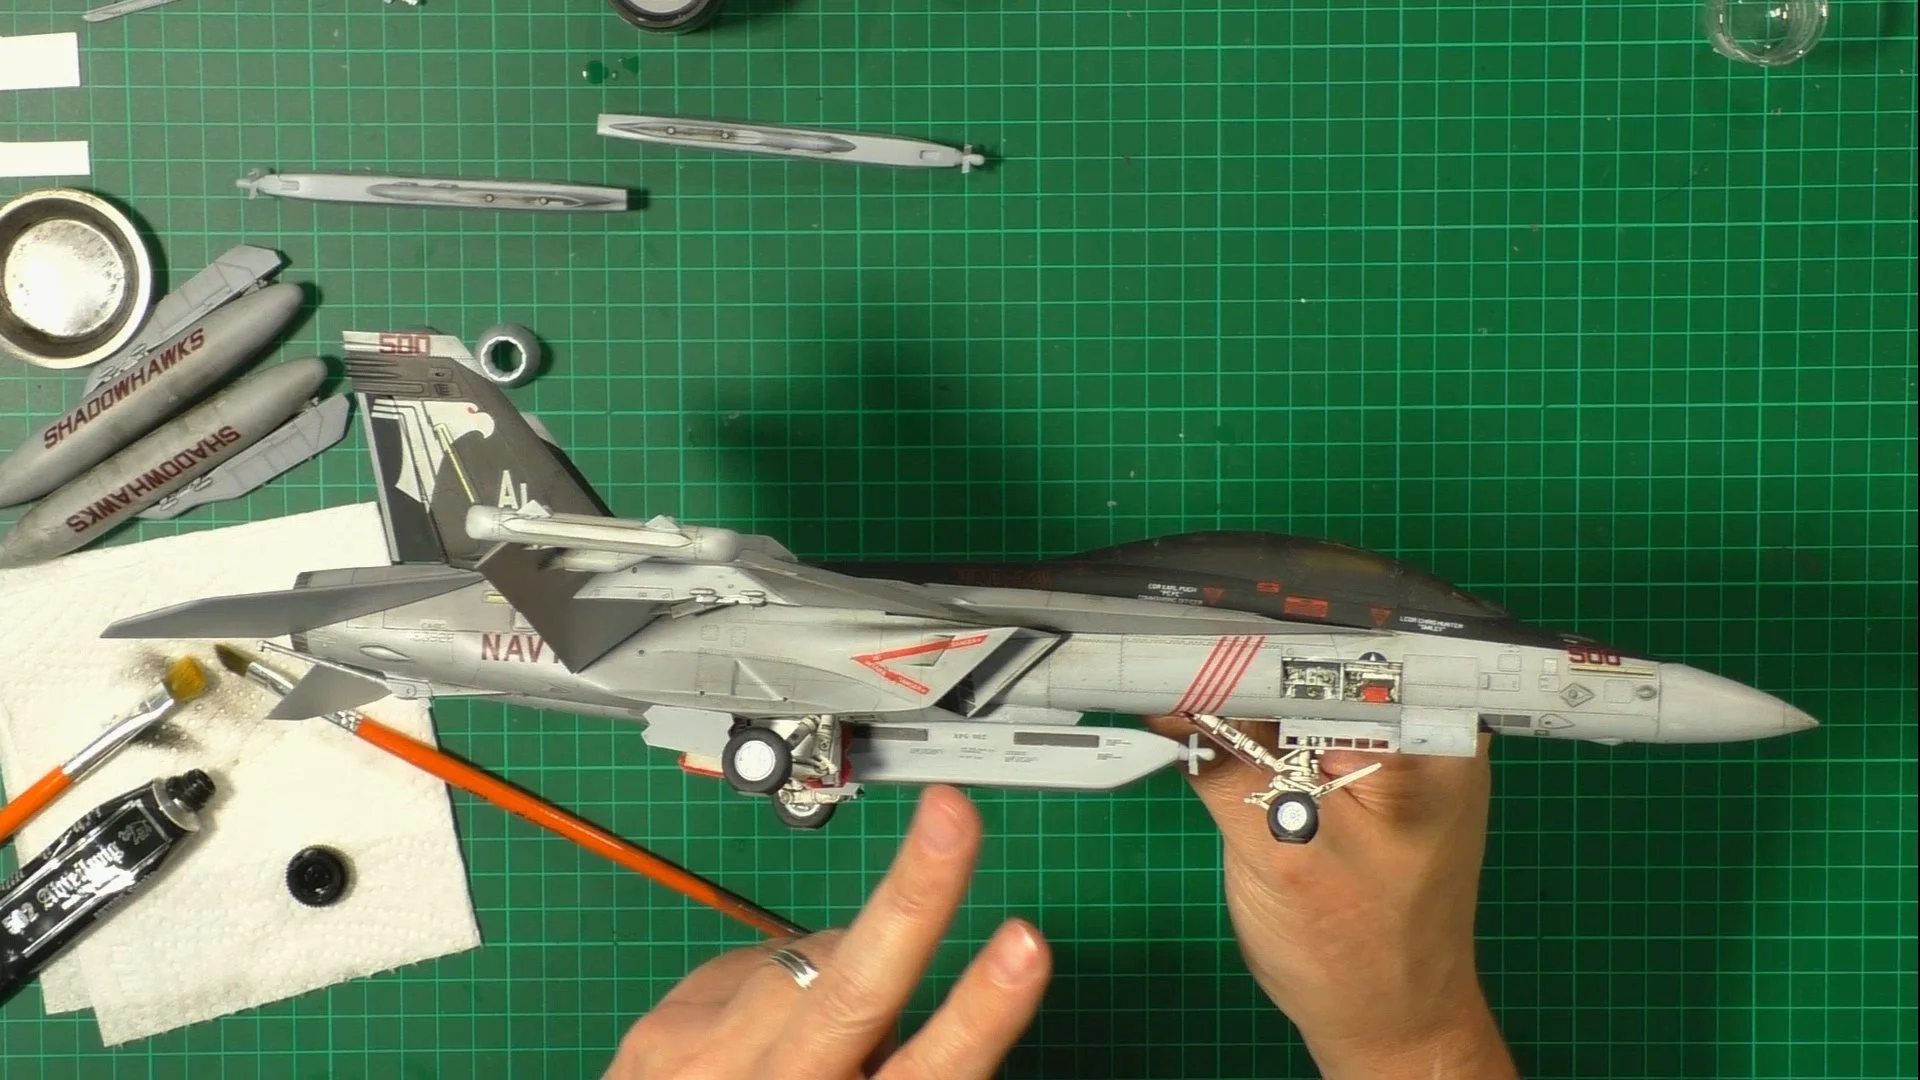
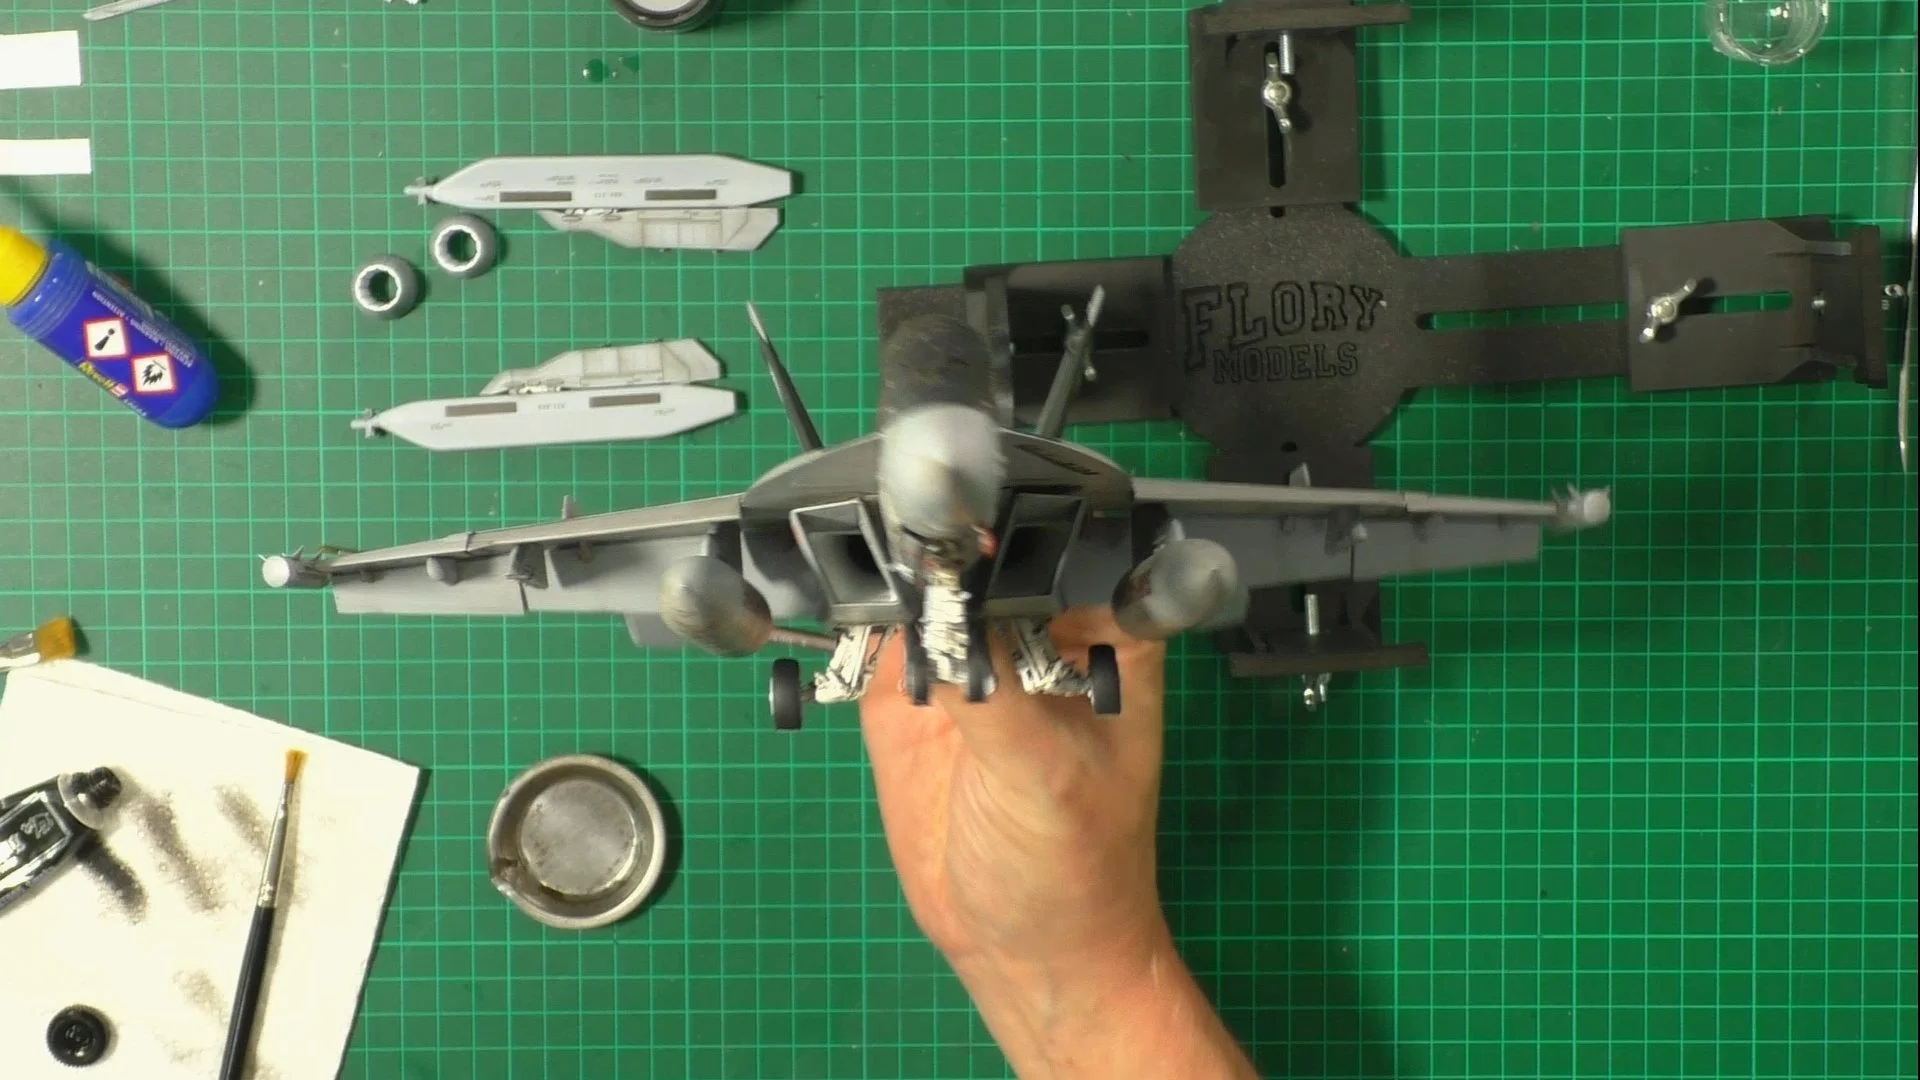
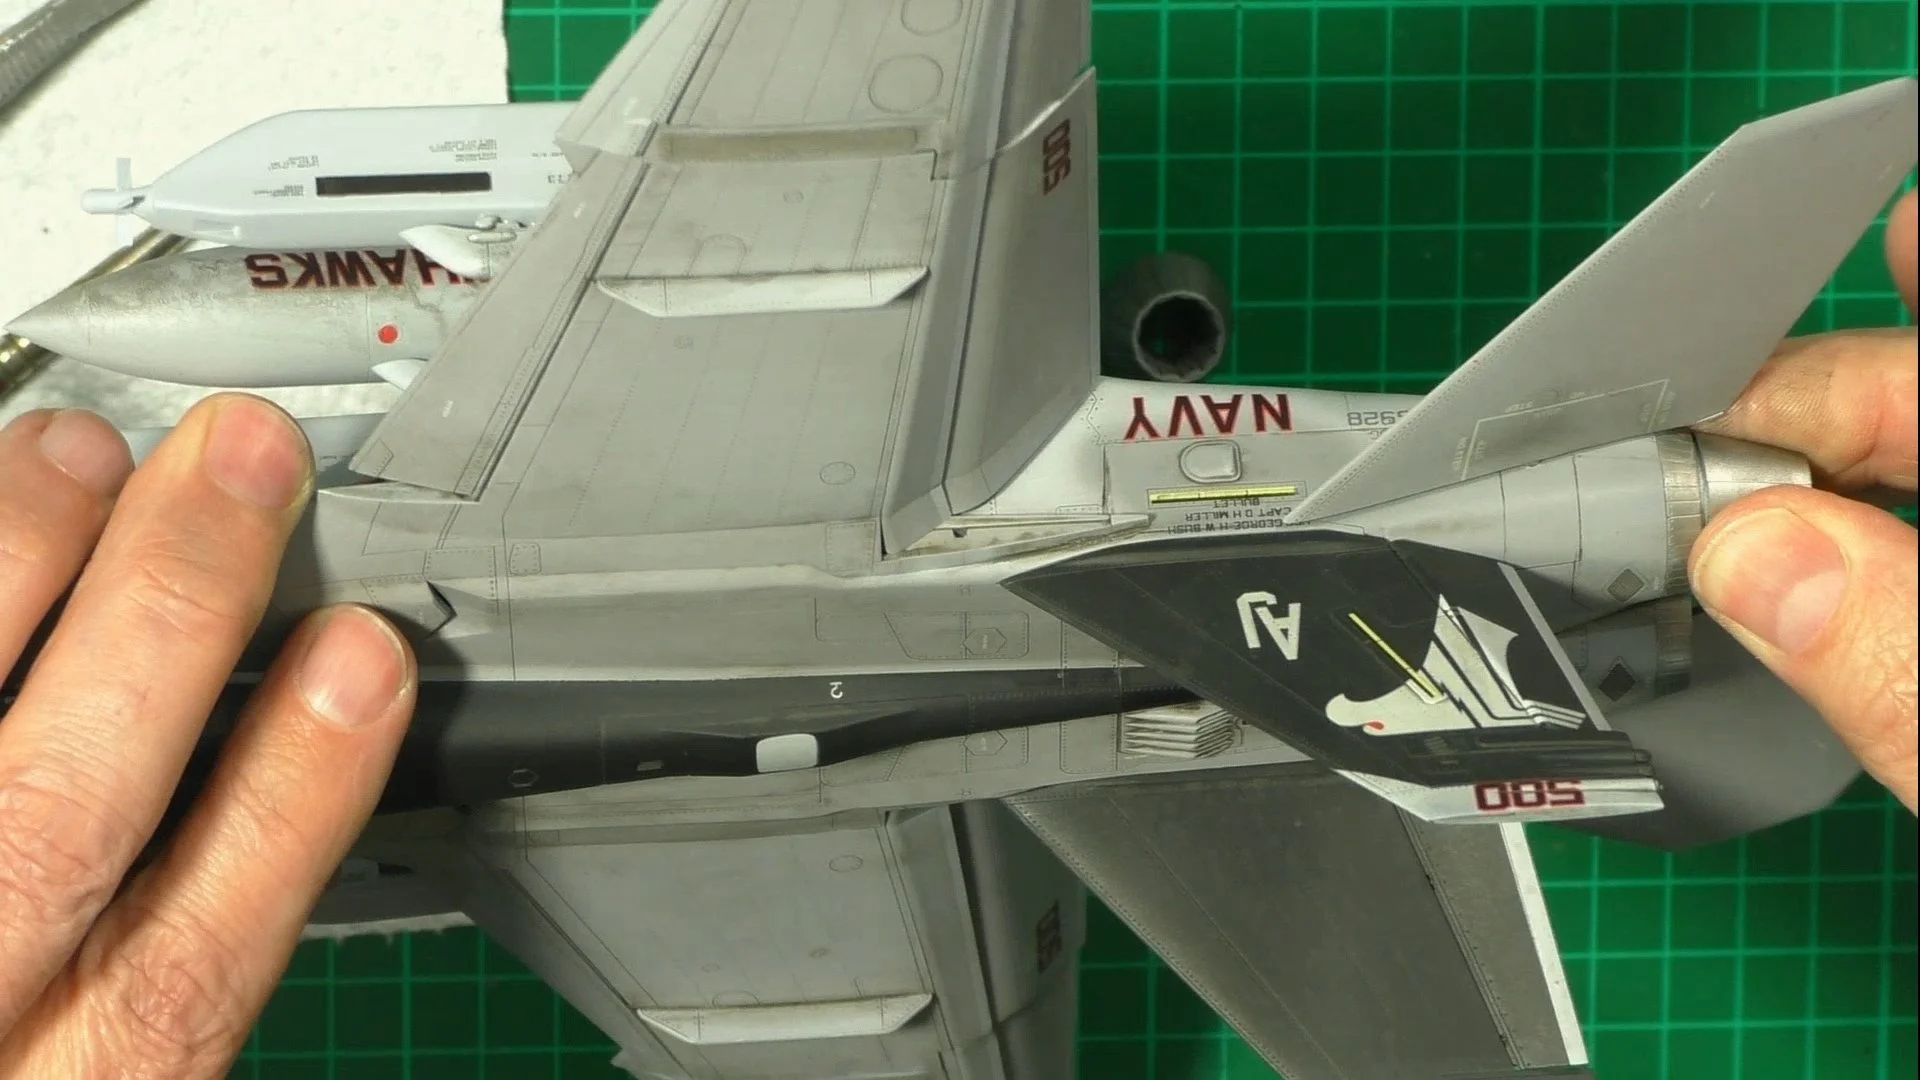
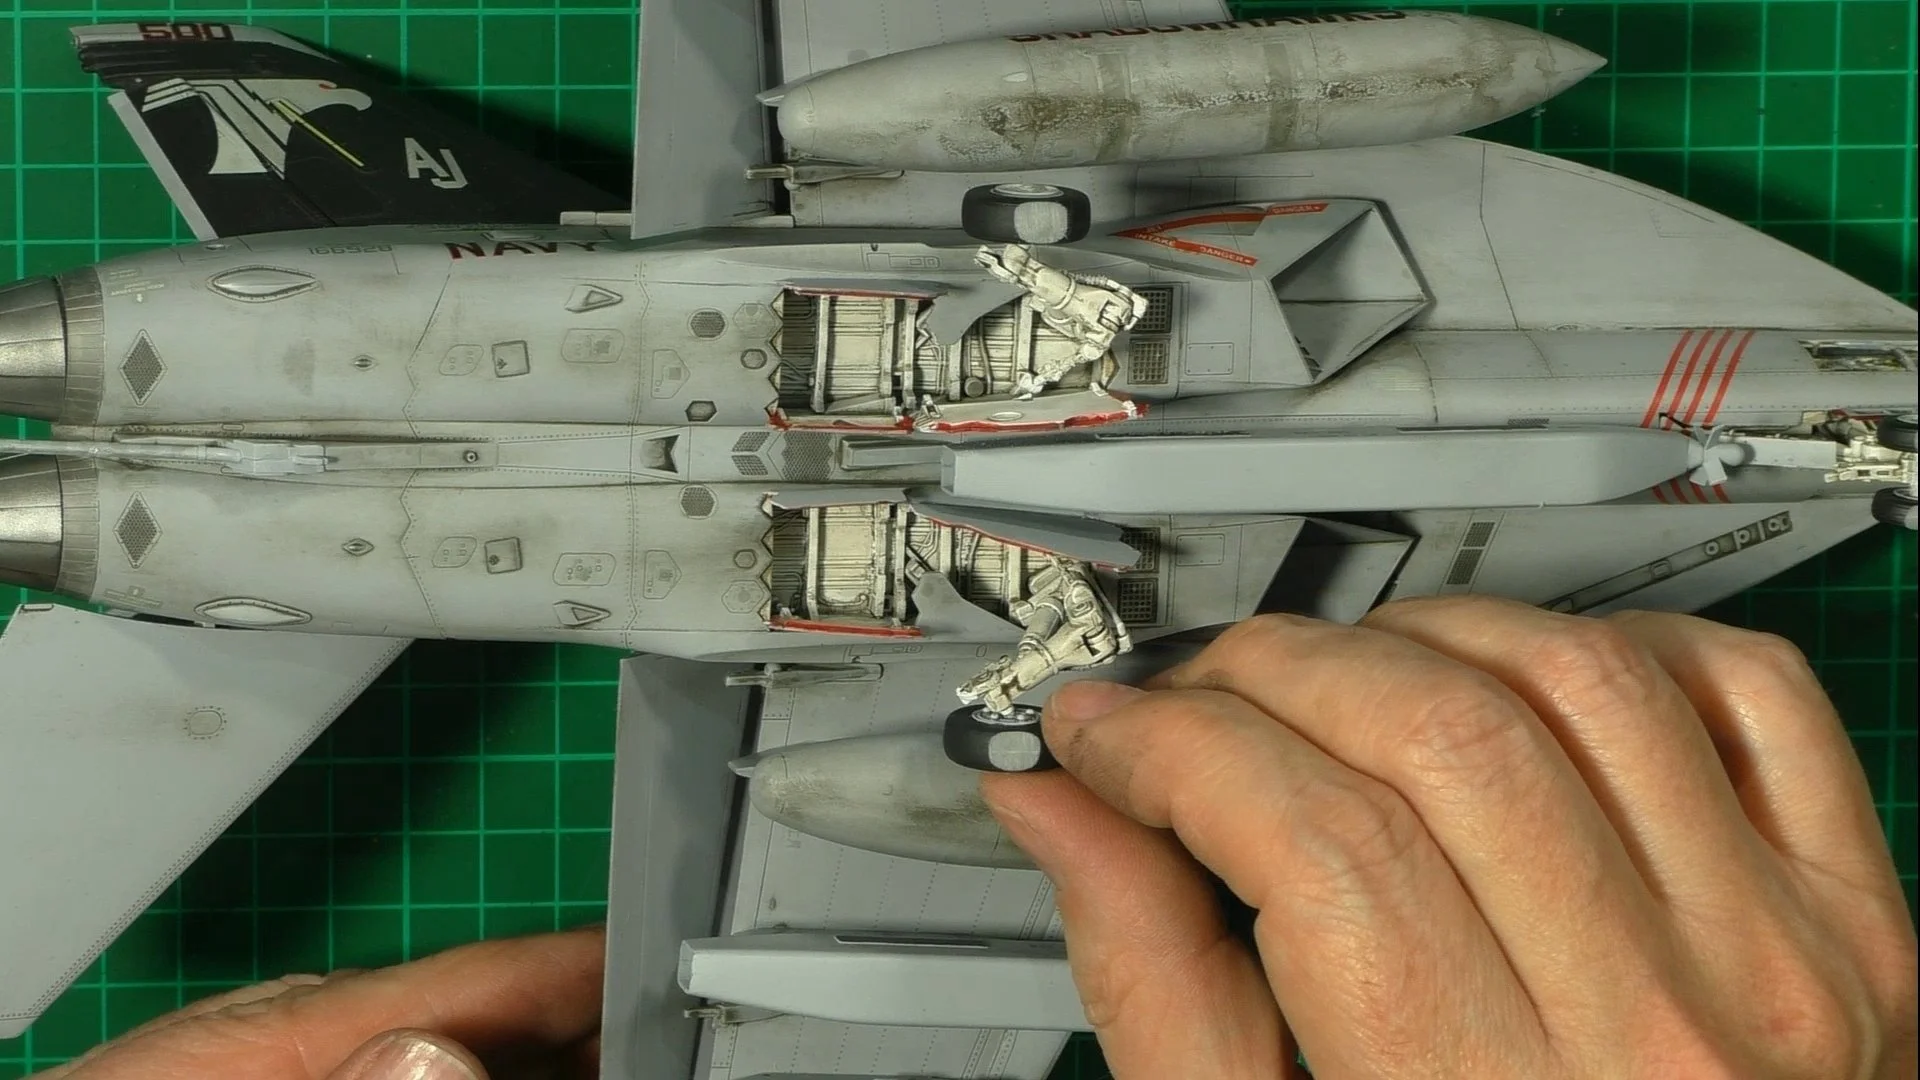
0:00 To start off with, we paint and weather the engine nozzles. 5:44 Next up, we unmask and check the canopy and manage to break the main gear!. 12:00 Here we fix the main gear, we use a 0.5 mm rod and drill and pin 16:53 Now it's time to bring it all together. We add the bay doors, airals. lights etc. 25:31 Last up, we add the PITOs with UV glue. 31:57 The final reveal and thoughts on the build.