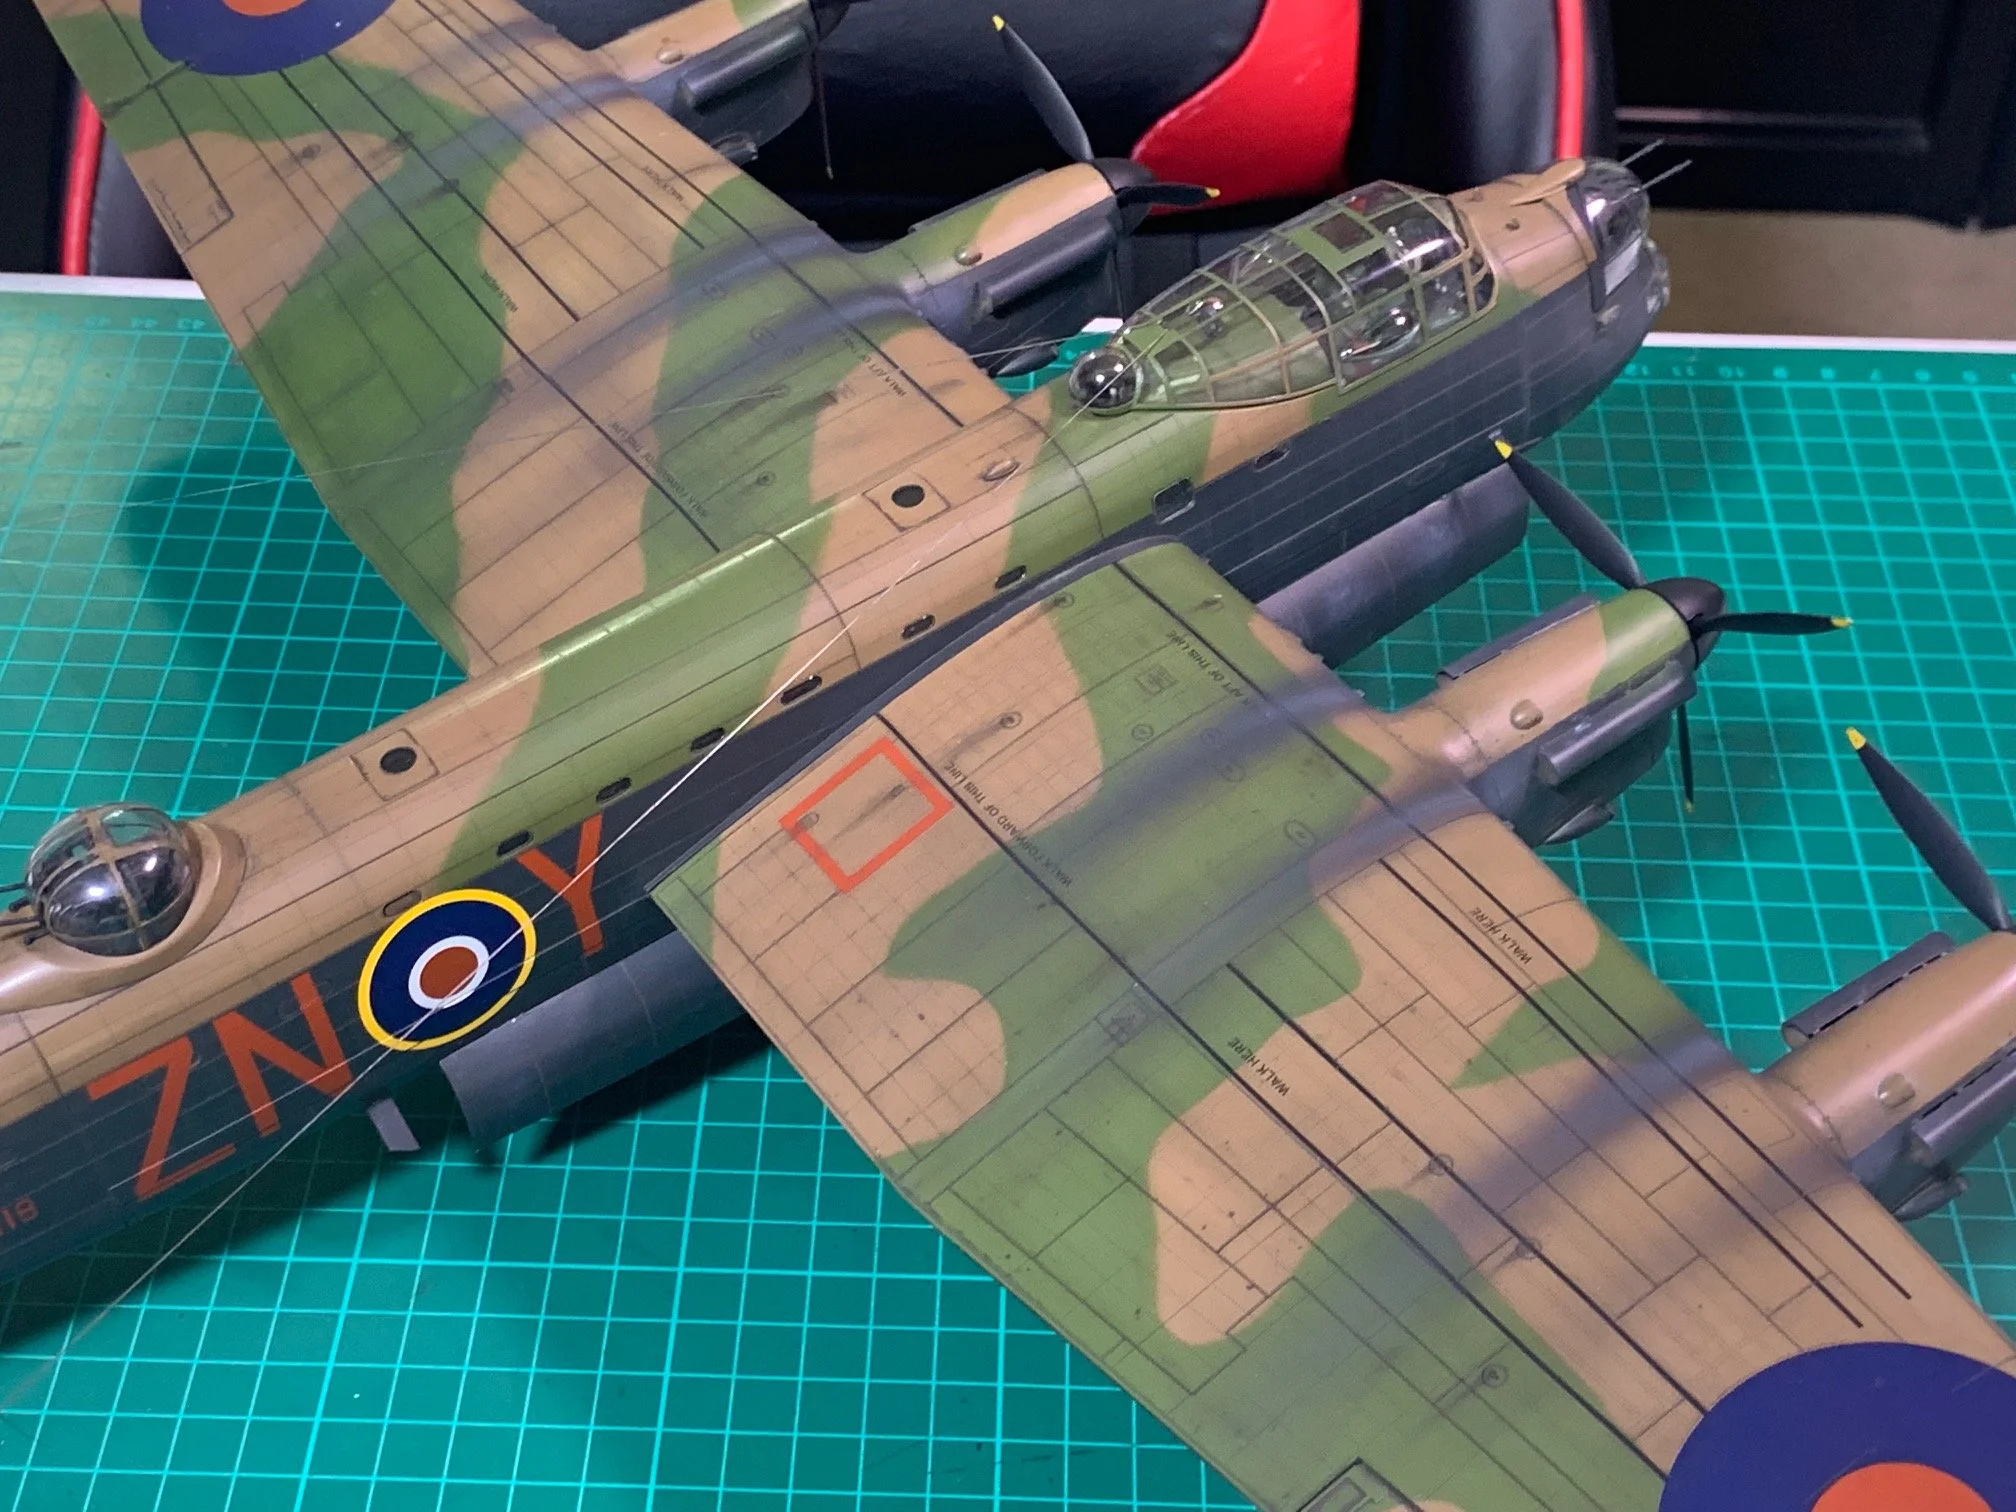
Lancaster Mk.I
Scale: 1/48
Manufacturer: HK Models
Parts used: Look Cockpit set, Master barrel guns and Mask set.
Main paints used: Tamiya and AK Real Colors
In part one, we look at the build ahead and start on the Flight deck and the fusalage.

In Part two, we paint and weather the interior with a mix of Tamiya paints and posca pens and then weathered with dry brushing and oil washes. Next it’s time to mask up the glass work and install the fuselage windows before joining the to halves together.

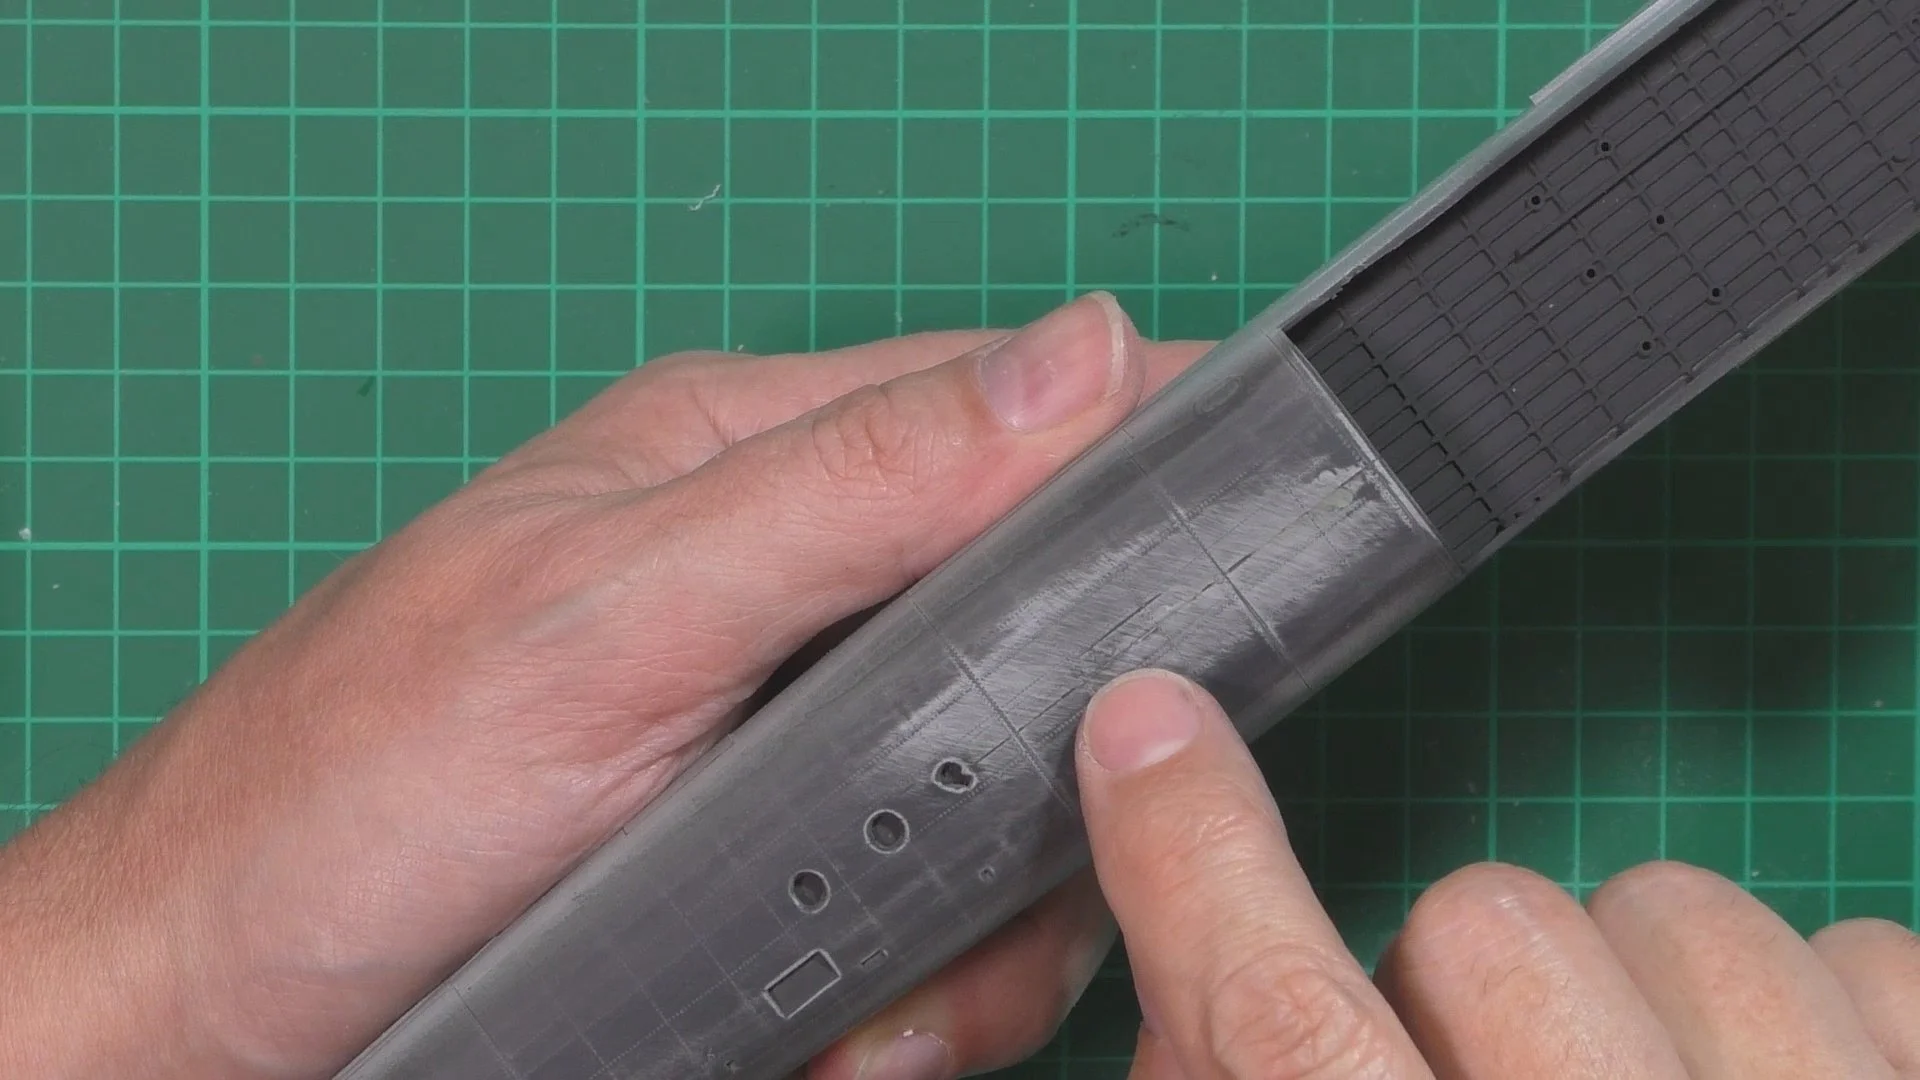
In Part three, we take care of the seam line with CA and talc for a seamless finish and the start on the gun turrets and replacing the barrels with the gorgeous master barrel ones.

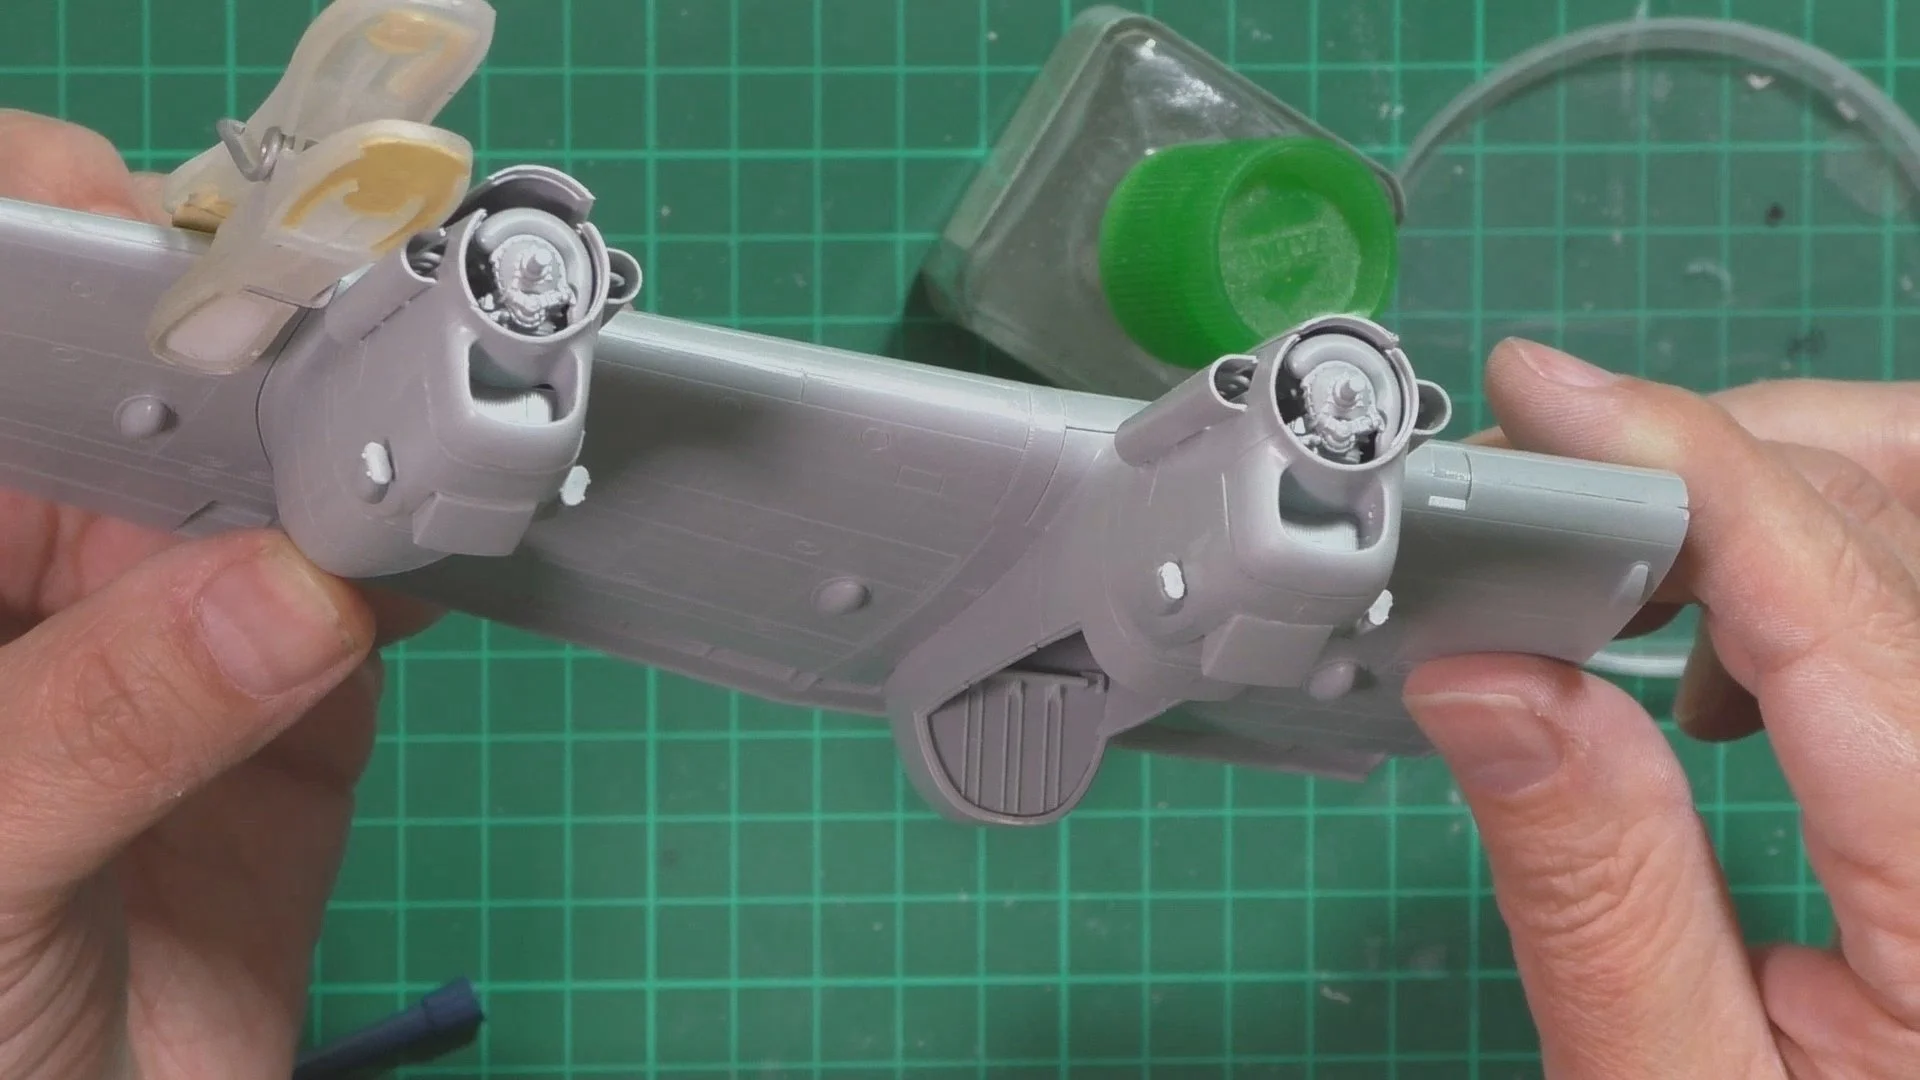
In part four, we finish the cockpit glass area and install the bulged side windows and then build the four merlin engines along with the engine nacelles for them.

In Part five, we add the bulged windows and glue in place and then put the engines and nacelles and add to the wings. Next it’s time to seam check with some black paint and sand back to look for any problems. Last we build the undercarriage.

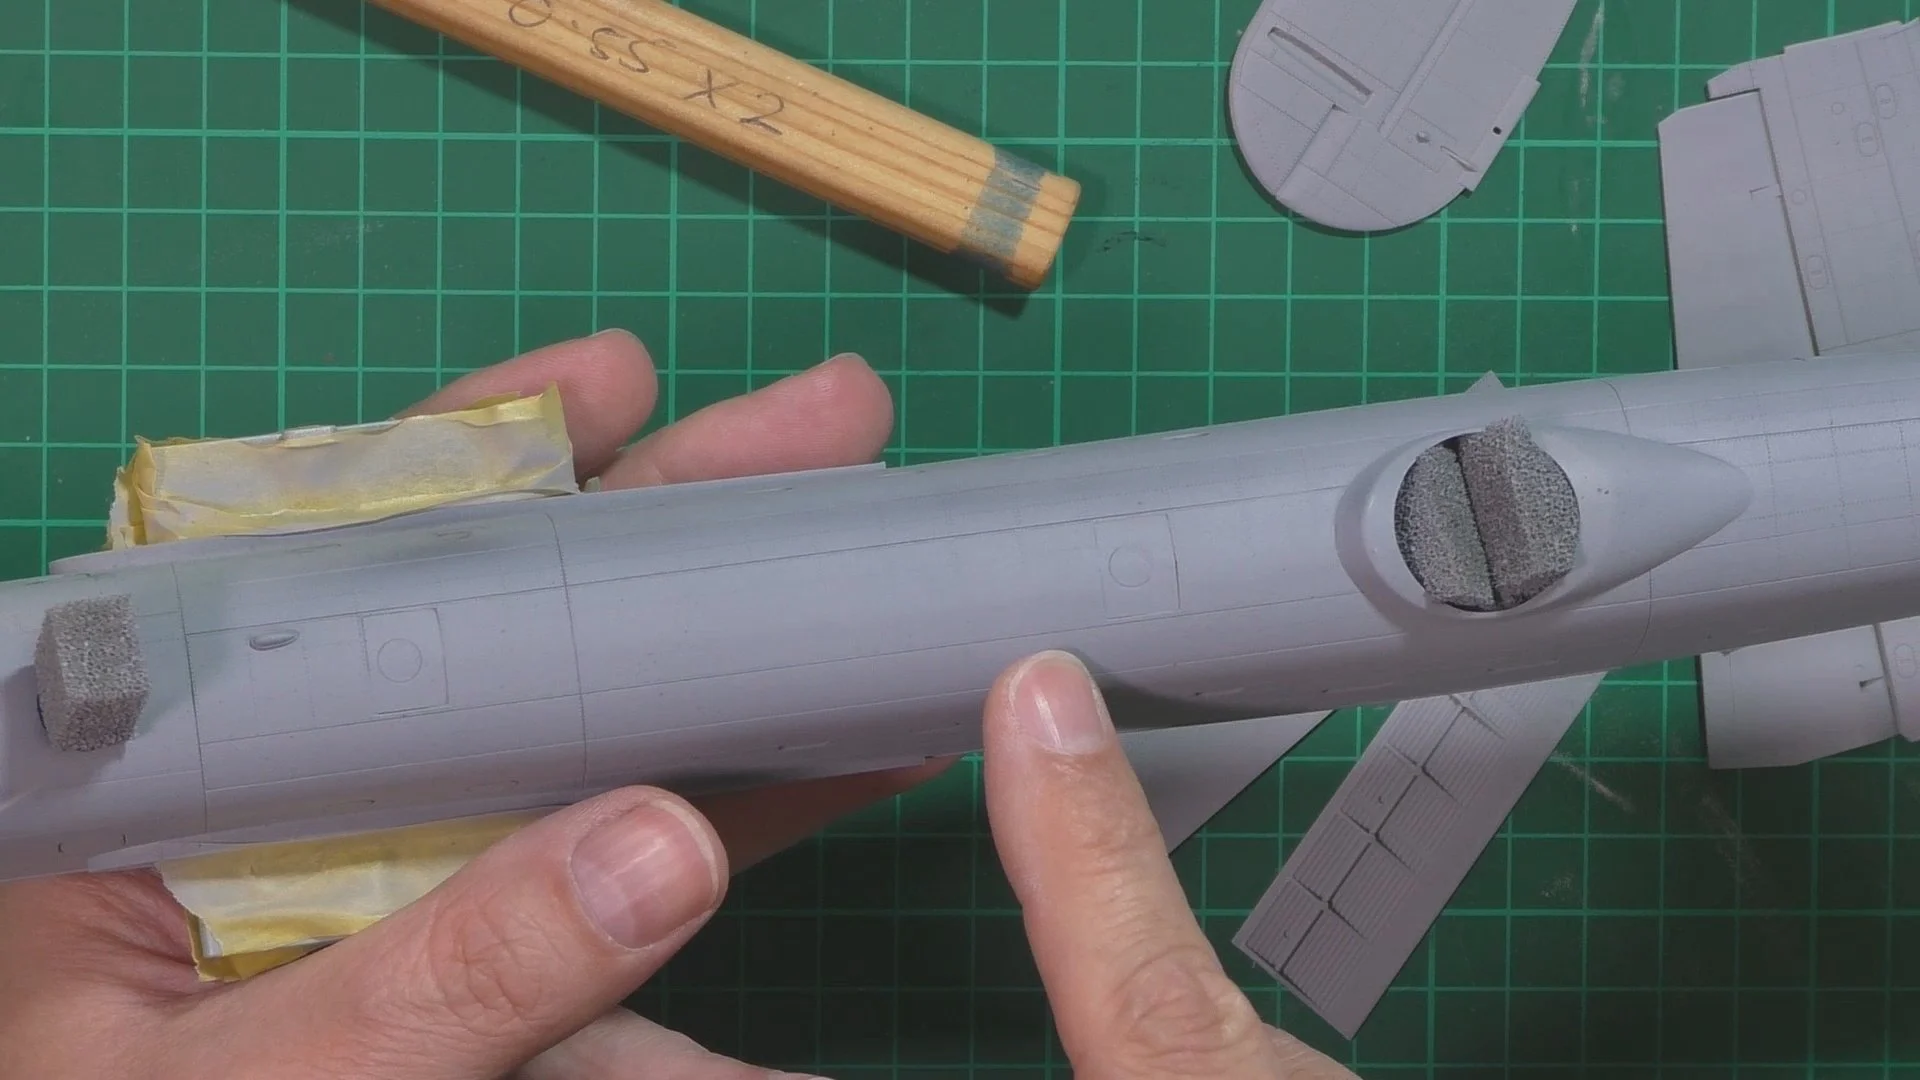
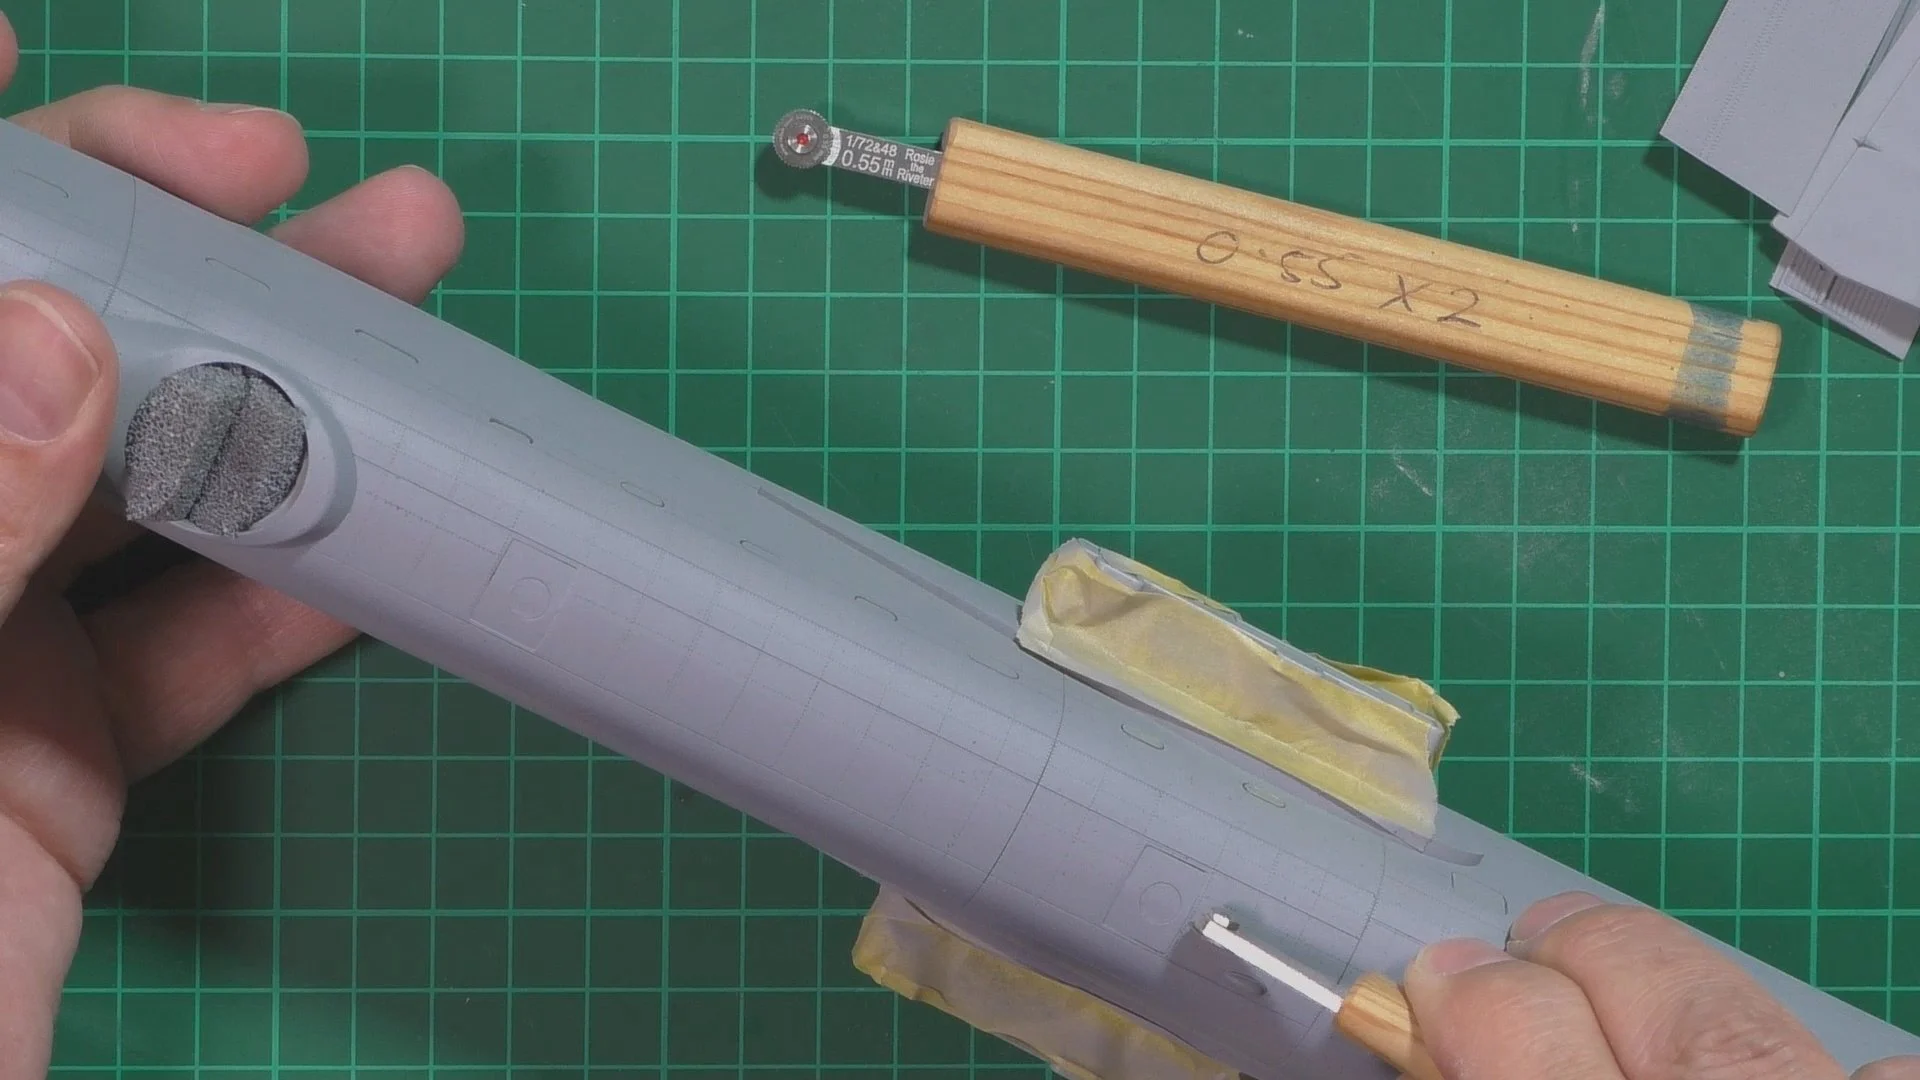
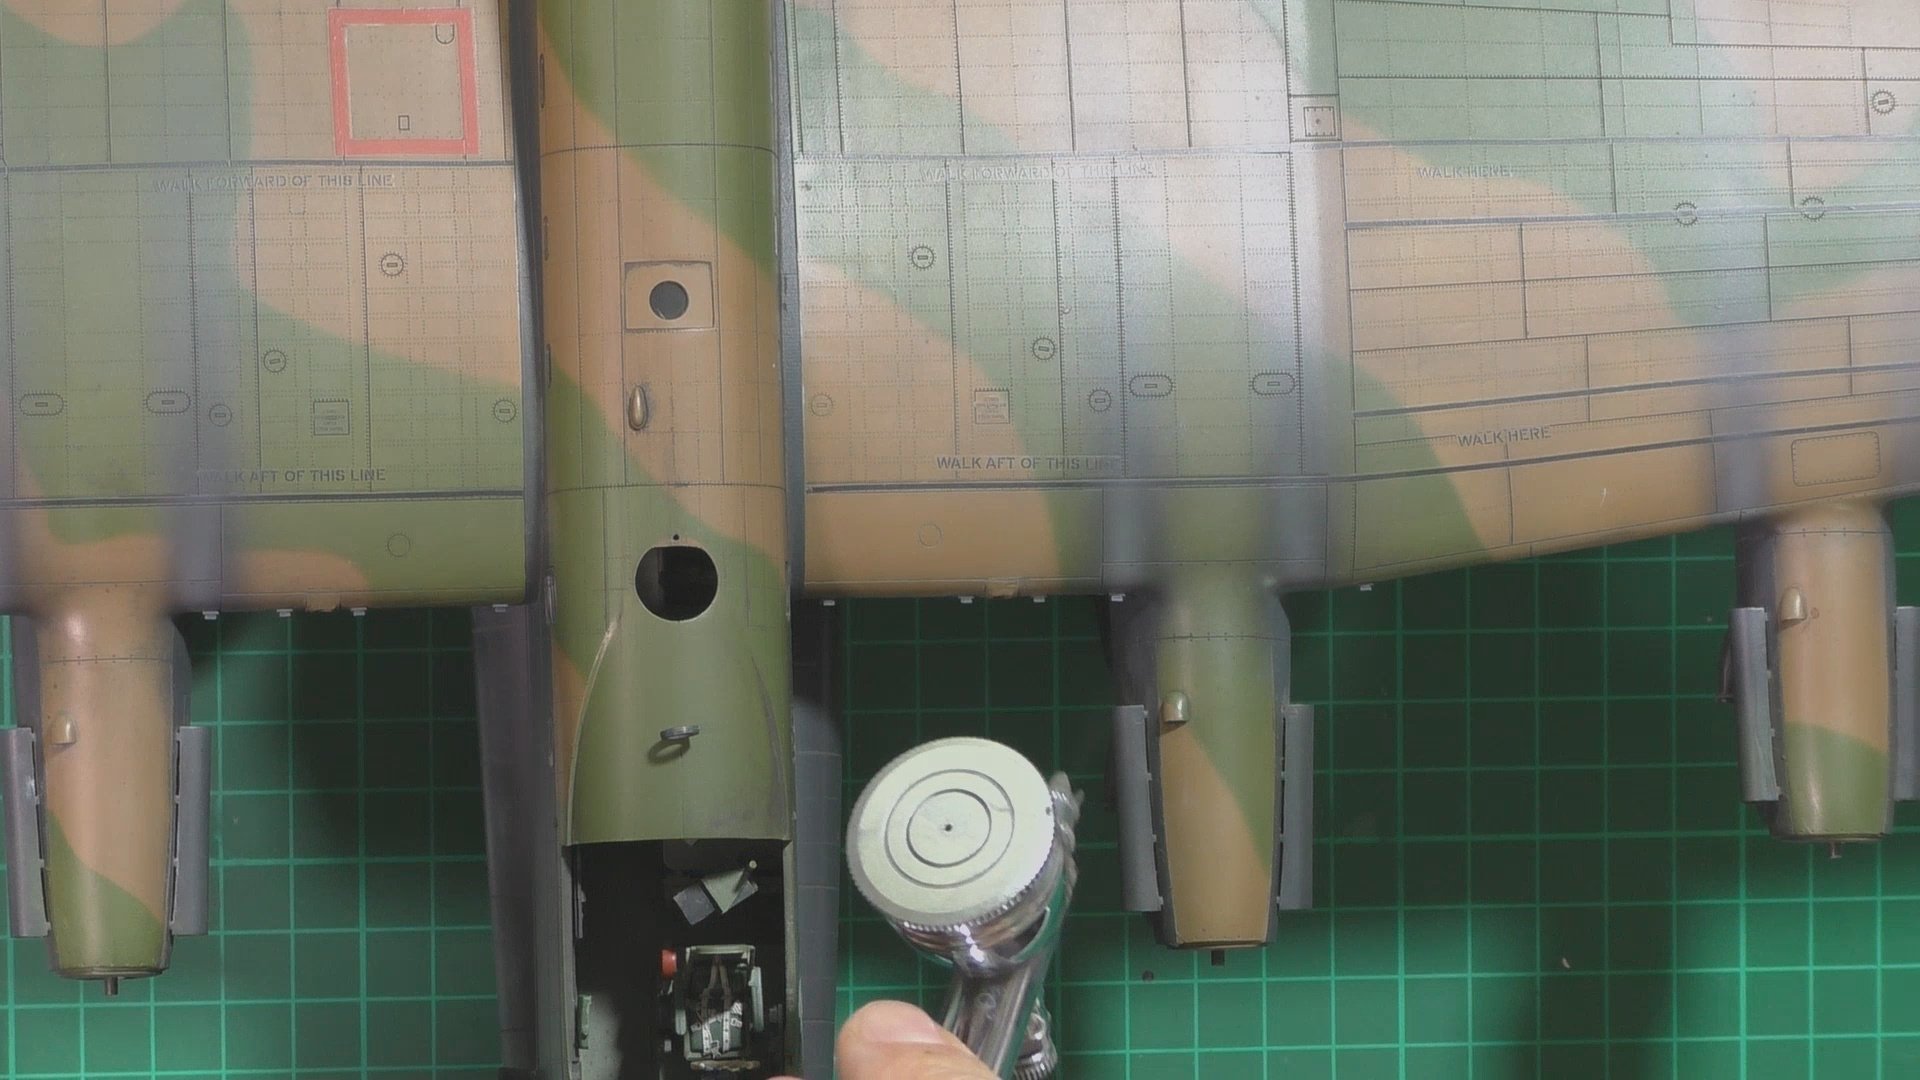
In Part Six, we move into the spray booth and start on the priming. Hear we use AK micro filler primer AK758. We then go back to the bench to re scribe and re rivet areas where it’s not showing as we’d like. Next it’s time to get the AK Dark Earth RC 287 on.

In part seven, we put down the dark green camo and to get a good pattern we use the Tac worm technique. This is simply roiling the tac into thin worms and placing in the camo pattern and the filling in-between. Then after un-masking and checking the pattern we re-mask up for the black underside.

In part eight, we put down a gloss coat to limit the amount of silvering we get from the decals when going over the black. So with decaling done, we put down a satin finish so the weathering can grip slightly to the surface. After allowing 48 hours to totally dry we use Flory models Dark Dirt and grime washes as the first part of the weathering prosses.

In part nine, we add more weathering with oils. So here we use neat oils to lighten the base color and the smoke to add shadowing to give depth to the paintwork.

In this final part, we add more depth to the weathering with further oils and then the exhaust stains and leaks. Next we paint up the bomb load and install in place along with the gears and doors. Last up we attach the aerial’s all ready for the final reveal.