B-17G ‘Flory’
Scale: 1/48
Manufacturer: HK Models
Parts used: Eduard FE1058 Seat-belts, 491058 Radio Compartment, Yahu YMA4884 Panel, Master Barrels
Main paints used: Tamiya, Xtreme Metal and MRP
In part one, we look at the build ahead and the extras chosen. Then it’s into the build and test fitting the interior to see what can be seen from the outside. We fit the Tail and nose sections and over to the spray bay to paint the interior with MRP WWII interior green, As this is a What if Flory Bomber I chose to do the full interior green and not just the forward areas. With Posca pens we then painted the details.
In part two, we put down the wood flooring using Tamiya Tan and oils to make the wood grain effect. Next a full oil wash through the interior and then attach the colour photo etch parts and adding details to the interior.
In part three, we paint and show the yellow banding in the 500lb bombs and install. Next it’s time to install the compartments into the fuselage. Then it’s time to bring the fuselage half’s together and glue it all up.
In Part four, we work on the wheel wells and wings. Next we take care of some ejector pin marks and fill the fuselage seam lines before installing the roof part to the fuselage.
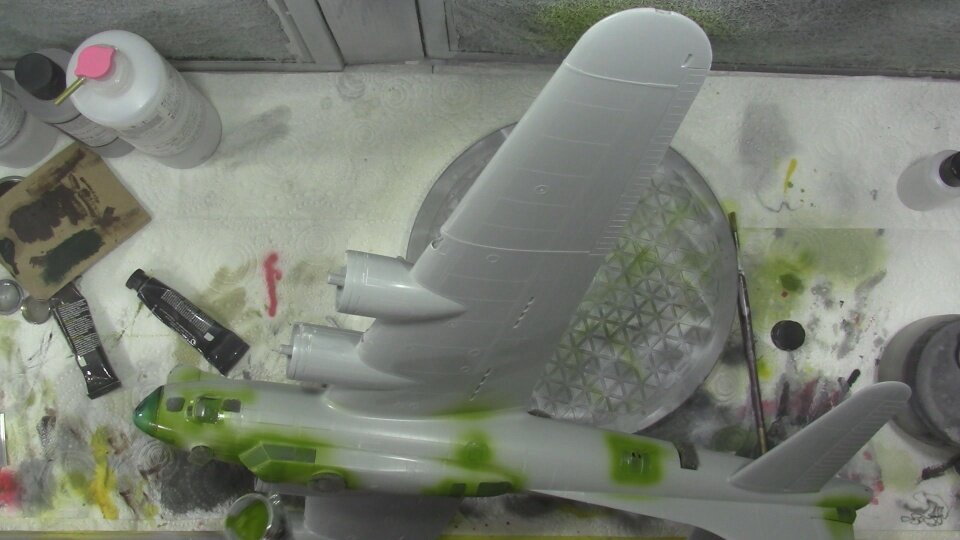
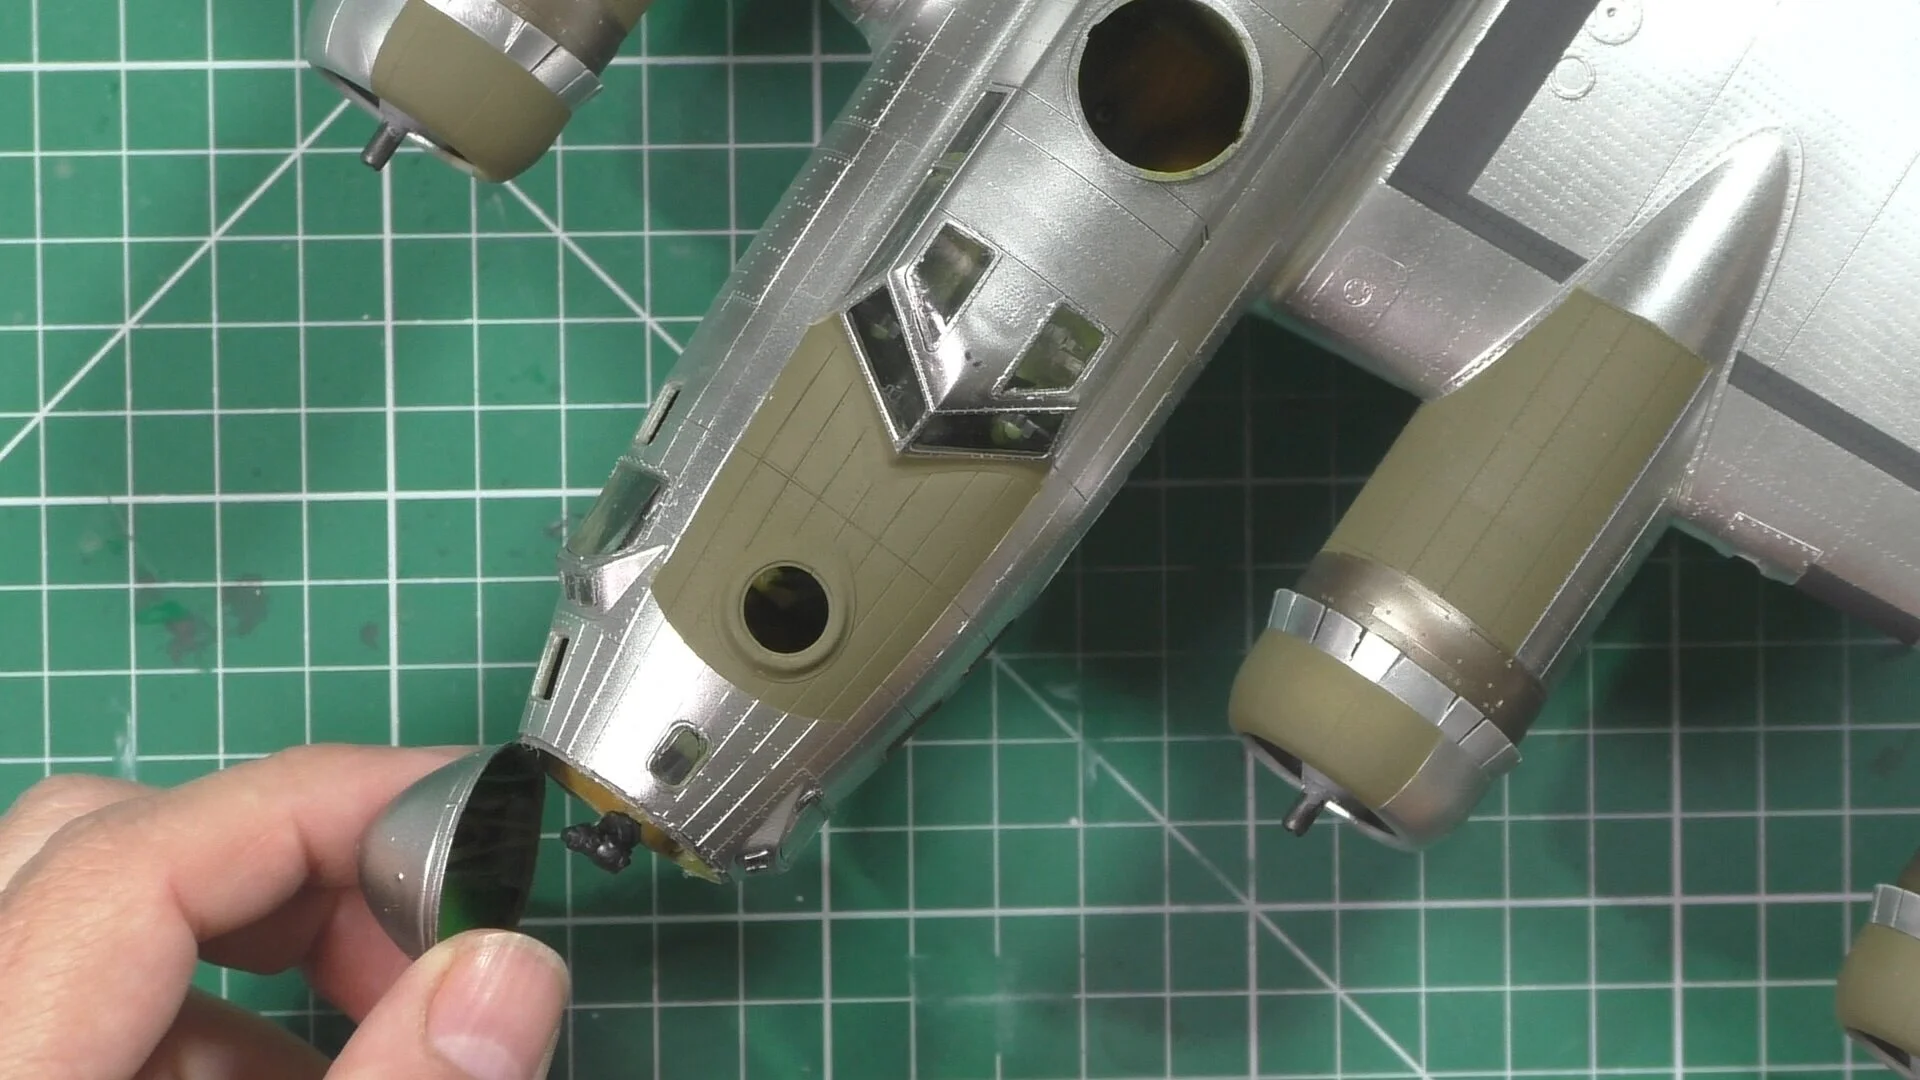
In part five, we start off by masking up all the clear parts and working on the ball and top turrets and use the Master barrels. Then it’s filling and sanding the seams all ready for the black gloss primer.
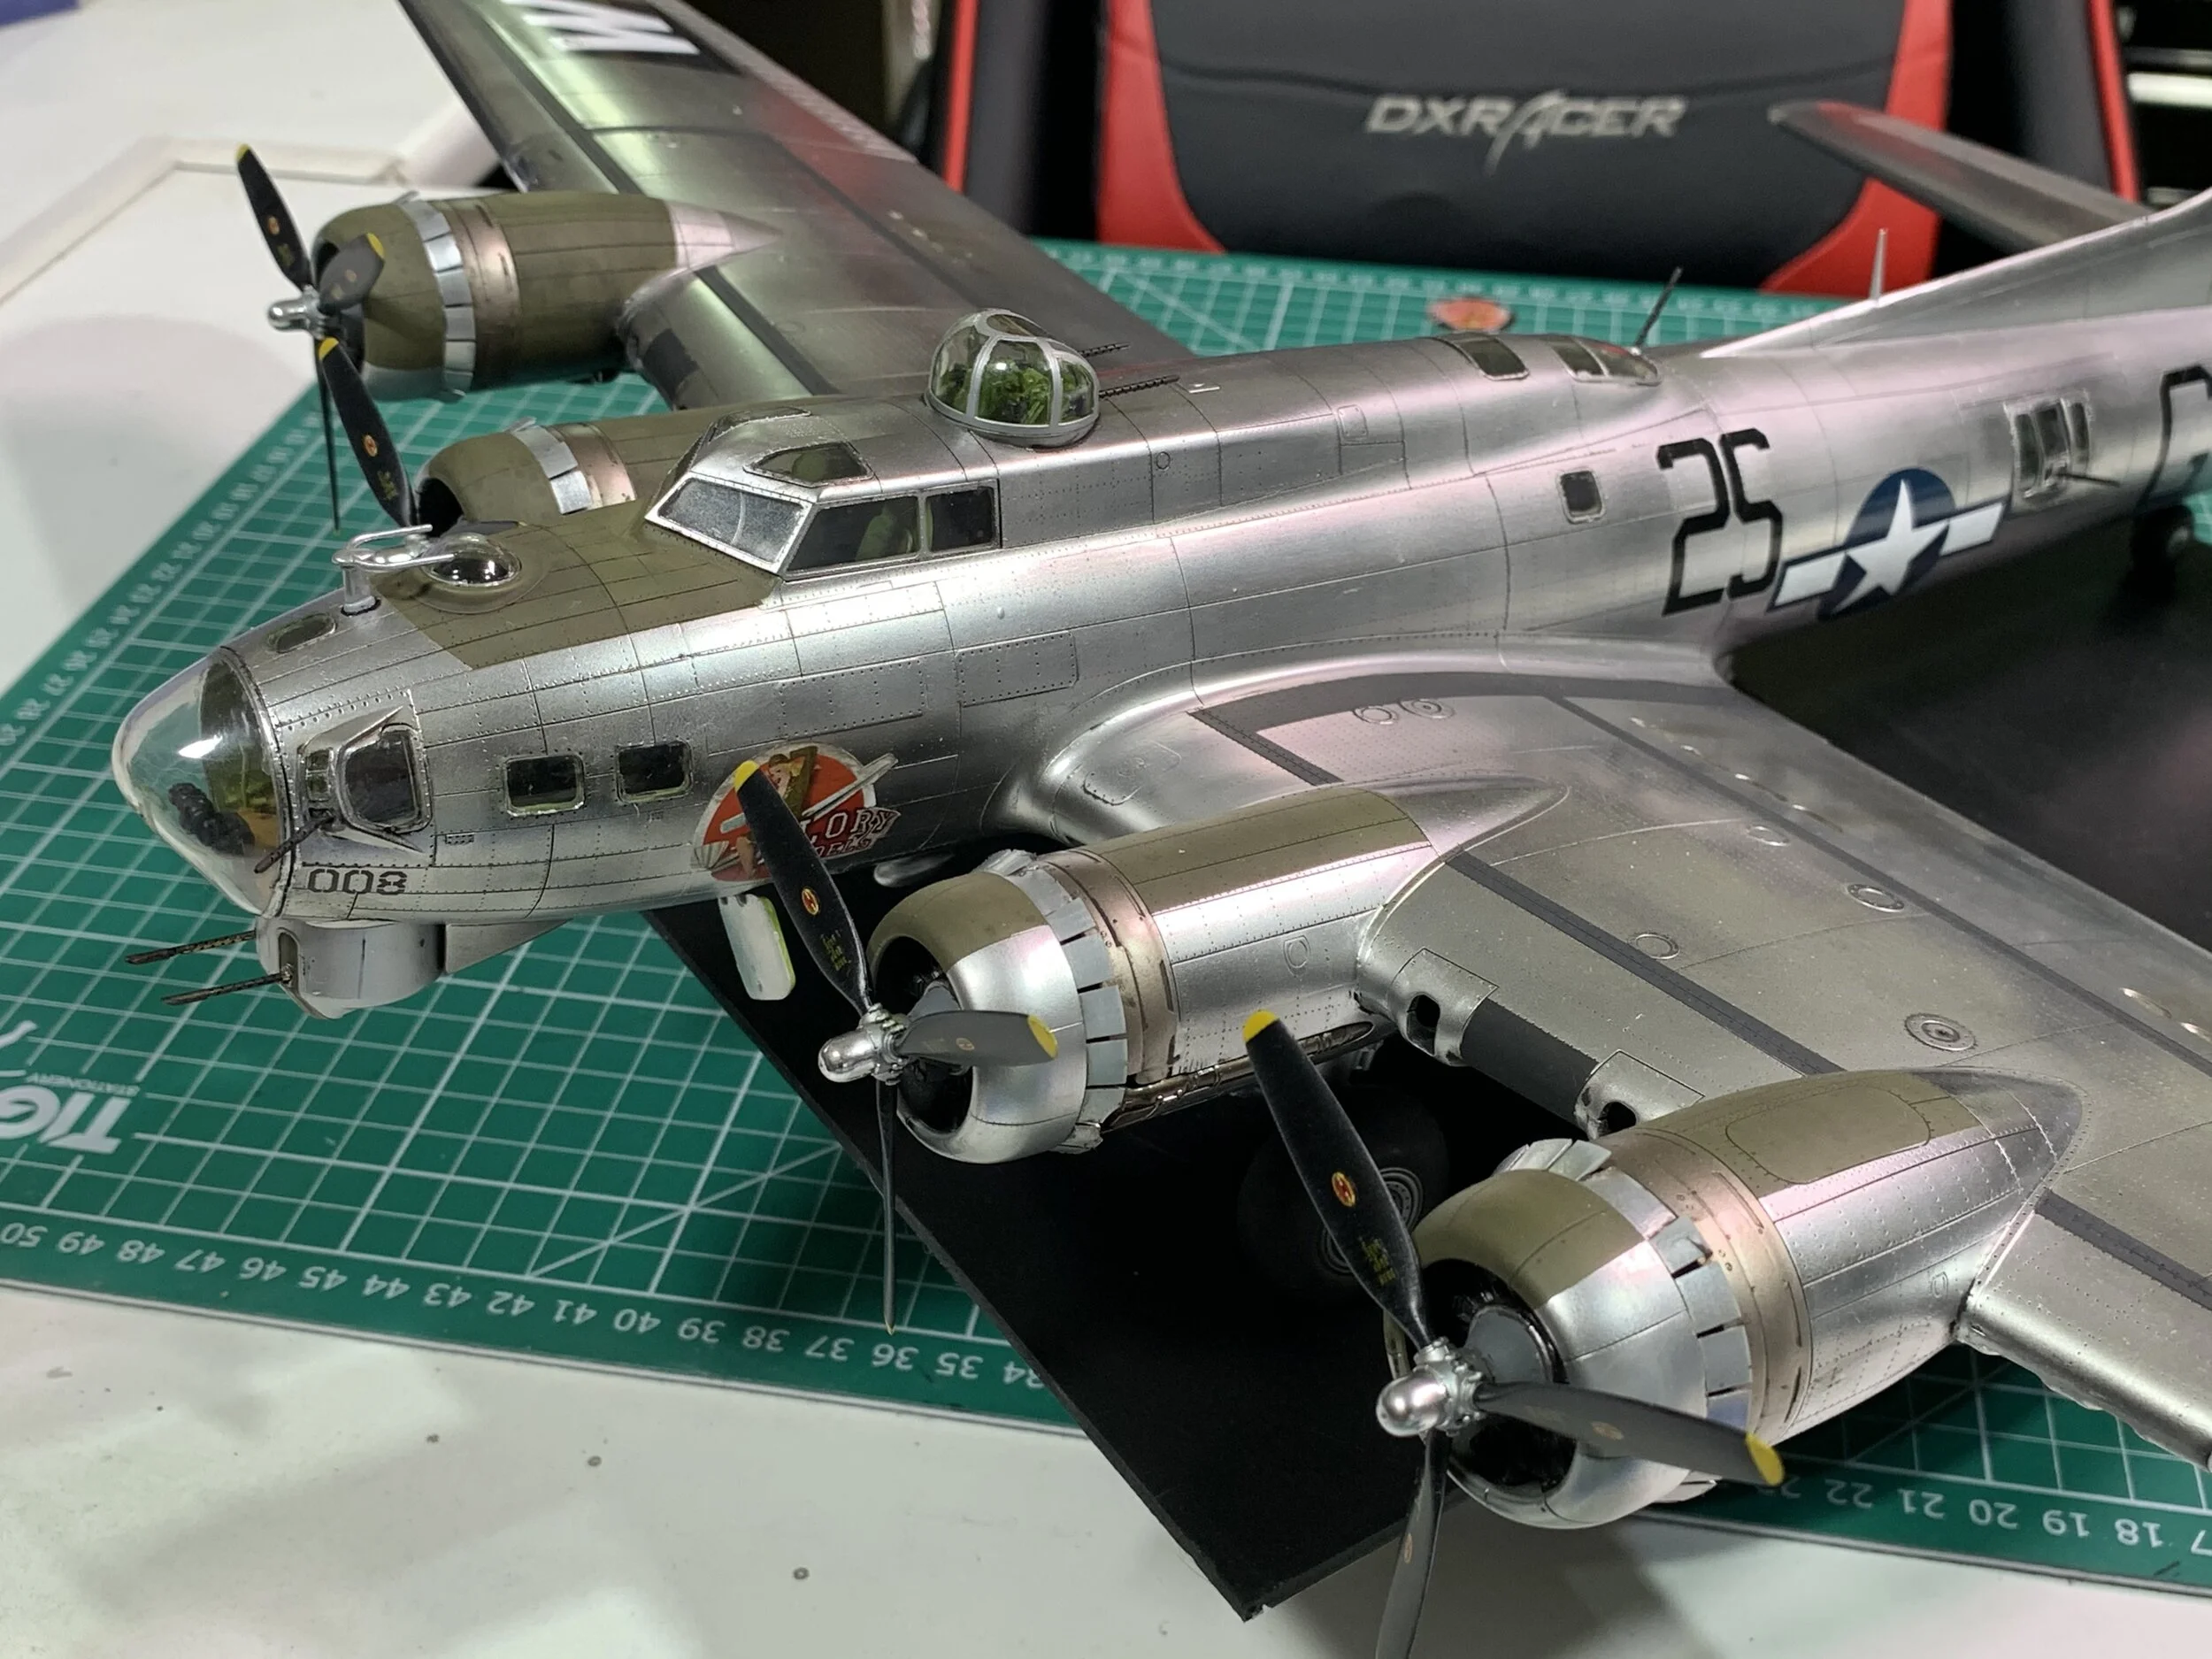
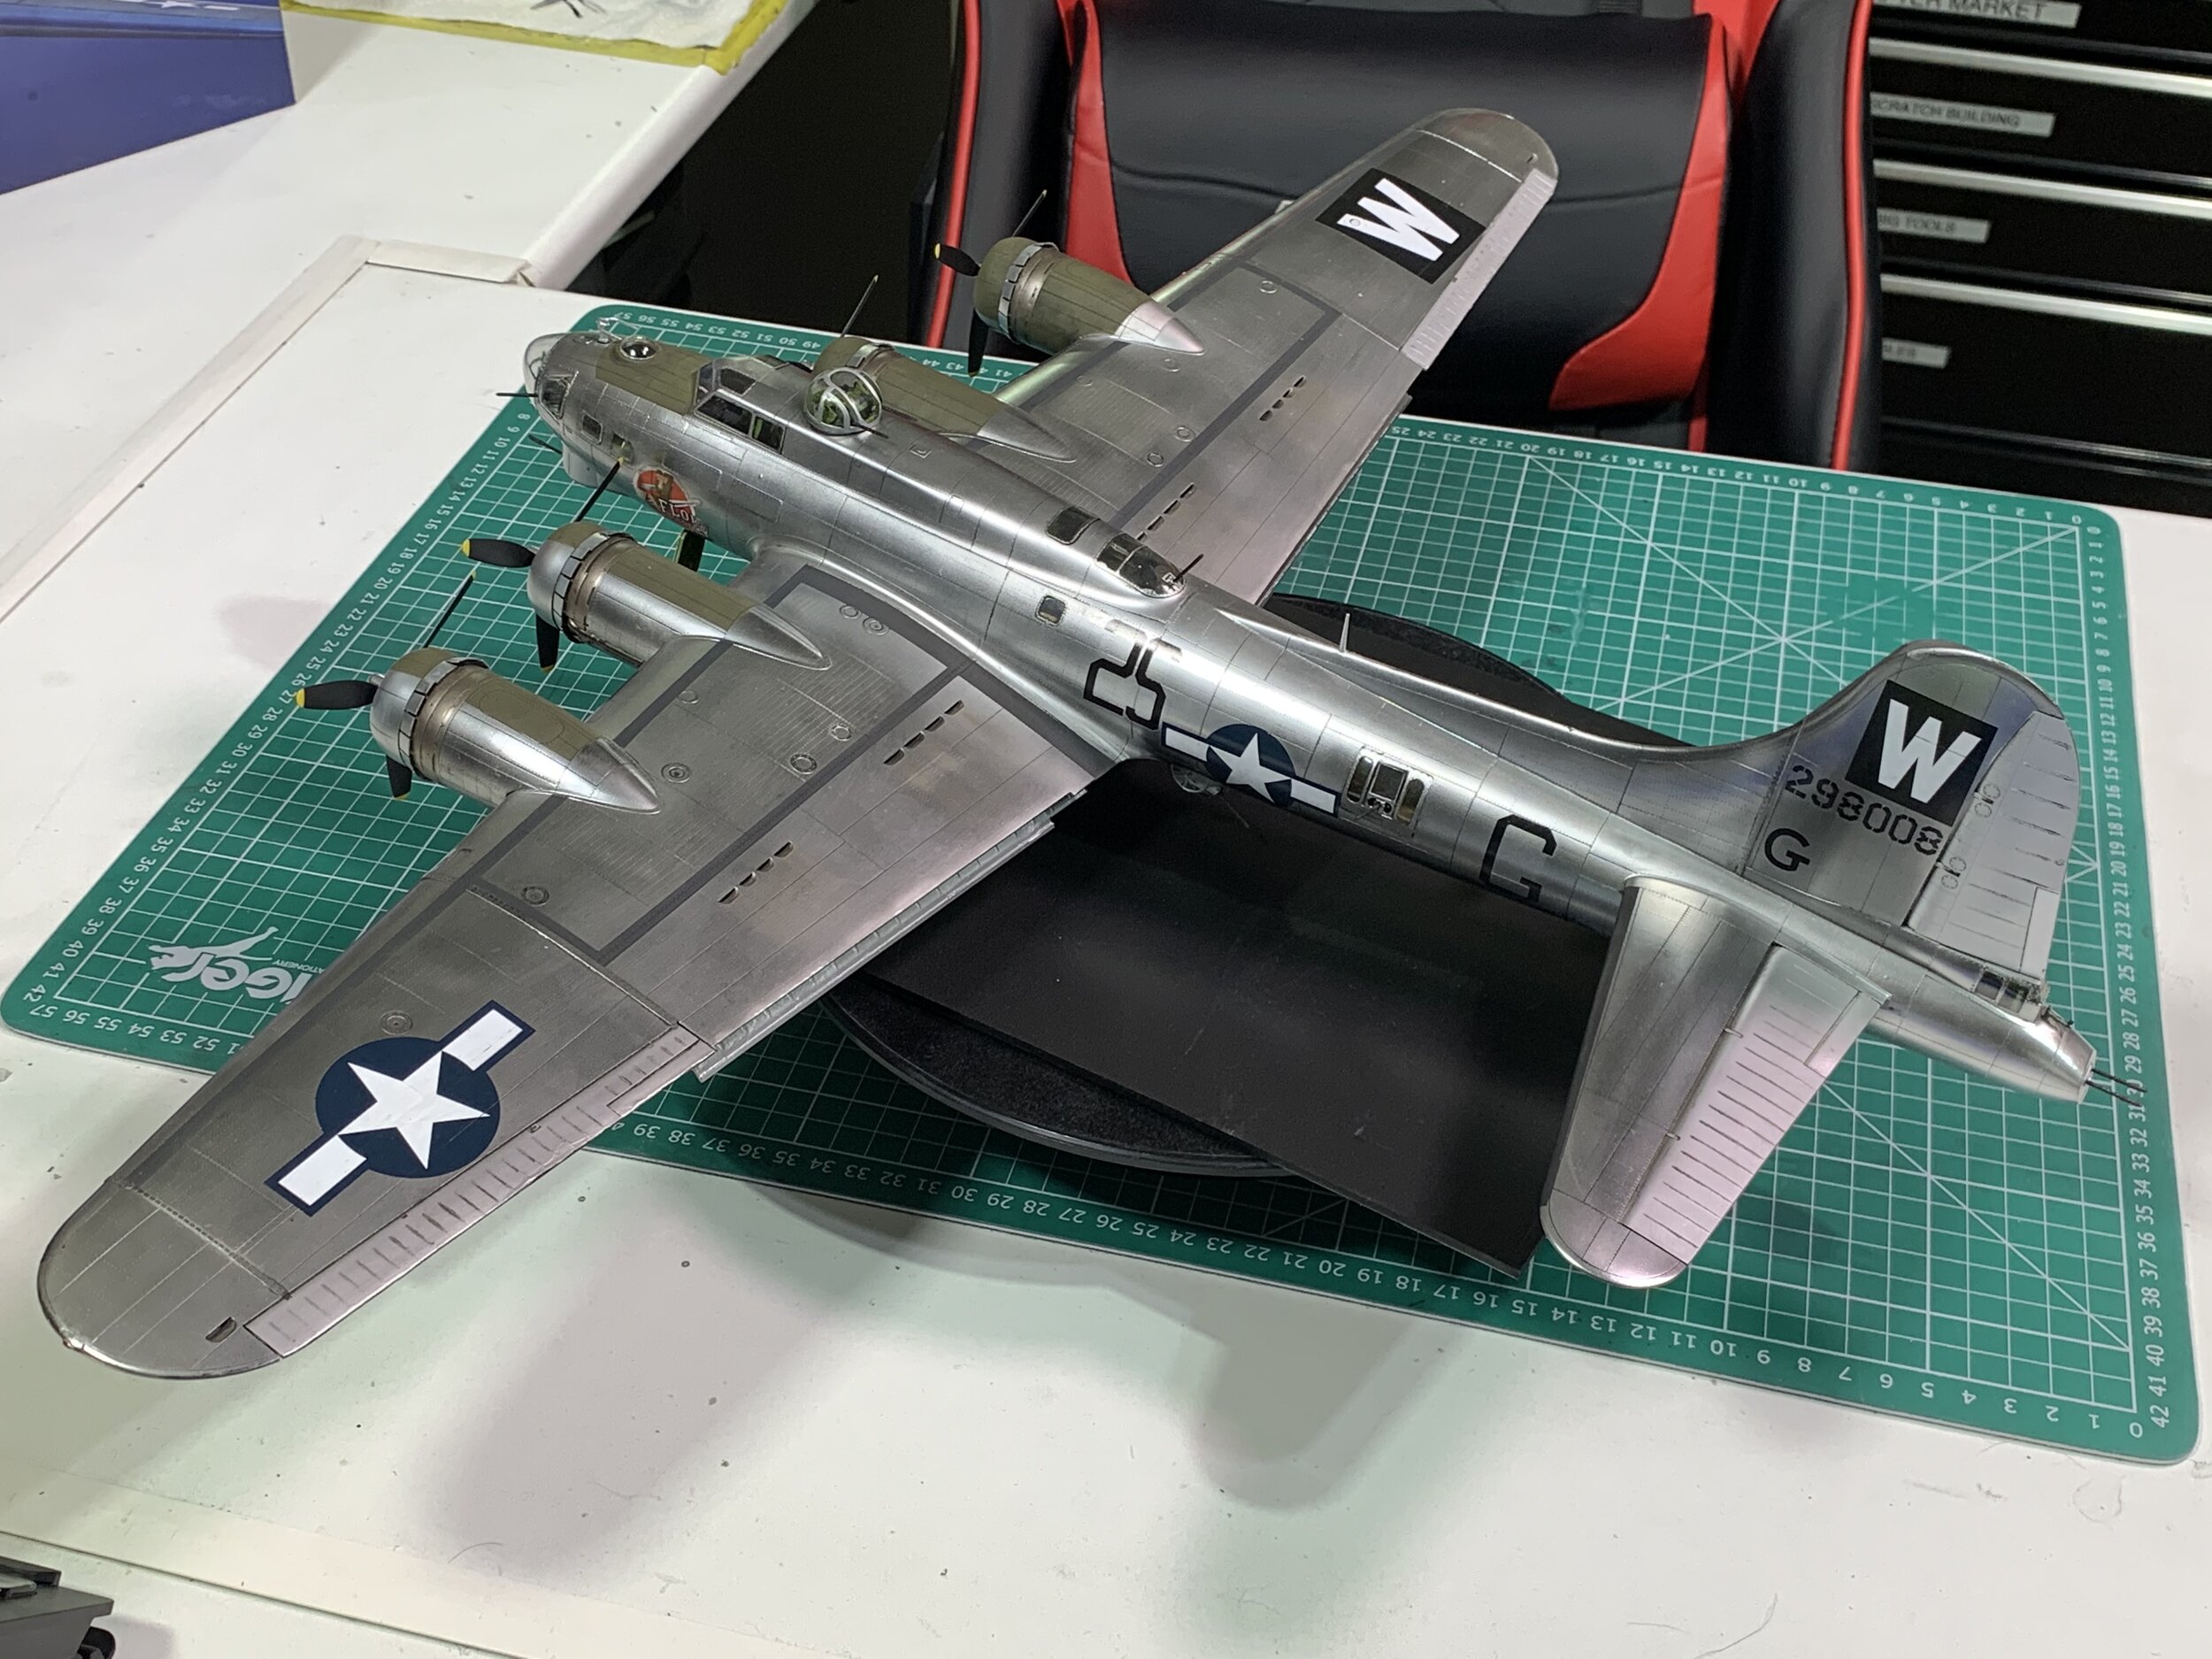
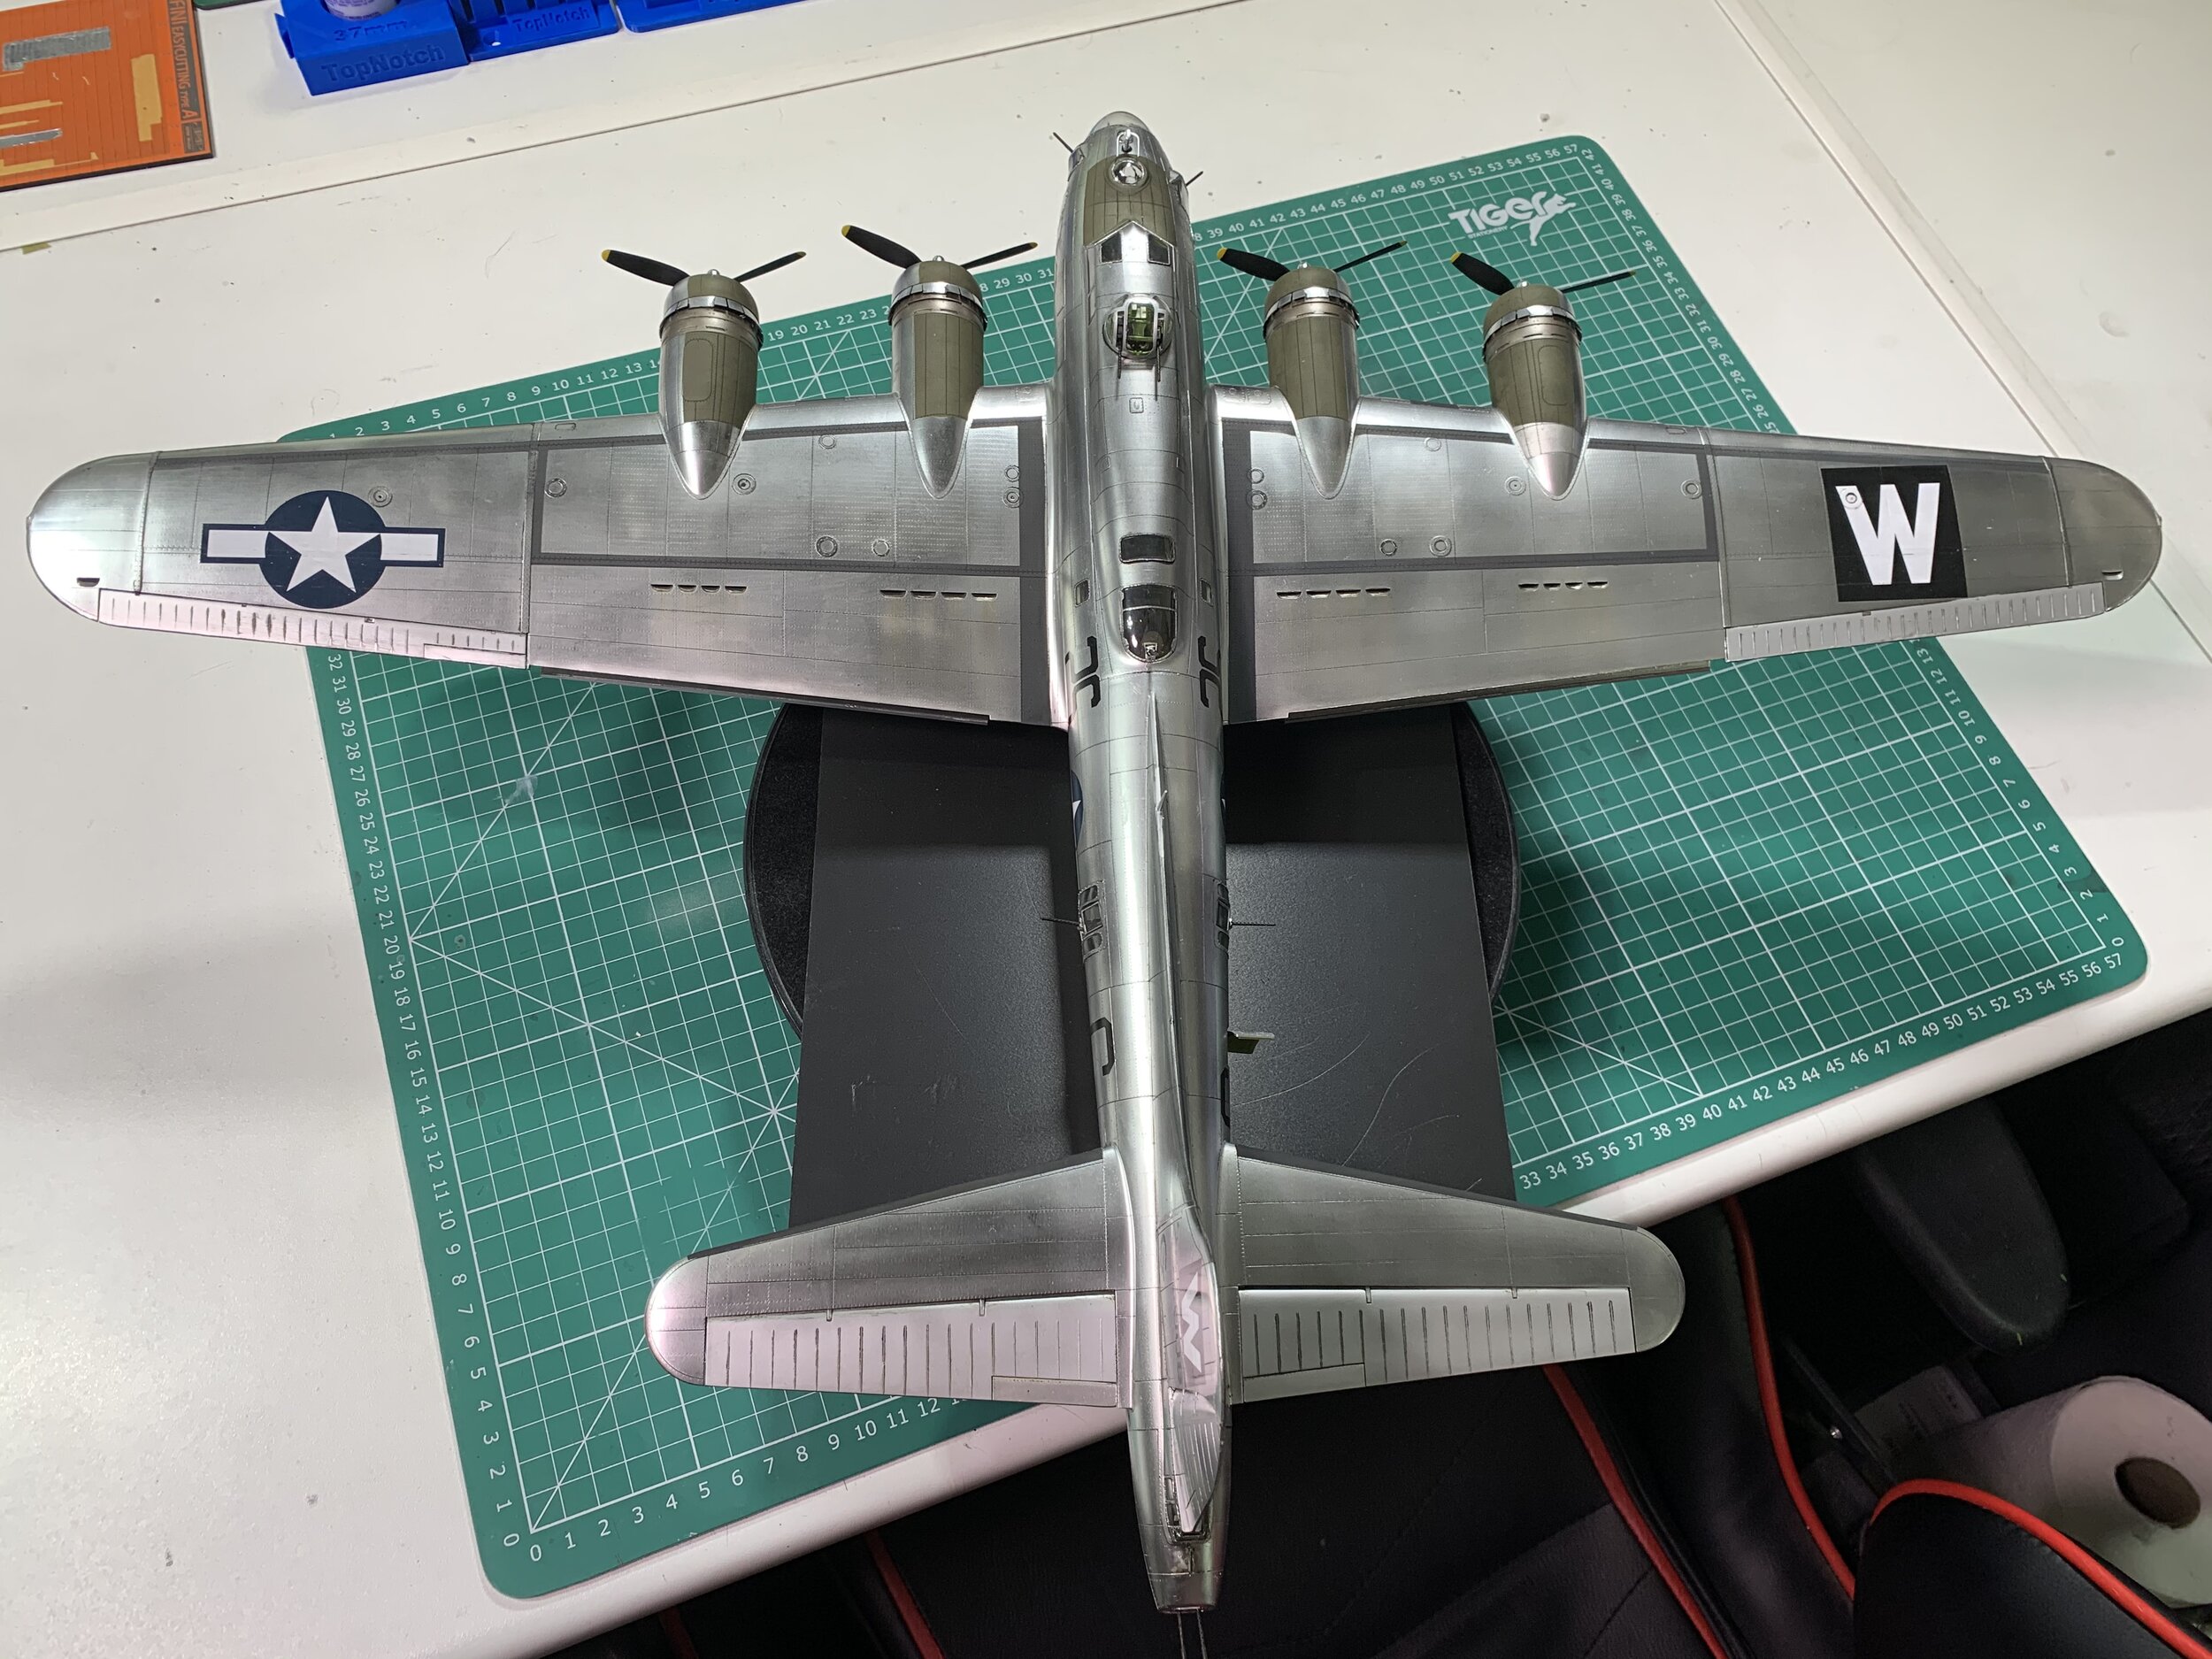
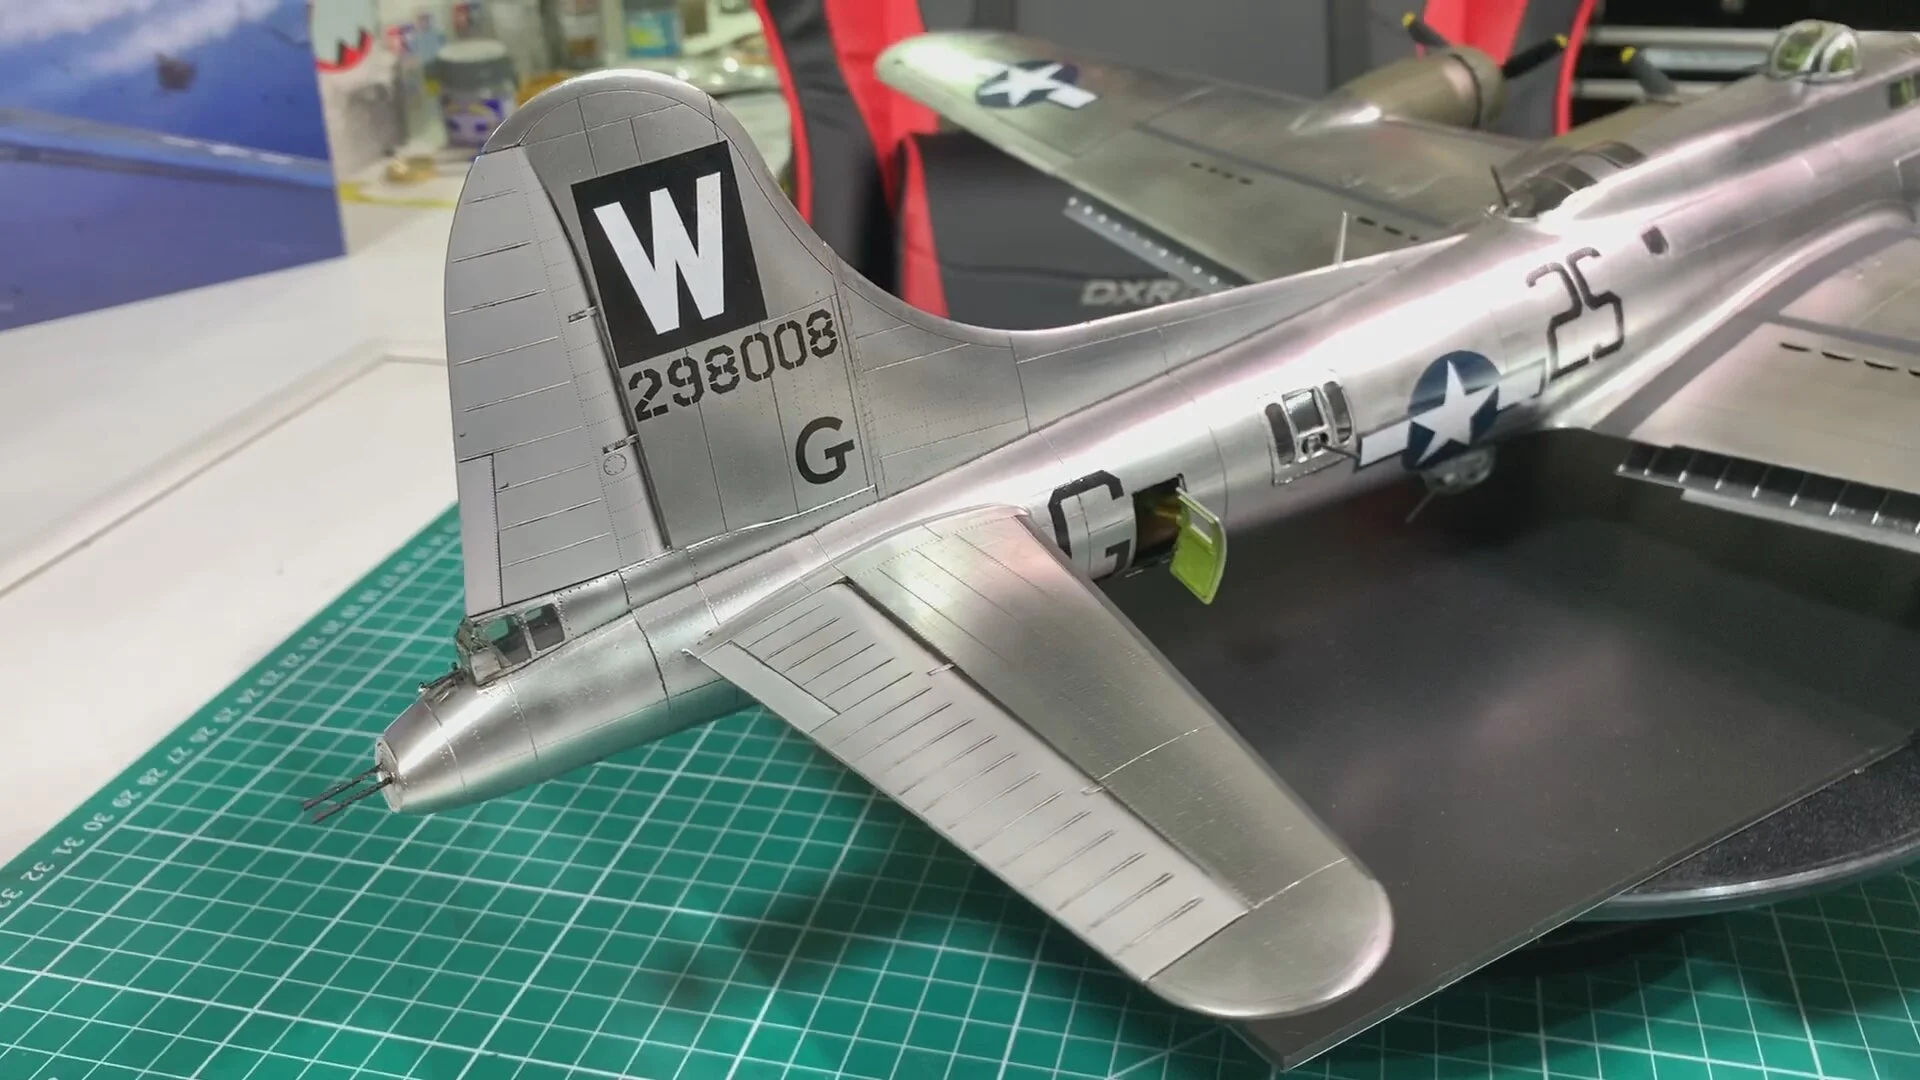
In part 6, we move into the spray booth and the painting stage. First it to spray the clear parts with the internal green and to prime the seams and joins and check the model over. Next we re rivet and scribe the lost details. Then it back in the booth to put down a coat of black gloss (Tamiya LP-1). Next a coat of Xtreme metals Polished aluminium by AK.
In part Seven, we use Tamya LP-11 sliver for the control surface and the anti glare panels for the nose and the engines with Tamiya XF-62 olive drab and a few drops of XF-54 to weather it down a little. Then we mask up for the anti icing areas with Tamiya XF-85 rubber black. Next we use Tamiya LP-11 for the gear and front turret. Next I show the quick and simple way I paint wheels.
In part Eight, we paint and weather the engine props and then mask and paint the walkway markings.
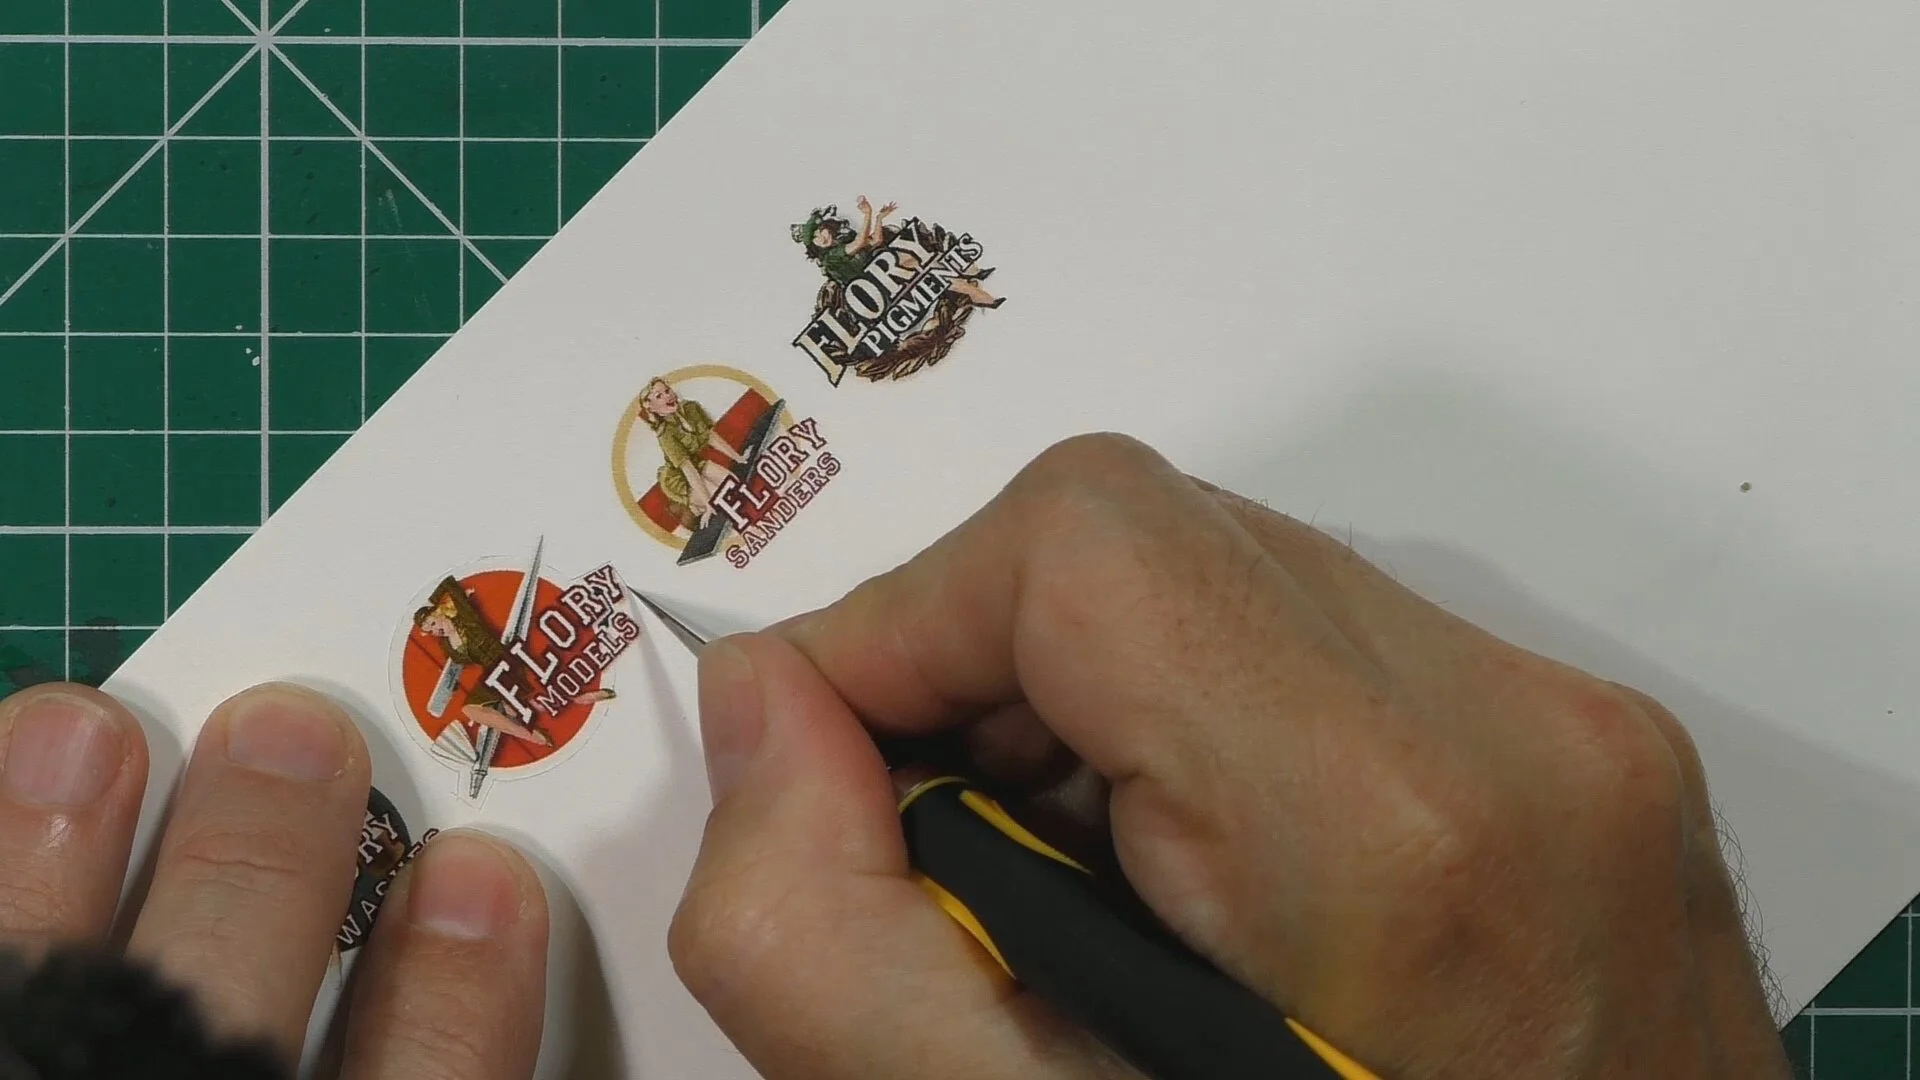
In part Nine, we decal the Fortress and make our own custom decals by printing our own. So we show how to get the right size printing and talk about the different papers and ink to make you own custom markings with a home printer.
In part ten, we start on the weathering with a Flory models Dark Dirt wash, next we install the guns and unmask the windows and clean up some glue marks with WD40
In this final part we finish of this fantastic build, first we continue the weathering with smoke effects for the exhaust, next we install the lights and them all the small parts turrets guns etc for the final reveal.