A-4 Skyhawk
Scale: 1/48
Manufacturer: Hasegawa
Parts used: Out of The Box
Main paints used: Hobby Color, MRP
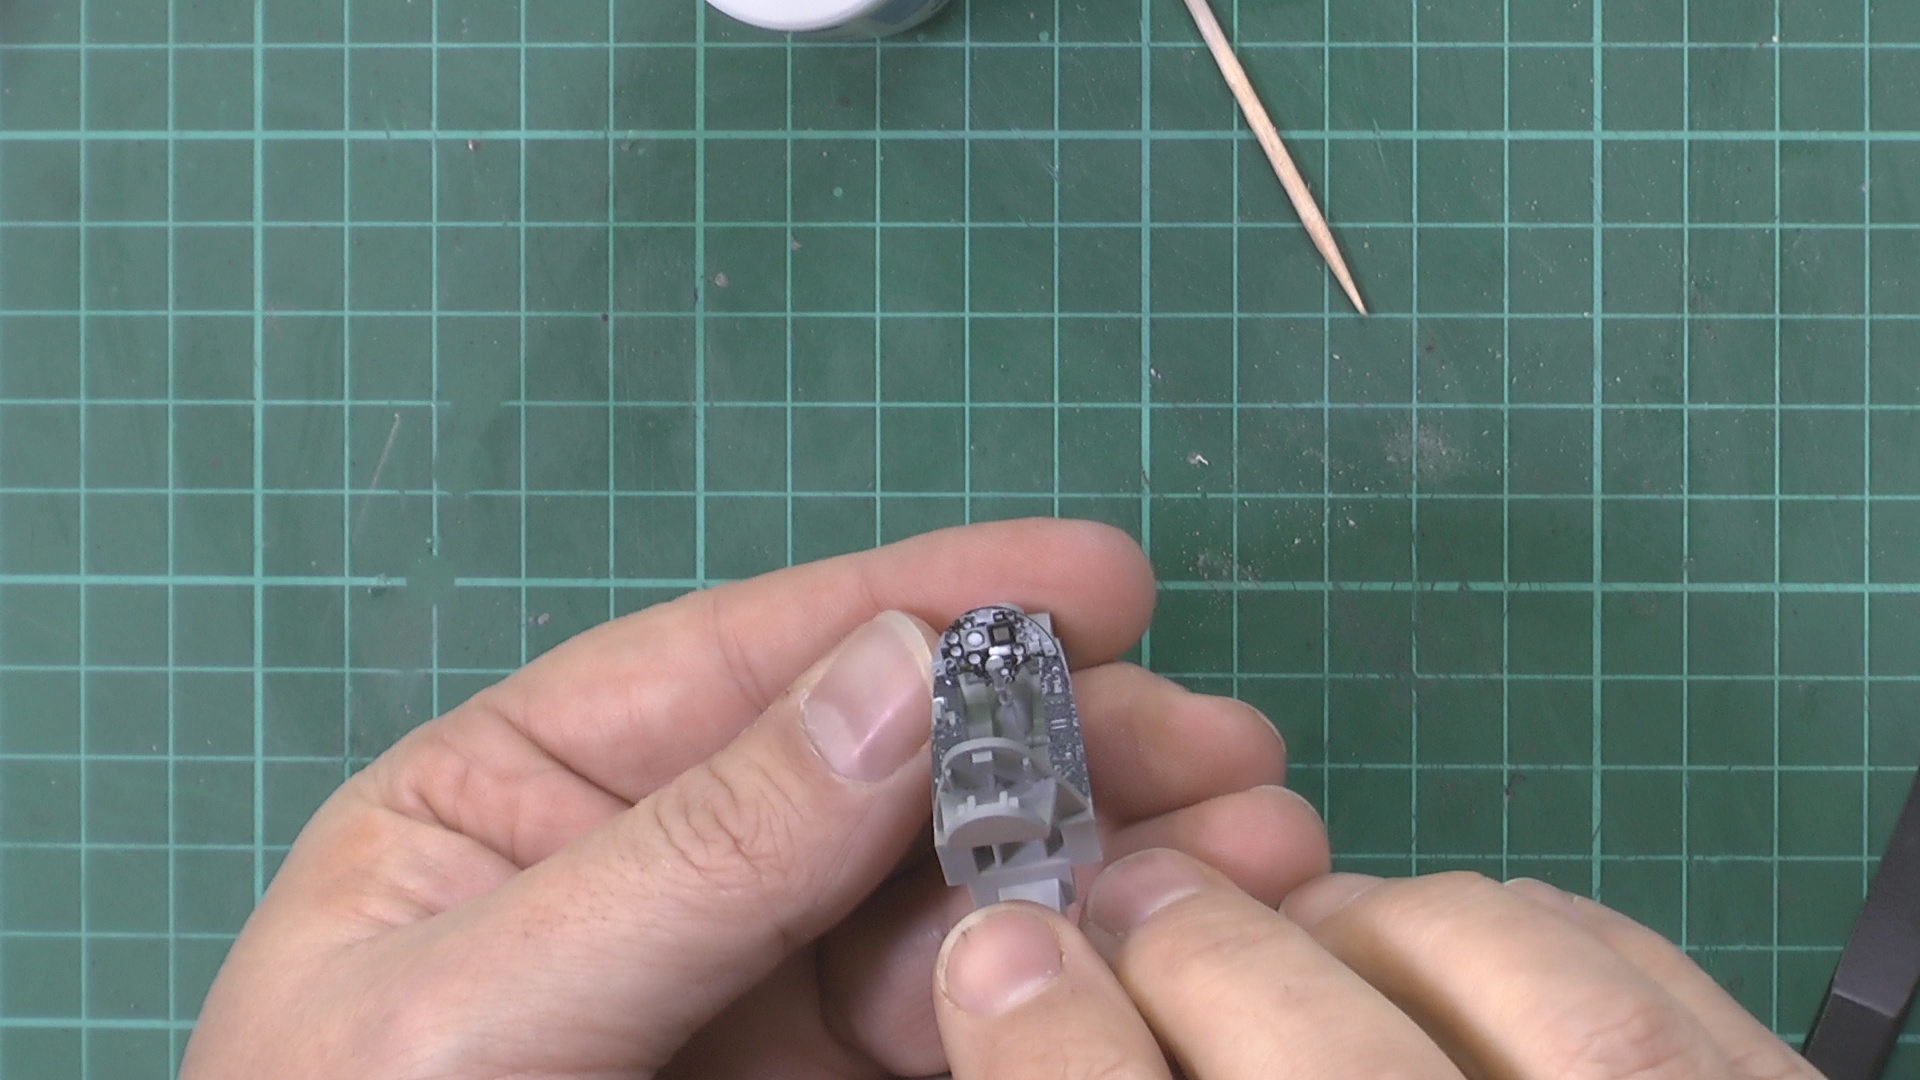
In Part One we build cockpit and add the Color Photo-Etched set
00:00 Intro into the build
06.20 Building the cockpit and removing the surface detail for the Photo-Etched parts
17:10 Painting the Interior with MRP-100 Gull grey
19:55 Installing the color Photo-Etched Parts
In Part Two, We finish of the construction and forget to add the nose weight!!
00:00 Installing the Cockpit.
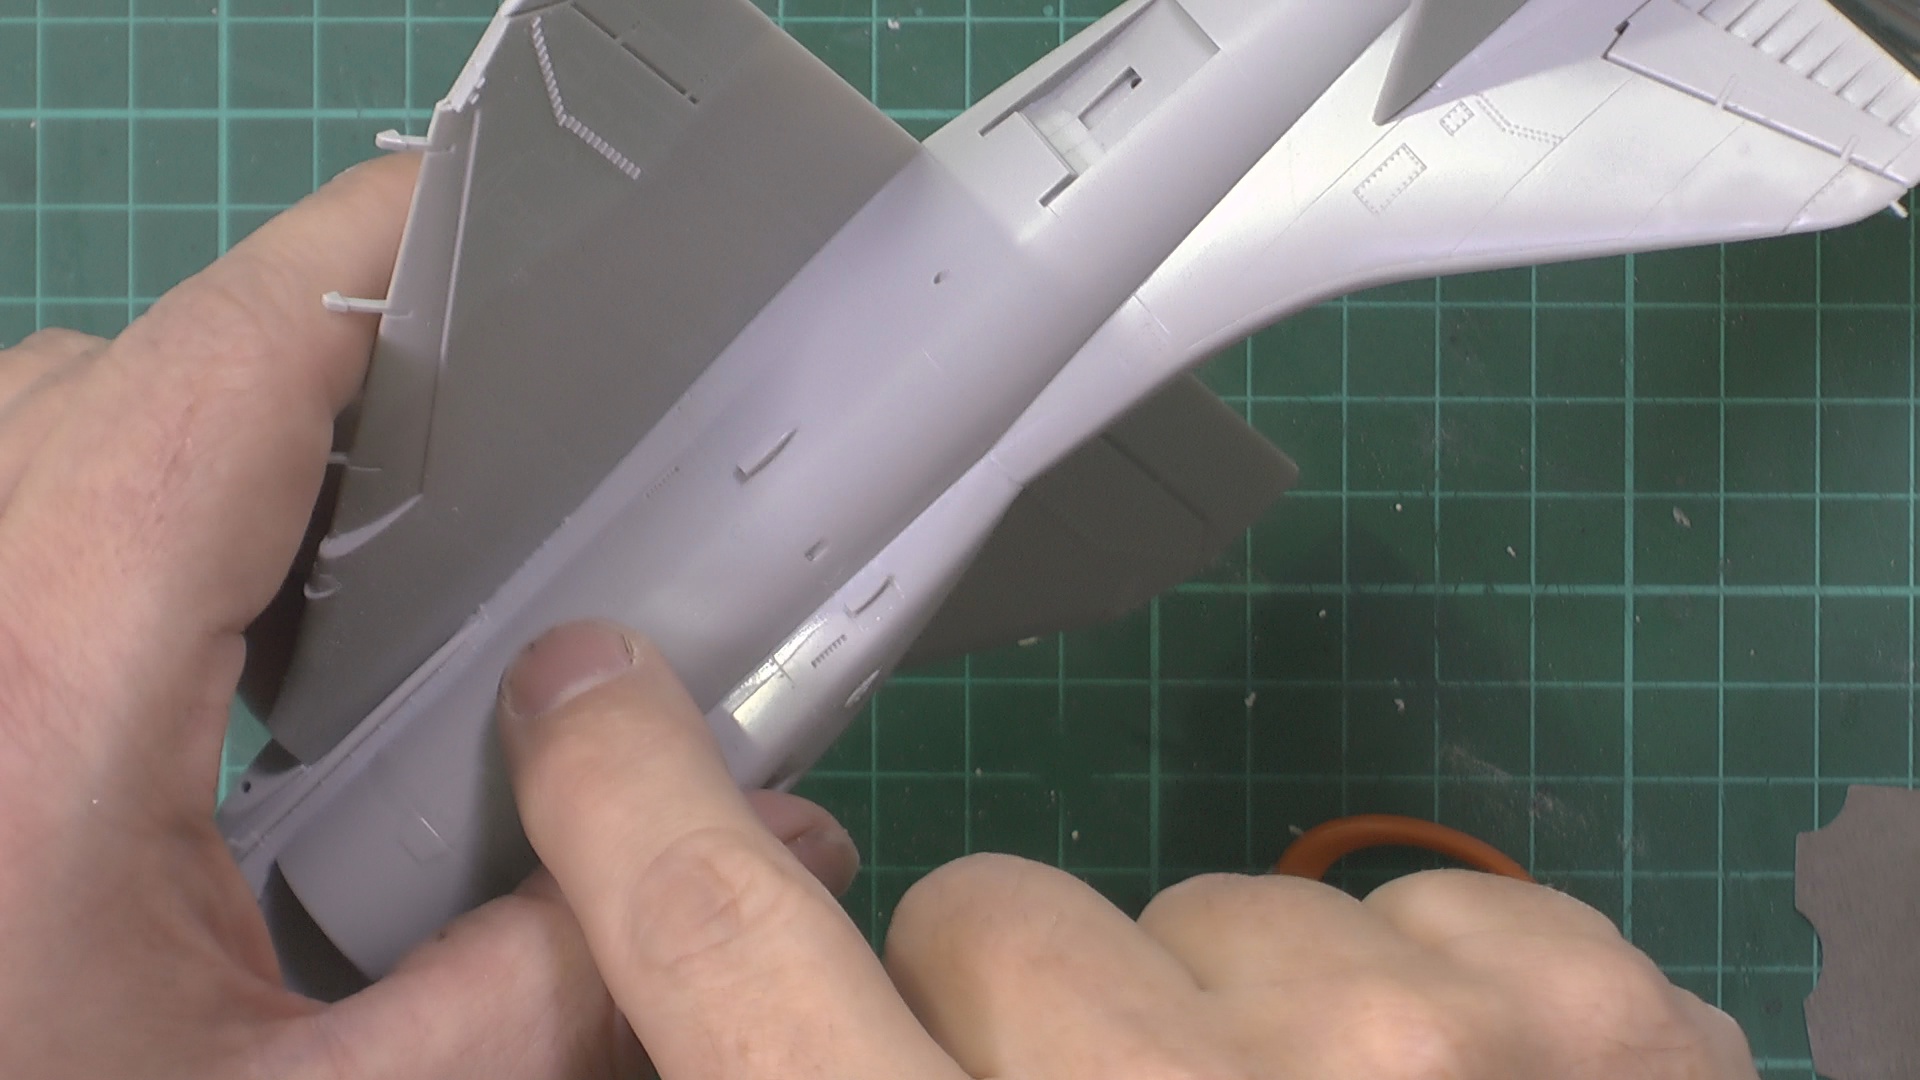
13:00 Working on the wings and the electronics hump, then remembering to add the nose weight!!
20:00 installing the intakes, sanding and rescribing
26:45 installing the wing section
In Part Three, We finish of the construction stage and move into priming.
00:00 Installing the front canopy
03:55 Installing the Nav lights
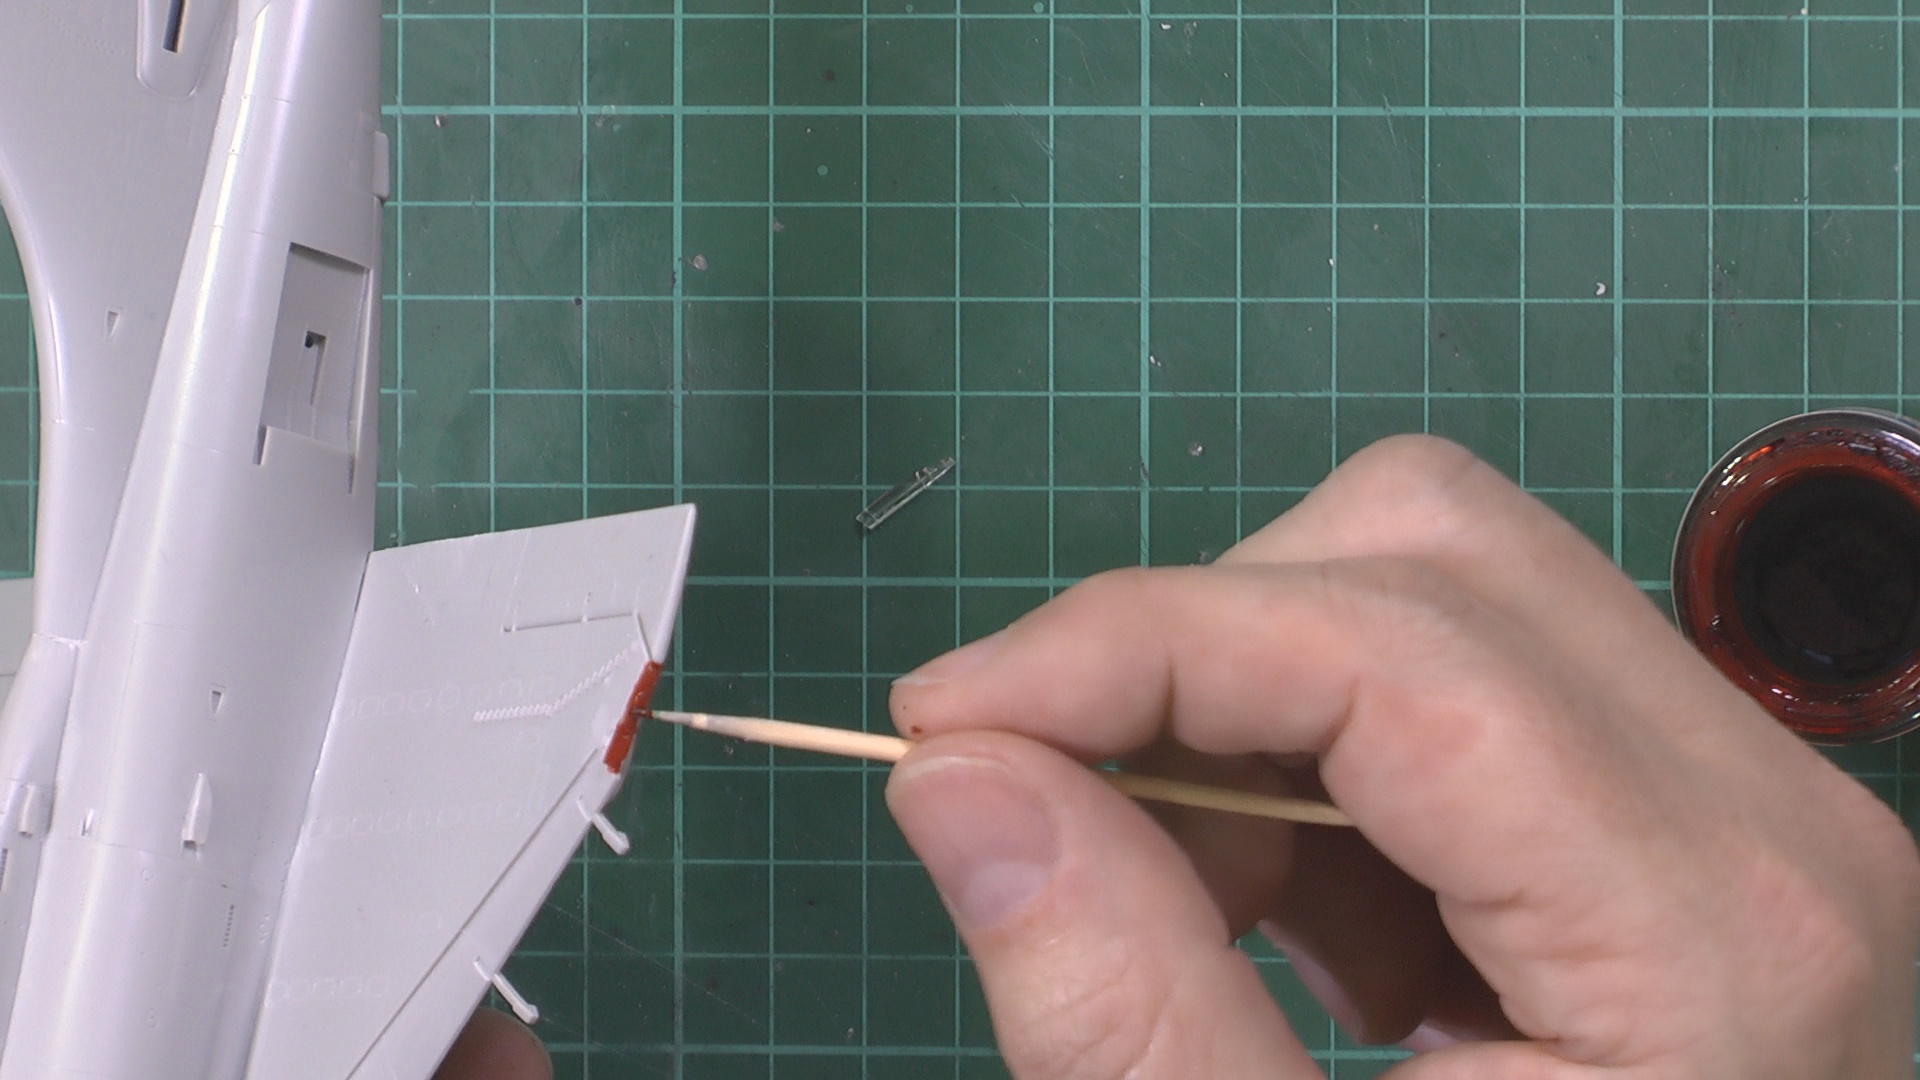
08:23 Painting the red Flap and Slat areas and then masking up for priming
20:37 Priming with Tamiya XF-19
In Part Four, we work our way through the painting stage.
00:00 Prishading with Tamiya XF-85 Rubber Black 50/50 mix
11:51 Putting down the US Navy White MRP-99
22:17 Masing up and putting on the Light Gull Grey FS36400 MRP-98
In Part Five, we get stuck into the decalling and show how to get them to bed down nicely over the vortex generators before adding the red edging to the doors with a simple trick
00:00 Decalling the Shyhawk and taking our time to get it right
23:45 A simple trick using a sharpie pen to do the gear door red edging
In Part Six, we start on the weathering with a simple clay wash and then get the Skyhawk on its gear.
00:00 Flory models Dark Dirt wash on.
05:16 Clay was off
12:20 Installing the weapon pylons and the Gear
22:00 Installing the Gear doors, flap, Speed Break and unmasking.
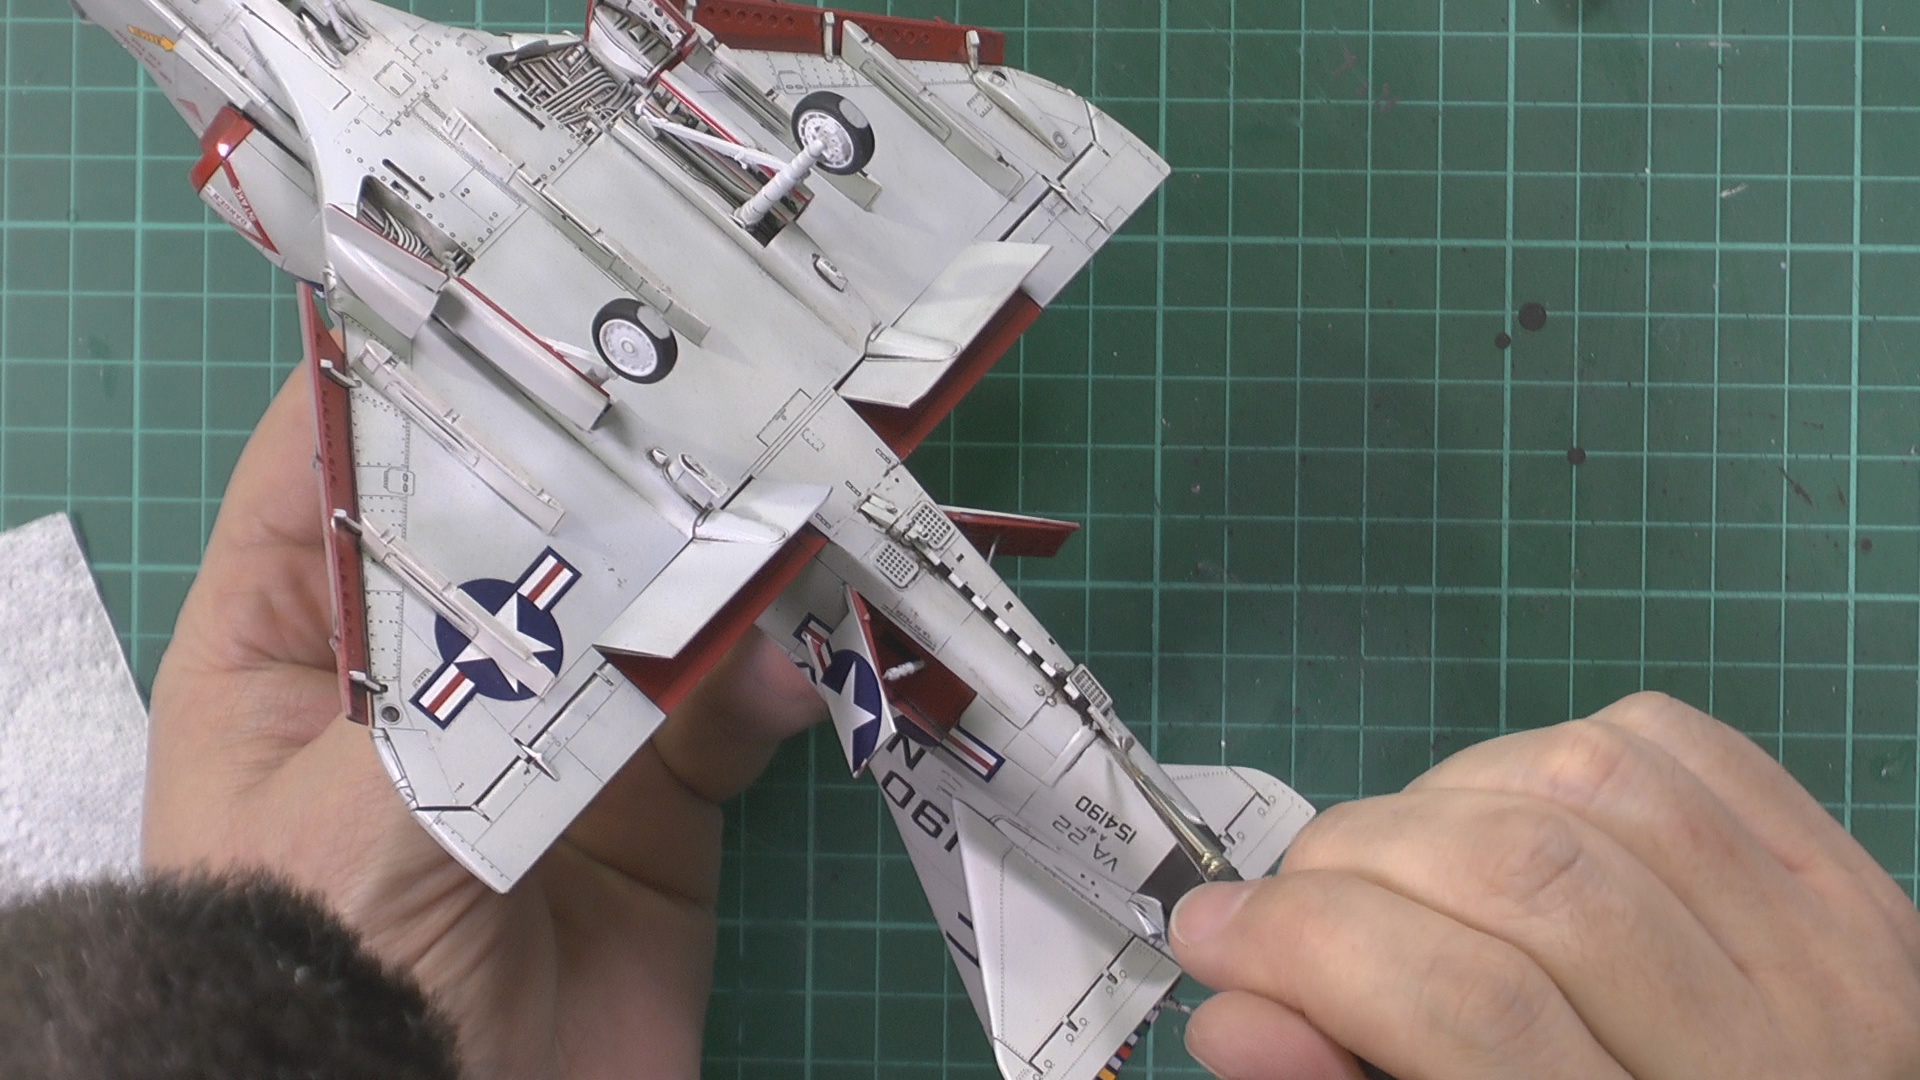
In Part Seven, we start adding and paint the small detail parts with metals, add the weapons fit and weather up the gear before adding more weathering with neat oils.
00:00 Using True metal was's for the metal area
11:00 Using Flory models wash for the undercarriage
23:45 Further weathering with neat 502 oil paints
In this final part, we use Remove Before Flight tags to really bring the Shayhawk to life for the final reveal.
00:00 We talk about the different type of RBF tags (Photo-Etched or Decal) And how to add wire.
13.00 We drill out the pin holes and install them onto the Skyhawk
23:10 We look at how to use the Decal types of RBF tags with Plastic bag center
31:22 WE show how to use kitchen foil to make great looking decal RBF tags
39:30 The final reveal Of our finished Skyhawk