F-15E Strike Eagle
Scale: 1/48
Manufacturer: GWH
Parts used: Out Of The Box
Main paints used: AK Real Colors and Xtreme Metals
In part one, we work on the Build ahead and start on the Cockpit and seats and forward fuselage.

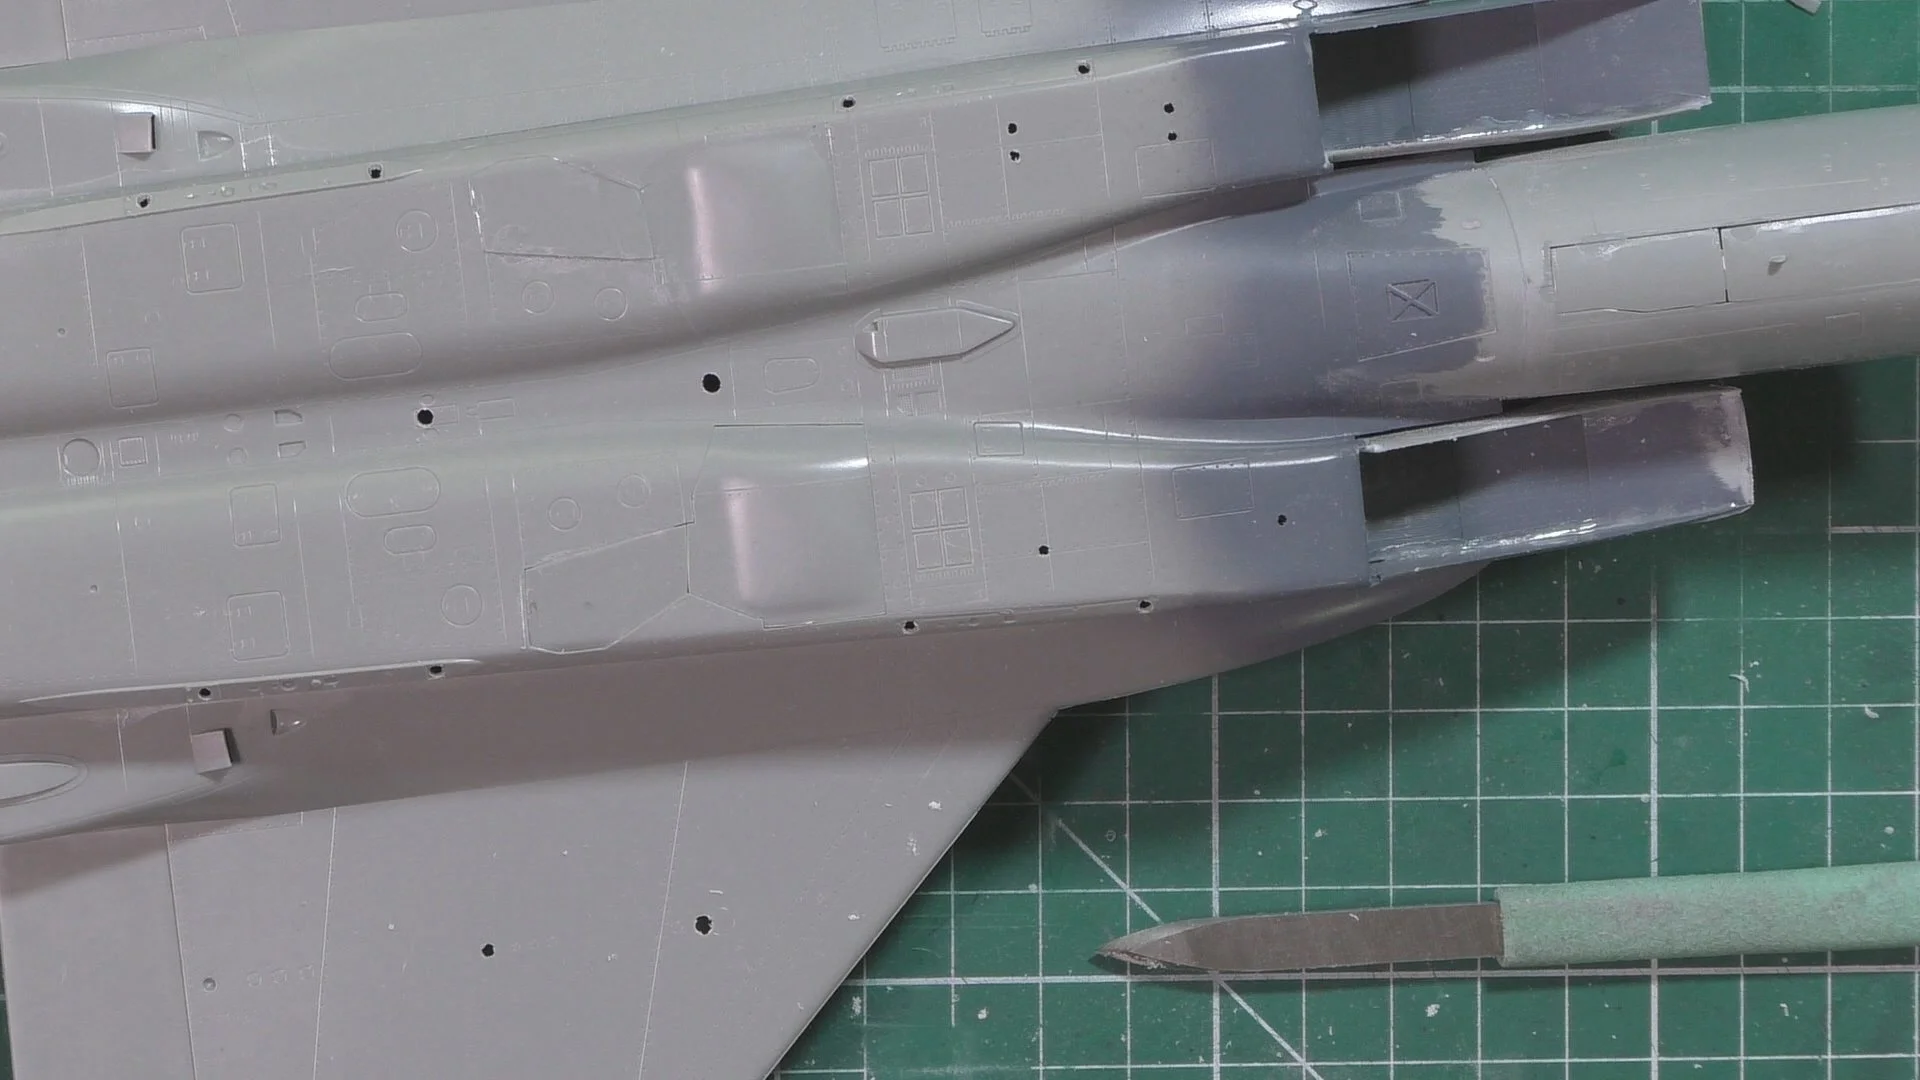
In part two, we work on finishing the forward fuselage and then work on the main body of the Eagle. So opening up all the holes for the pylons and pods and take care of a few small mold lines. Next we build the intakes, here you can choose to have the, up or down and then use Plasti Dip to line the full length intakes for the engines.

In Part three, we put together the beautifully detailed engines and paint and weather with Xtreme metals from AK and use the Flory models Black wash and Posca pens to detail.

In Part four, we work on the main fuselage, we install the intake ducks and then attach the top half of the fuselage. we then had an error on my part and have to fix that(totally my fault and not the kits) Next we add the forward fuselage and install the gear doors in the closed possession and add the fast packs to the sides. A little filler and she’s really taking shape.

In Part five, We install the fast packs and the pylons to the fuselage after a small problem with me knocking a bottle of Extra thin over!! Next, we install the air brake and the cockpit rails. Then it’s over to the spray booth to get the primer coat on.

In part six, We first fix a few small problems that the primer coat has revealed and the add raised panel lines lost in sanding the drop tanks. Next we remove the seam line in the clear parts. Then it's time to get the FS36118 Gunship grey (RC244) and then fade that back with post shading. We that dry we mask the metal engine area and paint with AK Xtreme metals to give a great natural look.

In part seven, we turn our attention to the decaling and remove a lot of the unused carrier film to lesson the decal silvering and then because the decals are a very matt finish we post shade then to give a better look.

In part eight, we move on with the weathering first with Dark Dirt clay wash and then with oils. We put the wash over a satin finish so their texture for the clay to grip to as well as all the recesses. Next we use a natural grey and smoke for general grime and streaking look with the oils.

In part nine, it’s time to get the clear part on with PVA glues and put together the PJ productions crew and paint them up and weather. Next we start work on the base and the acrylic rod and heating and bending into shape.

In this final part of the build, we bend the acrylic rods to the angles we need and then mount the Eagle to the stand before adding the aerials and and sensors. next it’s time to add the weapons and final touches for the final reveal.