MIG-23ML
Scale: 1/48
Manufacturer: Eduard (Trumpeter)
Parts used: Out Of The Box
Main paints used: Tamiya and Hataka
In part one, we look at the build ahead and plan out the build and then start with closing up the main wheel well doors.
In part two, we modify the blow in doors on the intakes to the closed position and the upgrade the cockpit with the colour PE set from the kit. Next with installing the parts and closing up the fuselage.
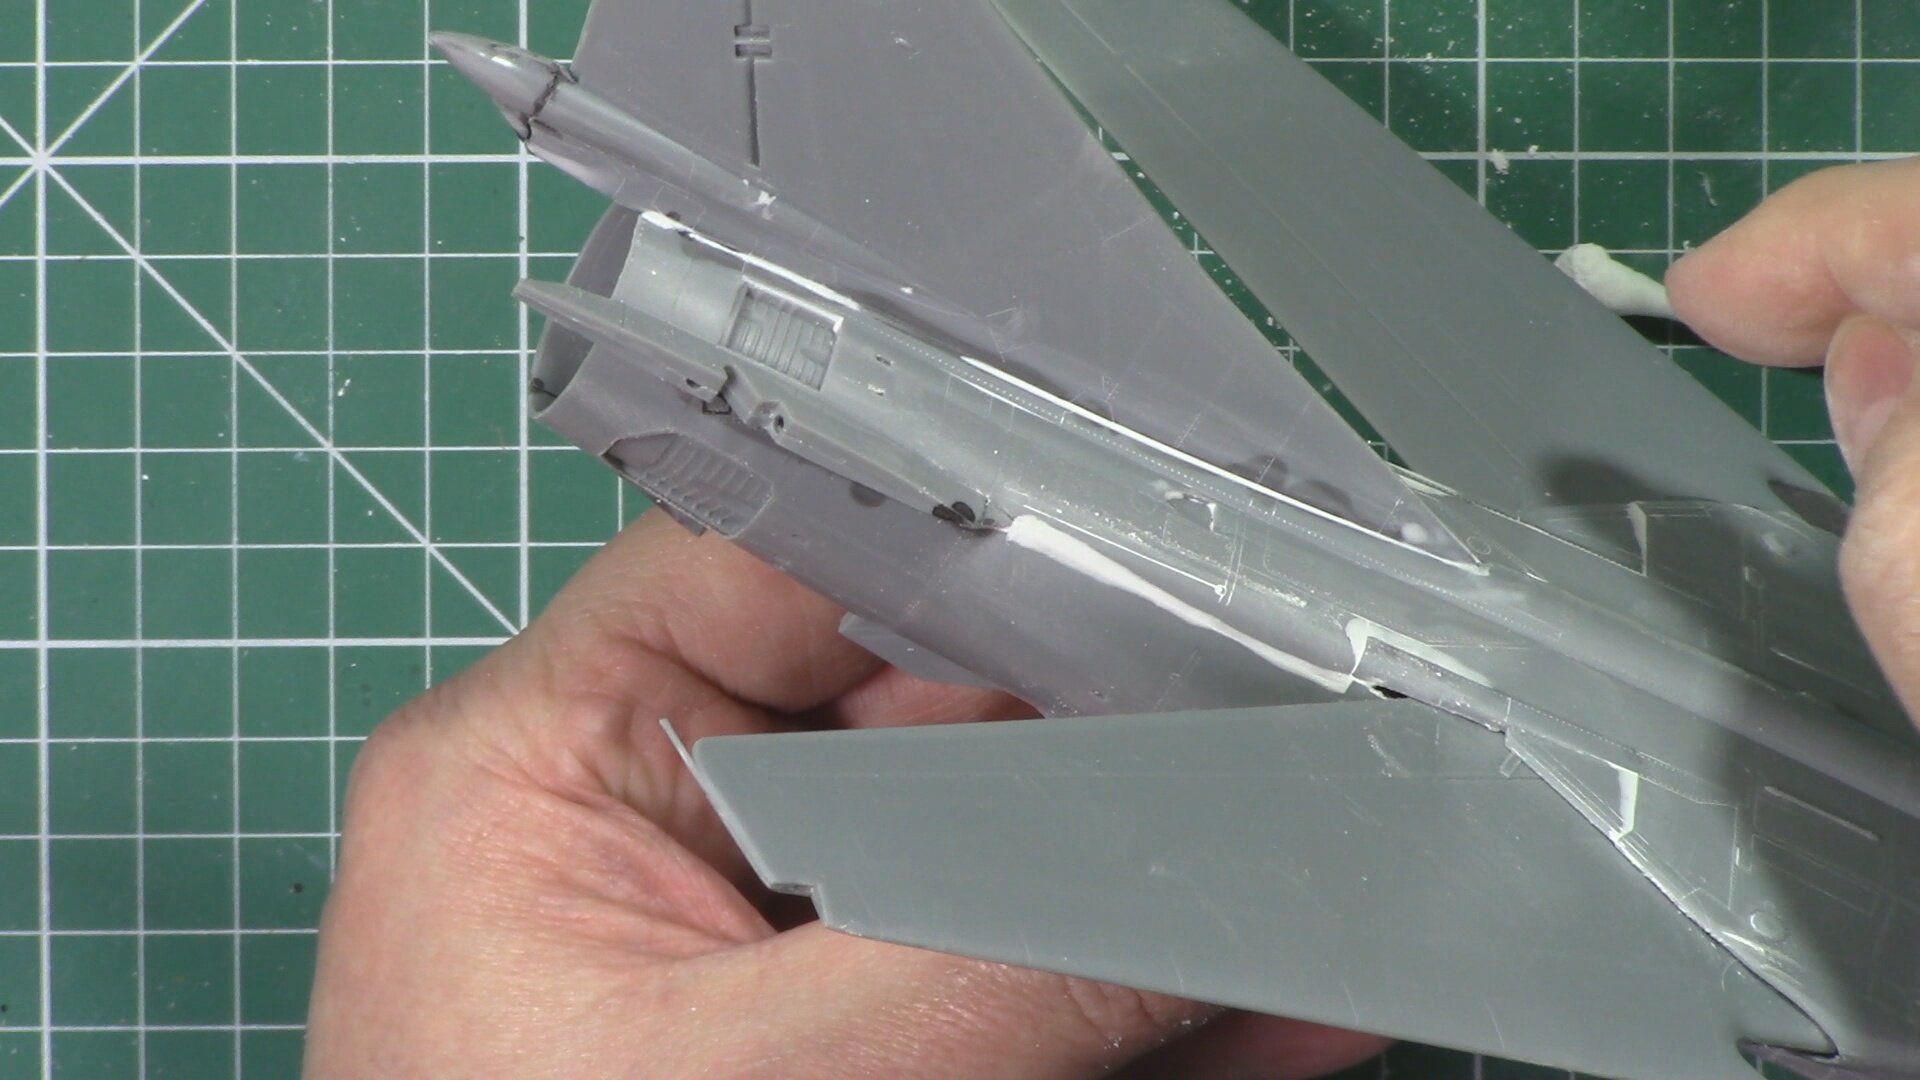
In part three, we finish off the cockpit and install it along with the intake’s wheel wells and exhaust. Then we glue the to half’s together and install the top fuselage nose and tail fin.
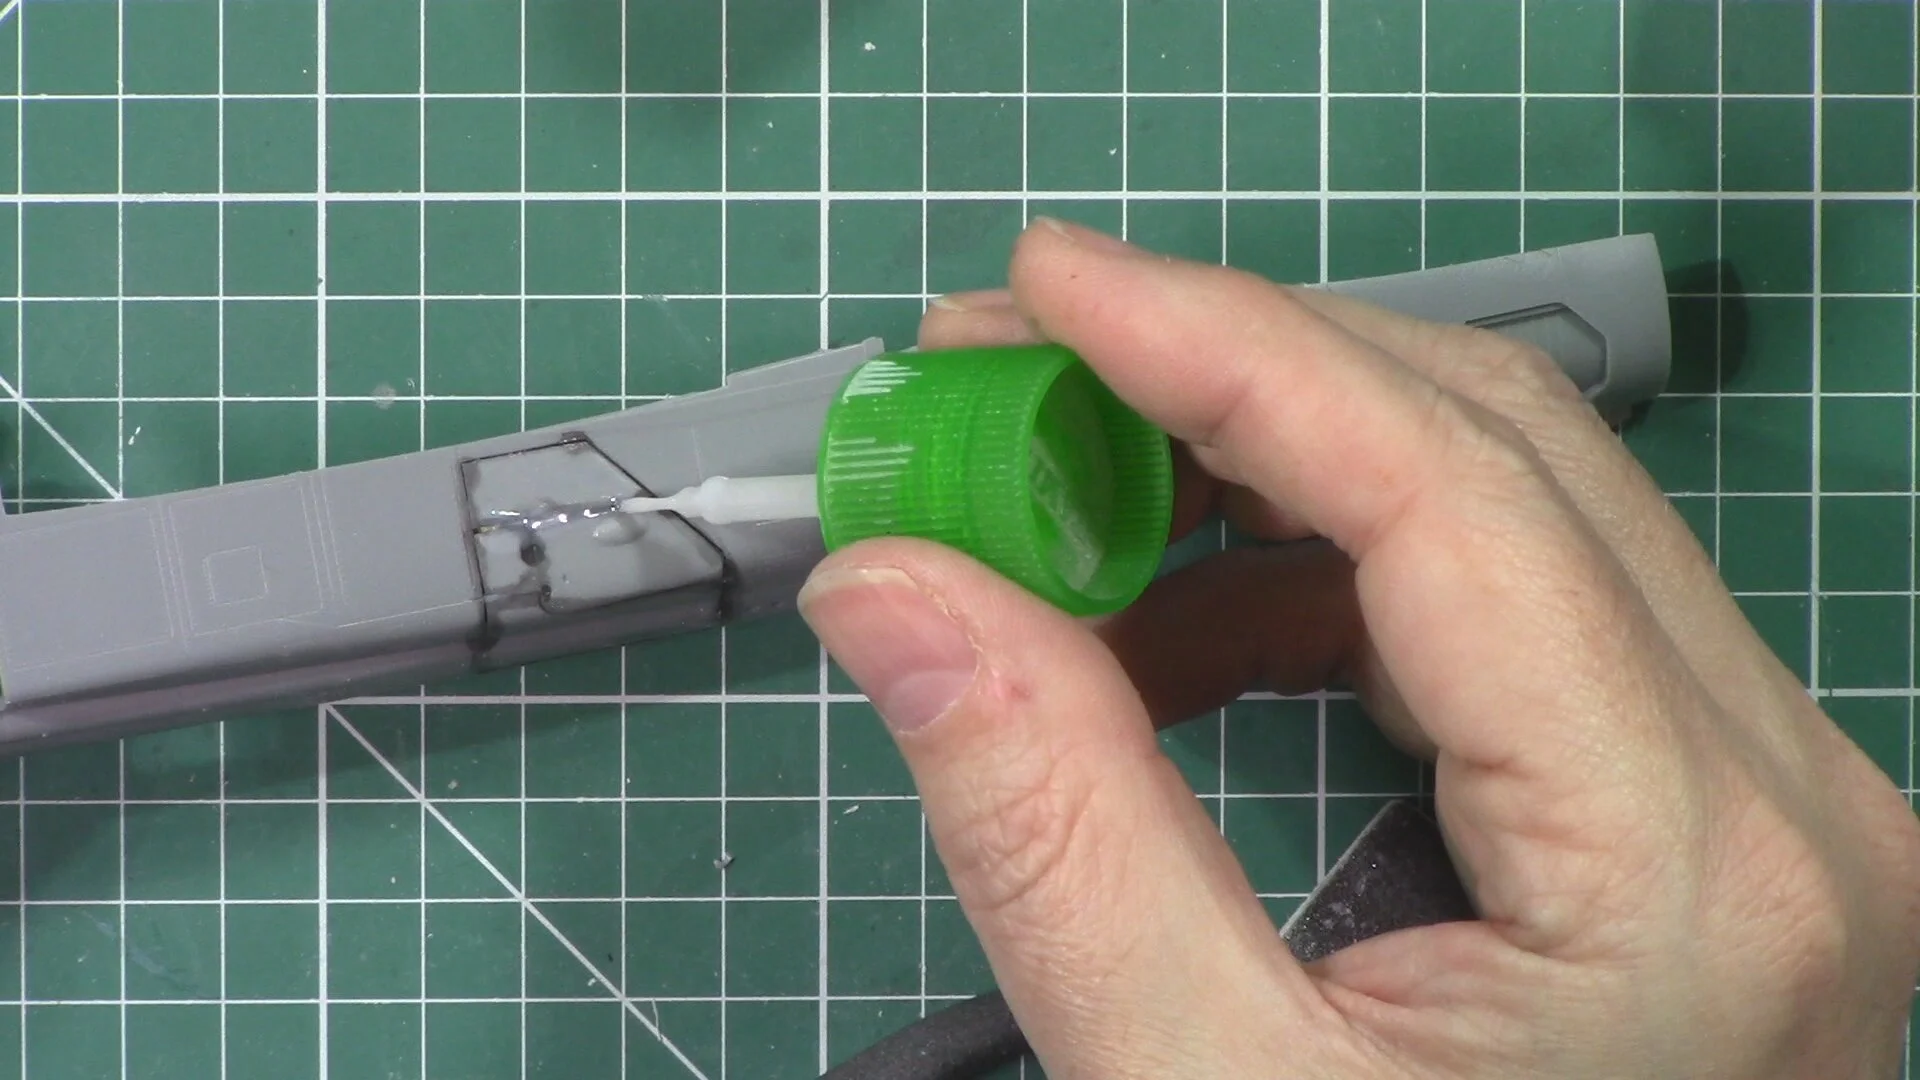
If part three, we move into the filling and sanding stage. We use different techniques and fillers if different areas to not loose the panel line and rivet detail.
In part five, we clean up the model and the riveting and panel line detail before re riveting and re-scribing the whole model. The we fit the clear part and mask up before painting the canopy and seam check the model.
In part six, we move into the spray booth and prime the MIG. Next we have a close look and take care of ant marks or blemishes in the primer and take care of them as needed. Then we check the the Light Gull Gray colour with the decal colour to get a match.
In Part seven, we start the paint work with the light Gull gray for the underside colour and then mask up for the Dark Gull gray top colour. Next its painting the exhaust colours with Xtream metal colours.
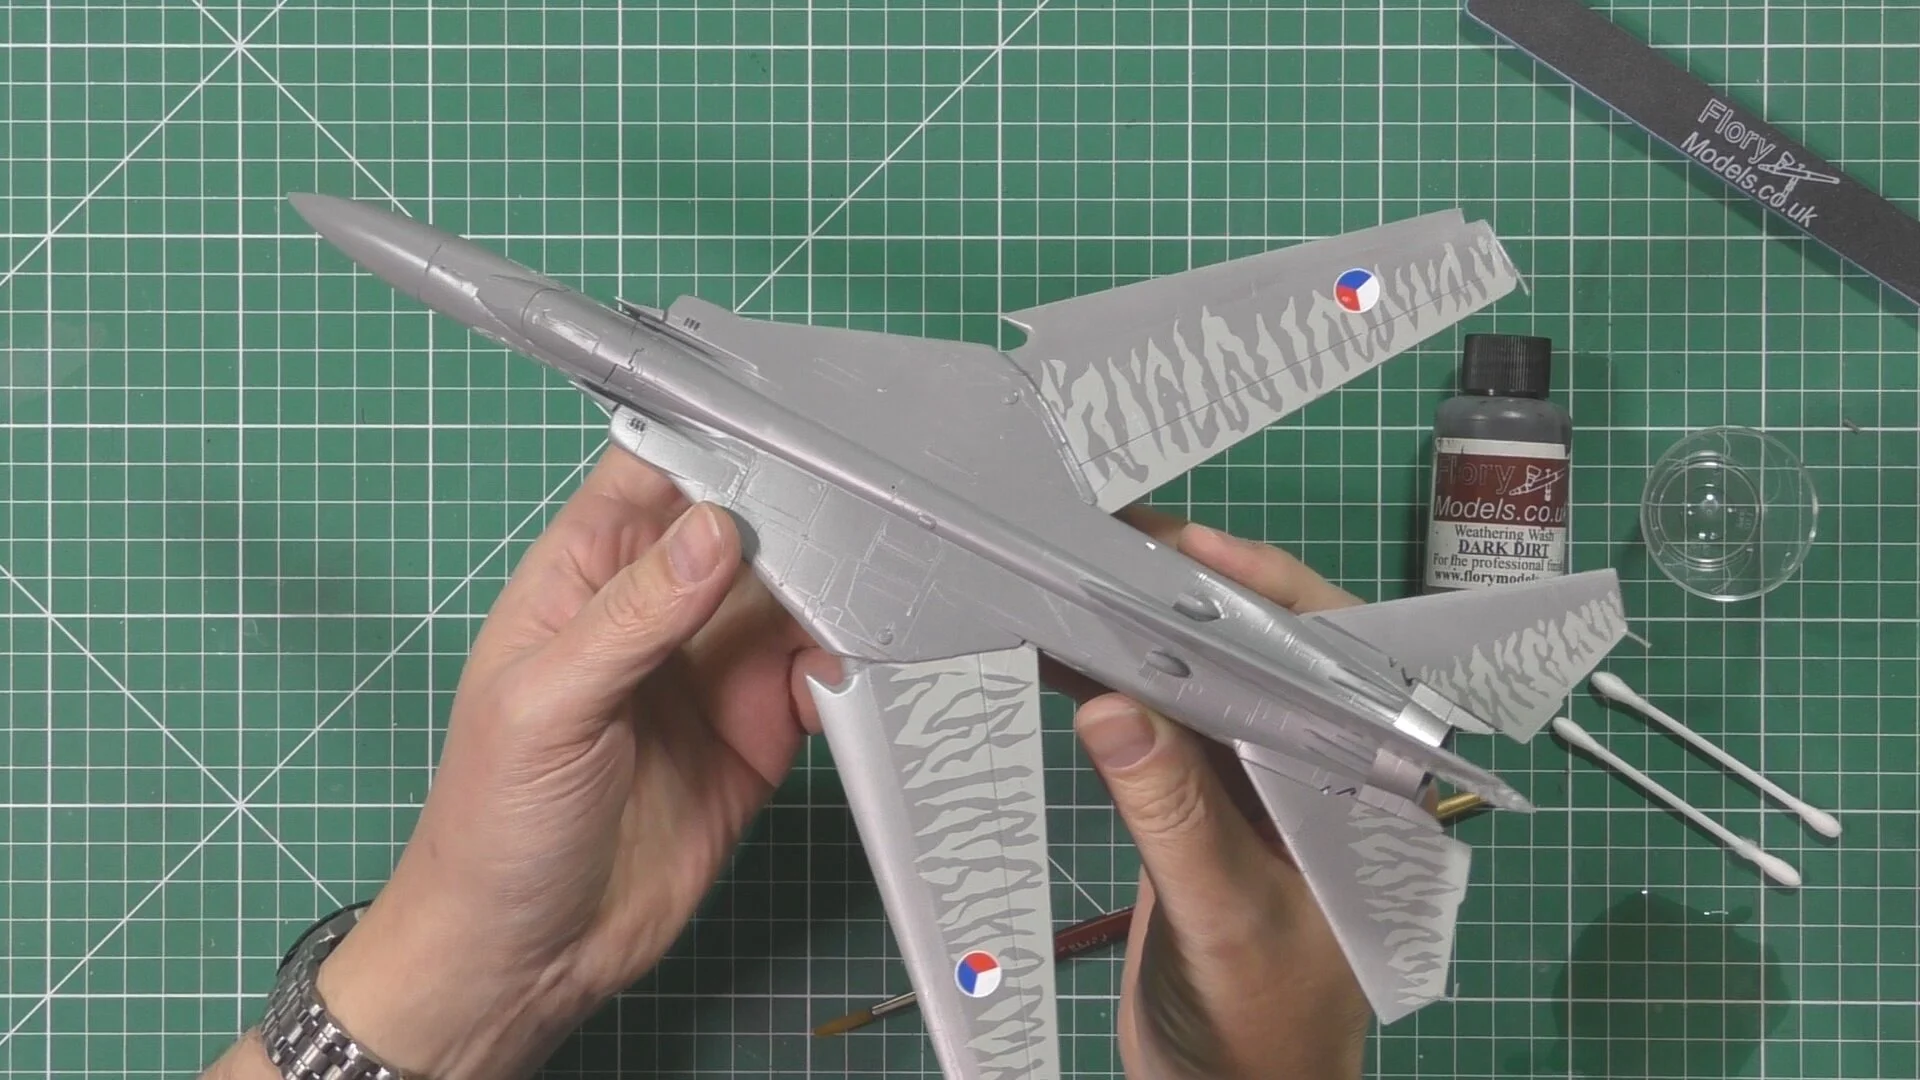
In part eight, we start on the decalling and putting down the fantastic tiger decals. Next we add a gloss coat to seal in the decals before we start weathering the jet.
In part nine, we give a Flat coat of Tamiya XF-86 mixed with Self leveling thinners 40/60. Next it in with a coat of Flory models Dark Dirt wash before we use Oil’s to do the post shade weathering.
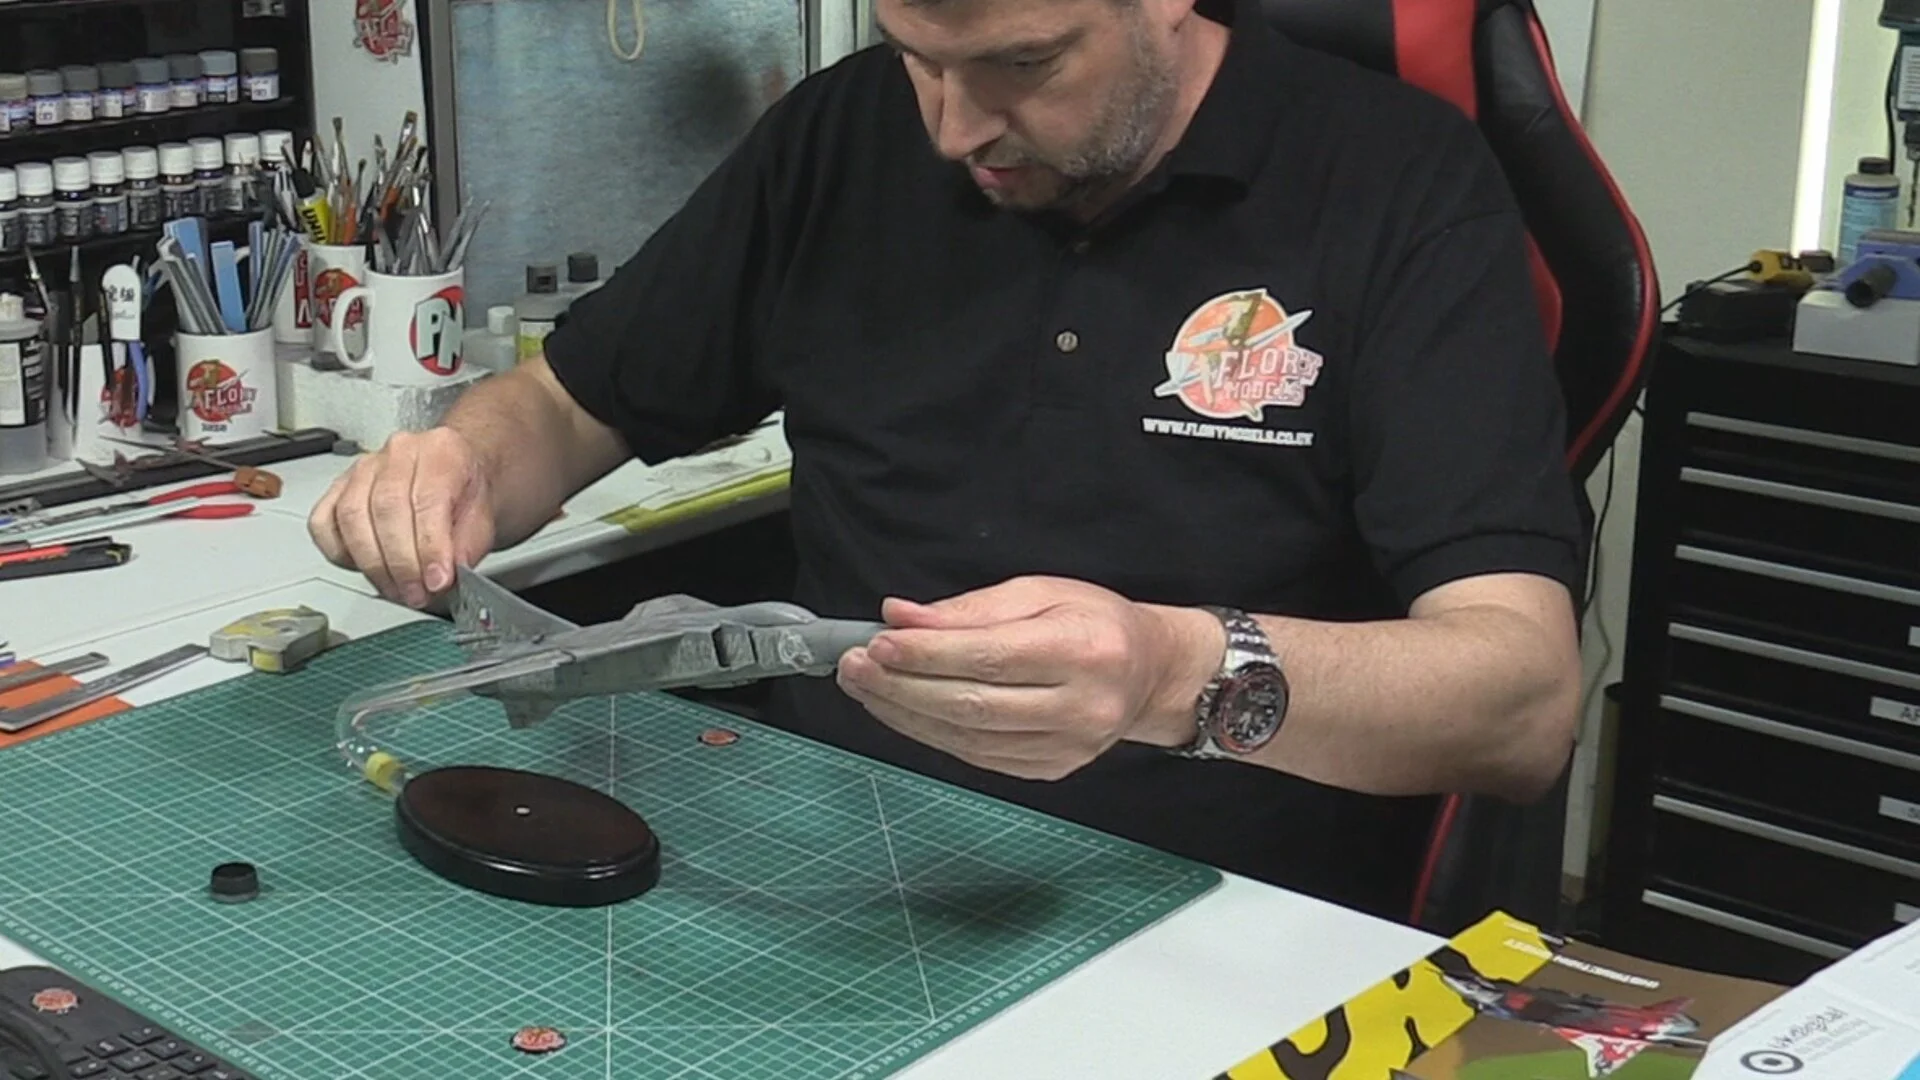
In part ten, we finish off the weathering with 502 oils both thinned and neat, we blend the oils with stippling and blending with dark and light coloured oils. Next we start on the stand with a 20mm plinth with a 16mm solid acrylic rod and bending it into the in flight shape.
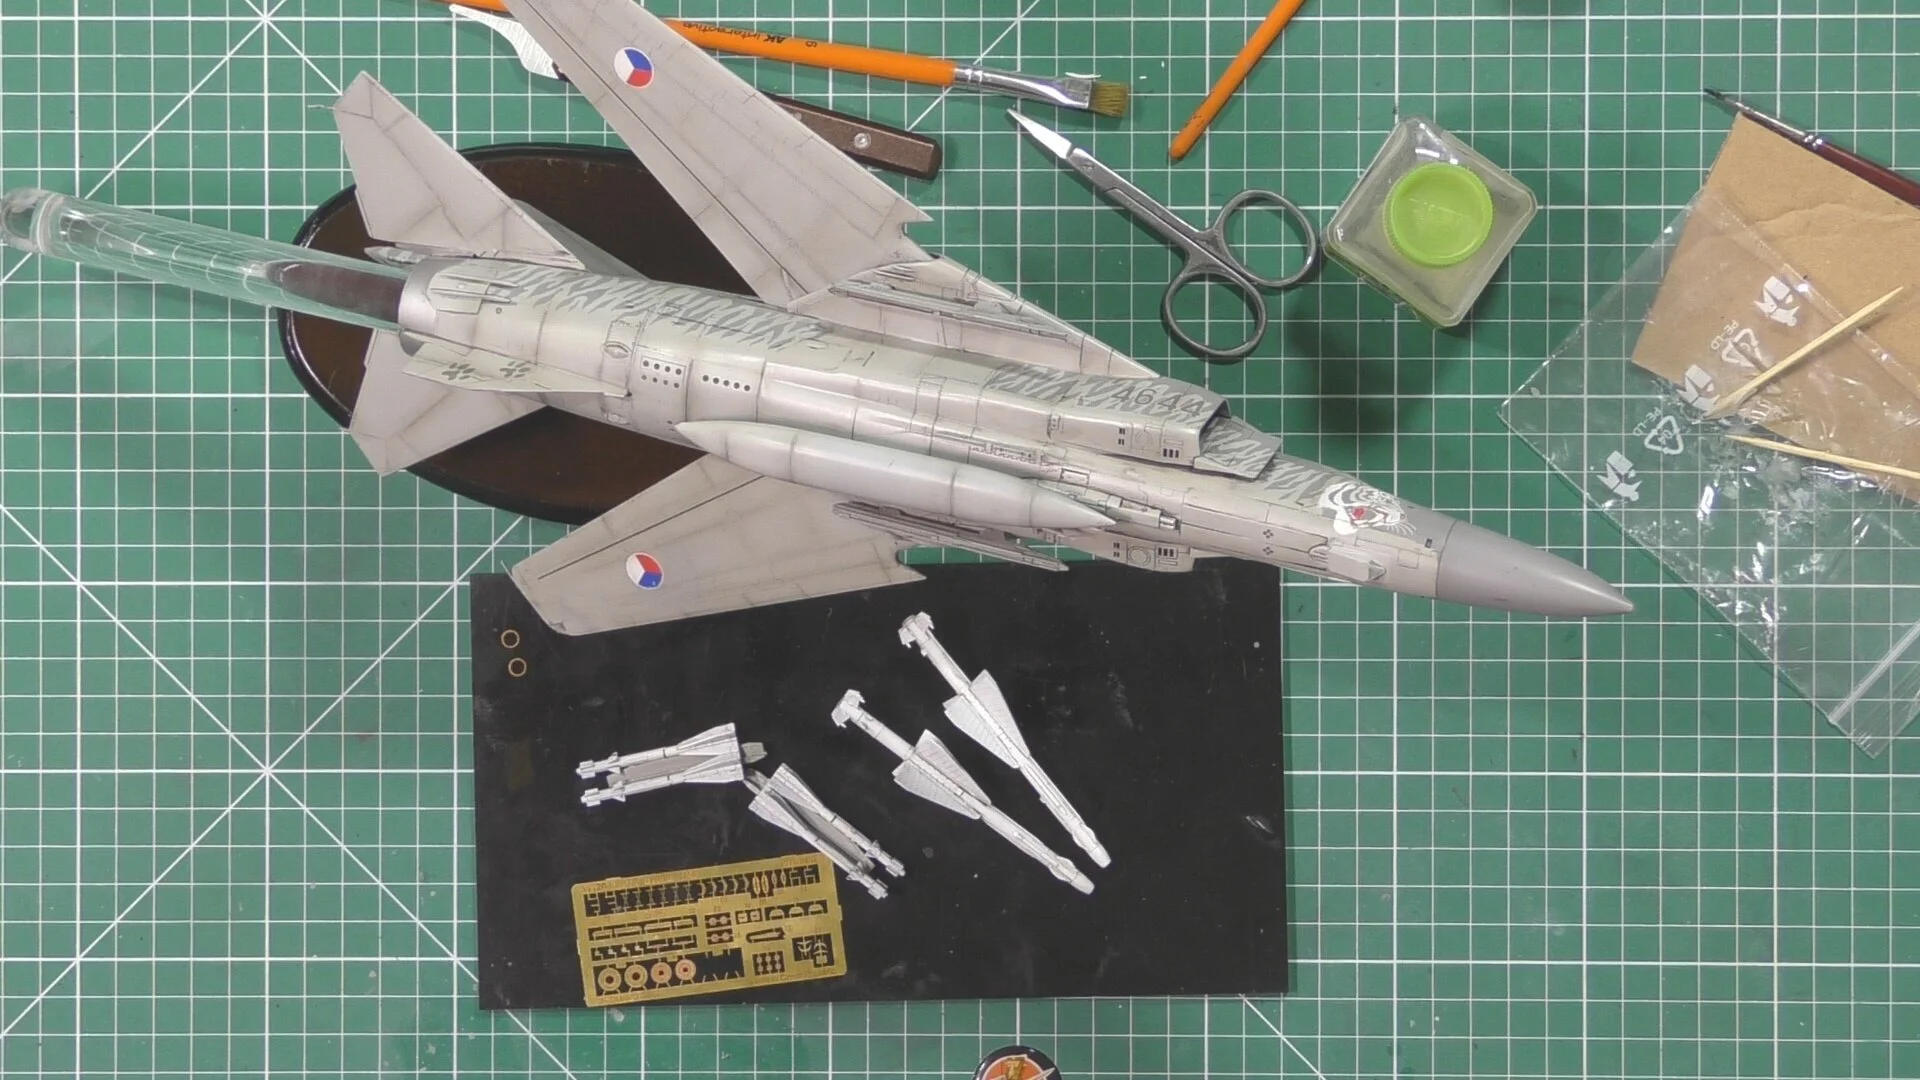
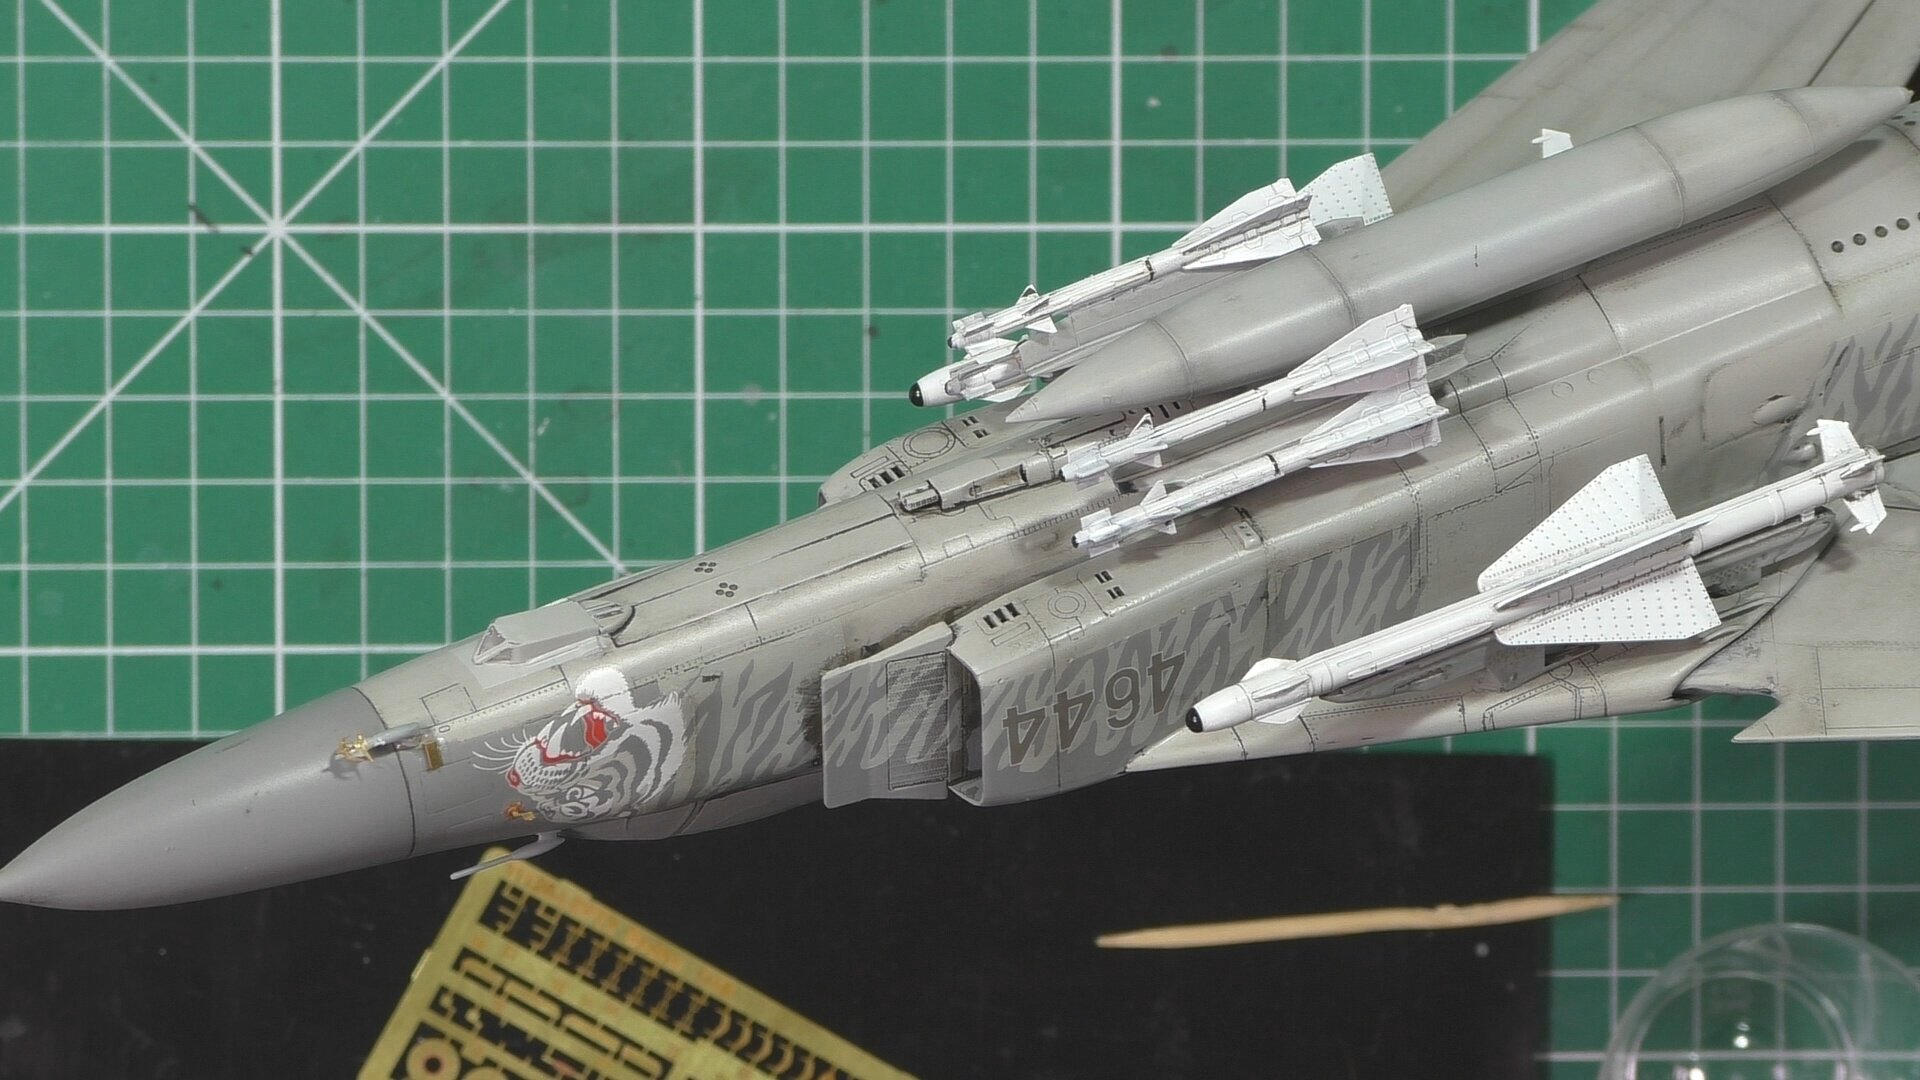
In part eleven, we work on the Weapon load out and install the pylons and paint and weather the missiles and use a 5 minutes resin to set the acrylic rod to the base.
In Part twelve, we attach the weapons load out and then work on the Photo-etched parts. Next up the resin seated pilot, so primed with flat black and then flight suit paint light grey.
In the final part, we finish the pilot figure and dry bush him and install into the cockpit. We then unmask and paint the heat effect to the acrylic rod and mount up the Mig in it’s in-flight display. Adding the final touches for the final reveal.