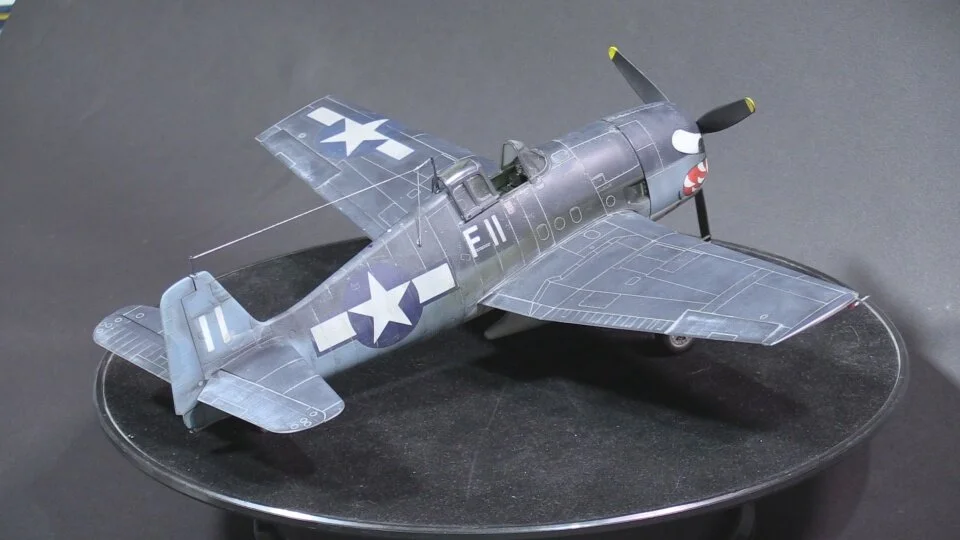
Hellcat F6F-3
Scale: 1/48
Manufacturer: Eduard
Parts used: Out Of The Box
Main paints used: MRP and Hataka
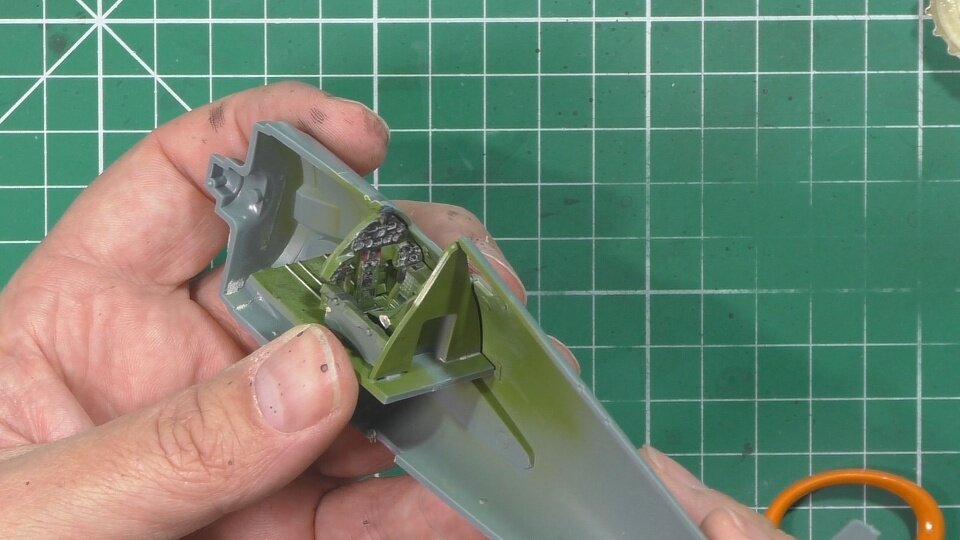
In part one, we work on the cockpit and paint the interior green with MRP- and detail with POSCA paint pens to detail. WE also build the wings and front cowling.
In part two, we weather the cockpit with dry brushing dark iron and a wash of thinned buff oils. We then make some harnesses by using the kits decals and adding foil to give them a 3D look. WE also paint the engine with buffable Dark iron and buff to add the metal look.
In part three, we bring the fuselage halves together and then the cleanup and popping the panel lines in on the wing. Next we install the wings and tail plans and then use scrapers to remove the sink marks before sanding and rescribing.
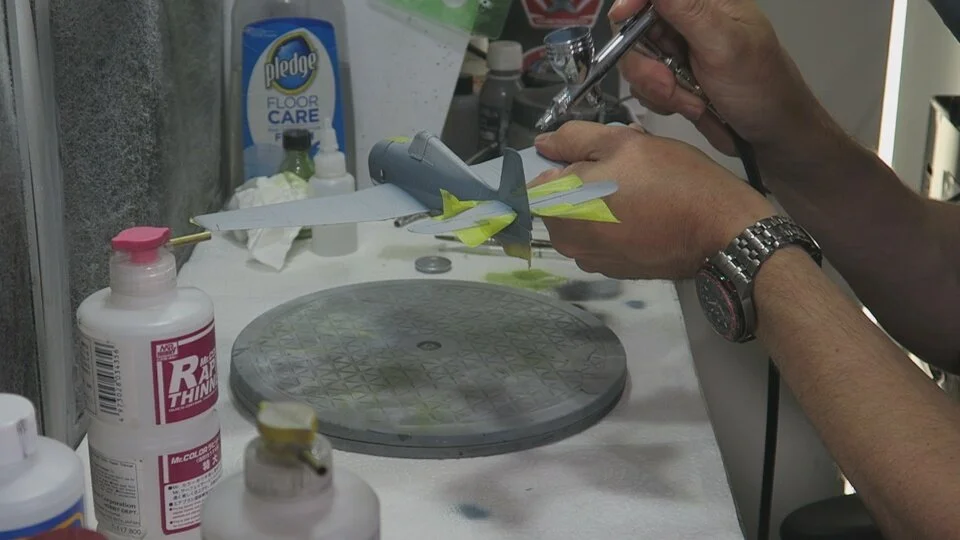
In Part four, we install the front canopy and then move into the spray booth to start on the paintwork. First the interior green is sprayed and the lightfast with a coat of black for the canopy bars and then a coat of primer to check for any problem and prepare the surface for the paint. We then put the white coat down with a mix if Tamiya XF-2 and insignia white.
In part five we move on with the painting with the intermediate blue Hataka C027, so we show masking up the white underside and airbrushing that coat on and then using tac worms to mask the intermediate blue ready for the dark blue upper color.
In part six, we move on with the Dark Blue Hataka C001 and then un-mask and start on the decaling and adding that great mouth and eyes on the Hellcat.
In part seven, we start work on the weathering,. First off the Dark Dirt Flory wash to the white underside, next a mix of Dark Dirt and the Grey wash for the upper side blue colors. Next it’s in with the 502 oils to start to wear down the colors for a warn look.
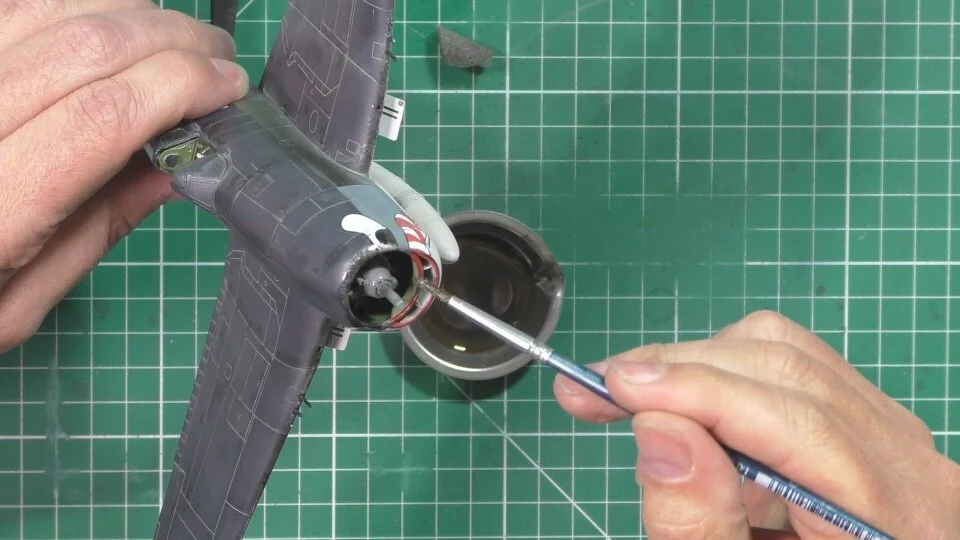
In Part eight, we have a problem with the decals and the new Eduard way of using them. So we have a look at what went wrong and them move on with the exhaust stains after ordering some new decals. The stains are put on with AK484 burnt metal and 428 jet exhaust. Next we paint and decal the prop. We then respray and touchup the paint work from the decals.
In part nine, we reapply the damaged decals and tidied some over spray from others. we then carry on the weathering with some chipping and then overcoat with another thin oil wash to wear them in. Next a little now oil wash for the staining effect.
In the final part, we add some traps for the external fuel tank and add the antenna line with Prym knitting in elastic. we then add the final details for the final reveal.