Free To Watch Video
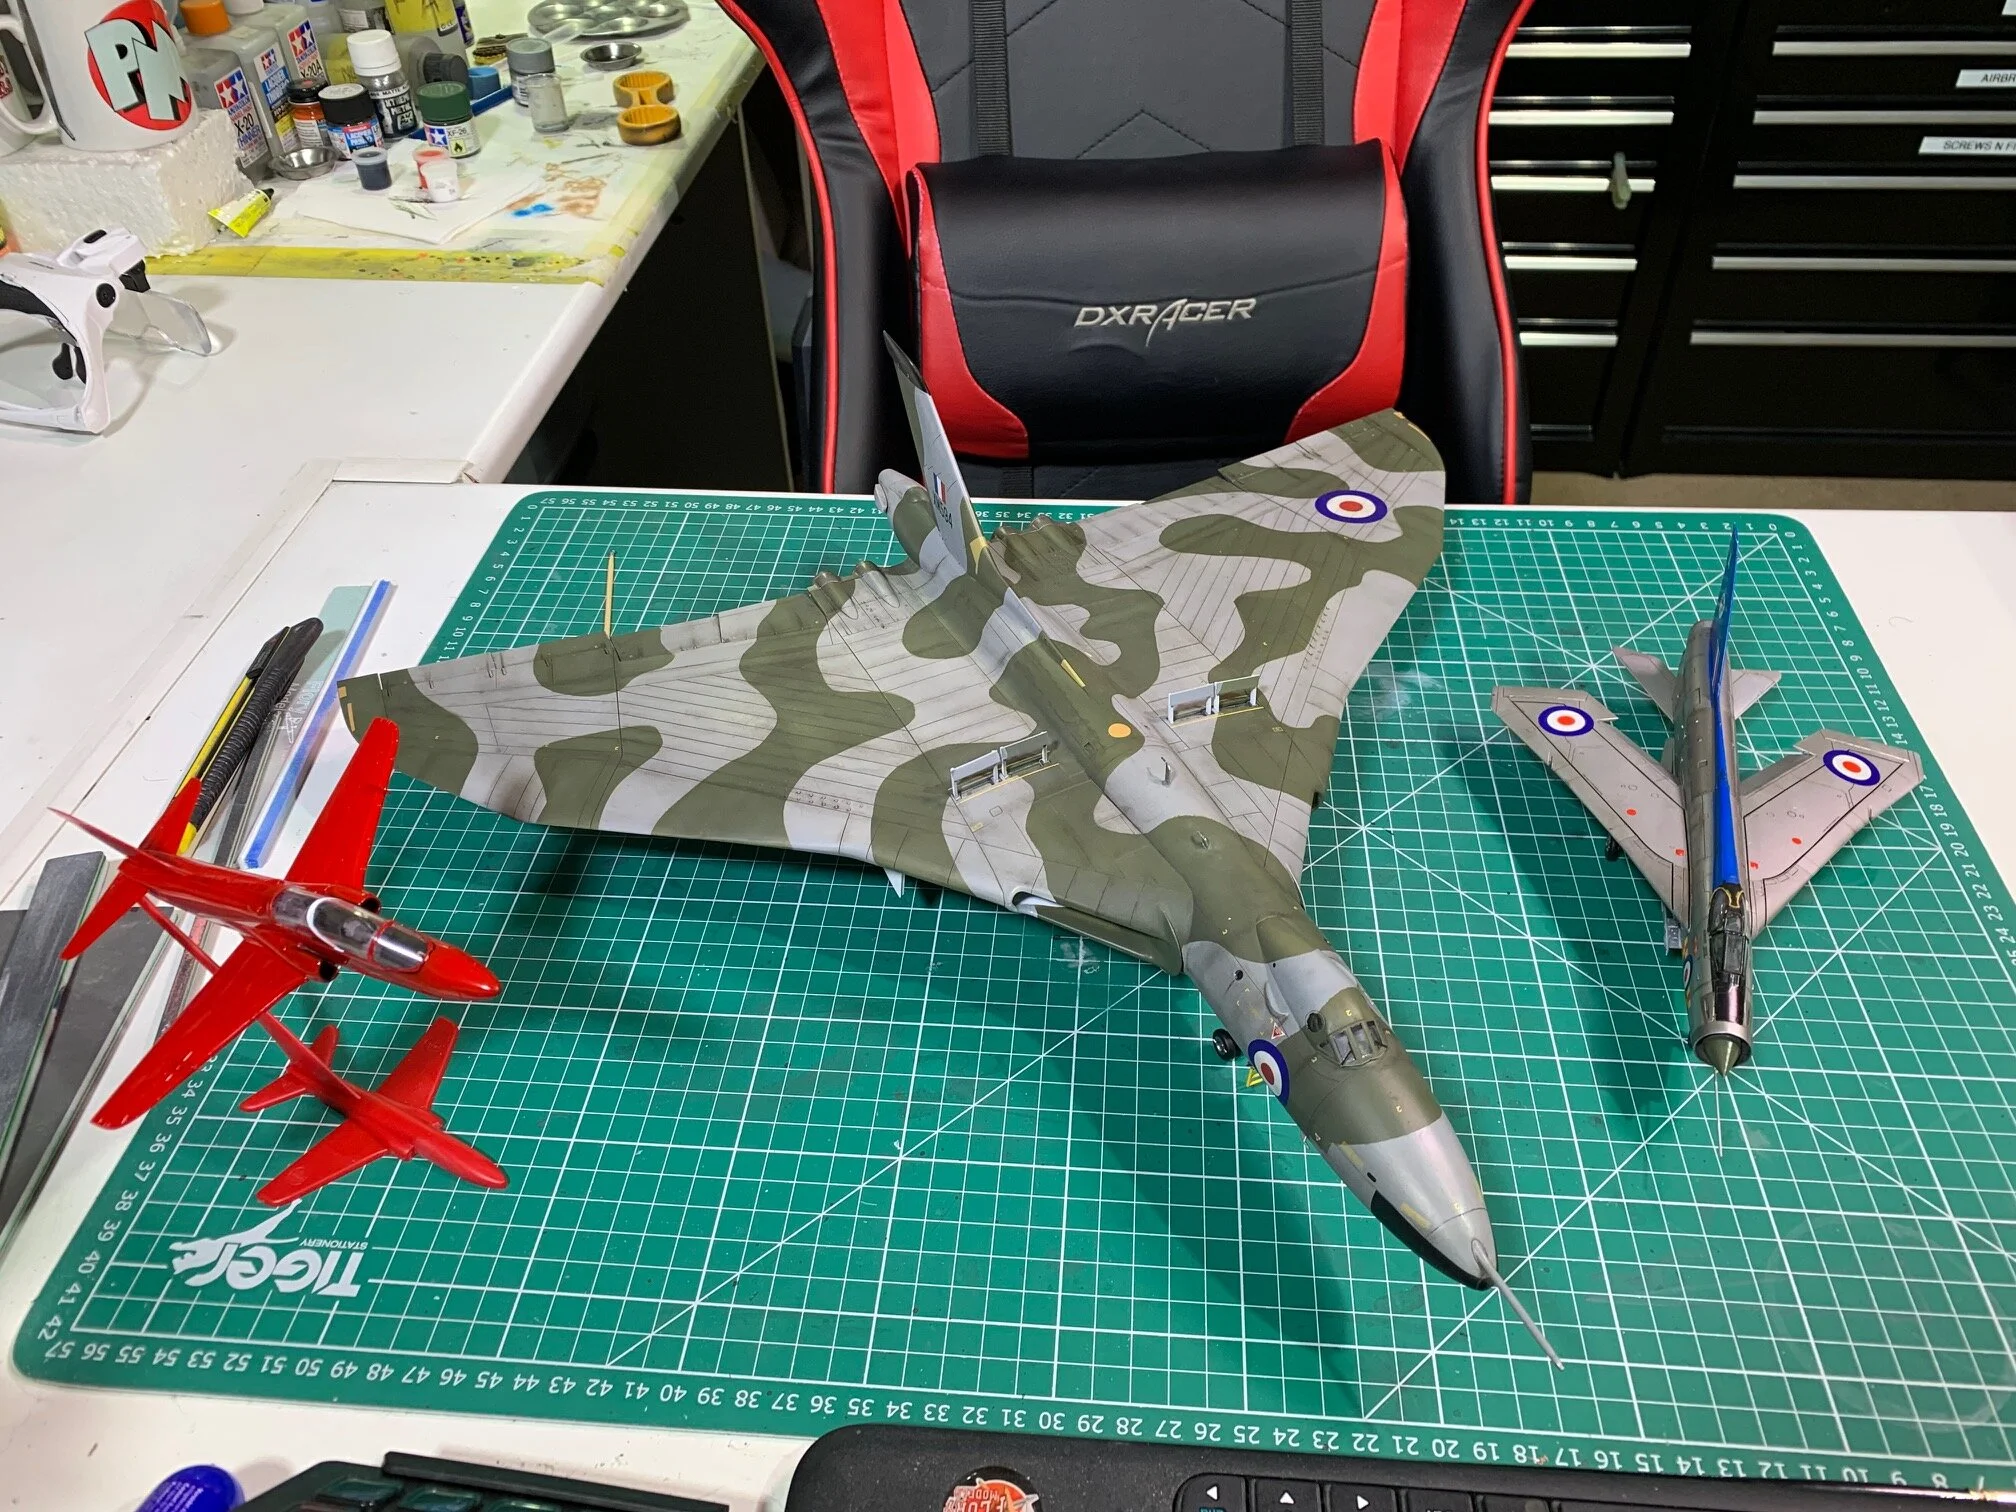
Avro Vulcan
Scale: 1/72
Manufacturer: AIRFIX
Parts used: Out Of The Box
Main paints used: Tamiya and XK Real Colors
In part one, we work on the flight deck area painting with Tamiya Rubber black XF-85 and then installing the seat and using the kit decals for the instruments. Then it’s 40grams of nose weight and install into the forward fuselarge.
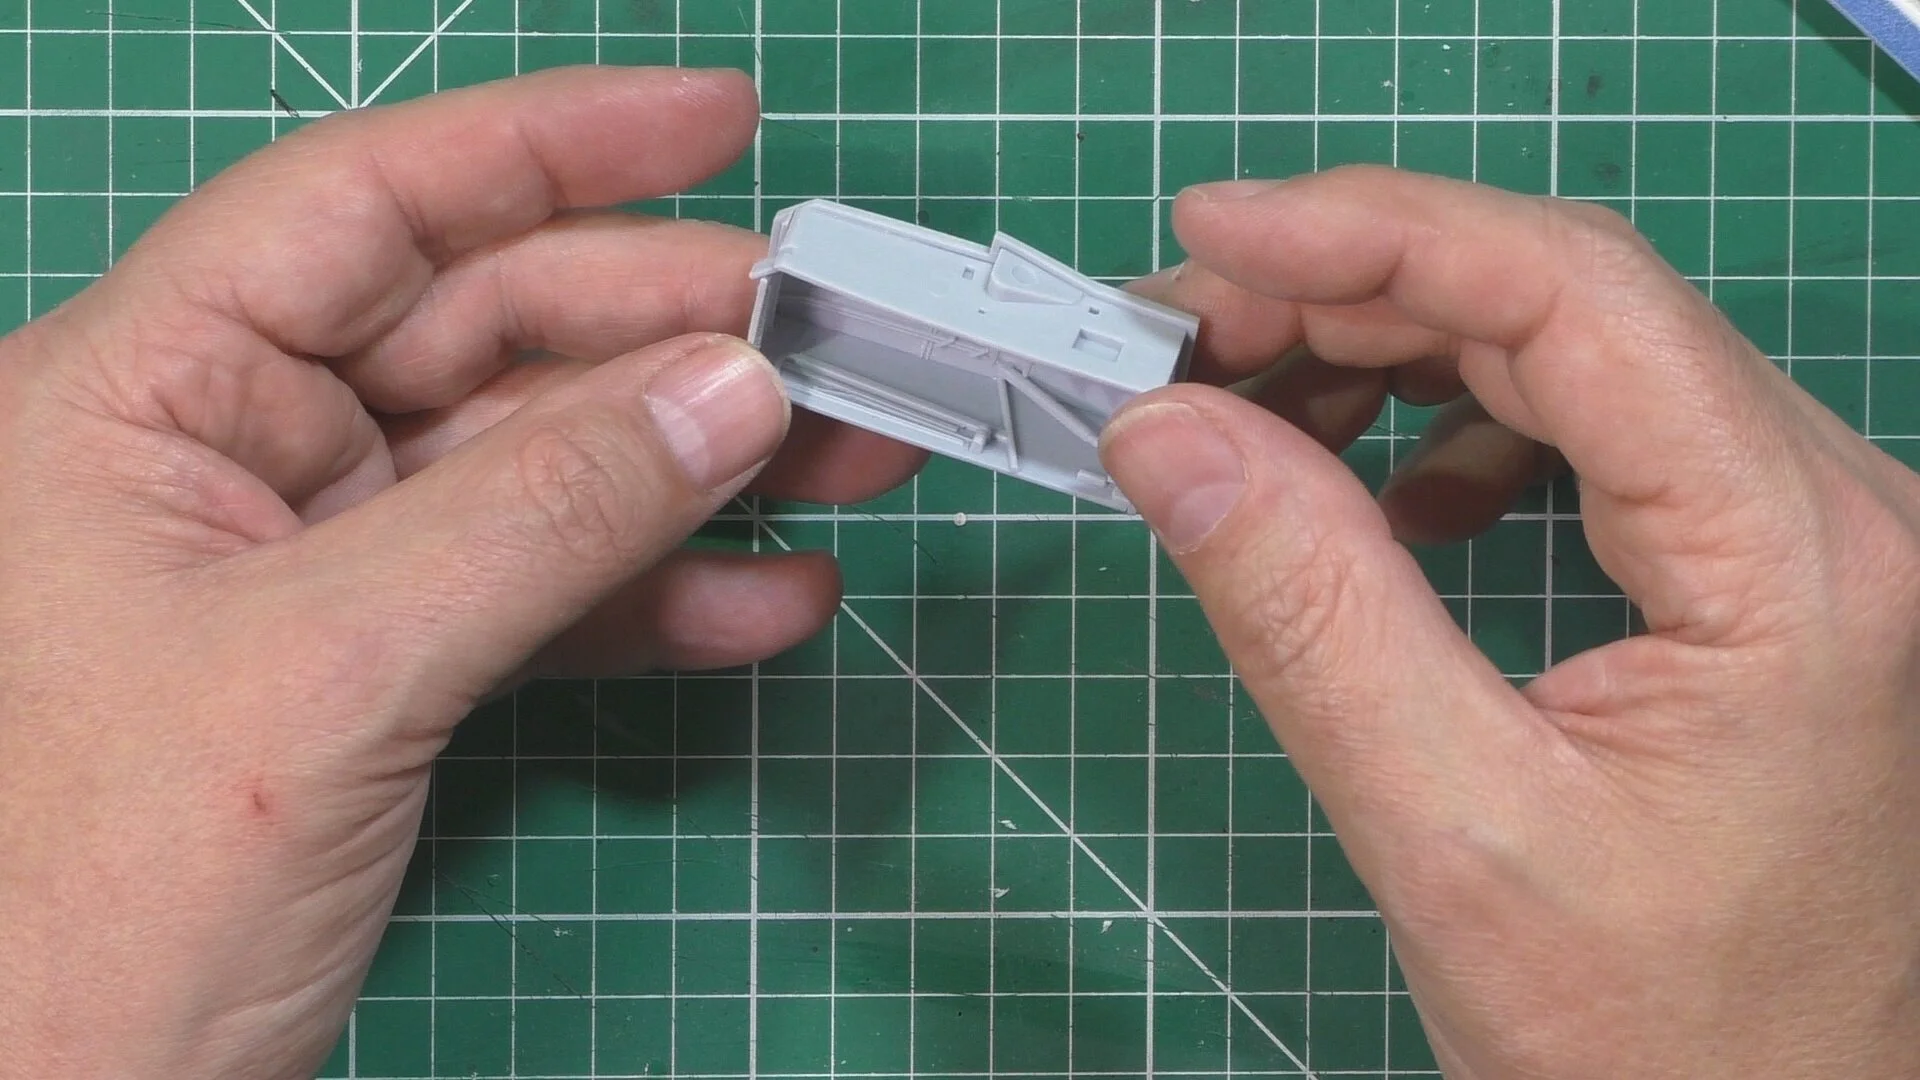
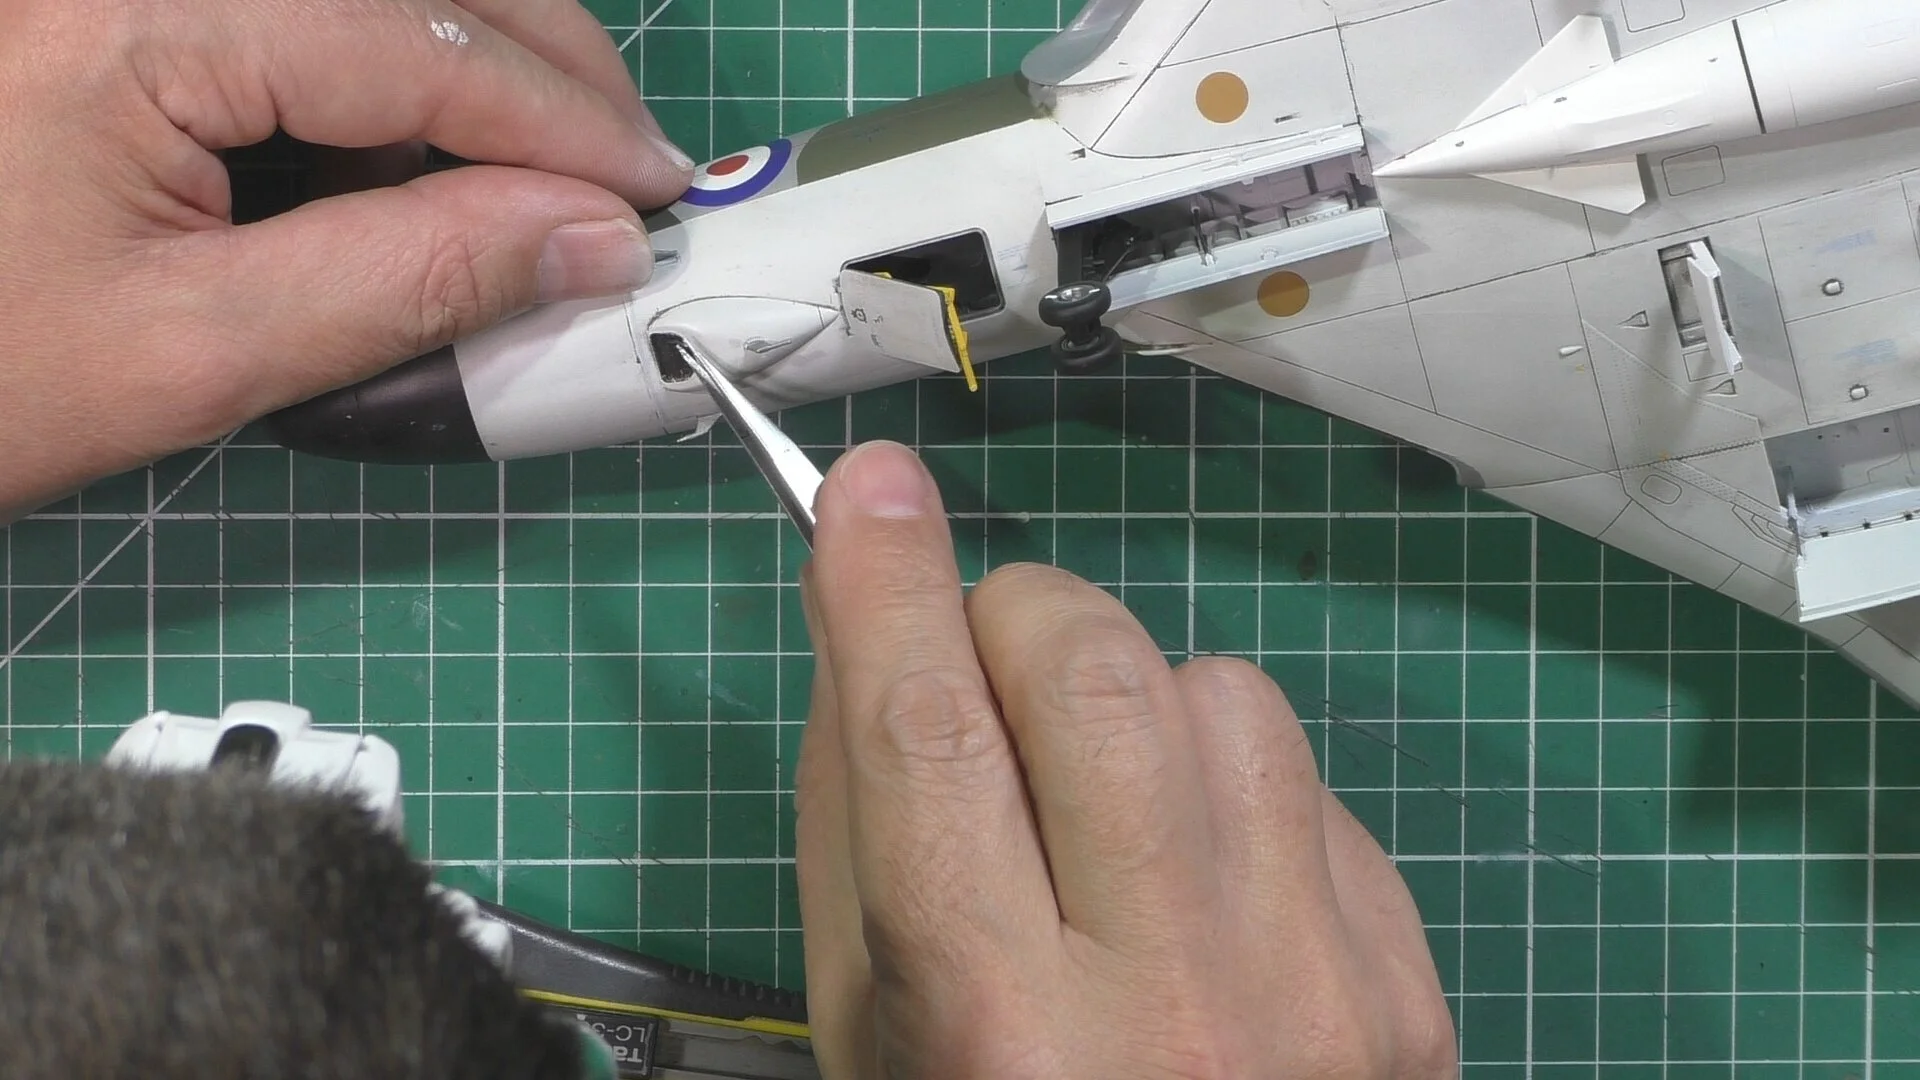
In Part two, we start work on the bomb bay and the wing spare area. Next up we need to cut the lower fuselage area to make way for the Blue Steel missile bay. We then install the bay and get the forward fuselage together
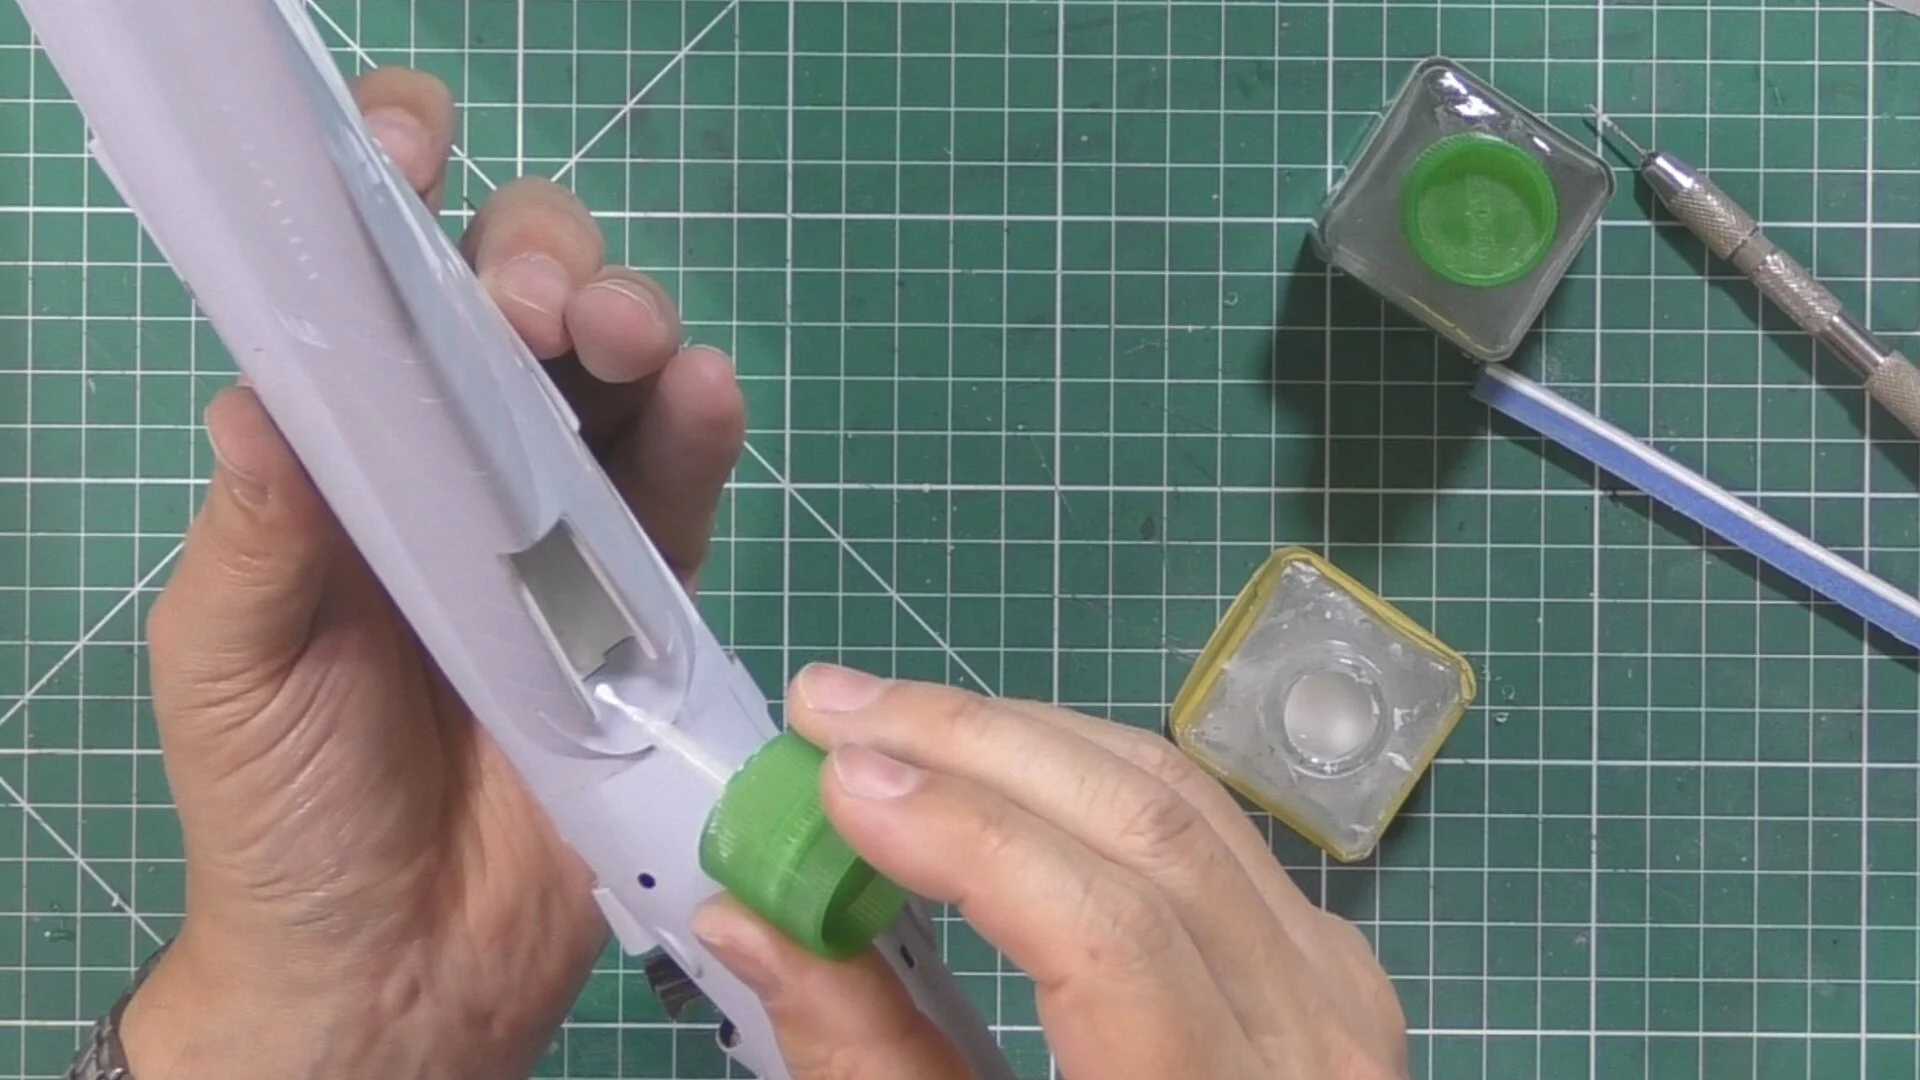
In part three, we look at dealing with steps and the easiest way to deal with them with minimal filler and using scraping to bland the two sides together. Next we put together the wheel well and the intakes, we then use thicker Tamiya white top resin glue to make a seamless look.
In part four, we paint the intakes and wheel wells with Tamiya white and then get the top wing area together. We fixed a few small gaps with filler and join the tp and lower wing area together
In part five, we take care of a few gaps in and around the intakes and the seam on the underside of the wings with Styrene filler Once dry we use a scraping technique to clean up and then replace the panel line with some rescribing. Next, we add the front cockpit area and fill and clean up.
In part six, we build the engine nozzles and get out the styrene filler out again and take care of some small seams. Next we add the vents on the lower engines and then add the control surfaces and a relaxed pose.
In part seven, we look at masking up the clear parts on the canopy, then it’s over to the spray booth to first add a black coat to colorfast the clear parts and check some seams. Next it’s time for the primer, for this we use Mr Primer Surfacer 1000 with Rapid drying thinners
In Part eight, We work on the underside white color with a mix of Hataka traffic white C101 and insignia white C049 and make mix’s to weather the look.
In Part nine, we mask up the lower white color to give a good line between to top and lower colors. We also make the intake with some foam cut to shape. Then it’s over to the Spreybooth to put down the Hataka C043 Medium sea Grey BS637.
In part ten, we turn our attention to the Dark green camo and the different ways to do this. We decided on using the kit plans and upscaling them by 145% We then transfer them to 40mm Tamiya tape and then onto the model. Next we put down the RAF Dark Green Hataka C143
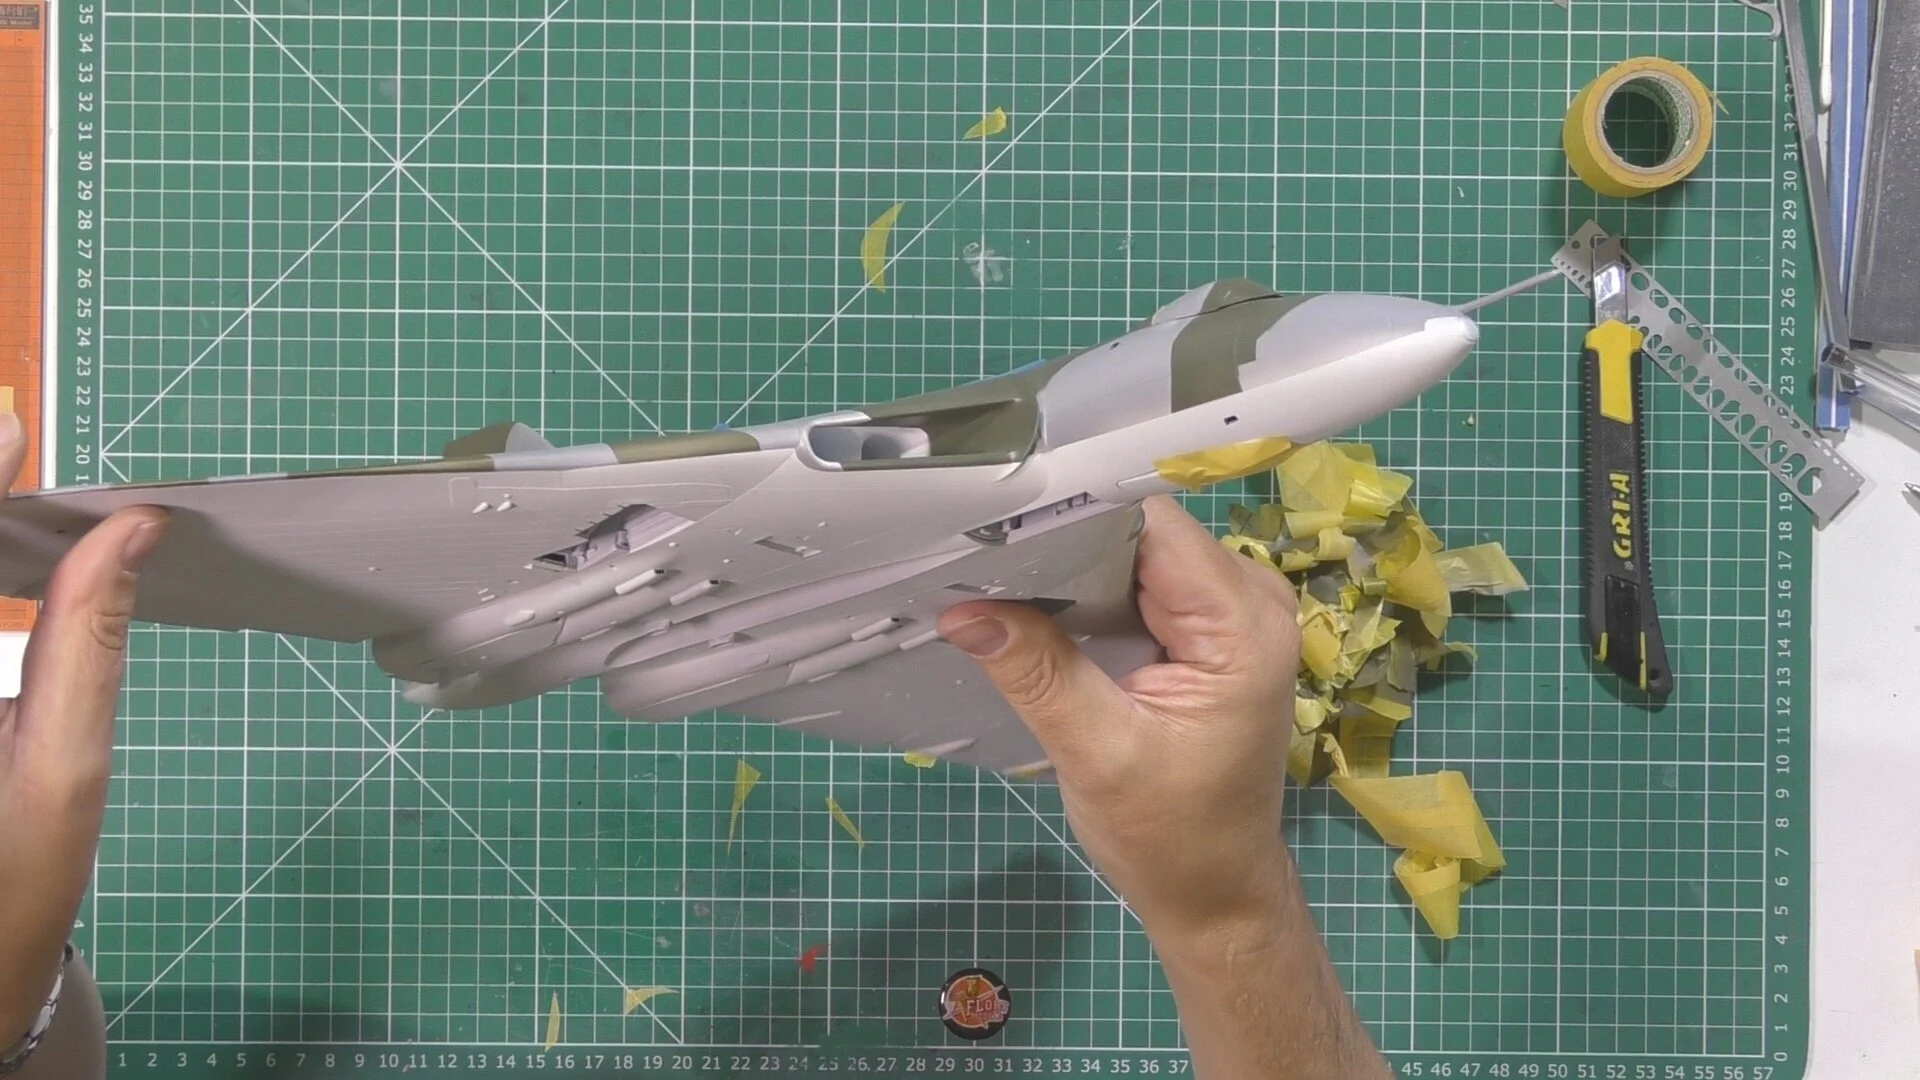
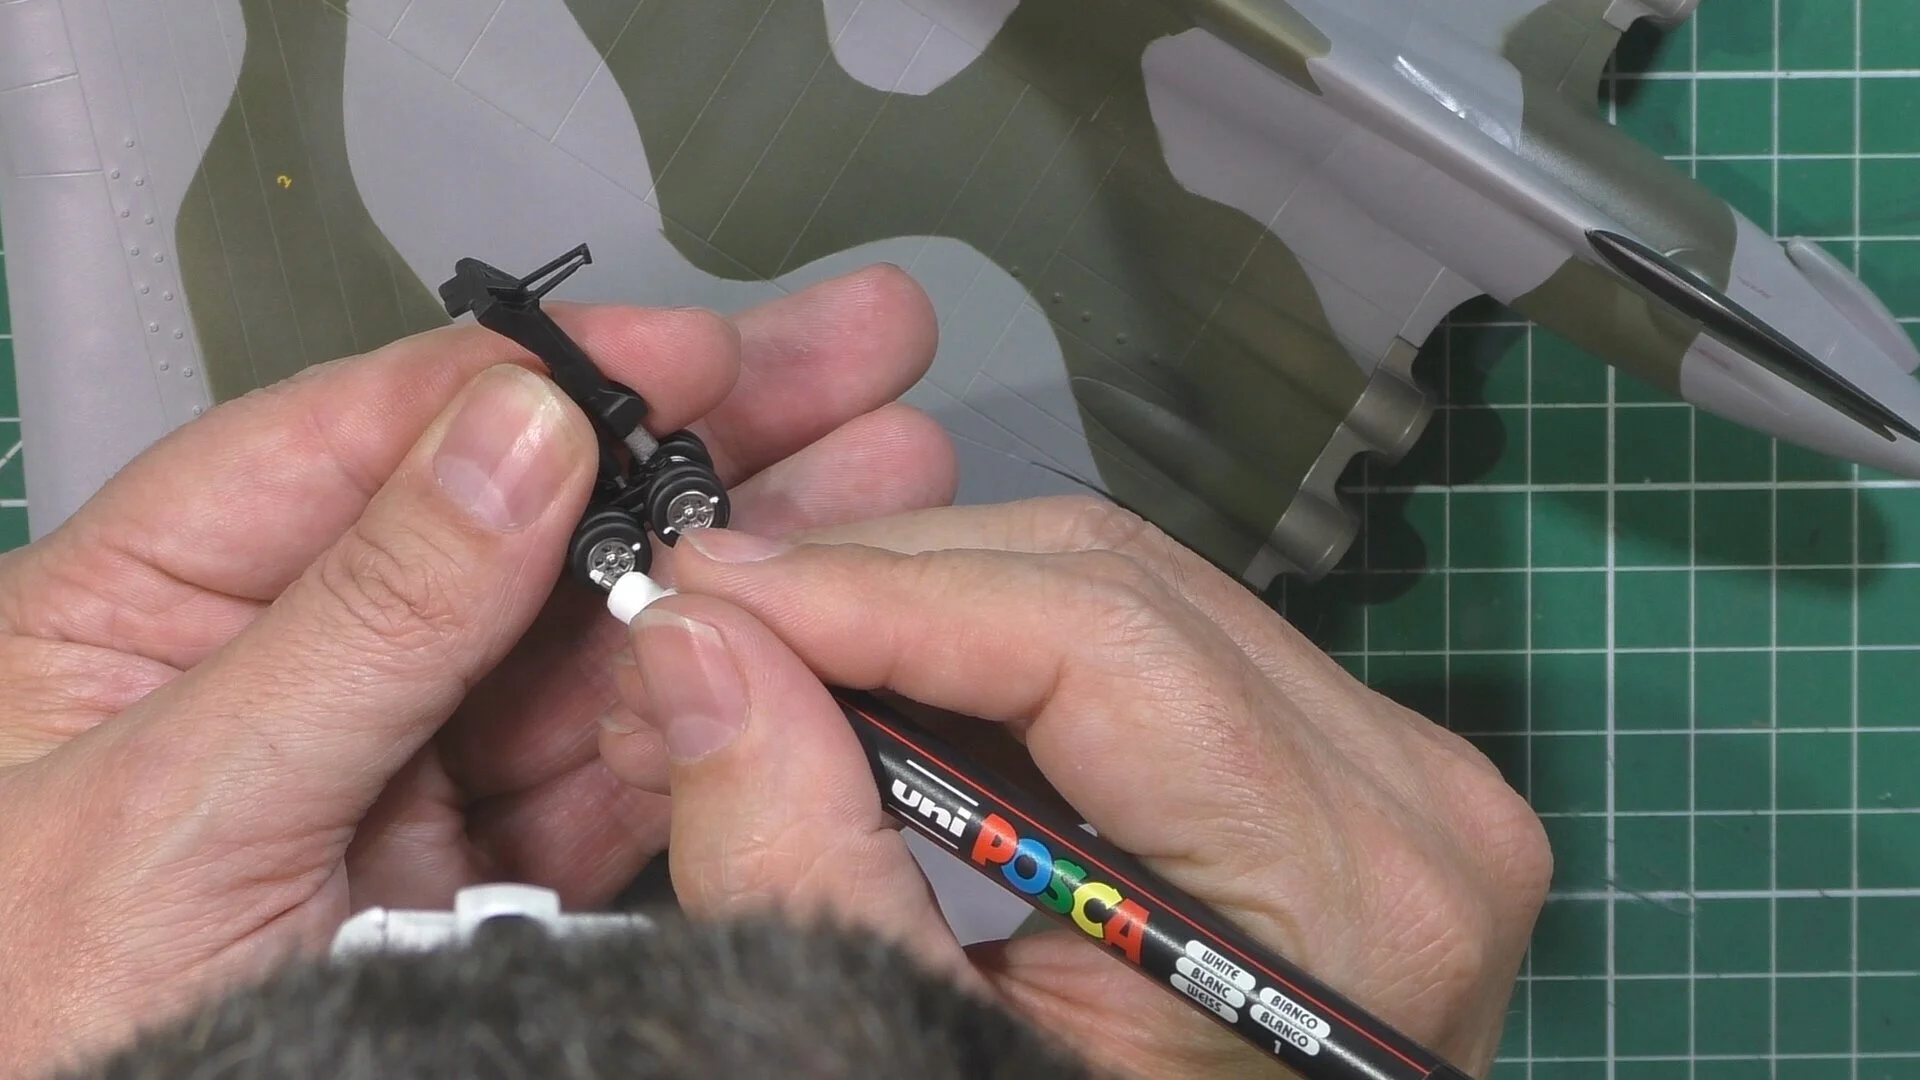
In part eleven, we un-mask the Vulcan and fix a few small mistakes and the black area to the lower nose and tail. Next is a gloss coat ready for decaling, here we look at the color change and the giving a satin finish by upping the air pressure and moving away from the model. Next we paint the gear and the wheels using Tamiya LP5 black and silver for the hubs.
In part twelve, we start on the decaling, so we have a look at the decals and add those to the model. We then use setting solutions to get the decals to bed down and conform to the surface details. We next pop into the spray booth to add a satin finish to seal the decals and get ready for the weathering.
In part thirteen we start on the weathering using the Flory models dark Dirt wash, we talk about the importance of the texture for the different ways to weather the Vulcan.
In the final part we get the Vulcan on it gear and the doors all installed and then spray some panels with the buff color. Next we use PVA glue for the windows and install the antennas. Then time to install the Blue steel missile ready for the final reveal.