Hawker Typhoon Mk1
Scale: 1/24
Manufacturer: Airfix
Parts used: Airfix motor, Eduard Photo Etched sets, Airscale Decals
Main paints used: Tamiya and Vallejo
In part one we start with the cockpit.
In Part Two we carry of the the cockpit area and then paint and wither with Ink washes.
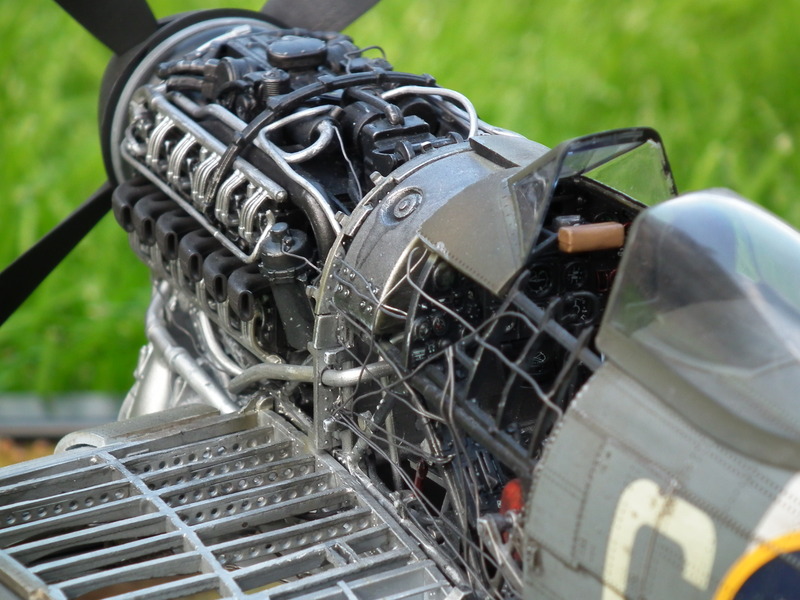
In Part Three we work on the engine and install the motor. Then we use buffable paint to weather the engine and get it installed.
In Part Four we finish off the engine with all the plumbing installed
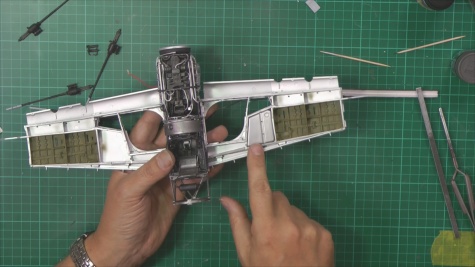
In Part Five we work on the wings and adding the details
In part Six we detail our opened wing area and cut open the the cockpit sides
In Part Seven we start to bring it all together by adding the tail and wings.
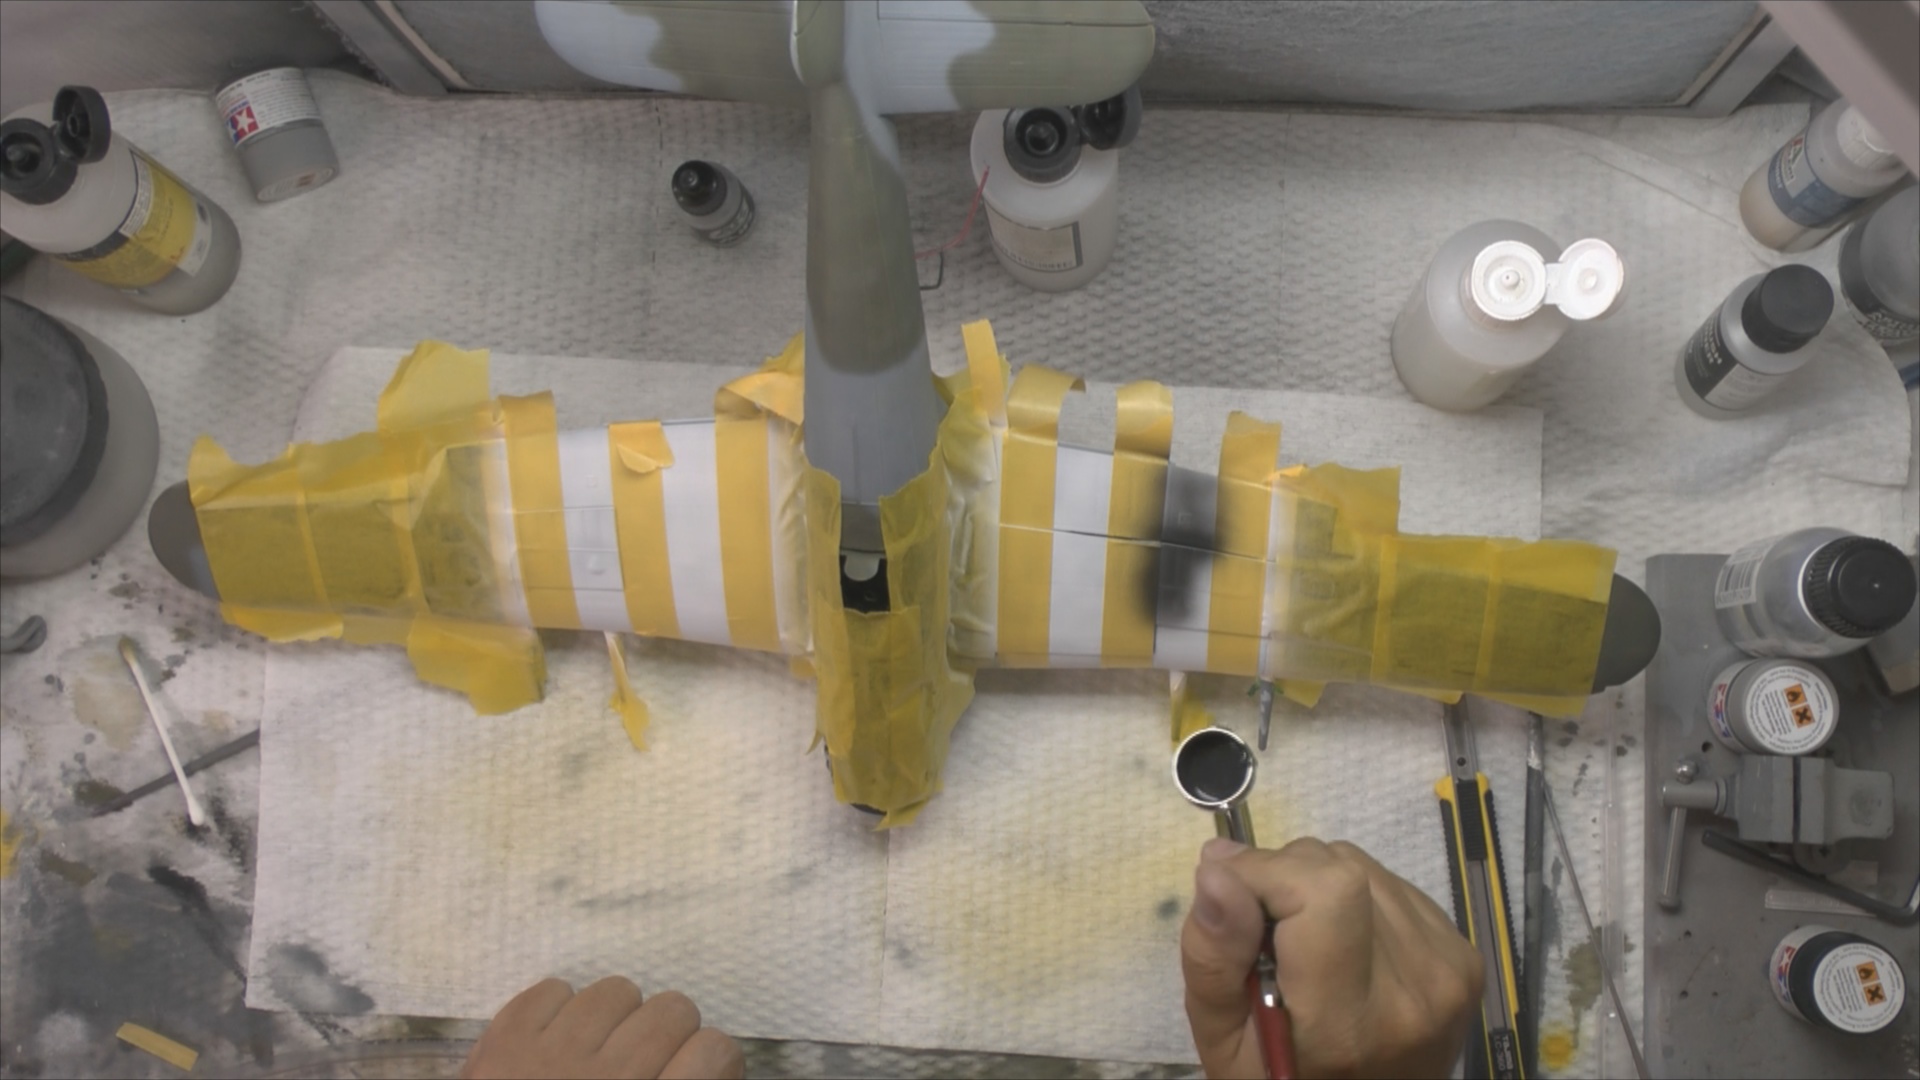
In part Eight we move into the spray booth and work through the priming and the the free hand camo painting
In part Nine we finish of the camo work and them move on with the invasion strips.
In part Ten we look at the decaling and them start on the weathering by rubbing back the paint to give a warn look to the model. Them we continue with a weathering wash.
In Part Eleven we continue weathering with the wash and then dry brush and add chipping to the model
In part twelve we get the Typhoon on its gear, weather the wheels with pigments. Install the canopy and then wire the cockpit and engine
In part Thirteen we install the gun bay doors and then work on the HGW fabric harnesses
In part Fourteen we finish off the harnesses and then weather with inks the engine before looking at stretching sprue for the antenna.
In the final part we work on a simple and cheep dio base for the Typhoon ready for the final reveal.