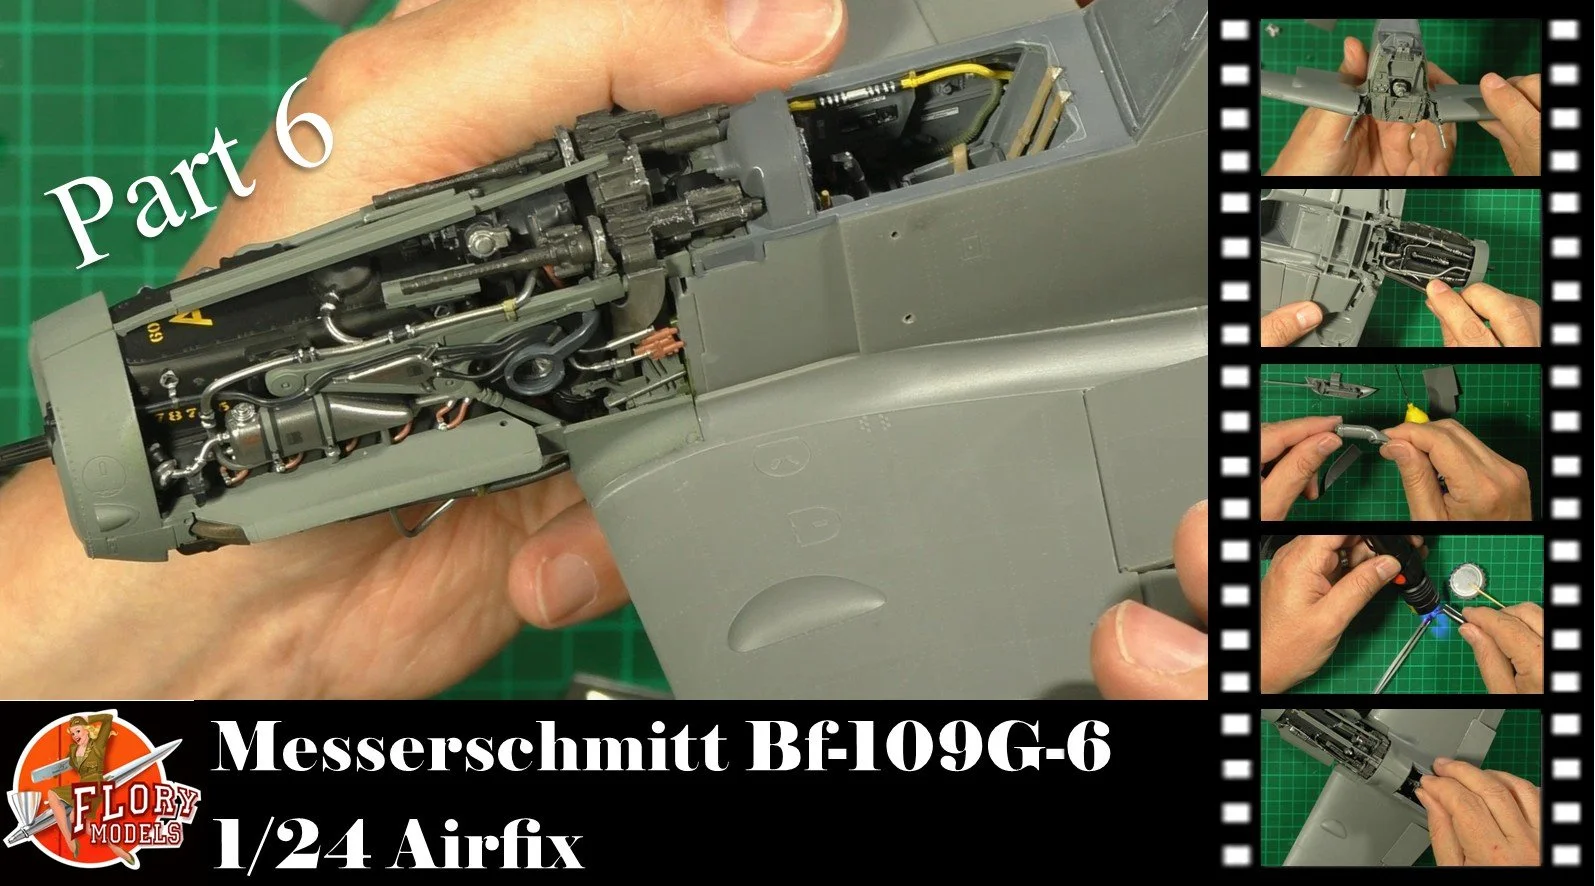
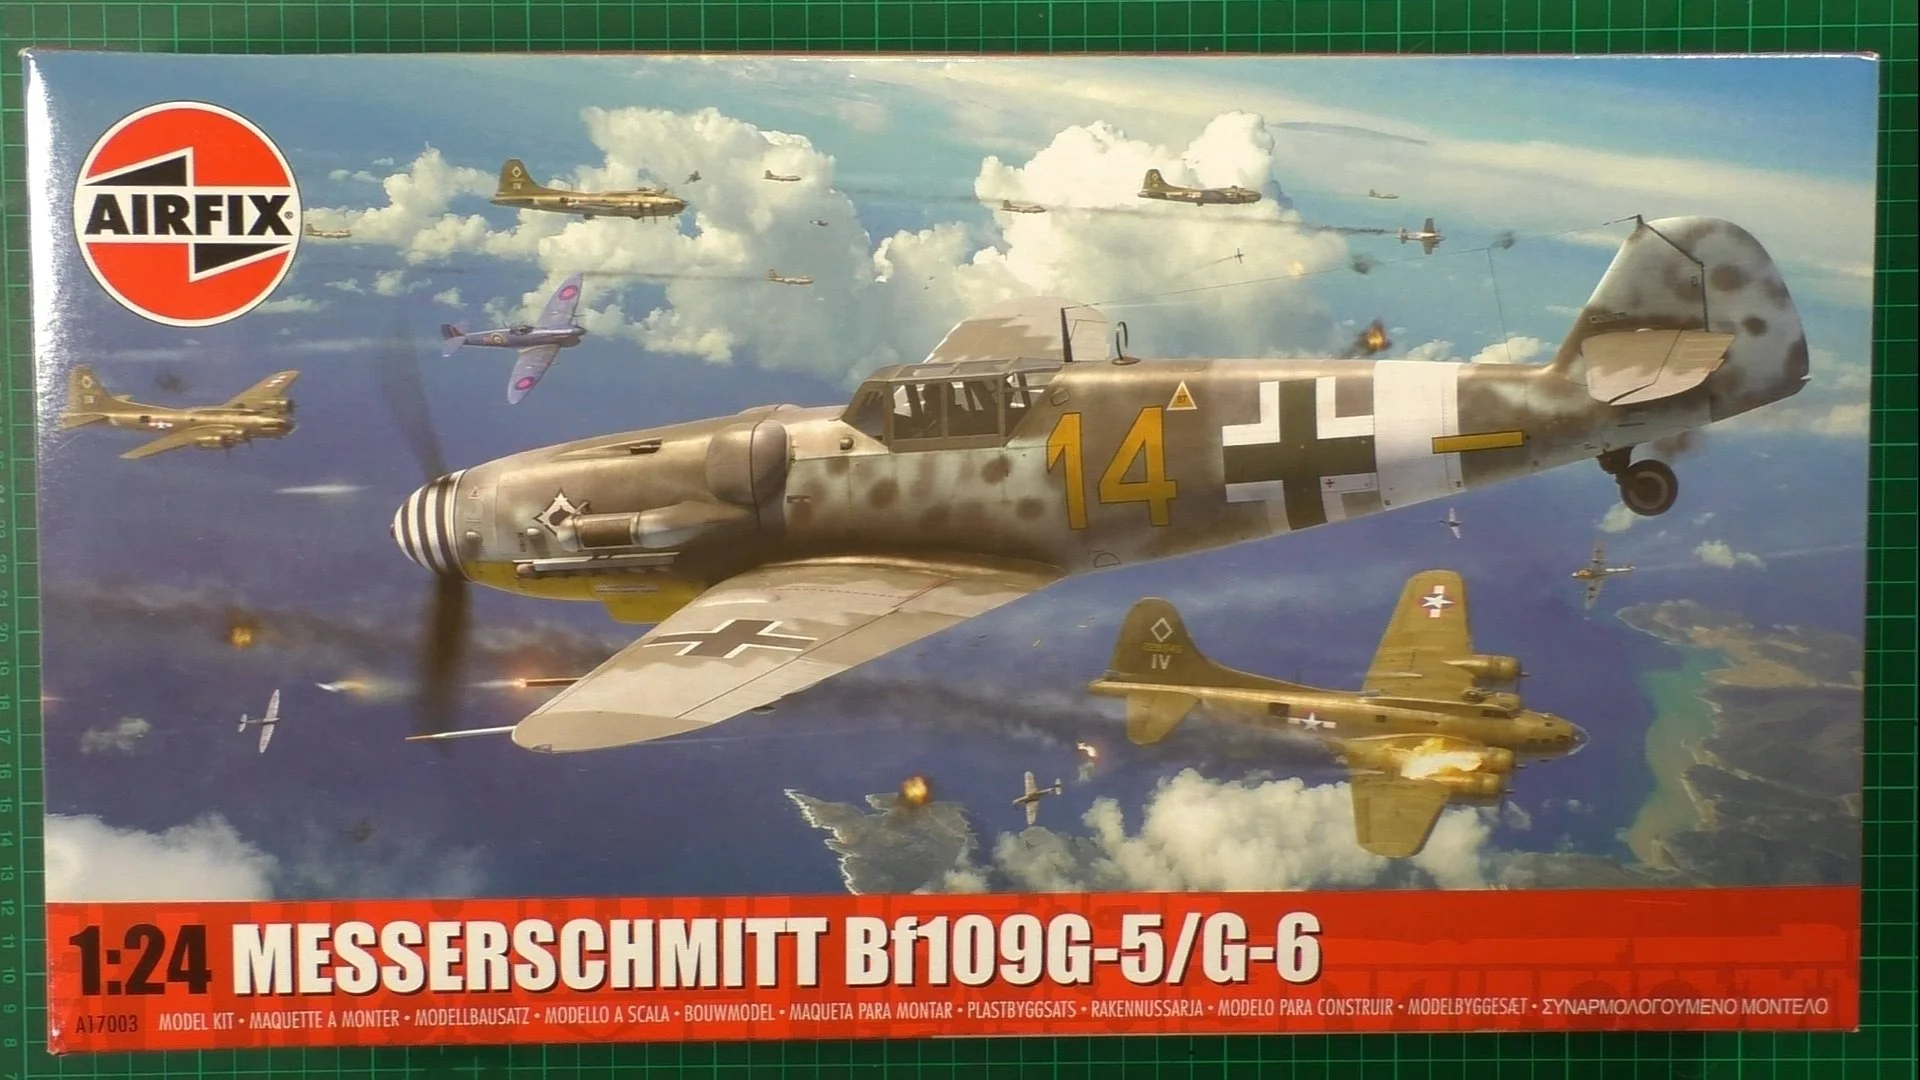
Messerschmitt Bf-109G-6
Scale: 1/24
Manufacturer: Airfix
Parts used: 1 Man Army Mask Set 24DET005
Main paints used: Tamiya, AK Real Colors
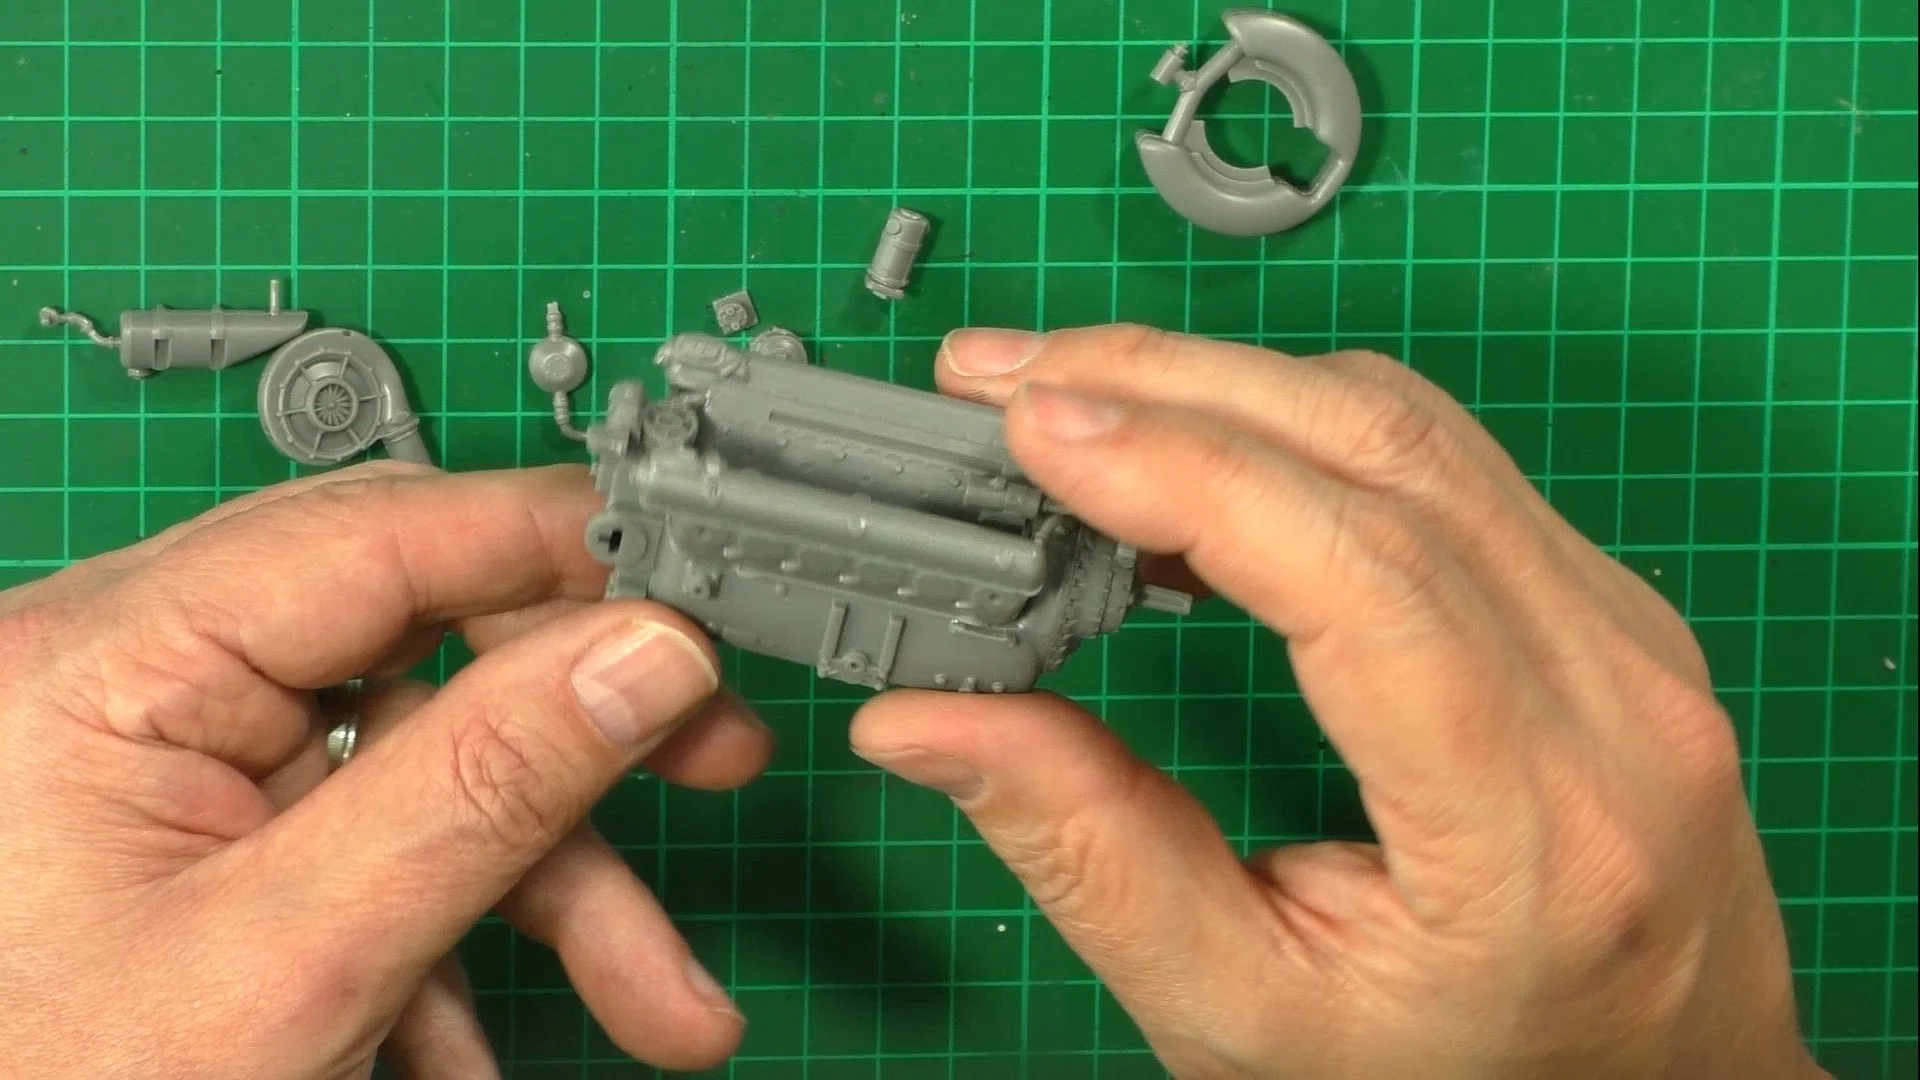
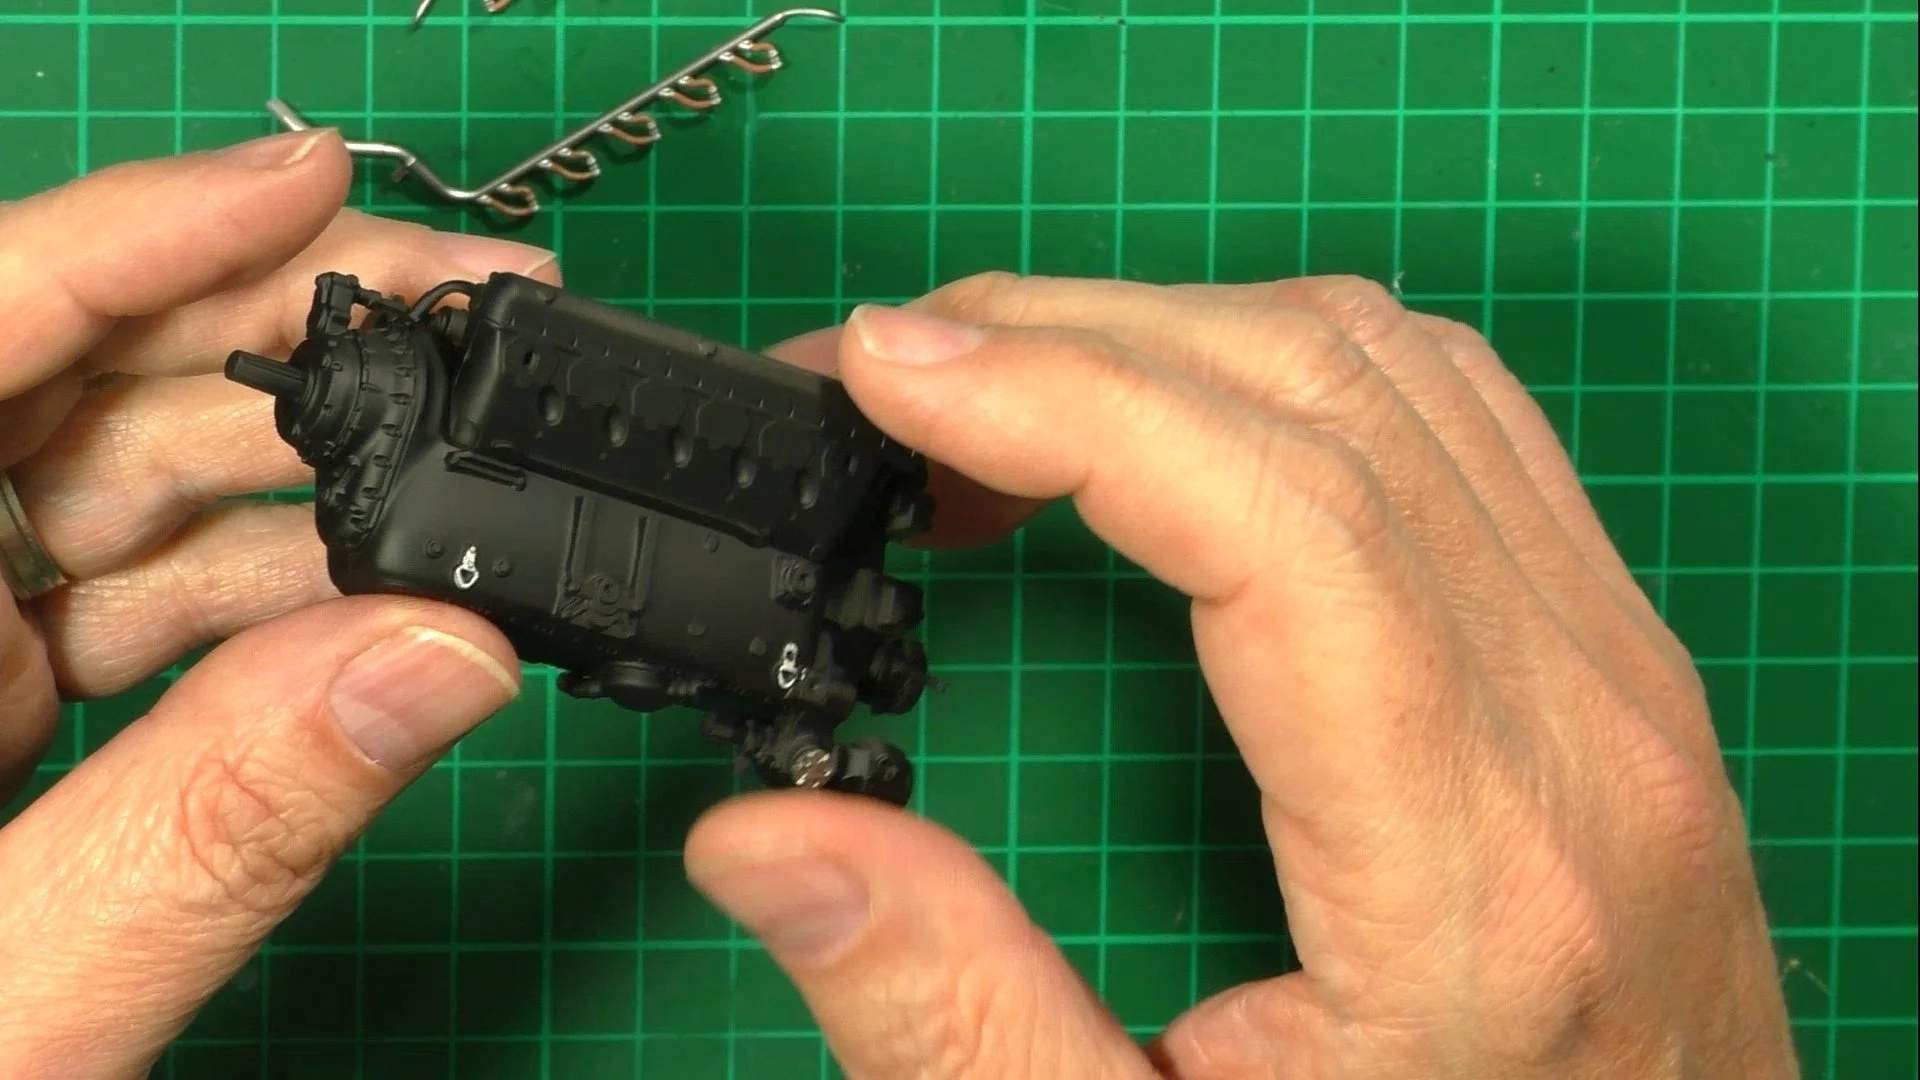
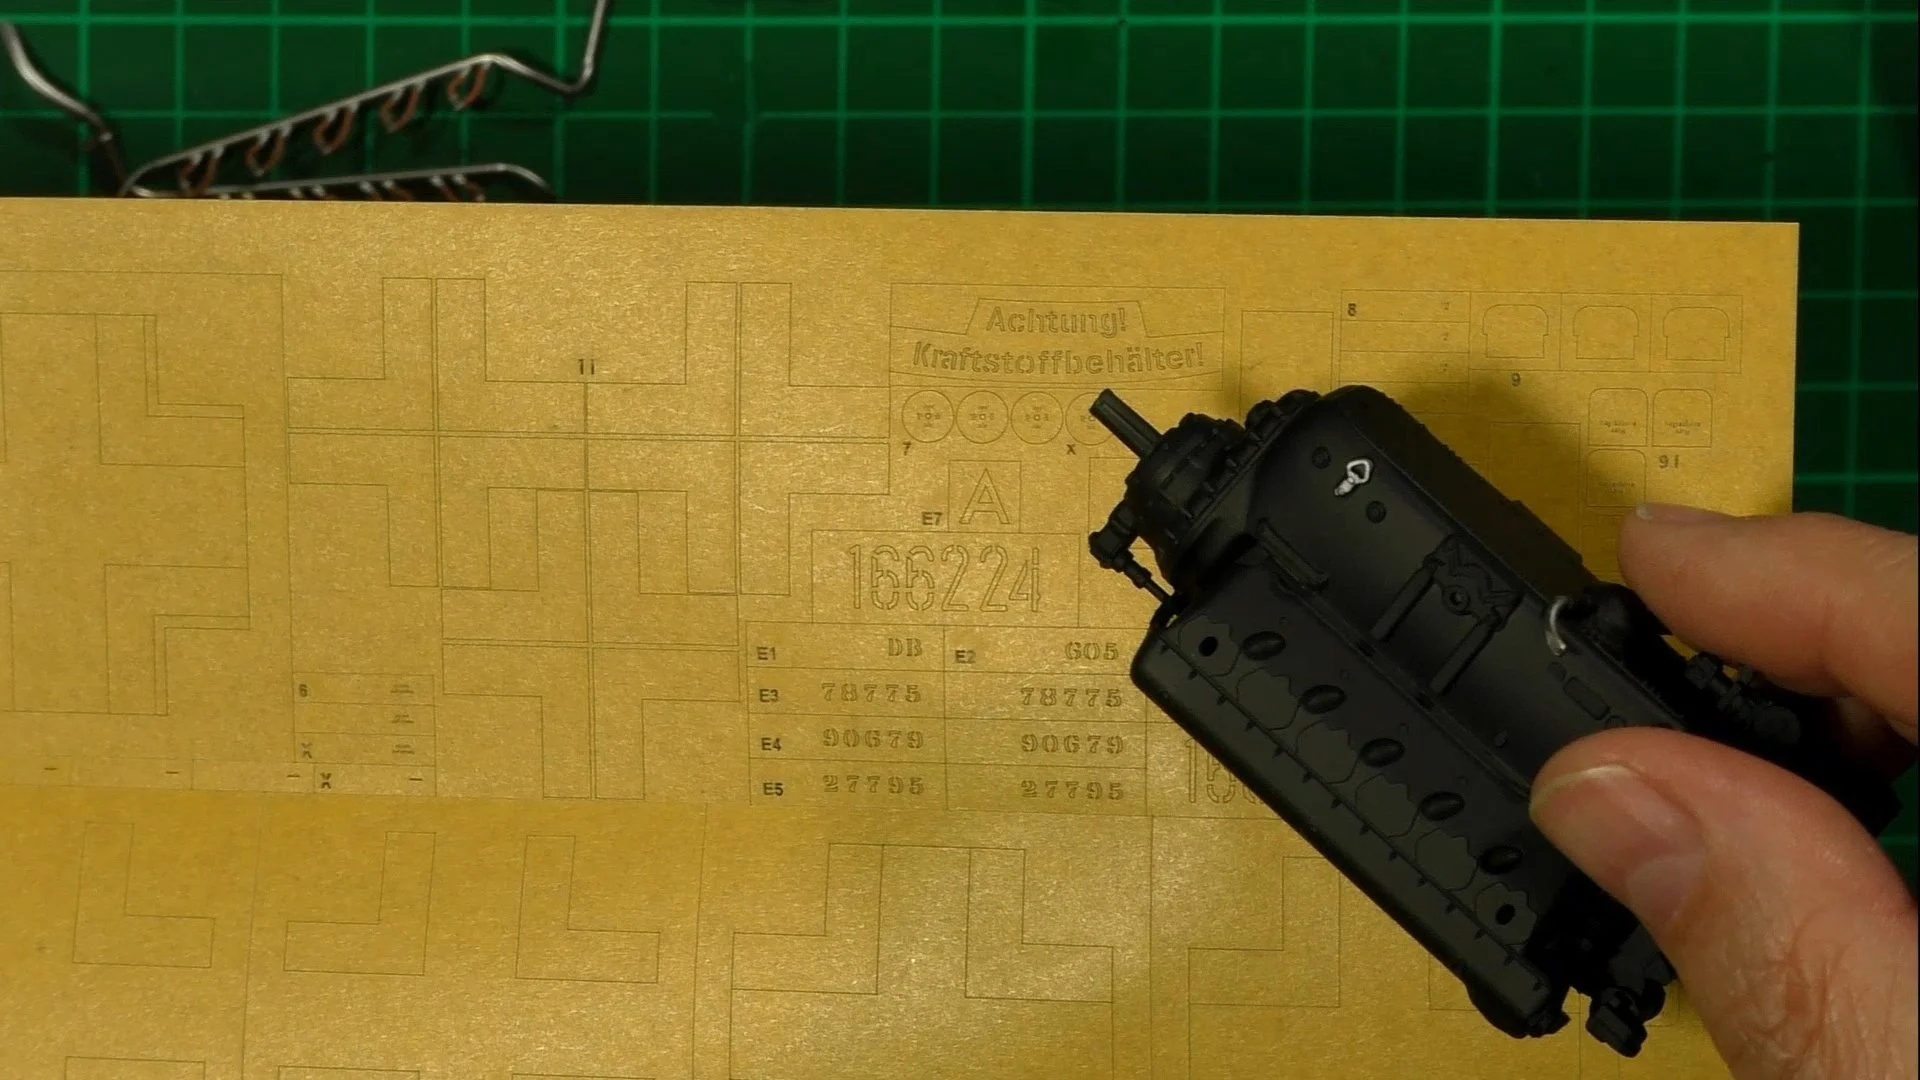
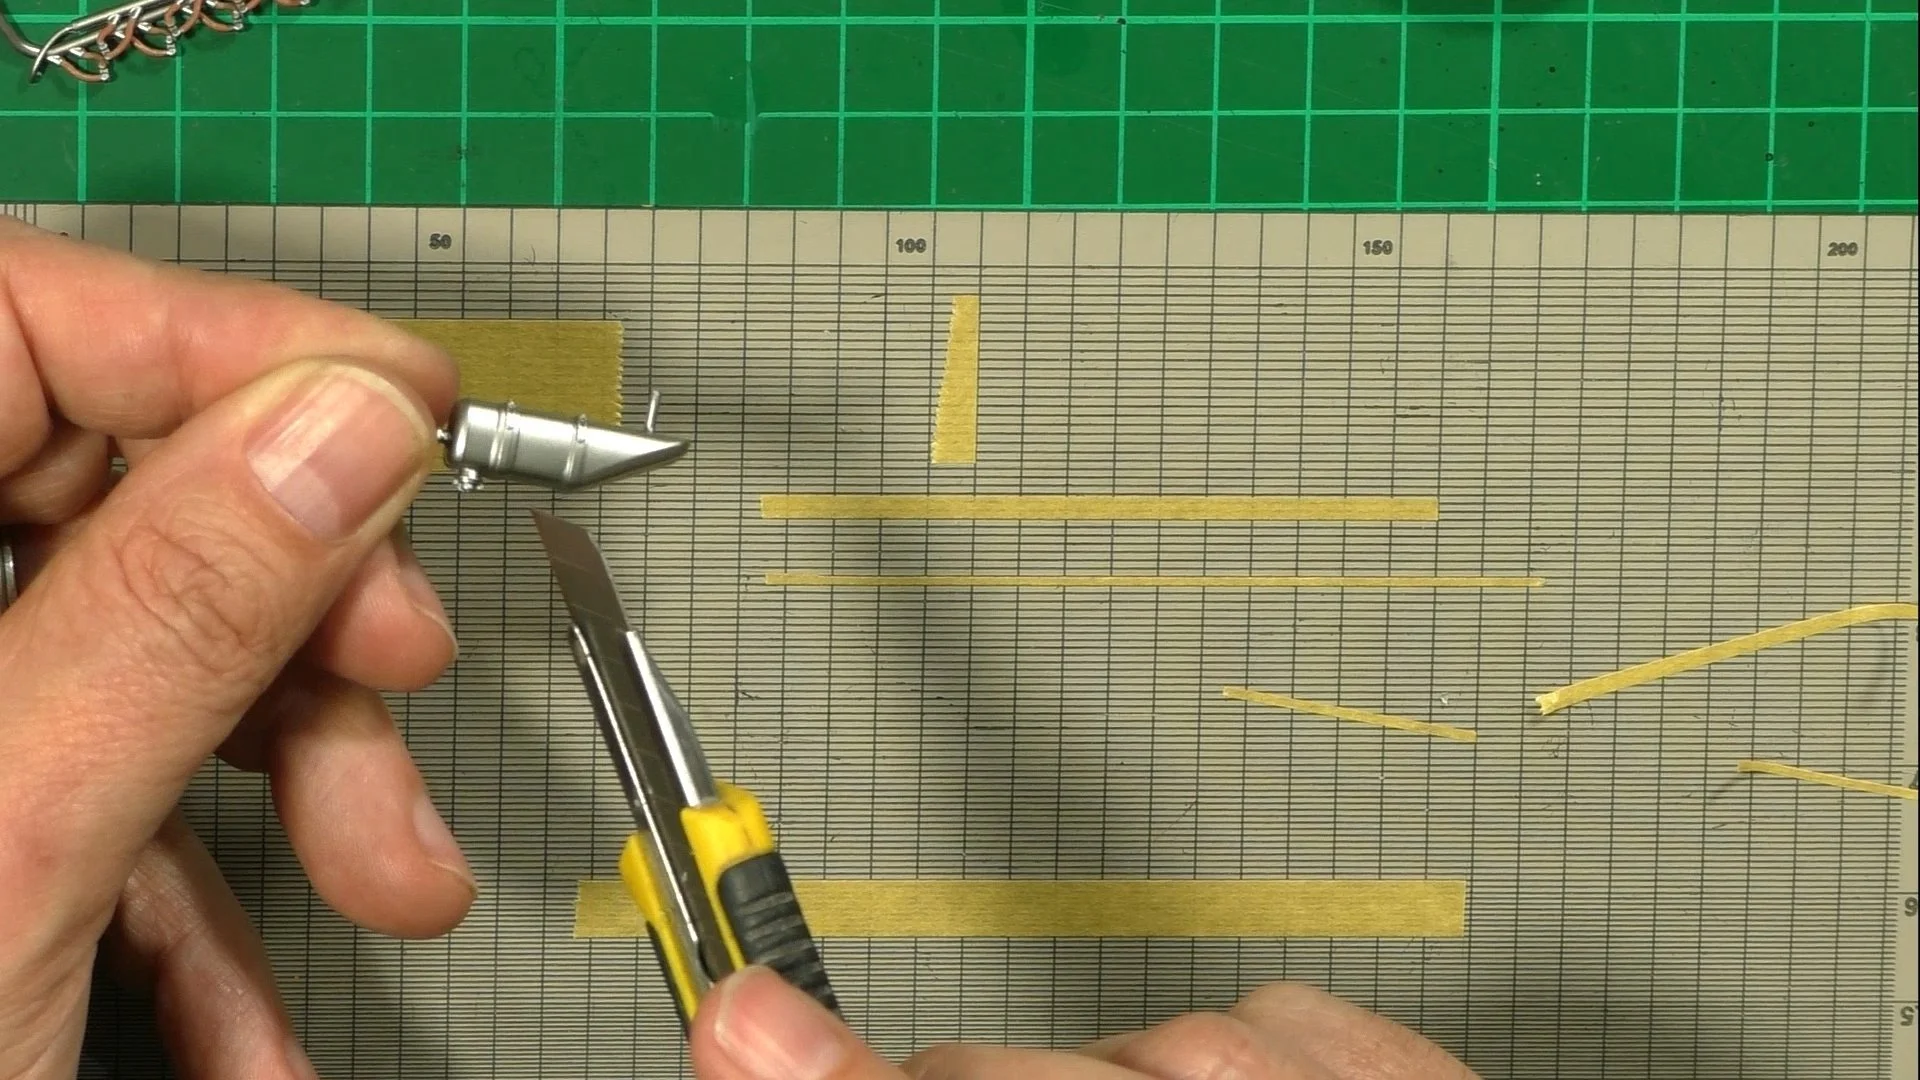
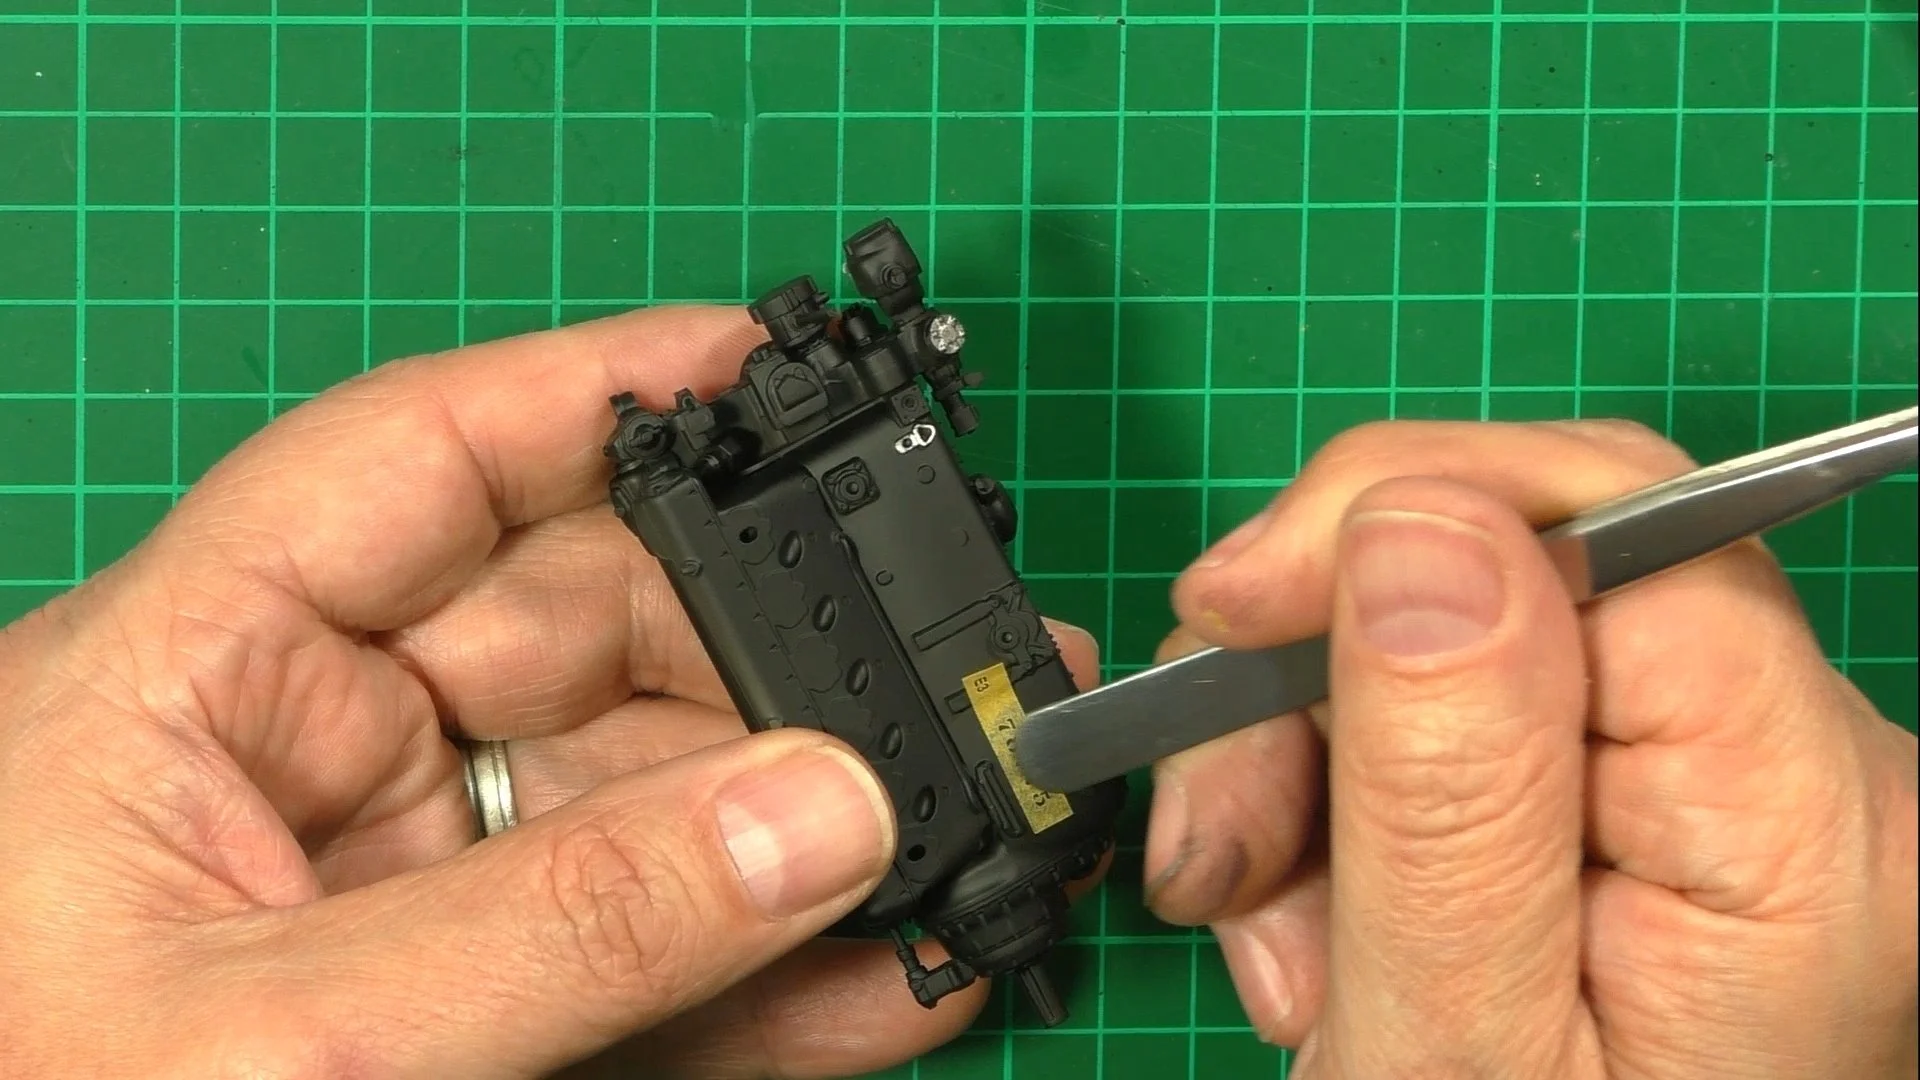
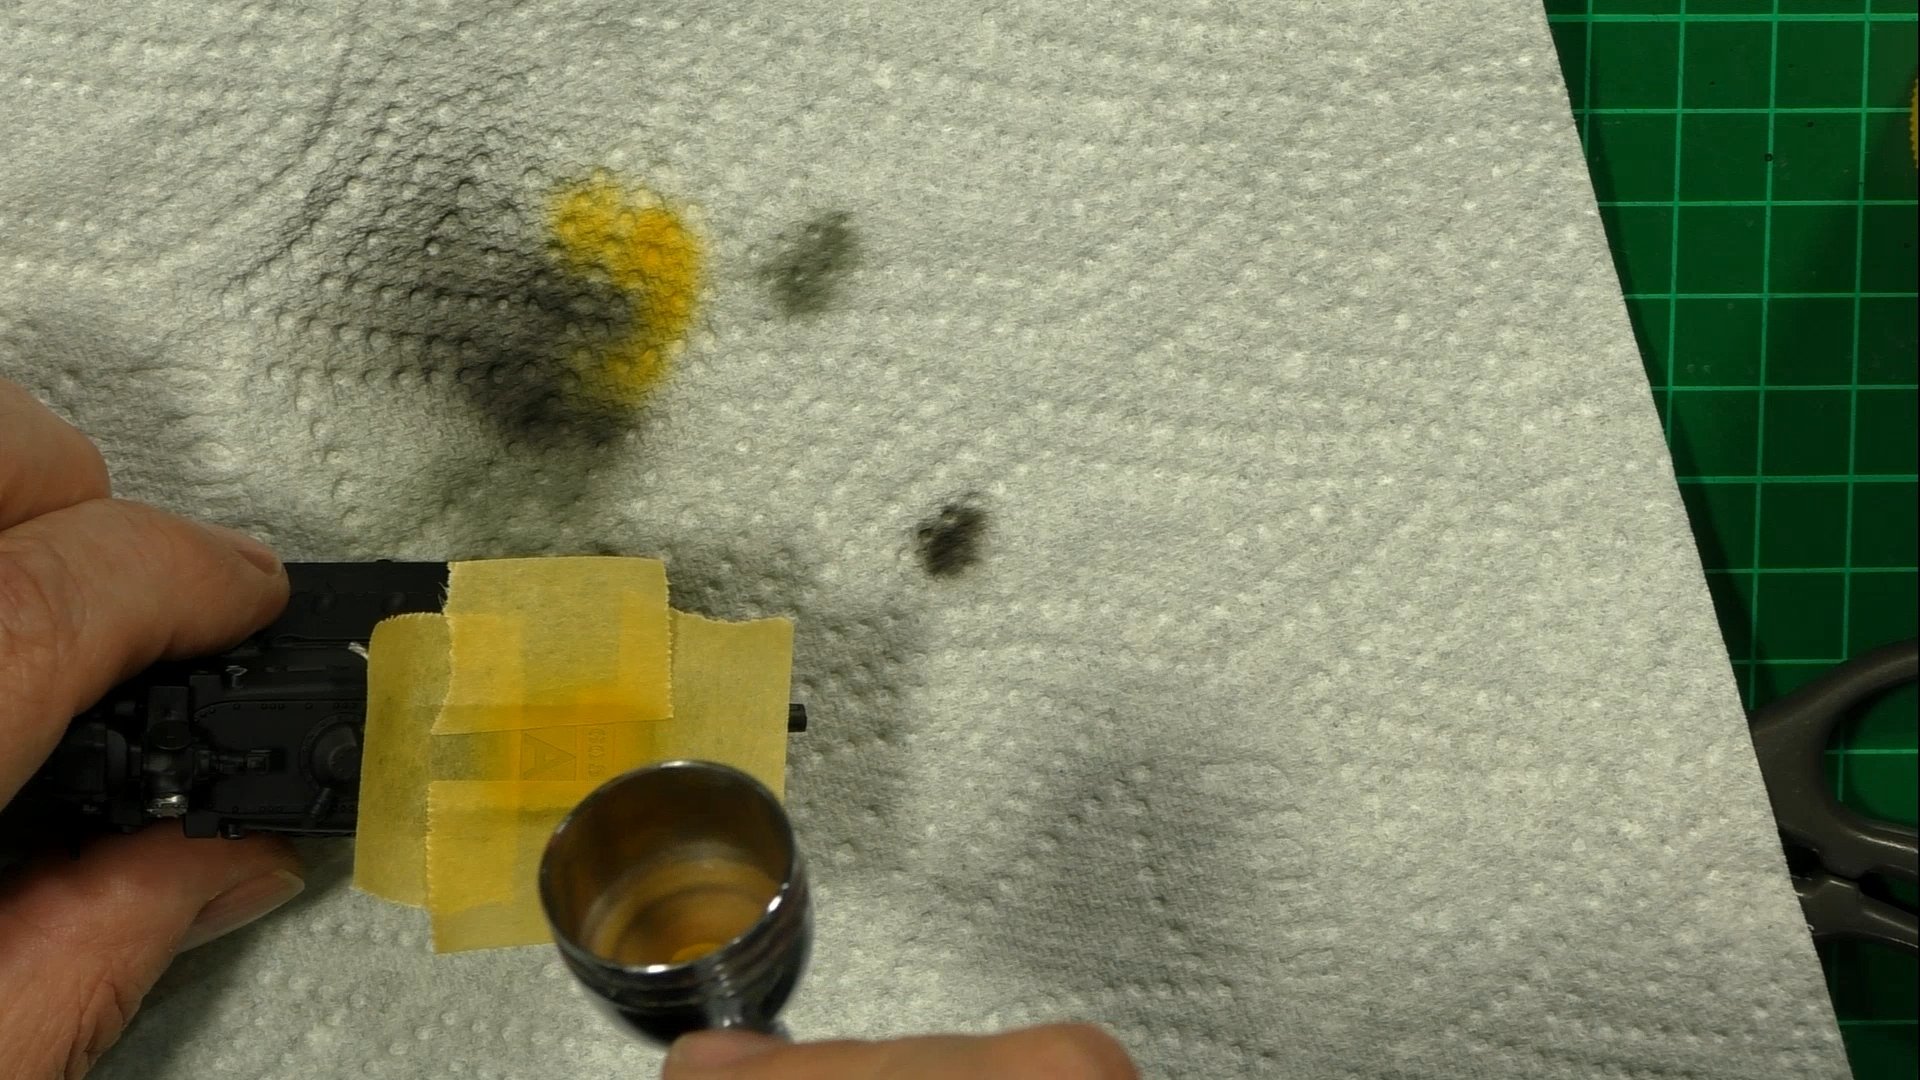
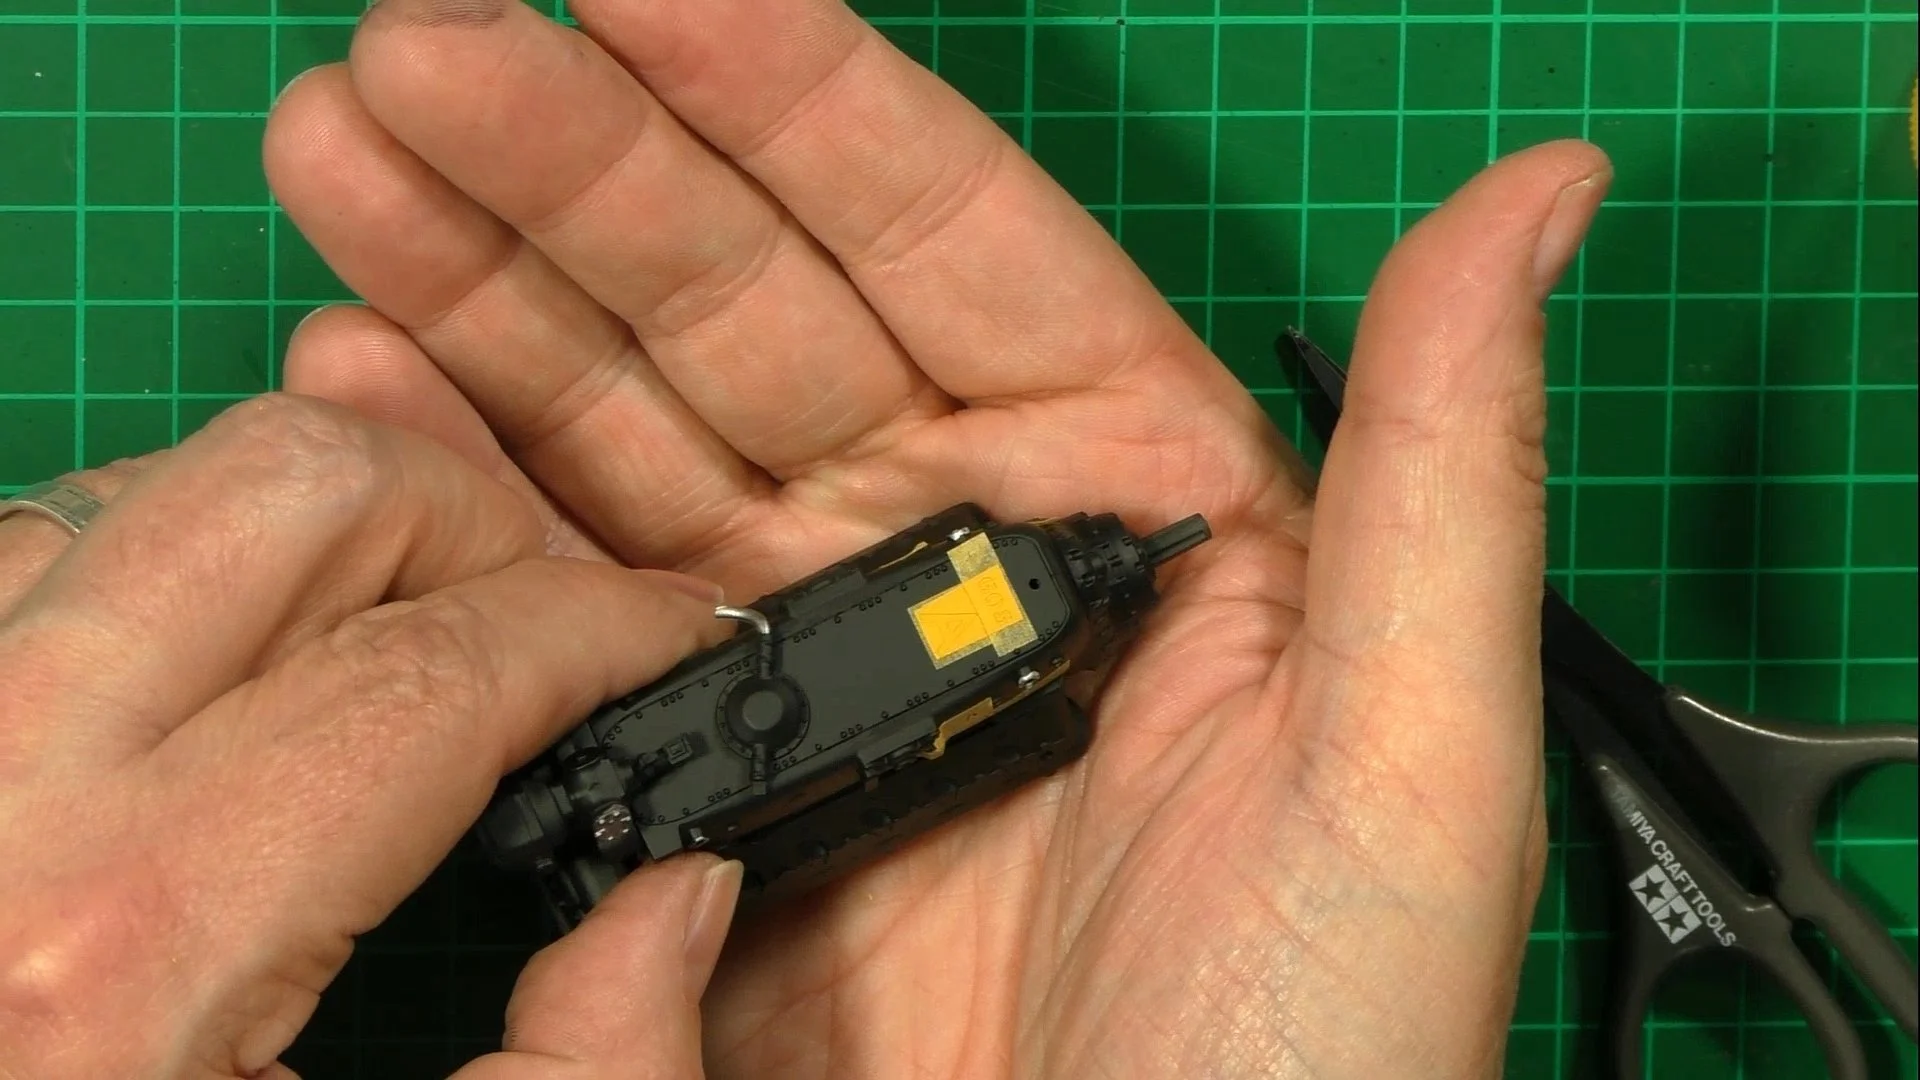
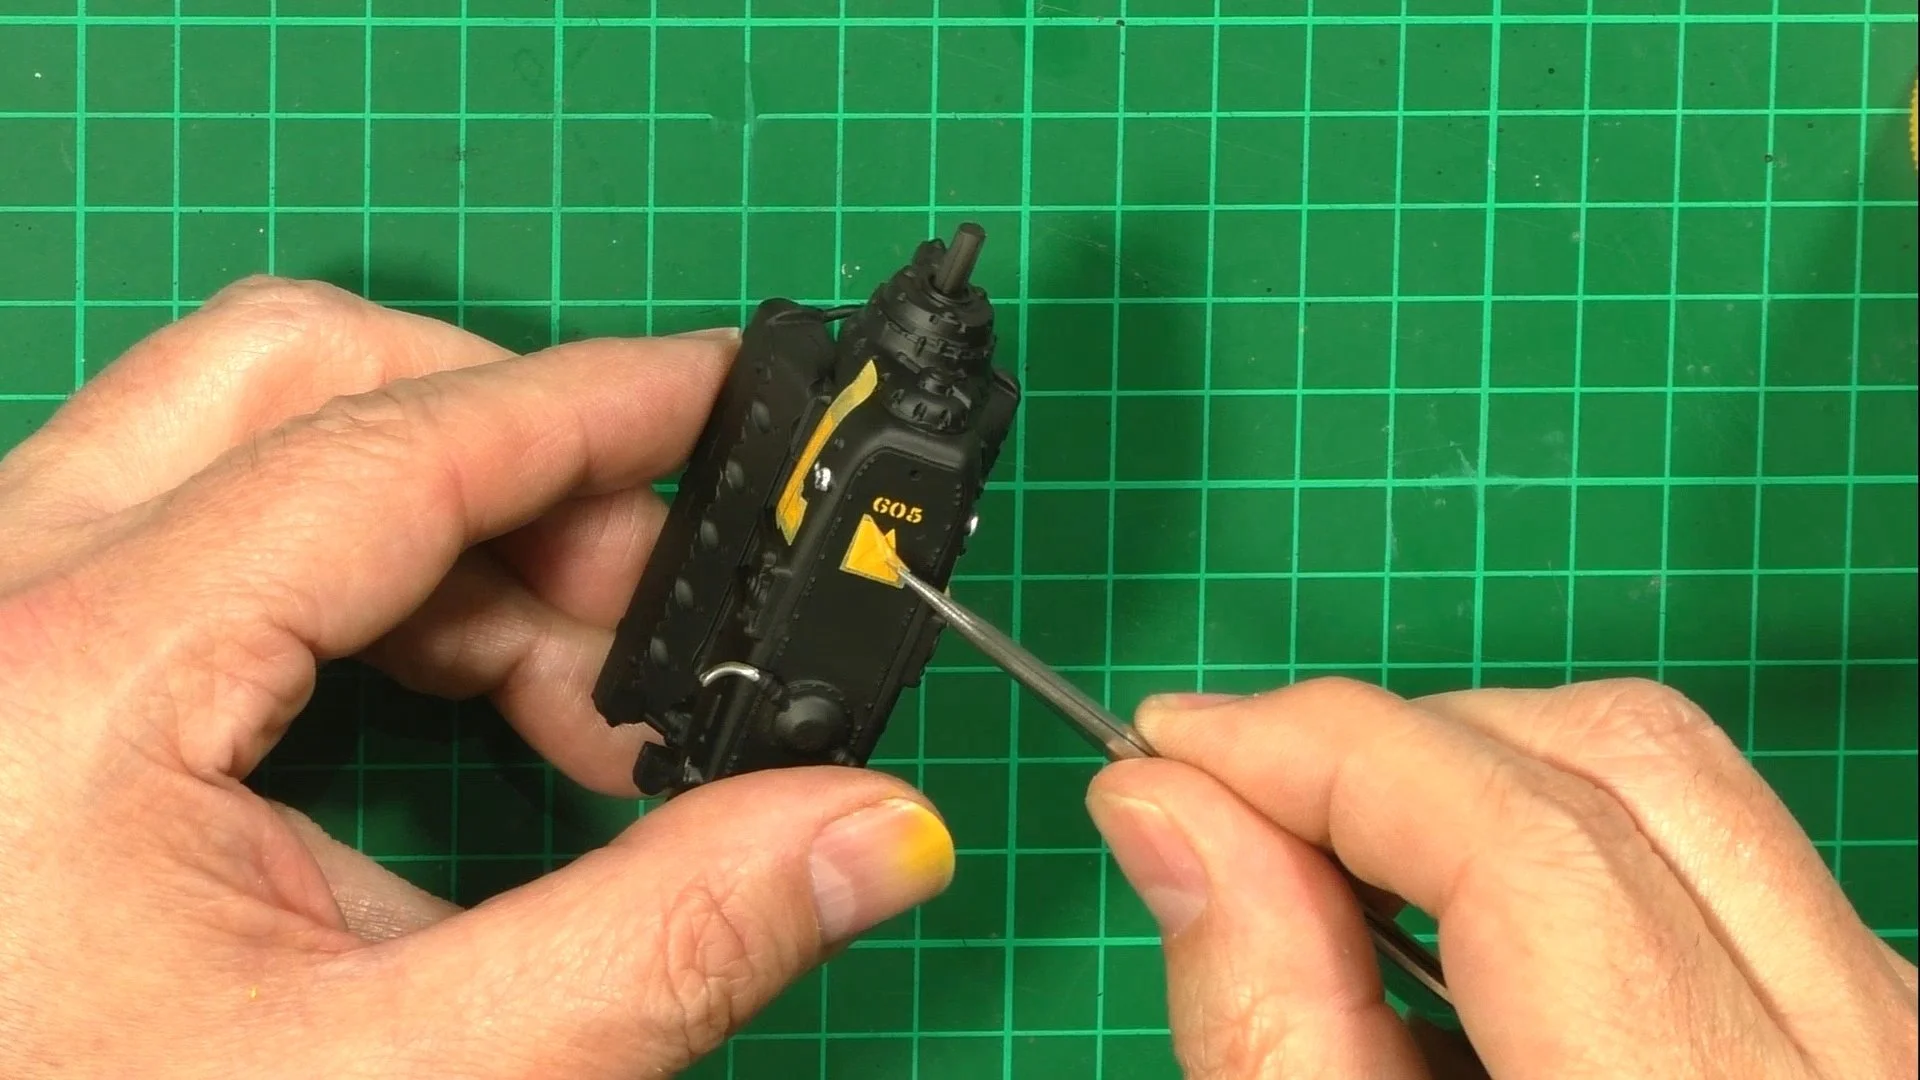
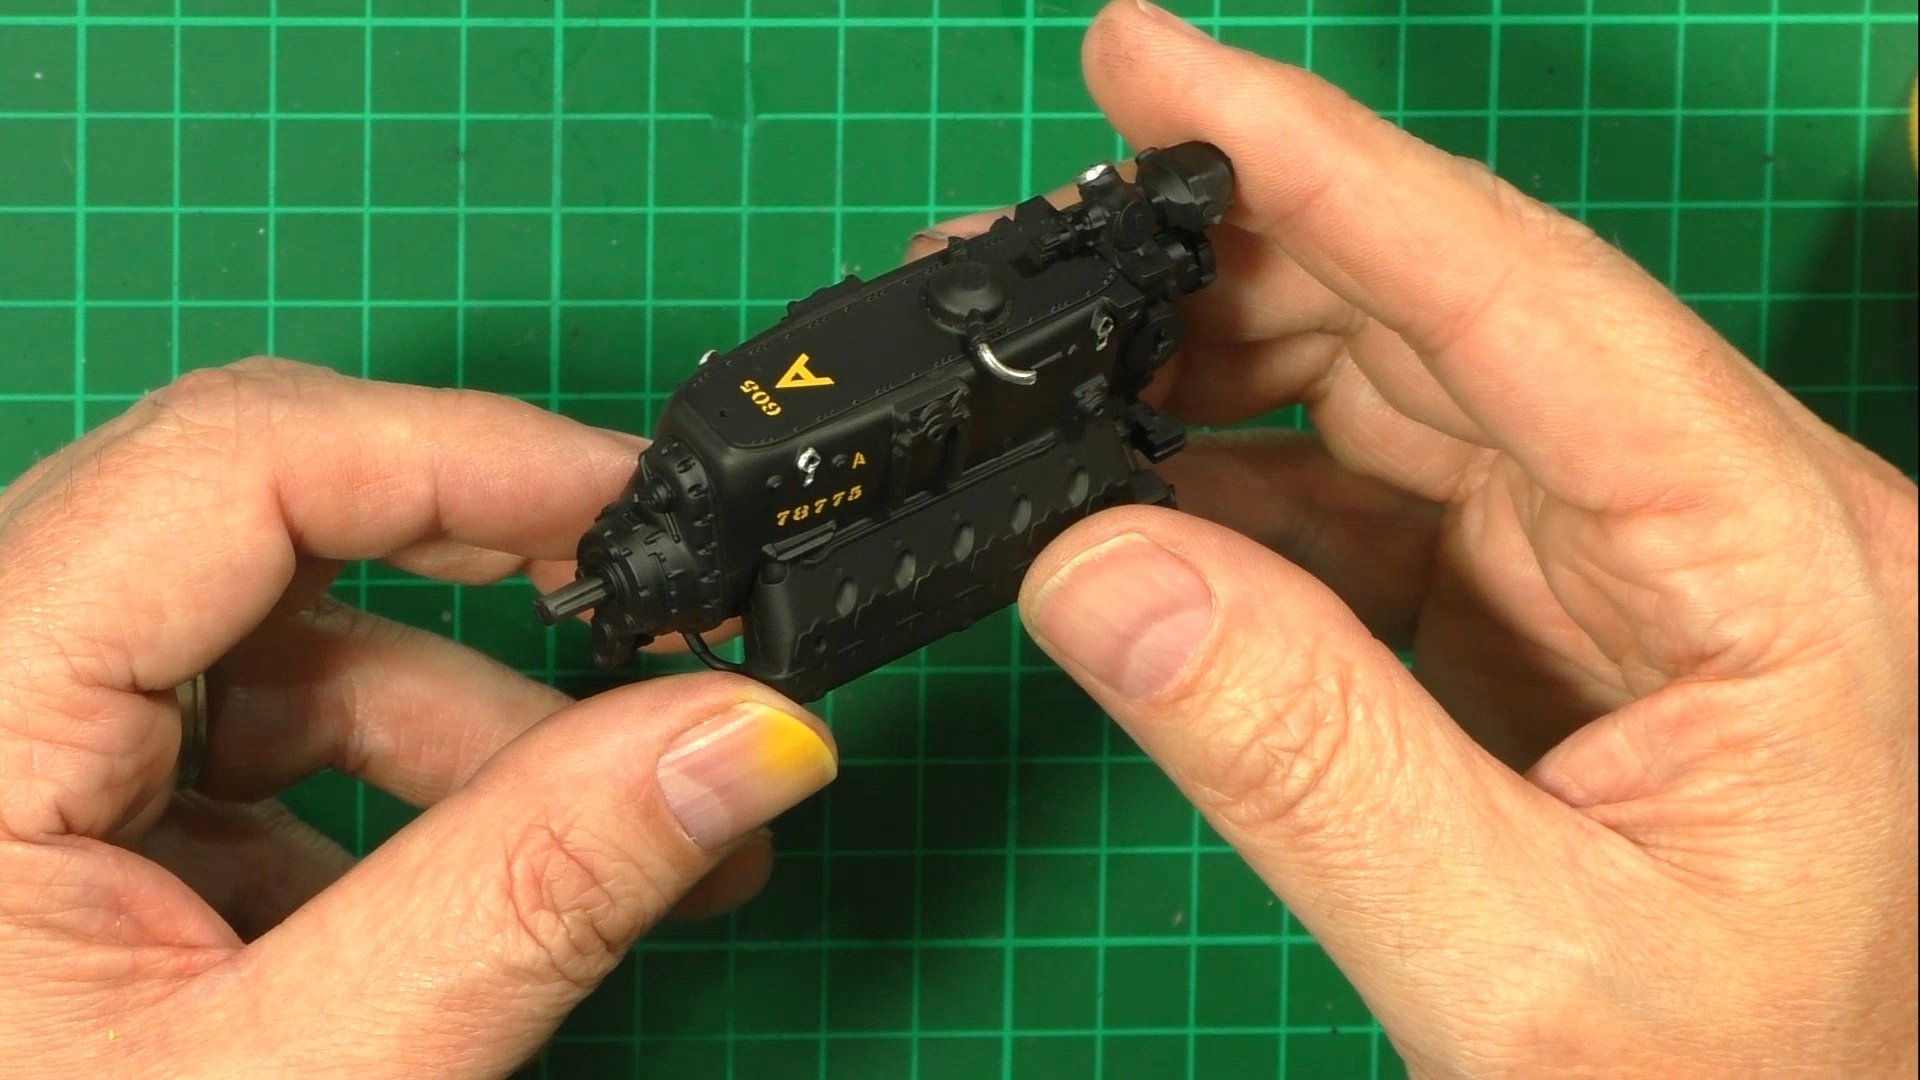
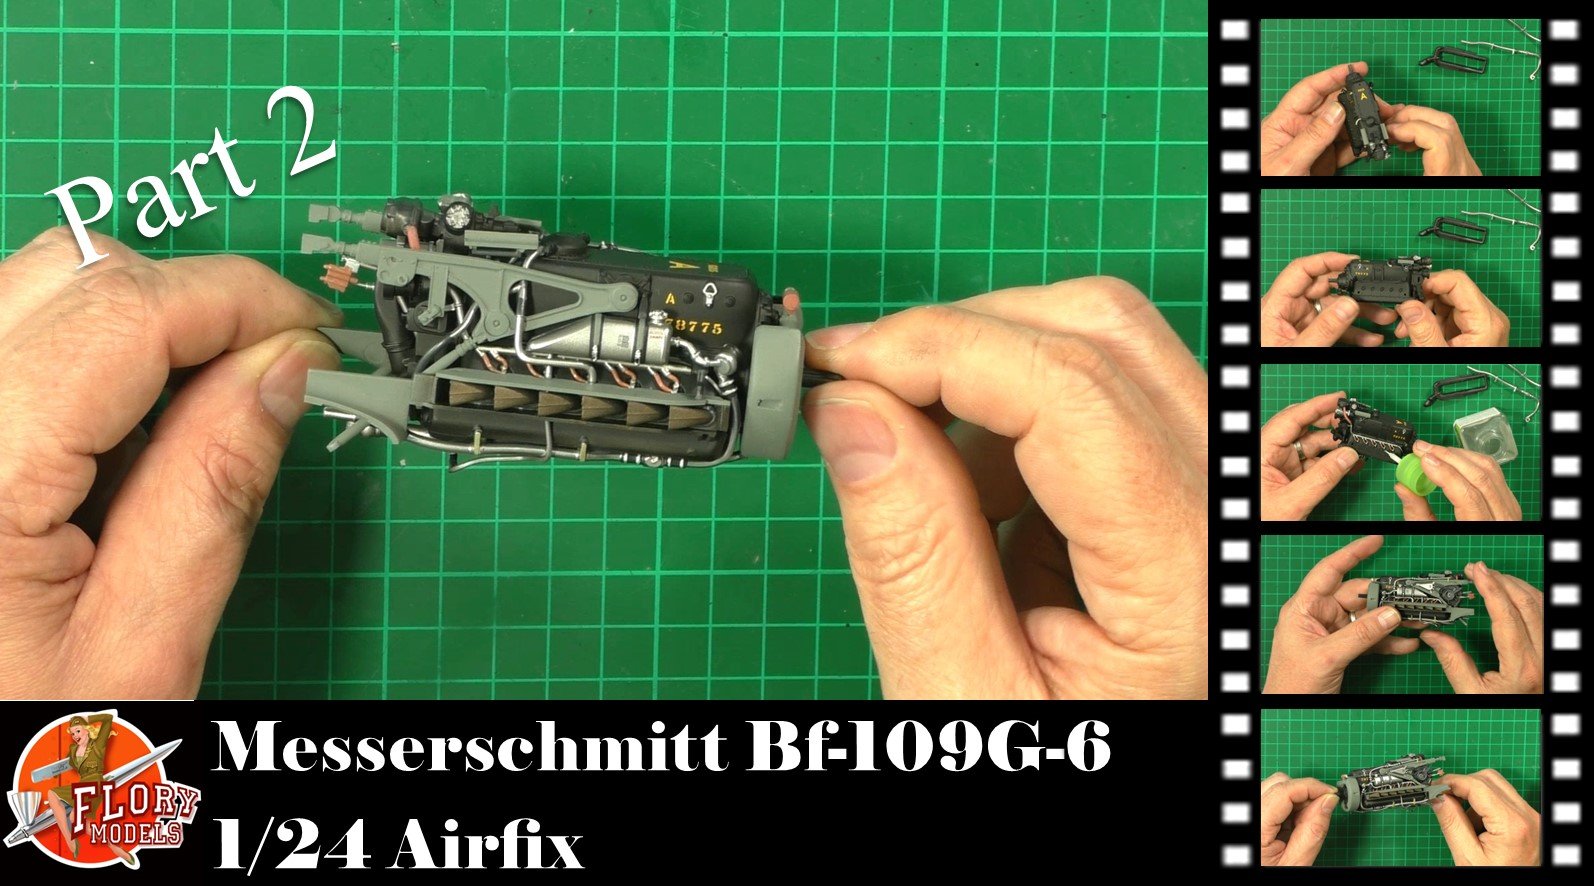
0:00 To start, we look at the build ahead and plan the build. 1:34 So, we start building the engine and how we will paint it to speed up the build. 18:57 With the engine block painted satin black and the coolant tank with metals, we mask up and paint the rubber strapping and straps. 30:21 Next up, we use the One Man Army mask set for the engine makings.
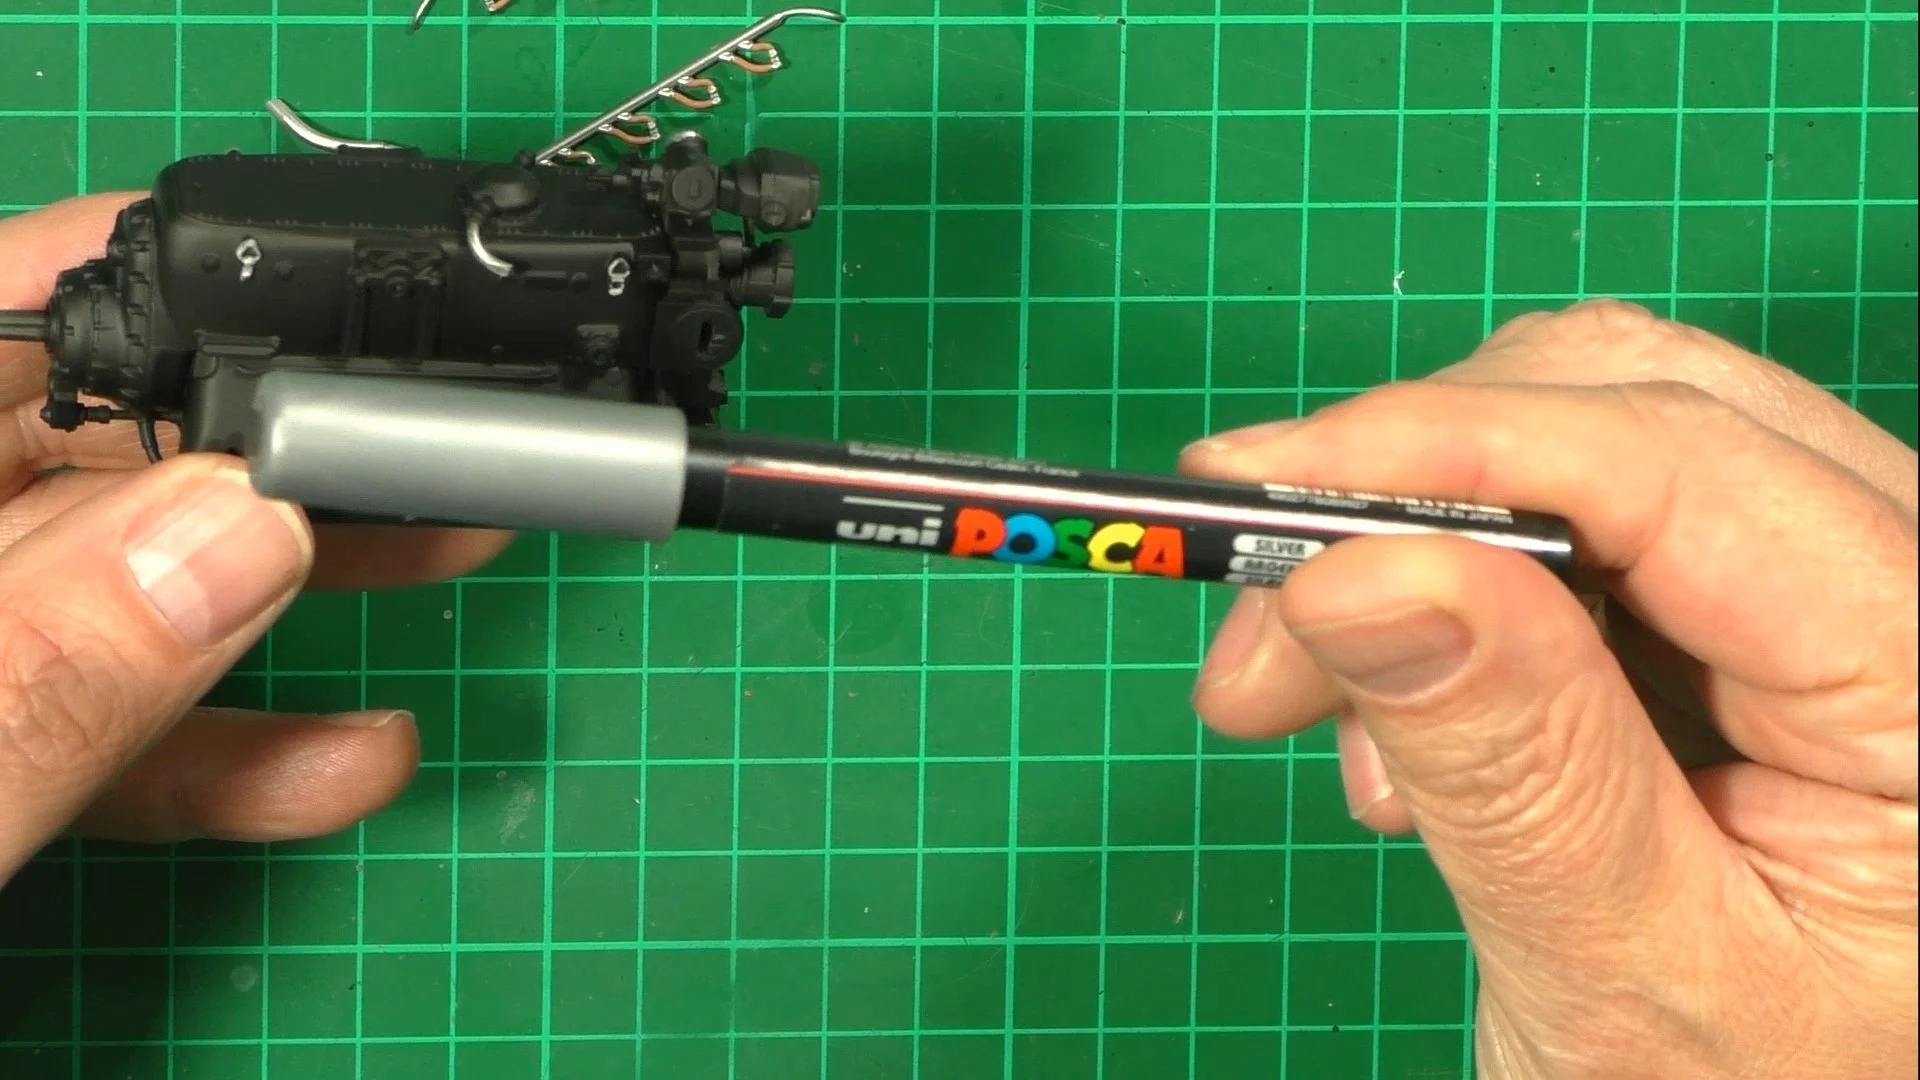
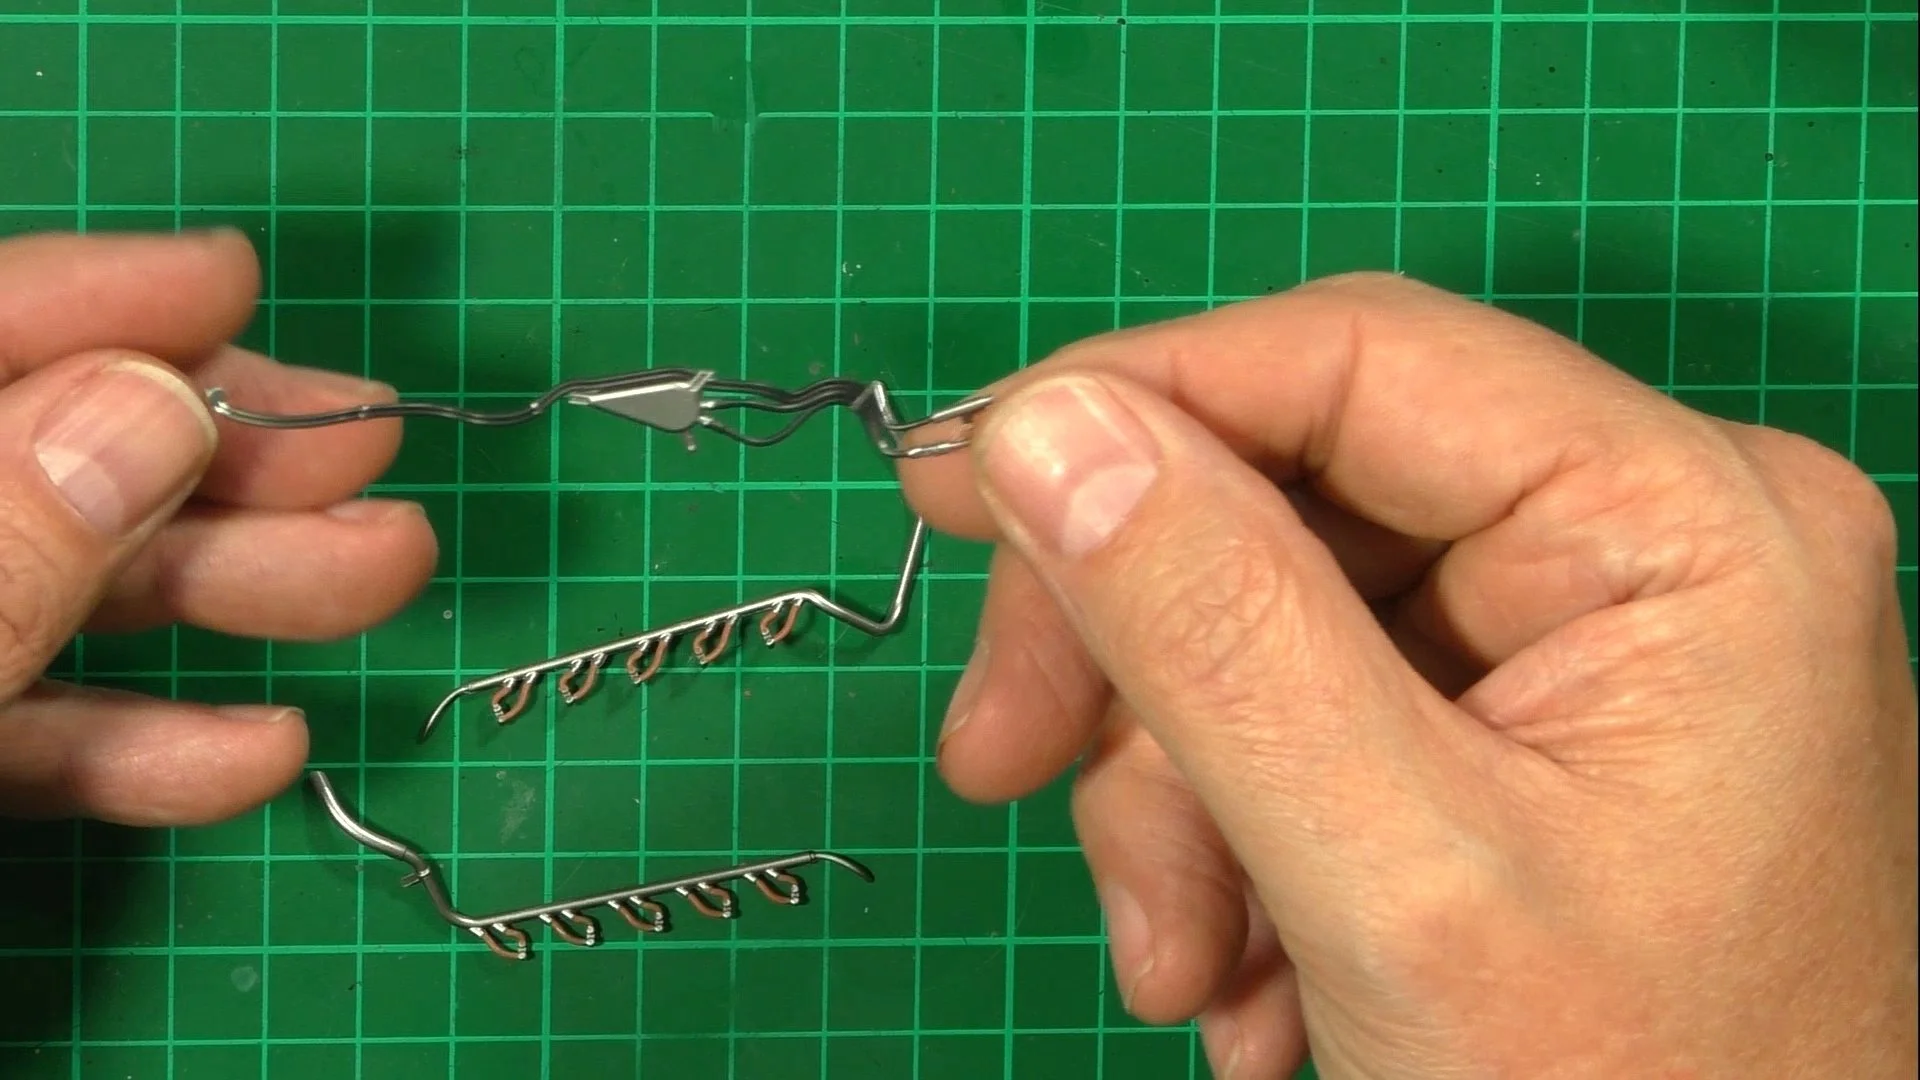
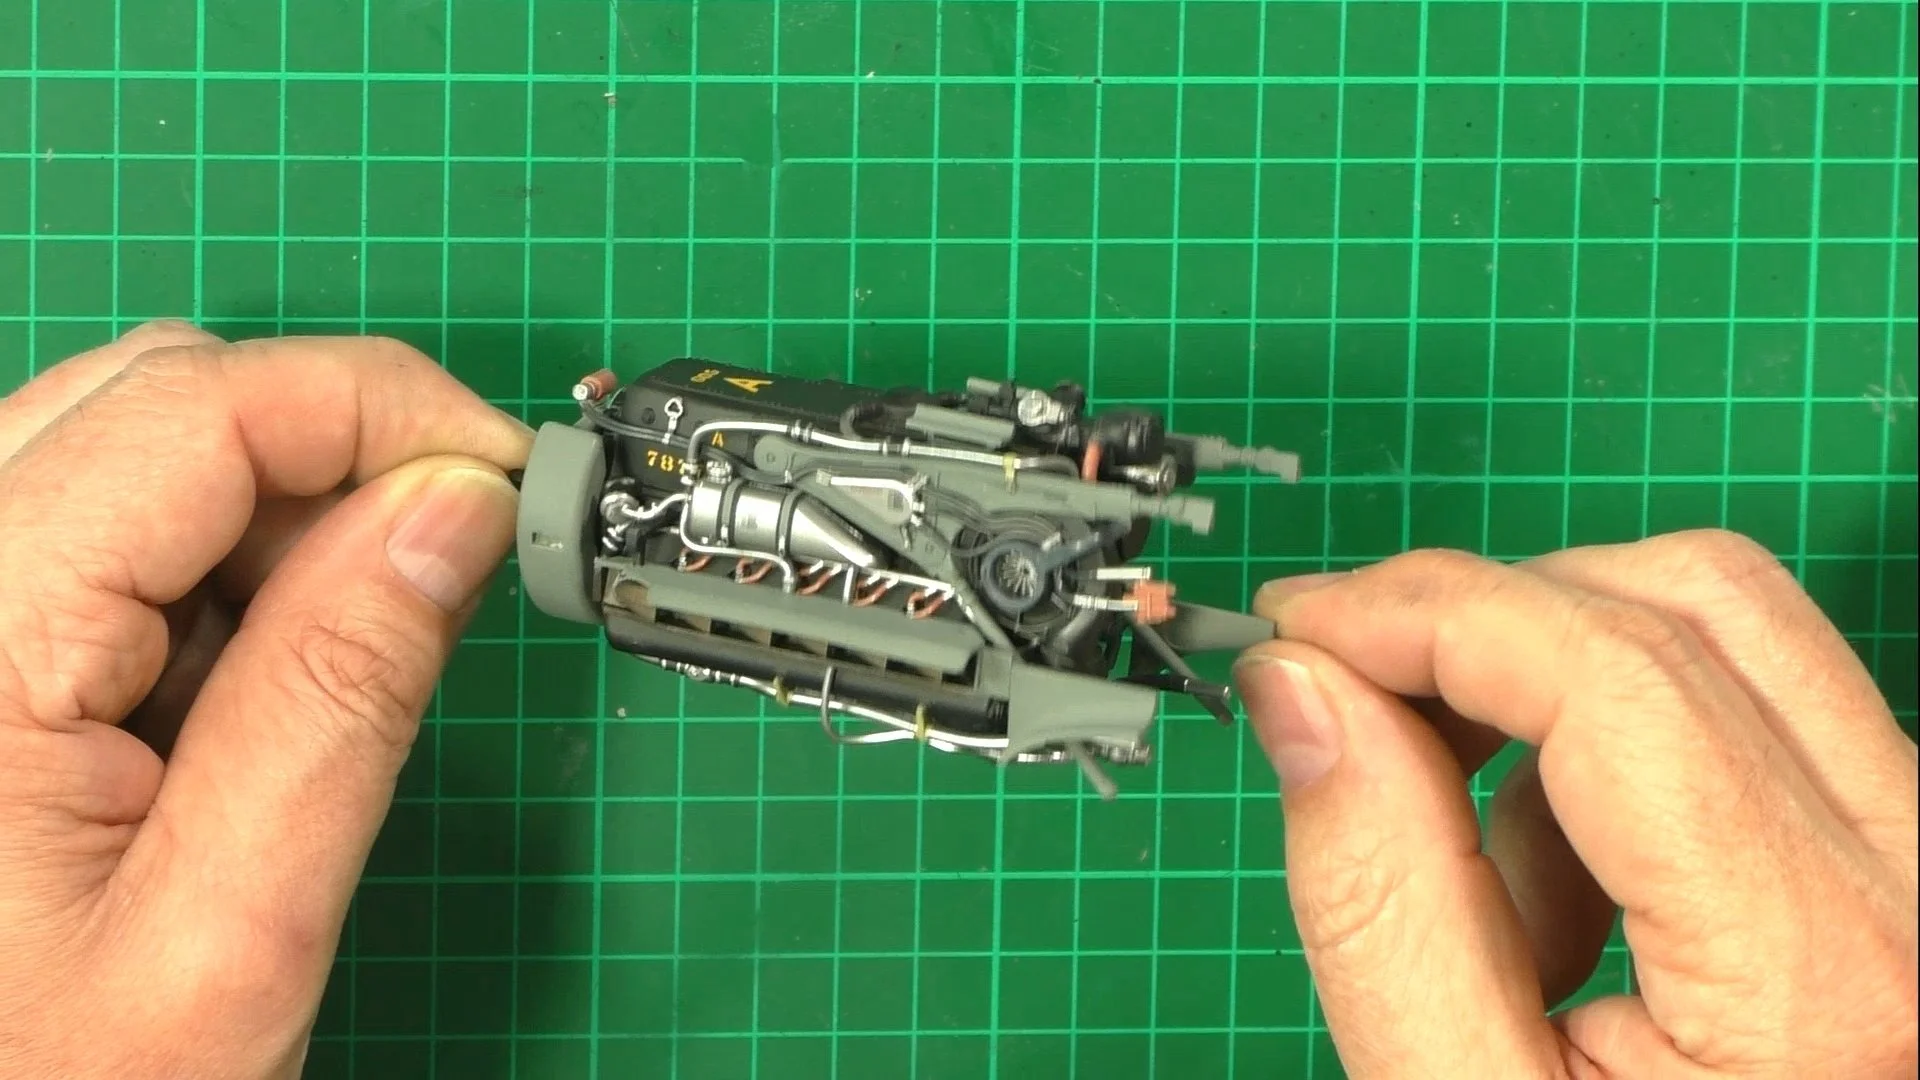
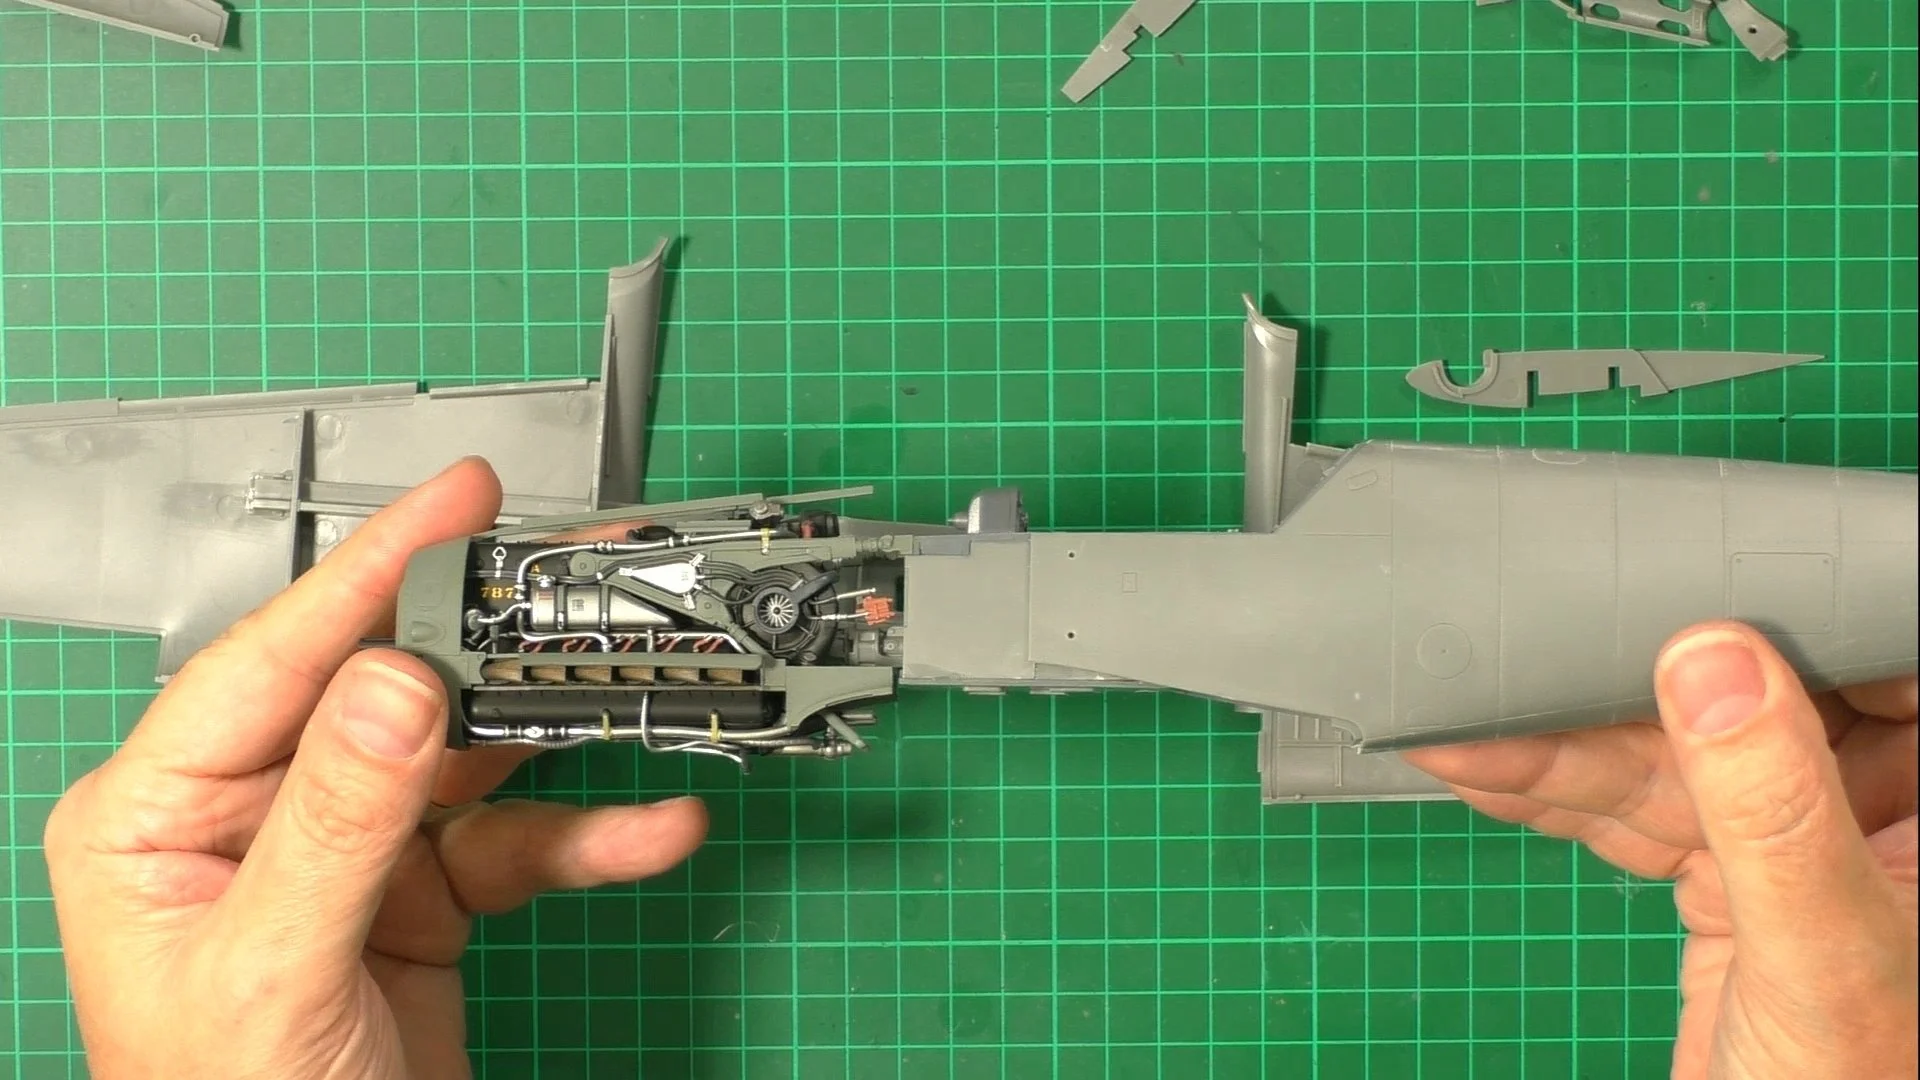
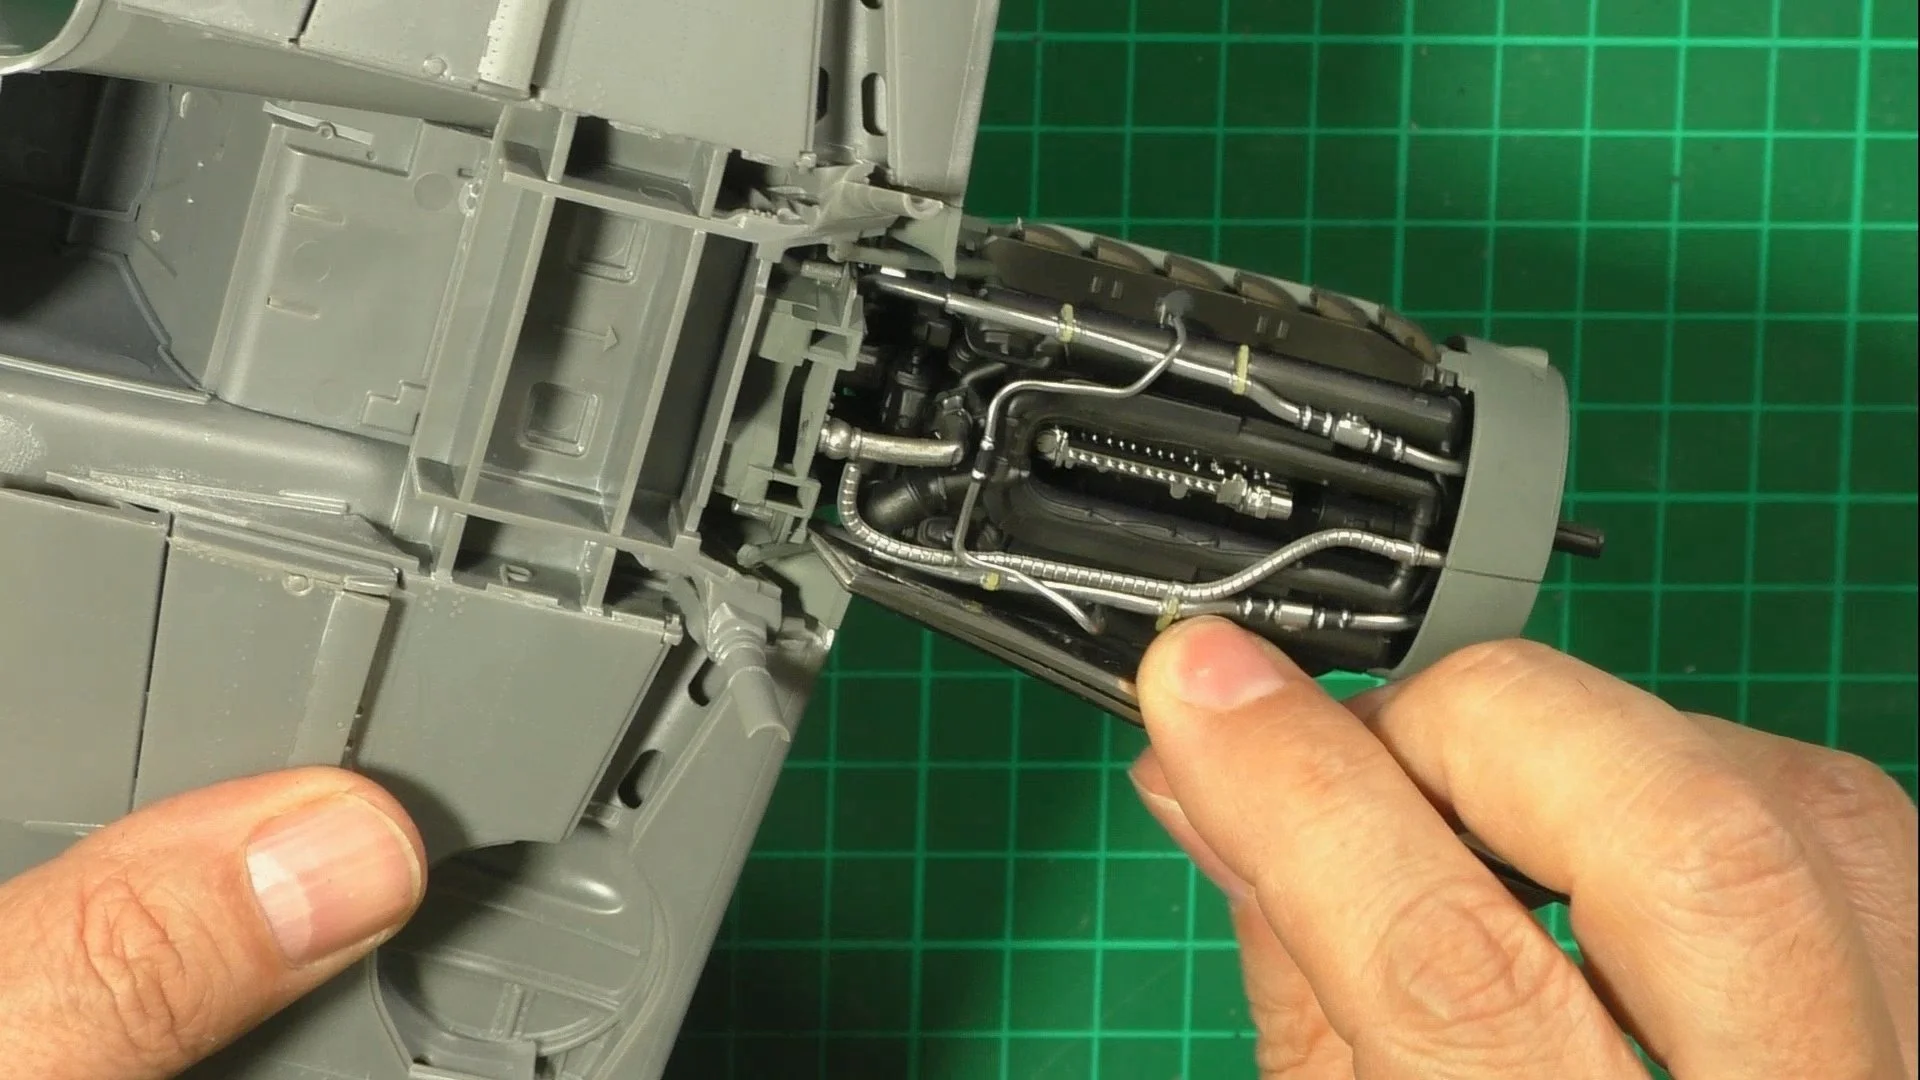
0:00 To start, we add the ignition leads and the engine mounts. 11:23 Next, we put together the exhaust and paint with AK 484 Brunt Metal 18:22 Now we can add the pipework. Here we use pens for the rubber joins and clips. 23:04 Lastly, we can add the remaining parts to complete the engine.
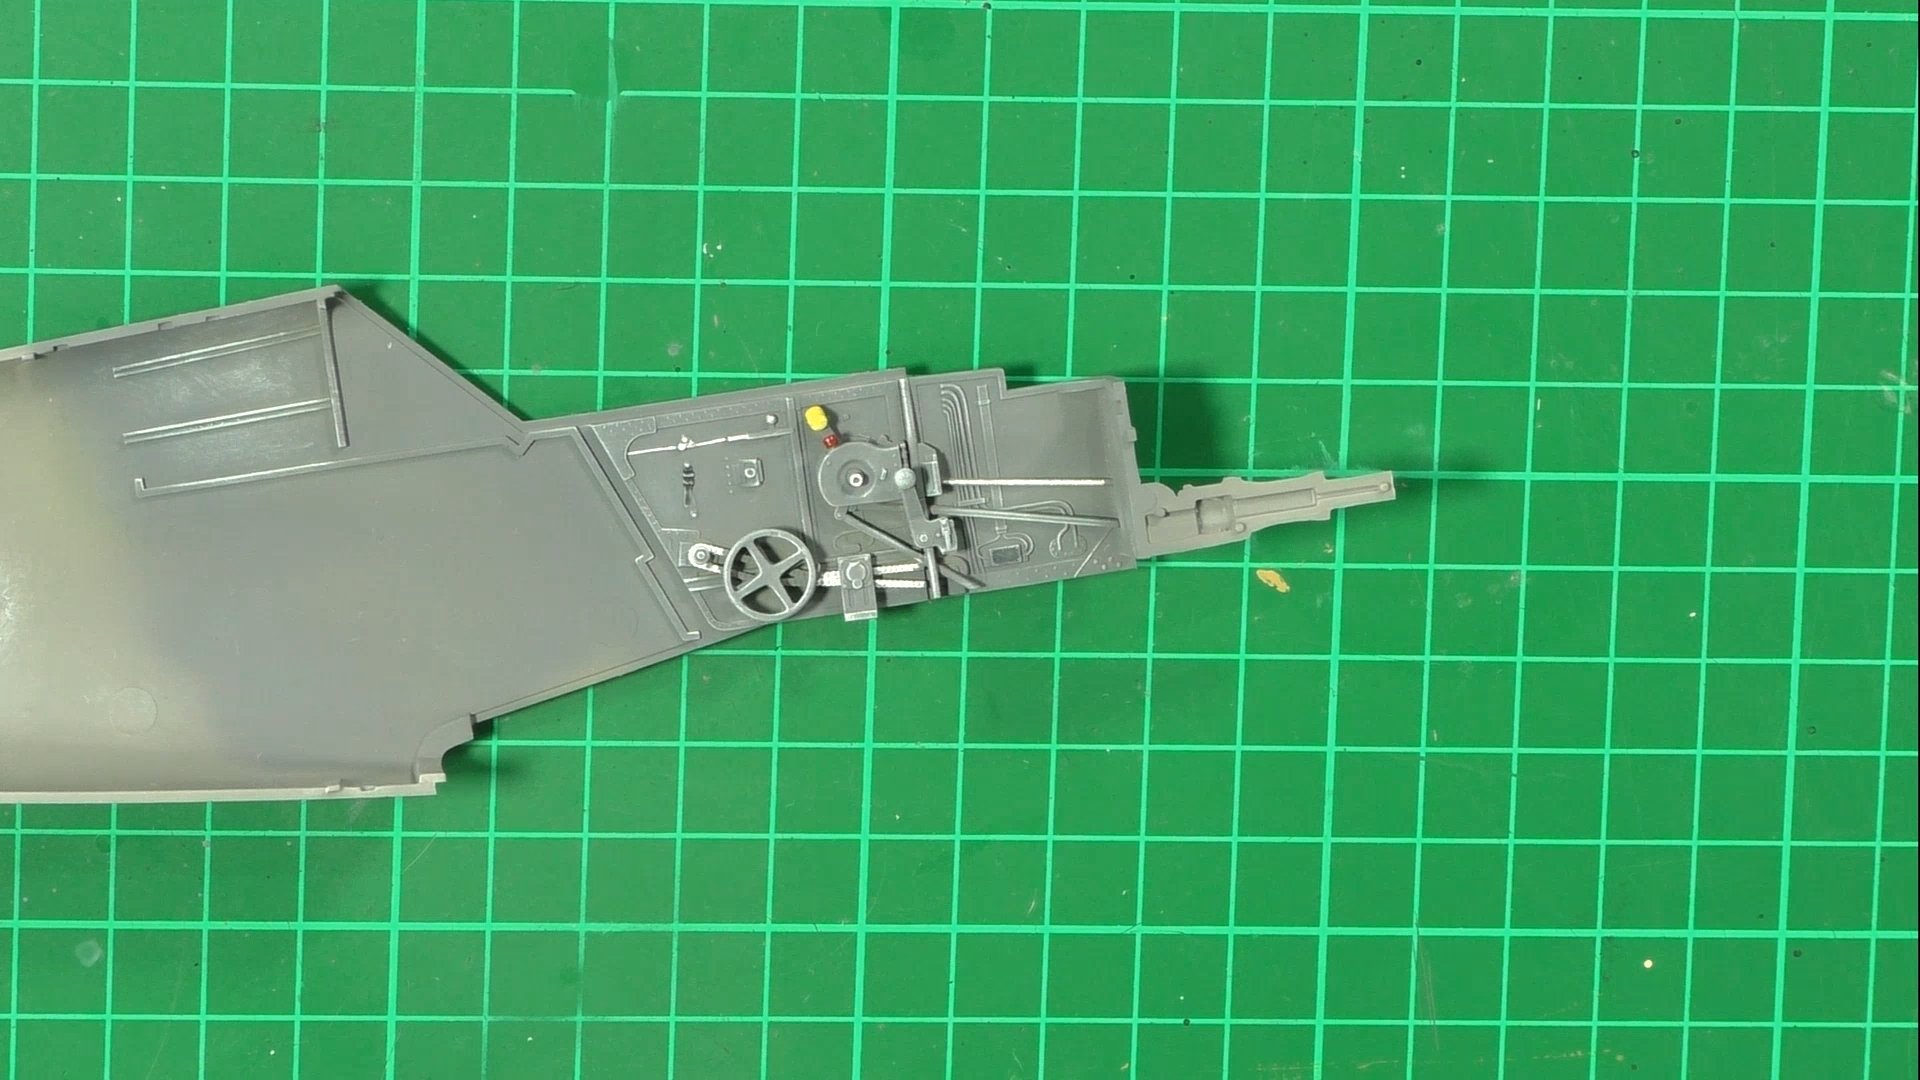
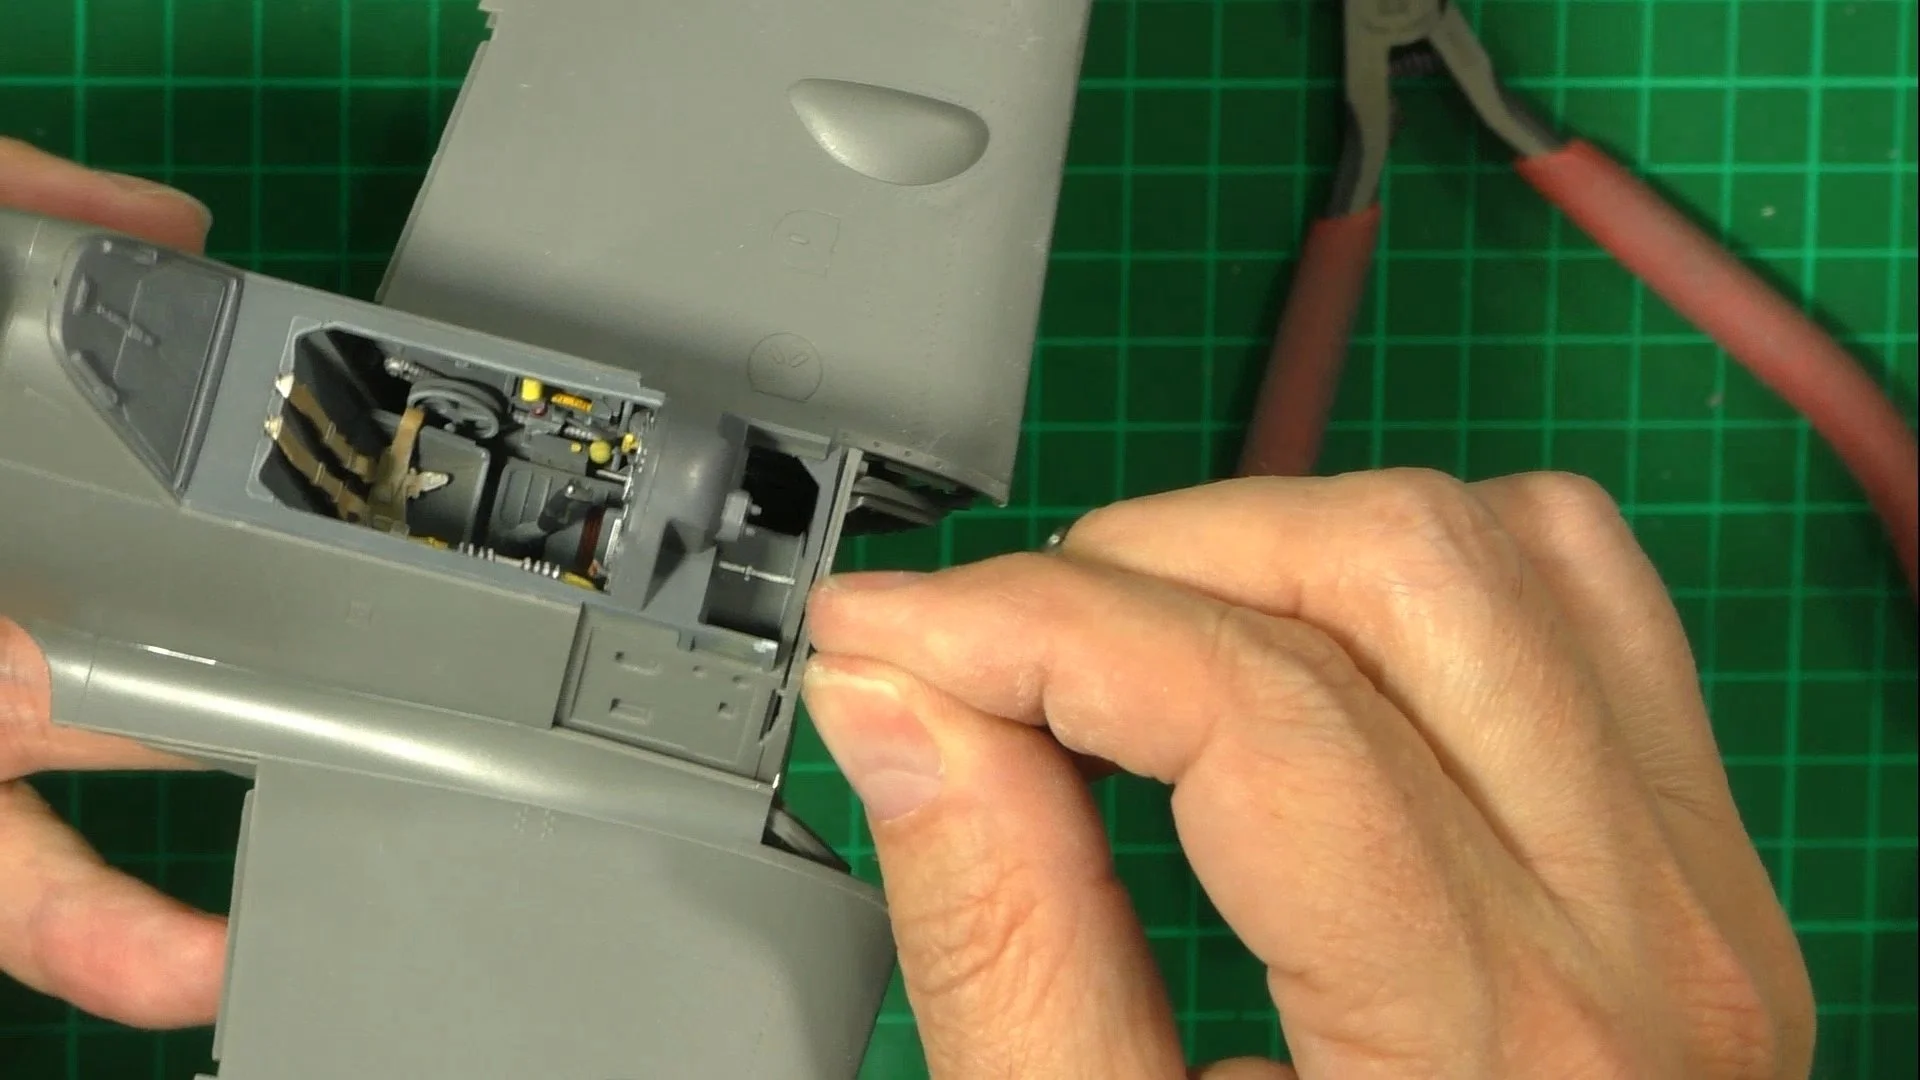
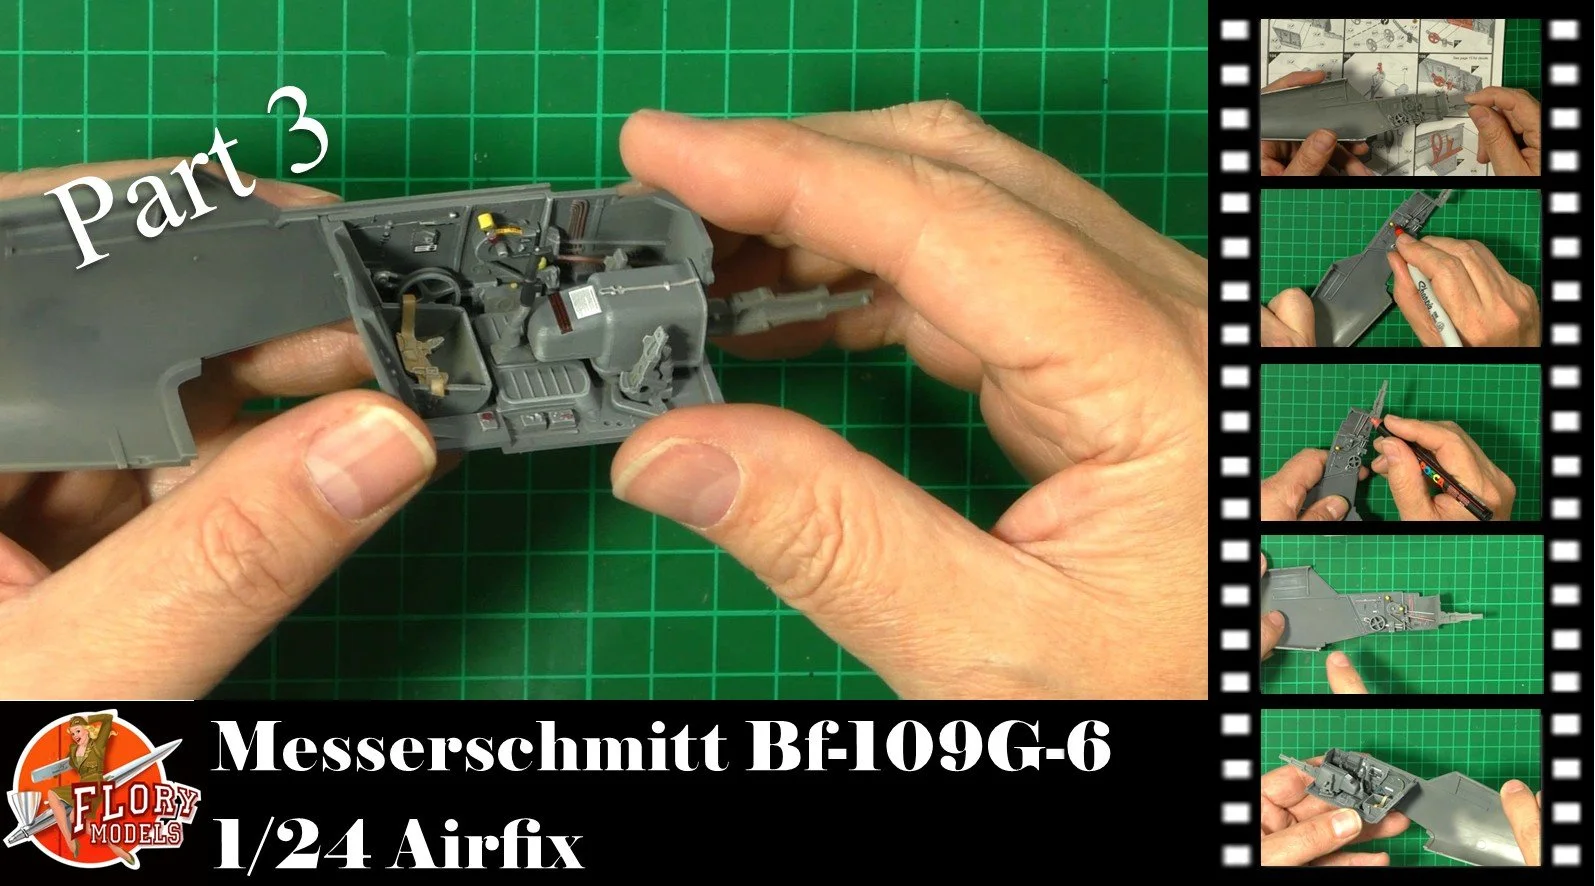
0:00 To start off with the cockpit, we cut out and clean up all the parts and assemble the cockpit. 6:51Next, we paint with Tamiya XF-26 and a drop of white added. I did this as I didn't have any RLM-66. Then, we dry bry everywhere with light grey oils. Next, we use marker pens to add in all the details. 19:28 Now we can decal the instrument panel and again dry brush and use UV glue to make the glass dials. 29:33 Last up, it's time to install the cockpit and bring the fuselage halves together.
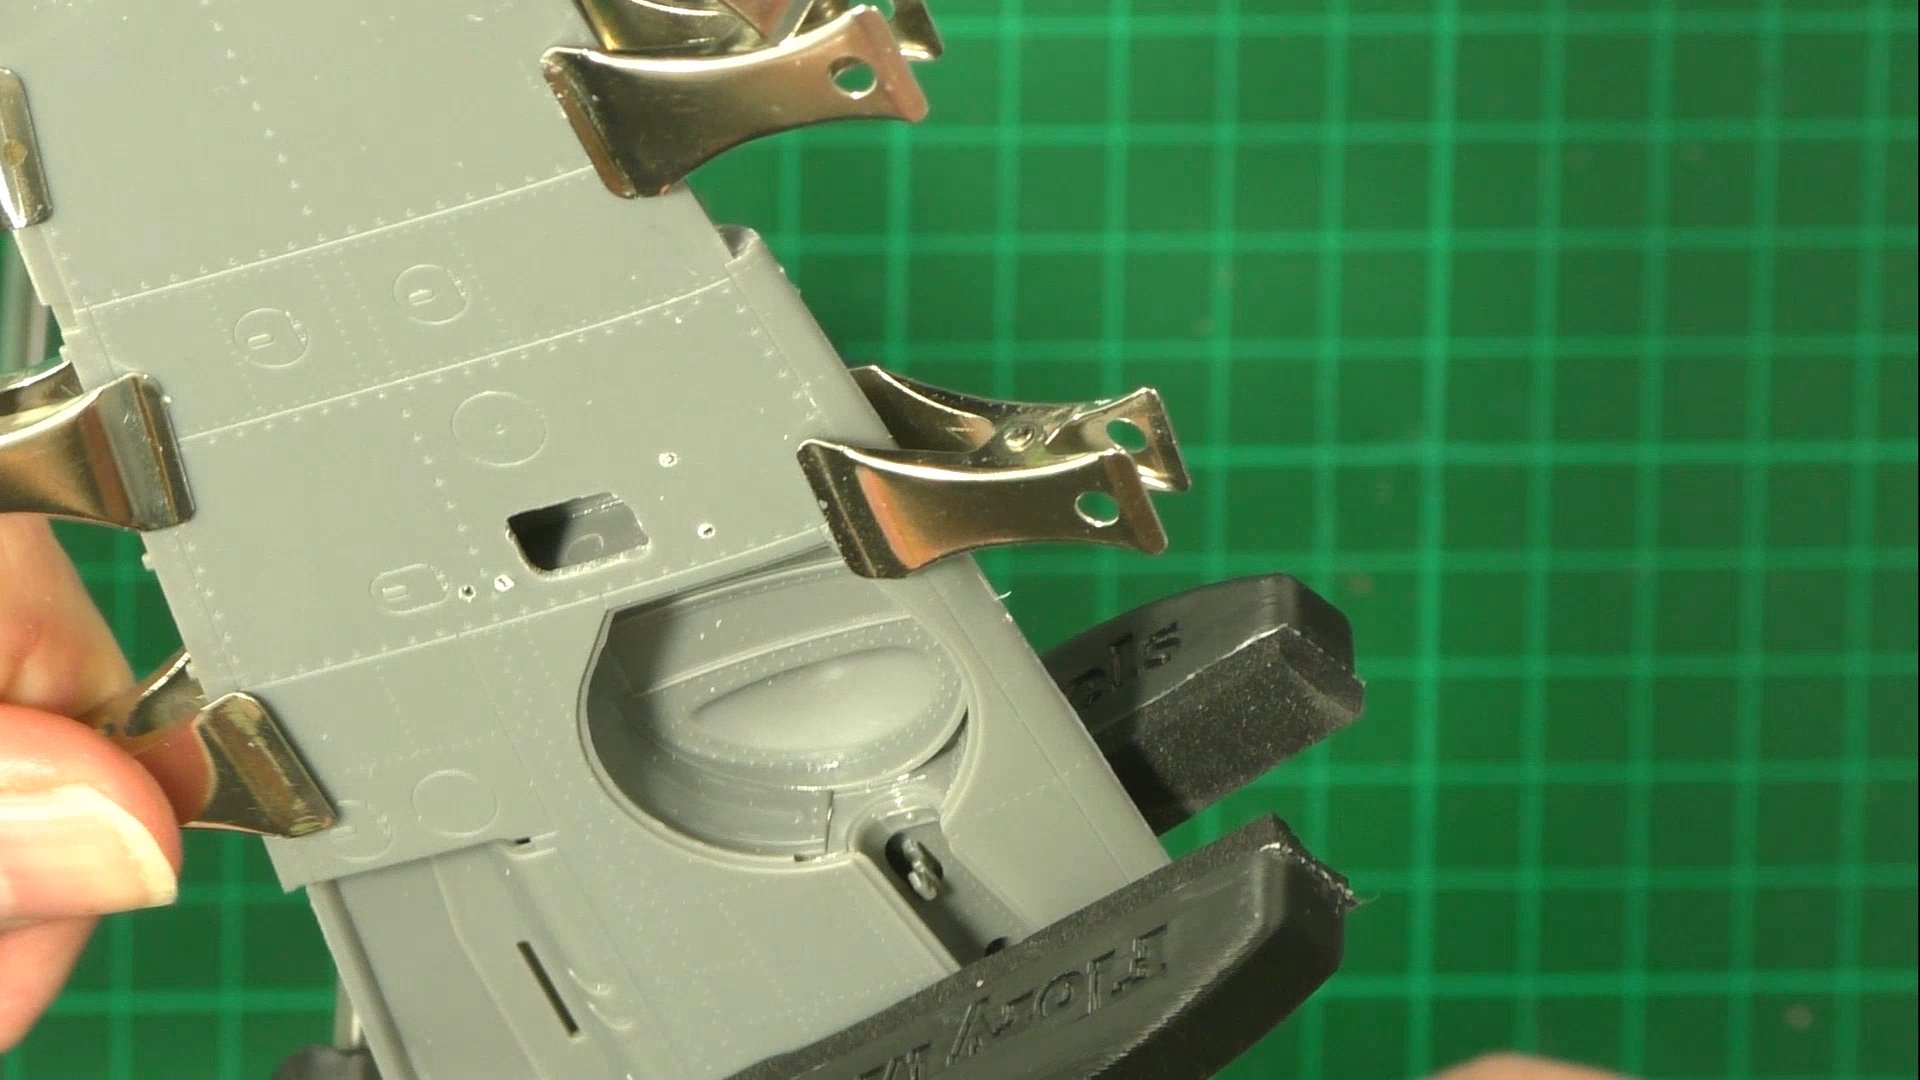
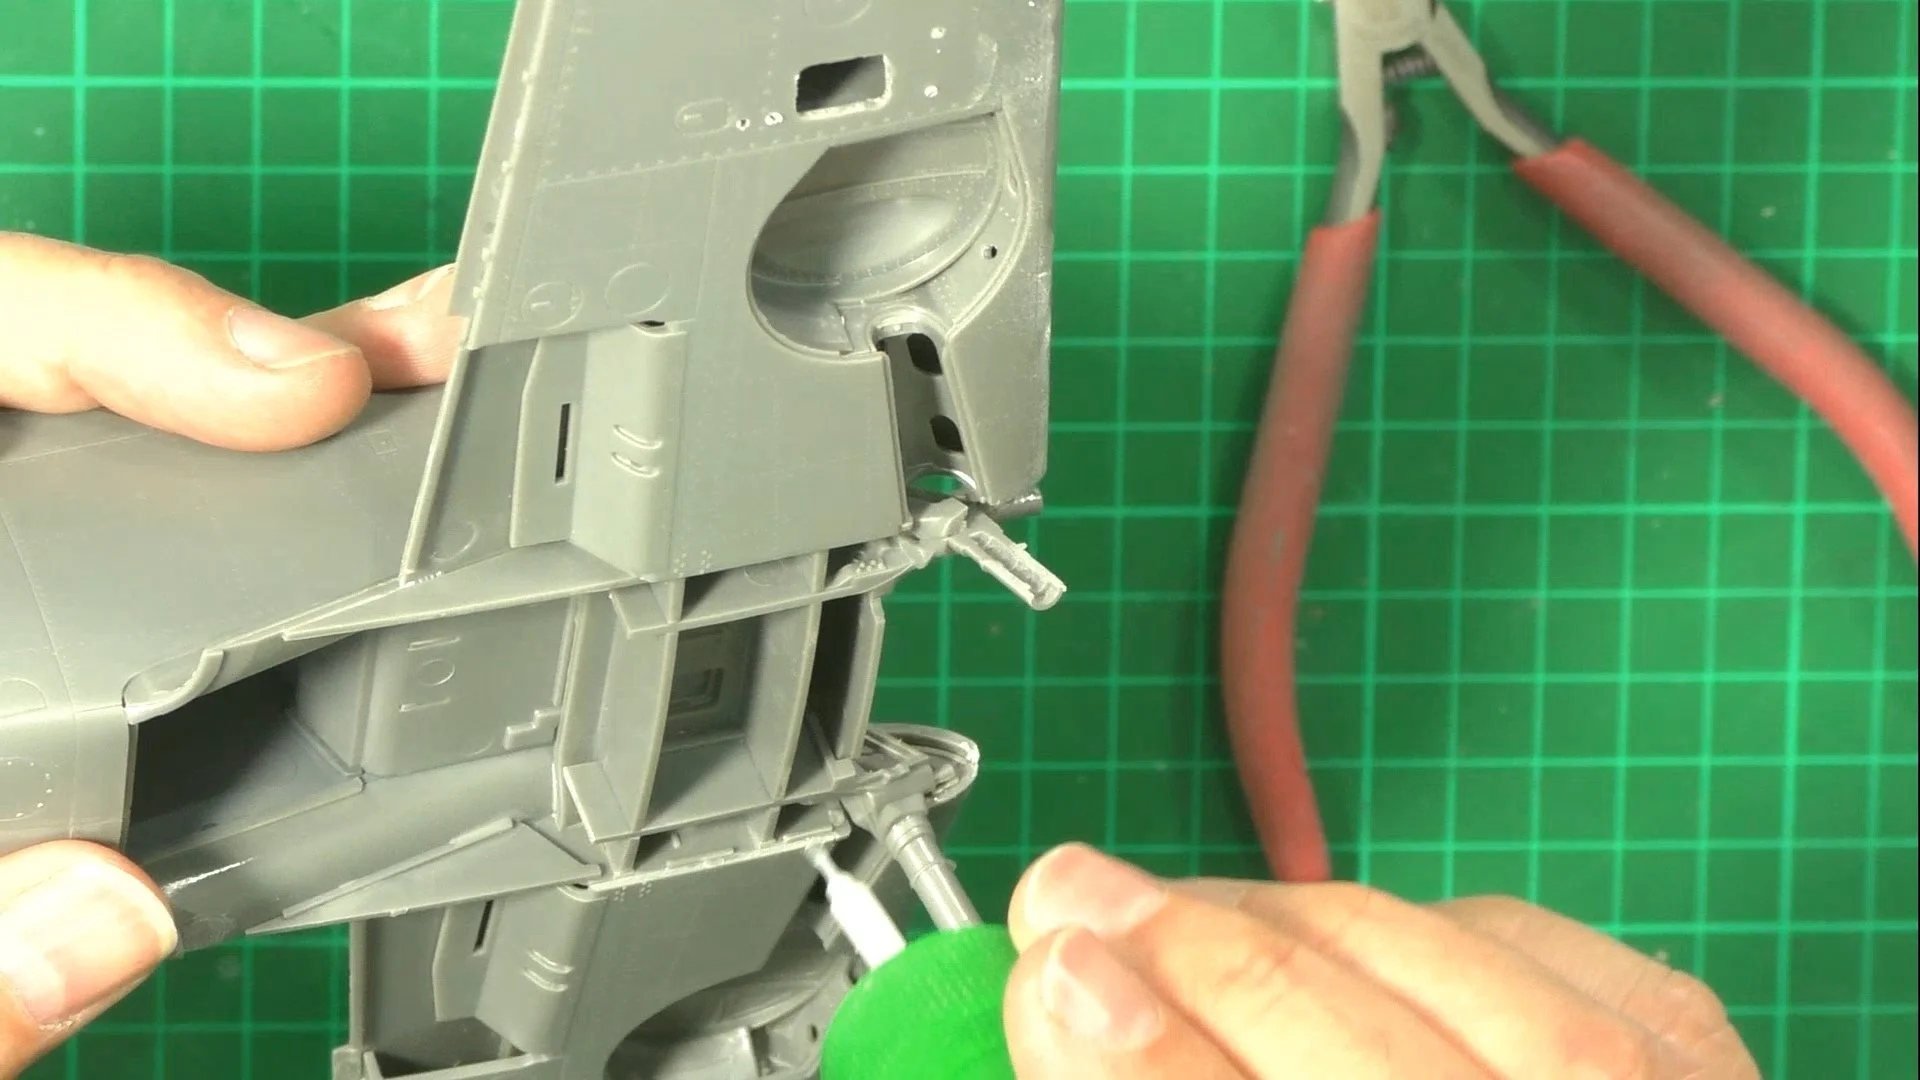
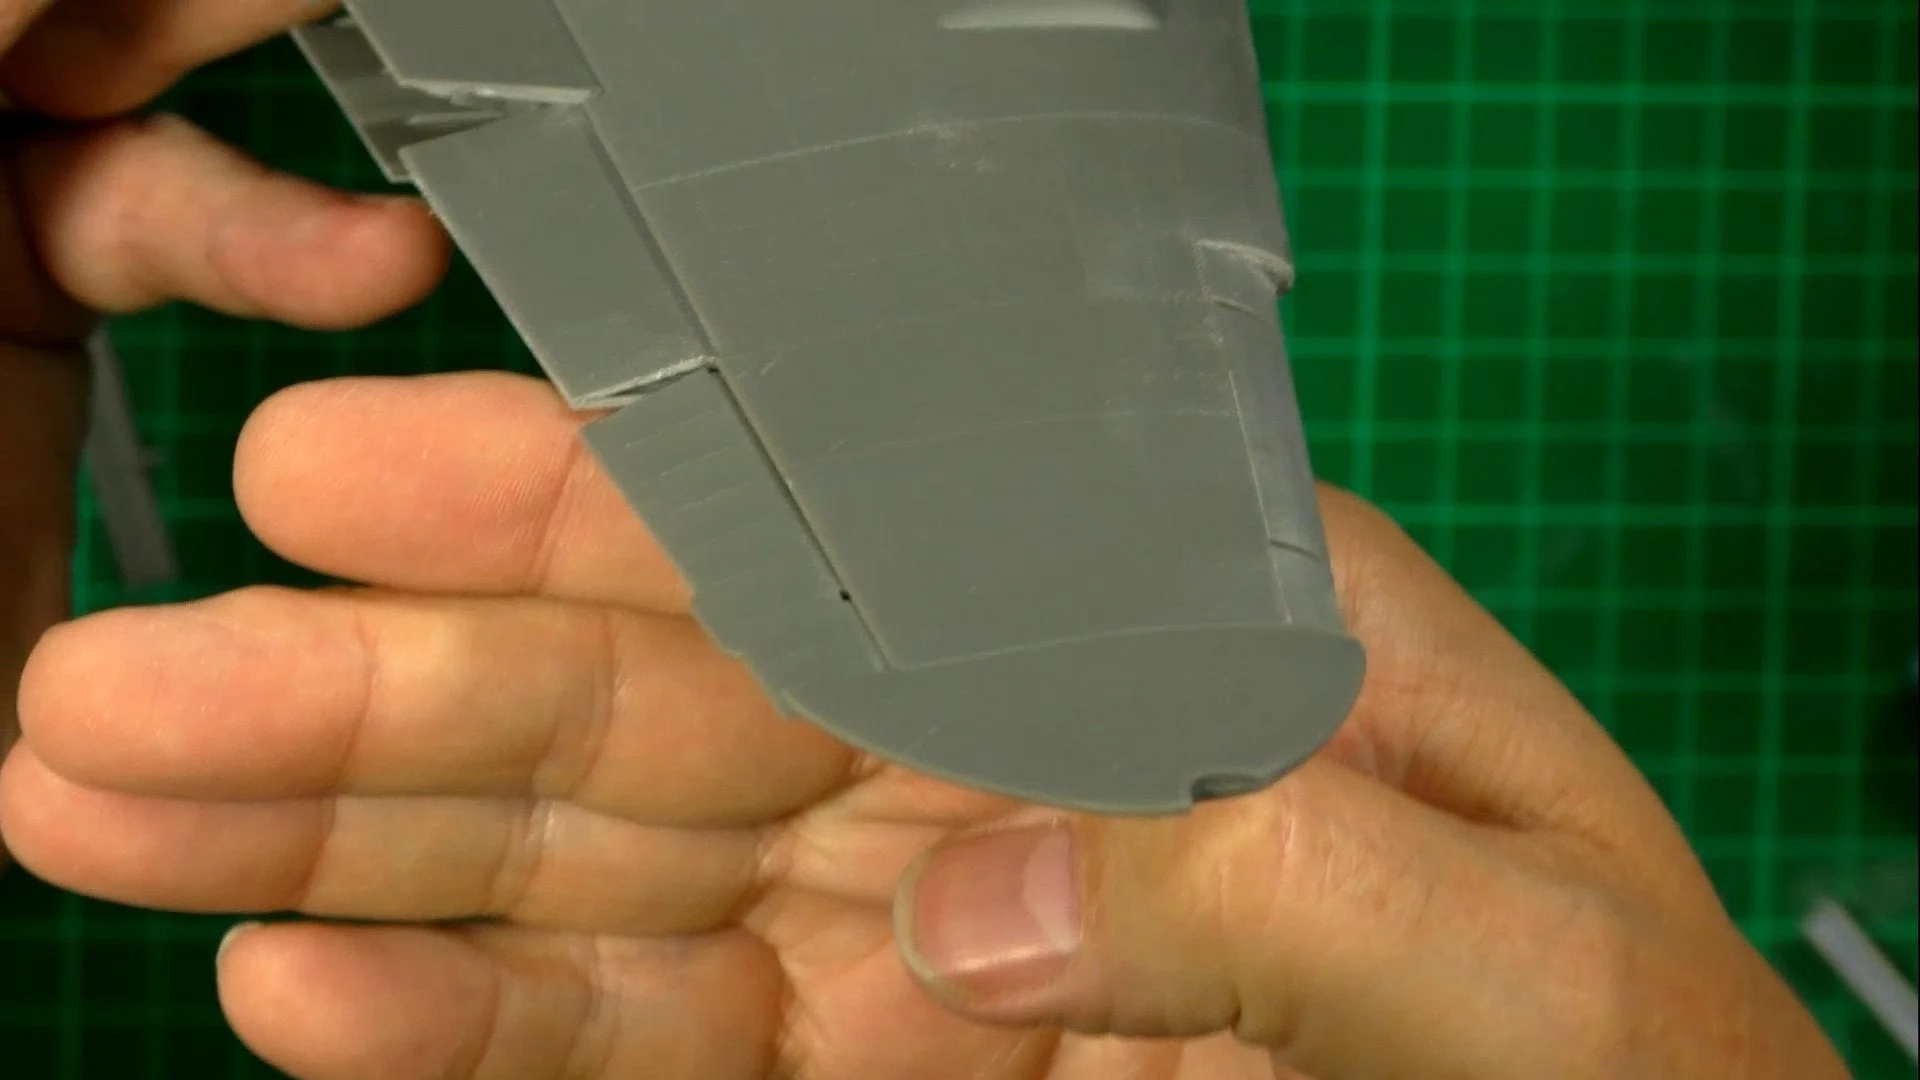
0:00 Next, we move on to the wings and put together the wheel wells and open up the areas for the cannons. 12:50 To speed things up, we break out the mini drill to open up the holes needed. 16:50 Now it's time to close up the wings. 21:51 With the wings drying, we move into the tail and then install the wings to the fuselage.

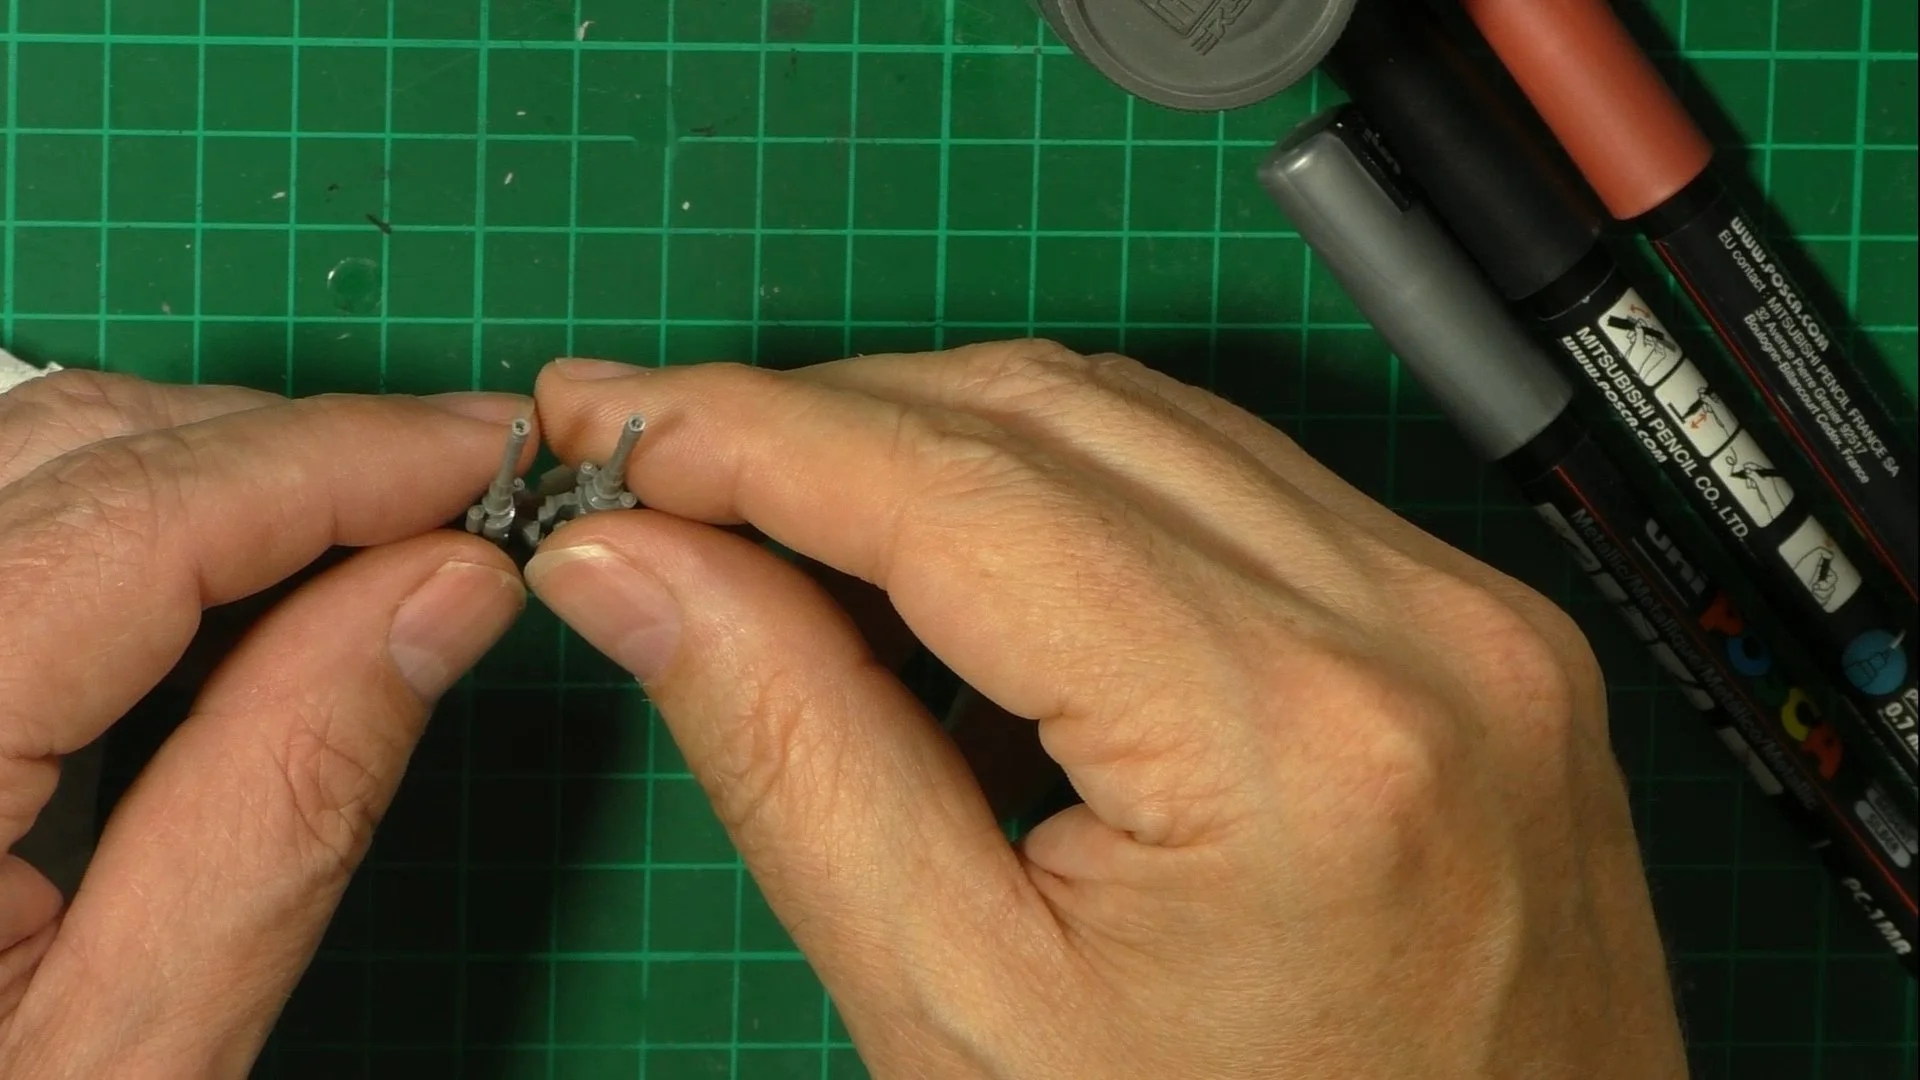
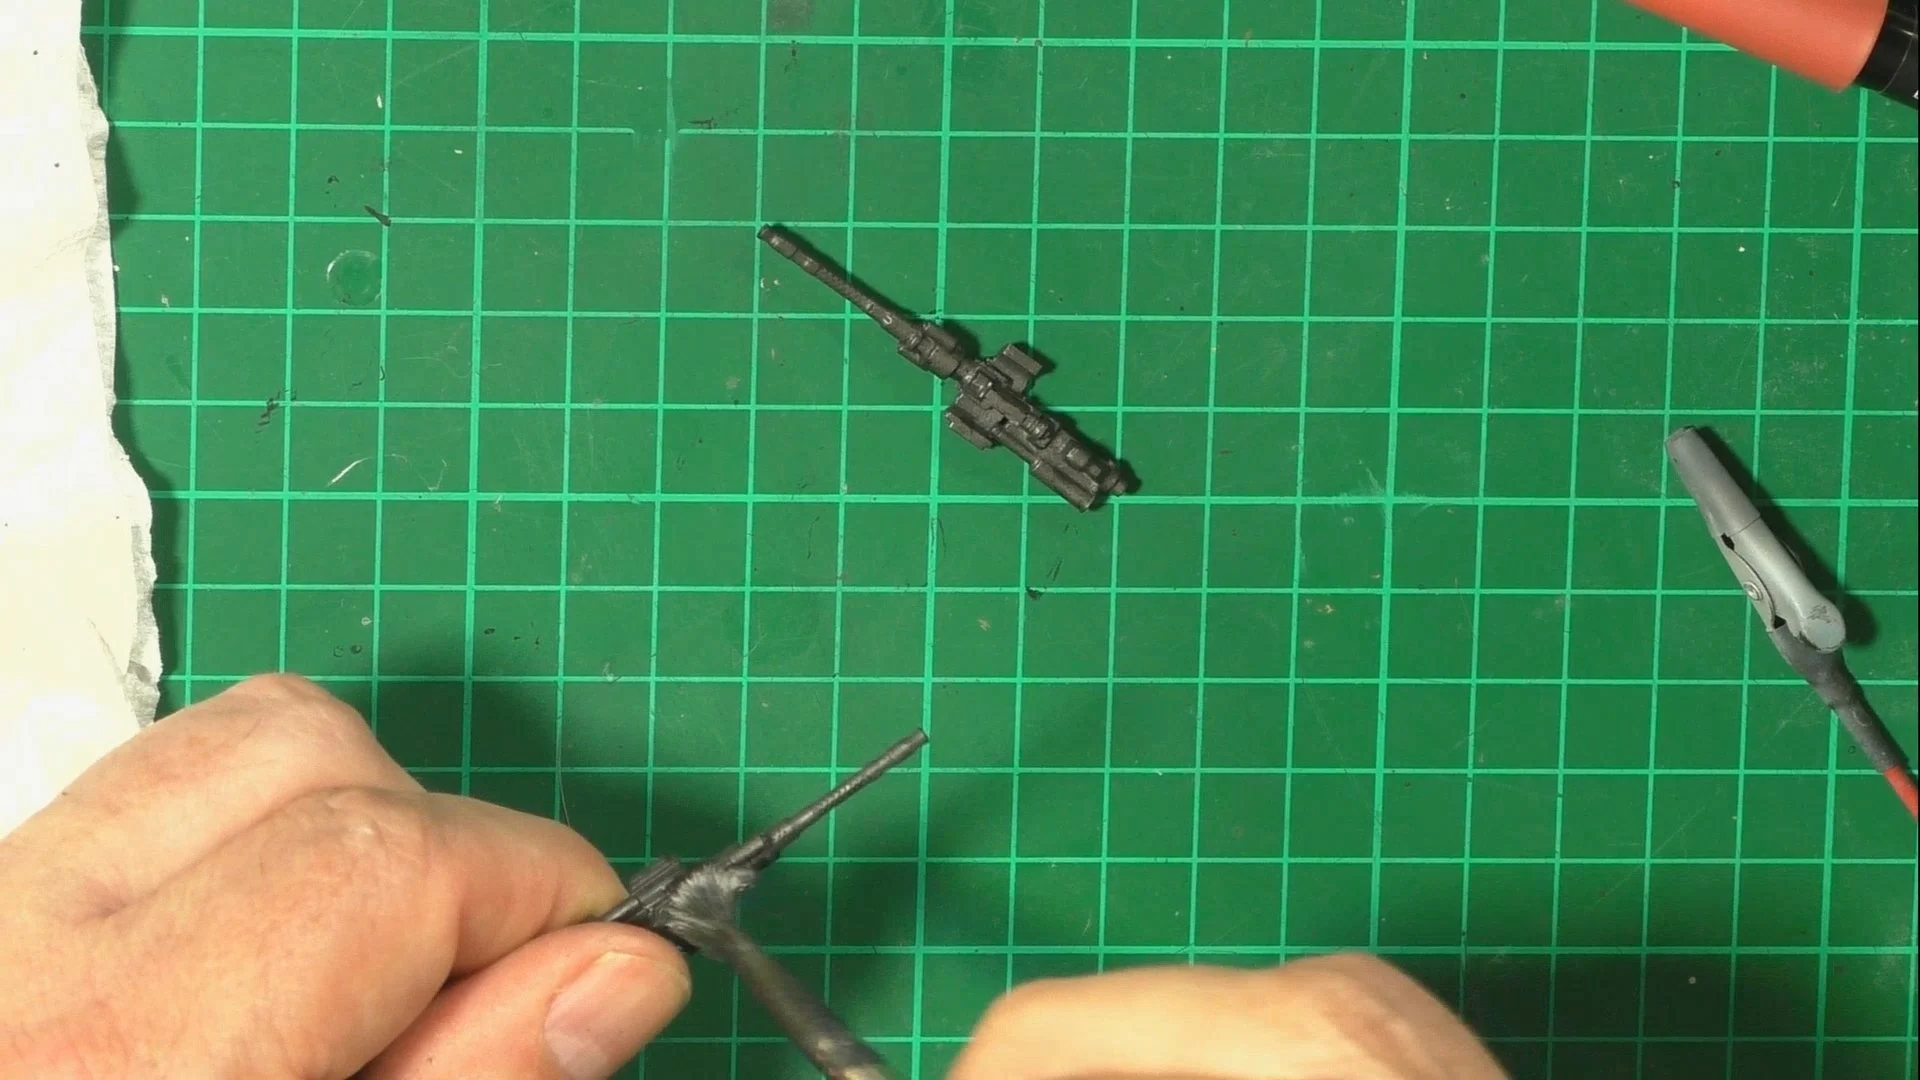
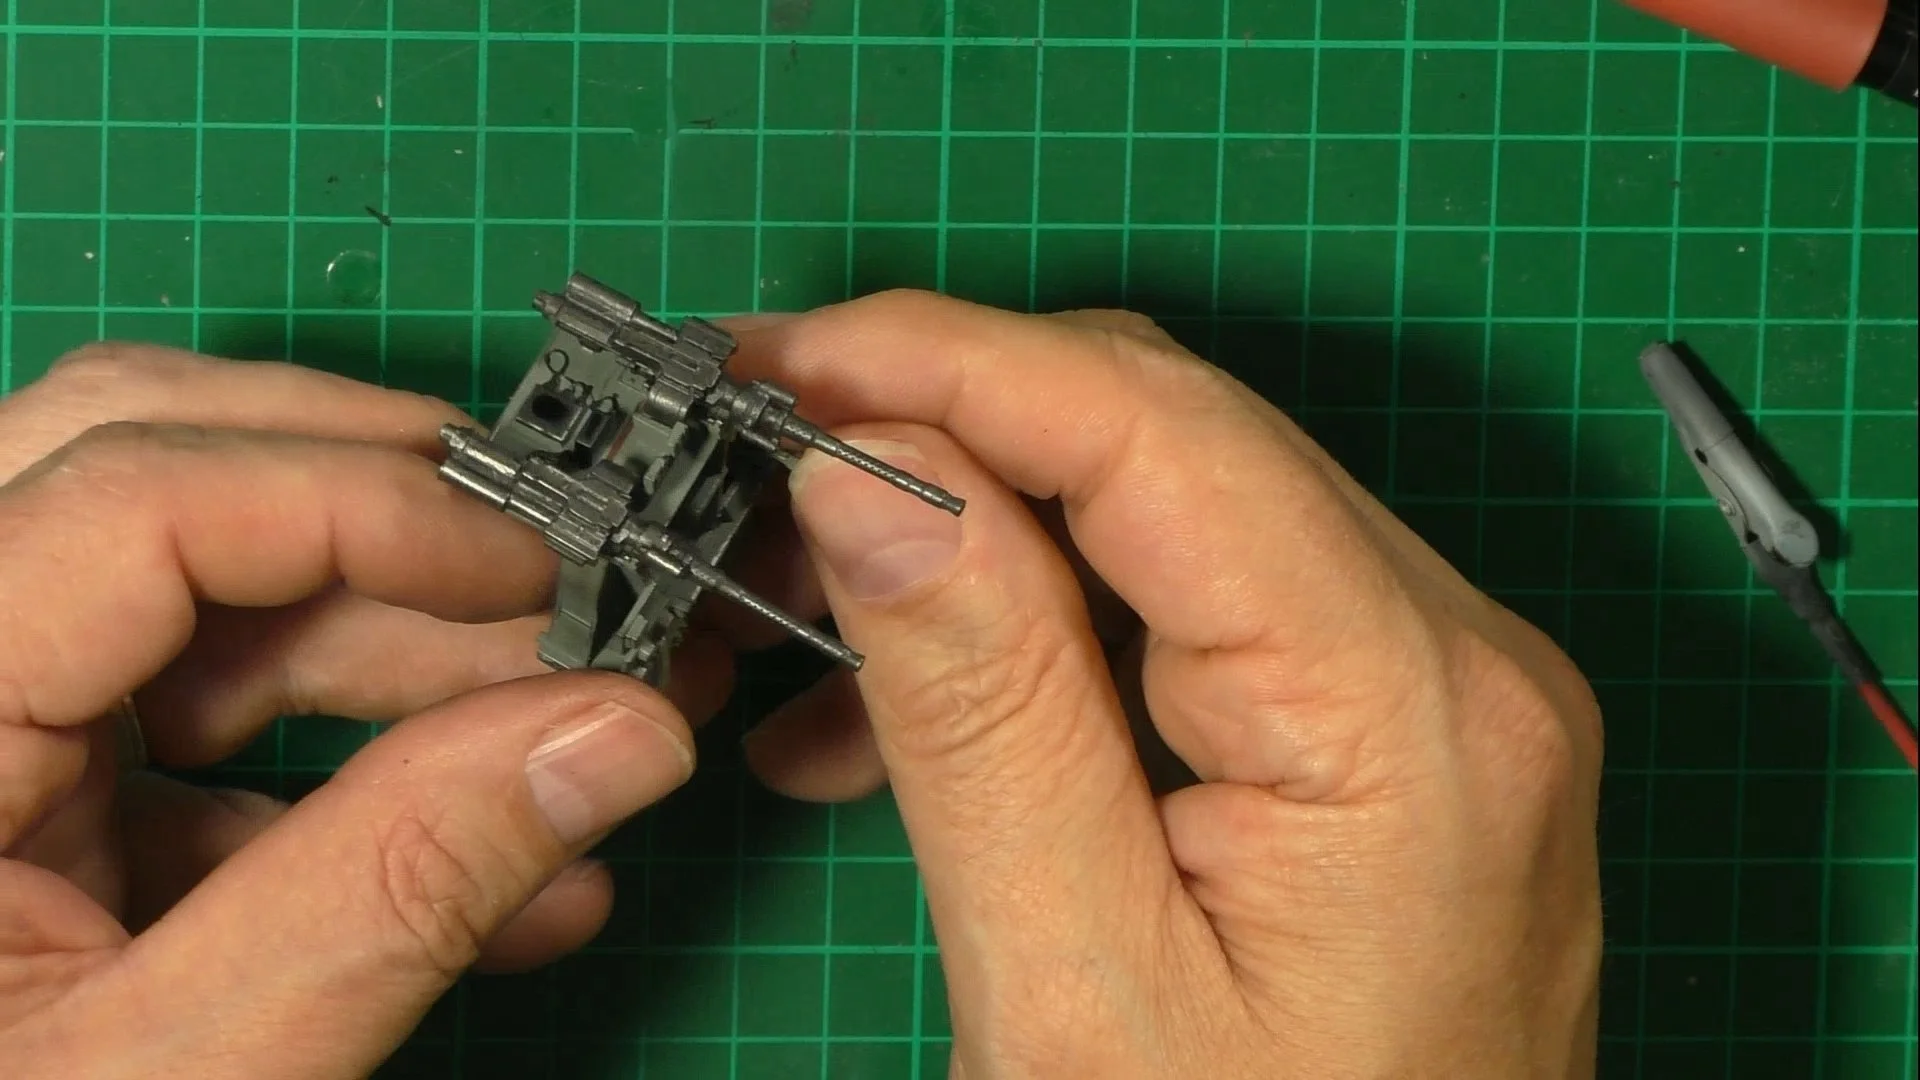
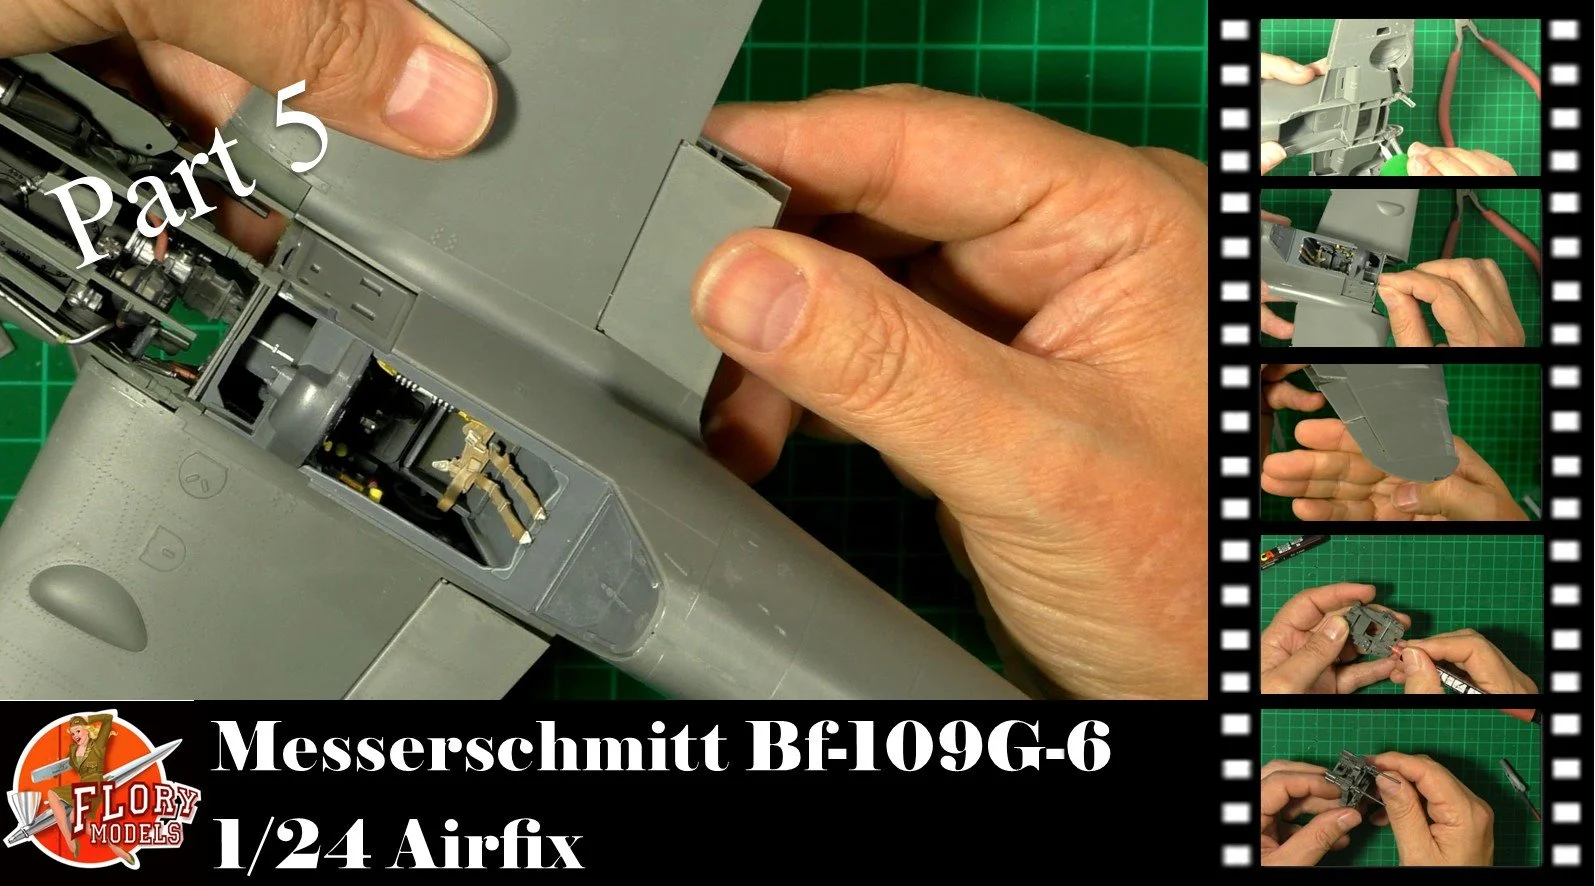
0:00 To start, we install the front firewall on the model. 5:26 Next, we build the radiators in the mid open position. 18:26 Now we install the radiators and the flap in position, and then the alerons. 26:27 With the winds complete, we work on the MG131 guns over the top of the engines.
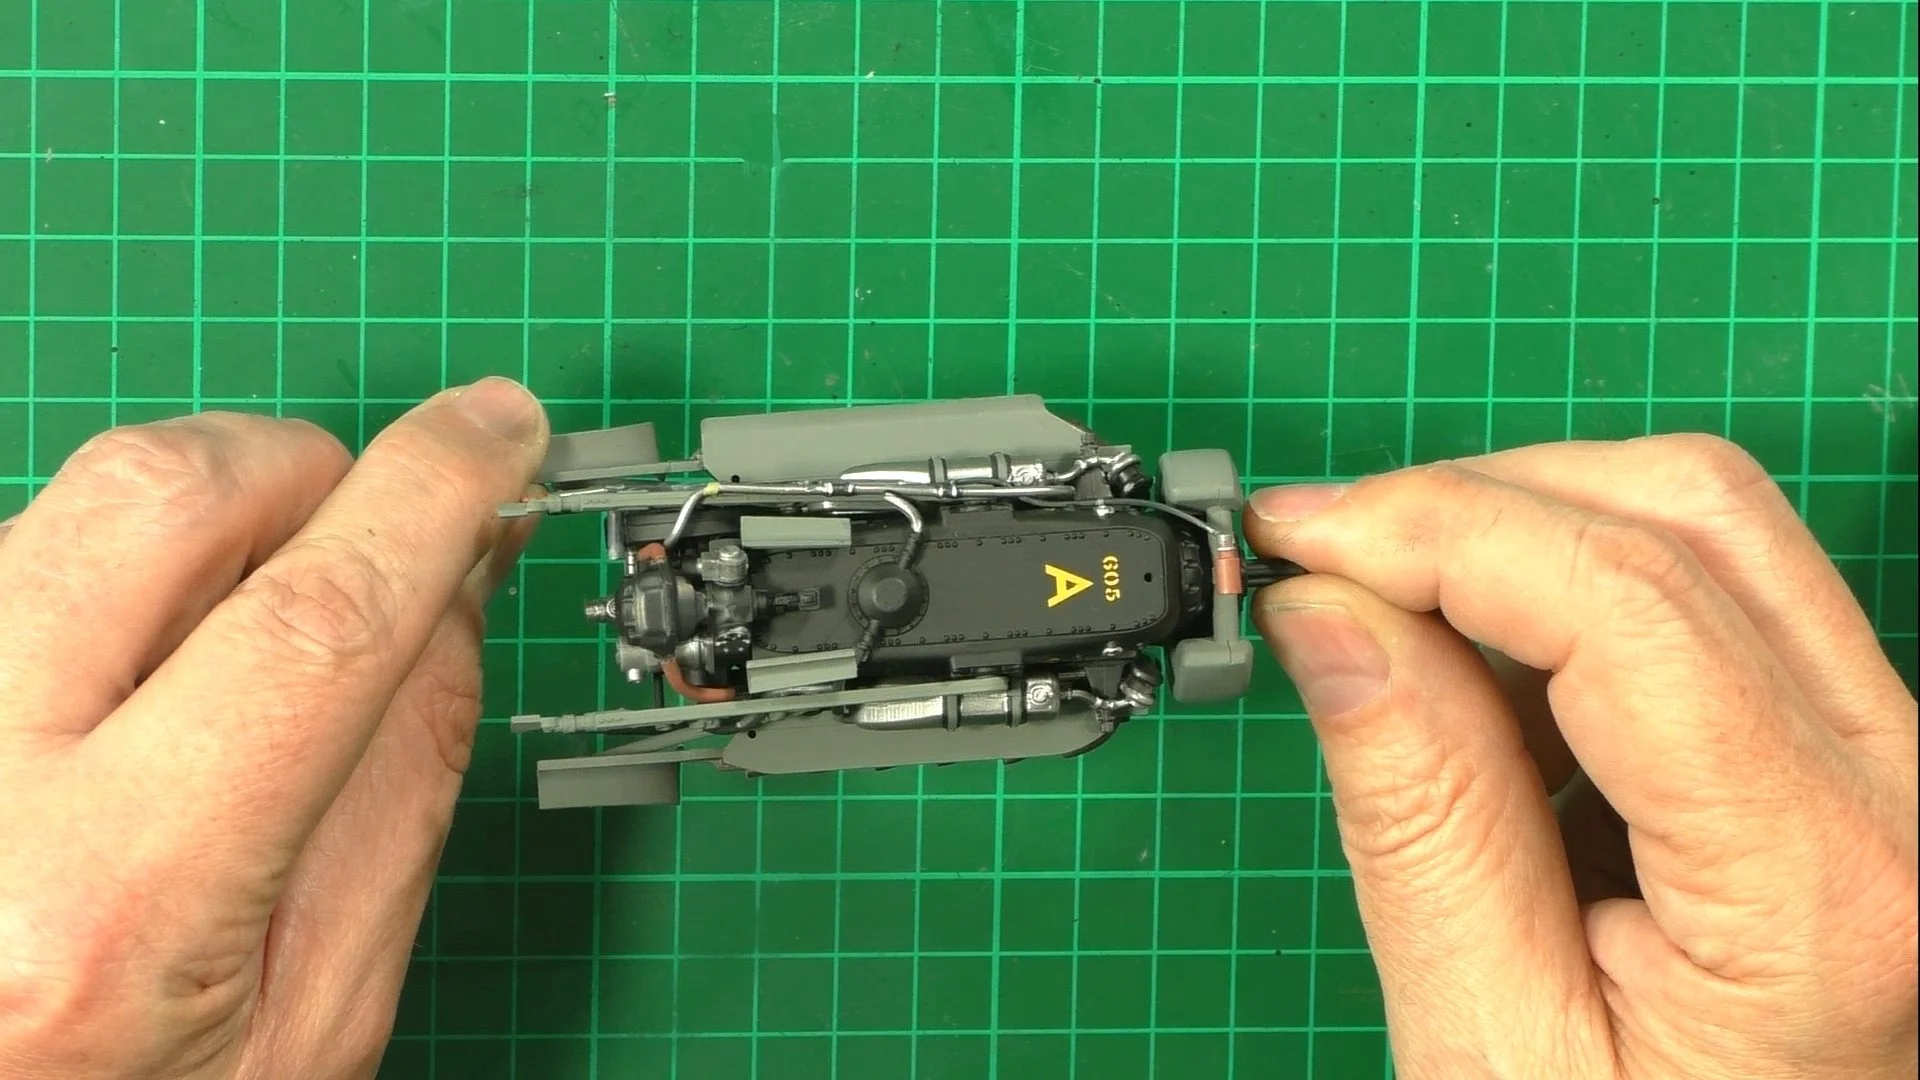
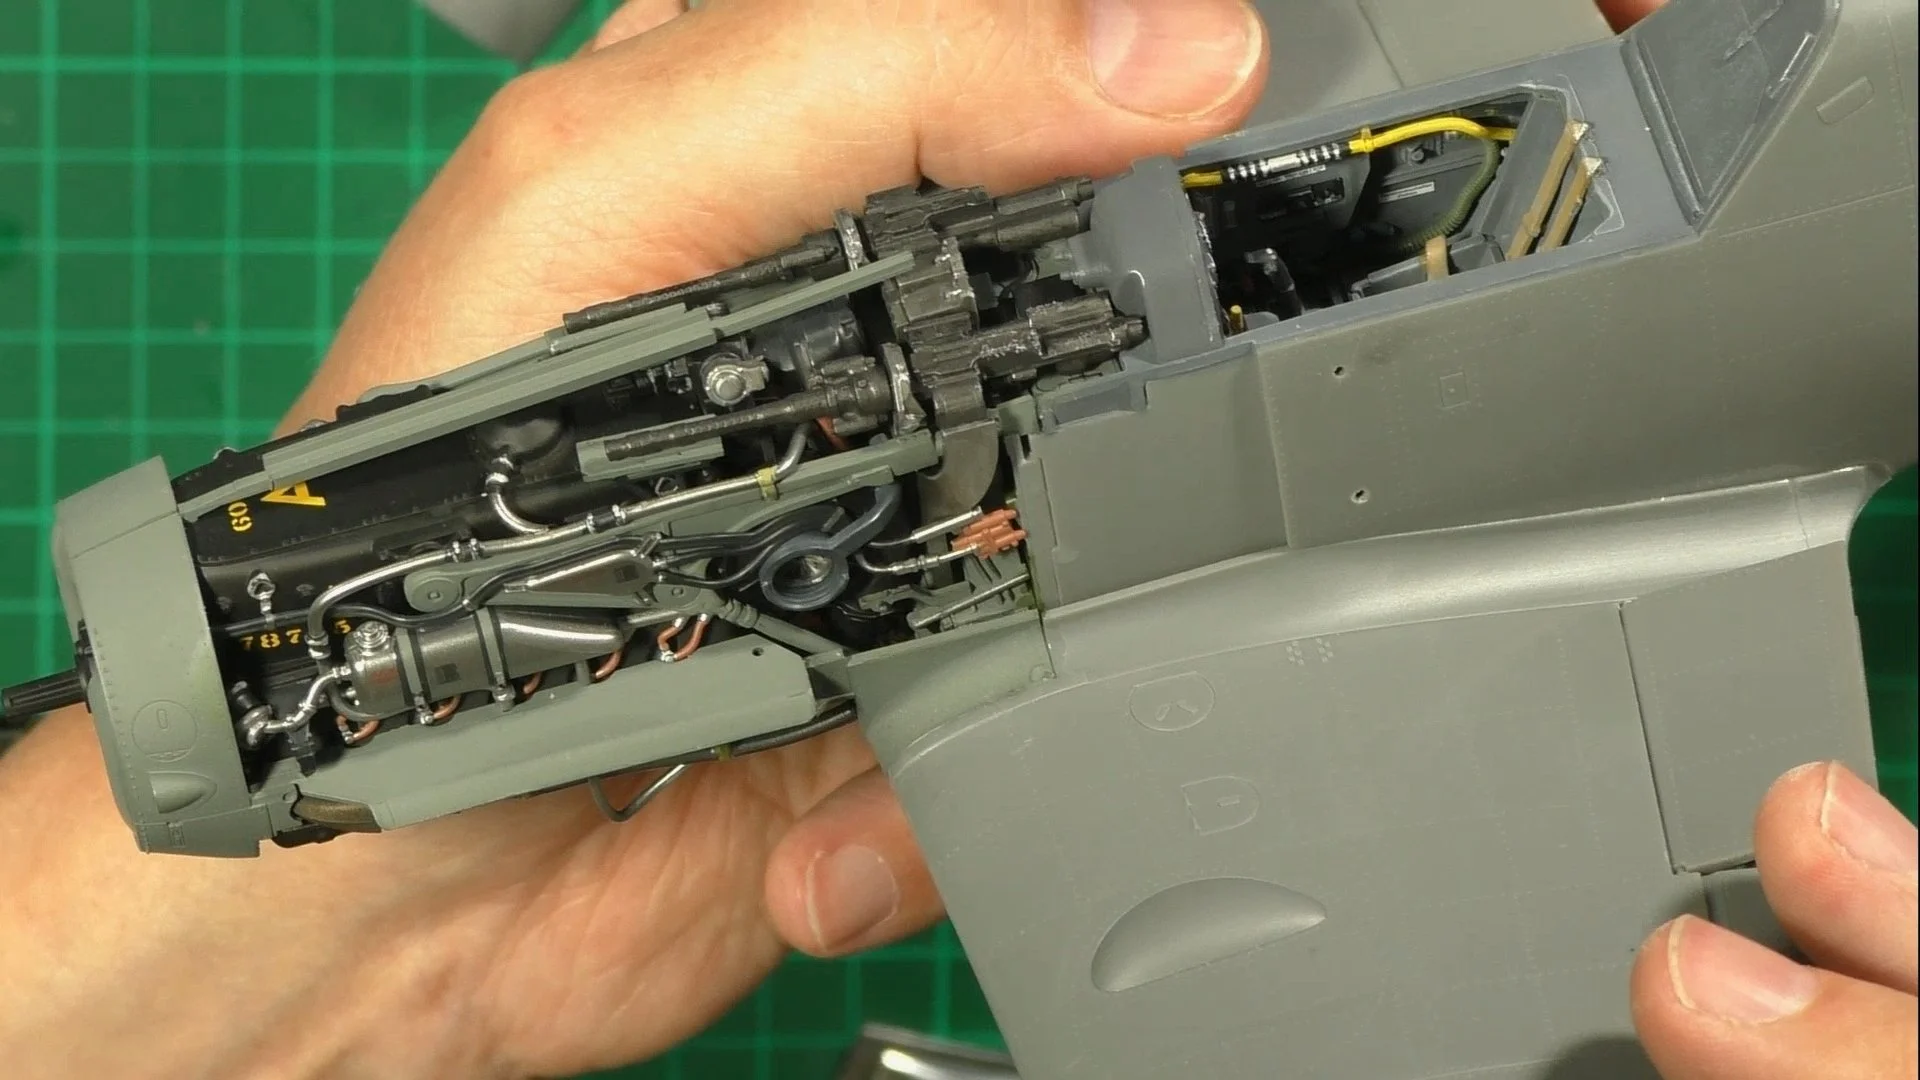
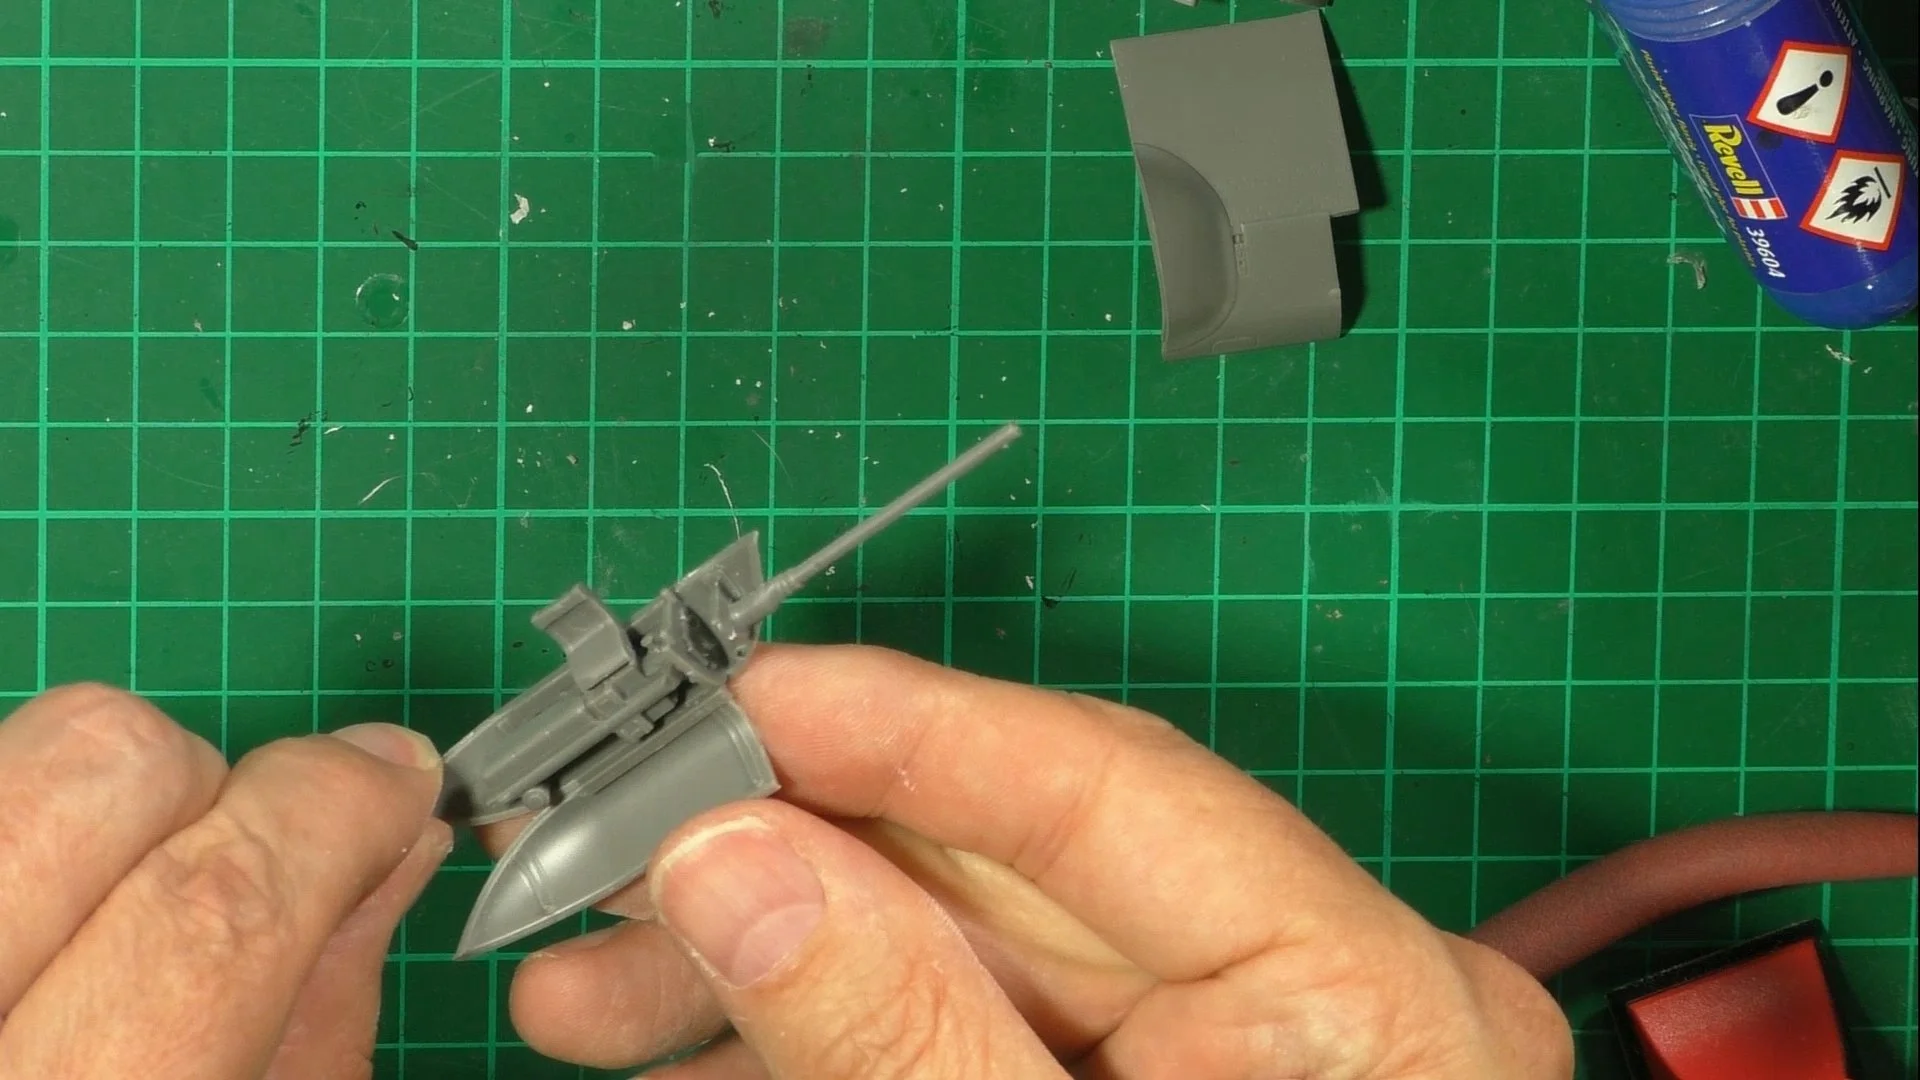
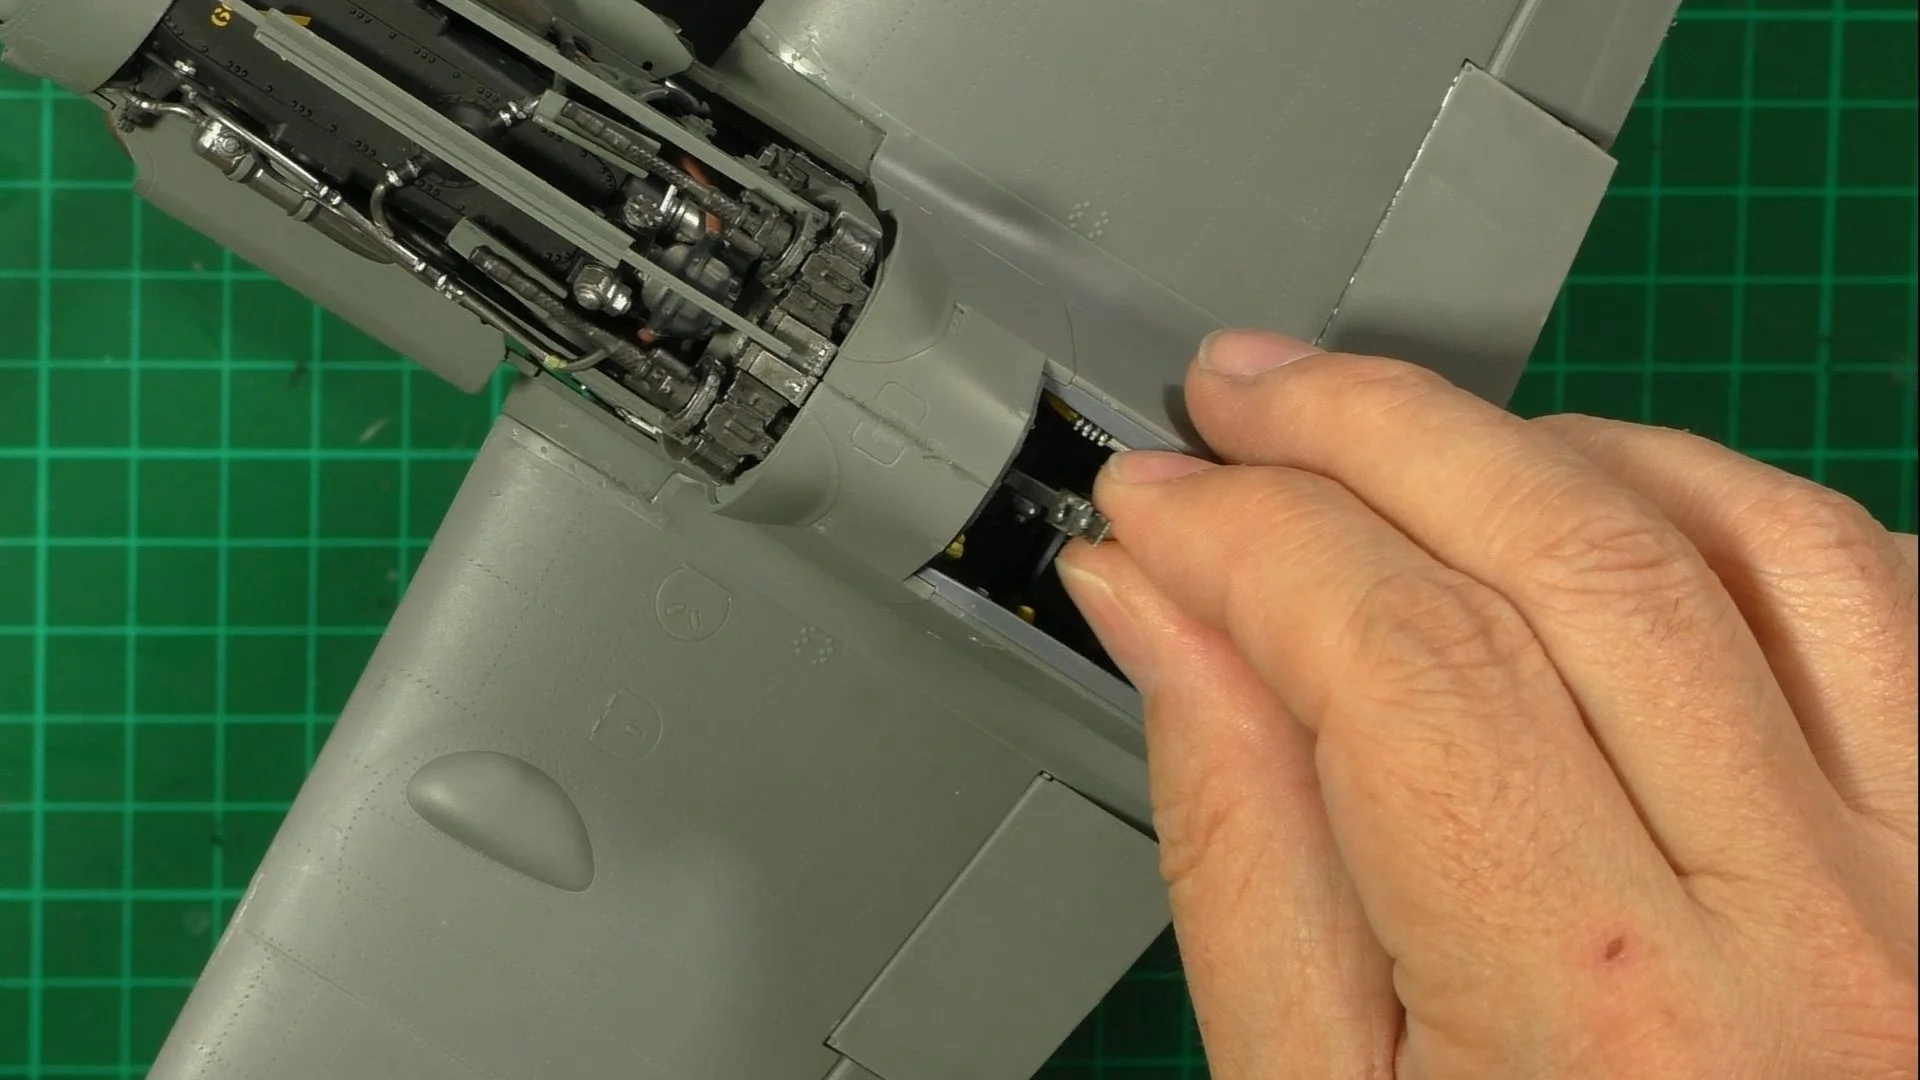
0:00 To start off, we install the engine and plumb it all in. 7:55 Next, we take care of some mall builds, like the lower engine cowling, intakes, and the wing cannons. 23:39 Here we put the gun sight together using UV glues. 31:32 Last up, we test fit into the cockpit.